Easy Wood Slice Ornaments with a Cricut & Iron-On
I’m popping in with a quick and easy holiday project today! These DIY Wood Slice Ornaments are really fun to make and come together in a snap (meaning there is plenty of time to make them this holiday season!) They are not only a really charming way to decorate a Christmas tree, but they also make for adorable gifts or even as tags tied onto boxes of cookies, poinsettia plants, gift cards, etc. If you’re in the holiday crafting spirit or are just looking for easy and inexpensive gifts for the neighbors, teachers, friends, and others on your list, give these tree slice ornaments a try!
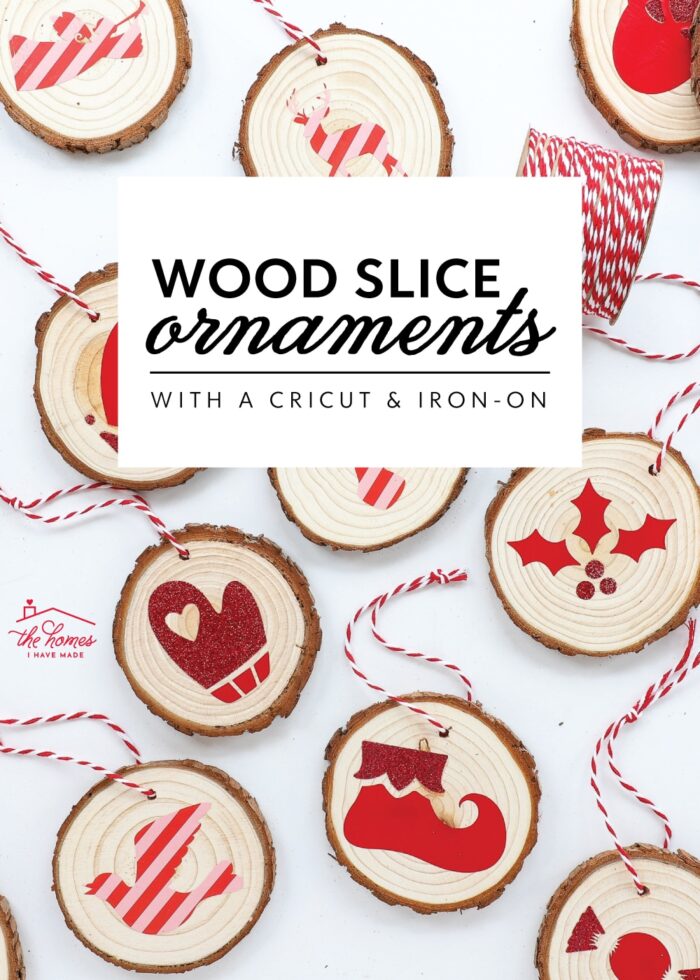
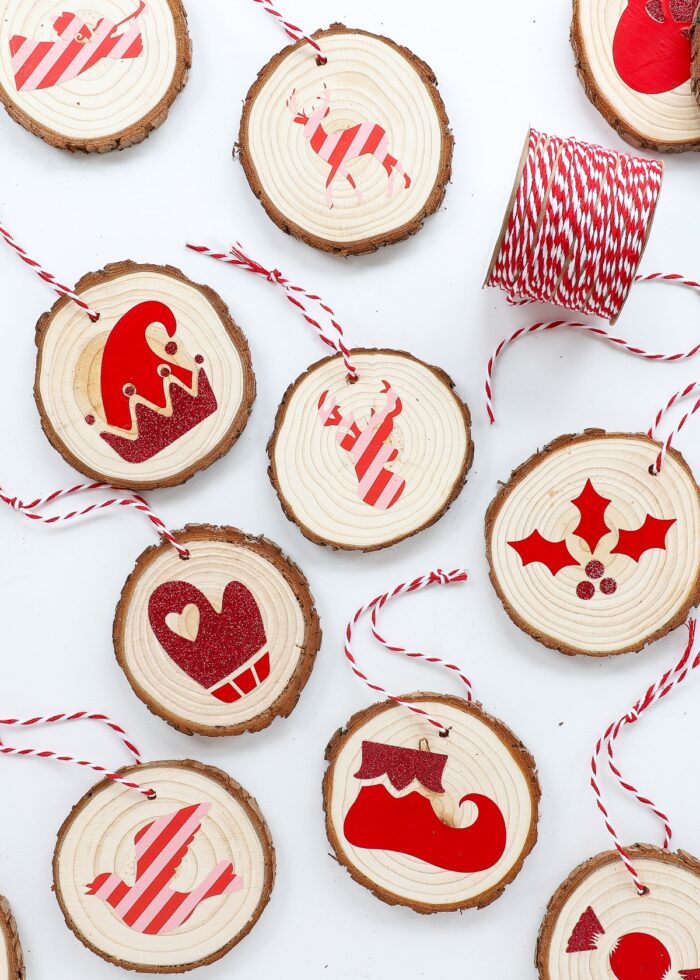
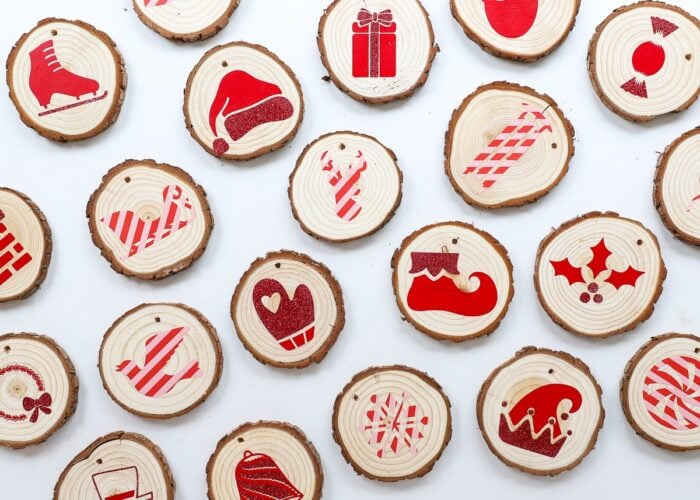
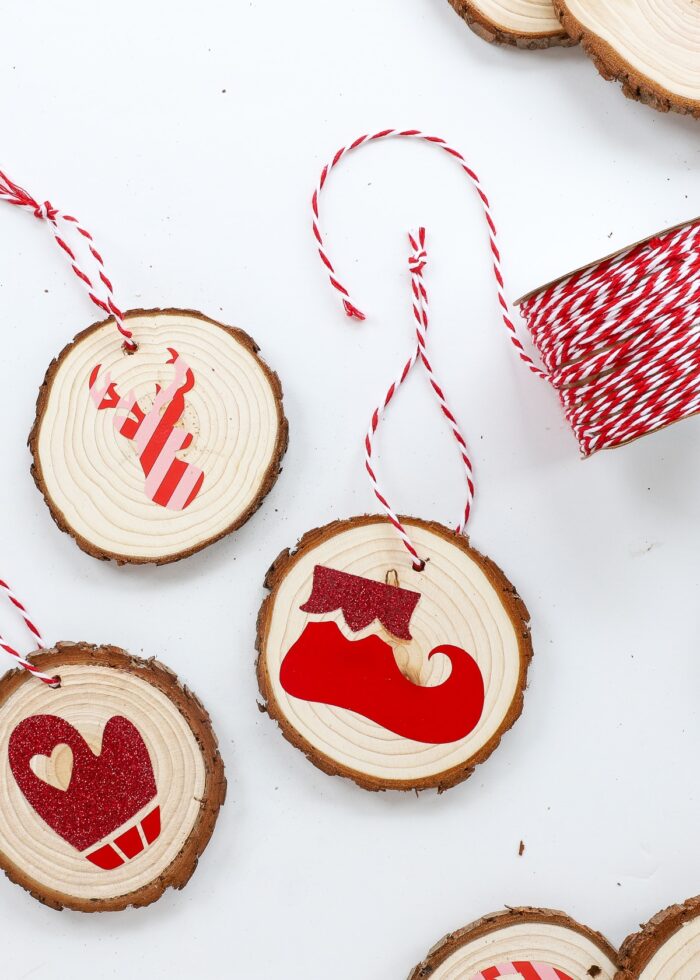
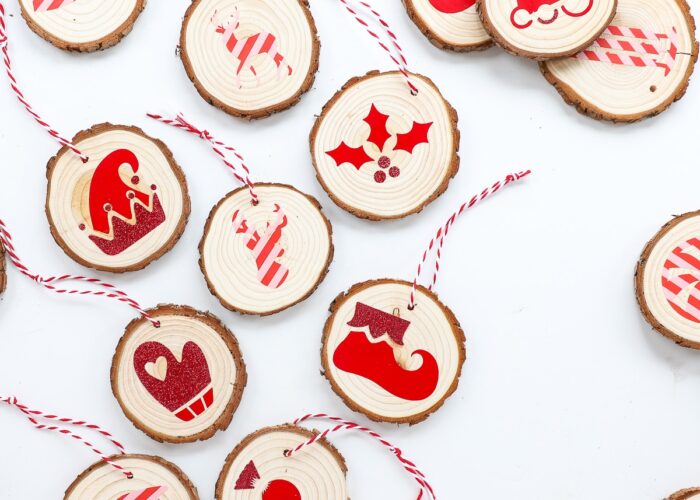
Although most wood slice decor feels very “farmhouse,” the bright, sparkly, and patterned images give these ornaments a fresh and modern feel. I love the contrast of textures; and the reds and pinks make for quite the festive collection.
While the red scheme shown feels extra Christmas-y, you can easily change the look by using whatever colors and patterns prominent in your own Christmas decor (or whatever colors of iron-on you have left in your stash!)
Since these ornaments don’t require a lot of material and assemble quickly, they are the perfect project to make in bulk to decorate an entire tree or give to the whole book club, troop, neighborhood, or class!
Supplies Needed
Here is what you need to make these wood slice Christmas ornaments:
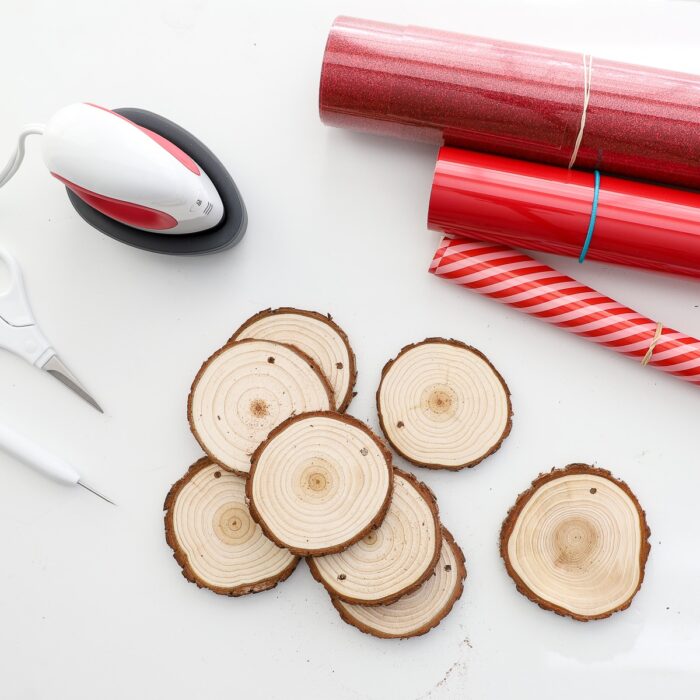
- Wood Slice Ornaments
- Cricut Machine – since these ornament designs are small, any Cricut machine can be used for this project (Cricut Joy | Cricut Explore | Cricut Maker)
- Wood Slice Ornament Design File for Cricut Design Space – to make my exact set of ornaments
- Iron-On Vinyl (also known as Heat Transfer Vinyl or HTV) – in any colors, patterns, texture you like
- Weeding Tools and Scissors
- Cricut EasyPress Mini or Iron
- Ribbon or Twine
How to Make Wood Slice Ornaments
Step 1: Select Ornament Designs
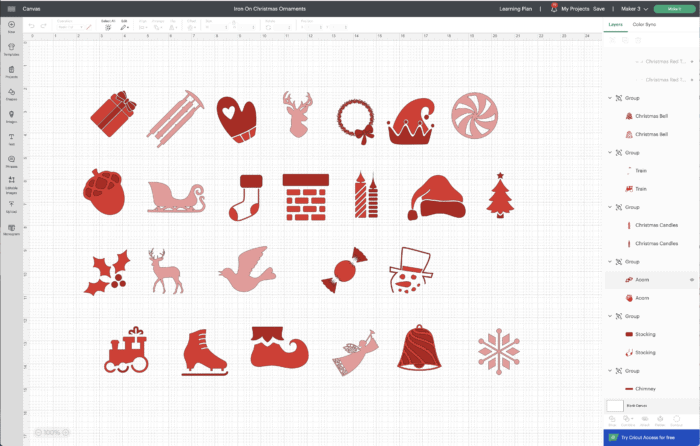
Start by picking out images for your ornaments. You can use anything you find in the Cricut Design Space Image Library or upload your own designs. If you plan on making a lot of these ornaments, I suggest you pick images that require very little weeding to keep it quick.
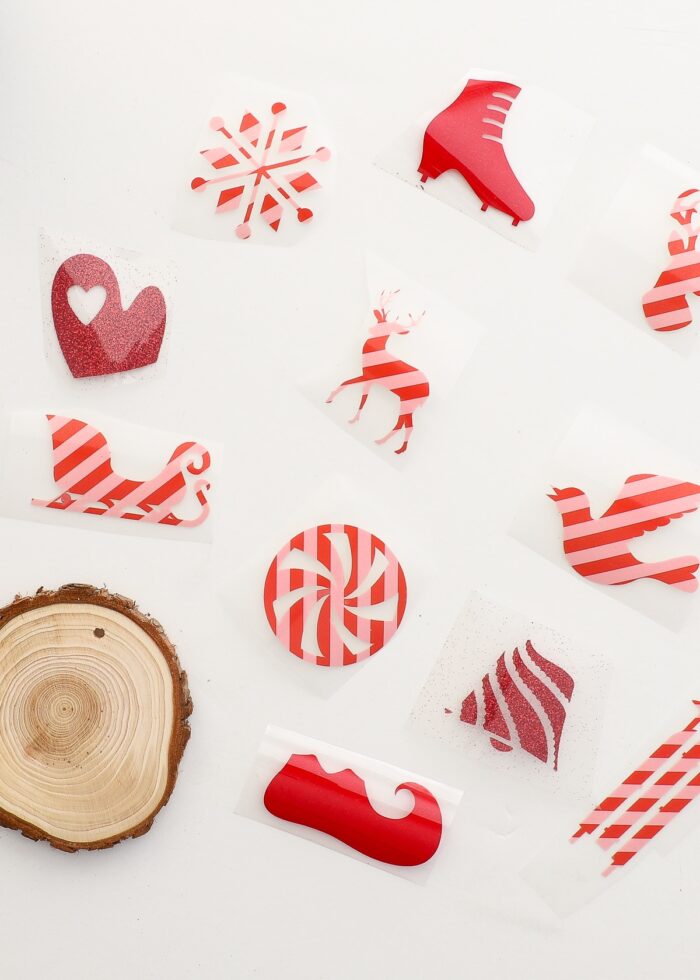
For my set of ornaments, I chose a variety of “classic” Christmas images such as a sleigh, snowflake, elf hat, present, tree, reindeer with antlers, and holly. If you’d like to cut my exact images (all sized and ready to go), you can access my file HERE.
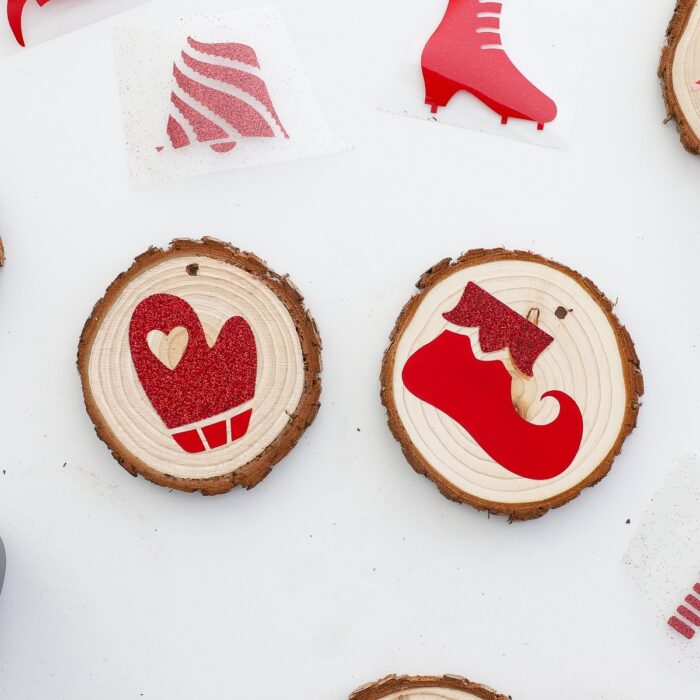
TIP! A great way to add subtle interest is to cut disconnected elements (e.g., the cuff and the mitten) in contrasting vinyls (e.g., glitter versus matte).
Step 2: Size the Ornament Designs
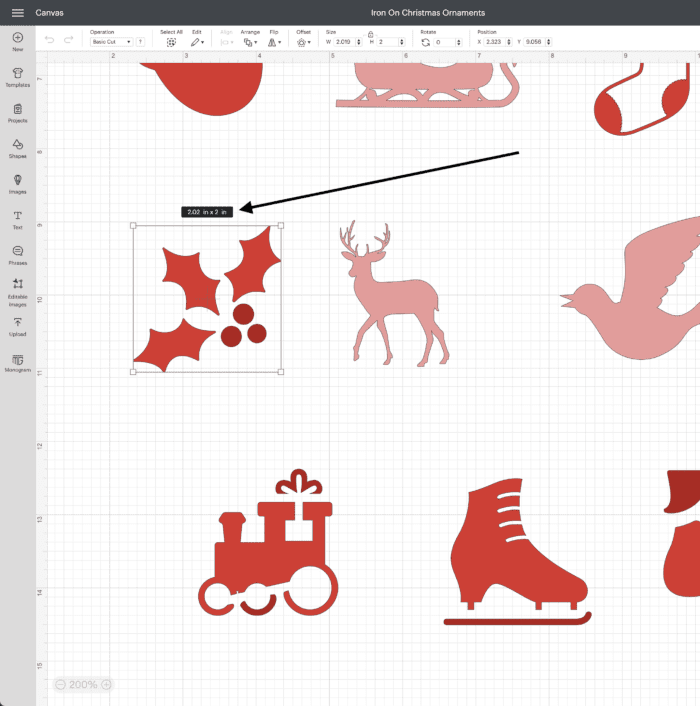
Once you choose your designs, size them to fit your wood slice ornaments. My wood rounds had a diameter ranging from 2.75-3.25″ so I sized each of the designs to be around 2″ wide.
When you’re satisfied with your designs, click the green “Make It” button to send the images to your Cricut machine.
Step 3: Cut Designs from Iron-On with Cutting Machine
If you are brand new to cutting iron-on vinyl/HTV, see my full tutorial here: Iron-On Vinyl & Your Cricut | A Complete Guide
- On the Prepare screen, click the “Mirror” toggle switch under each mat (on the lefthand side) to flip all of your images (required for iron-on application).
- On the Make Screen, select the correct iron-on/HTV from the Materials Menu.
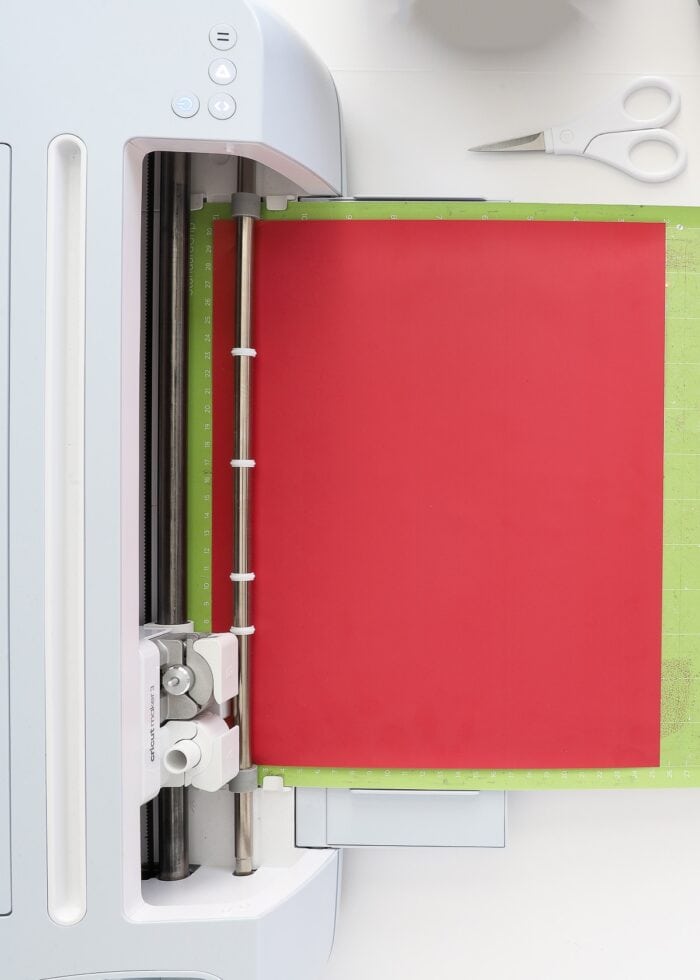
- Place the iron-on vinyl/HTV shiny side down onto your mat, and load the mat into your Cricut machine. (Using Smart Iron-On? See how to load it into your machine here: How to Use Cricut Smart Iron-On)
- Press the flashing Go/Cricut button to start your machine cutting.
Step 4: Weed Ornament Designs
Use a weeding tool to remove all the excess vinyl from around (and within) the ornament designs. Then trim out each image so they are all individual decals. (This will make application easier.)
Step 5: Iron Designs Onto Wood Slice Ornaments
This is a perfect project for the Cricut EasyPress Mini thanks to it’s small size; it really gives you precise heat control over such a small surface. That said, you can also use a larger heat press or an iron. Just be sure you adjust the heat settings accordingly.
To determine the best time and temperature for your project, I always recommend referring to the Cricut’s interactive Heat Press Guide (or the Cricut Heat App if you are using an EasyPress 3). Once you select your material (e.g., iron-on) and your base (e.g., wood), the guide will tell you exactly how to adjust your heat press and also include easy-to-follow assembly instructions.
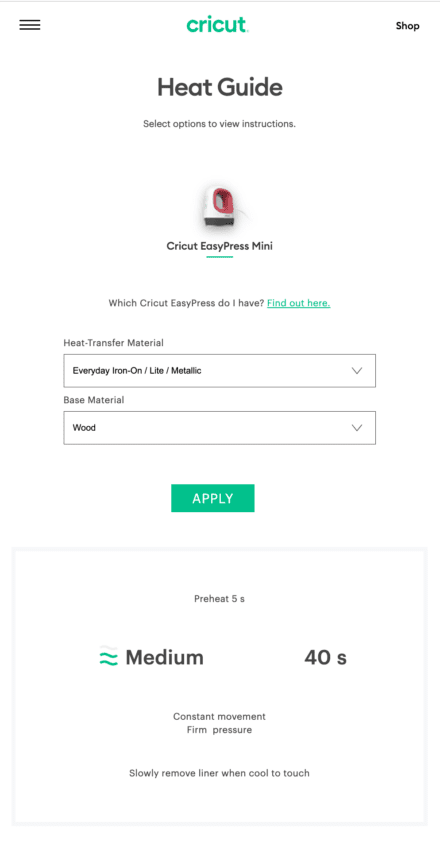
With the Cricut EasyPress Mini set to Medium (per the Heat Guide), here is how to assemble each ornament:
- Preheat the blank, uncovered ornament for about 5 seconds; keep the press moving constantly.
- Place the iron-on design down onto the warm ornament with the clear, shiny side up.
- Heat the design with firm pressure for about 40 seconds, keeping constant movement around the design.
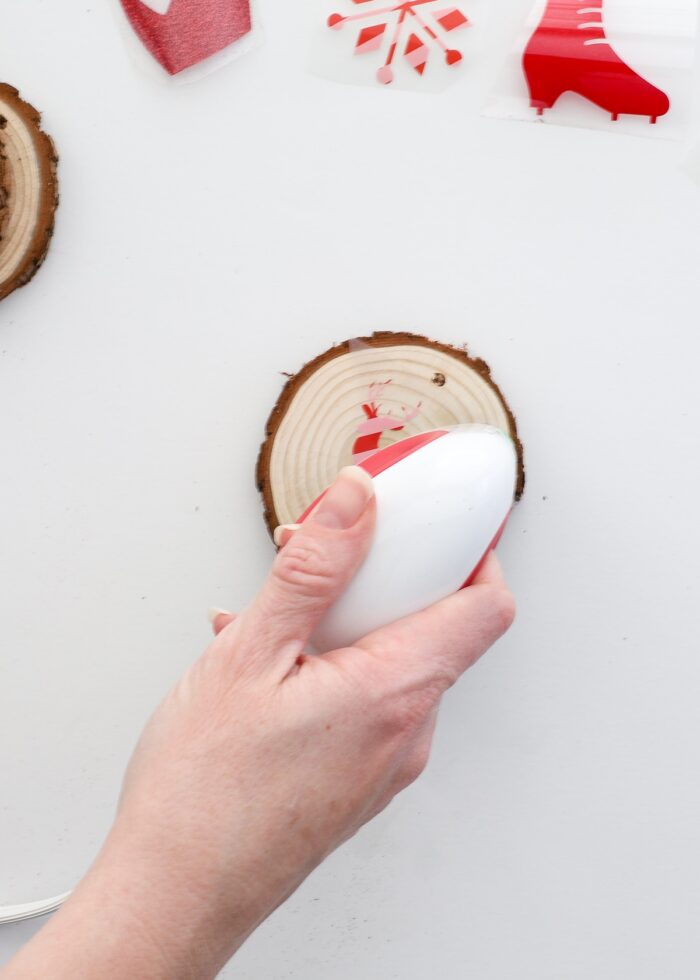
Step 6: Peel Off Clear Carrier Sheet with a Cool Peel
There are two different “methods” for removing the clear carrier sheet from your iron-on vinyl design:
- Warm Peel – peel off the clear carrier sheet as soon as you can safely touch it (usually after a few seconds) but before the design is fully cool.
- Cool Peel – peel off the clear carrier sheet only once the entire design is completely cool.
In general, when using iron-on vinyl with wood, a cool peel is recommended. Allowing the adhesive to cool completely will ensure your design stays adhered to the wood slice ornament and won’t peel or wrinkle as you remove the clear carrier sheet.
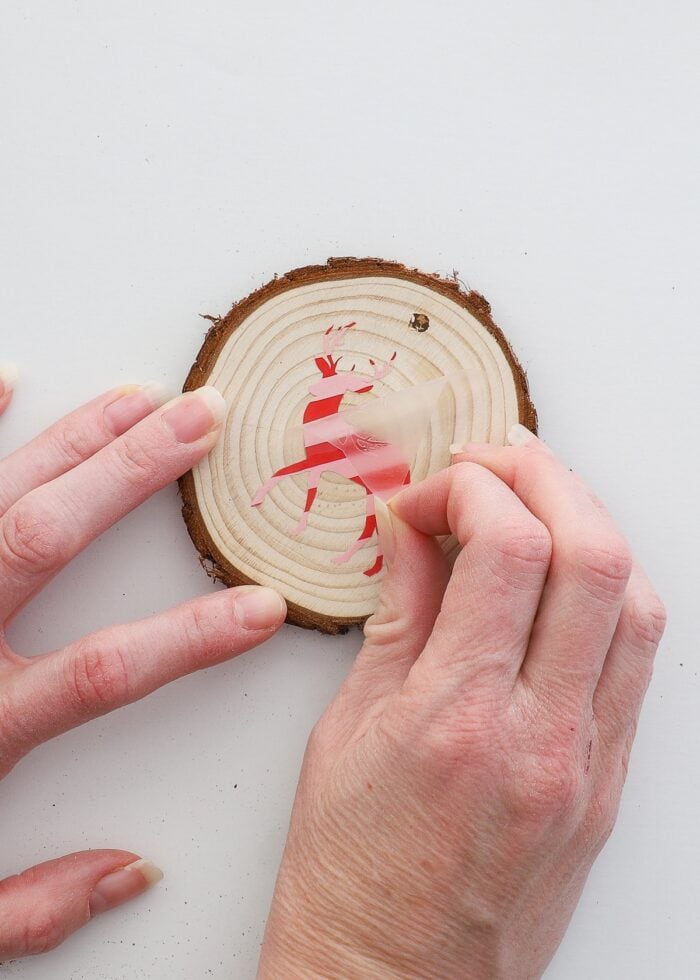
That said, depending on the brand of iron-on/HTV you are using, this might require some adjusting (I’ve had some brands yield better results with a warm peel). I recommend doing a few practice applications (on some leftover wood slices) to get your peeling process just right before making all your ornaments.
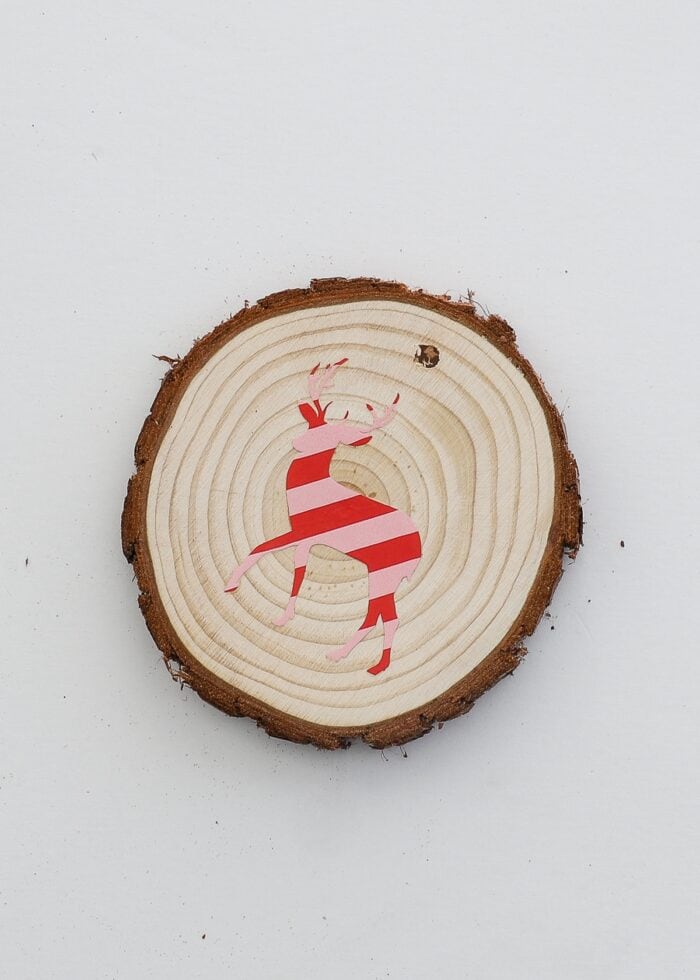
Step 7: Add Ribbon or String
To finish off the ornaments, knot a loop of pretty ribbon or piece of twine through the pre-drilled holes. I also think the addition of beads on the top (like here) is a lovely touch!
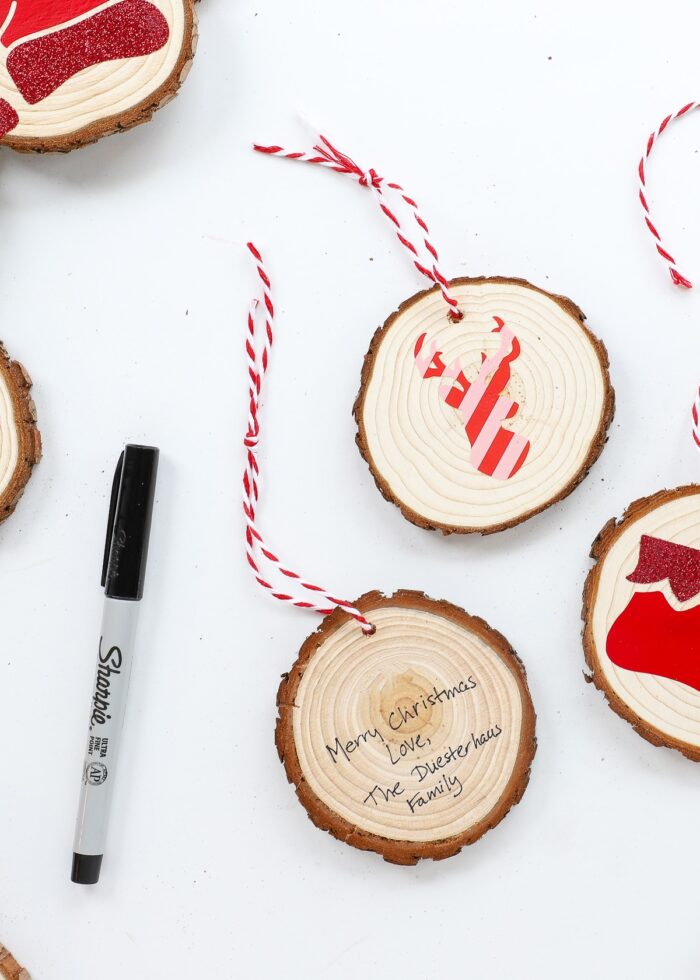
Since we use these as gifts, I also added a simple message on the back of the wood slice with a fine tip Sharpie marker so friends will always remember where they came from!
Now your wood slice Christmas ornaments are done and ready for hanging or gifting!
DIY Wood Slice Ornament FAQs
Why Use Iron-On/HTV Instead of Adhesive Vinyl?
Wondering why I chose to use iron-on for this project instead of adhesive vinyl?
Standard vinyl adheres best to smooth, shiny surfaces (e.g., glass, plastic, etc). So not only is it incredibly difficult to get it to actually stick to the rough wood, but vinyl decals will likely peel off over time.
On the other hand, the heat-activated adhesive on the back of iron-on vinyl/HTV is stronger and more permanent, making it a better choice for the textured, porous nature of raw wood.
Will Vinyl Stick to Wood?
If you don’t have any iron-on vinyl on hand, you can use standard adhesive vinyl for this project. Be prepared for the transfer process to take some extra effort; and I highly recommend sealing your design with a thin layer of Mod Podge (or other decoupage glue) to ensure the vinyl doesn’t fall off over time.
TIP! Sometimes putting a layer or clear varnish or paint on the wood slice BEFORE you add the vinyl decal will help it adhere better during the transfer process.
Can You Layer Glitter Iron-On?
Notice that any design element I cut from glitter iron-on is disconnected from the other elements. As such, I didn’t have to layer any glitter iron-on on top of or under any other layer. If you do need to layer glitter iron-on, I recommend using it as a top layer only.
How Do You Put Pictures on a Wood Slice Ornament?
Simply print your images onto Printable HTV and follow the same steps as outlined above!
How to Keep Wood Slices From Cracking
If you were to put a very hot heat press onto the wood slice ornament and hold it still for a minute or two, there is a good chance the wood will crack. To prevent this from happening, try these tips:
- Keep your heat press moving at all times.
- Reduce the temperature of your heat press and increase the application duration.
- Use parchment paper between your press/iron and the wood to diffuse the intensity of the heat.
How to Seal Wood Slice Ornaments
The smaller wood rounds I used for this project came sanded completely smooth. And since I opted to use iron-on vinyl, I didn’t feel the need to put any sealer on them. If you feel like a varnish is necessary, a clear polyacrylic coat (or Mod Podge) will be sufficient.
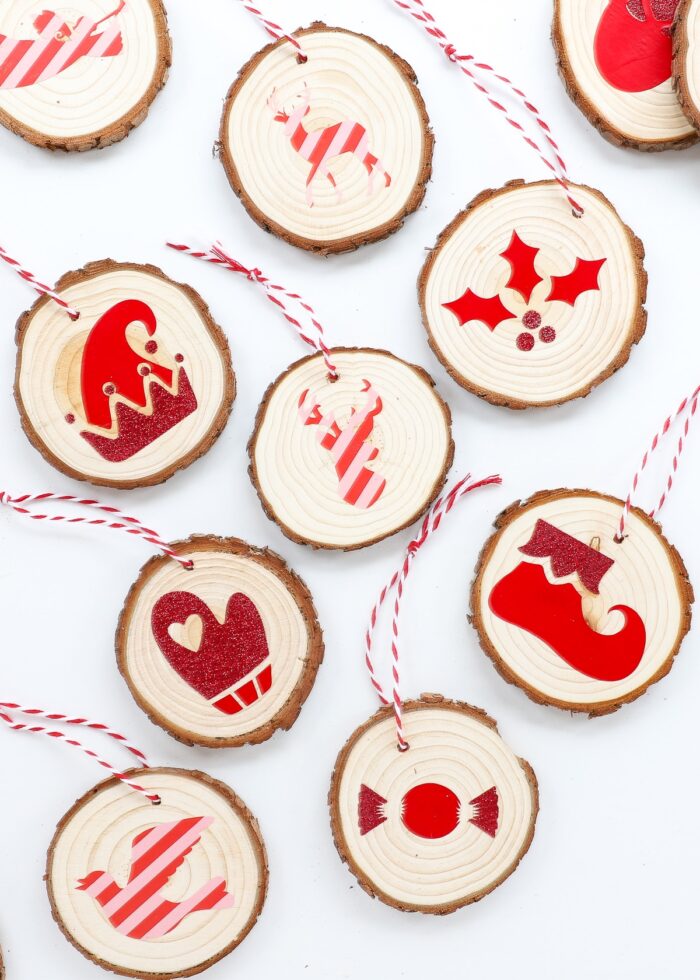
We like to package these wood slice ornaments up with plates of cookies for friends, neighbors, and teachers. But I also think a collection like this would look so darling adorning a mini entryway tree with a bunch of red ball ornaments. And I can see them as chunky, rustic gift tags atop pretty wrapped packages or even as napkin rings. With so many possibilities, however you choose to use or gift them, they will surely bring a little more cheer to your holiday!
Megan



4 Comments on “Easy Wood Slice Ornaments with a Cricut & Iron-On”
I also made htv on wood ornaments this year. I prestained the wood and after the design cooled i put a clear coat (modge podge) to seal it.
This is awesome! I have a ton of small wood slices from a tree we just trimmed! What did you use to make the hole for the ribbon through the wood?
Hi Jen!
My wood slices came with the holes in them, but I imagine you could drill them out with a small drill bit!
Thanks,
Megan
gonna try them