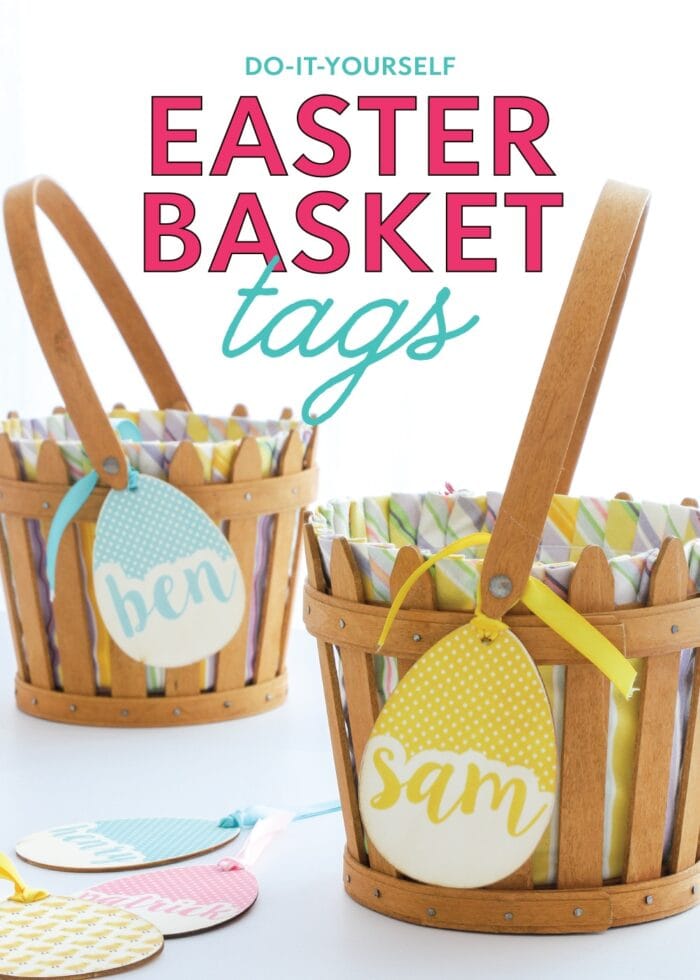
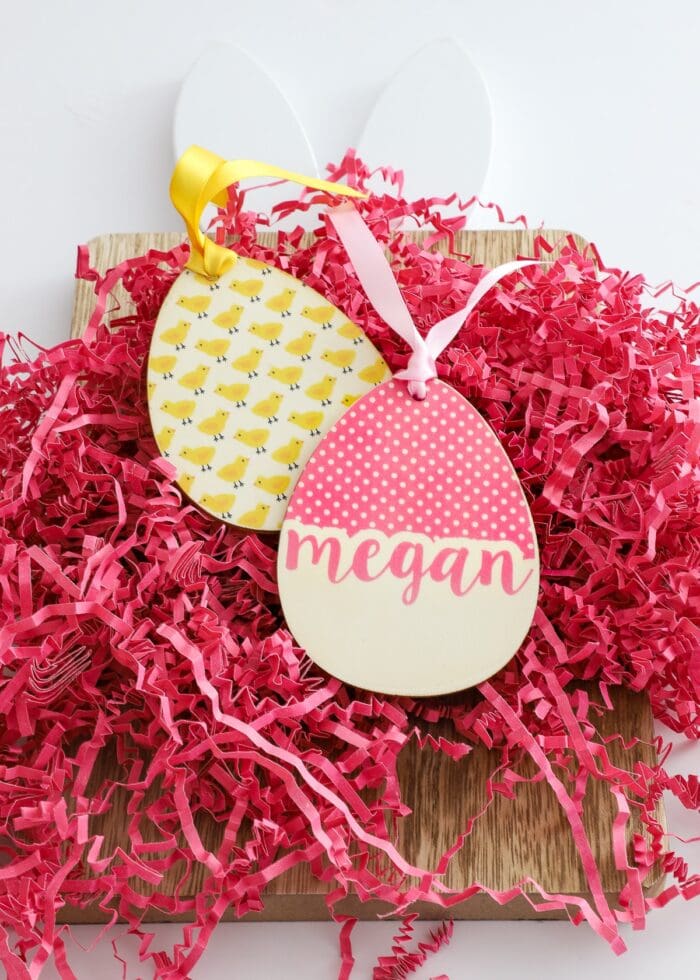
DIY Wooden Easter Basket Tags (With Your Home Printer!)
You guys know that I’ll pretty much label anything around here…so of course, I had to make some personalized name tags for our Easter baskets! All kidding aside, Easter basket tags are adorable as they are practical; and this version comes together using your home printer, a scissors, and an iron! If you’re looking for some personalized Easter basket tags that don’t cost a fortune or require a special order, this is the project for you! (Psssst – There’s still time to make them before Easter!)
Name tags are a fun way to add an extra special touch to Easter baskets for the whole family or help kids differentiate between identical baskets. They can also serve as Easter tree ornaments or gift tags if you’re assembling gifts or meals for guests, groups, charity, etc.
These Easter basket tags are made out of basic egg-shaped wood cutouts, and then decorated and personalized using a really easy and totally fun “new to me” product called “Wood Transfer Paper.”
These two things result in sturdy, durable tags that can be made in any color, any size, or any design to match your style, home decor, holiday decor, brunch table, gift wrap, anything!
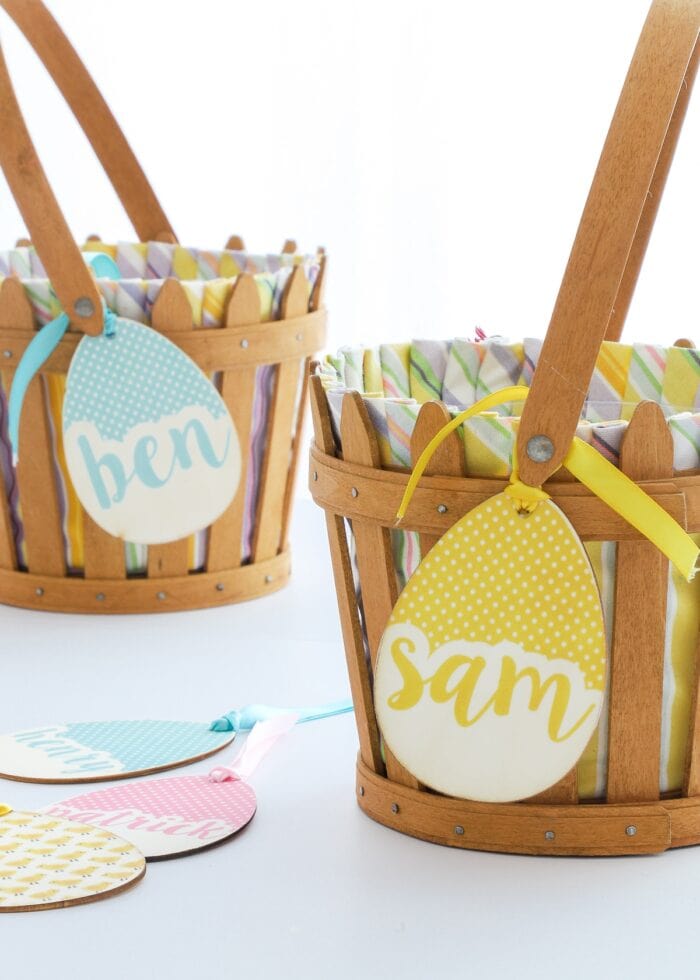
Tie the tags directly onto Easter baskets so the Easter Bunny puts the right treats and toys in the right one…

…and then move them to the Easter table to serve as festive place card or take home party favors!
These wooden Easter basket tags look complicated, but they don’t require any fancy tools or equipment and actually come together in just about an hour! Let me show you!
Supplies Needed
Here is what you need to make your own set of Easter Basket Tags (or Easter ornaments or place cards or favors!)
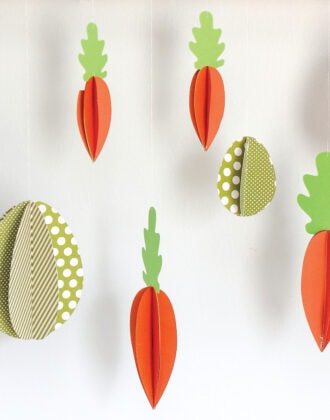
- Wooden Egg Tags – I used the 10cm Easter eggs for this project. You could also use Carrots or Bunnies!
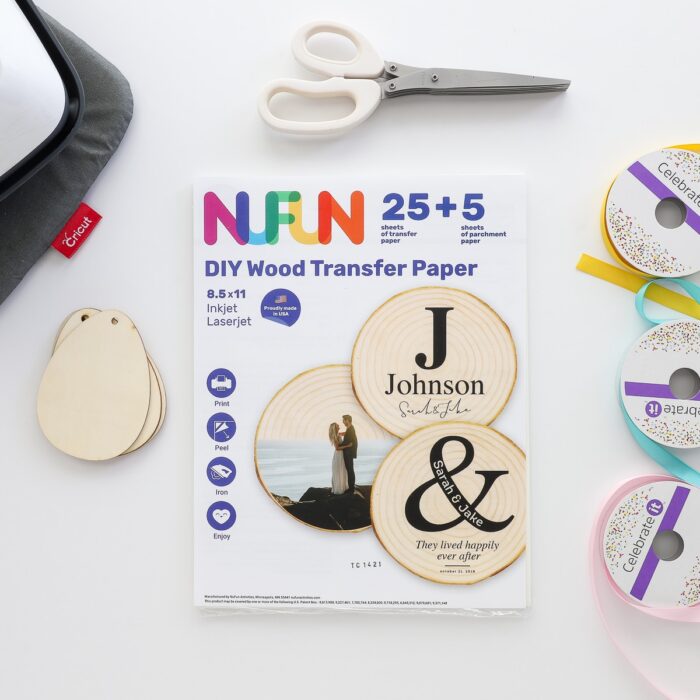
- NuFun Wood Transfer Paper
- Easter Basket Tag Template – access my FREE printable tags template for Canva!
- Easter-Themed Digital Patterns (Optional) – you can use any patterns, graphics, etc that you have access to!
- Home Printer
- Scissors
- Iron or Heat Press
- Coordinating 3/8″ Ribbon (Optional)
What Is Wood Transfer Paper?
This project utilizes NuFun’s Wood Transfer Paper, which is a new-to-me product that I really enjoyed experimenting with! Inside the package, you’ll receive:
- Printable Wood Transfer Paper – compatible with BOTH laser and inkjet printers
- Parchment Paper
- Instructions
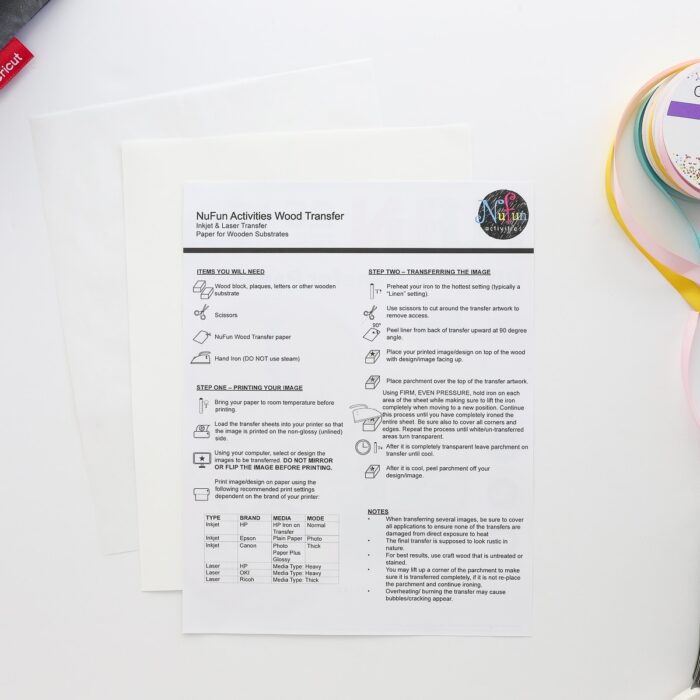
Wood Transfer Paper is a white paper that you can load into your home printer and print out ANY design.
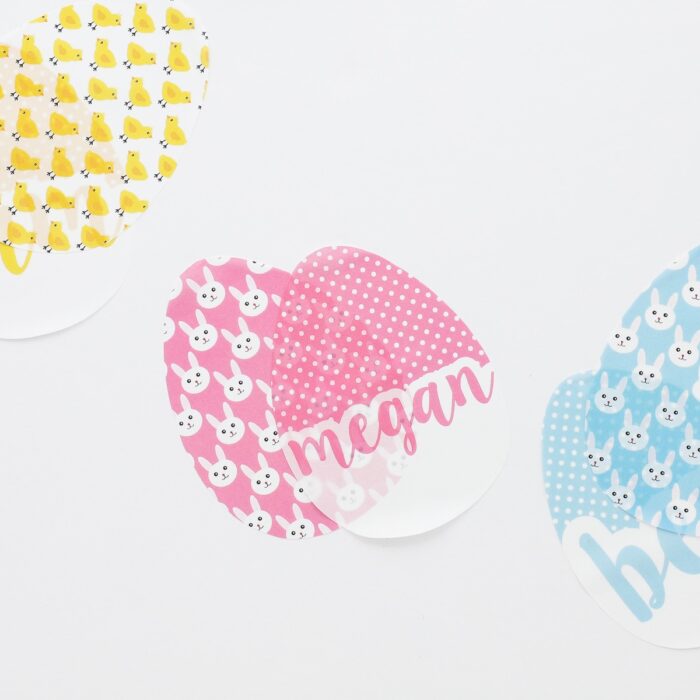
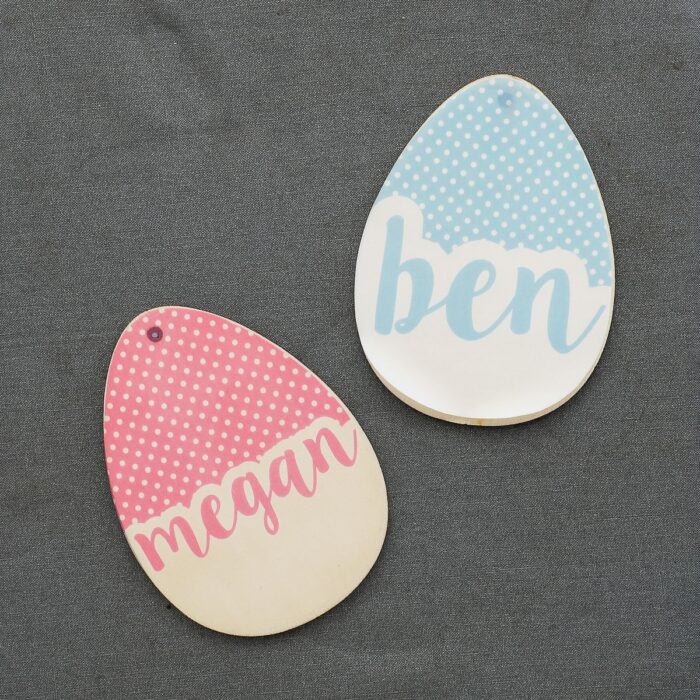
When the paper is heated onto a wood surface (via an iron), the white paper (the bunnies on the right blue egg) turns transparent, revealing the wood color/grain underneath (the bunnies on the left pink egg).
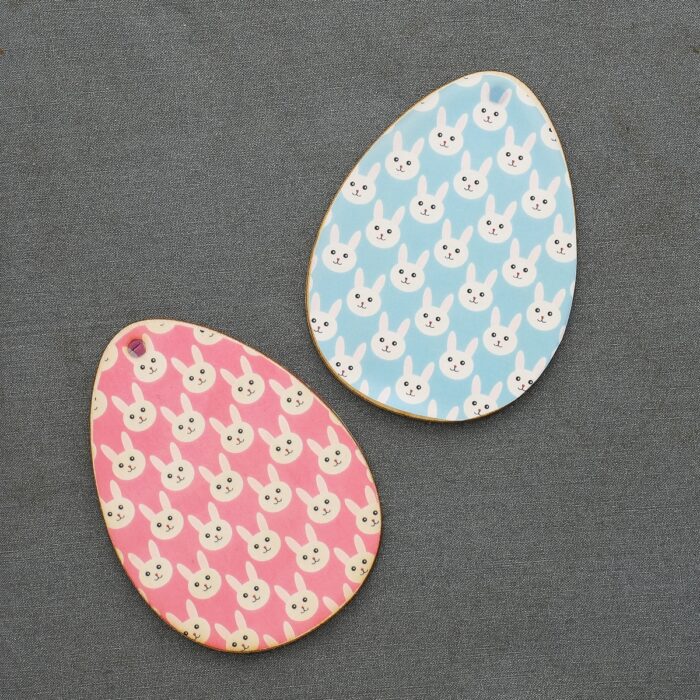
The result is a permanent, perfectly smooth finish that looks printed directly onto the wood itself! It’s really easy and super fascinating to watch in real time (and opens up a whole new world of labeling possibilities!)
How to Make Personalized Easter Basket Tags with Wood Transfer Paper
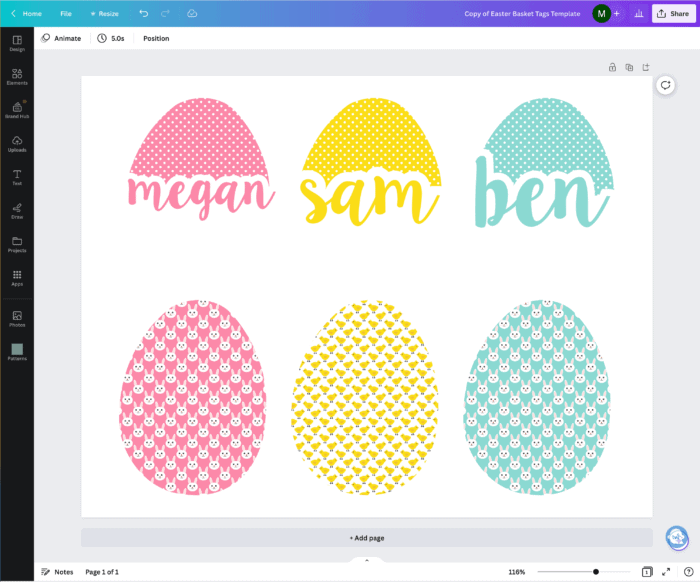
Step 1 – Design Easter Basket Tags
The very first step is to design a “printable” image to go onto the wooden egg tags. You can most certainly use ANY clipart, patterns, text/fonts, or designs you have access to. Just make sure they are sized to fit your wooden egg tags.
To make the Easter basket tags shown in this post, I used this set of Easter-themed digital patterns with my Easter Basket Tag Template (you will need a FREE Canva Account to access this template).
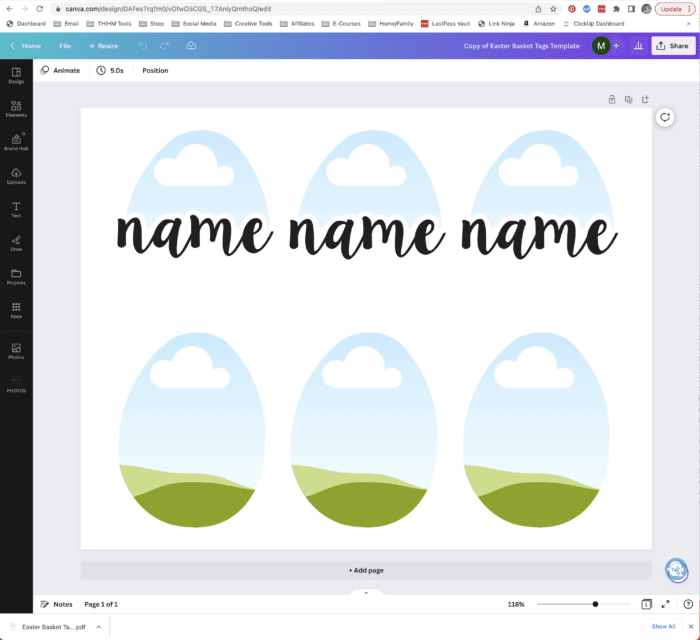
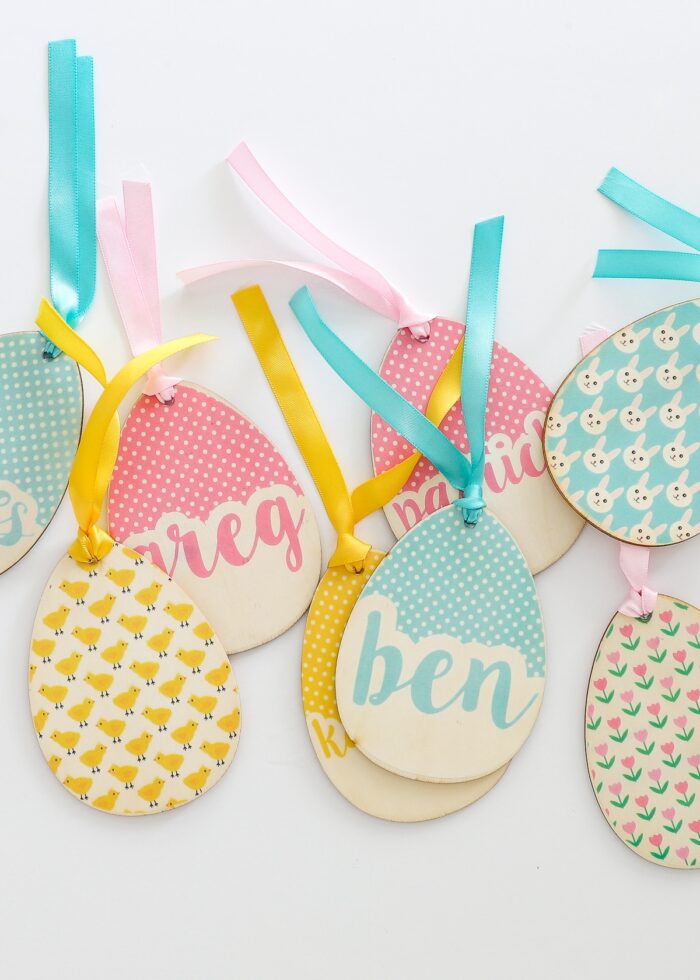
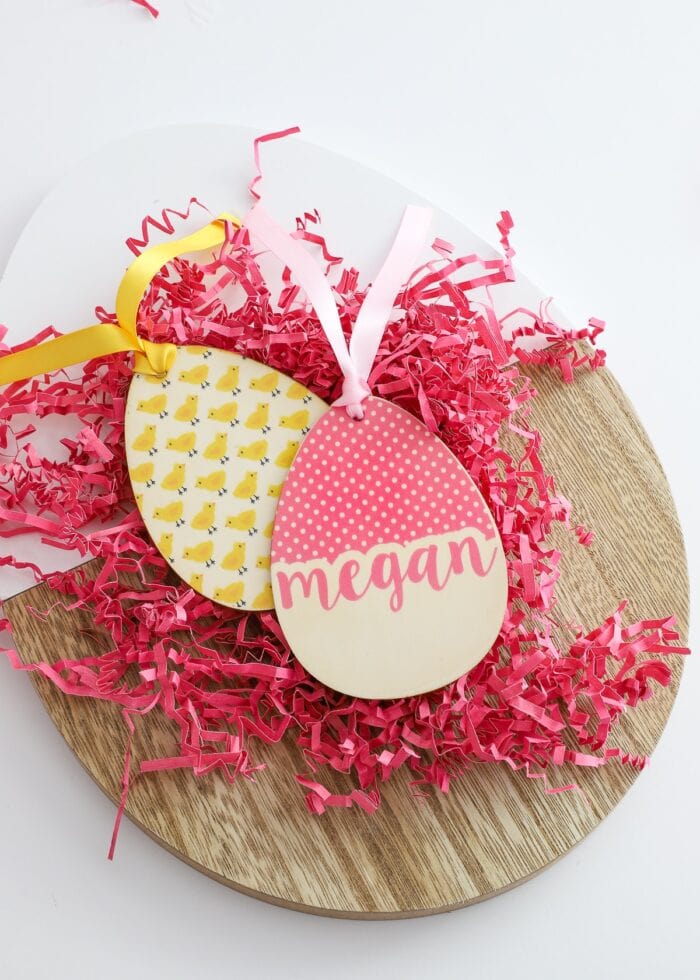
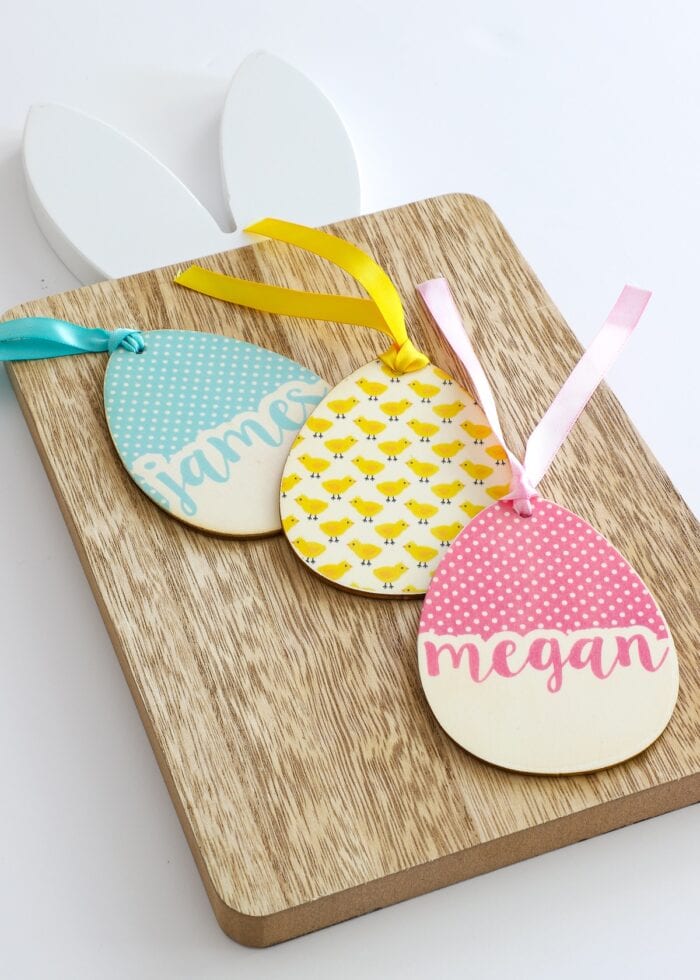
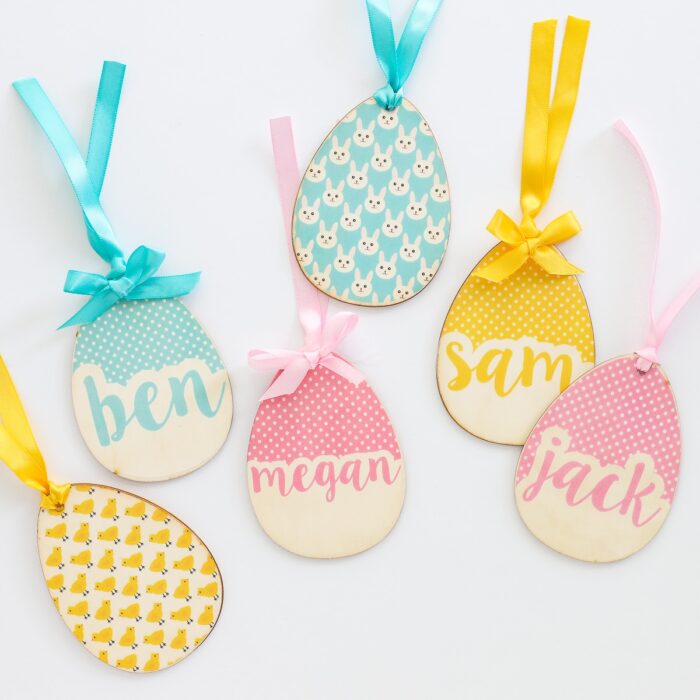
I used the polka dot patterns on the fronts of the tags and the bunny/chick patterns on the backs. I then added all the names of our family members and sized them to fill the entire tag width.
When working with this template, feel free to adjust the size of the eggs, patterns, colors, text, font, and even the overall design to your liking!
TIP! Need to adjust the white border around the text? It’s under “Effects” when you have the name selected. And feel free to use the new “Draw” tool to cover up any areas peeking out around the text cloud!
Don’t feel like fussing with the computer? Just print out graphics or patterns onto the Wood Transfer Paper and trace your wooden shapes around them directly onto the paper itself before cutting out!
Step 2 – Print Out Tag Designs
Once you have the designs finalized for your Easter basket tags, print them out onto the Wood Transfer Paper using your home printer (be sure to load the paper according to your printer’s specifications).
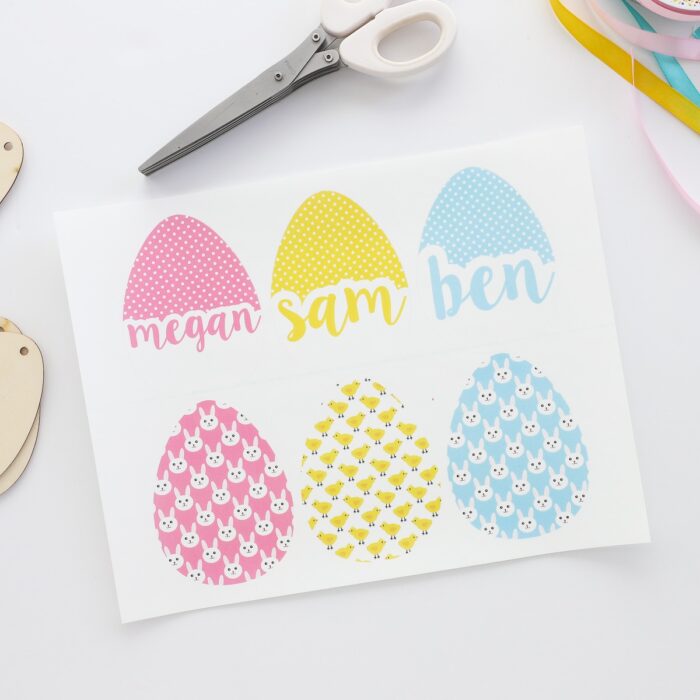
Step 3 – Cut Out Tag Designs
Here’s one of the best parts of this project – no fancy cutting machine required! Simply cut out the egg shapes using a plain ol’ scissors!

Step 4 – Apply Designs to Easter Basket Tags
When working with the Wood Transfer Paper, you’ll notice there is a printable side (the pink bunnies below) and a white paper backing (on the right).
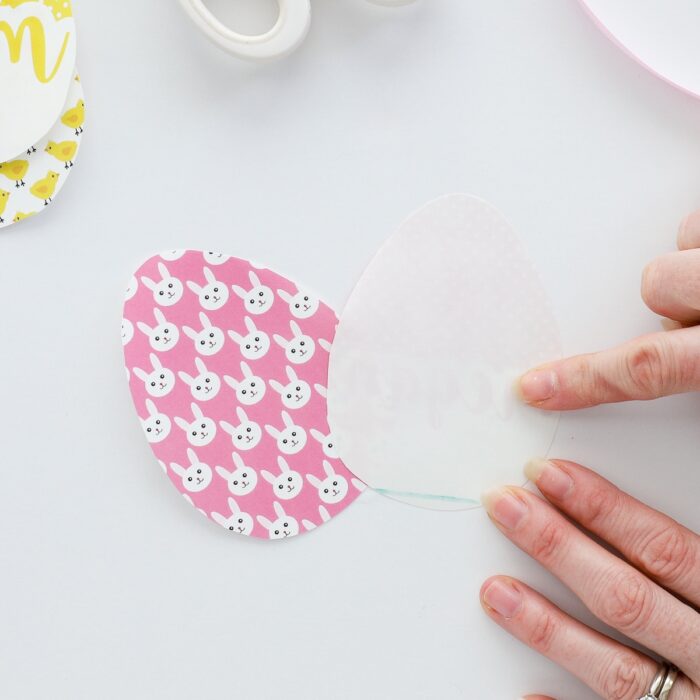
To prep your design for transfer, peel off the white paper backing.
Want to save this post?
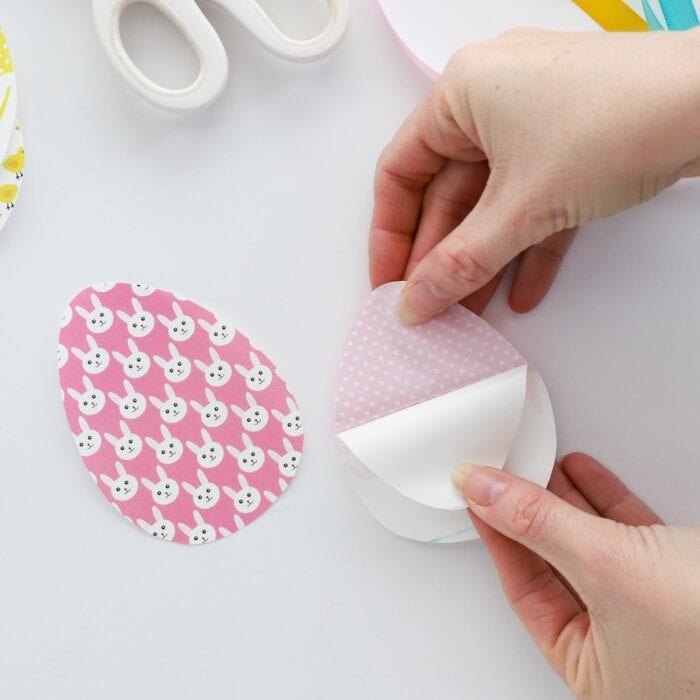
You’ll notice right away that the Wood Transfer Paper is more “film-like,” somewhat transparent and very flimsy. You don’t need to be worried about it ripping or tearing, but it’s very easy to manipulate and work with!
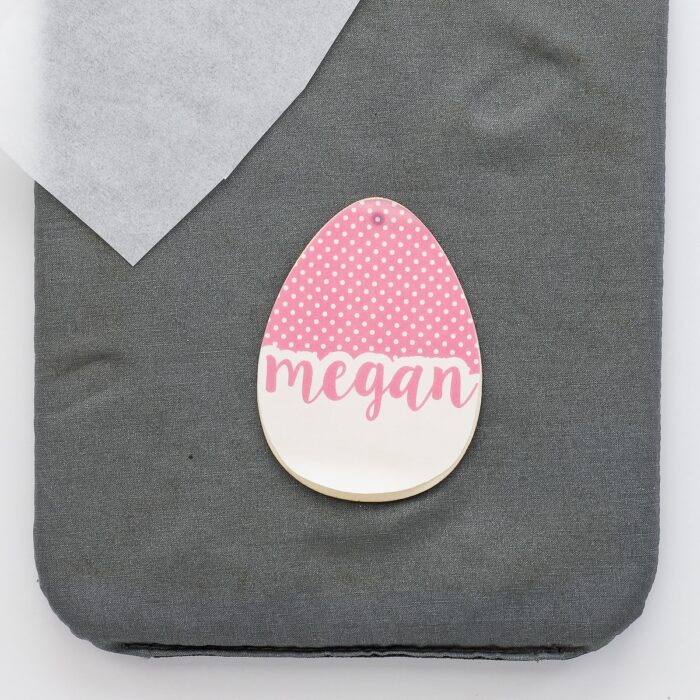
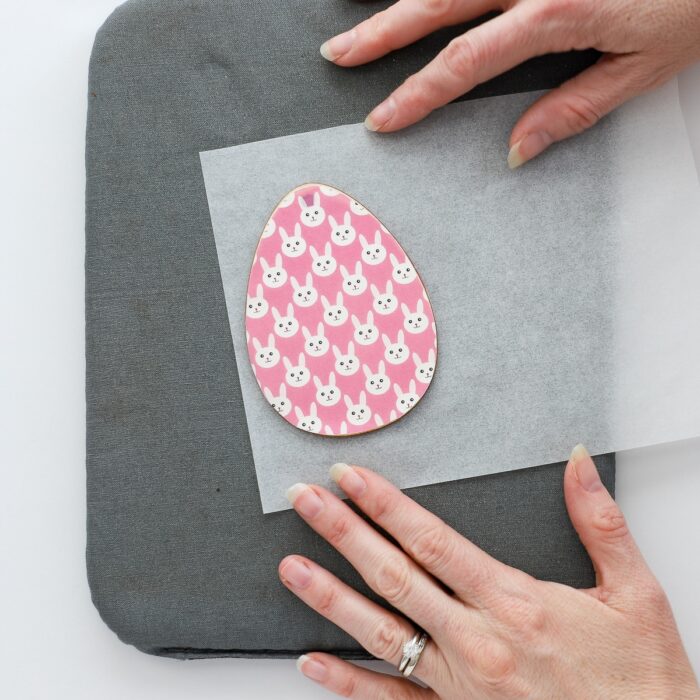
Place the cut out design, printed side UP, onto the wooden egg tag.
Cover the design (completely) with the provided parchment paper…
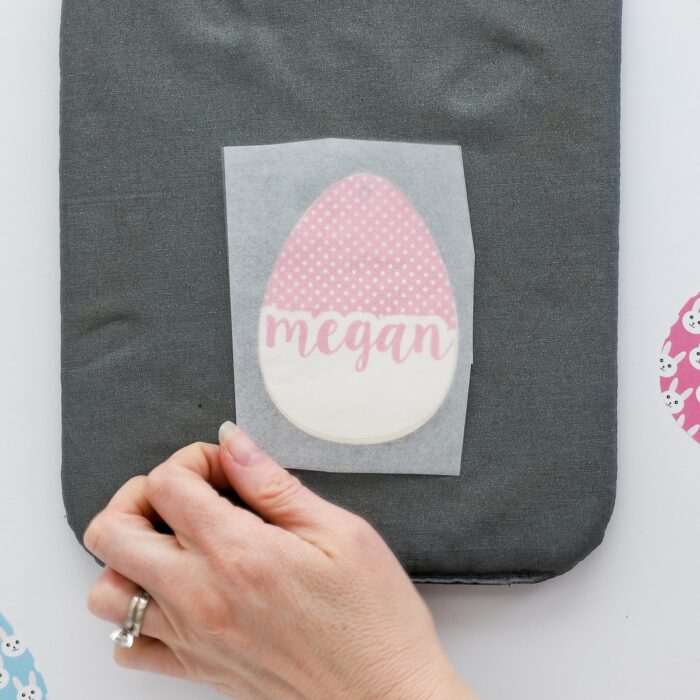
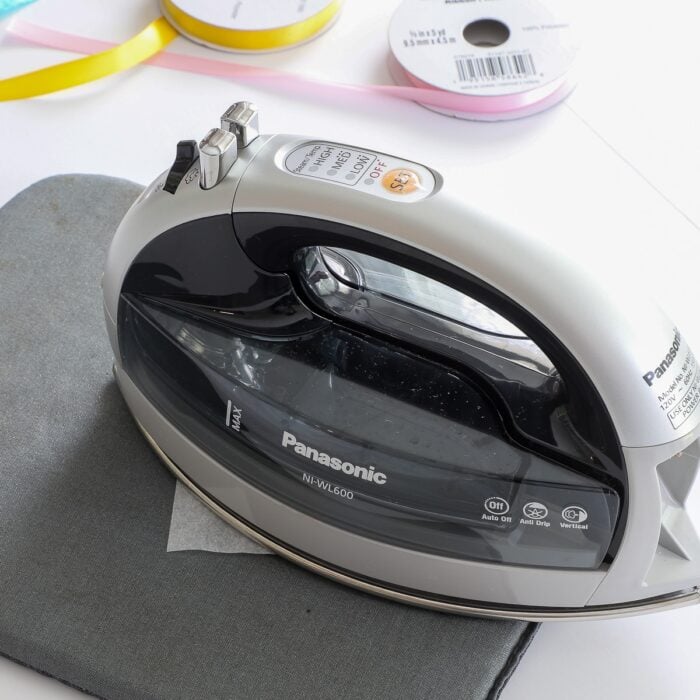
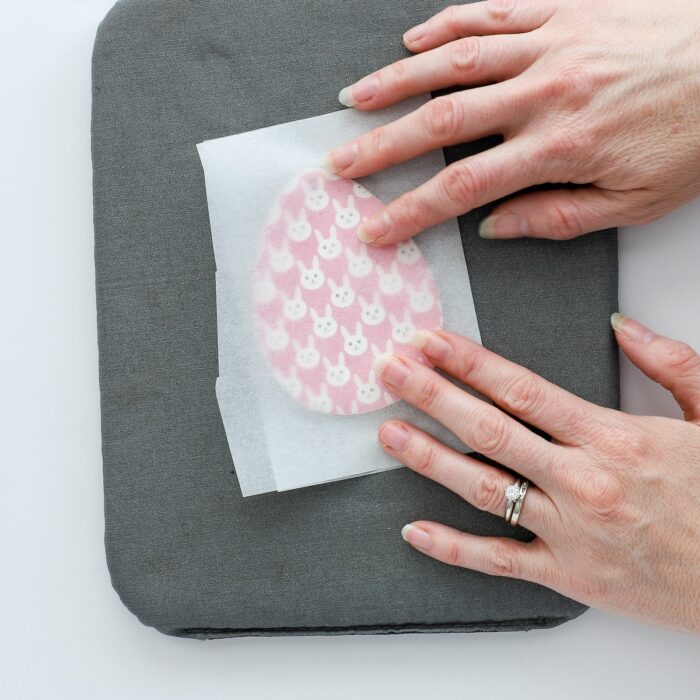
…and heat with an iron (no steam). There is no “precise” time or heat settings here. Just keep pressing until all the white areas of the design turn transparent.
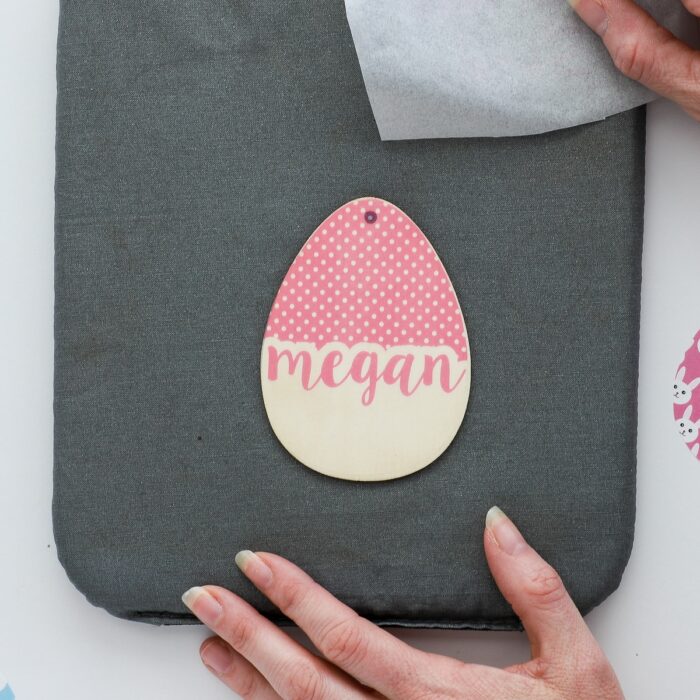
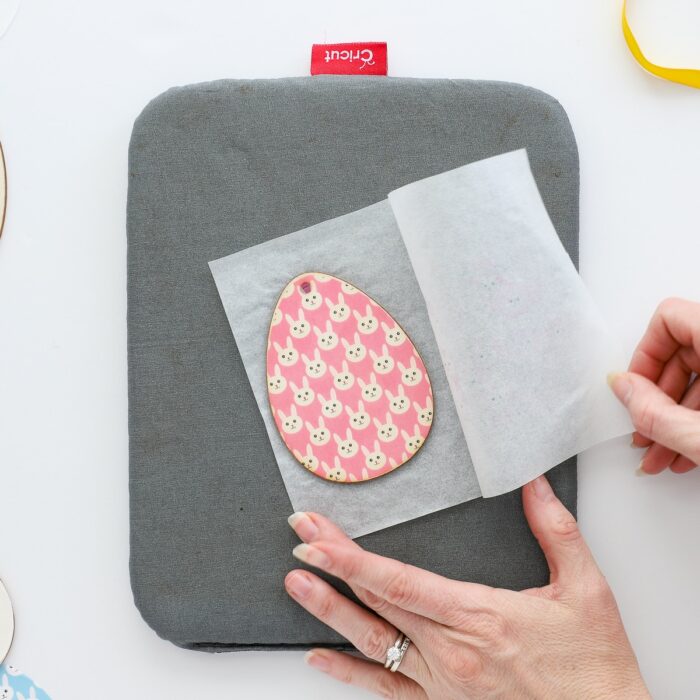
Once the design is completely cool to the touch, slowly remove the parchment paper…
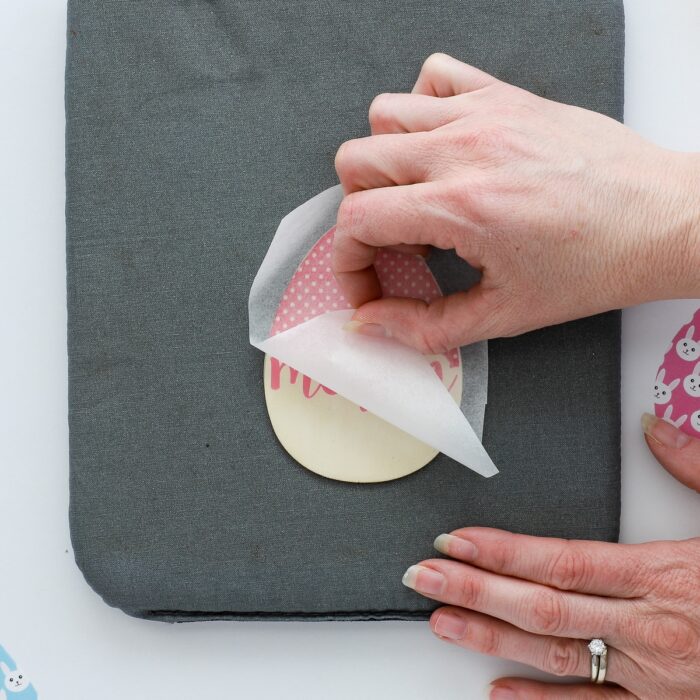
…to reveal the transferred design!
Here is another before (blue) and after (pink).
If any part of the paper still appears cloudy or white, I recommend re-covering and re-heating it a bit longer until the paper turns clear, the wood grain is visible underneath, and the edges fade away.
NOTE: The white paper does not “dissolve.” Rather, the white paper turns clear upon heating…but it’s still there!
Step 5 – Apply Designs to Back of Tags (Optional)
If desired, repeat on the back of the wooden tag. Although not necessary, I highly recommend it since the patterns add a good bit of whimsy (and will be visible when tied onto a basket or hung on a tree).
Just as before, cut out the design, place it (ink side up) onto the wood cutout, and cover in parchment paper.
After heating, remove the parchment paper to reveal the fused design on the back of the tags!
Step 6 – Add Ribbons to Easter Basket Tags
The wooden egg tags already have holes pre-drilled on the top. To add a ribbon, puncture through the paper design with a sharp tip (e.g., knitting needle, tooth pick, barbecue skewer, etc)…
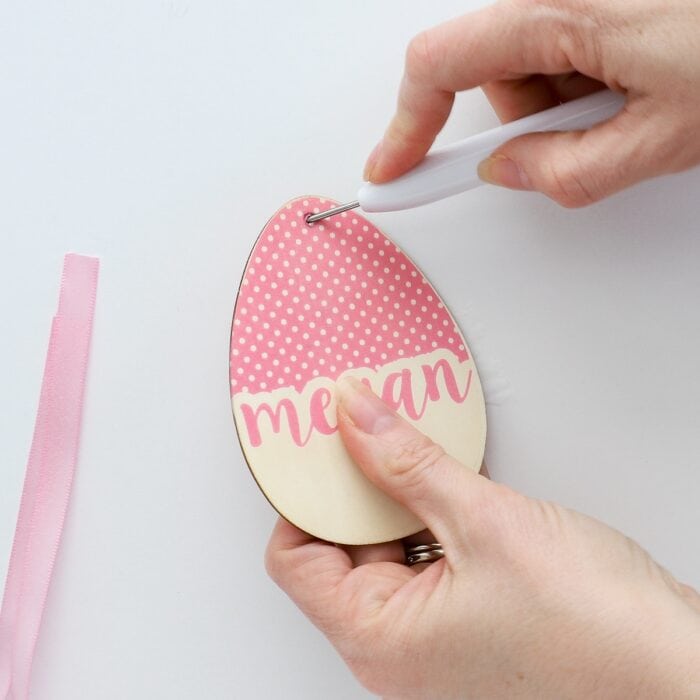
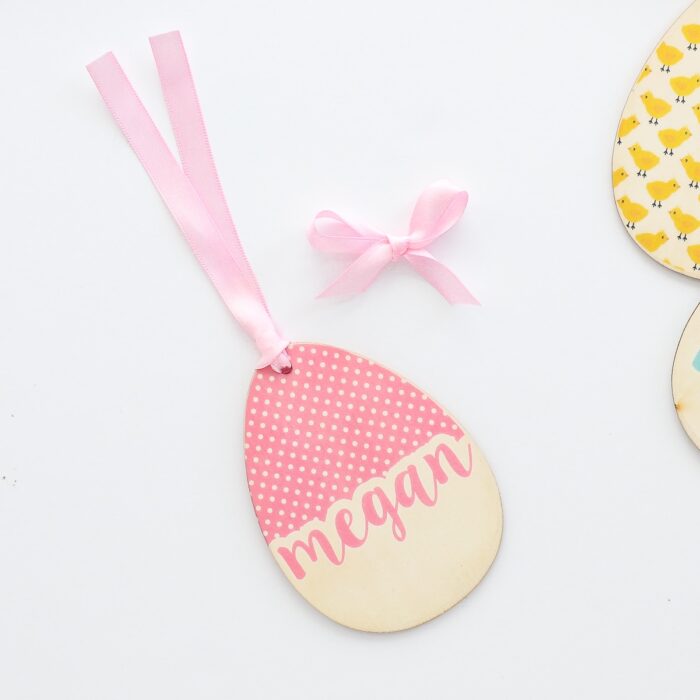
…and then loop coordinating ribbon through the hole and pull the loose ends through.

If desired, hot glue a matching ribbon on top of the knot!
Ideas for Using These Wooden Easter Basket Tags
Once the tags are done, use the open ends of the ribbon to tie them onto each Easter basket.
But they can also be placed on dinner plates at the Easter table, around wine glasses, or hung on an Easter tree too!
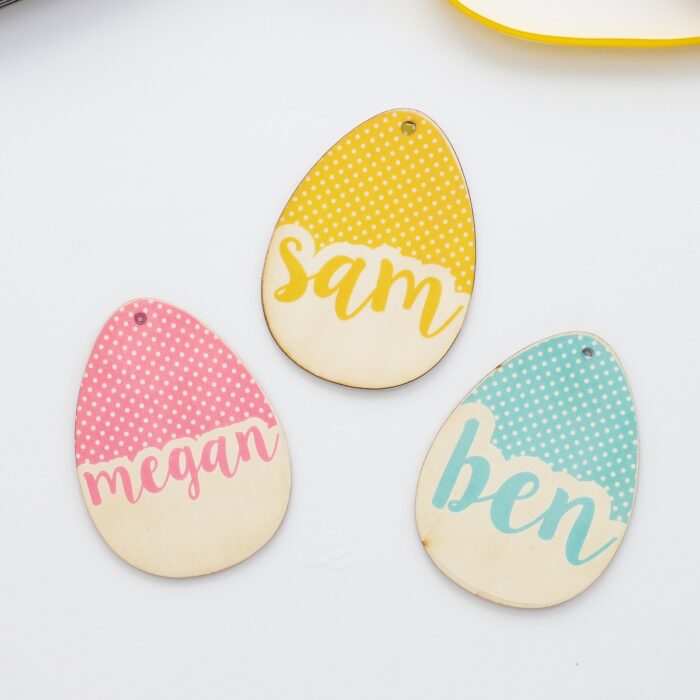
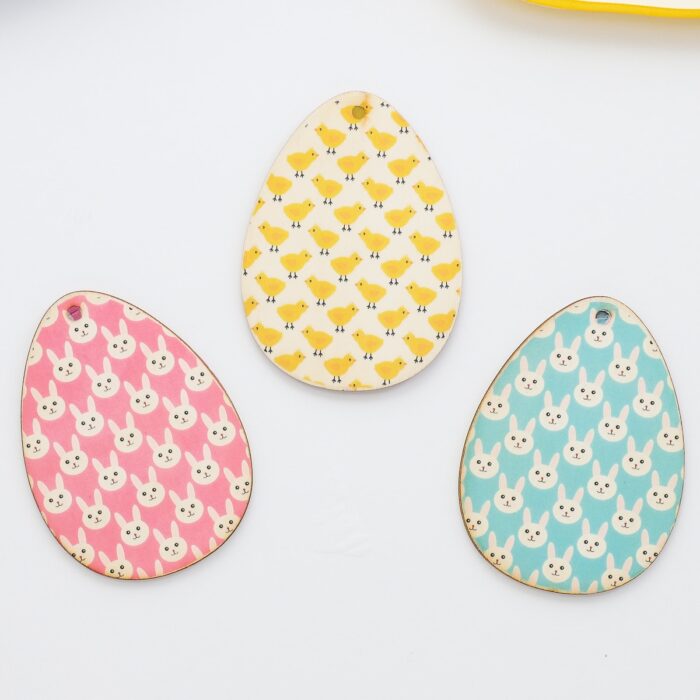
I’m absolutely obsessed with these adorable Easter basket name tags (the little chicks pattern is my favorite!), but I’m even more excited about the possibilities for this Wood Transfer Paper.
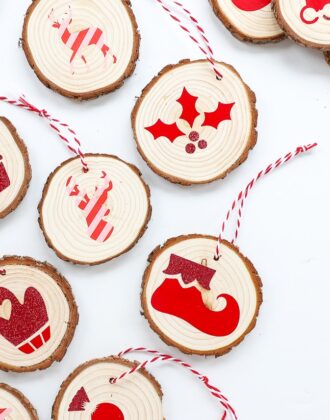
Since you can buy wood cutouts in a myriad of shapes, this paper allows you to add simple icons, names, or pictures to the wood surface in order to make simple-but-rustic labels for anywhere in the home! Hmm…I think I have more wood labels to make in my future!
Easter is just around the corner, but these simple Easter basket tags really do come together in a snap. I hope you give them a try to bring some organization (ha!) and a personal touch to your Easter celebration! Happy Easter!
Megan

3 Comments on “DIY Wooden Easter Basket Tags (With Your Home Printer!)”
You make me smile! This is so cute!!!
If I had the time to accomplish half the items you come up with, my kids would go crazy with everything. Working 60 hours a week makes some of these additional fun items more difficult to do. Thanks for bringing the smiles!
These are a must have. Ugh, I hope I can learn to do it. This close to Easter doesn’t leave much time. Sigh. There’s still many things to do on my list. Wish this had been offered sooner. I made an account and then promptly got lost. I didn’t know where to find free images. Sigh.
You have been very busy, I like your Easter Eggs, very nice