Easy 3D Easter Eggs & Carrots
Easter is right around the corner; and there’s a good chance most of us are celebrating at home this year. Whether you need an easy seasonal craft to keep the kids busy while on quarantine or you want a simple and festive way to decorate using items you already have on hand, these 3D Easter eggs and carrots are simple, oh-so-charming, and super budget-friendly. Made from scrapbook paper and hung from a ceiling, mantel, or window, they are the perfect little project to bring some Easter cheer into your home!
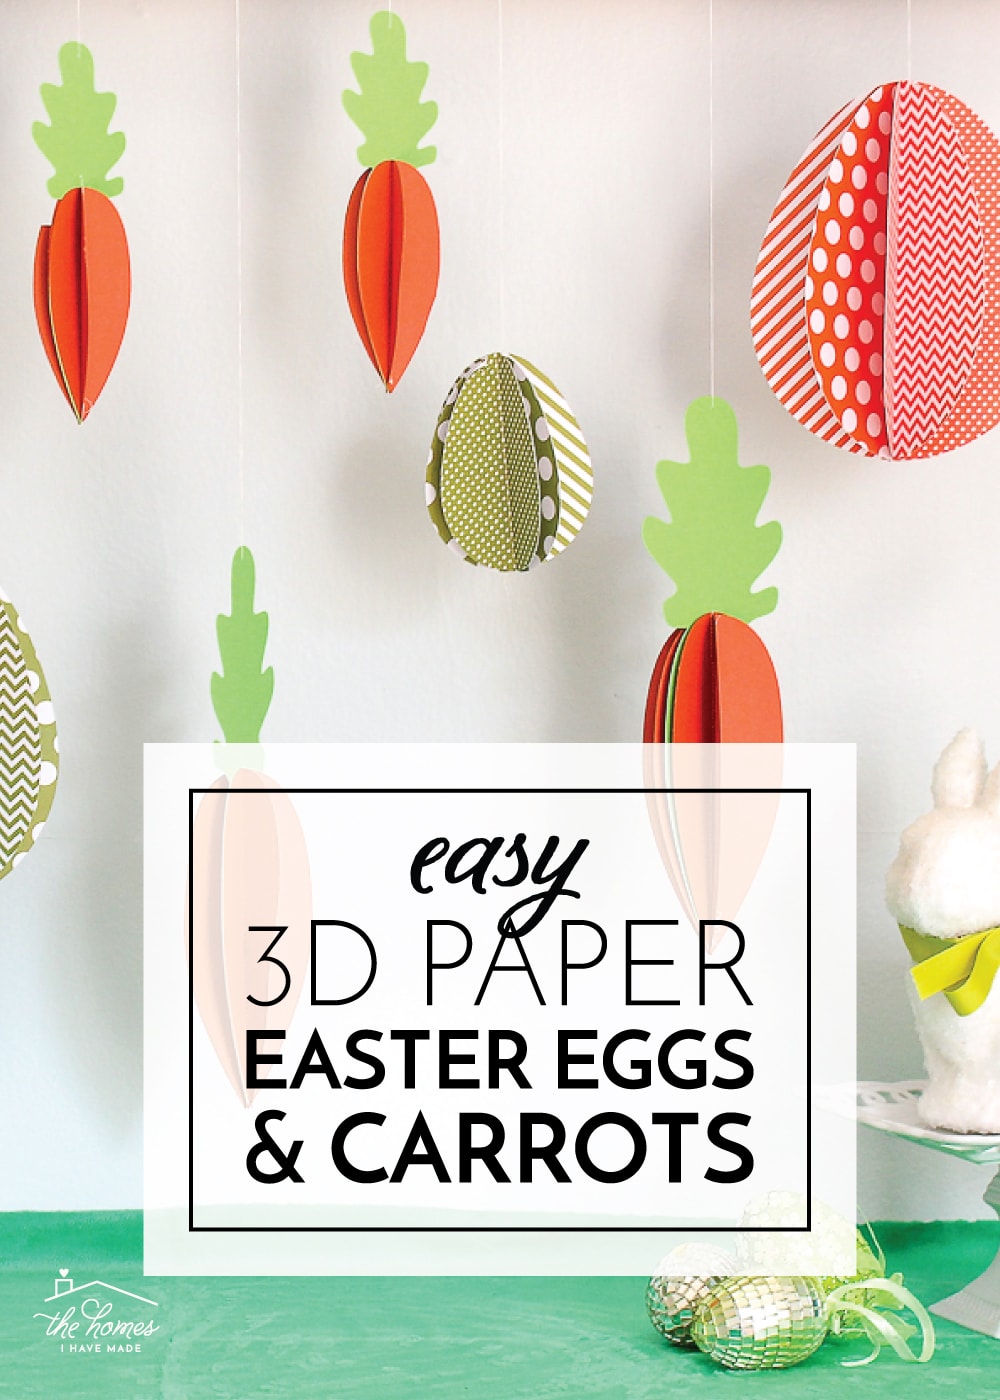
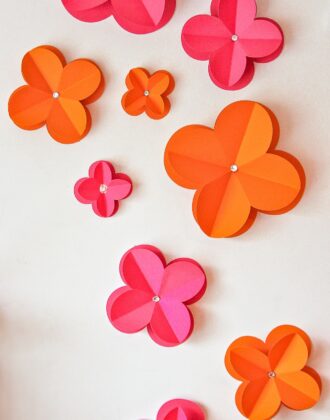
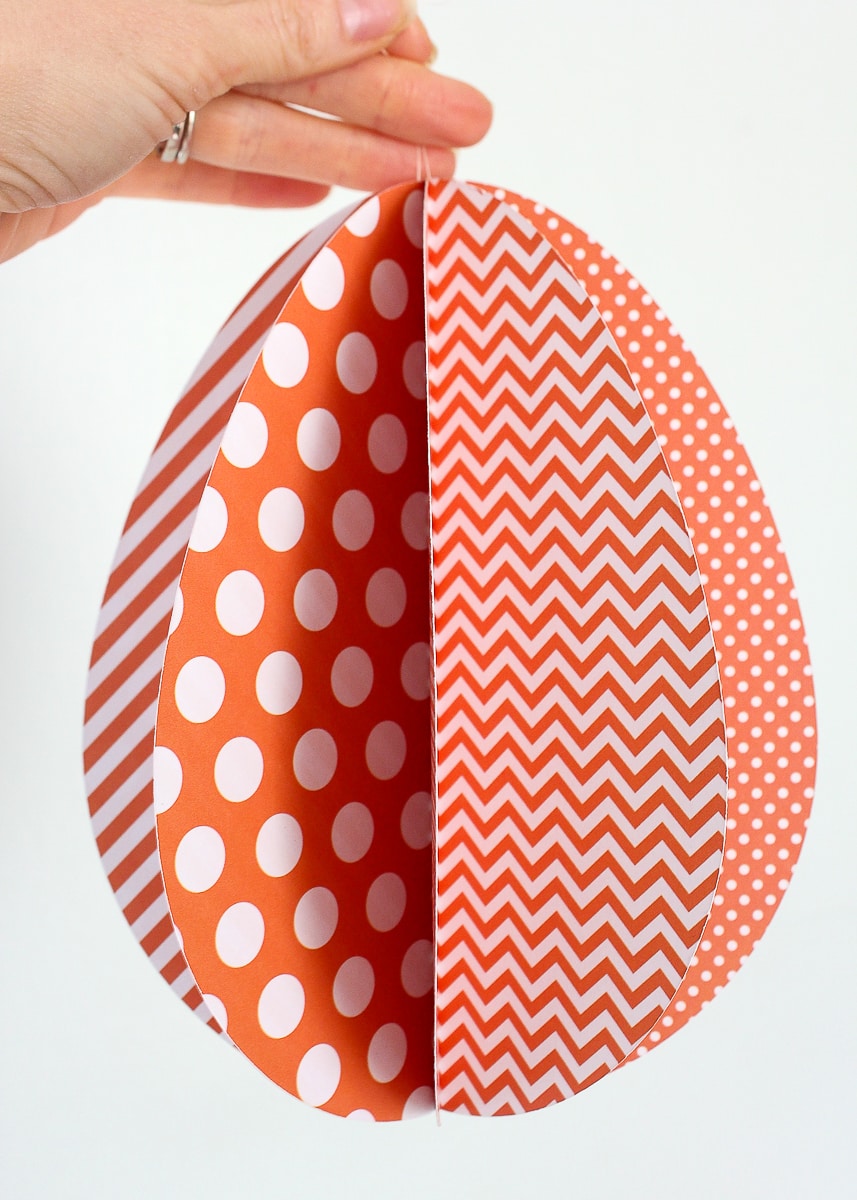
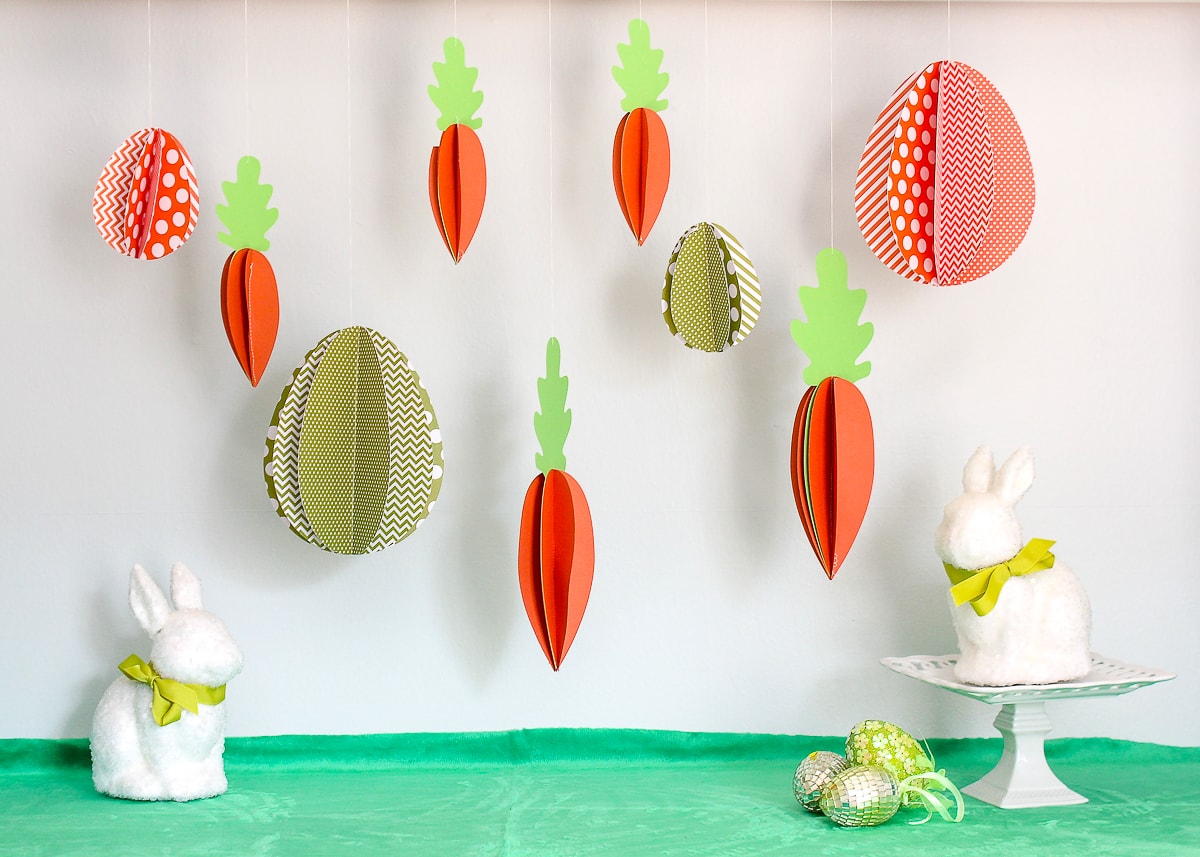
These Easter eggs and carrots are super simple and fun to make! While they look amazing when hung from a ceiling or mantel, you can also place them on a shelves or down a table as a centerpiece. What make them so charming are all the patterns peeking out as they spin, thanks to the use of double-sided scrapbook paper! <–
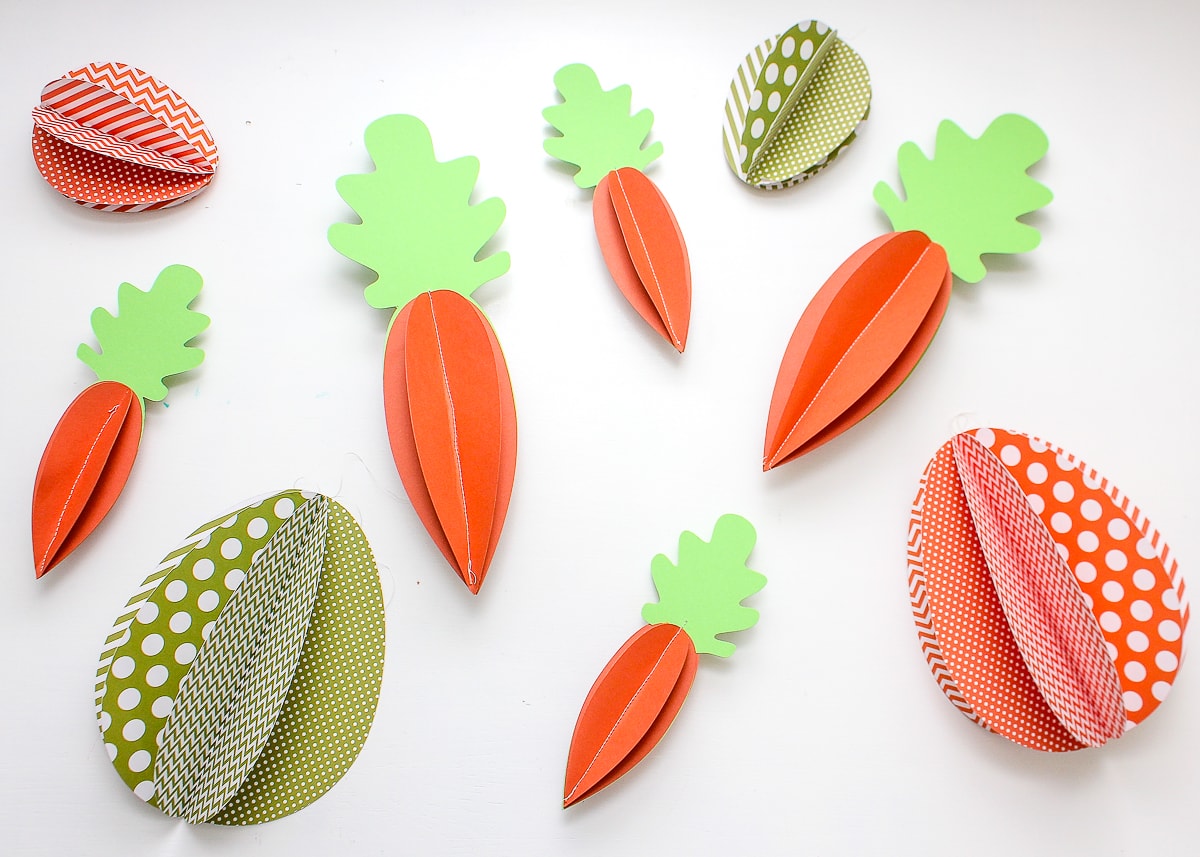
You can easily customize this project in any color(s) and size(s) you like. Although I started making eggs in a variety of colors, I ultimately chose to stick with the orange and green color palette for a fresh and cohesive look. To easily pull together a coordinated display, I suggest using papers from a single stack/set since they usually work nicely together!
Supplies Needed
Here’s what you need to make these 3D Easter eggs and carrots:
- Double-sided patterned scrapbook paper (for the eggs)
- Green and orange solid cardstock (for the carrots)
- Thread
- Egg and carrot templates (search Google for images to trace!)
- Tools: Scissors, pencil, sewing machine, e-cutter machine (optional)
Both the eggs and carrots come together in a similar fashion. Let’s start with the eggs!
3D Paper Easter Eggs
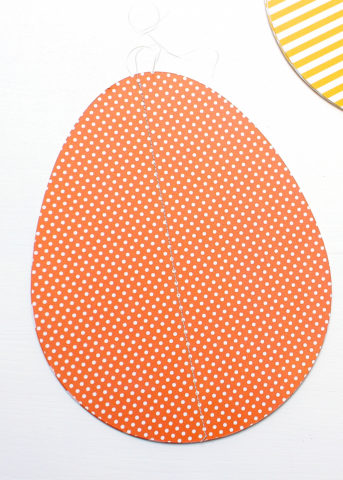
Start by cutting out the eggs from double-sided scrapbook paper. An e-cutter machine makes this super quick and simple. But if you don’t have one, simply find a template online and trace it onto the paper before cutting it out. Cut as many layers for each egg as you wish (a minimum of 2). I cut four layers for each egg to make them really dense and visually interesting!
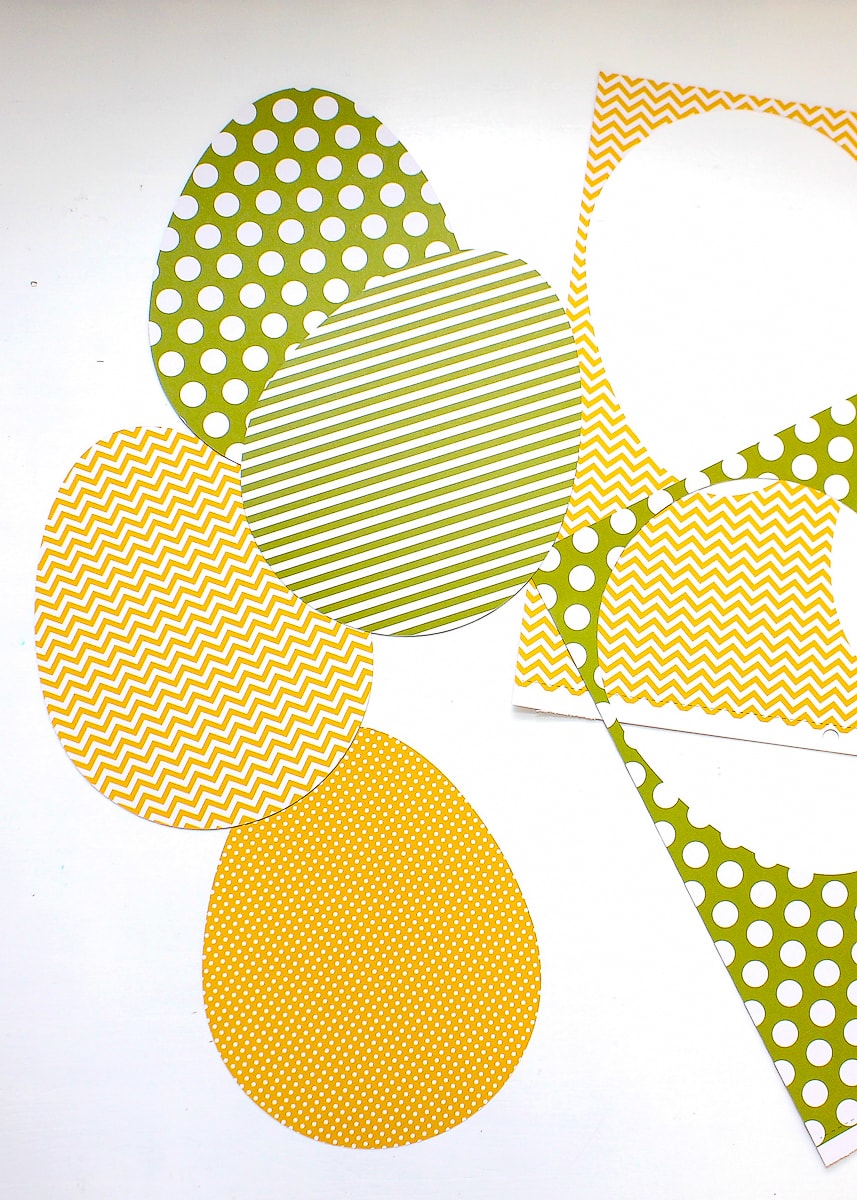
Once all the eggs are cut, form them into a pile so that all the edges line up nicely. Make sure you have all different patterns facing in one direction so that once assembled, no two patterns are next to each other.

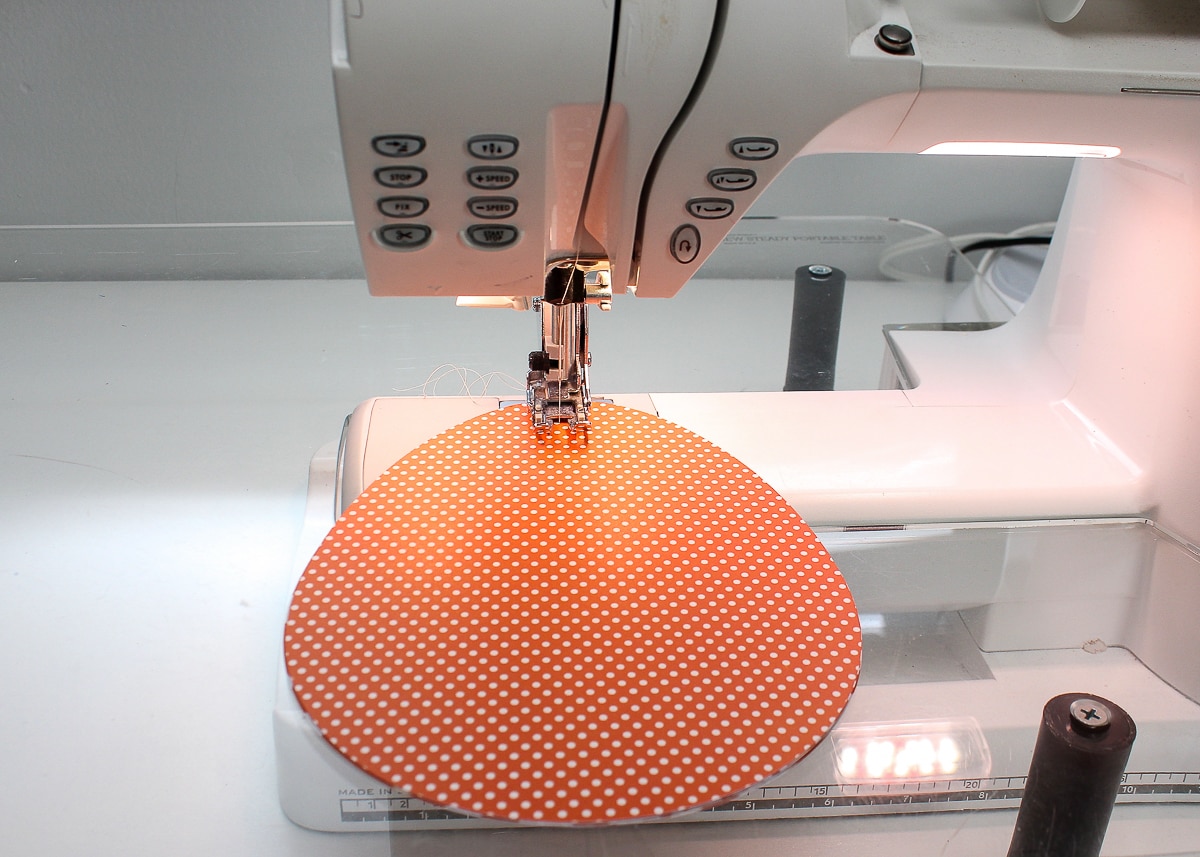
With the four paper eggs stacked nicely, sew a straight line down the center with a sewing machine. The sewing machine should have no problem sewing through the paper. However, if you are using several layers of really heavy cardstock, you may want to switch to a heavy-duty needle.
Want to save this post?
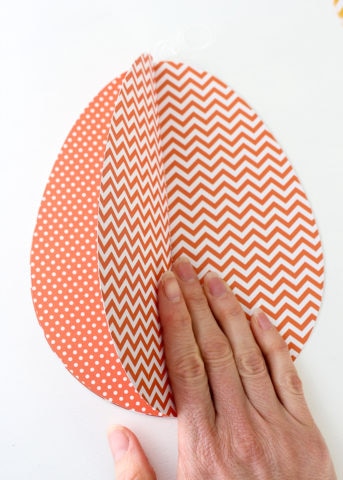
Next, fold each egg in half along the seam made by the stitch line (below, right). Fold all the halves in one direction and then fold them all in the other so that they form a nice three-dimensional shape while hanging.
To hang, use a punch to make a small hole in one of the layers and string it up with a piece of string or ribbon.
With the eggs assembled, let’s apply the same technique to the carrots!
3D Paper Carrots
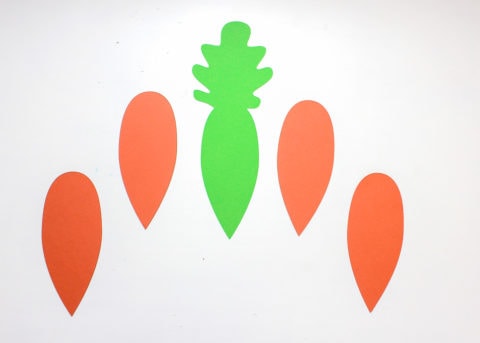
To make the carrots, you need one green full carrot (carrot plus leafy top) and four orange carrot bottoms. Again, if you have a Cricut or Shilouette, find a shape you love and cut them out in multiples. If not, search Google for some carrot shapes and print/trace them onto colored cardstock.
- Stack the five pieces as follows: orange carrot, orange carrot, green carrot, orange carrot, orange carrot. Make sure the tips of all five pieces line up at the bottom.
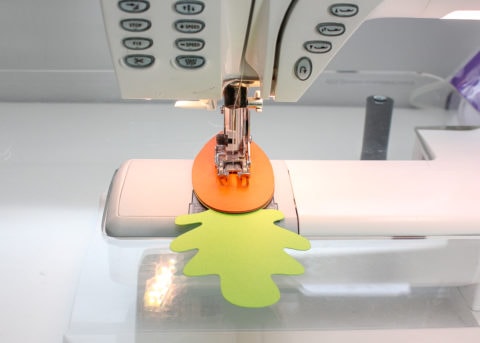
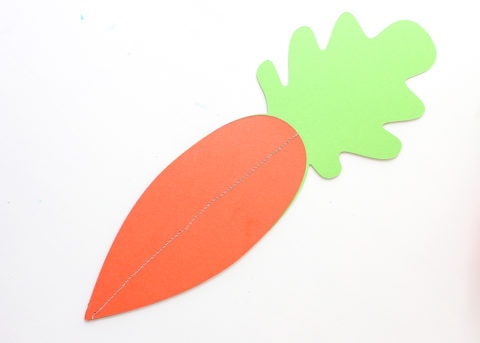
- Using a sewing machine, sew a straight line through all five layers, just along the orange carrot section (don’t sew into the green part).
- Fold the top orange carrot sections toward the middle, just as you did with the eggs. This time, however, do not fold up the second orange carrot underneath or the green base; leave those flat.
- Flip the entire carrot over, and fold up the top carrot layer as you did on the first side to create a round-looking final product.

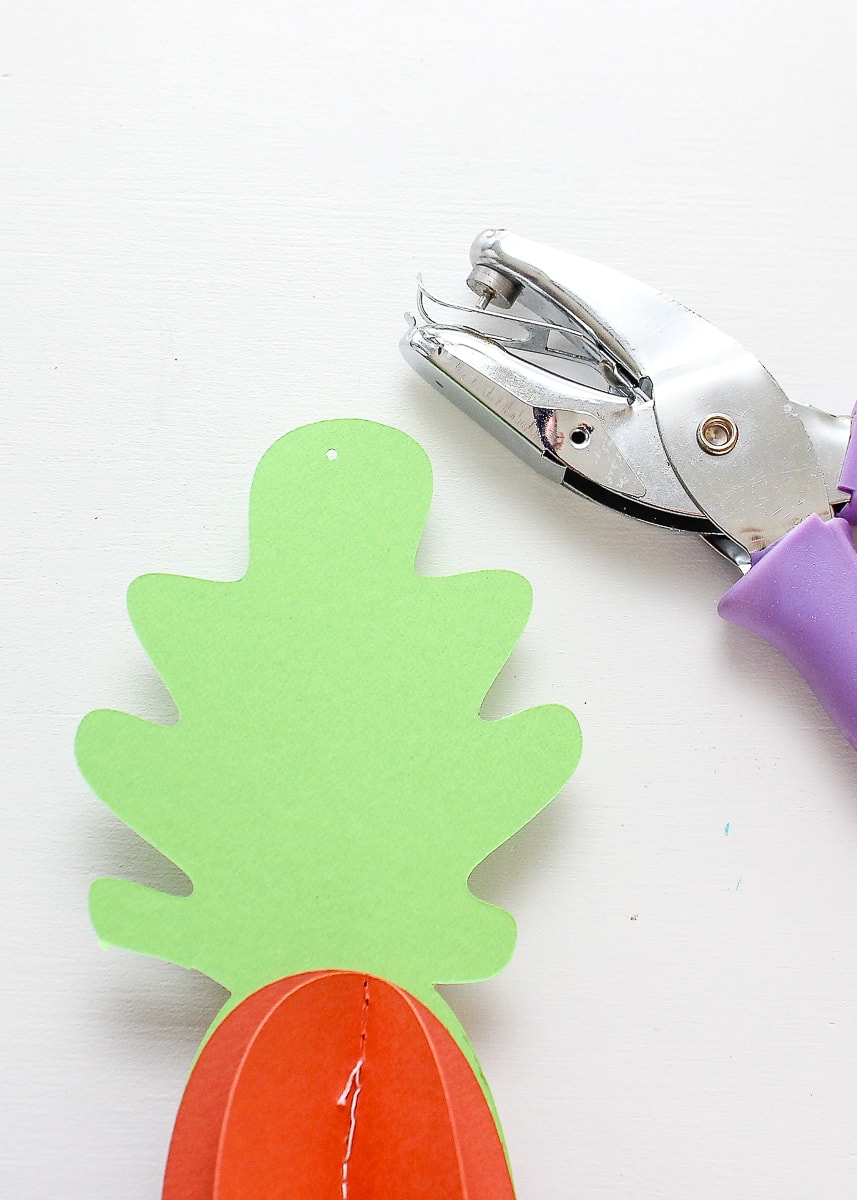
Again, use a punch to make a small hole in the top of each carrot and string a piece of thread or ribbon through each one.
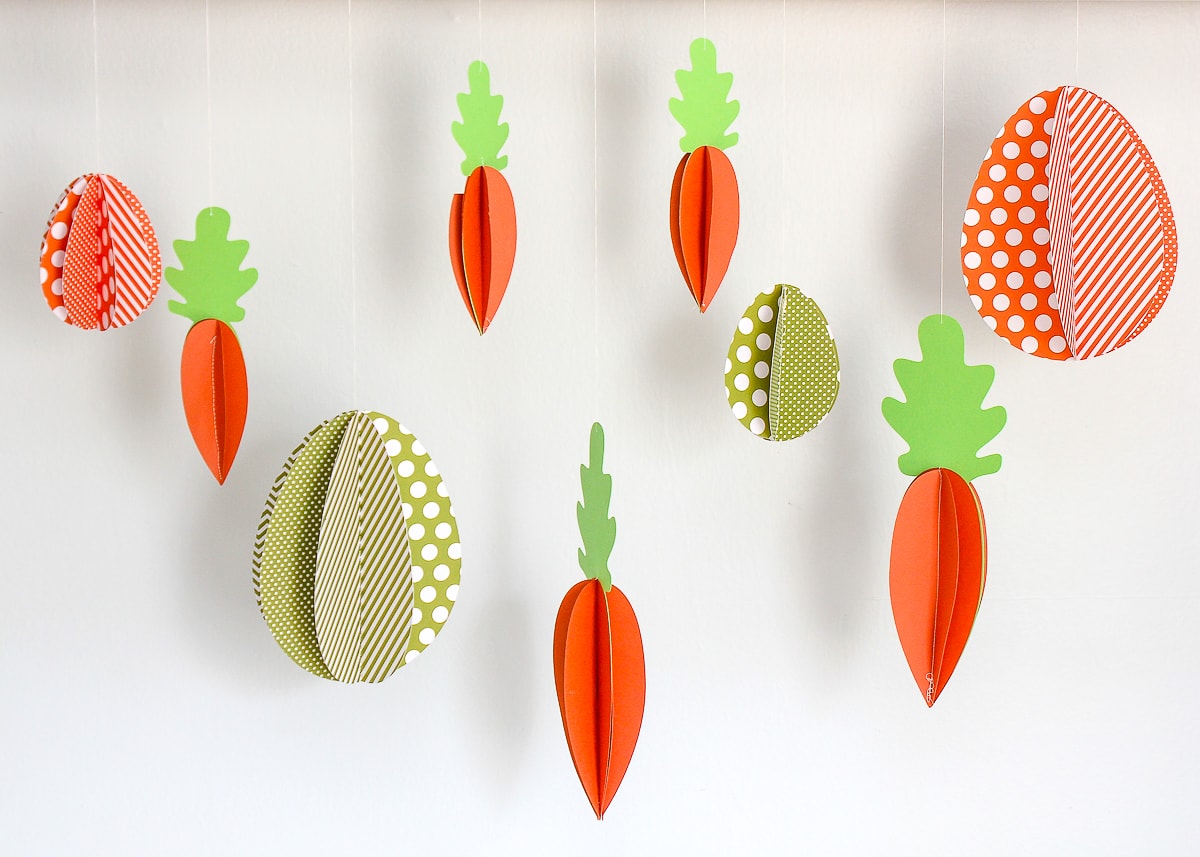
Both the carrots and eggs are light enough to be hung from the ceiling with a pushpin or wrapped around a rod and placed on a mantel or ledge (like I did!). These are also a fun way to fill up your window for neighbors to see as they’re walking by!
These paper eggs and carrots are fun to make and easy to crank out in these long days stuck at home. Young hands can keep busy tracing and cutting, while adults run the eggs through the sewing machine before passing them back to kids for folding and hanging! It’s been years since we first made these, but it might be time to pull out the pretty papers and make a fresh set for this season!
Megan