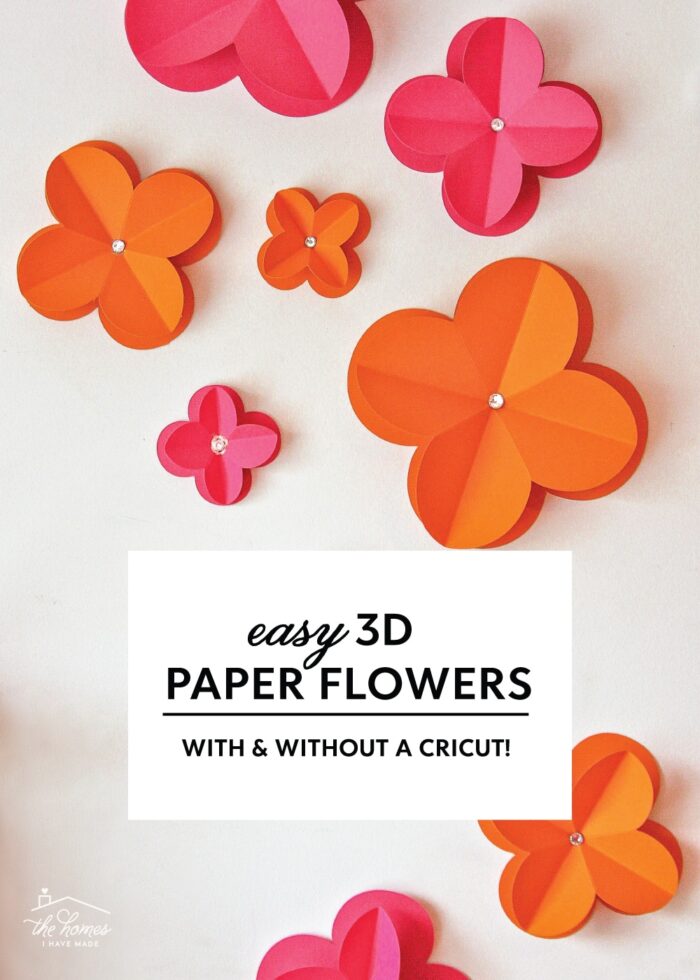
Easy 3D Paper Flowers | With & Without a Cricut!
3D paper flowers are all the rage these days, with dozens (and dozens!) of different versions circulating around the web. And for good reason – they are such an amazing and affordable way to decorate walls, create photo backdrops, make wedding bouquets, and so much more! I don’t know about you…but to me, most paper flower tutorials seem soooo complicated with dozens of cuts and intricate assembly. So I set out to create some 3D paper flowers that are super easy, come together in minutes, and can be made whether you have a Cricut machine or not! If you’re looking for a fun way to fill an afternoon or a cheap way to fill a wall…this is the project for you!
Easy DIY Paper Flowers
Admittedly, these paper flowers aren’t the most “realistic” versions you’ll find, especially when compared to Kim’s giant paper flowers and Kirsten’s sunflower. But what my design lacks in ornate detail makes up for in simplicity (both in design and assembly), making these a fun paper craft anyone can tackle.
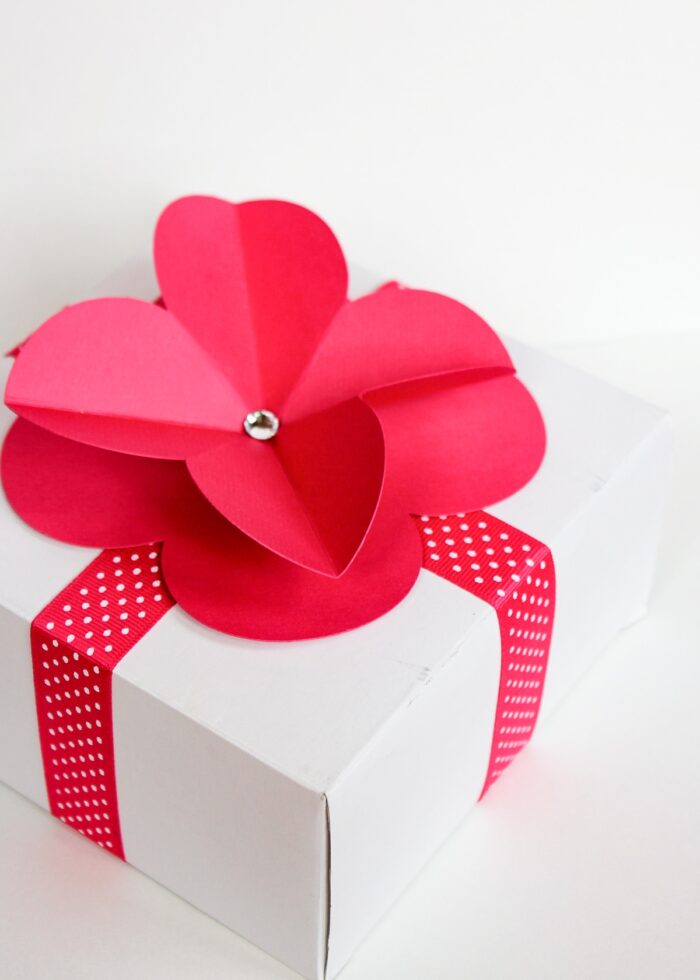
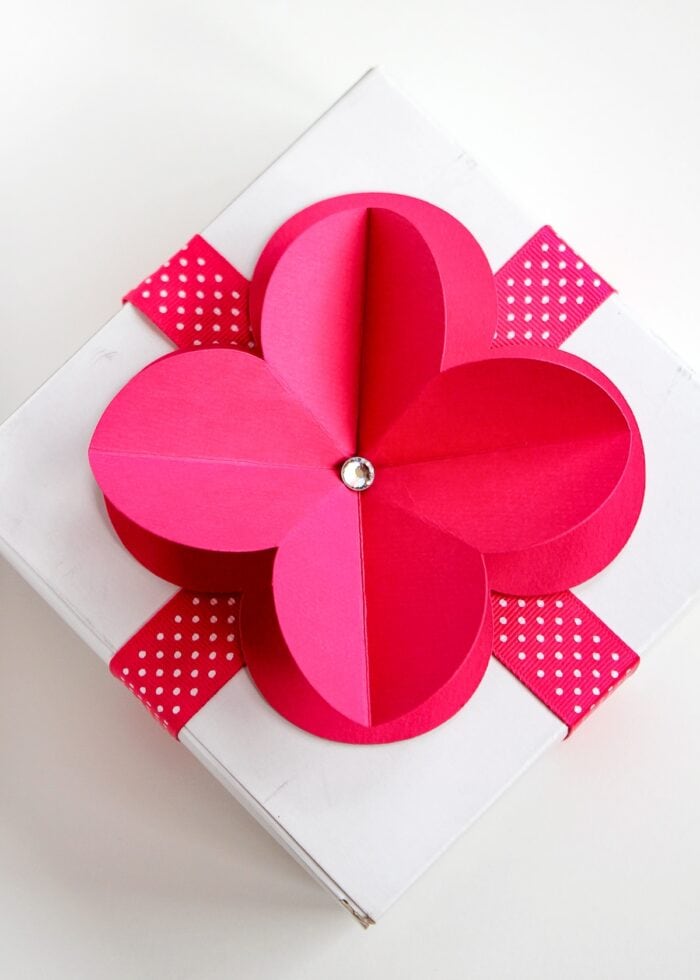
Whether you want to create a large wall decoration, adorn some gift packages, or make some adorable party favors or decor, these flowers come together as simple as cut-fold-glue!
Supplies Needed
Here is what you need to make these simple 3D Paper Flowers:
- Colored Cardstock Paper – in the colors/textures of your choice; how many pieces of paper you need depends on how big and how many flowers you want to make.
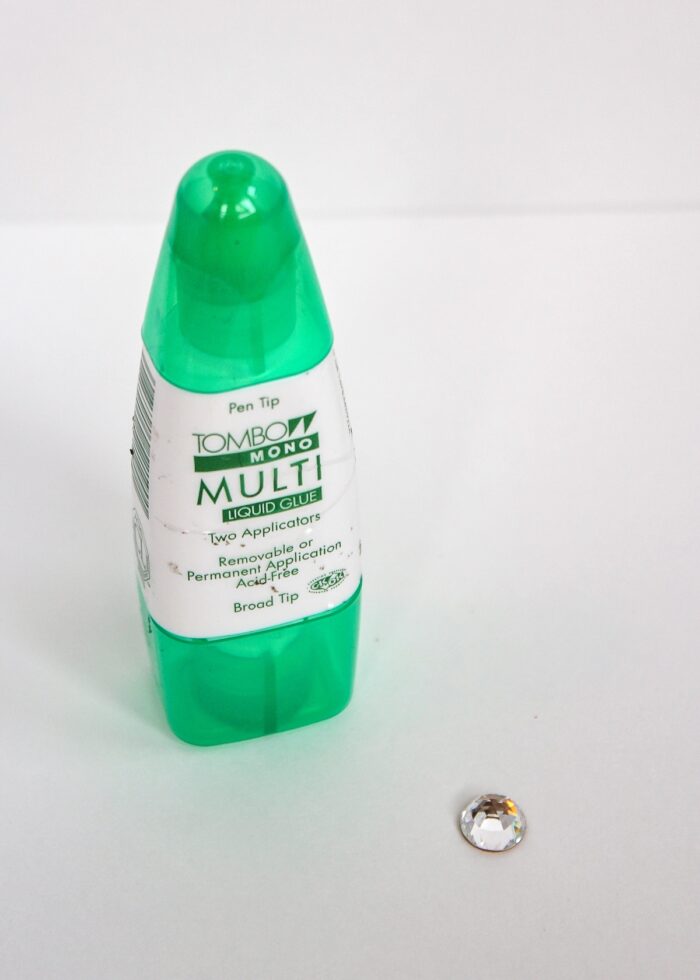
- Hot Glue Gun
- Rhinestones (optional)
If Cutting Flowers with a Cricut:
- Cricut Design Space Template
- Scoring Tool (Cricut Explore) or Scoring Wheel (Cricut Maker)
If Cutting Flowers By Hand:
- Printable Paper Flower Template (PDF)
- Scoring Board or Ruler with Blunt Object (like a butter knife or knitting needle)
- Scissors
How to Make Easy 3D Paper Flowers
Step 1: Cut Out the Flowers
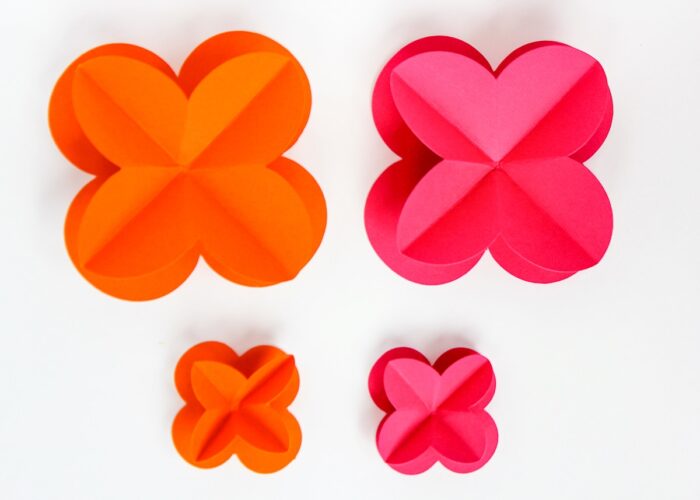
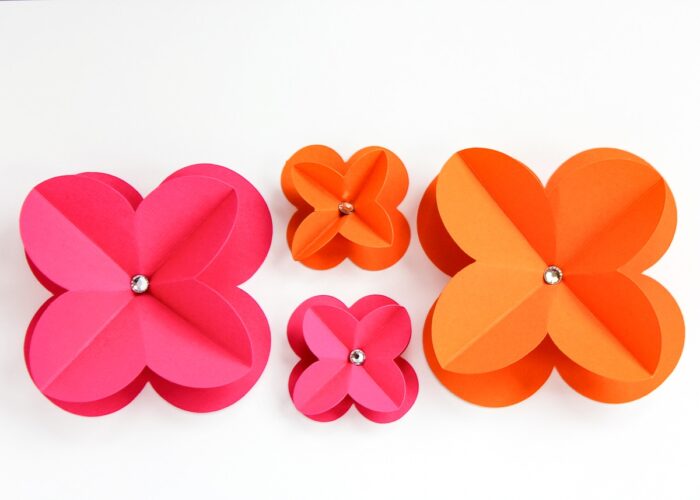
For each 3D paper flower, you will need to cut two flowers in the same color paper. In the picture below, the two pink layers are for one flower, and the two orange layers are for another. While you can make the flowers any size you want, be sure the two cuts for one flower are the exact same size.

With a Cricut
To cut out the flower shapes with your Cricut machine, use this link to access my Cricut Design Space file. The designs already have the score lines attached, so all you need to do is adjust the flowers to the size you want and send them to your Cricut machine.
Be prepared to load your Scoring Stylus or Scoring Wheel when prompted by Cricut Design Space, and cut as many sets as you need from your chosen cardstock. (Remember: you need two cuts for every one flower!)
By Hand
These 3D paper flowers have a really simple shape, so they are quick and easy to cut out with a scissors if you don’t have a Cricut machine. To do so, simply print this template from your home printer onto heavy cardstock and trace the flower design onto the wrong side of your chosen cardstock with a pencil. (If you want to make the template bigger or smaller, adjust the print resolution on your print settings.) Once traced, trim around the flower design with a scissors, cutting out two for every one flower.
Step 2: Score Paper Flowers (By-Hand Cutting Only)
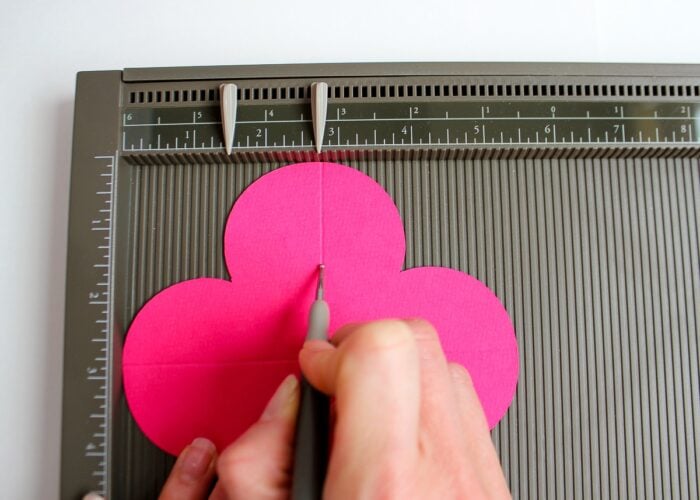
If you use a Cricut to cut out your paper flowers, the score lines will be created by your machine. If you cut the flowers out by hand, you will need to add some score (fold) lines using a scoring board (like shown below) or blunt object (e.g., knitting needle, butter knife) with a ruler.
You only need to add score lines to one of the two paper flowers (the top one). To do this, create one line down the middle, connecting the top and bottom edges of the flower petals; then rotate the flower 90 degrees, and score a center line again. See the template for clarification.
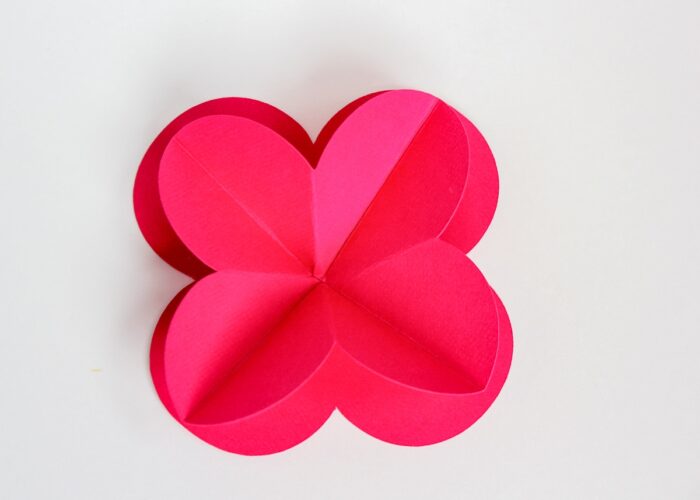
Once done, you should end up with a scored “X” on just one of the paper flowers.
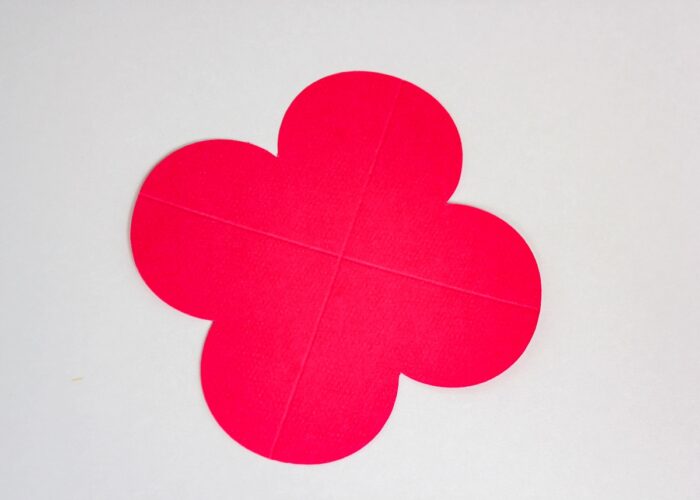
TIP! If you have really sturdy cardstock and/or difficulty in the next step (folding), you might also want to score the diagonals (as shown here) in order to make the folding more precise.
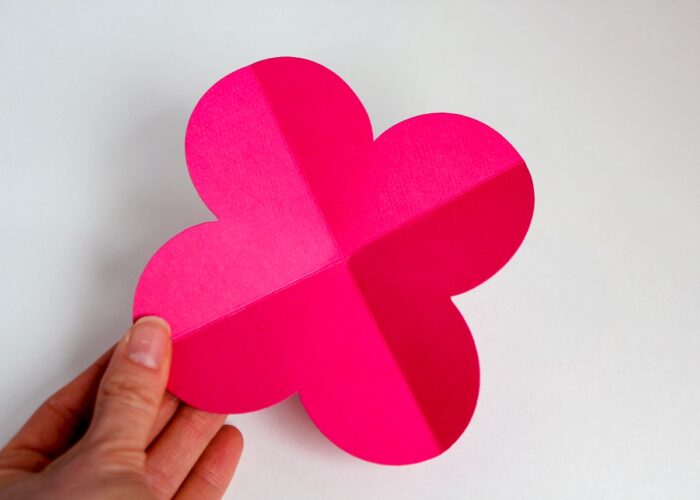
Step 3: Fold Paper Flowers
Next, fold the scored flower along the lines you just created. Do this by folding the paper flower in half one direction (creasing heavily), unfolding, and then folding it in the other direction. When done, you will begin to see the the beginnings of the 3D paper flower take shape.
Want to save this post?
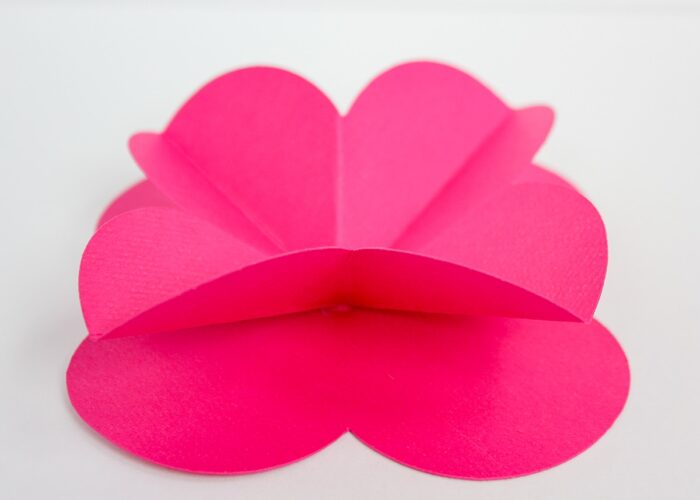
To make the 3D part of the flower a little more pronounced, pinch the flower together so that all the inner corners meet in the middle and the centers of each petal are pointing outward.
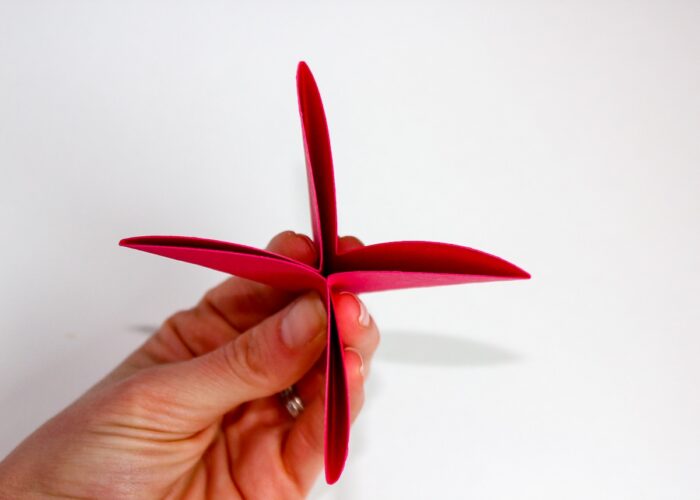
NOTE: There is a right and wrong way to pinch the flower together! Check and make sure your flower looks like the image below.

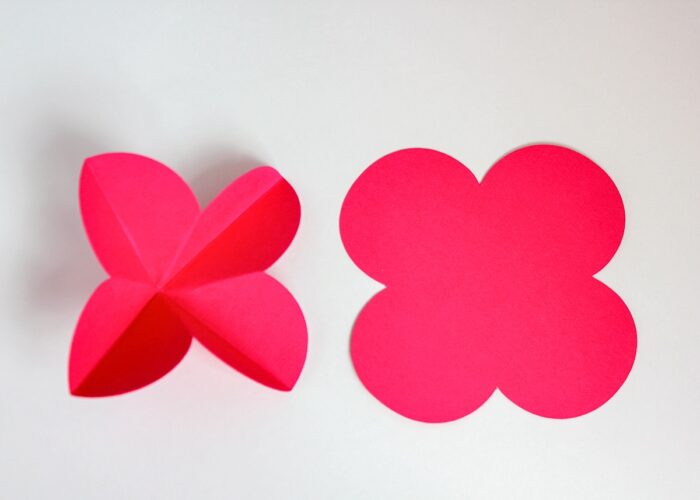
Once folded up, you should be left with one folded flower and one flat flower.
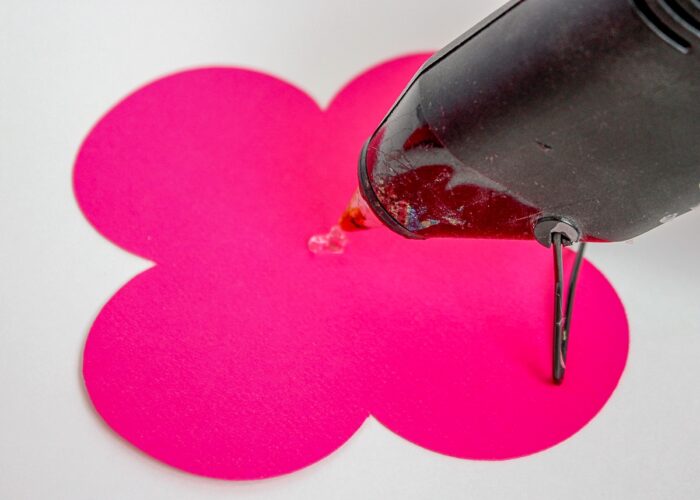
Step 4: Glue Paper Flowers Together
All that’s left to do is secure the folded flower to the top of the flat flower. (See? I told you this was quick and easy!) Place a large glob of hot glue in the center of the flat flower. Place the bottom point of the folded flower into the glue and hold it in place until the glue starts to cool. Once the glue is mostly set, let go of the pinched flower and let it fall open some. The glue will fully harden, holding your top flower in a gently open (3D) position.
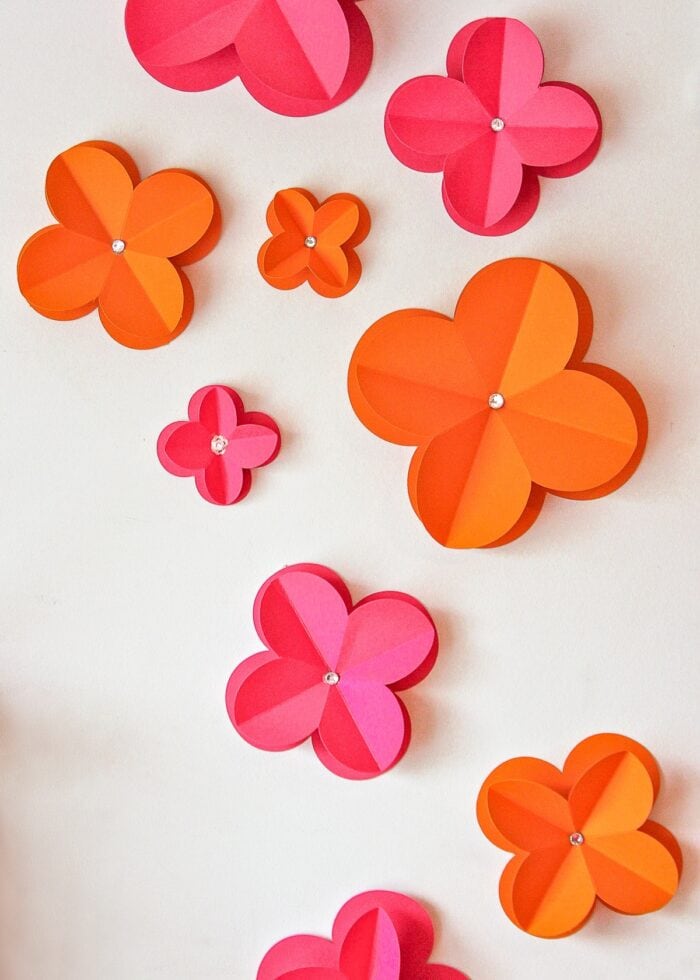
Continuing gluing tops to bottoms to create a whole bouquet in different colors, patterns, and sizes!
Step 5: Add a Flower Center (Optional)
I thought the centers of the flowers looked plain and unfinished, so I added a simple rhinestone to the center of each one. You can decorate the center of your flower with rolled up pieces of tissue paper, glitter, beads, buttons, or other items you have on hand.
Step 6: Decorate!
Now that your flowers are done, you can attach them to any surface you want.
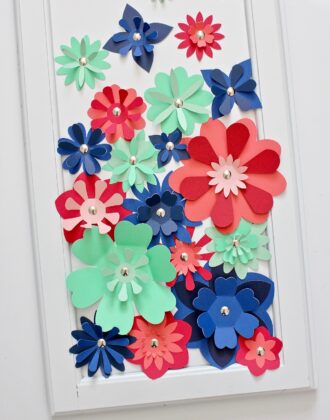
If you are making these as wall flowers, I highly recommend creating a bunch in different sizes and colors to make an interesting display.
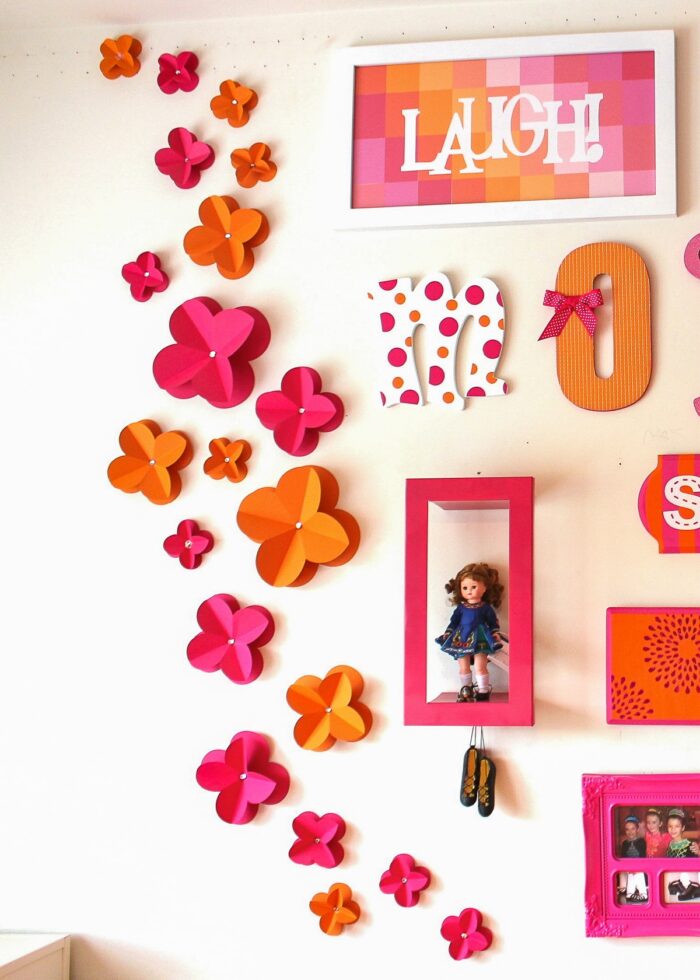
This wall decor installation used pink and orange paper for flowers that measured 3″, 5″ and 8″. We secured them to the wall with plain ol’ masking tape and they didn’t budge (but you could also use Command Strips or other wall-safe mounting adhesive). Talk about a cheap AND easy way to add some major color to a plain wall!
If you’ve loved the idea of making some DIY paper flowers but just didn’t have the supplies (a cutting machine) or patience (so many cuts!), I hope this version inspires you to give it a second thought. By changing up the sizes and colors, you can use this easy tutorial to make party backdrops, bridal shower or wedding decor, a paper flower wall, and so much more! I hope you give it a try!
Megan
8 Comments on “Easy 3D Paper Flowers | With & Without a Cricut!”
Decoration is something that should have always new things to inspire when it comes to advertising your product or services. Normally companies use promotional products for this purpose at events, exhibitions and festival ceremonies.
Megan Megan Megan!!!
I love this!!! I love it so much that I'm making them right now :)) I'm adding a little twist to them, so when I'm done with them I'll let you know how they turned out! Thank you so much for the tutorial!
amazing!
hello,k
wow very beautiful.
Fluorescent Vinyl
Love these..I'm so making them for my lil girls' room.
Pingback: Top 10 Projects for Your Cricut - Sisters Know Best
Pingback: 20 Easy DIY Wall Flowers Inspirations (You Wish to Know Earlier) - David on Blog
Pingback: 20 Easy DIY Wall Flowers Inspirations (You Wish to Know Earlier) - TrendyGood