DIY Paper Winter Wonderland
As I’ve mentioned a few times already, the winter months put me in the crafty spirit more than any other season. I love pulling out my glue gun and scissors, pretty papers and fabrics, glitter, ribbon, and more to make festive items like this DIY Paper Winter Wonderland. This project combines pretty papers and lollypop sticks to create a stunning display. It can dress up any mantel or tabletop (and even cakes!), and can be displayed long after the Christmas holiday is over. Let me show you how it’s done!
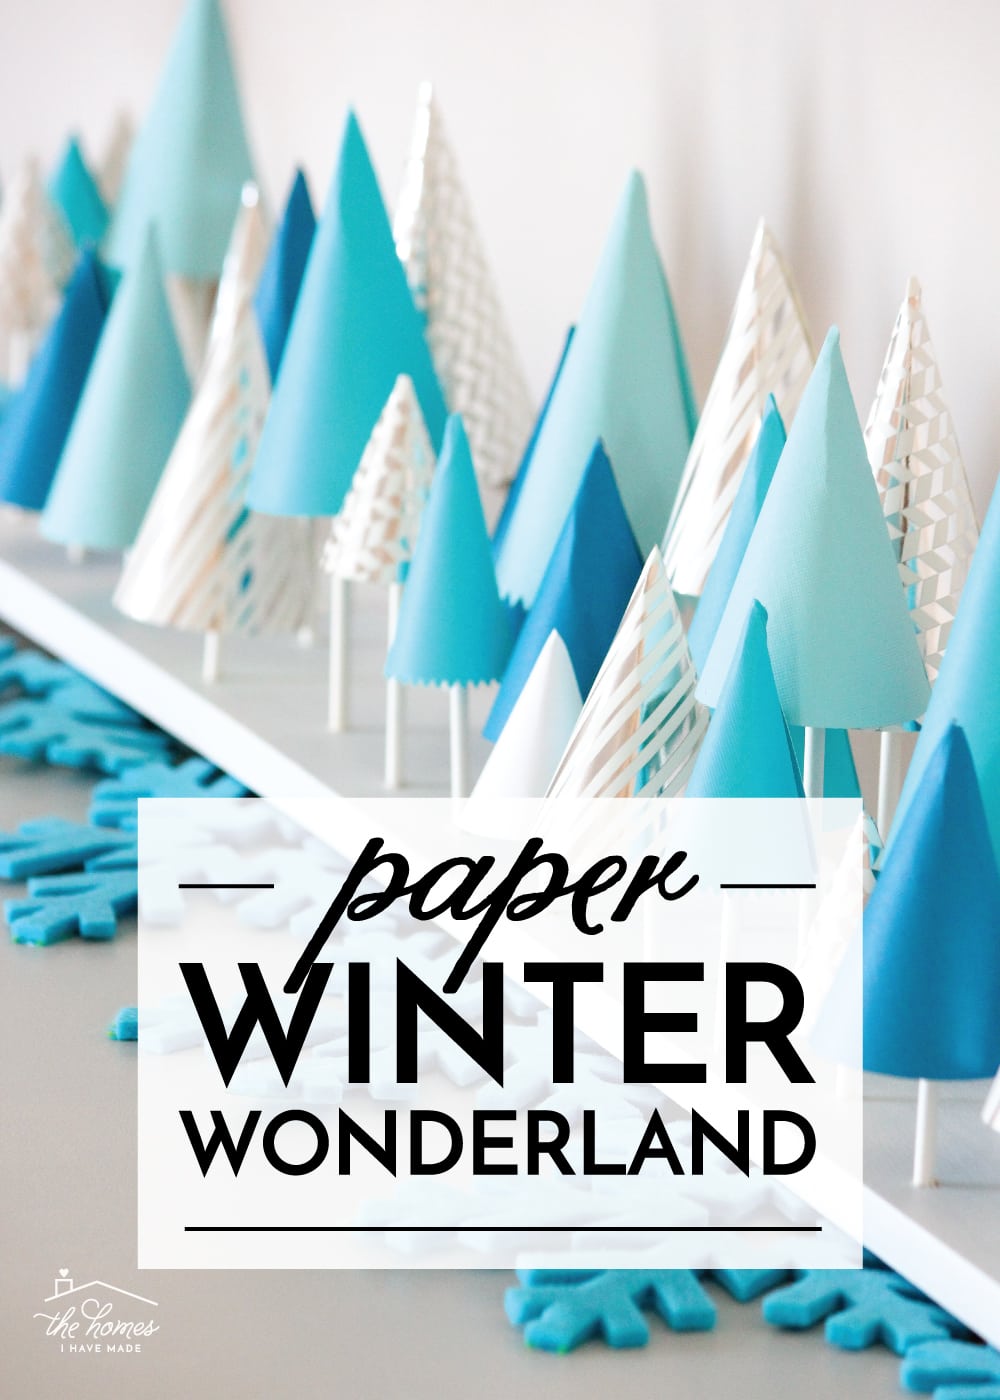
This mini paper forest is crafted out of various shades of blue cardstock, as well as some white and silver-foil paper. Rolled into cones and secured onto sticks at varying heights, they become a modern tree-scape atop any surface.

This display can be made in any color, size, and pattern you wish; and it is simple enough for the kids to help with or make on their own. Just grab a stack of your favorite papers and a scissors, and let’s get started!
Supplies Needed
For this project, you will need:
- Cardstock in the colors and patterns of your choice – This paper pad and this stack of foils would give you endless color options, but this stack is a great all-in-one set that would make a lovely, coordinating forest. How much paper you need depends on how big and how many trees you make.
- Lollipop Sticks – Trimmed to various heights
- 1×4 Piece of Wood or foam core in your desired length
- White Paint
- Double-Stick Tape or Adhesive
- Hot Glue Gun and Glue Sticks
- Tools: Scissors, E-Cutter (optional), Drill with Drill Bit, Paint Brush
Make the Paper Cones
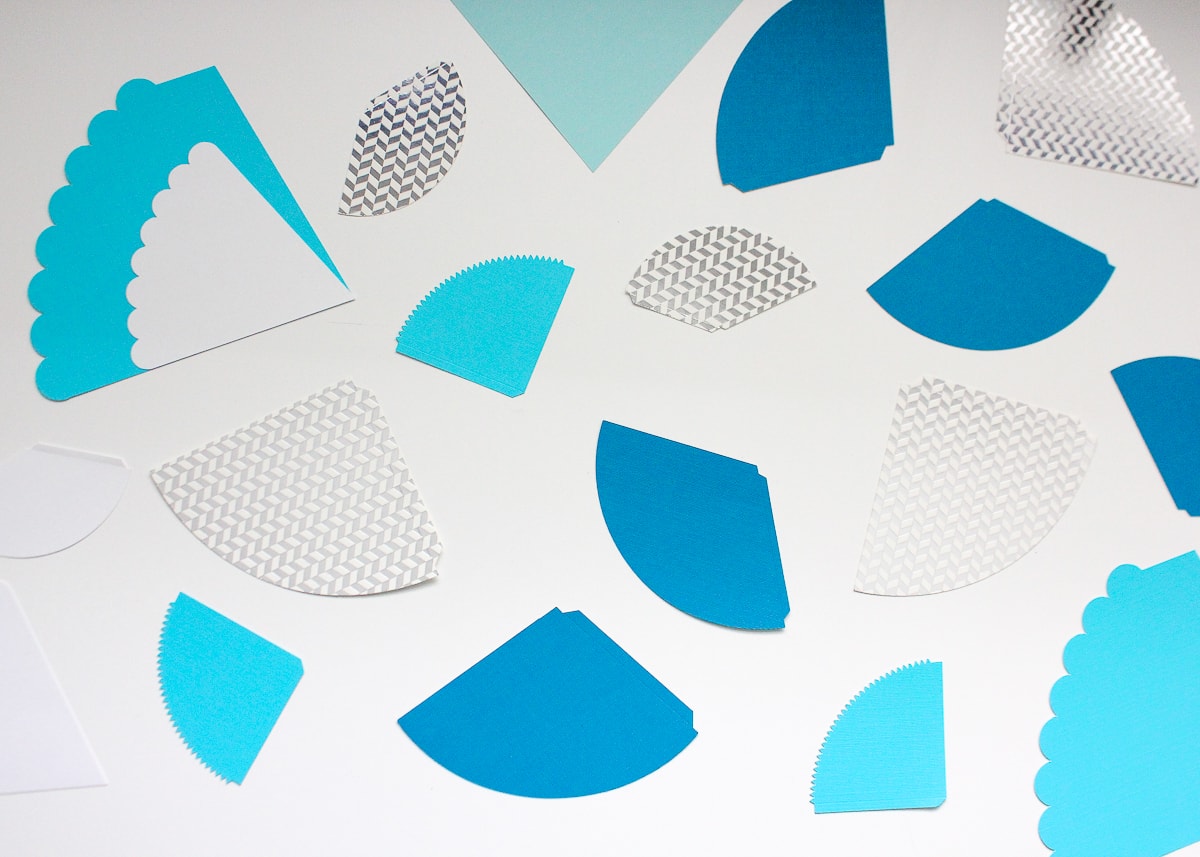
The first step is to cut out a BUNCH of cones from all your decorative papers using either a scissors or an e-cutter machine. The length of the cone edge determines how tall the final cone will be, and I recommend varying the height of your cones to make a more interesting display. Each of the cones in my forest measure between 2.5 – 4” tall.
WITH SCISSORS. If you’re making this project with a scissors, I recommend using this FREE template maker. It allows you to create printable cone templates in the exact width and height you want. Simply make a few sizes, print them onto cardstock, cut them out, and trace them onto your decorative papers.
WITH AN E-CUTTER. If you are using a Cricut or Silhouette, search the image library for “Cone” to find lots of options. Just make sure the image is a 3D version that can be rolled into a cone shape.
Folding cones can be a bit tricky, but it gets easier with practice. Start by placing a strip of strong double-stick tape along one edge of the flat paper cone.

Roll the paper into a cone by bringing the two edges together and forming a pointed top. Secure the cone by removing the paper backing off the tape and pressing it firmly into place.
Continue rolling and taping the cones until they are all done. If desired, use decorative scissors or punches to create details along the bottom edges of the cones.


Want to save this post?
Assemble the Paper Trees
With the paper cones assembled, it’s time to make them look like mini trees!
Start by trimming white lollipop sticks down to various heights.

Then use a Hot Glue Gun to secure a stick into the inside tip of each cone. Make sure the sticks are straight down the center of the cone so the trees ultimately stand upright.

Create the Base
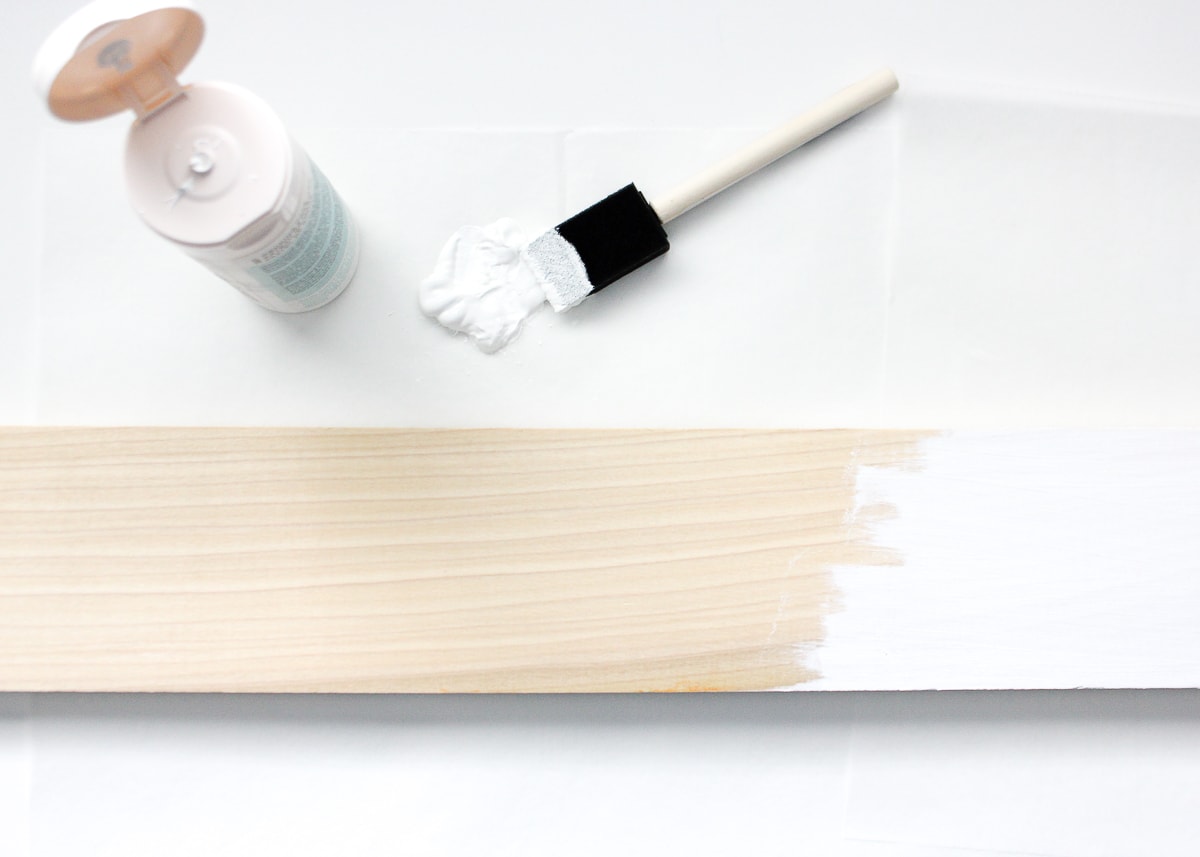
To create a single stretch of forest that can be easily placed on a mantel or table, it is best to secure each “tree” to a base. A basic pine 1×4 was used here; however, you could also use a sheet of foam core or cardboard box cut down to size. Whatever you use, paint it white (if necessary) before adding your trees.
Assemble the Paper Winter Wonderland!
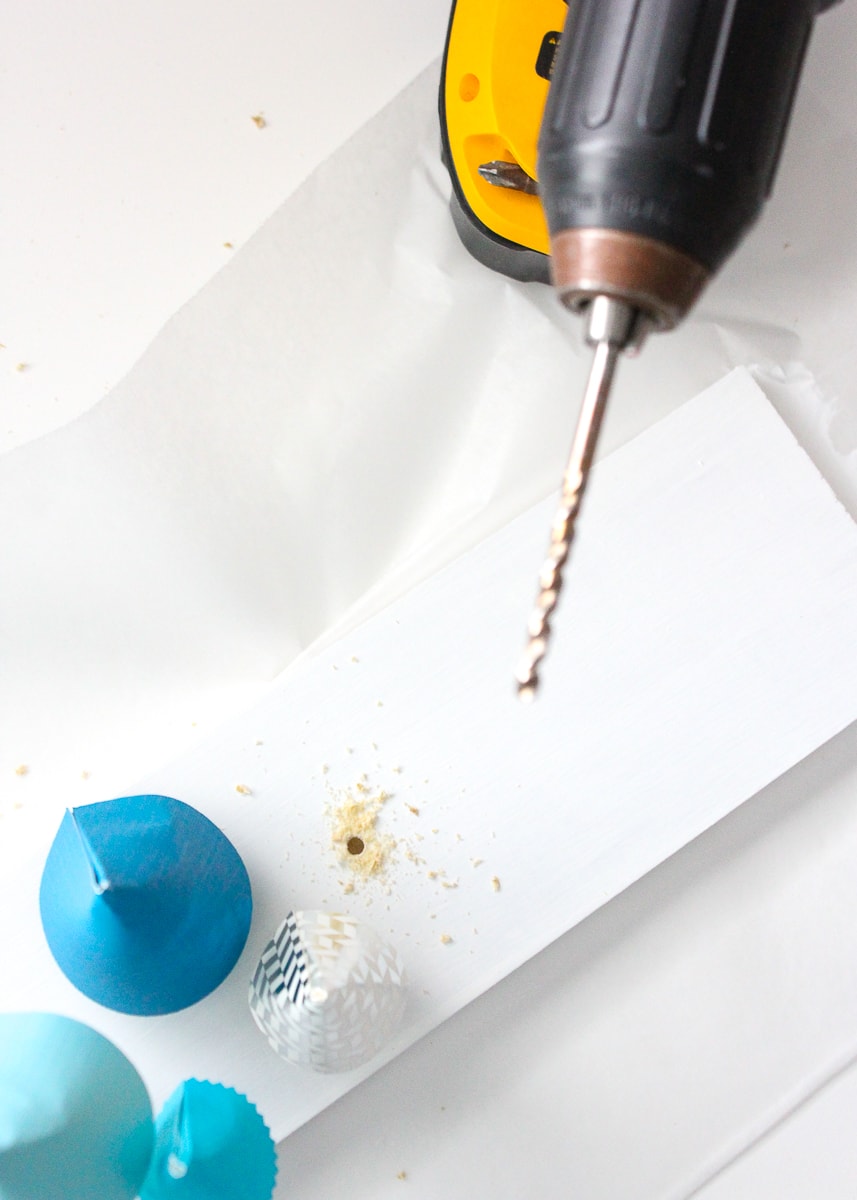
Once the base is dry, drill holes into it to hold the trees in place. Here are three quick tips to make this part easier:
- Use a drill bit that is the same size as your lollipop sticks so the fit is snug and no extra glue or adhesive is required to hold the trees upright.
- Only drill down about 1/4″ into the wood to create little holes for each stick to sit in. There is no need to drill all the way through the base.
- Start from the center and work your way out to the ends. By drilling and placing one tree at a time, you will be able to adjust placement and the overall display as you go.
If any hole is drilled a bit too loose, use a drop of hot glue to hold the tree in place. Also, don’t hesitate to trim the sticks even more to vary the heights and create a balanced display from end to end.

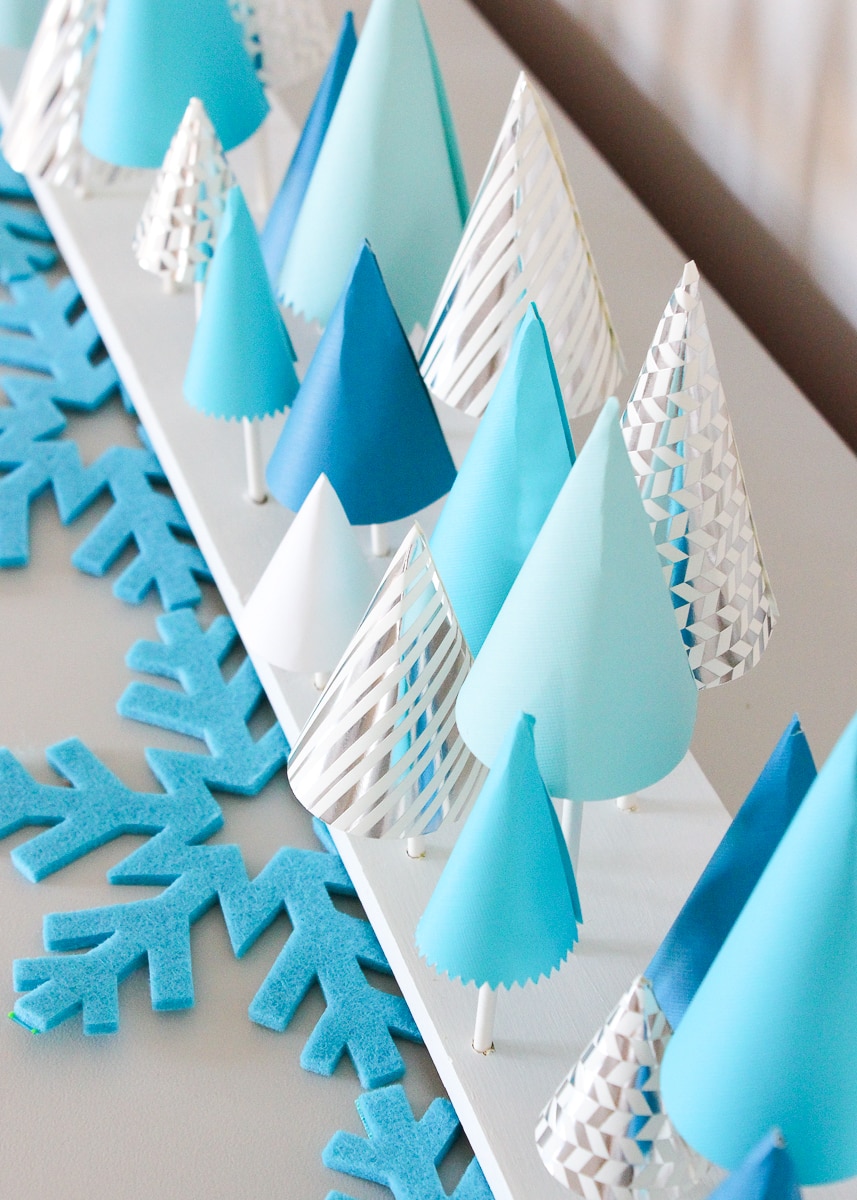
Once you have all the trees inserted into the base, you’re done! Move it to a location where it can add some festivity and color to your holiday home such as a coffee table, dining room table, buffet, or dresser! A bunch of paper trees (sans the base) could also be poked into the top of an all-white cake for a wintery dessert!

In just an afternoon, you can make this charming Paper Winter Wonderland for any spot in your home. You likely already have the supplies around the house, and this is a great project to keep kids busy while staying safe-at-home or on school break. So pop some popcorn, turn on a holiday movie, and get to cutting out some gorgeous paper trees!

Megan


4 Comments on “DIY Paper Winter Wonderland”
Very cute project. Thanks so much for the link to the template maker. What a wonderful resource!
Well, it would have been a wonderful resource if Cricut Design Space didn’t stupidly change the score lines into cut lines. I tried the Cricut, SVG, and PNG formats, and none of them have any score lines once they get into Design Space. I tried Print-then-cut on the PNG and that didn’t work either. Cricut has a lot of nerve saying they support SVG, if you ask me. Have you found a workaround?
Yes!! I export as SVG and then import into DS. Yes, all the lines are auto-set to Cut. But you can easily select specific lines and change them to Score in the linetypes menu. Slightly annoying but pretty easy! Then just be sure you Attach everything before you send it to cut.
Hope that helps!Megan
Their neat, I like them,