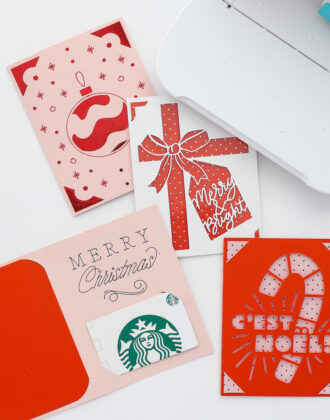
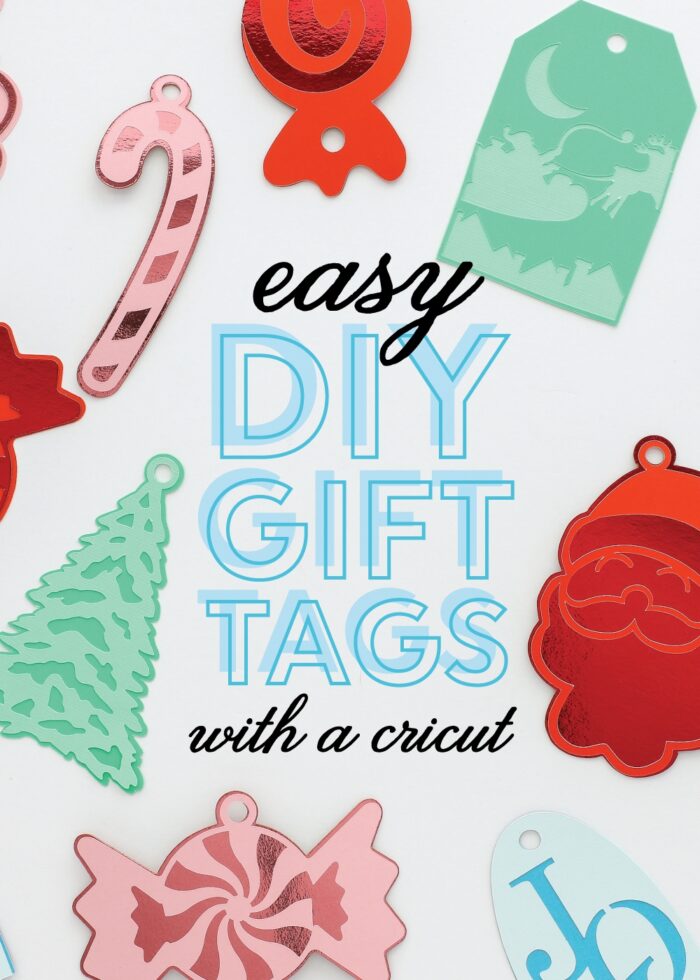
Super Easy DIY Cricut Gift Tags (for Christmas or Any Occasion!)
Whether you enjoy making your own wrapping supplies, want to save some money, or just ran out of gift tags while wrapping gifts, it’s quick and easy to make your own using a Cricut machine! Today, I’m breaking down the easiest way to make DIY gift tags with a Cricut, including a few tricks to speed up the process so you can get out of the craft room and back to your celebration! Let’s get to it!
One of my favorite things about using my Cricut machine to make my own gift tags is that I get to pick the exact size, shape, colors, and message I want. That, and I can easily whip them out last minute, right at home, without having to run to the store. (Hashtag real life!)
Any while I do love wrapping up gorgeous packages, spending hours making fancy, extravagant gift tags isn’t quite at the top of my project list (especially during the hectic holiday season or busy birthday celebrations). So I like to keep my gift tag projects extra quick and easy, but still looking totally custom and completely fabulous.
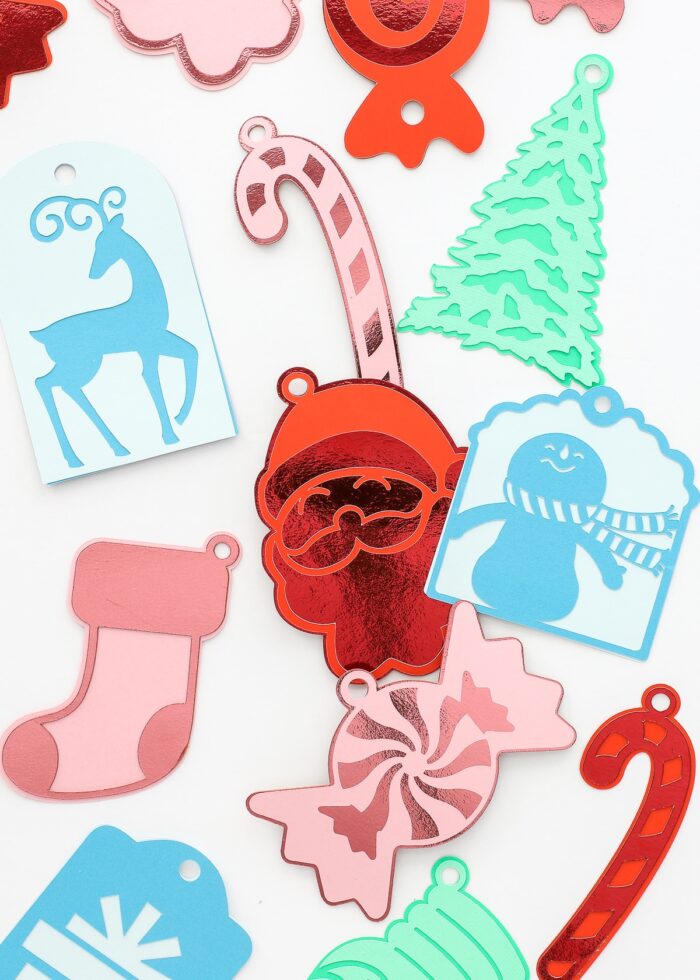
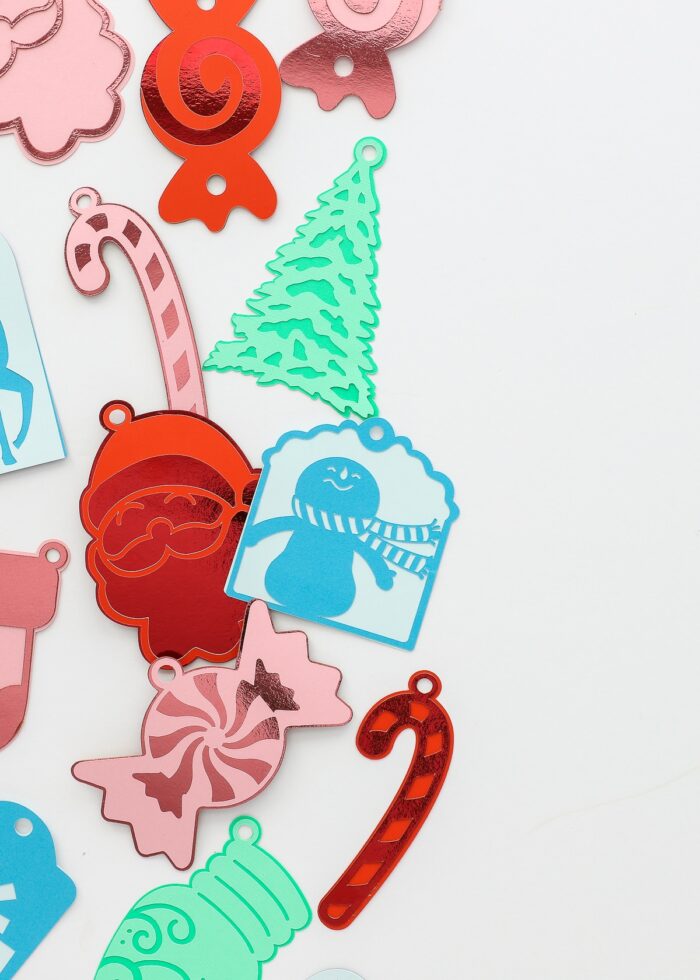
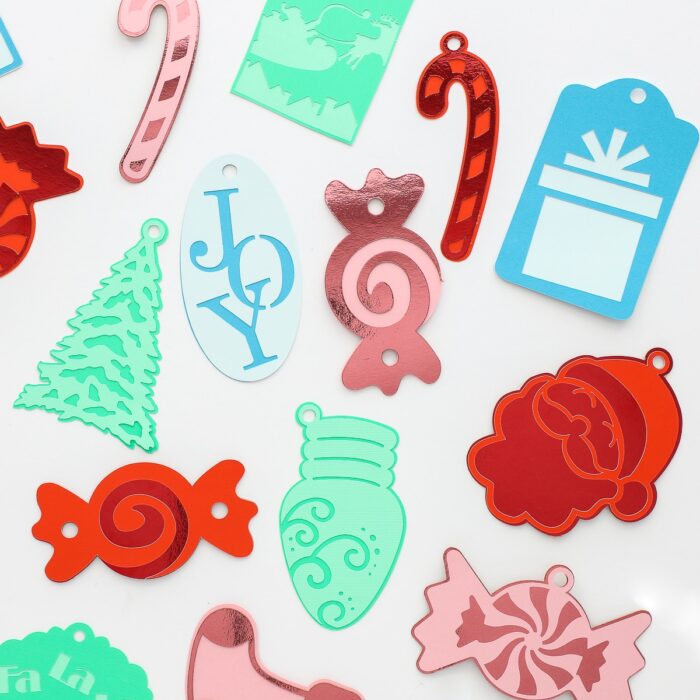
These whimsical gift tags come together in mere minutes and can be made in bulk. By changing up the colors, paper textures, and designs, you can easily have a whole set ready for all your holiday wrapping or any occasion all year long!
Supplies Needed
- Cricut Machine – any Cricut machine can be used for this project (Cricut Joy | Cricut Explore | Cricut Maker)
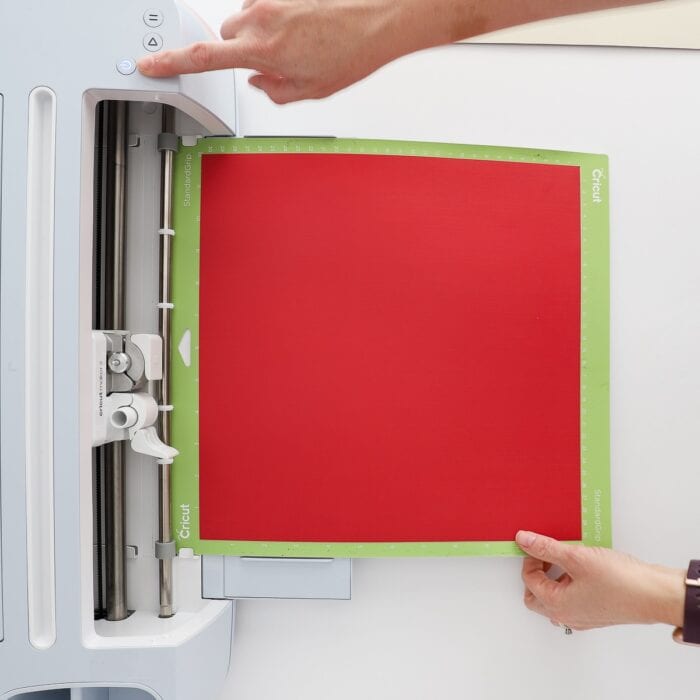
- StandardGrip Cutting Mat
- Fine Point Blade – the one that comes with your machine
- Cardstock – in the colors, sheens, and textures of your choice
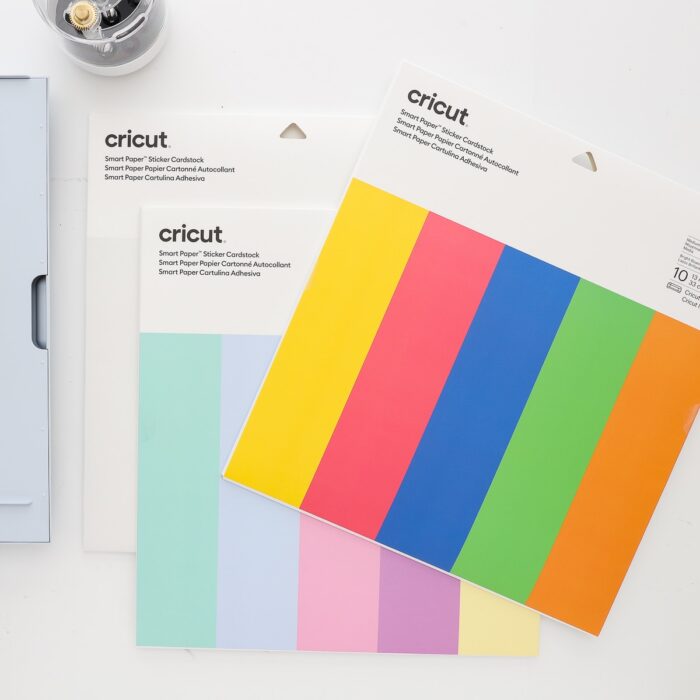
- Smart Paper Sticker Cardstock – as you’ll see below, using sticker cardstock for the top layer will allow these gift tags to assemble even faster!
- Craft Glue or Spray Adhesive
- String or Ribbon
How to Design Gift Tags to Cut with a Cricut
Although you can theoretically cut a gift tag out of a single sheet of paper and tie it right onto your gift, creating gift tags with two layers looks a bit more festive and gives the tag some sturdiness. So instead of having to cut a thicker material like chipboard or posterboard, doubling two layers of standard cardstock will provide that same heft you’re used to on store-bought tags.
Don’t let the double layers scare you away. They are easy to design and require just a few more minutes of work!
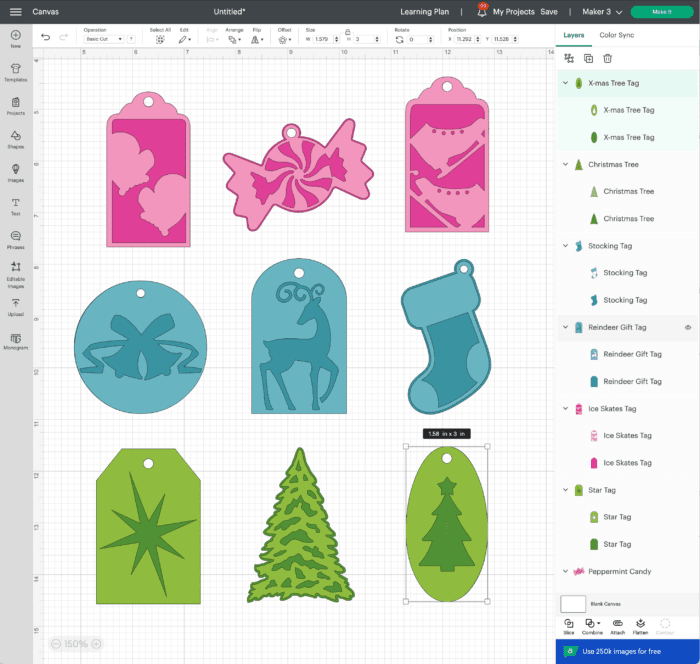
Pre-Designed Tags
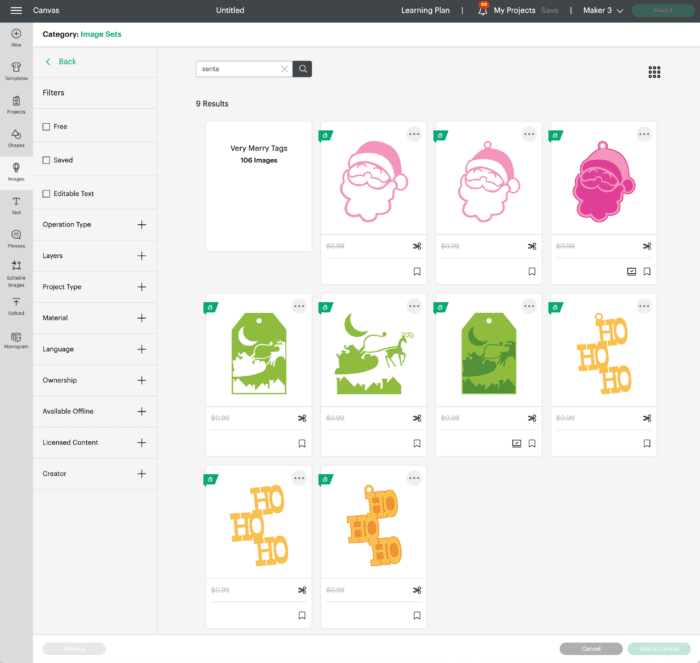
The quickest option for making DIY gift tags with a Cricut is to skip the design process all together and look for pre-made tags right inside the Cricut Design Space Image Library. And there are LOTS of them!
You can rely on generic tag shapes like from the “Tags, Bags, Boxes & More” Image Set…

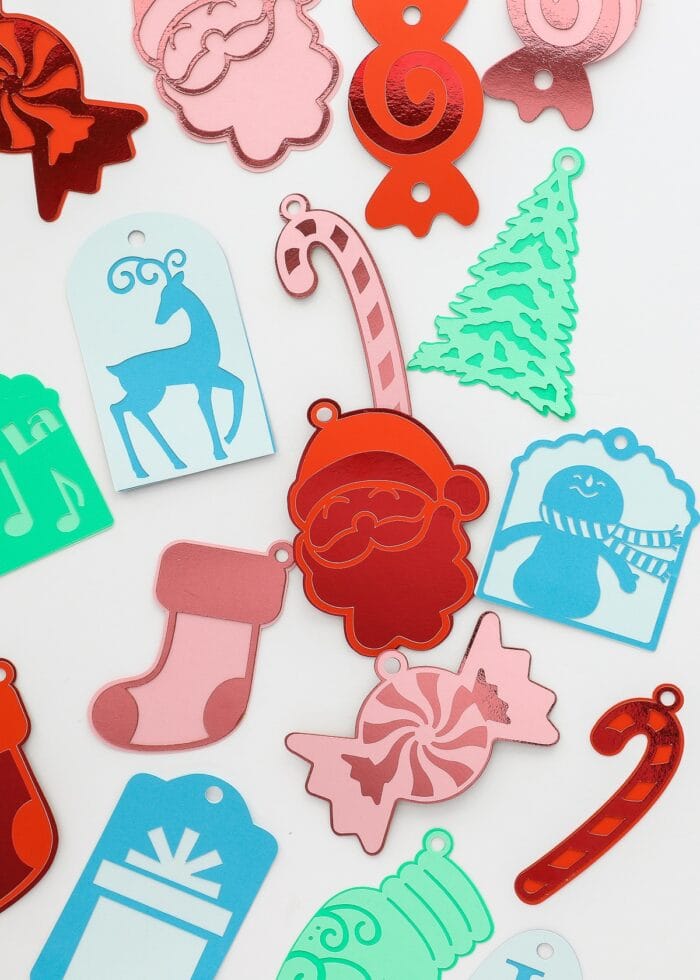
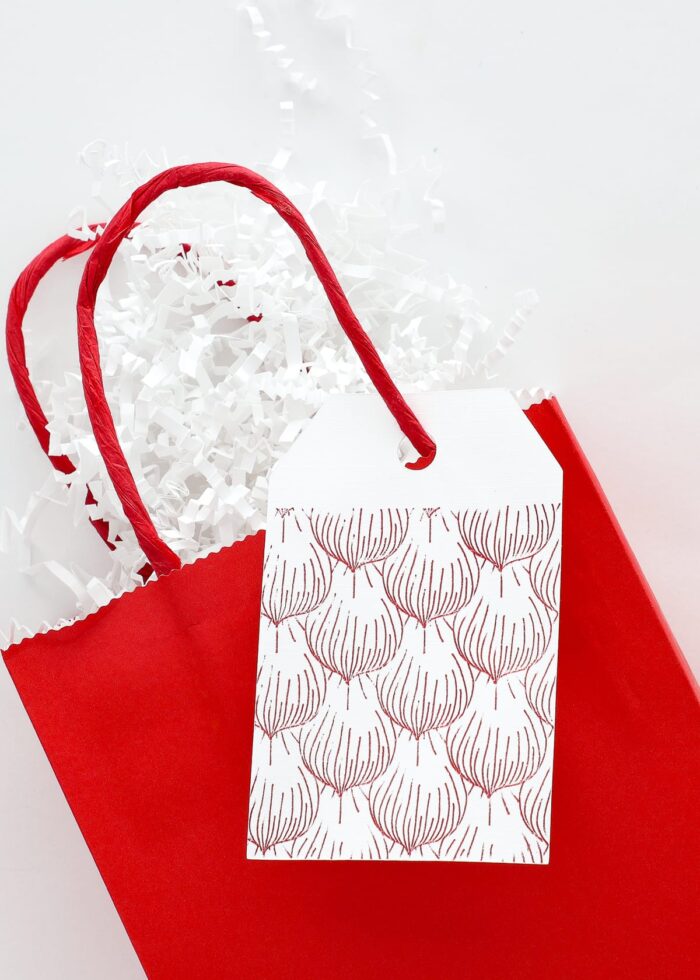
…or look for holiday specific designs to make Christmas gift tags. I used a bunch of images from the “Very Merry Tags” set for the images in this post. This tag set already features a 2-layer design: a detailed layer on top and a solid layer underneath.
(Keep in mind, these pre-made tag designs will likely require Cricut Access or individual purchase.)
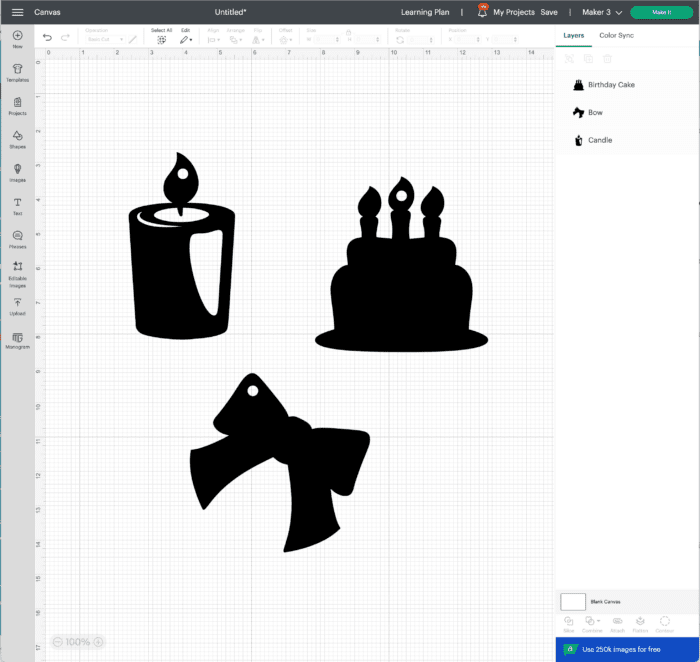
Add Your Own Second Layer
If you can’t find any pre-made tag designs you like, you can always create your own 2-layer design. I really loved some of the tags in the “Everyday Holiday Tags” set, but they only feature one layer.
So to adapt them to my two-layer process, use the Offset Tool to create a custom second layer:
- Place your selected tag design on the canvas.
- With the image selected, open the Offset Tool in the top toolbar.
- Adjust the offset margin to your liking.
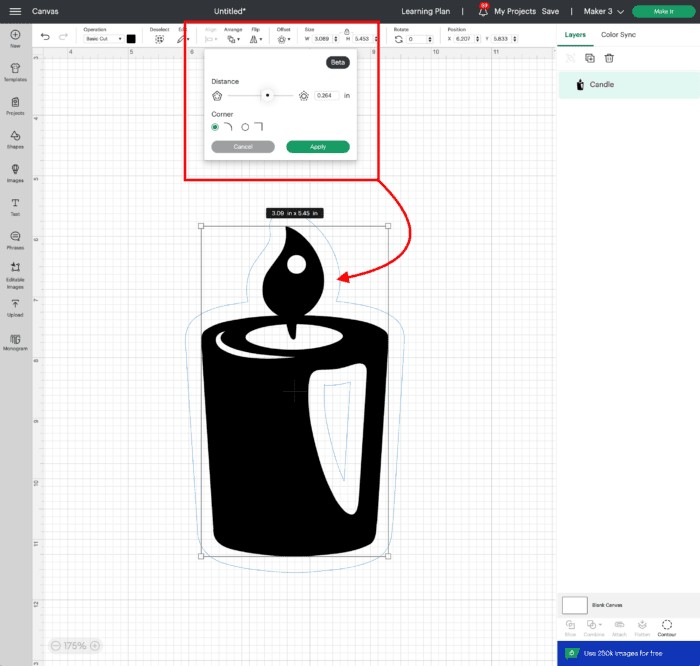
- Click “Apply” to create a new layer behind your original tag design.
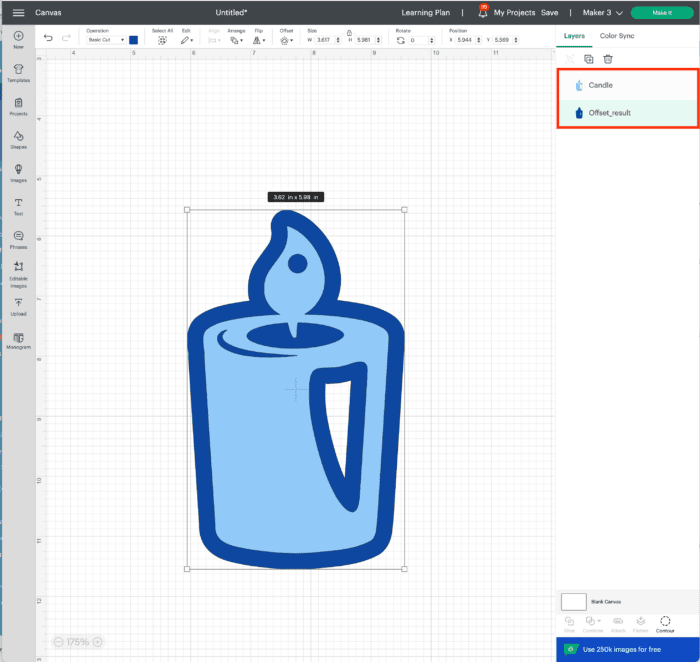
You can also follow this same process for any free shapes in the Image Library or free SVG files you download and then upload yourself!
Design Your Own
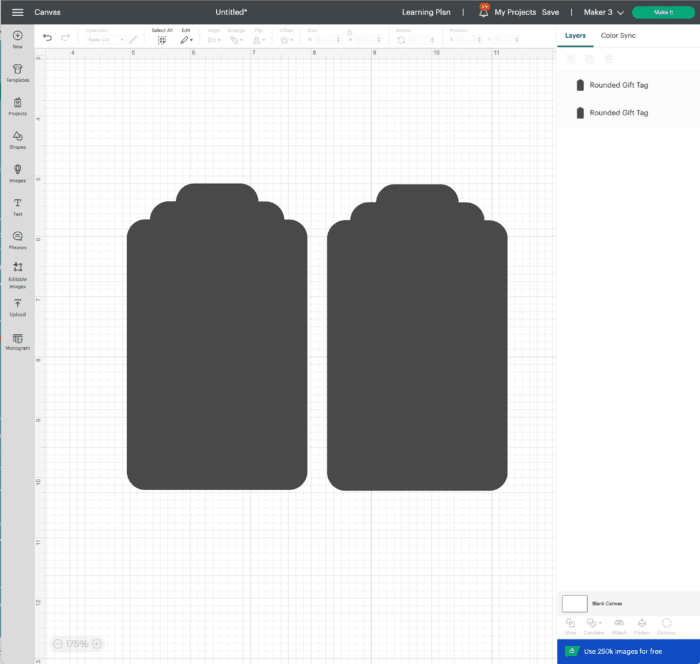
Finally, the last (easy) way to make a double-layer tag is to design your own from scratch!
- Start by placing two exact copies of a tag shape onto the canvas. The one shown below is from the free Shapes menu (lefthand toolbar).
- Find or upload a festive design for your tag and place it on top of one of the tag layers. The present shown below is a free image within Cricut Design Space.
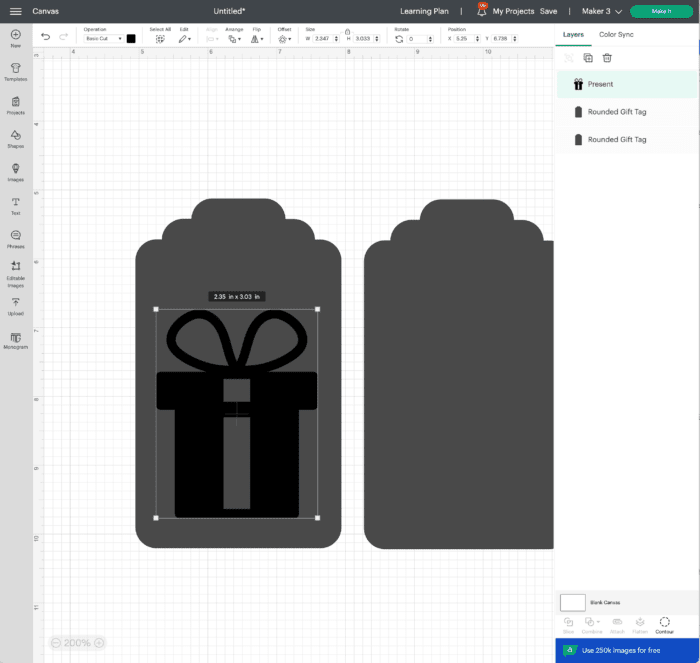
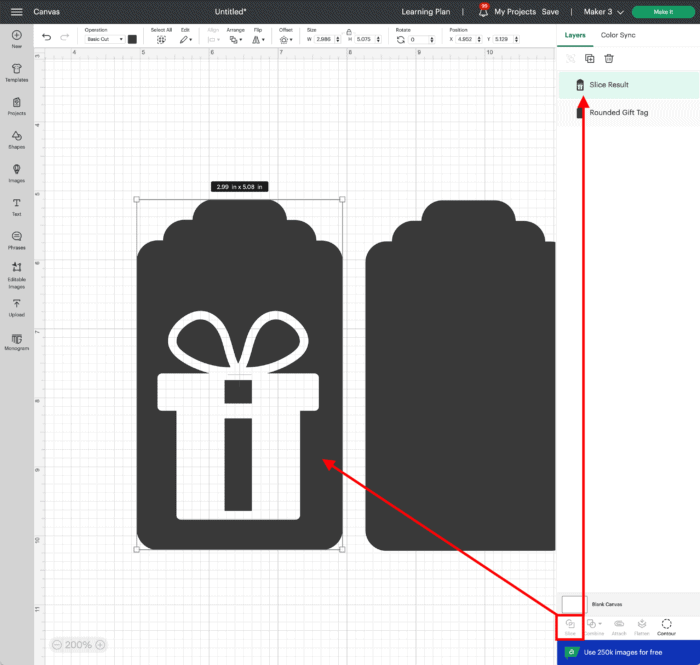
- Select both the tag and the design together and click the Slice Tool.

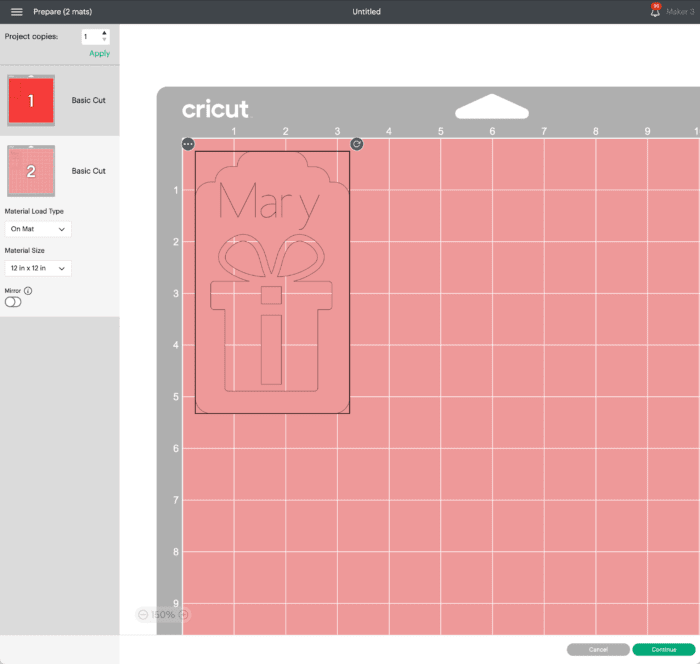
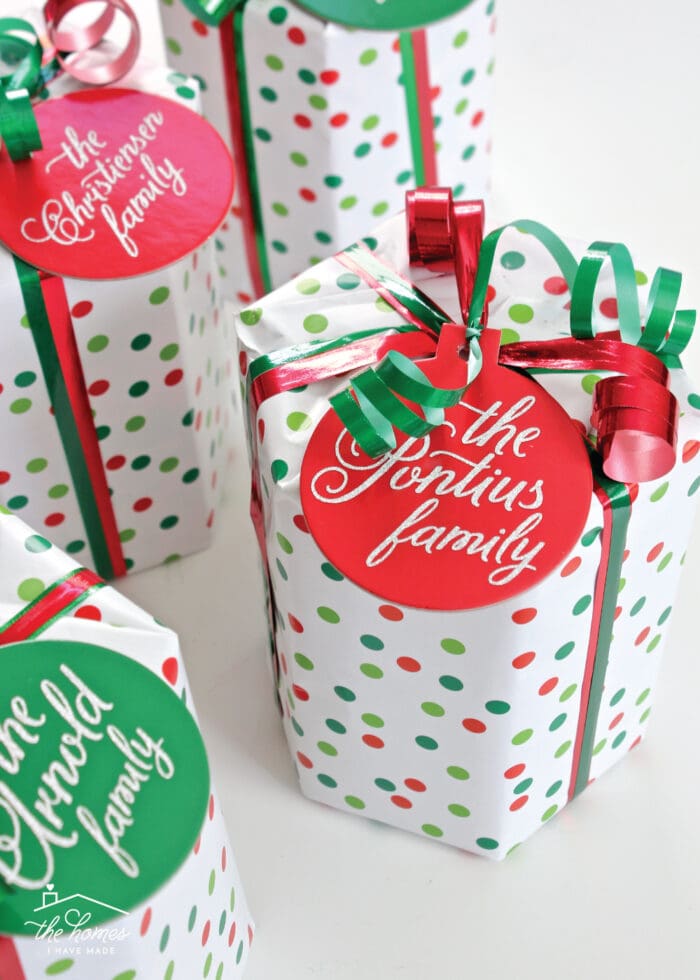
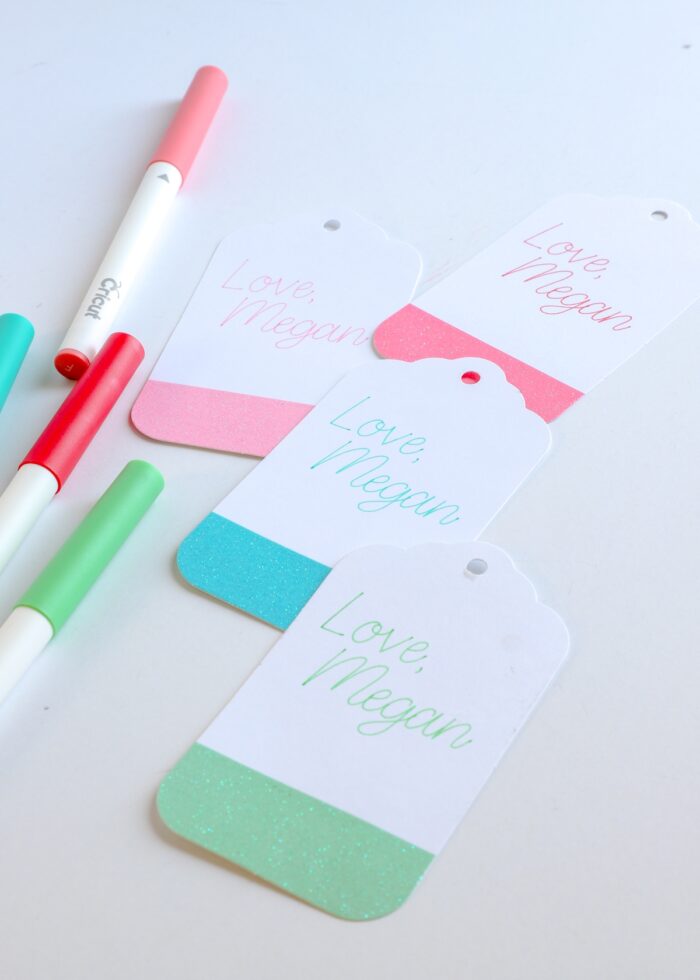
Adding Text To Your Gift Tags
Personally, I don’t bother adding names to my custom gift tag designs. I usually don’t feel like fussing with aligning and attaching text and prefer to have a big set of generic tags on hand for any gift. That said, if you’d like to add text to your Cricut gift tags, here’s how to do it:
- Once your tag is designed, add a text box to your canvas via the Text Tool (lefthand toolbar). Type in whatever name you’d like to add to your tag.
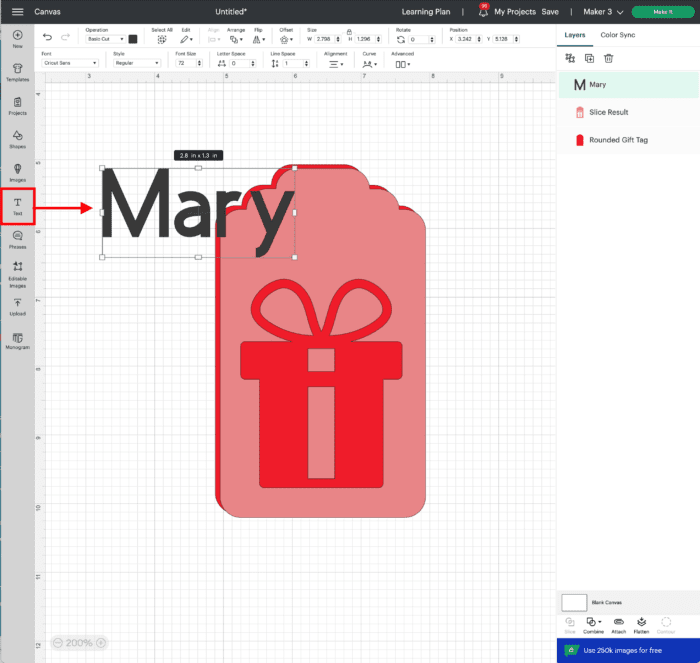
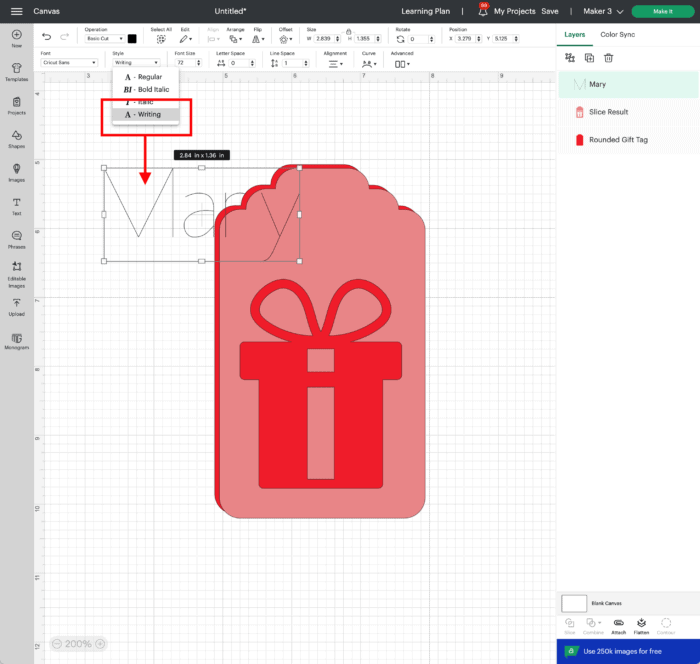
- With the name selected, change it to Pen (using the Operations menu in the top toolbar).
- Then, using the Font Toolbar (top of canvas), filter for a Writing Style font and select one you prefer.
Want to save this post?
- Size the name to fit the top layer of the tag and place it wherever you want.
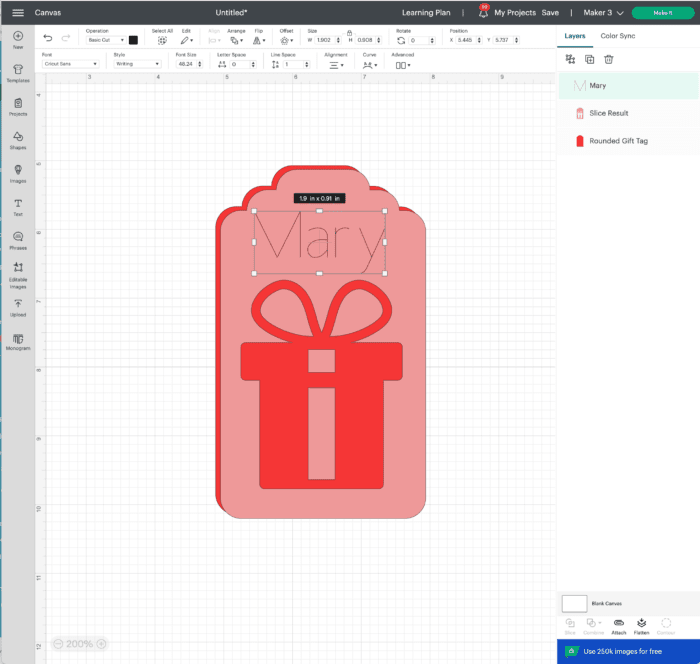
- Select the top layer of the tag AND name together and click “Attach.”
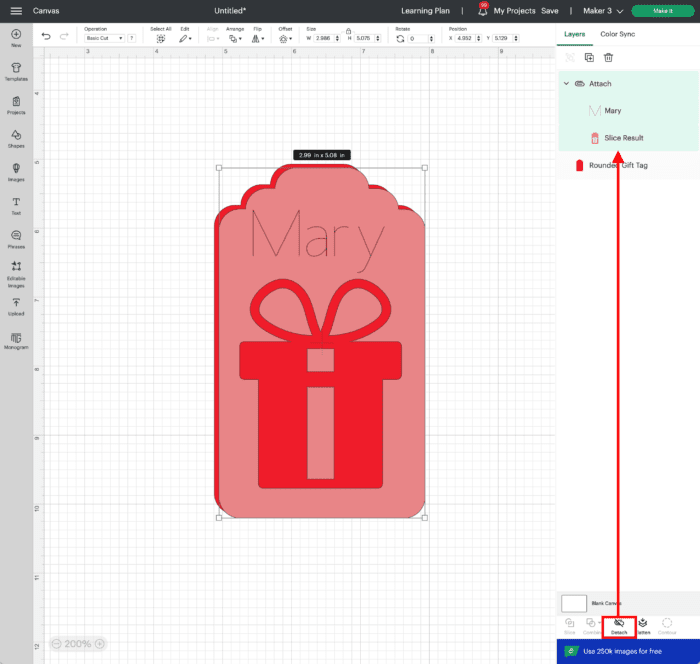
Now the name will be written directly on the tag…all with your Cricut machine! If you need more help with this process, see my full Cricut Pens Guide.
DIY Cricut Gift Tags | Step-by-Step
Step 1: Design & Size the Gift Tags
Use the guidelines above to create several different gift tag designs. Re-color the layers to your liking, size them to 2″-5″ based on how big you need your tags, and then create lots of duplicates (so you have lots of tags at the end!)
Once you are satisfied with your designs, click the green “Make It” button to send the gifts tags to your machine.
Step 2: Cut Gift Tags with Cricut Machine
Cut out the gift tag designs by feeding the correct color materials into your machine either via mat or Smart Materials (mat-less). When picking out papers for each layer, keep these things in mind:
- The bottom layer should ALWAYS be cut from regular (non sticky) cardstock (unless you want to be able to stick them right onto packages).
- The top layer CAN be cut from Smart Paper Sticker Cardstock or Adhesive-Backed Paper to avoid having to glue the top layer in place.
- Monochromatic tags (light and dark of the same color) often look super chic and keep tags from looking messy or busy.
- Swap out different paper textures and sheens (e.g., glitter paper, foil paper) to easily up the style factor!

Step 3: Attach Top Layer to Bottom Layer
With all the layers cut, it’s time to simply match them up and glue them in place!
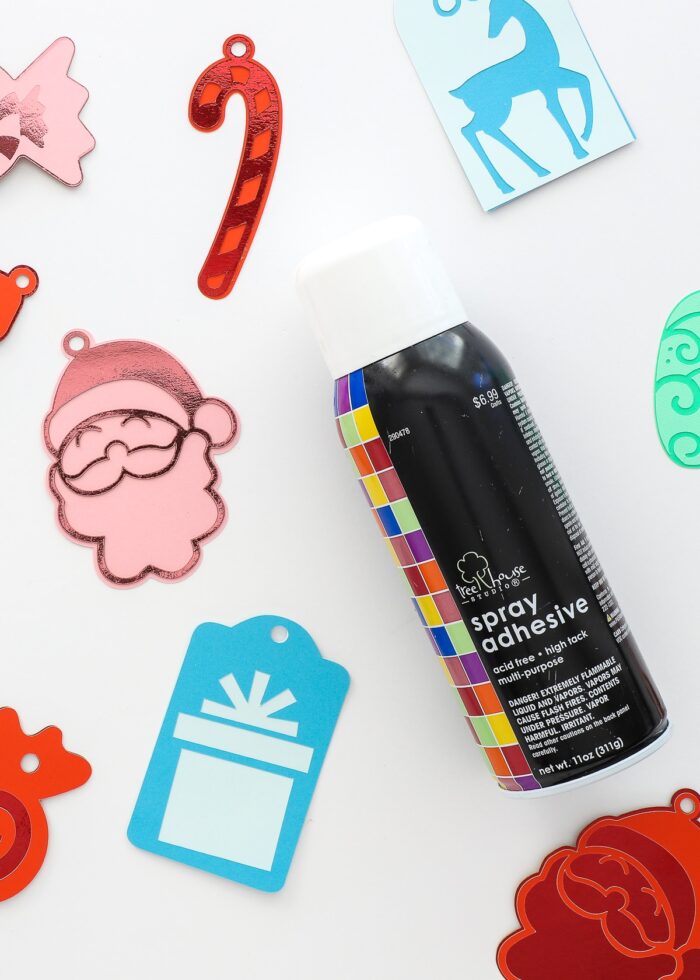
Spray Adhesive
Although you can use craft glue, this can take a lot of time if your tags are small and detailed. Instead, flip the top layers over on a large sheet of parchment or wax paper and coat in spray adhesive. Then you can just place each one directly onto the bottom layer and they’ll be fully secure.
Smart Paper Sticker Cardstock
As mentioned above, using sticky cardstock like Smart Paper Sticker Cardstock or Adhesive-Backed Deluxe Paper allows you to skip the glue step all together. Just peel and place the top layer directly onto the bottom layer!
Step 4: Tie On To Gift
With a whole slew of gift tags glued together, your last step is to write on names (either on the front or back) and tie directly onto your packages through the included hole!
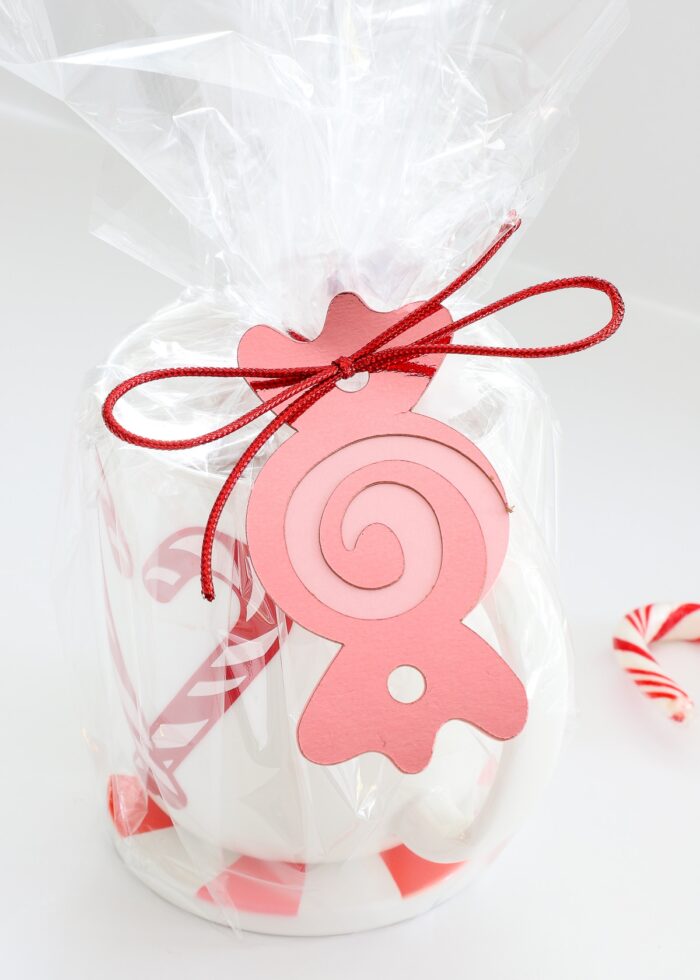
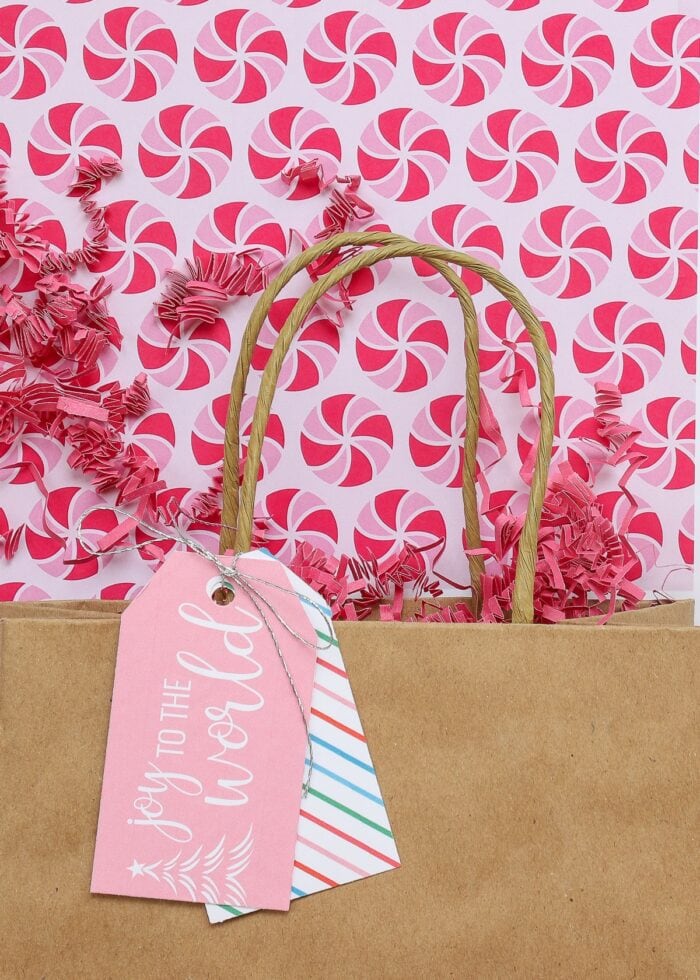
Peppermint Holiday Gift Set Made with Cricut Joy
Other Creative Ways to Make Cricut Gift Tags
In the mood to get a little fancier with your Cricut gift tags? Here are some other versions I love!
Personalized Gift Tags with Cricut Vinyl
During the holidays (and even any time of year!), it’s fairly easy to find pre-cut chipboard tags in various shapes (usually at craft stores, Dollar Tree, and the Target Dollar Spot). If you don’t love your hand writing, you can easily customize these using Cricut vinyl: Personalized Cricut Gift Tags with Glitter Vinyl
Gift Tags with Cricut Pens
Perhaps you come across some adorable store-bought tags that perfectly match your decor scheme or holiday wrapping but you’d rather not write on them by hand. Learn how to use Cricut Pens to write directly onto store-bought (pre-cut) tags: How to Write on Pre-Cut Tags with Cricut Pens
Gift Tags with Cricut Foil Transfer Kit
A fun way to add some shimmer and shine to your Cricut gift tags is to use the Cricut Foil Transfer Kit (Cricut/Maker | Joy)! This process is NOT quick or easy, but it sure creates some stunning tags for your packages: How to Use the Cricut Foil Transfer Kit | A Comprehensive Guide
Printable Holiday Gift Tags
Finally, consider skipping using your Cricut all together and run off printable holiday gift tags right onto perforated tag label sheets with your home printer!
Making DIY gift tags with a Cricut might seem tedious…but it doesn’t have to! I hope this tutorial demonstrates that making custom gift tags isn’t just easy but also a quick project you can totally pull off during the busy holiday season. By choosing pre-made or simple two-layer designs and cutting them out of pretty (pre-sticky) papers, you can (quickly) make gorgeous tags for any occasion all year long!
Megan