Easy DIY (Extra-Large) Christmas Tree Skirt
One of the easiest holiday decor projects you can tackle…regardless of your craft skill…is a DIY Christmas tree skirt! These simple fabric accessories are quick to cut and assemble (even if you can’t sew!), and can be made in a wide range of sizes, from (almost) any fabric. Today, I’m breaking this (truly) quick and simple project down so you too can whip up a custom tree skirt for this year’s holiday display!

When I first set out to make this Christmas tree skirt (almost 10 years ago now!), I had three main priorities:
- I wanted the tree skirt really large so it would make a statement under pretty much any size Christmas tree.
- I wanted the tree skirt neutral, so it would always match no matter what color scheme I chose.
- And I wanted the tree skirt very simple so that it didn’t outshine or compete with the tree itself or the lovely presents underneath.
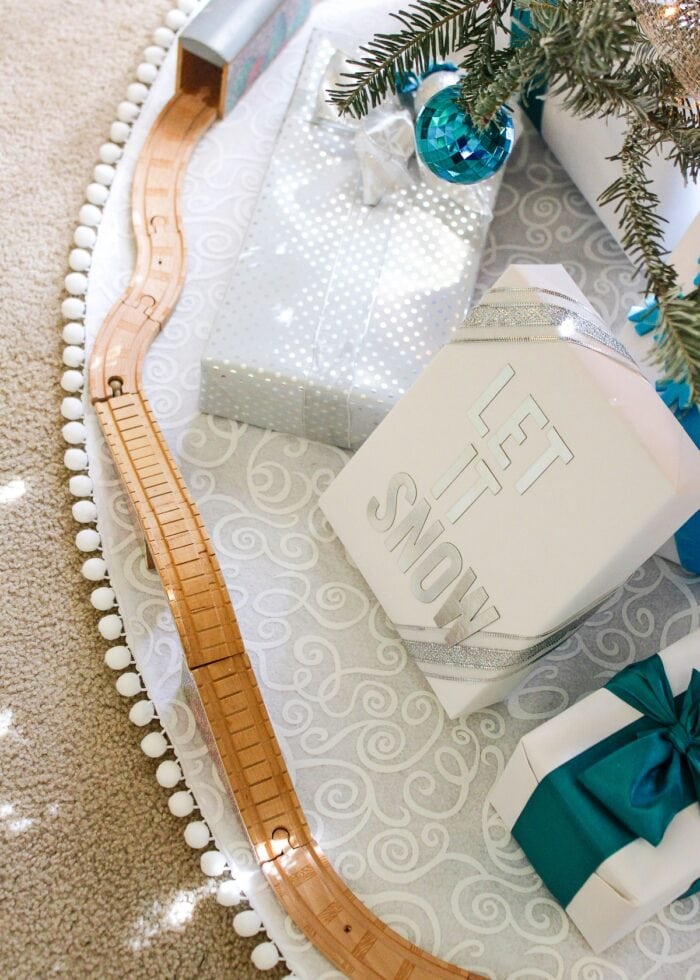
The result is a very large (almost 70″ in diameter!) but stunningly simple tree skirt that I look forward to pulling out year after year.
This DIY Christmas tree skirt is easy (like…really easy) and quick (it will take you about 1 hour); and looks amazing when it’s complete. Let me show you how it’s done!
Supplies Needed
- 36″ Wide Felt (or other no-fray fabric) – more details below
- 1-1/8″ Pom-Pom Trim – My skirt required just shy of 10 yards. Your local craft store will likely not have that much on-hand, so I recommend ordering it in bulk.
- Tools:
- Fabric Scissors
- Fabric Marker or Pencil
- Yard Stick
- Straight Pins
- Sewing Machine with standard foot and zipper foot
- Coordinating Thread
- Hot Glue Gun (only if going the no-sew route)
What Kind of Fabric Should You Use for a Christmas Tree Skirt?
This tree skirt is a single layer (no lining) and does not have a sewn hem or any quilting. And while these characteristics are exactly what make this project so easy, they also mean you will have raw (unfinished) fabric on the outer edge of the tree skirt. As such, I highly recommend using a non-fray fabric such as felt, fleece, minky, burlap, or flannel.
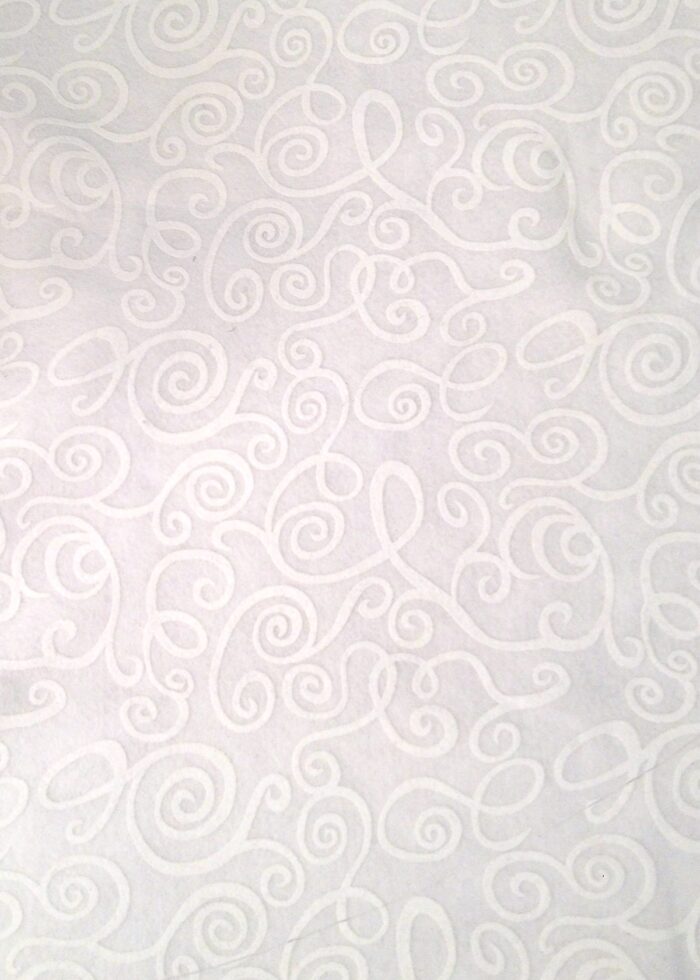
Thankfully, during the holiday season, most craft stores carry a wide range of really fun and festive fabrics in these categories. I bought this white-on-white swirl felt years ago, but I’m fairly certain you’ll be able to find something similar in the aisles of JoAnns or Hobby Lobby!
How to Make a Christmas Tree Skirt No Sew
I chose to sew my Christmas tree skirt together and add the pom-pom trim using my sewing machine. But you don’t have to! Felt responds very well to hot glue, so you can easily follow this exact same tutorial using a Hot Glue Gun instead of a sewing machine. I’ll provide glueing instructions along the way!
Sizing Your Christmas Tree Skirt
What is the Average Size of a Christmas Tree Skirt?
Most tree skirts that you can buy in the store range from 16″ (for mini trees) to 42″ for standard trees. This tutorial can be used to make a tree skirt any size, but particularly one that is extra large (for really wide trees or if you like a bigger skirt for lots of presents!) The skirt shown in my photos is 70″ wide.
The Trick to Making a BIG Christmas Tree Skirt
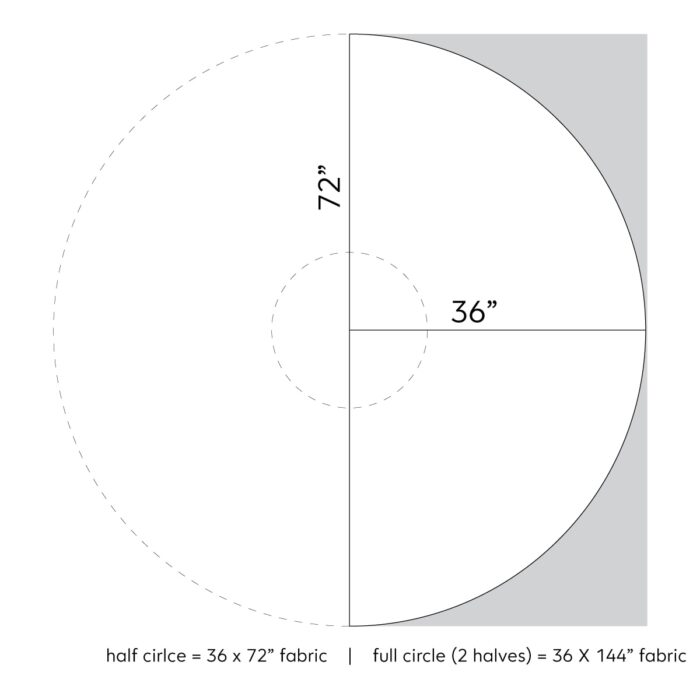
The key to making a really large Christmas tree skirt is to use the fabric’s width as the radius of your skirt’s circle.
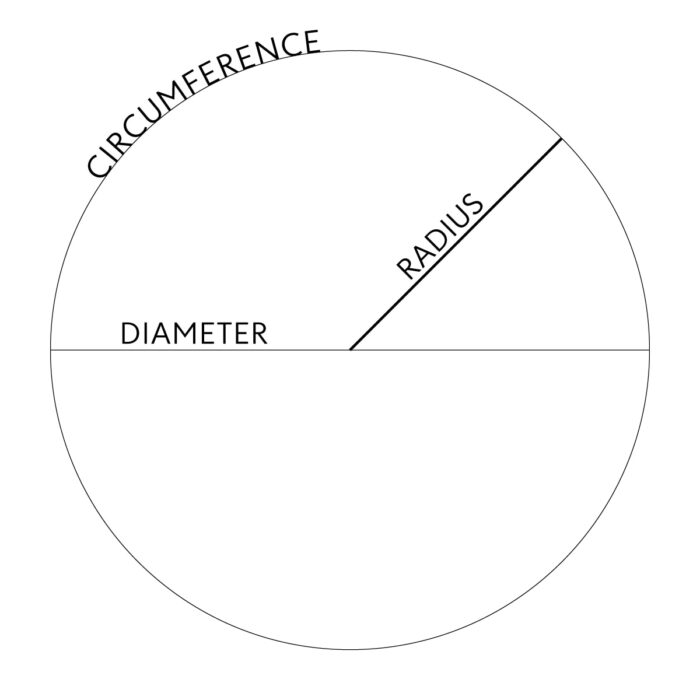
Whoa…I know…I’m asking you to think back to geometry class. Here are some reminders:
- Diameter = the length across the middle of the circle
- Radius = half the diameter
- Circumference = the distance around the perimeter of the circle
Your Christmas tree skirt’s radius will be limited by how wide of fabric you use. So at a maximum:
- 36″ wide fabric can create a 72″ diameter skirt
- 42″ wide fabric can create an 84″ diameter skirt
- Your fabric’s width X 2 = the largest diameter skirt you can make
You can always go smaller simply by making the radius shorter!
How Much Fabric Do You Need for a Christmas Tree Skirt?
As you will soon see, we are going to cut a full half circle out of a single width of fabric. So how much length you need is again determined by how wide a skirt you are making. If you use the full width of your fabric, the math works out as follows (again, you can always adjust smaller):
- 36″ wide fabric will create a 72″ diameter skirt = 2 yards (72″) per half circle = 4 yards total
- 42″ wide fabric will create an 84″ diameter skirt = 2.3 yards (84″) per half circle = 4.6 yards total
- Your fabric’s width X 2 = the largest diameter skirt you can make (L) = L per half circle = 2 x L yards total
How to Make a Large Christmas Tree Skirt
These instructions will show how to make a really full, very wide Christmas tree skirt. My example uses 4 yards of 36″ wide white felt. However, you can easily adjust this tutorial to make a tree skirt any size by reducing the radius down.
If you’re interested in making a mini tree skirt, see my other tutorial here: DIY Mini Christmas Tree Skirt | A 15 Minute, No-Sew Project!
Step 1: Fold Fabric In Half
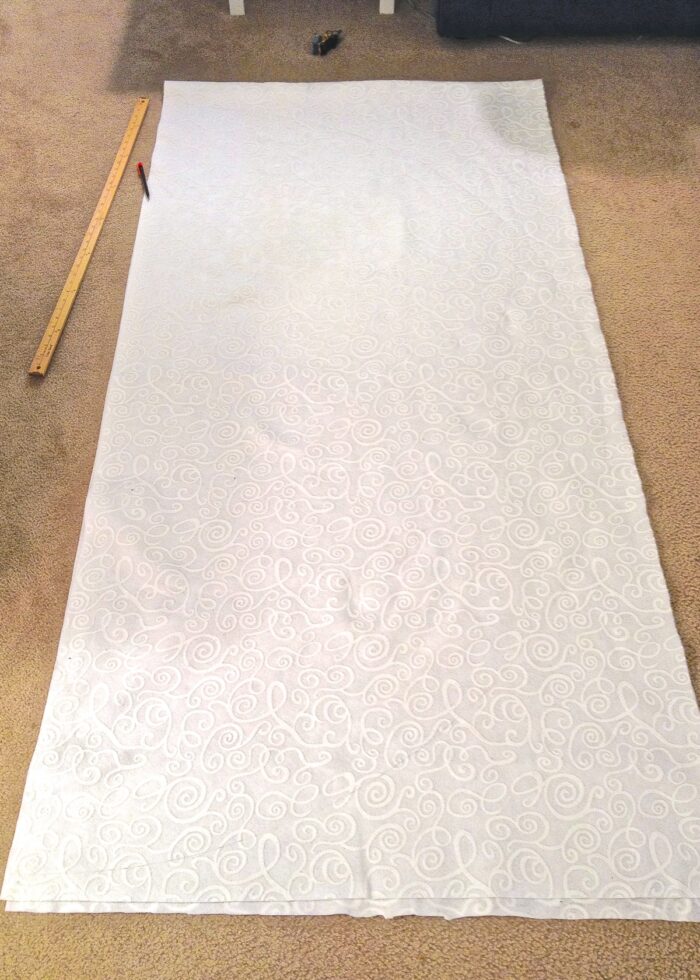
With right sides together, fold the full length of fabric in half with the raw edges together and matching up the sides (selvedge edge).
In the image below, there are two lengths of ~2 yards of fabric stacked on top of each other.
Step 2: Draw Half Circle On the Fabric
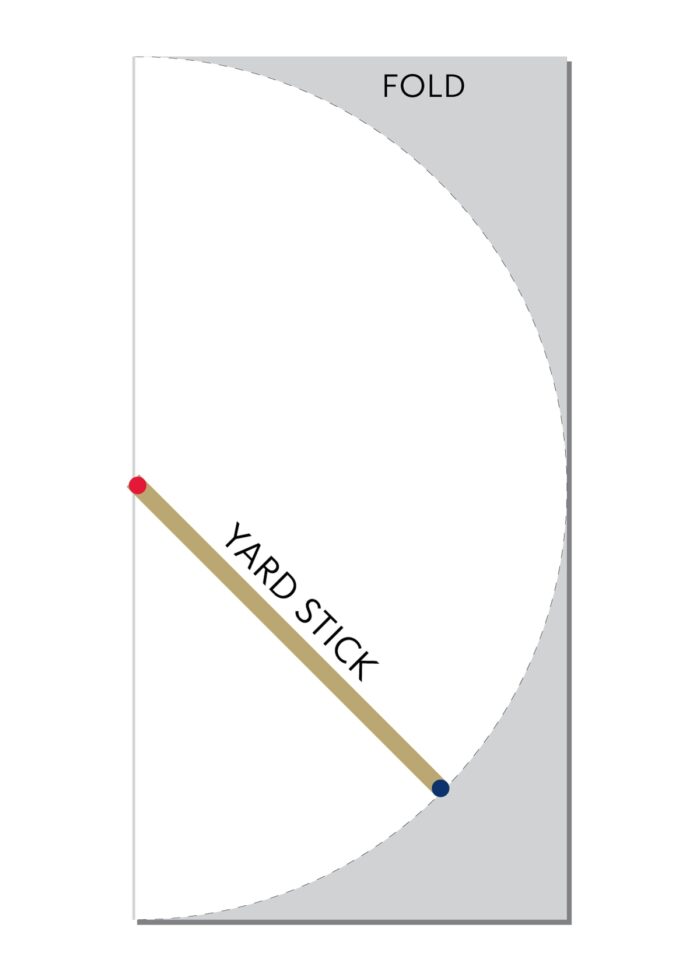
Next, use a yard stick as a compass to draw a half circle on the top layer of fabric. If you don’t have a yard stick, you can do the same thing with a piece of string tied to two pencils.
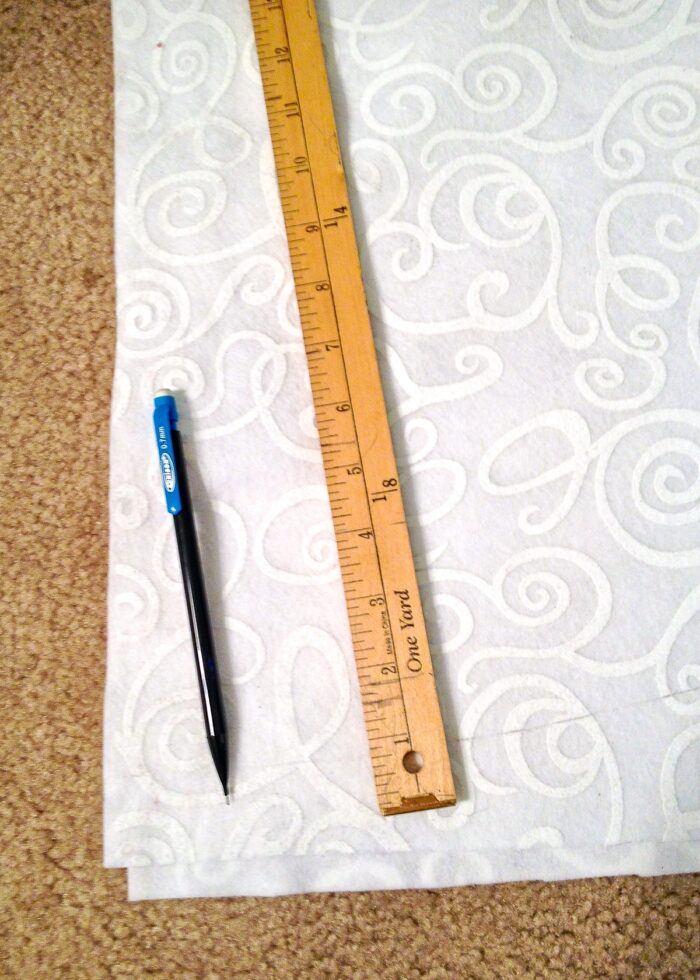
- Stick one pencil (red) in the hole of the yard stick and place it at the center of your fabric (on the side edge). This will be your pivot point.
- Pivot the yardstick (around the red pencil) and draw a hash mark at the end of the yardstick. Repeat all the way around the fabric to create a perfect half circle.
Step 3: Cut Out the Tree Skirt
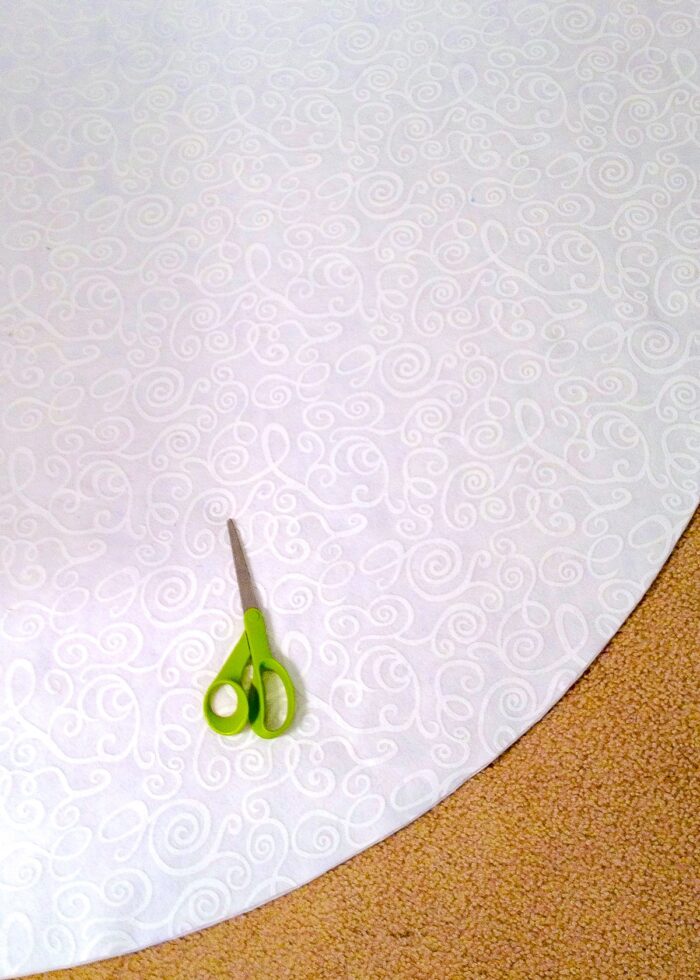
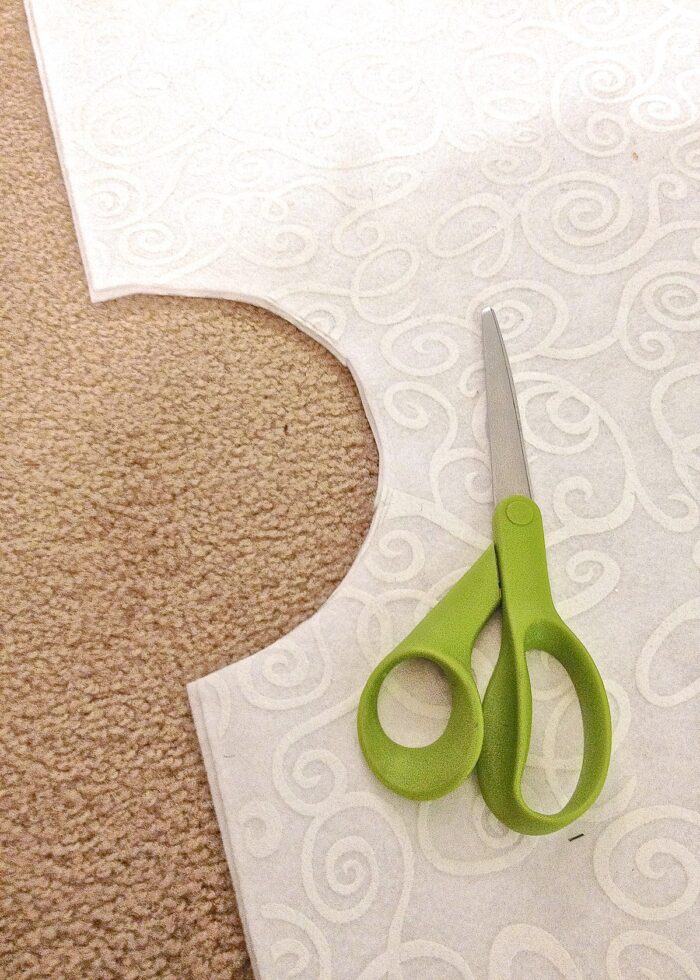
Use a sharp fabric scissors to cut out the two (very large) half circles.
NOTE: My fabric is doubled over here so I ended up with two half circles exactly the same size.
Step 4: Repeat for Inner Circle
Next, you will repeat the process (on a much smaller scale) to create a hole that allows the skirt to go around the base of your tree. You can use an actual compass or smaller string for this step; I just grabbed a mixing bowl from my kitchen and traced half of it.
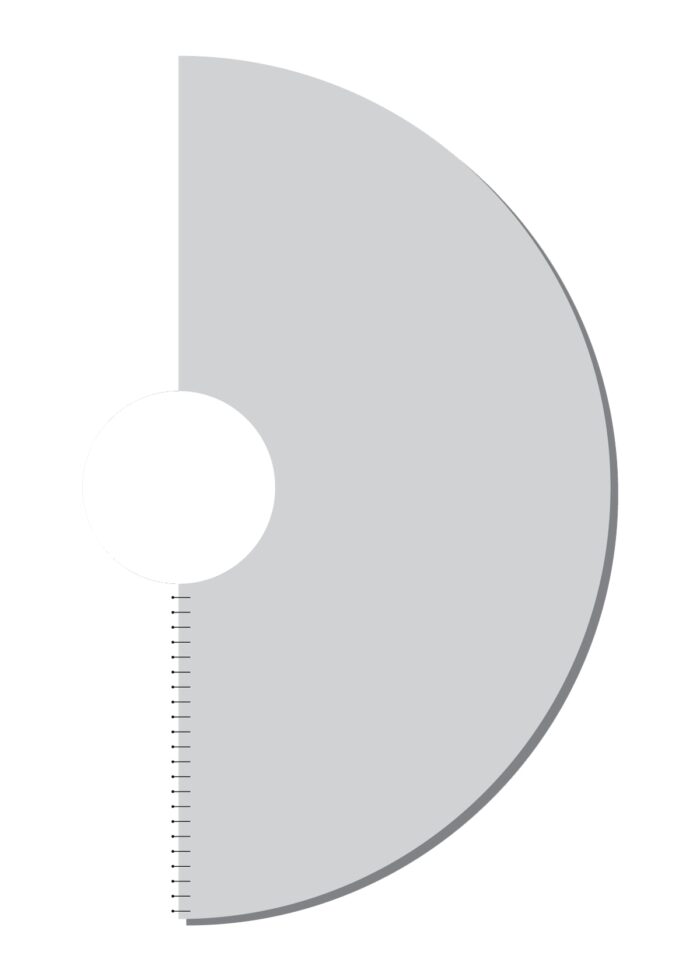
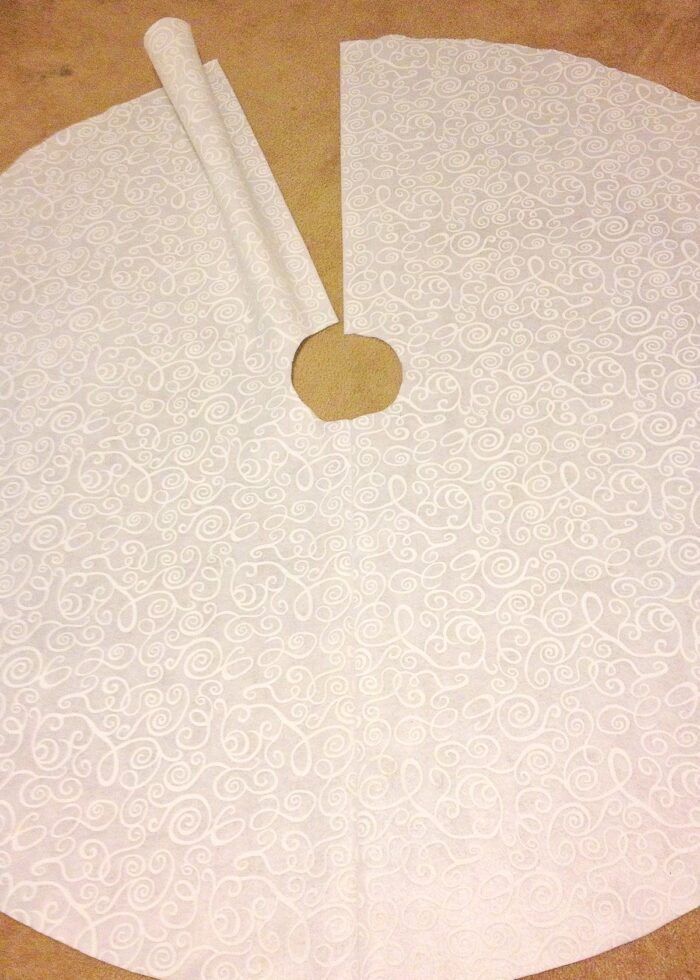
At the center of the half circle, create a smaller half circle with a radius of about 5″; then cut it out of both layers as well. You should now have two identical tree skirt pieces ready to be made into a single unit!
Step 5: Sew Tree Skirt Together
If they aren’t already so, place the right sides of the two half circles together, lining up all edges. Then pin down just ONE side of the half circle (see below).
Use a sewing machine to join the two half circles together with a 1/2″ seam allowance. To reduce the bulk from the thicker felt fabric, open the seam and iron it flat against the underside of the tree skirt.
No-Sew Adaptation
If you’re using hot glue instead of sewing the two sides together, simply place the edge of one half circle over the other by about 1/2″. Add a thin line of glue under the overlap to secure the two edges together. Let fully cool before moving on so the two sides don’t pull apart.
NOTE: You will only attach one side of the tree skirt together. Leave the other seam open so you can easily put it around your tree!
Step 6: Add Pom-Pom Trim
The last step is to add some pom-pom trim. Although this is completely optional, it’s 1000% recommended since it really finishes off the raw edge of the fabric AND adds a totally whimsical detail that is perfect for the holiday season.
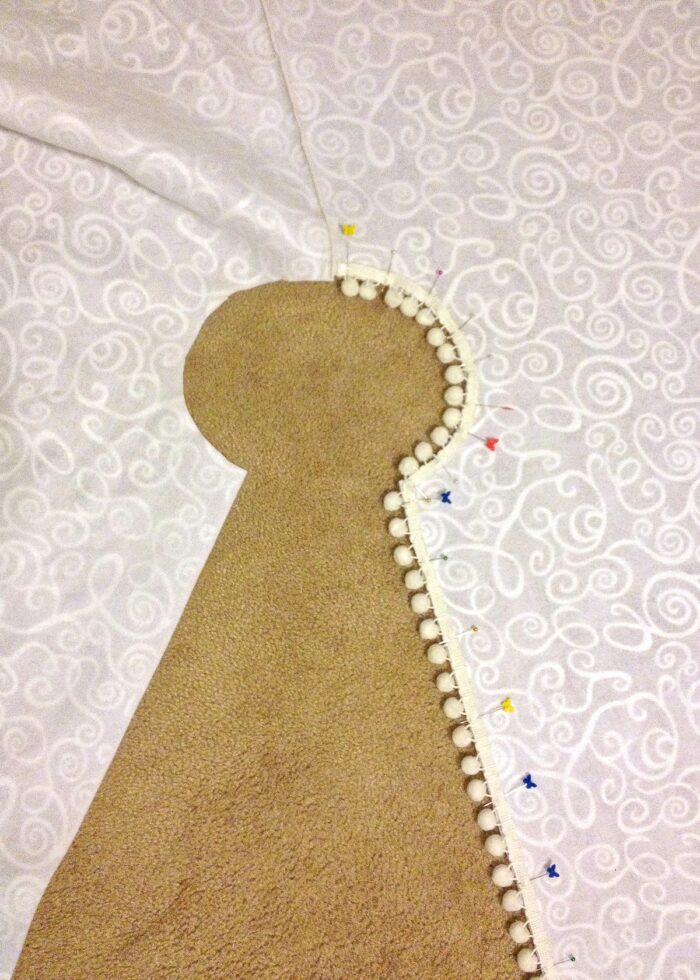
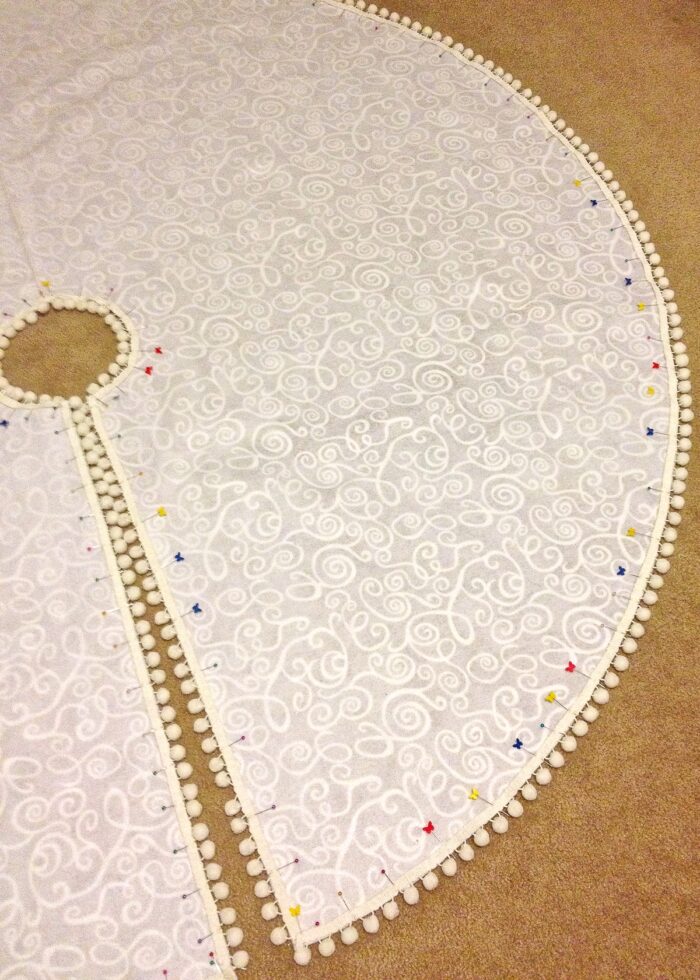
Adding the pom-pom trim is simple but also a bit tedious, especially considering the size of this tree skirt! I recommend starting in the center of the “keyhole” and working your way out, all the way around, and then back in to where you start.
To add the pom-pom trim:
- Pin the pom-pom trim to the WRONG side (under side) of the tree skirt with the pom-poms extending out over the edge.
- Use a zipper foot and coordinating thread to attach the trim to the skirt. Keep your stitch line as close to the edge/pom-poms as possible.
No-Sew Adaptation
If you’d rather hot glue your pom-poms to the skirt, flip the entire tree skirt over so that the wrong side is facing up. Next, place a thin line of hot glue along the skirt edge and press on the trim with the pom-poms extending over the edge. Work in short sections (8-10″ at a time) since the hot glue dries quickly.
Step 7: Place Around the Christmas Tree
And you’re done! You can now place your DIY Christmas tree skirt around the tree and start loading in the presents!
NOTE: You likely won’t need any closures on this tree skirt because it’s such a huge circle that overlaps quite a bit in the back. If desired, you can always hand-stitch ribbon ties or button closures along the open seam.
I wanted to quickly show you this picture (below) of the seam. While smaller tree skirts can be made without a seam, to make one this big, a seam is inevitable (unless you have super wide fabric!)
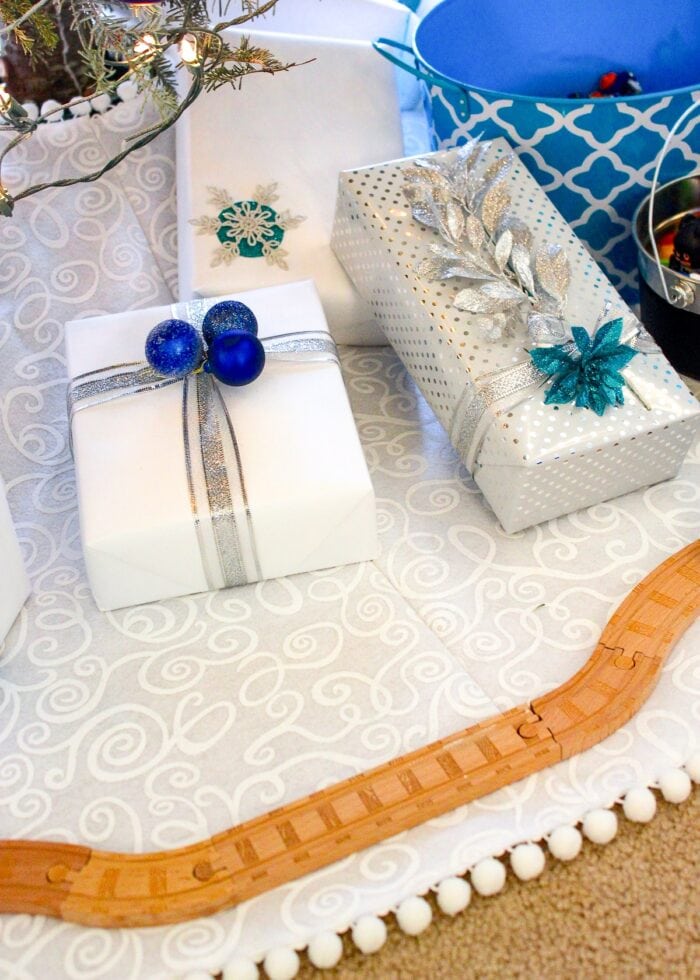
However, once you have the tree skirt in place and the presents added, you will hardly be able to tell! Those cozy pom-poms provide plenty of distraction!
If you’re in need of a tree skirt or are simply looking for something new, I suggest giving this version a try. It provides so much texture and personality under the tree, and it will likely take you just an hour or so. I made this exact DIY Christmas tree skirt over 9 years ago now, and it still provides a chic and stylish base to our Christmas tree every single year!
Megan









3 Comments on “Easy DIY (Extra-Large) Christmas Tree Skirt”
Love the tree skirt. The pattern is beautiful!!
Beautiful work!
Pingback: DIY Mini Christmas Tree Skirt - A 15 Minute Project! - top military powers