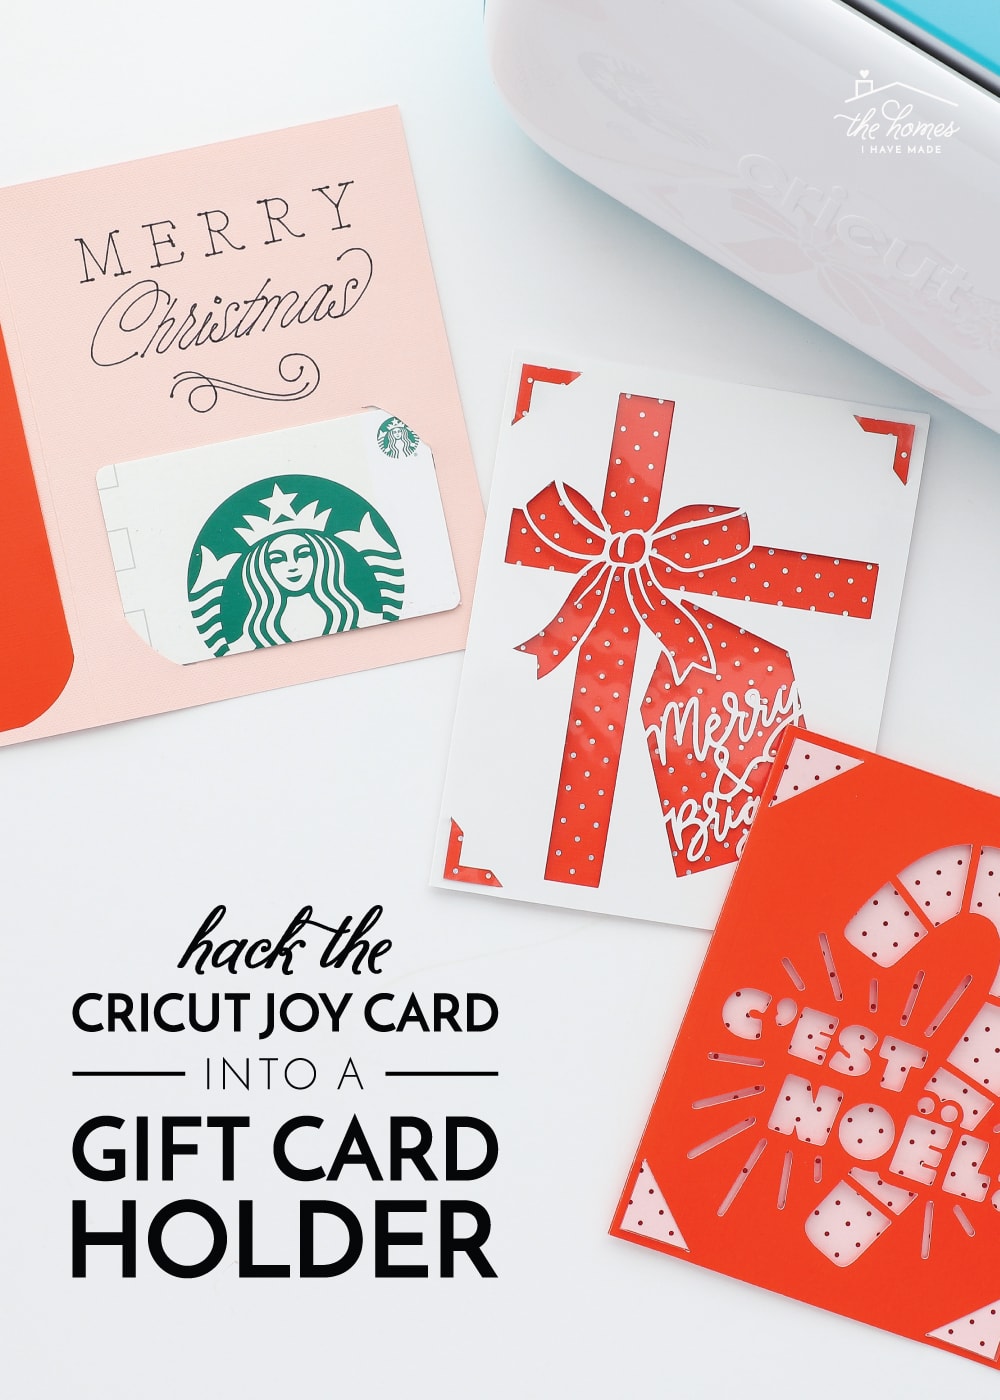
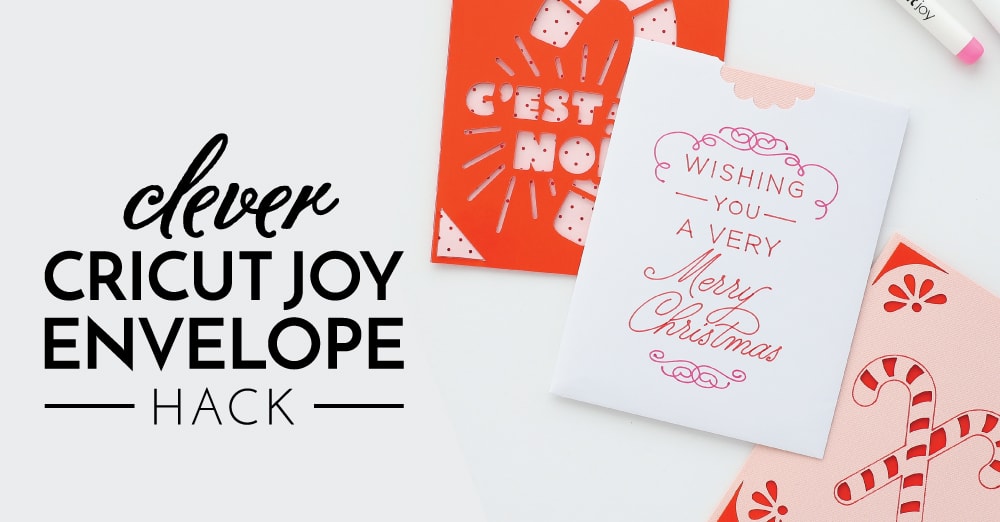
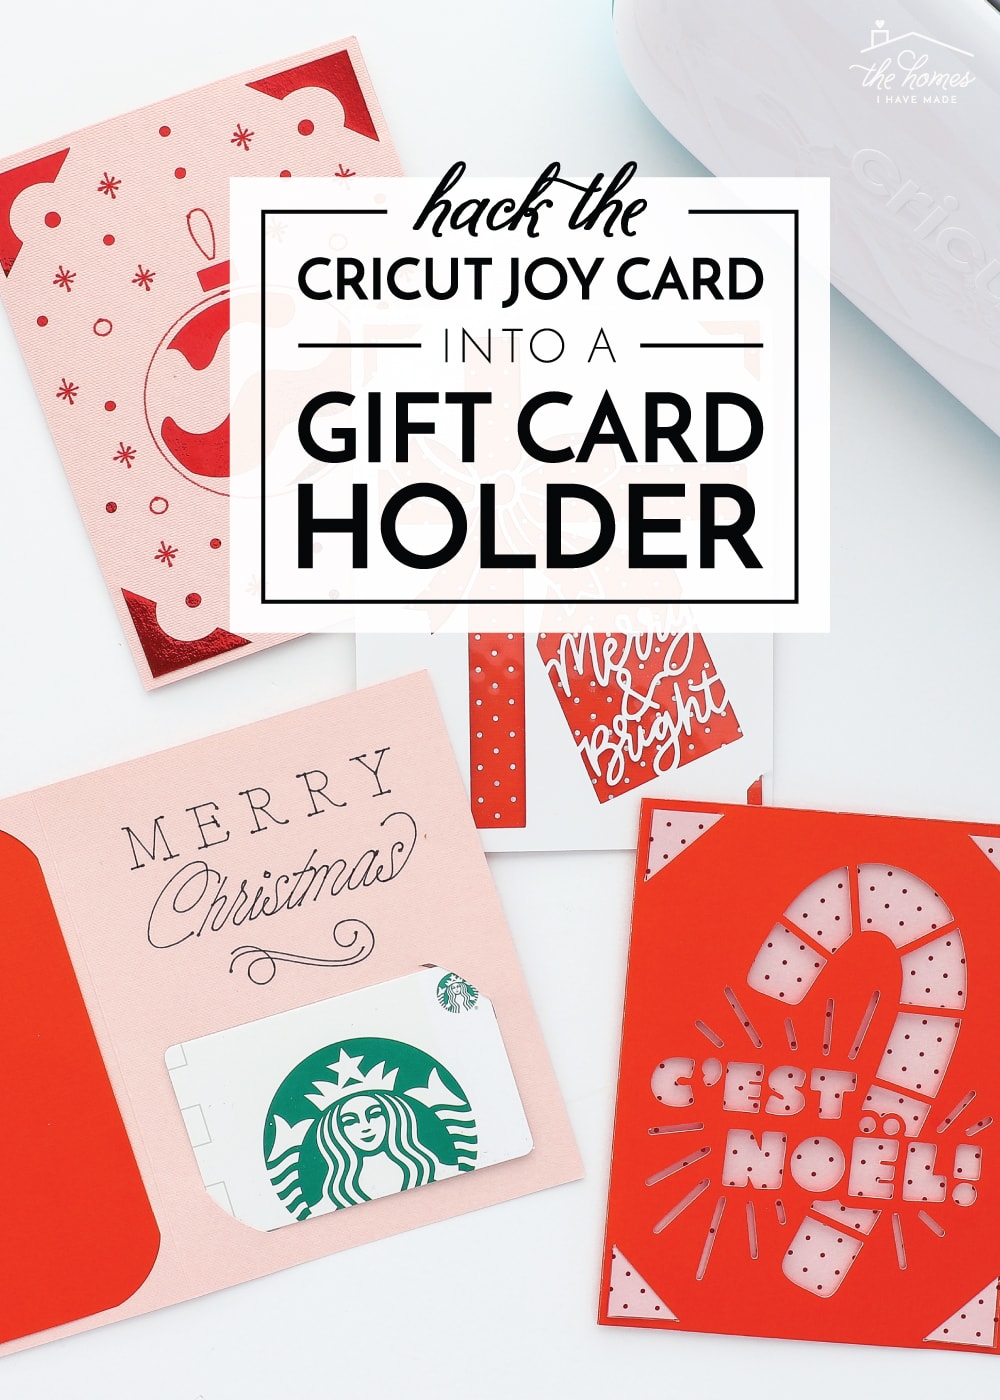
Hack Any Cricut Joy Card Into a Gift Card Holder!
This holiday season, I am all about crafting in “bulk” to pull together lots of gifts really quickly. I think it’s safe to say there isn’t a faster, easier, and cuter project than a Cricut Joy card, but how about taking it up a notch to make it extra special for gift giving?!? Today, I want to show you how to easily hack any Cricut Joy Card into a Gift Card Holder. I’m also sharing some ready-made templates so you can pull these together in a snap (like as you’re walking out the door for a party or when a neighbor calls to say they’re dropping something off in 10-minutes!) Let’s do this!
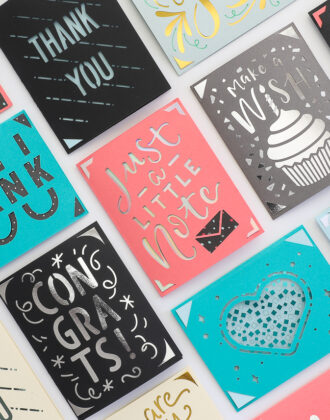
The Cricut Design Space Library has been populated with dozens of fun and festive card designs for the holidays. All the design work is done for you, so the hardest part of this project will likely be picking out which design and colors you want to use! Whether you’re making fresh cards or want to apply this trick to cards you have pre-made, it’s just one simple step to add the gift card holder!
Supplies Needed
For this project, you will need:
- Cricut Joy
- Cricut Joy Card Mat
- Cricut Joy Insert Cards (or cardstock in the colors of your choice)
- Cricut Joy Pen(s)
- Cricut Joy Card Gift Card Templates for Cricut Design Space
- And a gift card!
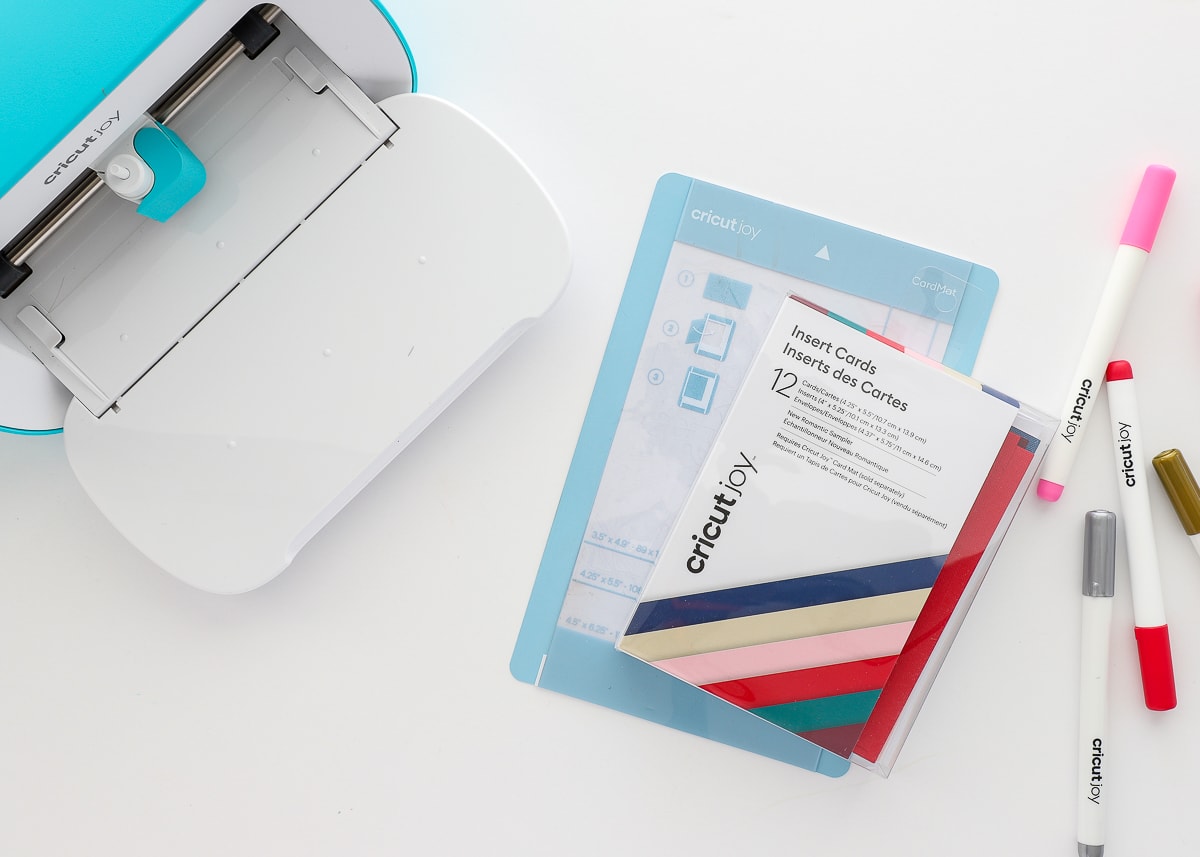
Cricut Joy | Cricut Joy Card Mat | Cricut Joy Insert Cards | Cricut Joy Pen(s)
Make the Cricut Joy Cards
Start by making a Cricut Joy card, just as you normally would. You can even crank out a bunch and fully assemble them. If you aren’t sure how to make Cricut Joy Cards, visit my comprehensive tutorial HERE.
Prepare Your Gift Card Holder Design
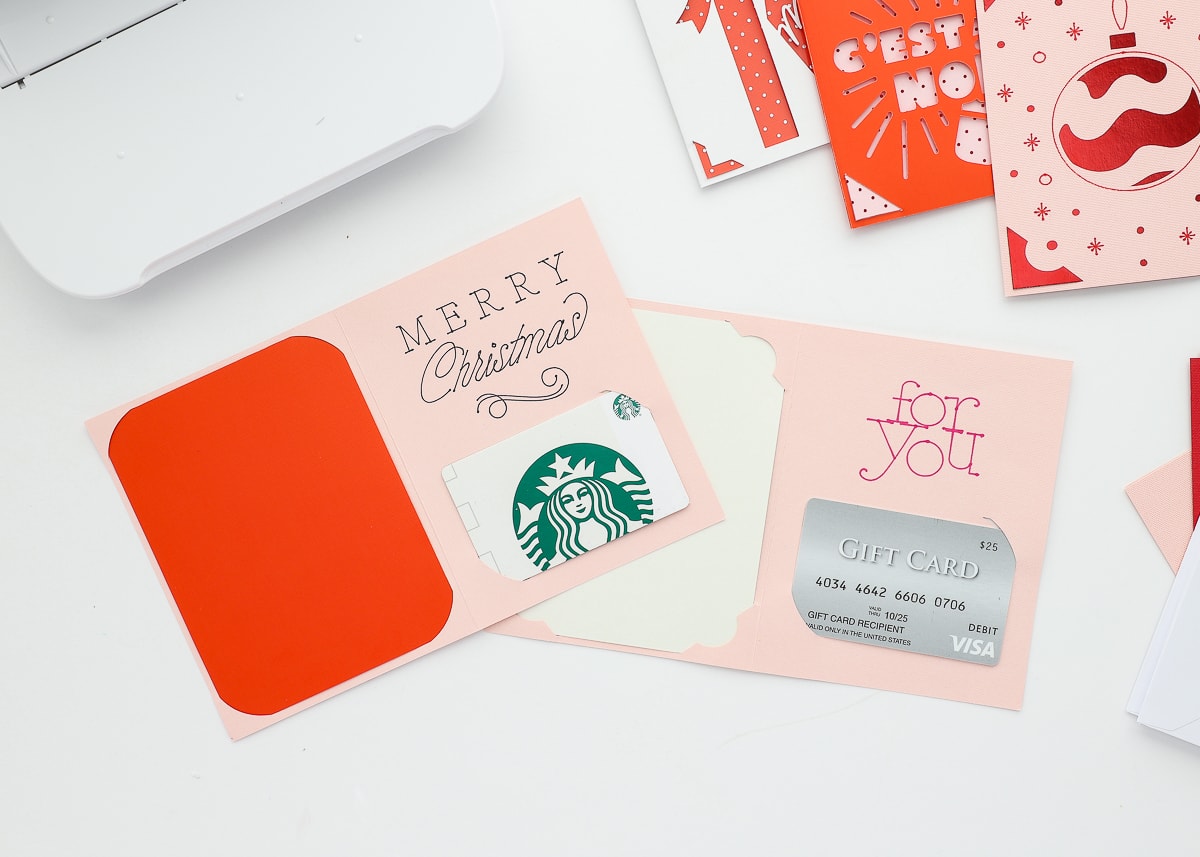
Next, you will need to open Cricut Design Space and access my ready-to-go Cricut Joy Card Gift Card Templates. As shown below, I have 15 different options all laid out and ready to cut. Feel free to swap out the wording and designs on these templates; just don’t adjust the corner cuts because they are perfectly sized to hold a gift card.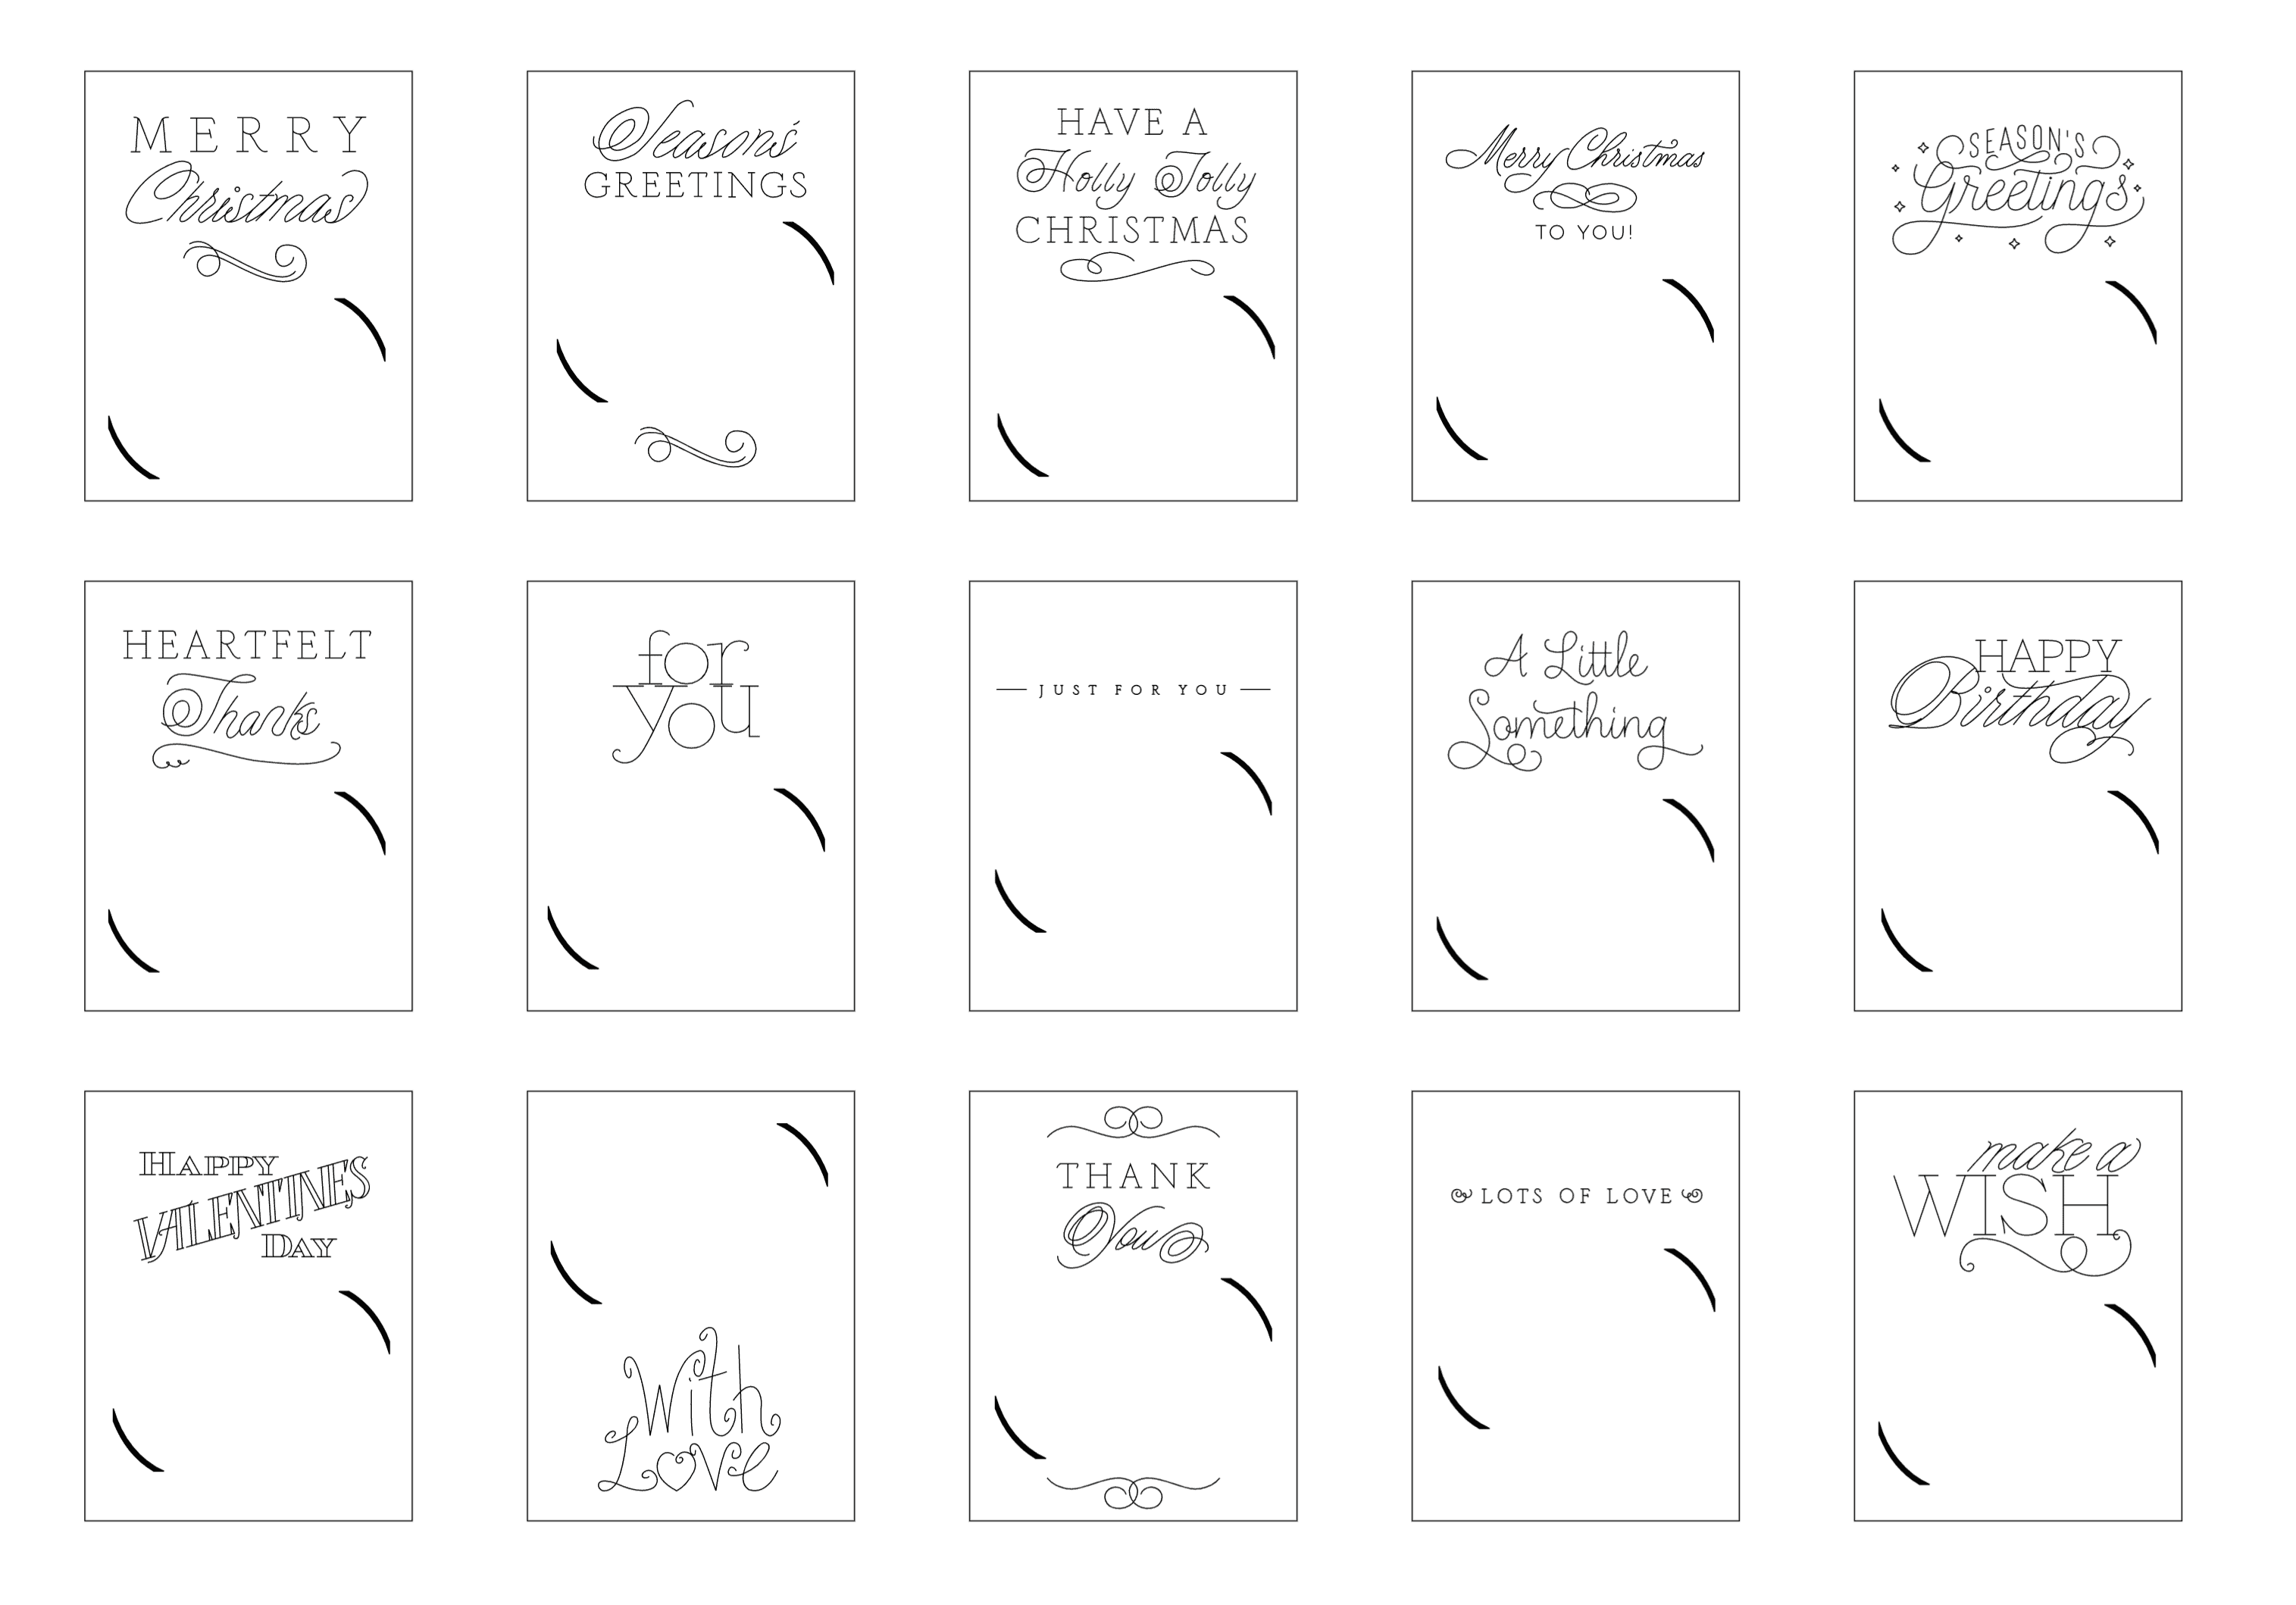 Pick the message you want to use and hide all the others (do so by clicking the eye toggle switch next to each set in the right-hand Layers Panel). Then send the design to be drawn+cut with your Cricut Joy.
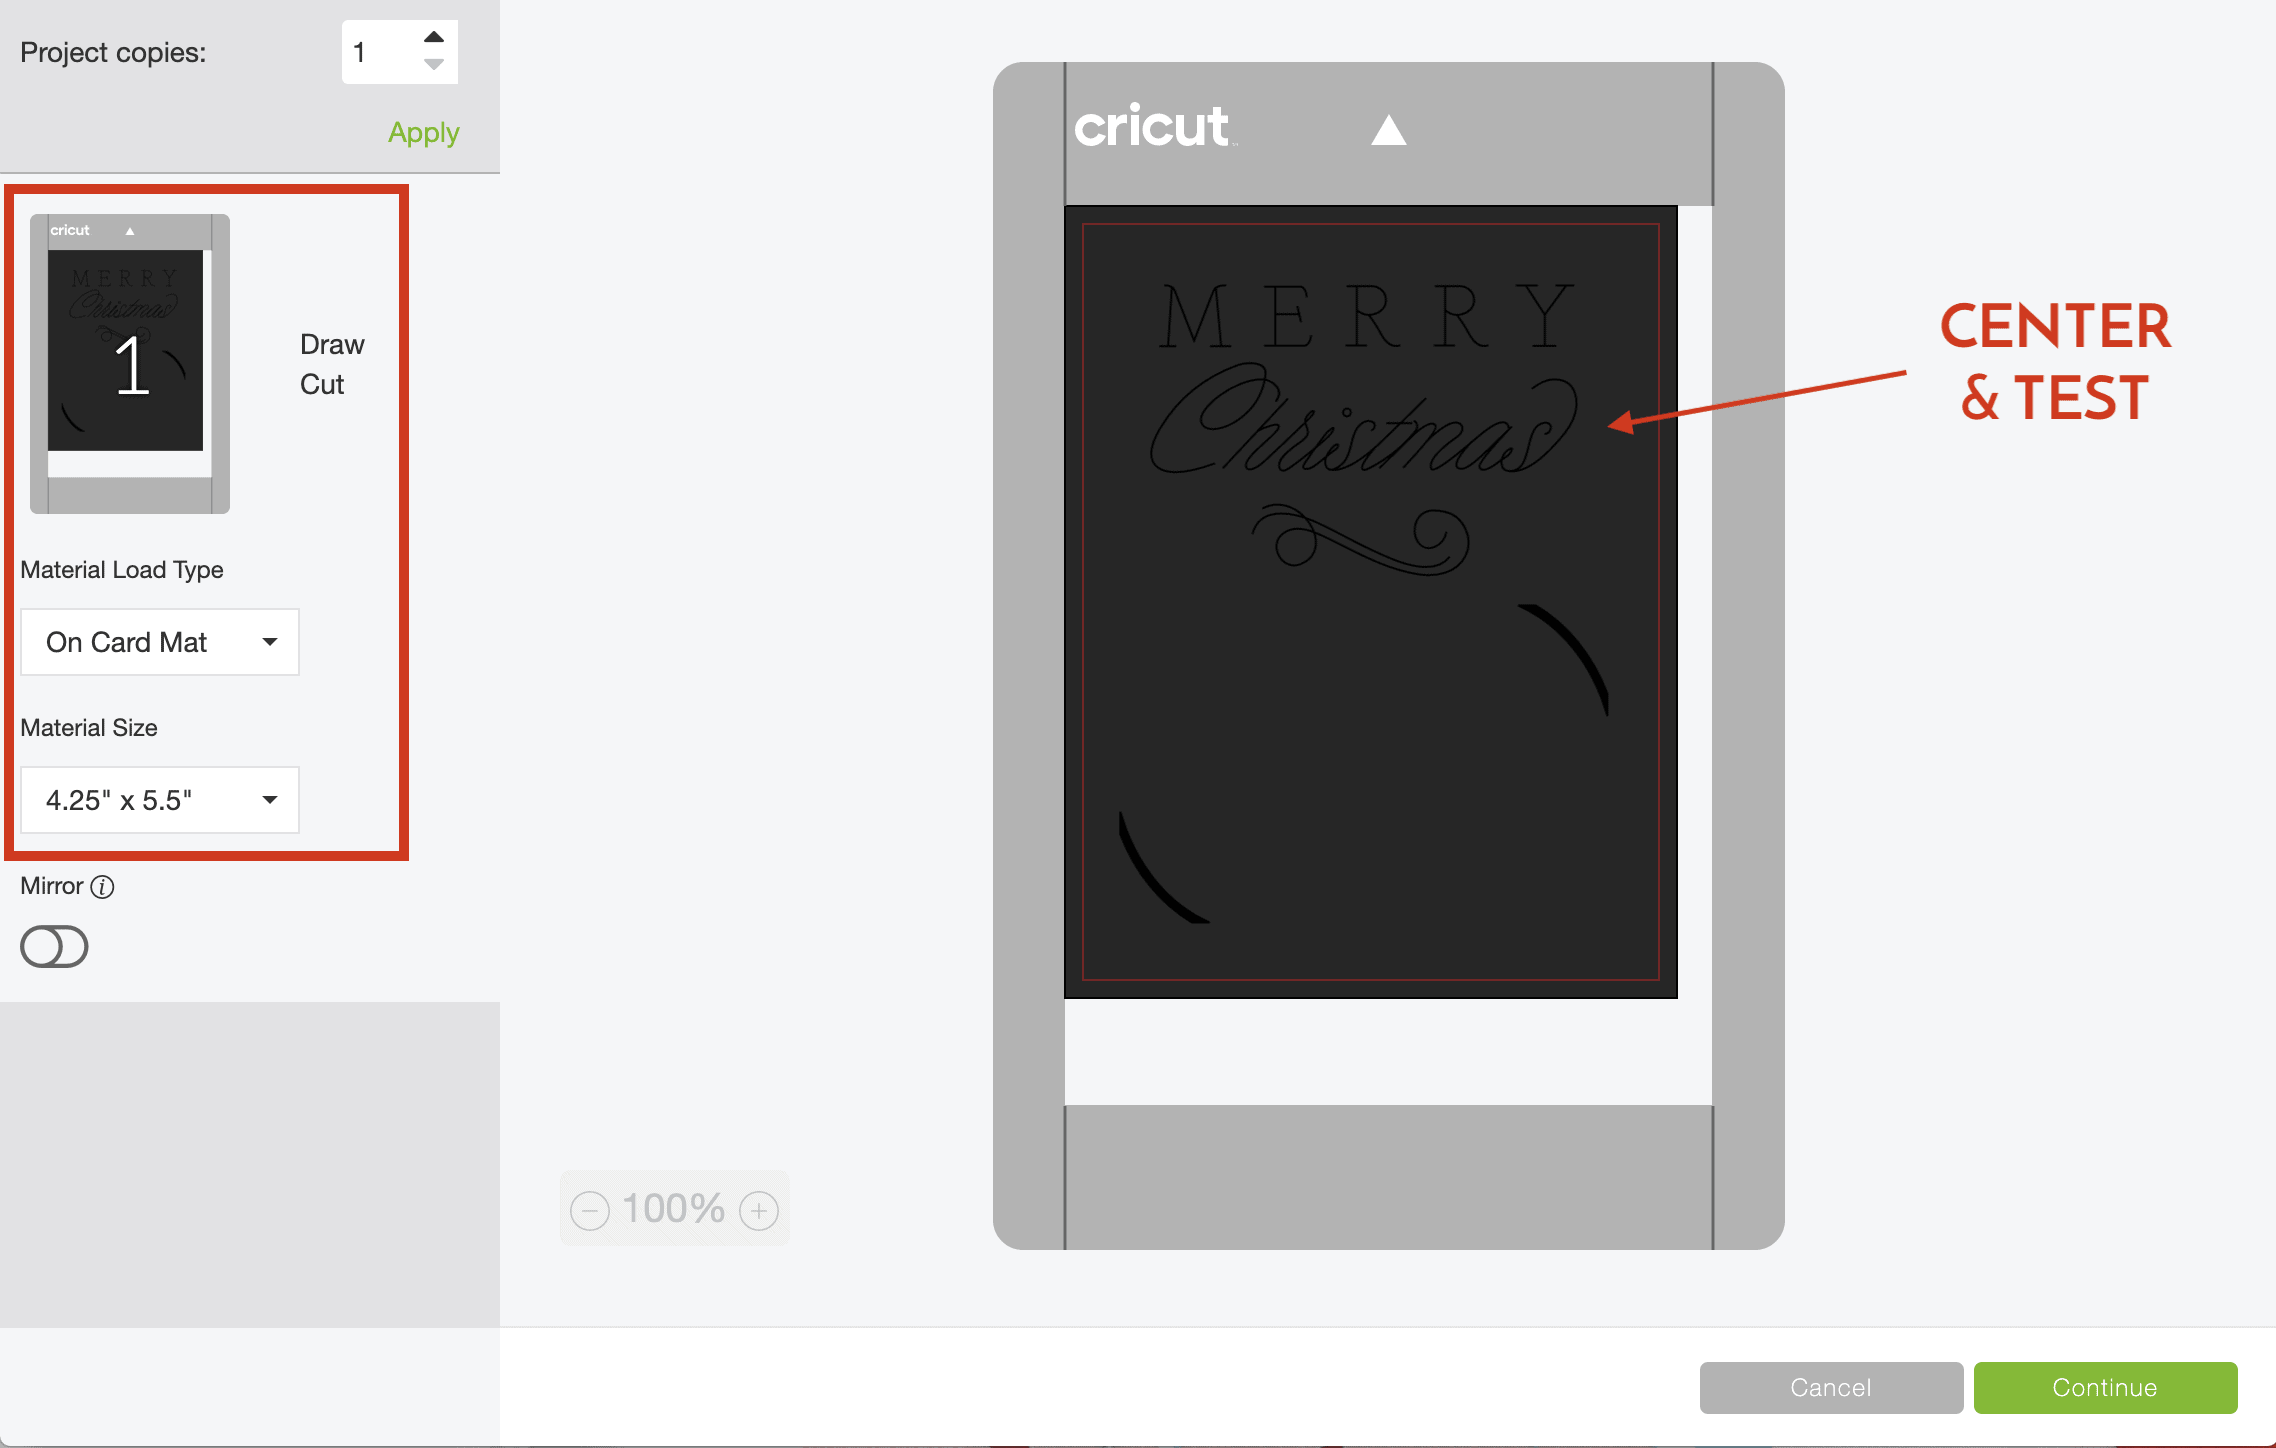
On the cut screen you will need to do the following three things:
- Select “On Card Mat” from the cut options.
- Under the Material Size dropdown menu, select 4.25 x 5.5.”
- Finally, you will need to MANUALLY center your design on the sample cut mat. Simply drag-and-drop it wherever you want, but I recommend centering it within the red outline.
TIP! Before drawing/cutting your fancy cards, I highly suggest doing a few tests on scraps (cut to 4.25 x 5.5″) to make sure you like the final placement of the words and slits. Once you’re satisfied, repeat the process on your actual cards using the instructions below.
Cut the Gift Card Holder With Cricut Joy
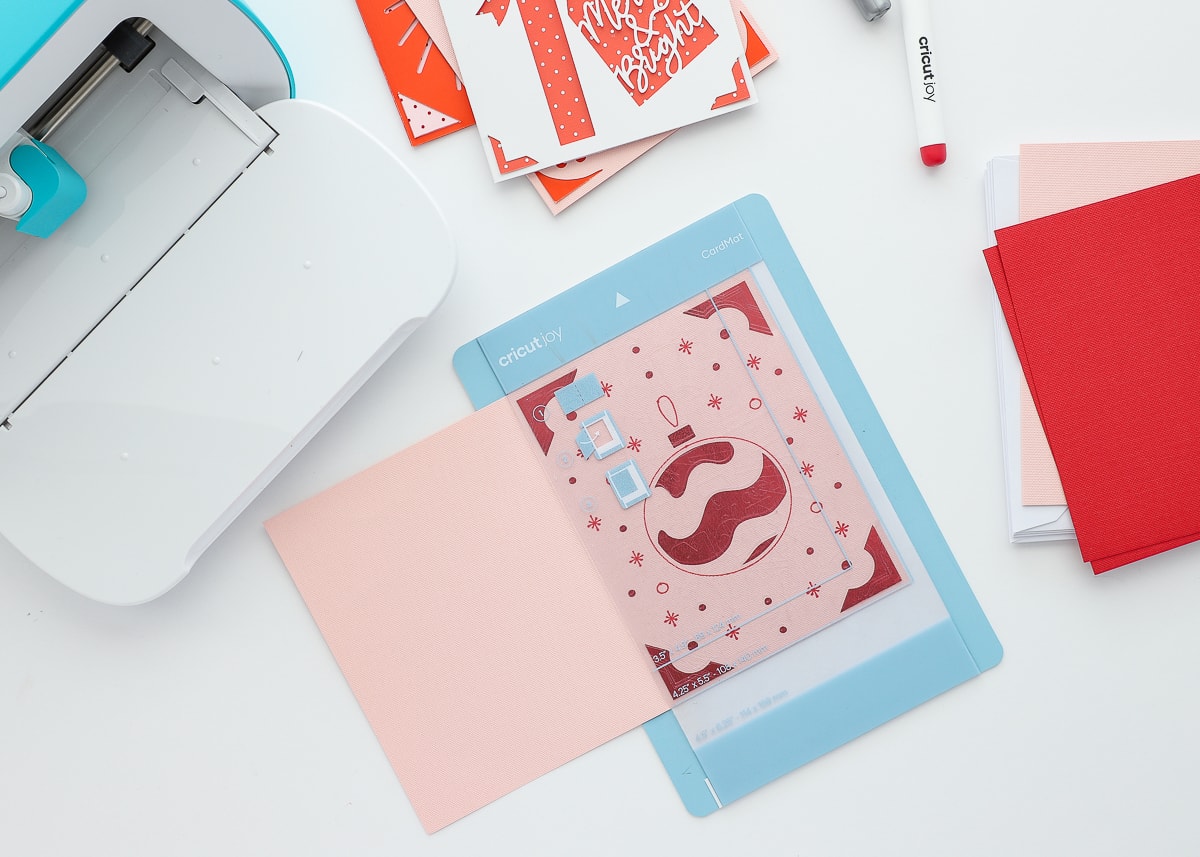
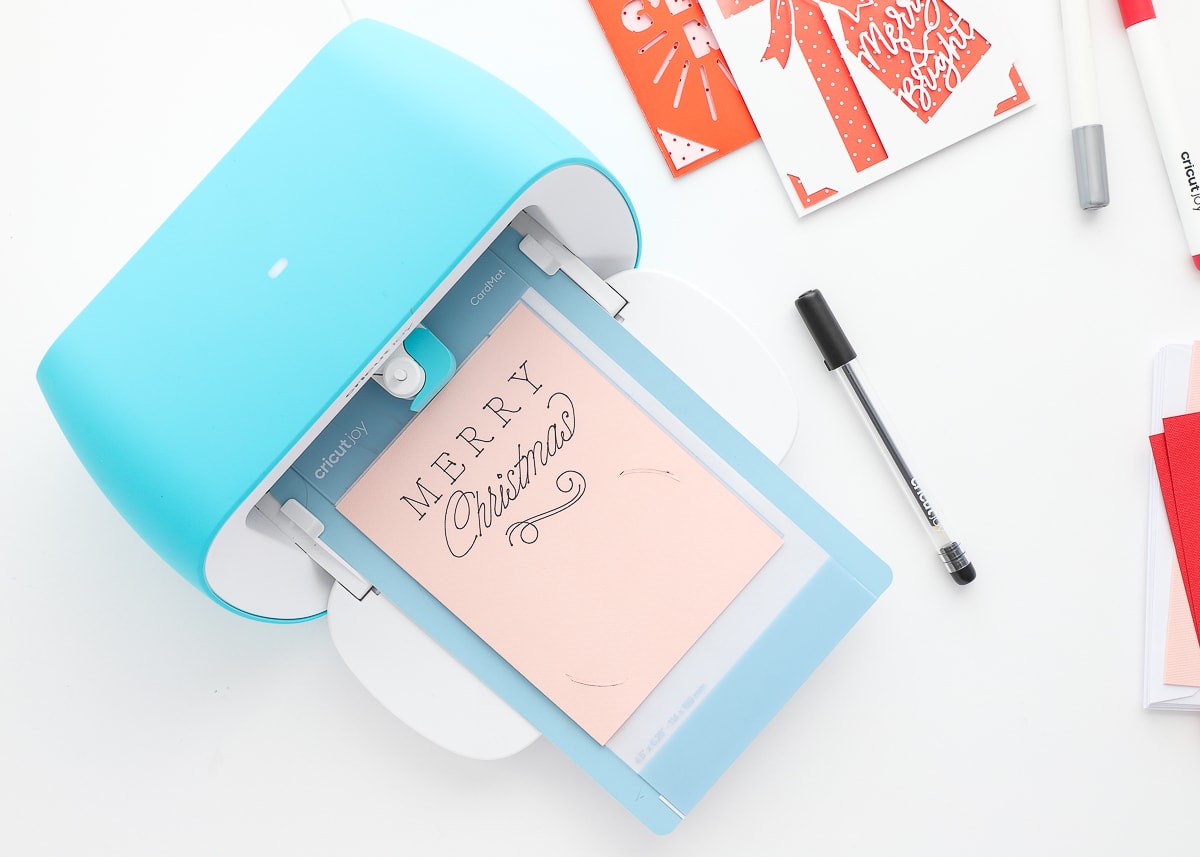
Finally, slide the front of your assembled Cricut Joy Card under the clear flap on the Cricut Joy Card Mat, as shown below.
Want to save this post?
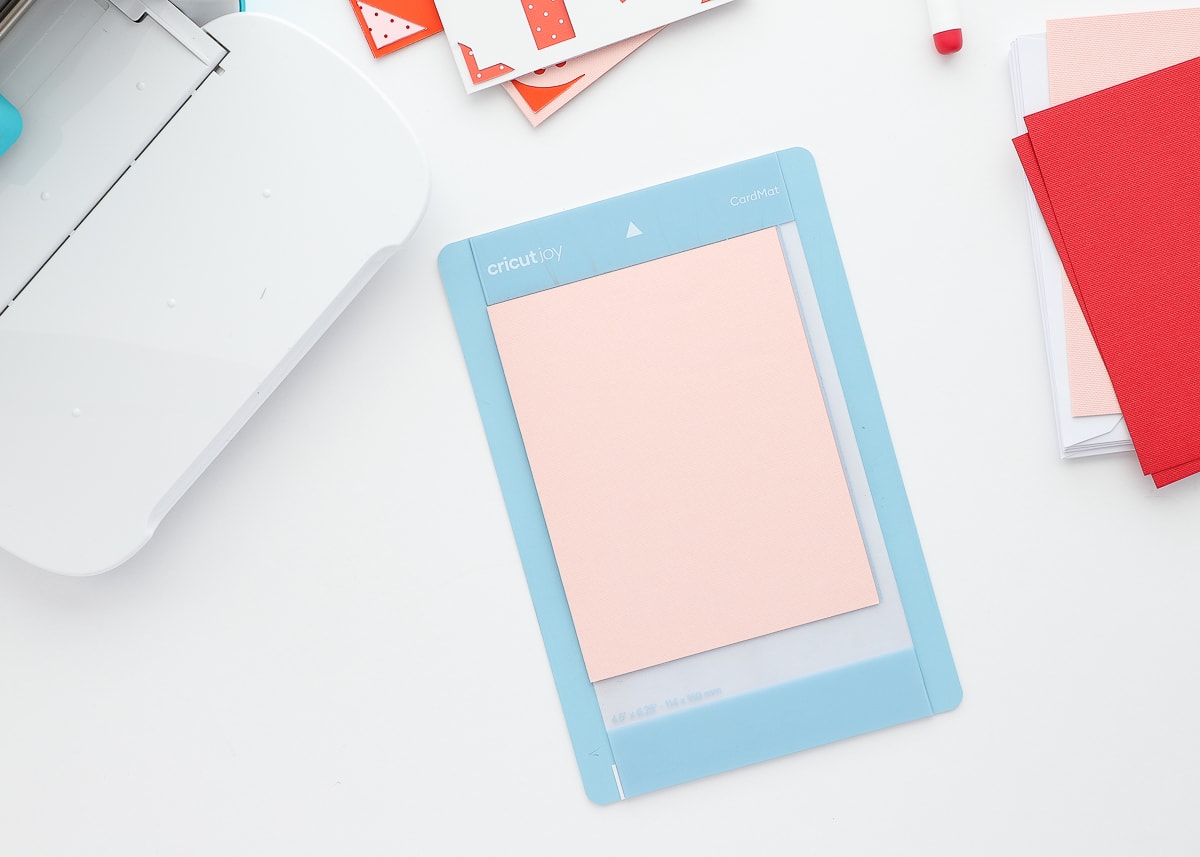
Fold the card onto itself, sticking the other half of the card to the front of the Cricut Joy Card Mat, as shown below. NOTE: The surface facing up is the inside of your card!
Follow the screen prompts in Cricut Design Space to draw and cut your gift holder message on the card. I highly recommend using the Extra-Fine Point Cricut Joy Pens for the clearest writing.
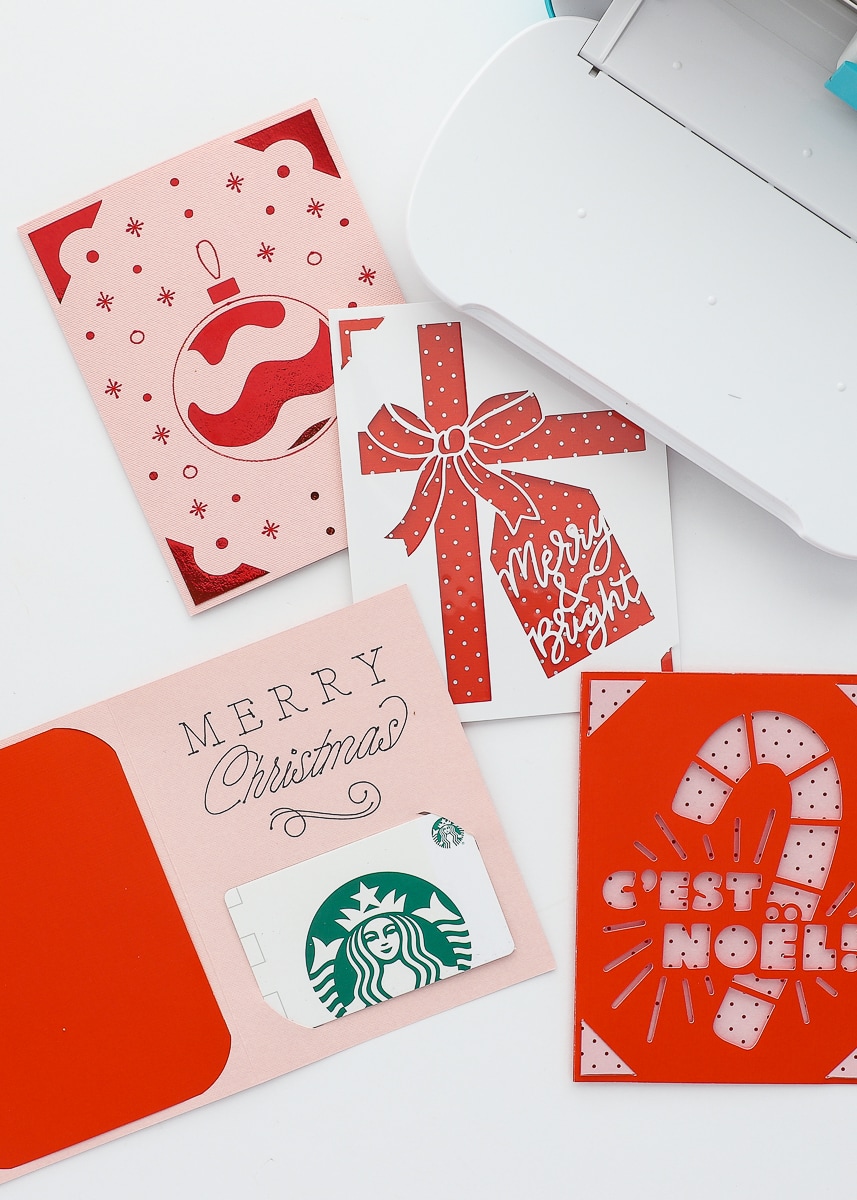
Once you pull the card off the mat, you will have two corner slits ready to hold a gift card.
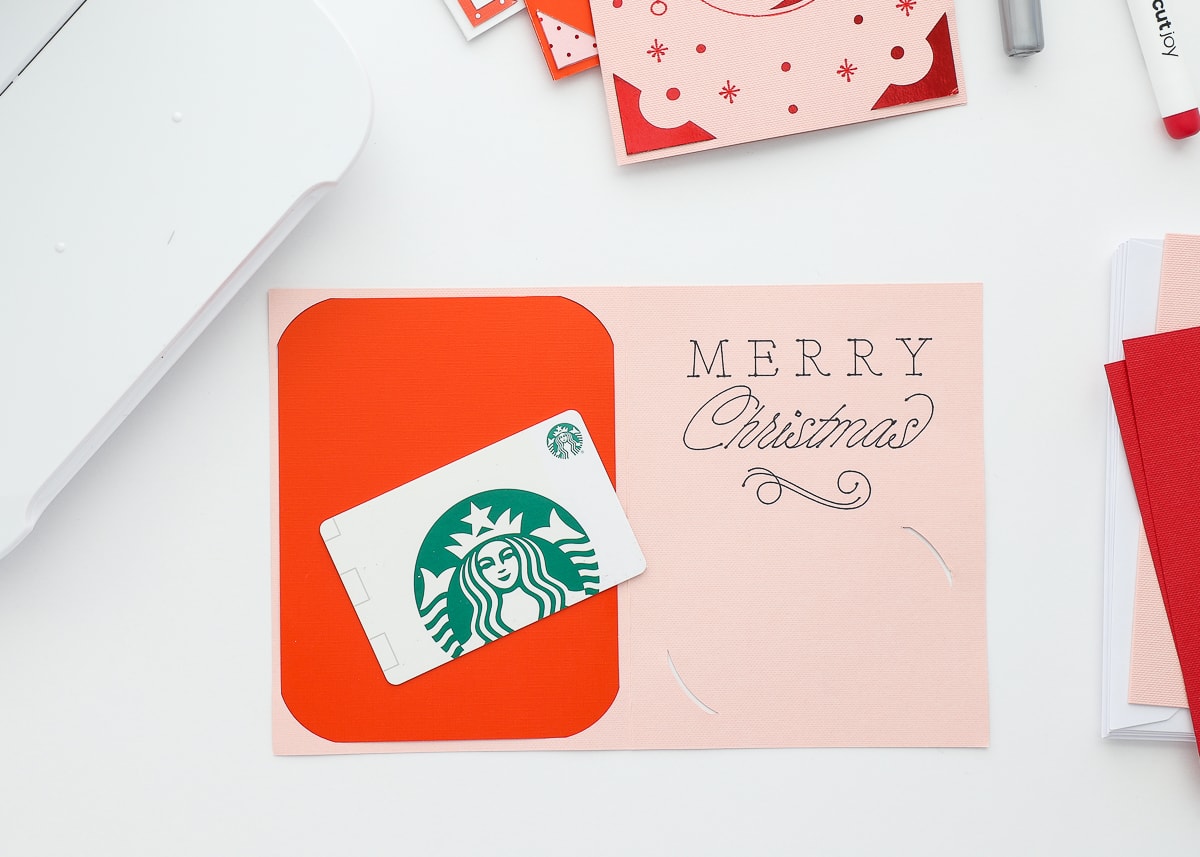
Simply slide the corners of your gift card into each slit, and you’re all done!
(TIP! Can’t fit the card in? Gently bend the gift card in order to slide it in, don’t bend or stretch the Joy card!)
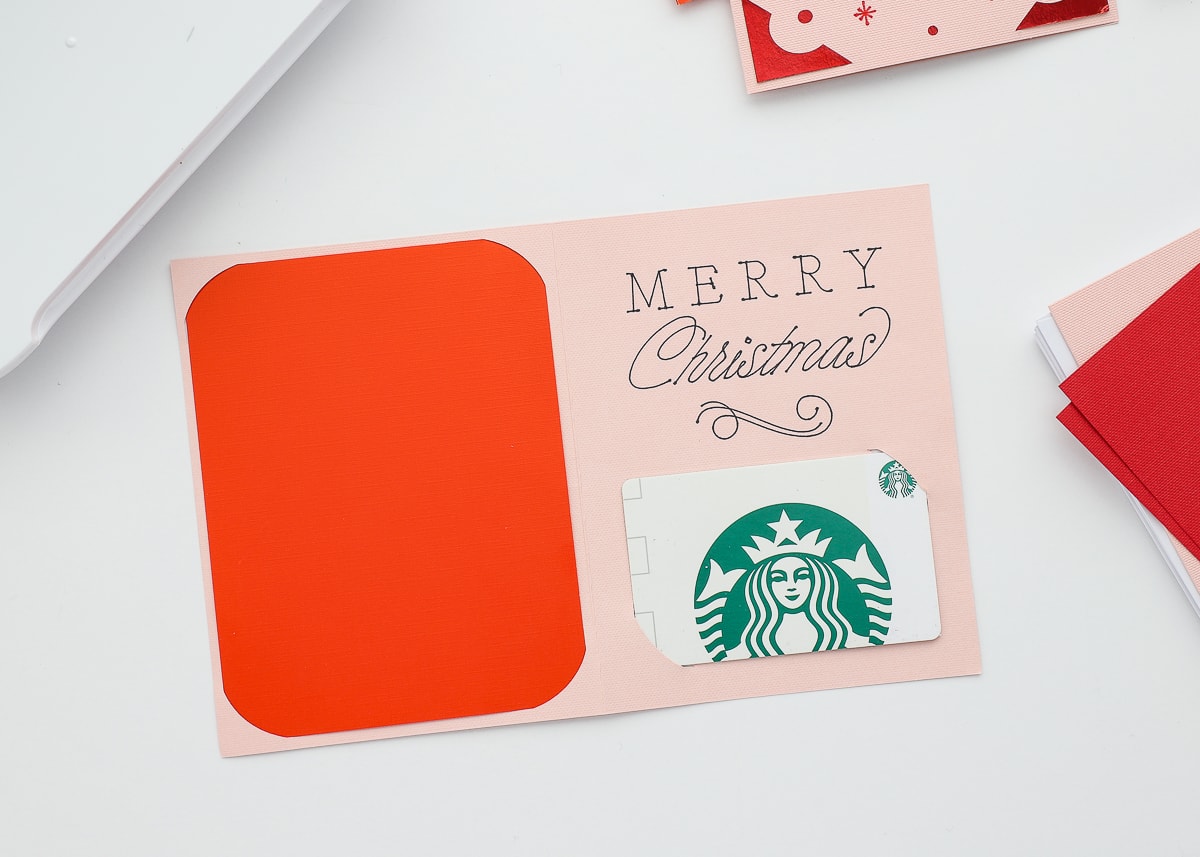
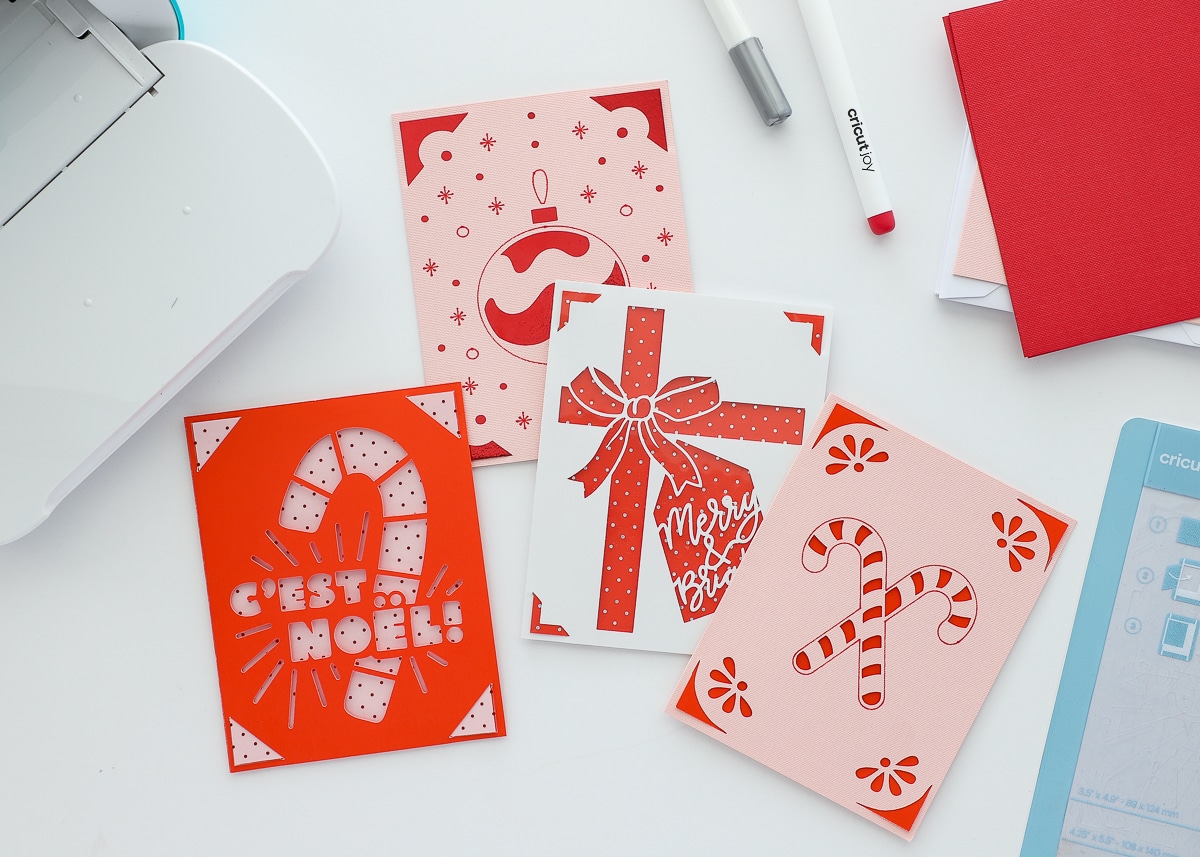
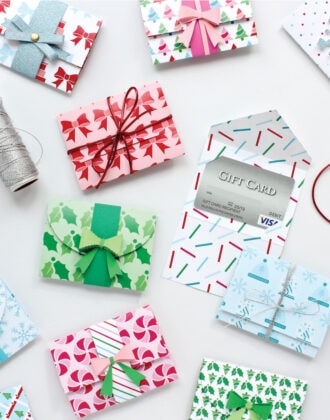
The Cricut Joy Cards are easily one of the quickest (and most fun!) holiday projects you can take on this season. And now with my handy ready-to-use templates to add personalized messages and gift cards, you can transform any festive card into an extra-special surprise!
Ready to Personalize Your Cricut Joy Cards Even More?
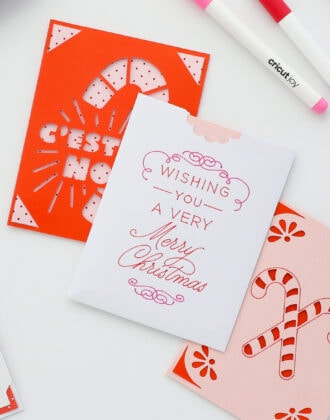
Learn how to “hack” the envelope to personalize your cards, including a festive message on the front and easy pull access. Click below for the full follow-on tutorial!
Next week, I’m sharing even more easy Cricut Joy holiday ideas! See you then!
Megan

5 Comments on “Hack Any Cricut Joy Card Into a Gift Card Holder!”
Thank you so much for the templates. They were exactly what I was looking for and as a new Joy user I learned so much!
I was looking for a gift card holder when your email arrived in my inbox. Perfect timing.
Unfortunately in Design Space I get a message “This project cannot be made or customised”
Is there a way I can use your design please? I am able to use most of your other projects in DS, but one or two are unavailable to me. I am located in Australia, if that makes a difference to licensing rights.
Thanks,
Susan
I cannot use your templates in DS? Is there any possibility to use them?
I am unable to use your cricut joy card gift card templates, I am getting an error message in design space.
Is this no longer available or do I need to do something else
I am in Australia
Many Thanks
Megan, thanks for sharing such great work. My only question to you would be: Can I change the wishes and write them in French?
Continue your great work.
Louise