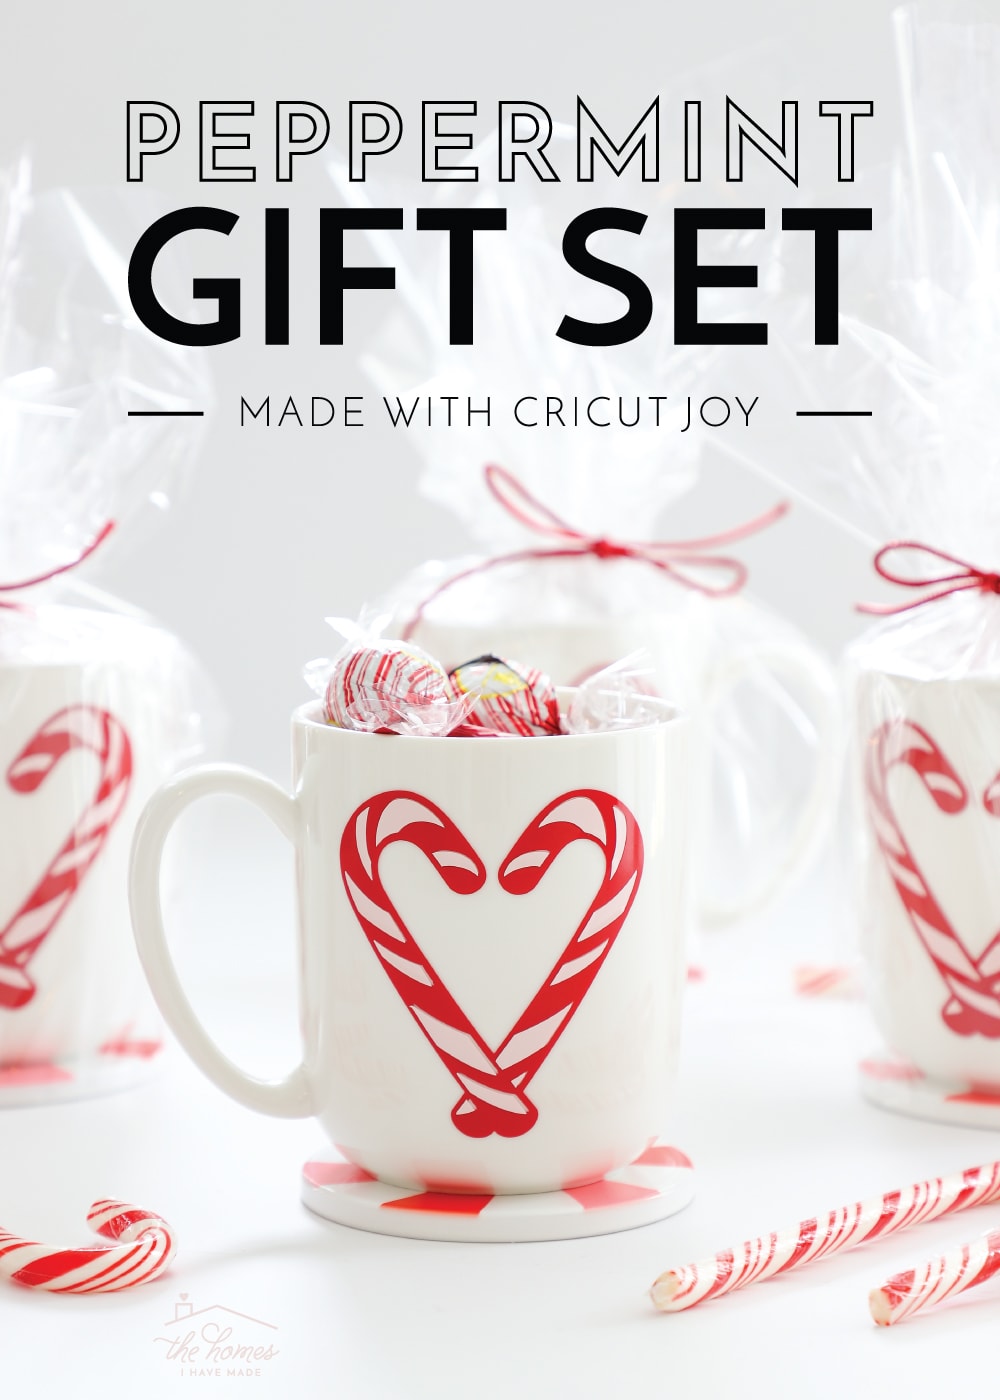
Peppermint Holiday Gift Set Made with Cricut Joy
Last week, I showed you a few simple holiday gift ideas. While the coasters and cards are great gifts on their own, today I want to show you how to transform them into a complete peppermint-themed gift set made with Cricut Joy. What I love most about these gift sets is they are super easy to produce in bulk, meaning you can knock out lots of people on your list all at one time. From family and friends to teachers, co-workers, neighbors, and more, I can’t think of anyone who wouldn’t love to receive such a sweet gift! Let me show you how to pull them together!
This is a sponsored conversation written by me on behalf of Cricut. The opinions and text are all mine.
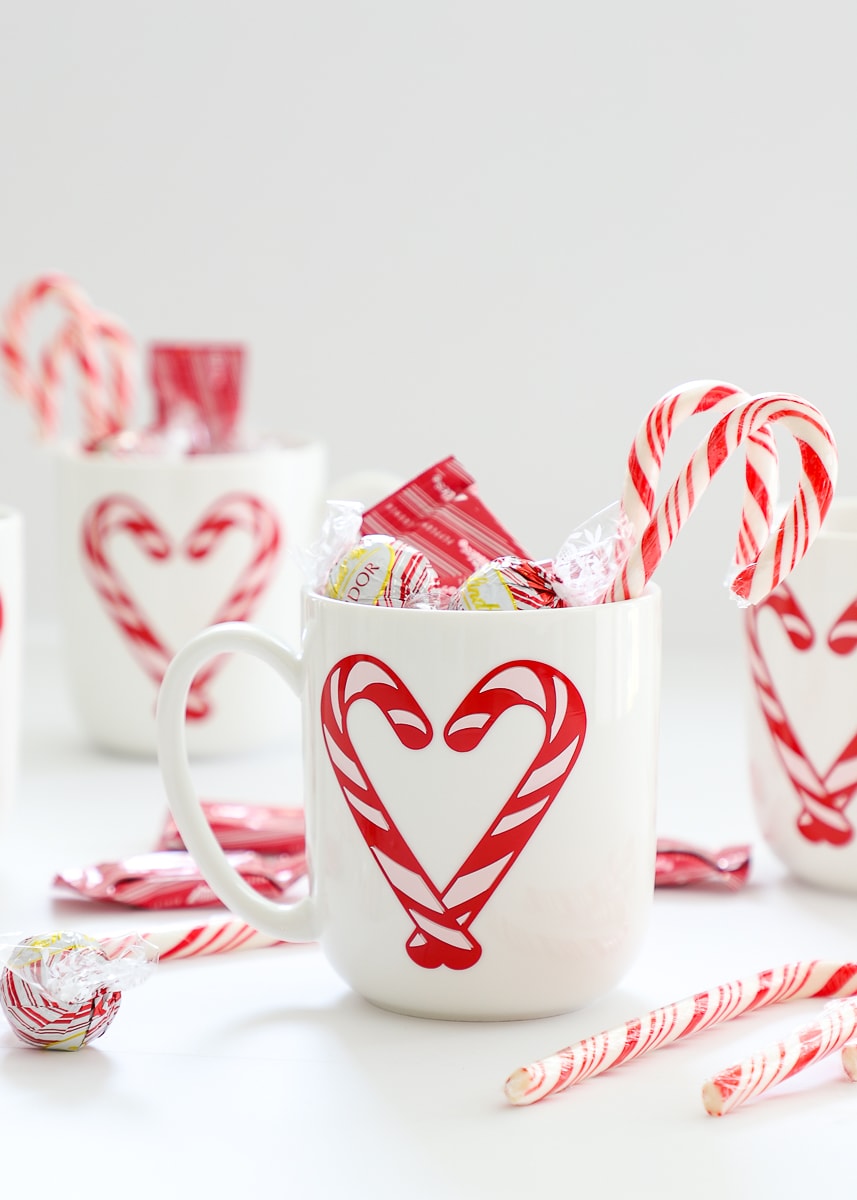
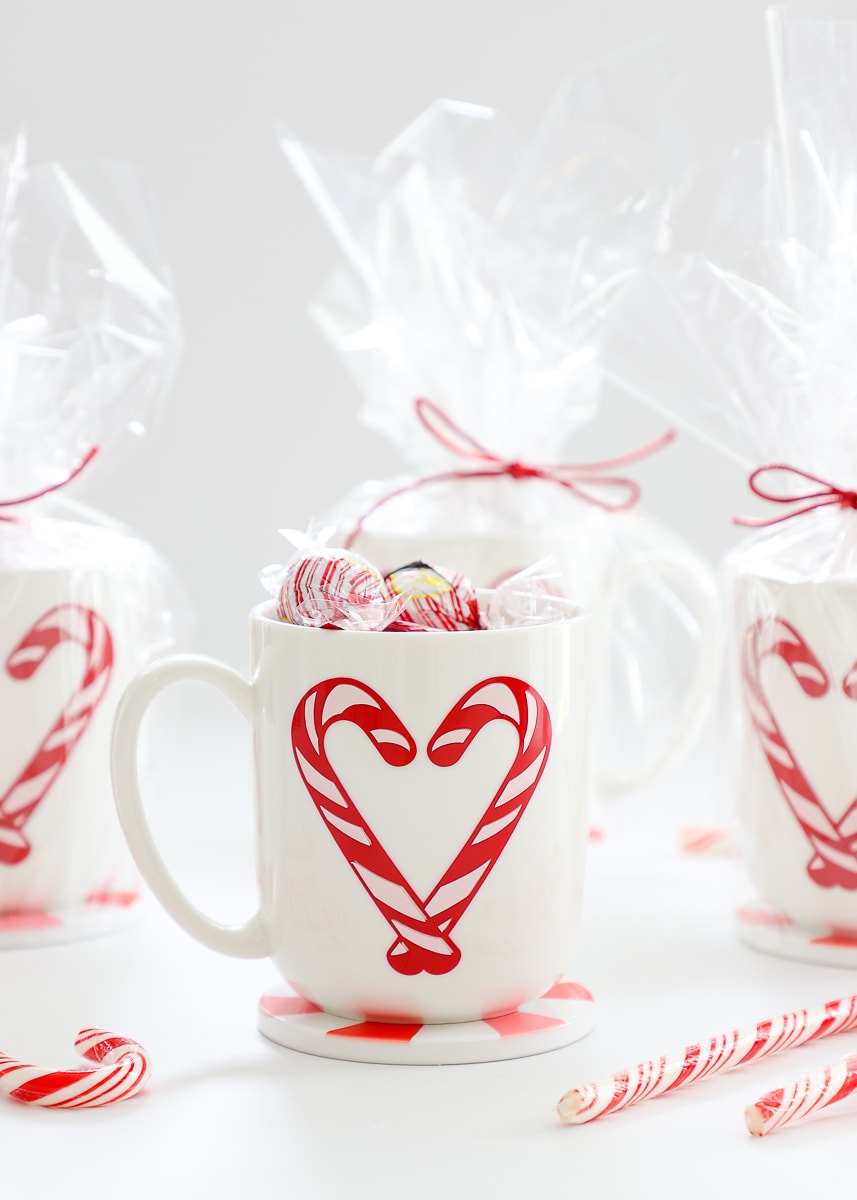
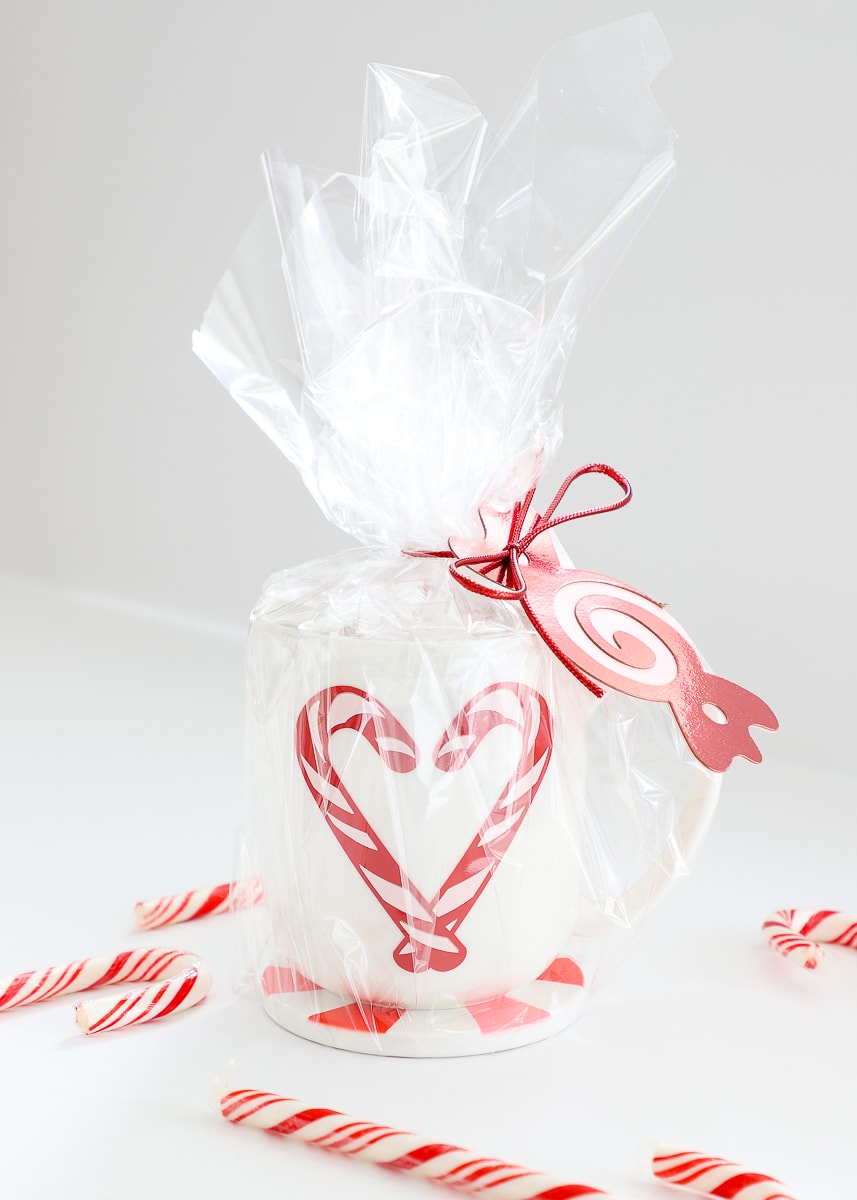
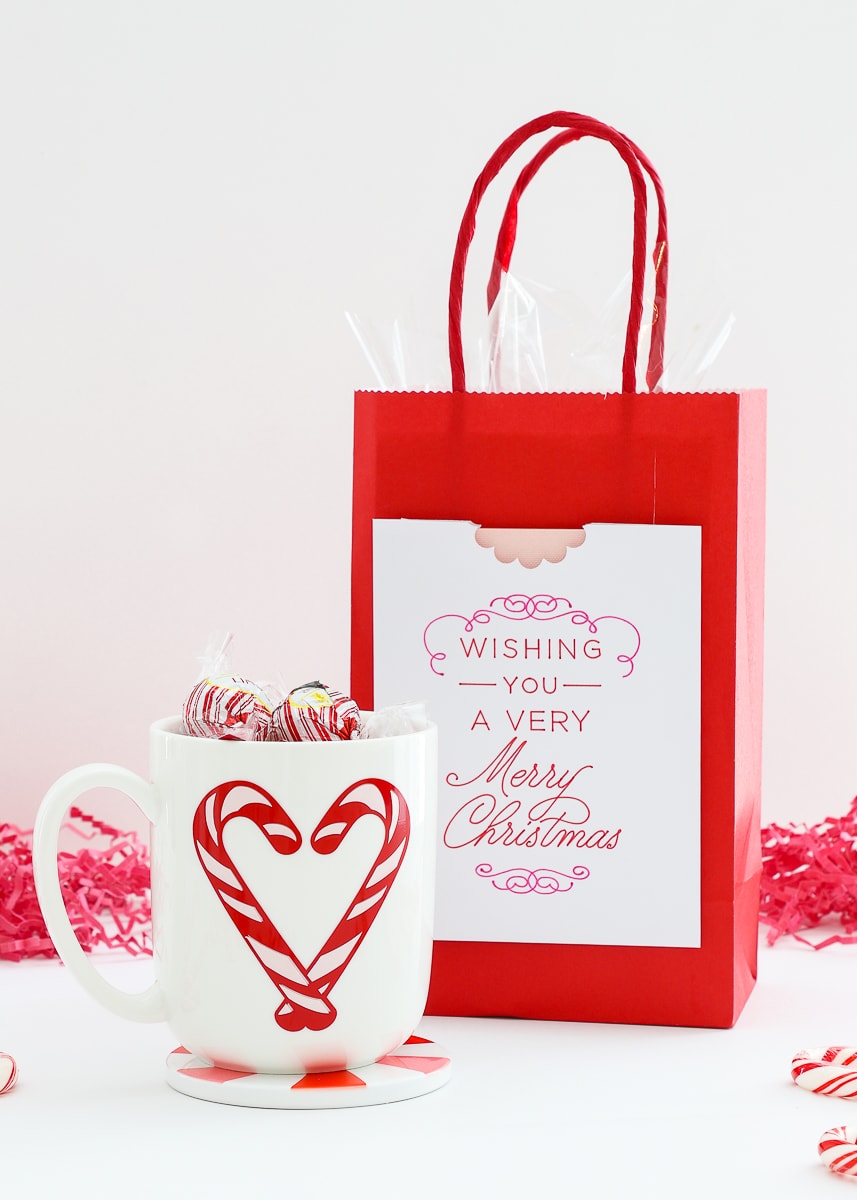
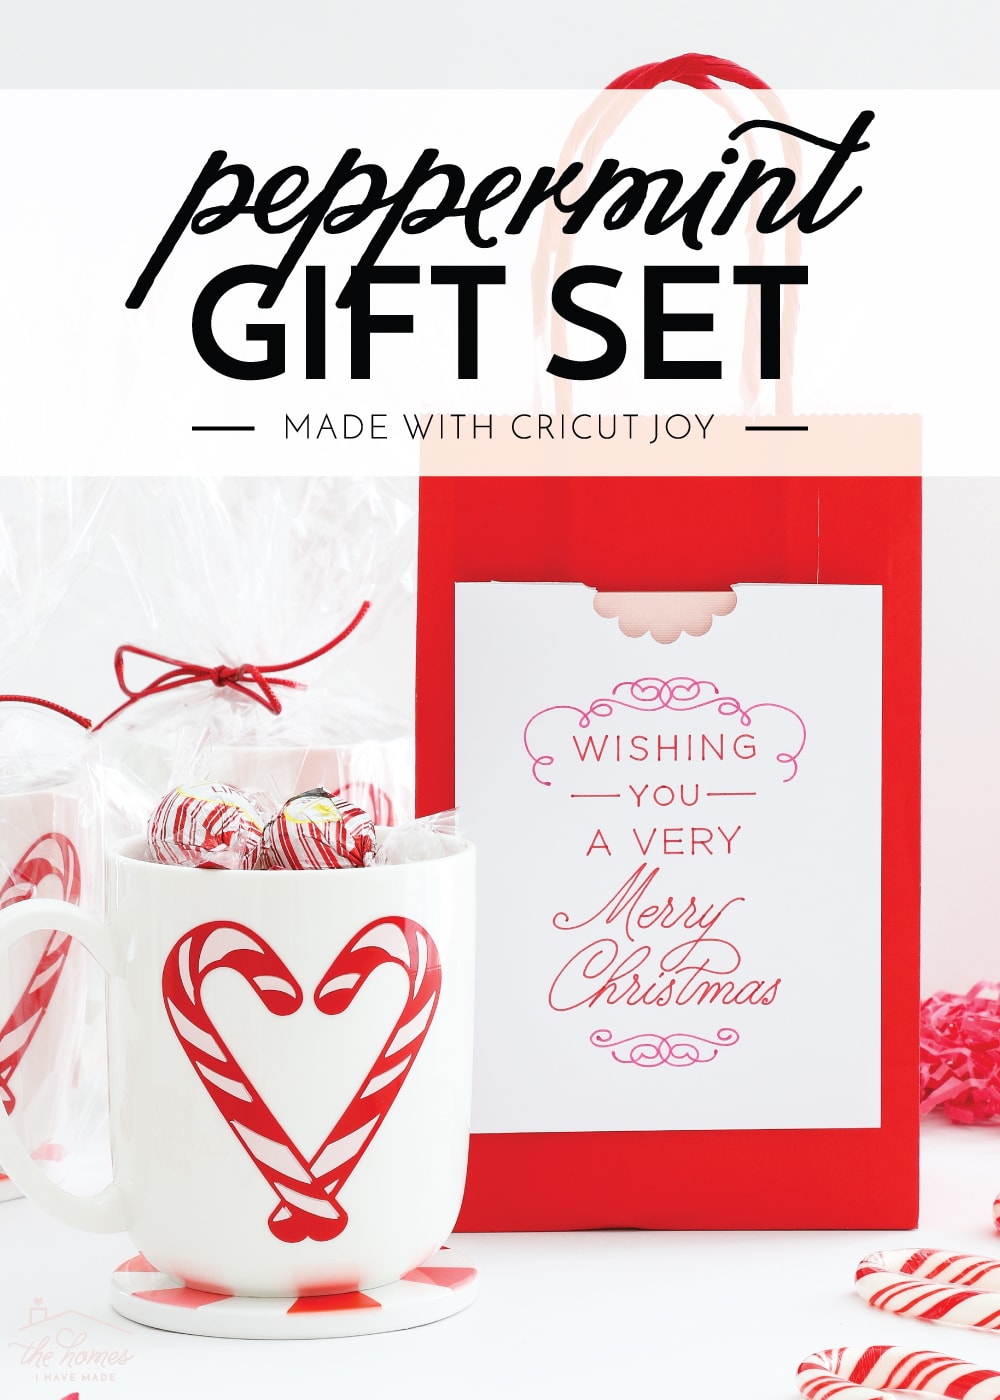
This gift set features a candy-filled mug and coaster, all coordinated via an adorable peppermint theme that feels fun, festive and oh-so-merry.
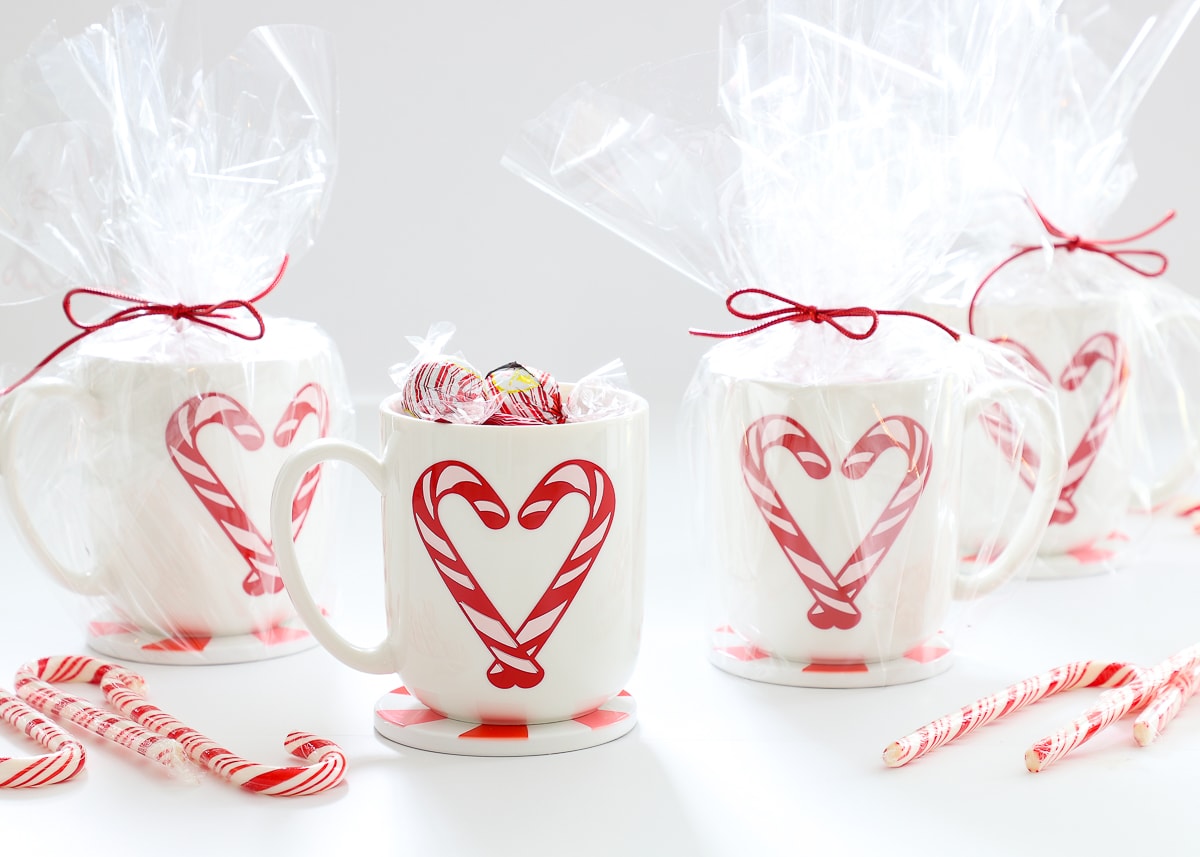
When wrapped up to impress, this gift set made with Cricut Joy feels special and thoughtful, although it’s really quite easy and totally budget-friendly!
Let me walk you through how to make this entire peppermint-themed gift set, as well as two creative ways to wrap it up!
Supplies Needed
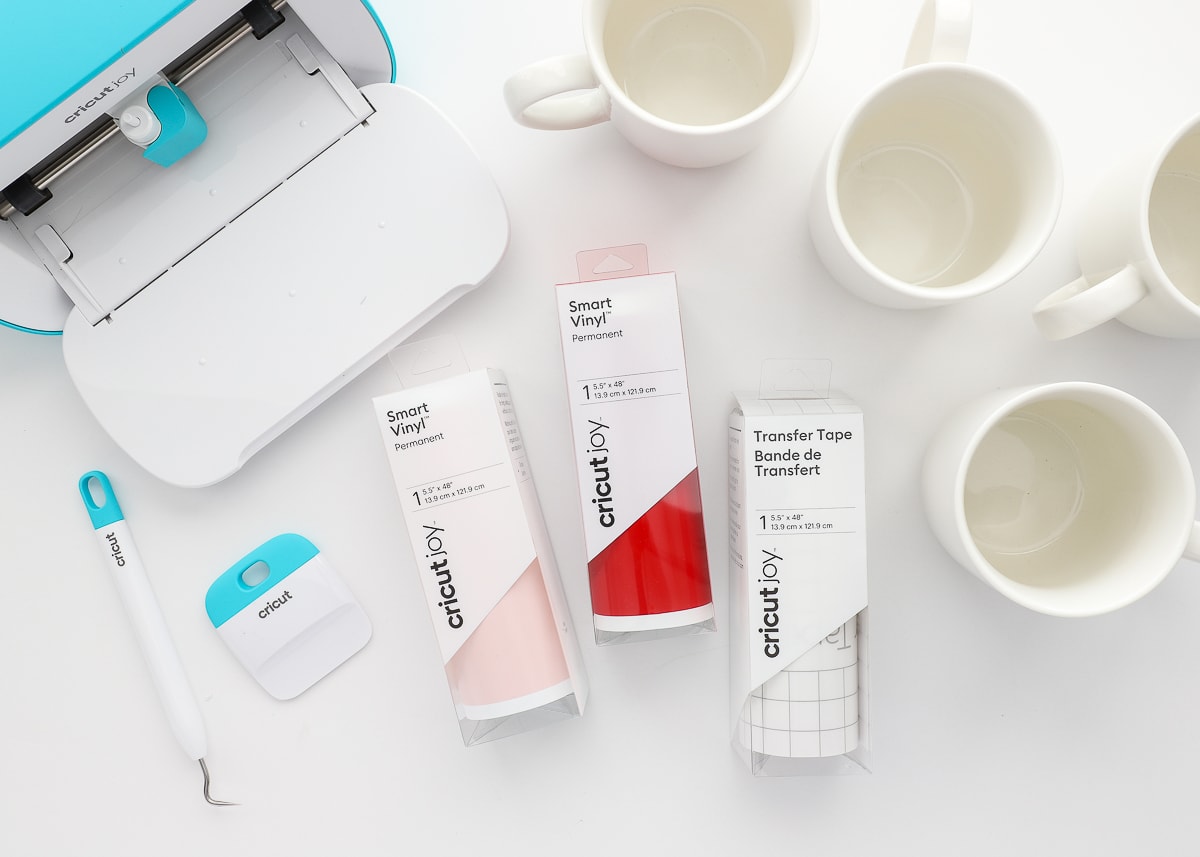
Here’s what you need for this entire Peppermint Gift Set.
TIP! What I have shown below will make 4 gifts at one time. But if you need to knock out 8 or 12 (or even more!), simply buy extra mugs, coasters and candy!
For the Mugs:
- White Mugs (Side Note: We are obsessed with the size, shape and quality of these mugs. Greg doesn’t want me giving them away!)
- Cricut Joy Smart Vinyl – Permanent in Tomato Red and Light Pink
- Transfer Tape
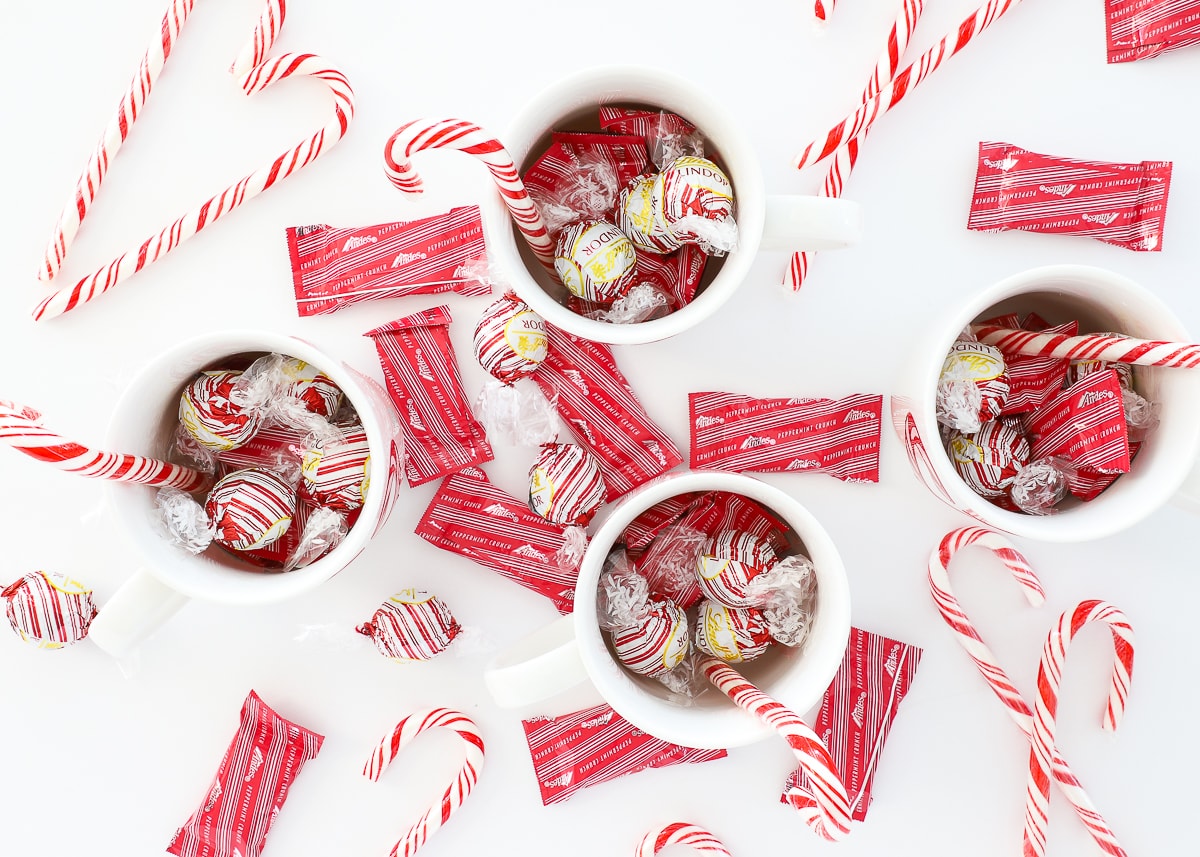
- Peppermint candies of your choice (make sure the wrappers are red, white and/or pink!)
For the Coasters:
For the Wrapping:
- Red Gift Bags – this size is perfect
- Clear Cellophane
- Red cording or ribbon
- Cricut Joy Inserts Card Pack in New Romantic Sampler
- Cricut Joy Card Mat
For all of these projects, you will also need:
- Peppermint Gift Set file for Cricut Design Space
- Cricut Joy (or other Cricut machine)
- Cricut Tools: Weeding & Scraper
Making the Peppermint Heart Mug
Let’s start by adding the heart decals to the mugs!
First, access my Peppermint Gift Set file for Cricut Design Space. I have the hearts sized to fit these specific mugs, so you may need to adjust the sizing if you’re using a different variety.
Once you have the size set, send the design to be cut with your Cricut Joy.
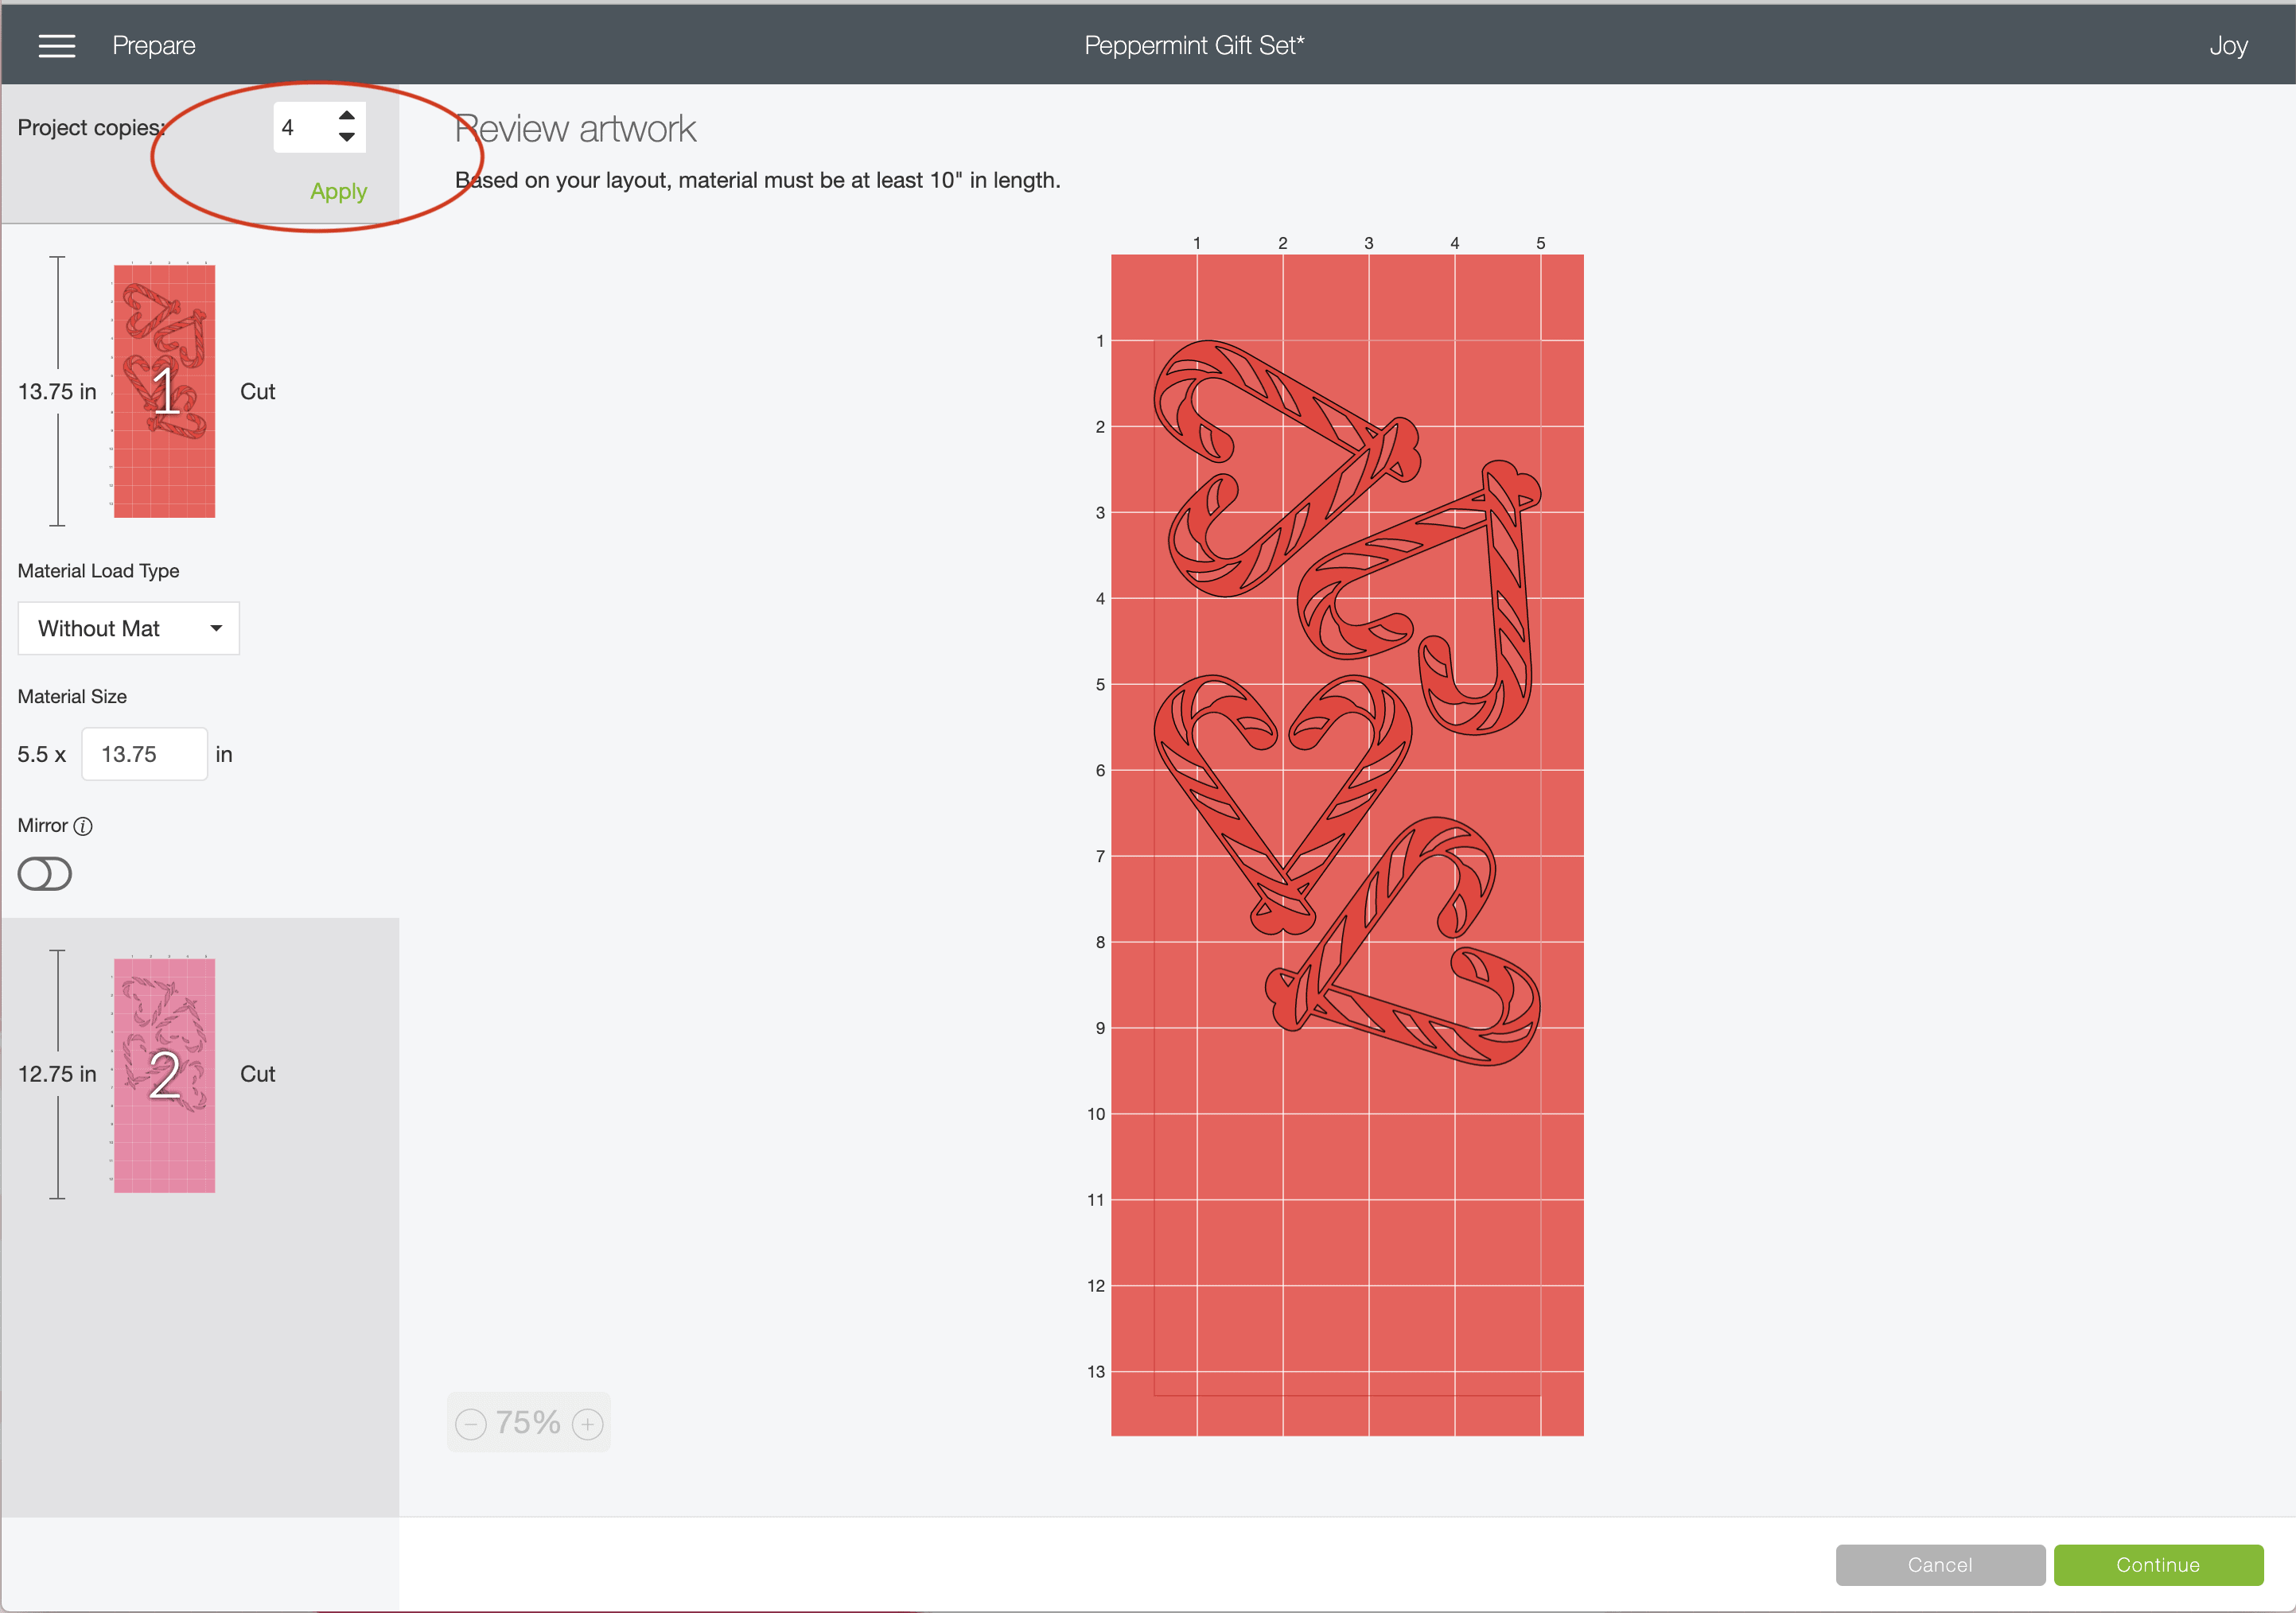
On the final cut screen, be sure to adjust the number count for the amount of mugs you are making. Since Cricut Joy Smart Vinyl doesn’t need to be pre-cut and comes in 48″ long rolls, you can cut A LOT of decals all at one time!
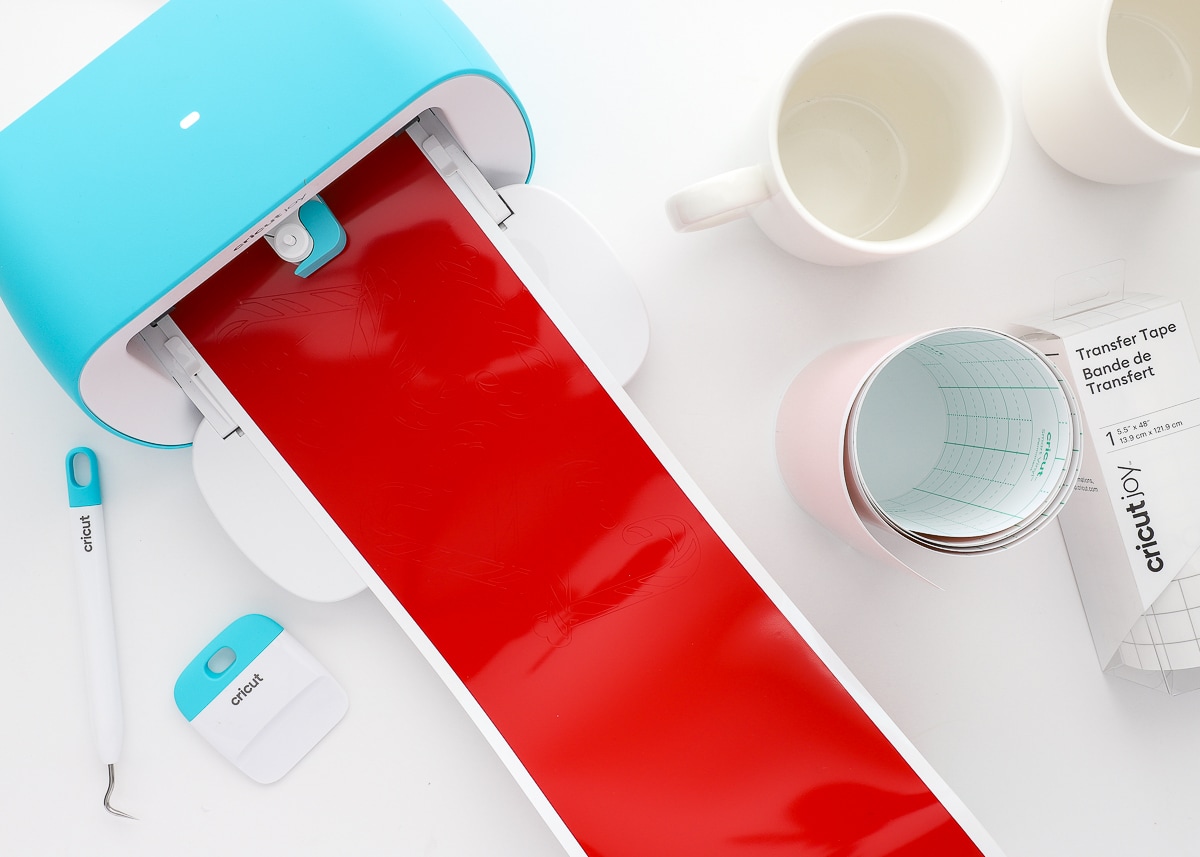
Once ready, follow the on-screen prompts to load your red and pink Cricut Joy Smart Vinyl into Cricut Joy and cut out the heart decals.
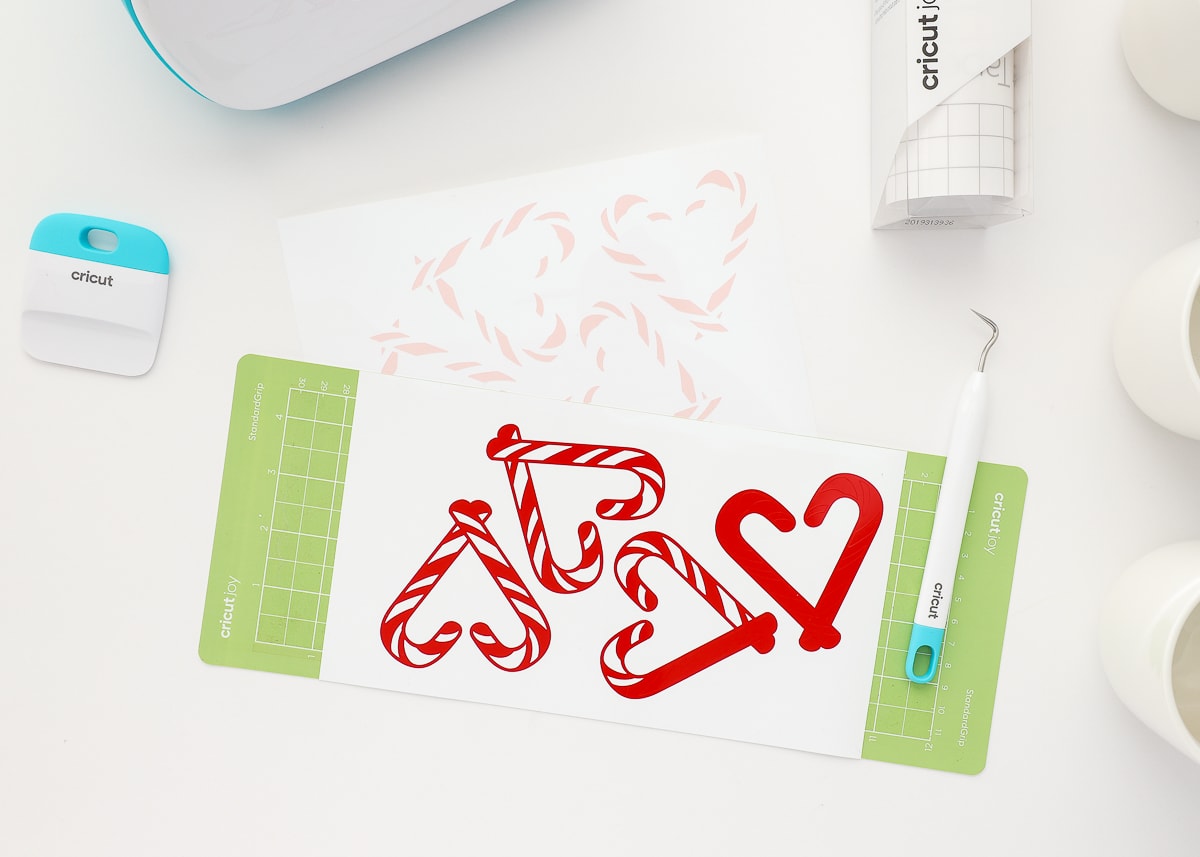
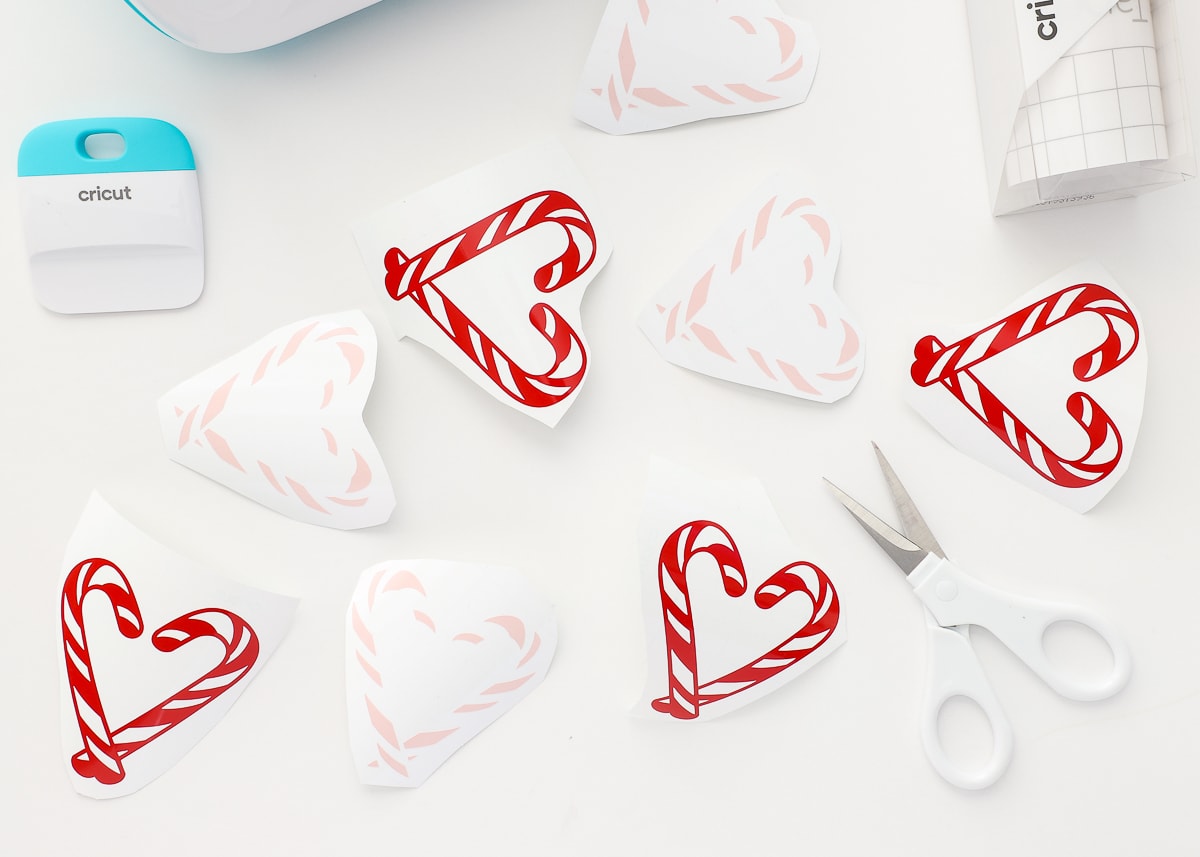
Once done cutting, unload your Smart Vinyl and use a weeding tool to remove the excess vinyl from the heart decal designs.
To make layering and transferring your design easier, I recommend cutting each heart layer apart from each other.
Layering your decal will be the trickiest part of this whole project. Here’s how I recommend doing it for best results!
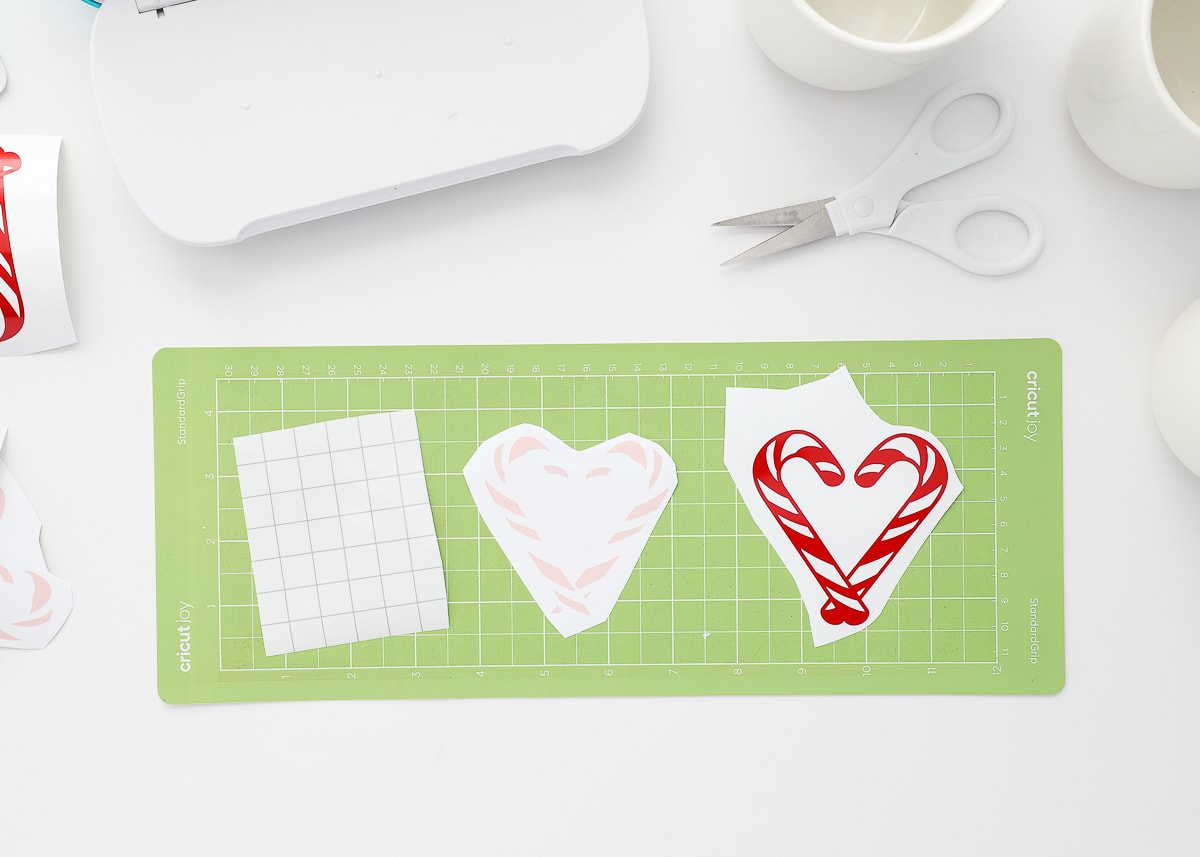
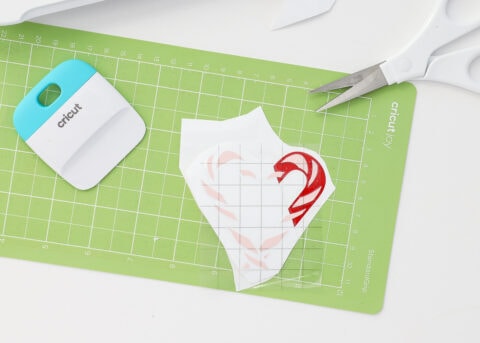
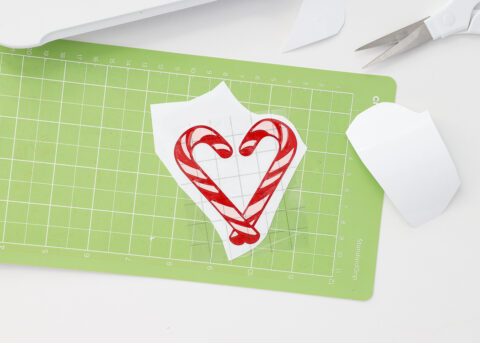
Place your pink and red (weeded) hearts down onto a sticky mat (this keeps your designs from rolling up or moving around as you work). Then cut a piece of transfer tape about 3×3.”
To Layer the Heart Decal:
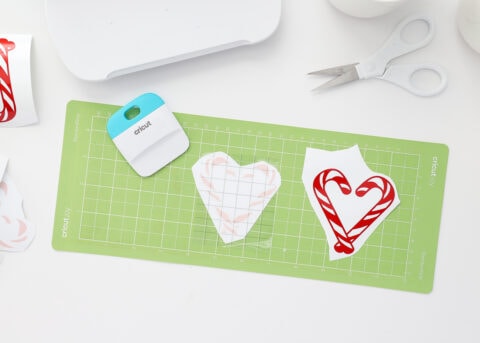
- (Upper Left) Place the transfer tape, sticky side down, onto the pink layer. Use the scraping tool to vigorously pressure the tape onto the pink vinyl.
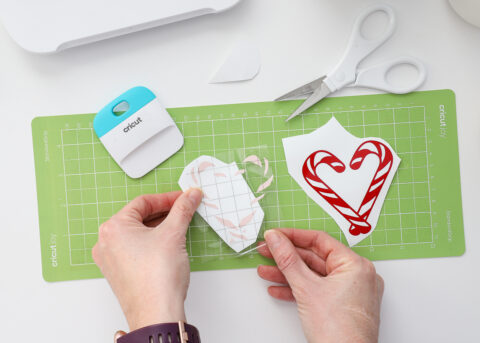
- (Upper Right) Peel up the pink heart+transfer tape combo and pull away the paper backing just 1″ or so. Trim away this paper corner with a scissors.
- (Below Left) With most of the paper backing still on the pink layer, carefully line up the exposed pink details on the red heart outline and place it down. NOTE: Once it’s down, there is no going back!
- (Below Right) Carefully remove the remaining paper backing off the pink layer and smooth the rest of the design onto the red heart. If your original placement was correct, the rest of the design should fall into place perfectly!
- (Not shown) Finally, with the pink and red heart layered together and the transfer tape still in place, remove the paper backing, completely, from the entire heart decal design.
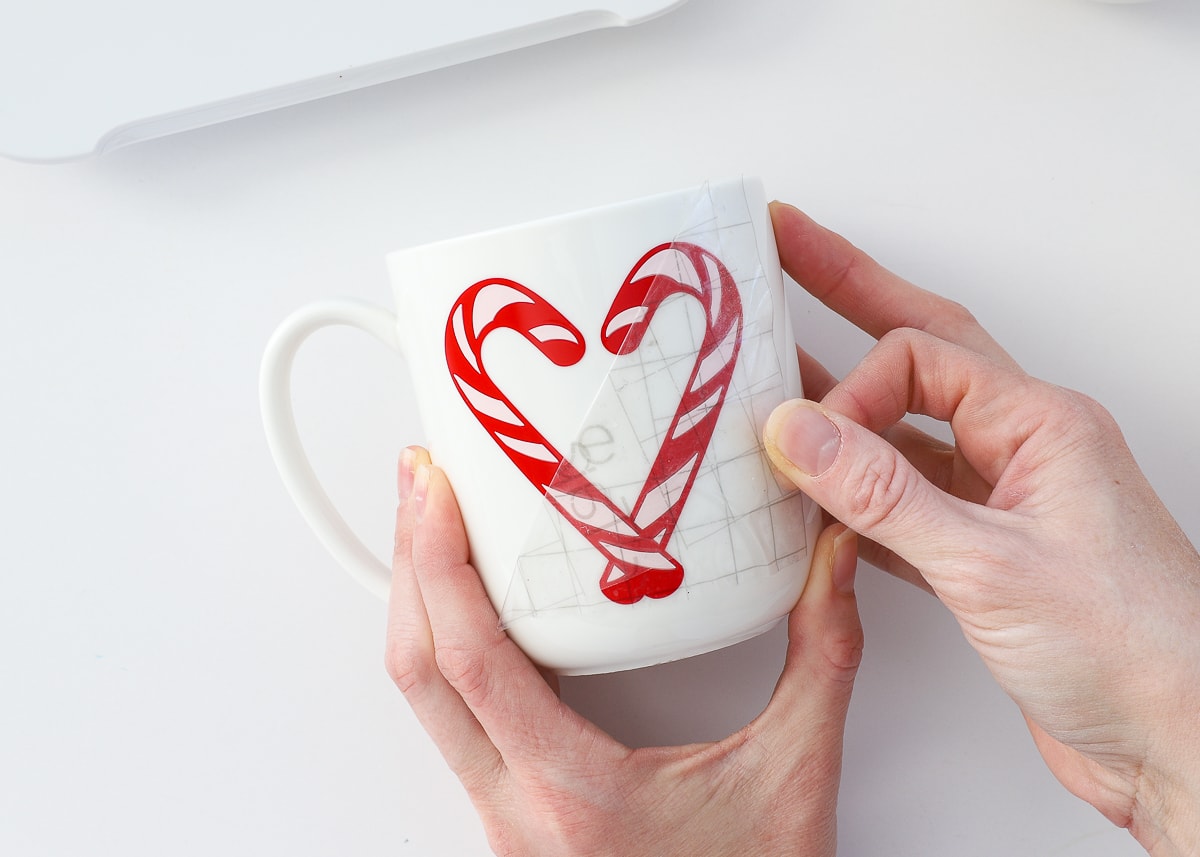
The final step is to place your decal onto the mug!
Start by cleaning the mug surface with rubbing alcohol and/or a lint-free cloth.
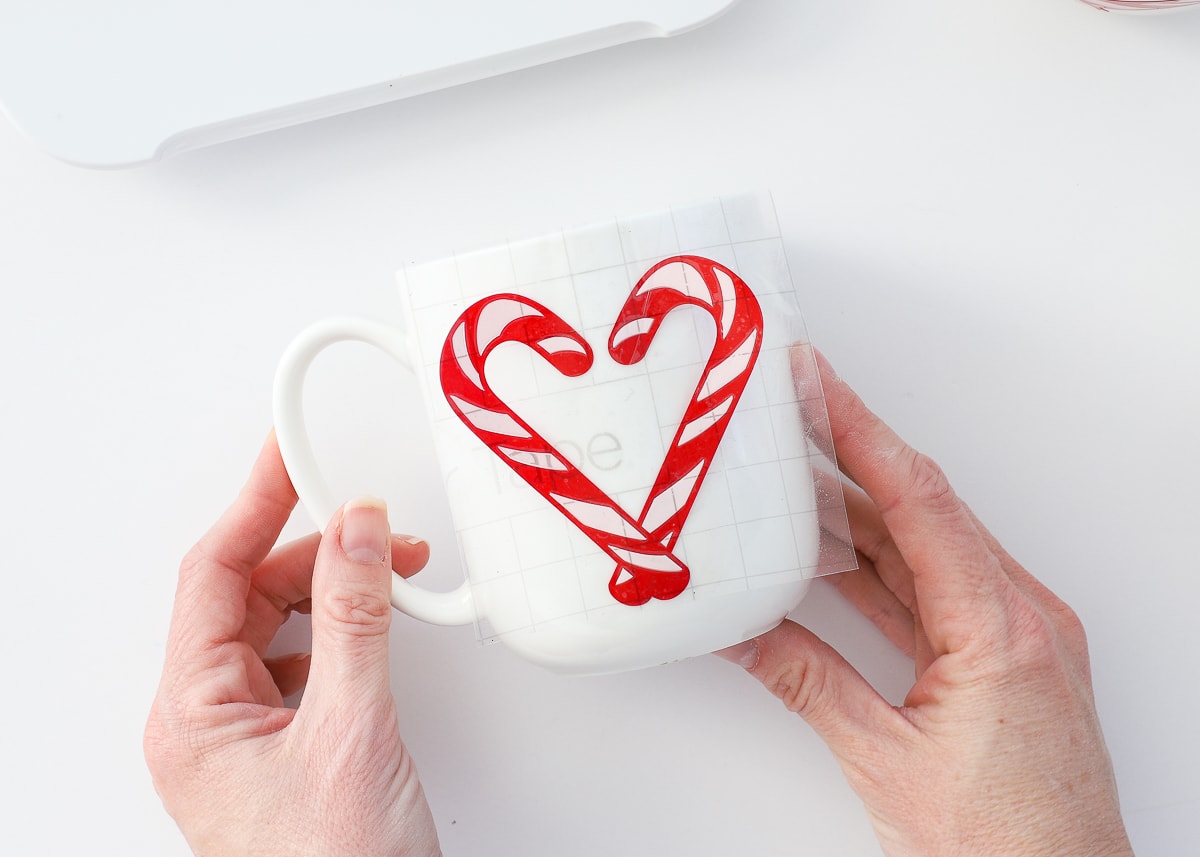
Mugs can be really tricky. For this design, I recommend placing the center of the heart precisely where you want it…
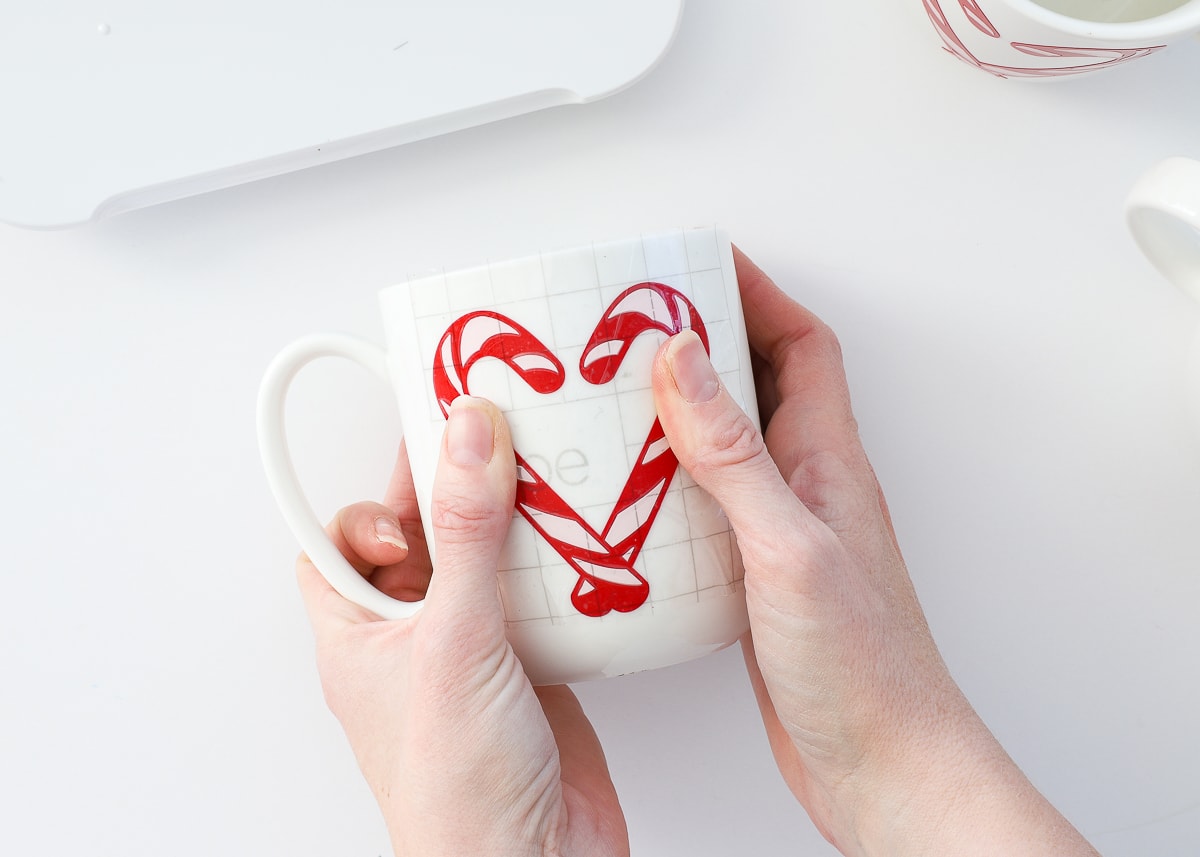
…then smoothing out to the right and left.
Use your scraper tool on top of the transfer tape+decal combo to fully adhere your decal to the mug. Then carefully pull away the transfer tape to reveal your design.
TIP! Notice how my transfer tape is right along the mug’s surface as I pull away. This helps keep your design on the mug and not pull off with the tape.
Repeat the transfer process with all your remaining mugs, and then fill them up with tasty and color-coordinated sweet treats!
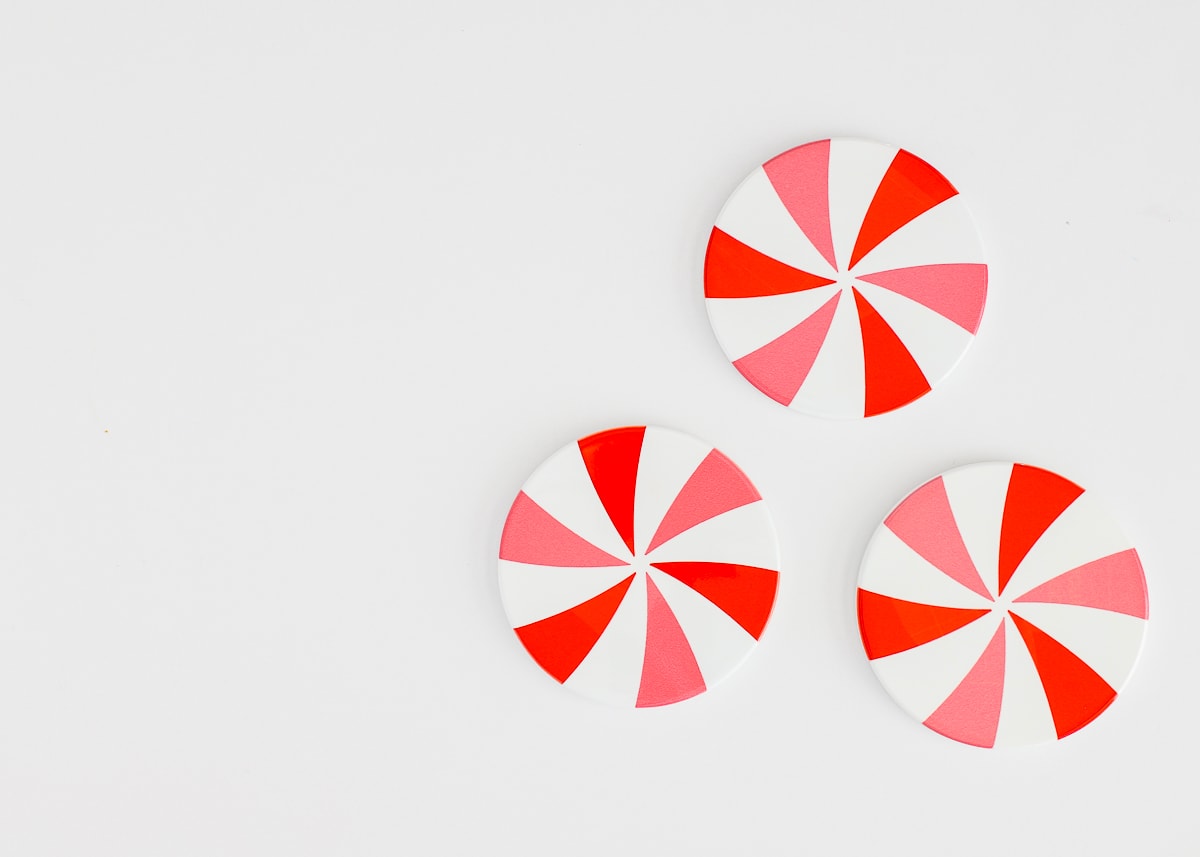
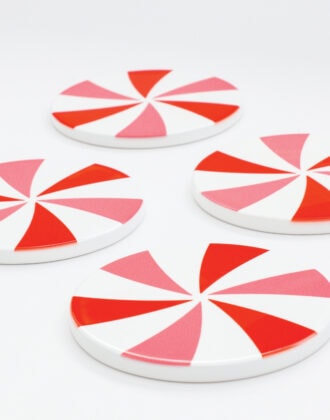
Make the Peppermint Coasters
The addition of the coordinating peppermint coaster is absolutely optional, but it really goes a long way in making this gift feel more like a fancy set. Plus, they are super fun to make!
Full Instructions: Peppermint Coasters HERE!
Once the coasters are complete, simply pair one mug and one coaster together for a single gift!
With the gift set now complete (wasn’t that so easy!?!), let me show you two creative wrapping ideas!
Wrapping Idea #1
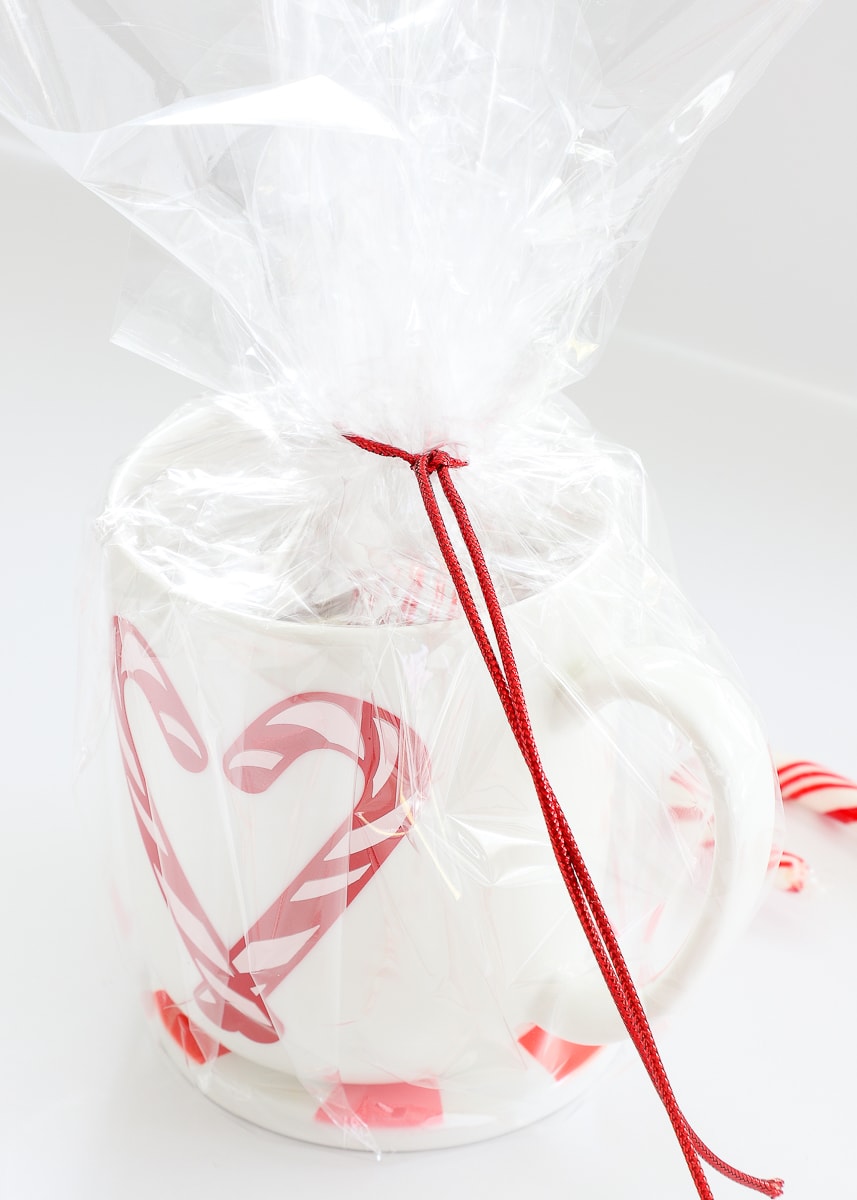
The first idea involves wrapping the gift set in some clear cellophane and adding a coordinating gift tag (also made with your Cricut Joy!)
Start by placing your mug+coaster combo in the center of a square of cellophane and pull all the excess above the mug. Wrap some coordinating string or ribbon around the plastic wrap and knot it.
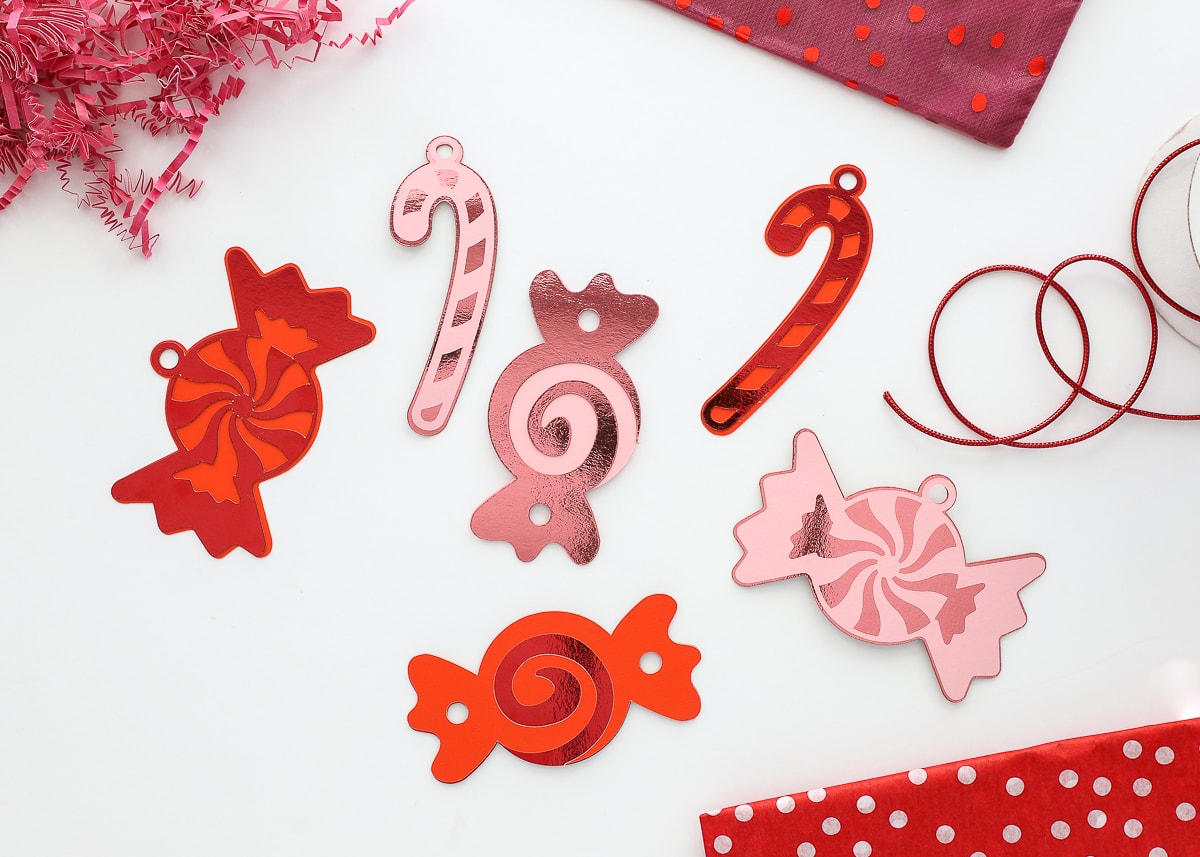
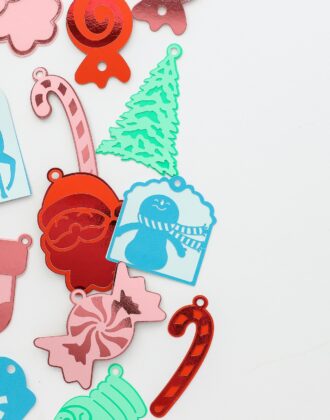
Next, use your Cricut Joy to make some peppermint-themed gift tags with pink and red cardstock. These images (below) are included in the Peppermint Gift Set file, and the layers are just glued together with some basic adhesive. Be sure to write To/From on the back of the tag!
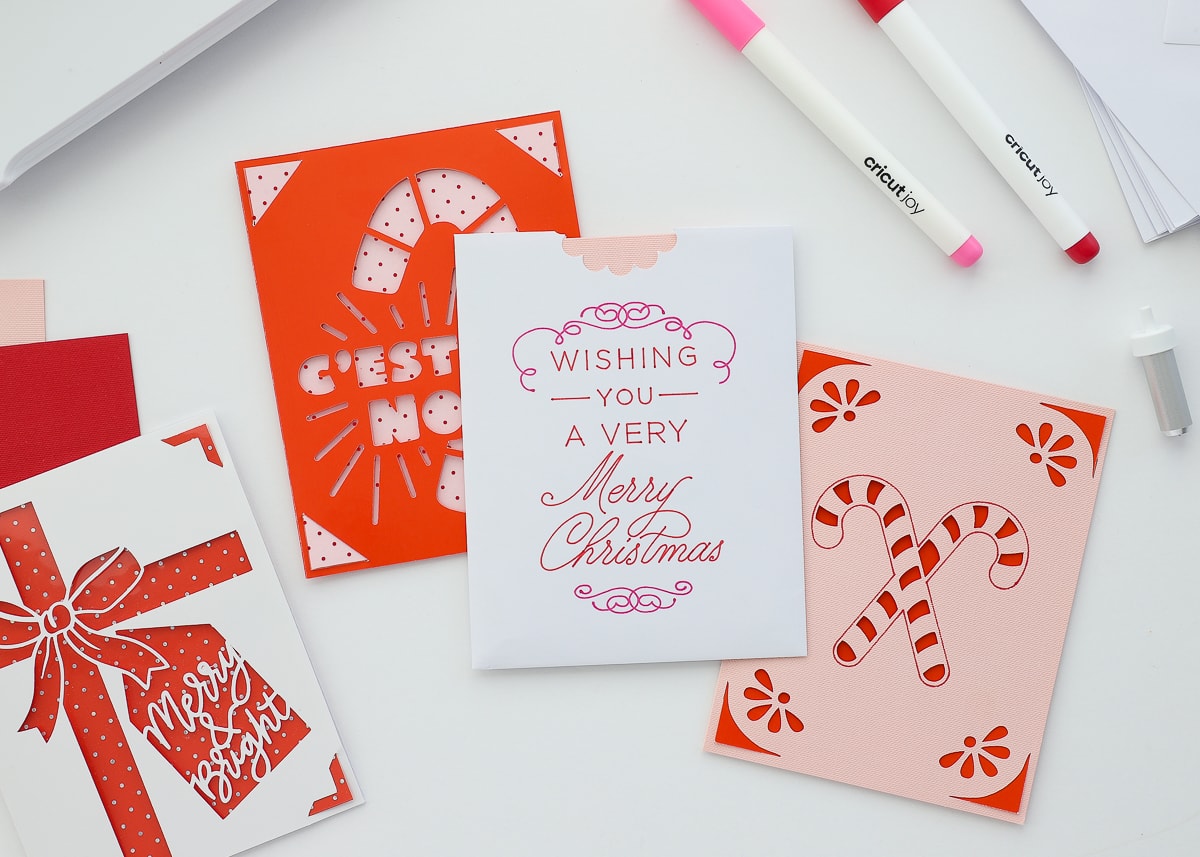
TIP! Don’t have a ton of coordinating cardstock on hand, use the cards and inserts from this card kit!
To Add the Gift Tag:
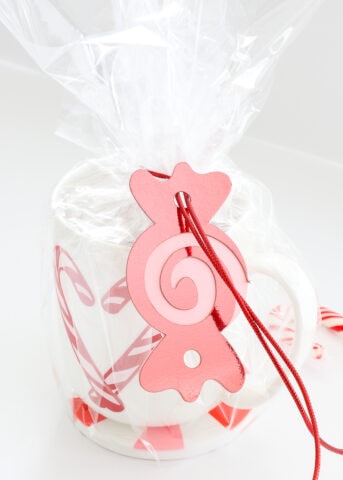
- (Upper Left) With your string knotted, simply slide the two ends through one of the holes on the gift tag, from back to front.
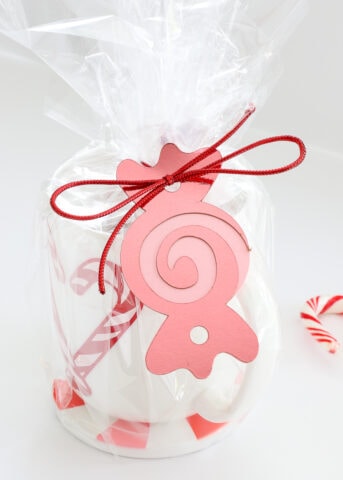
- (Upper Right) Tie the two strings into a bow on the front of the tag.
Now your gift set is all ready for delivery!
Wrapping Idea #2
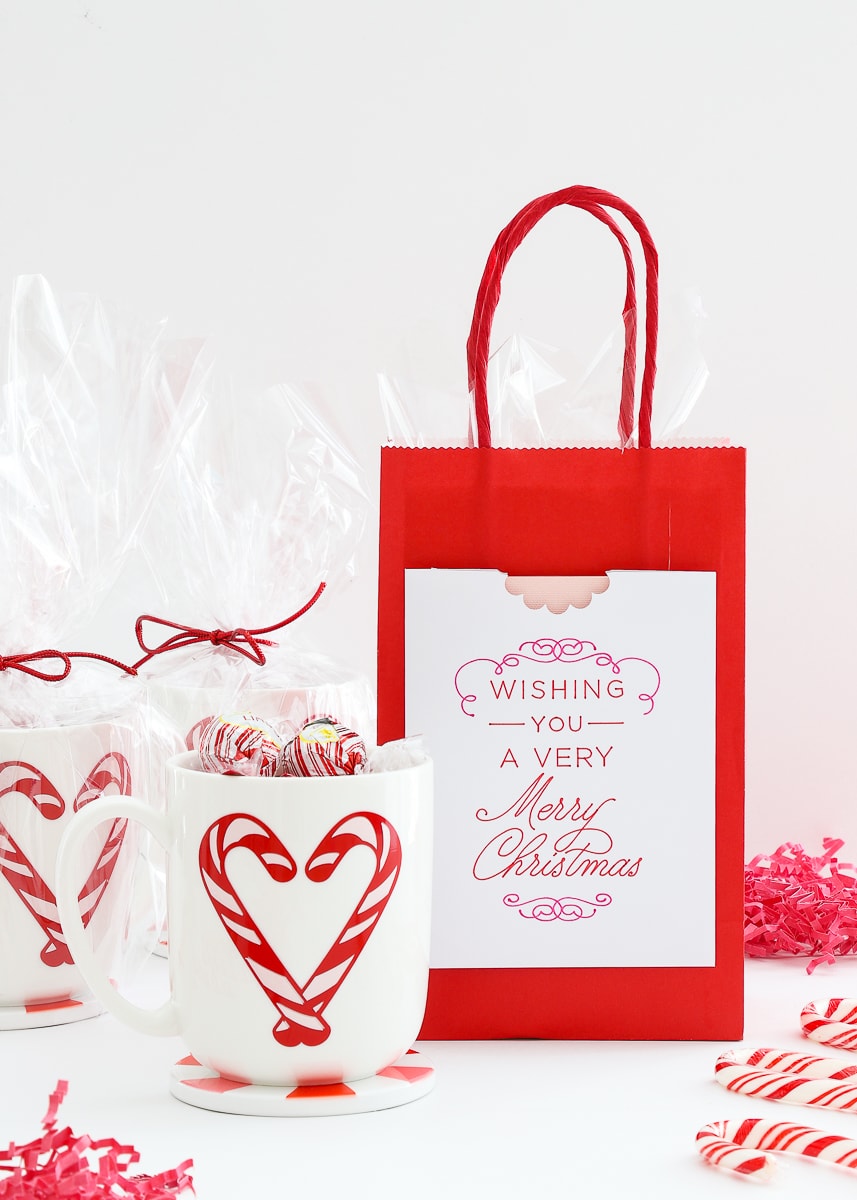
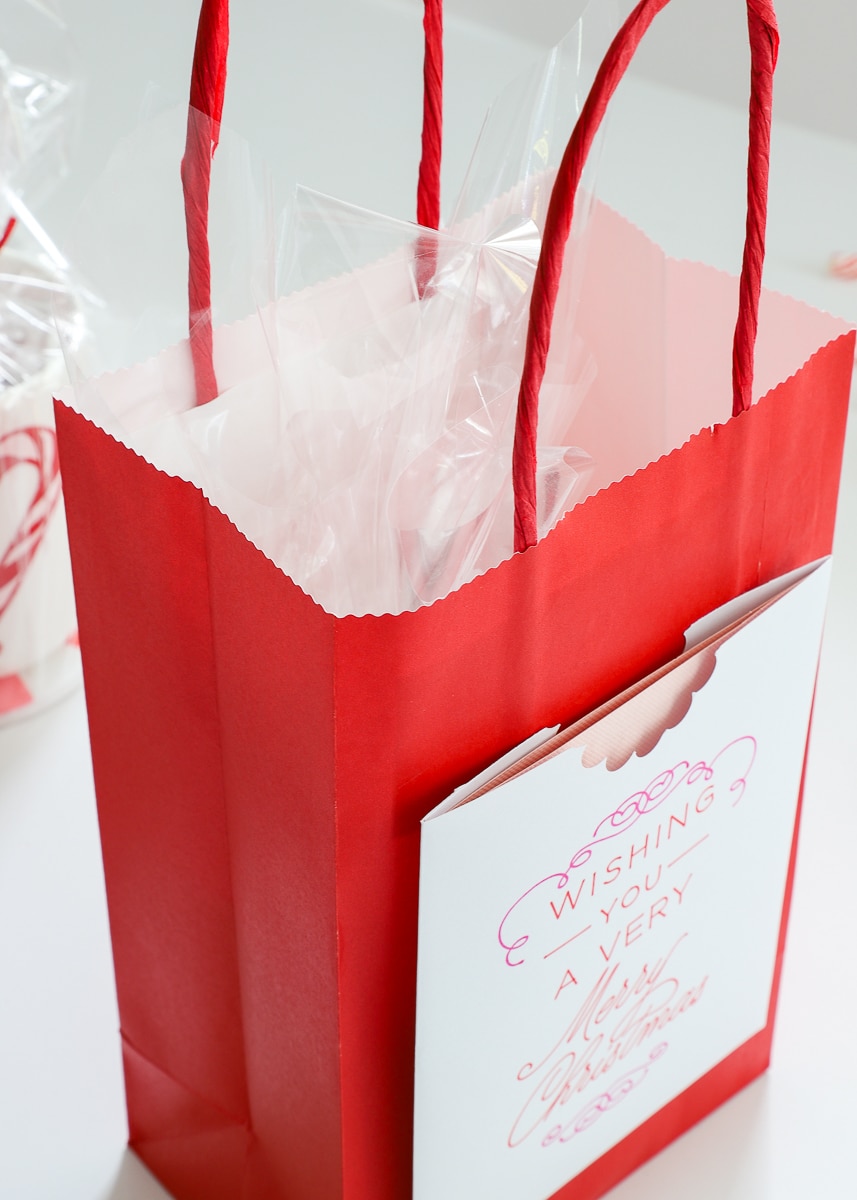
This second idea is a bit fancier (and a little bit more work!), and is great for adding a gift card and/or message to the mug set!
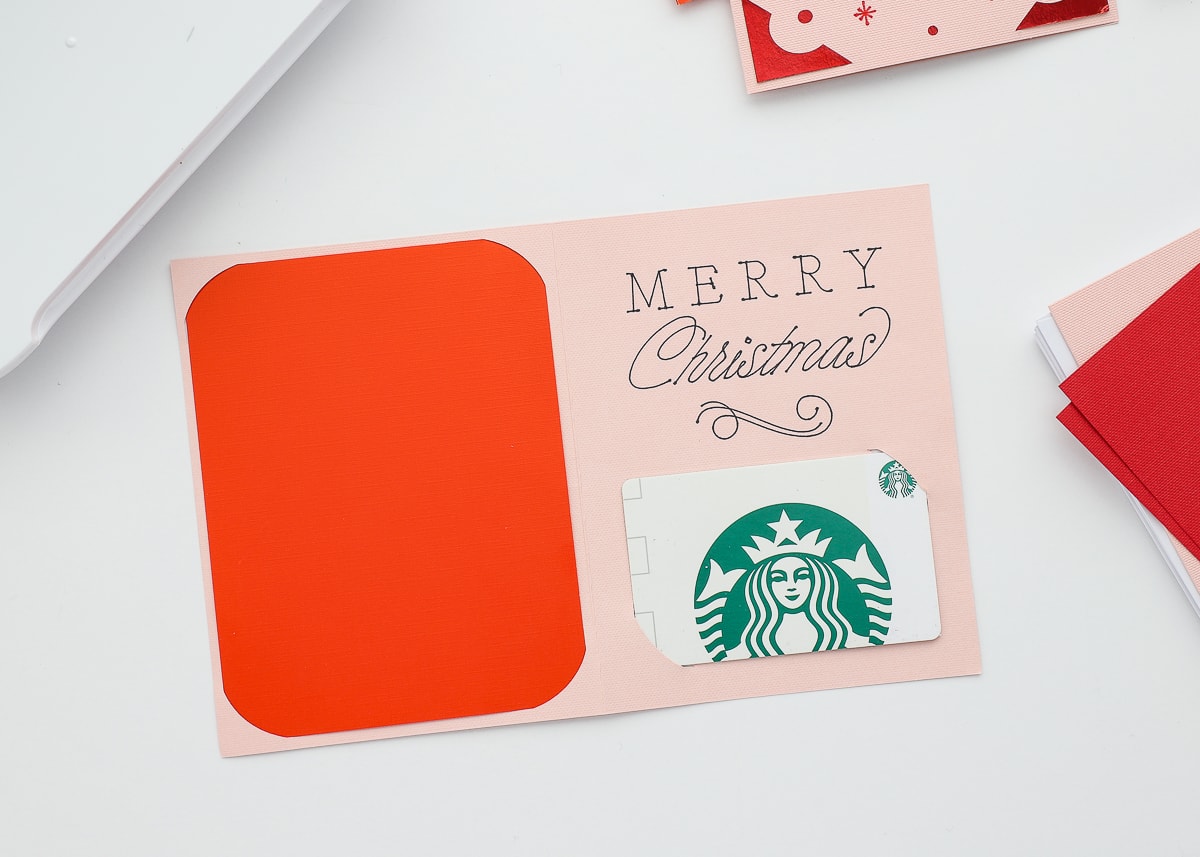
Start by making a Cricut Joy Card, adding a gift card to the inside if desired!
Full Instructions: Cricut Joy Gift Card Holder HERE
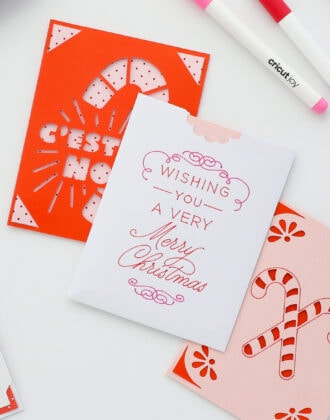
Then, hack the Cricut Joy envelope into a pocket with festive wording.
Full Instructions: Cricut Joy Envelope Hack for the Holidays
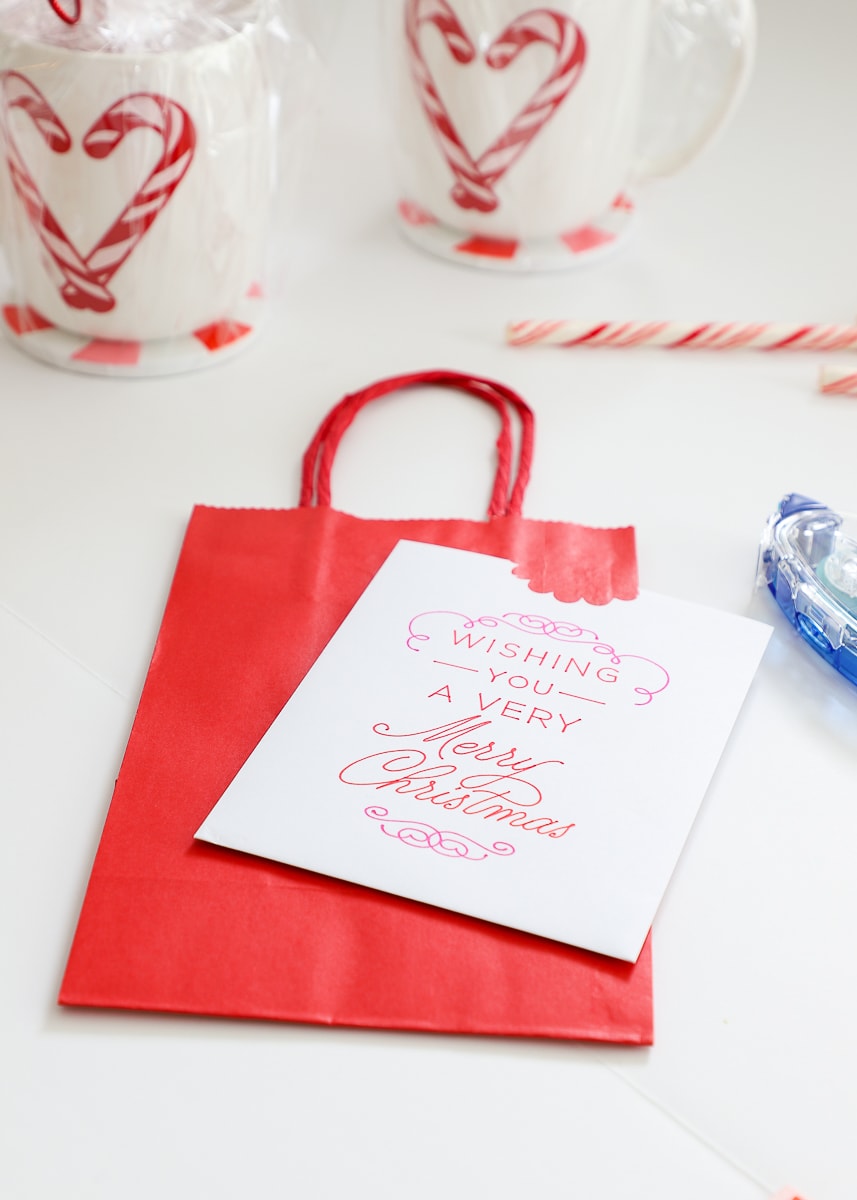
With your card complete, use some craft adhesive to secure your pocket envelope to the front of a red gift bag.
Slide your card into the envelope, and your coaster+mug set into the bag, and you have a complete set ready to go!
There are so many things I love about this clever little gift set.
To start, it’s so simple to create in bulk, so you can knock lots of people off your list all at one time.
Second, the pink and red peppermint theme is just so festive, and comes together quite easily via matching vinyl, pens, cardstock, and candy!
And finally, it’s totally scalable. You can make just the mug+candy, or the mug+candy+ coaster, or do the whole mug+coaster+bag+gift card shebang for a really thoughtful surprise!
I hope this gift set, all made with Cricut Joy, gives you lots of DIY holiday gift ideas for this season! I can’t wait to hear if you give it a try!
Megan




One Comment on “Peppermint Holiday Gift Set Made with Cricut Joy”
Fabulous idea! Since you kicked it up a notch with the coaster, wanted to mention the peppermint marshmallow hot cocoa toppers Costco is selling this year for that extra fancy feel 😀
https://www.sheknows.com/food-and-recipes/articles/2372633/costco-marshmallow-hot-cocoa-toppers/