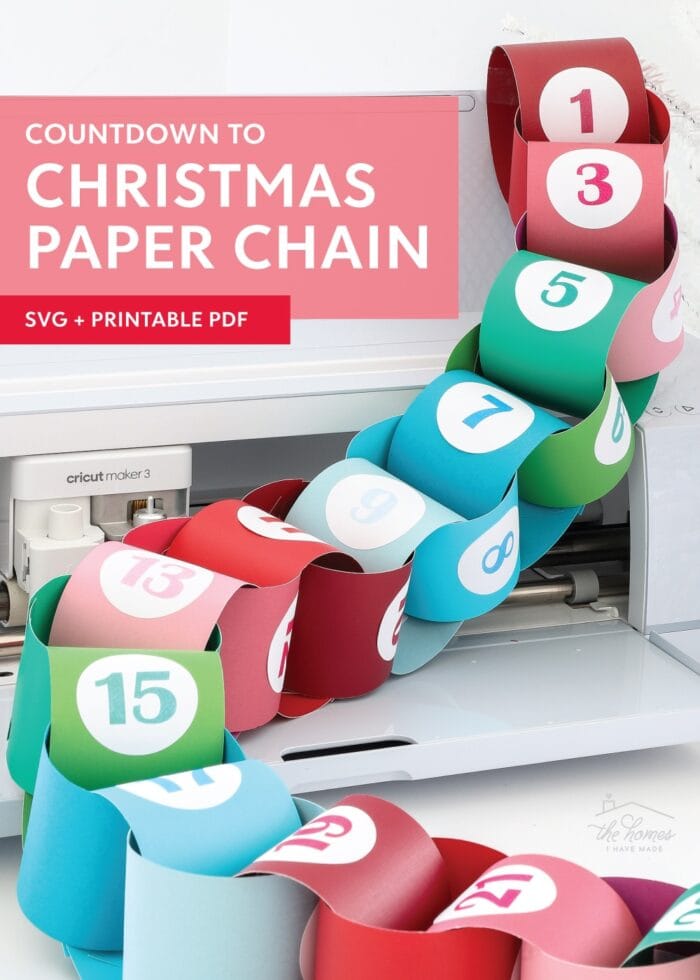
Easy DIY Christmas Countdown Chain (with SVGs + Templates!)
Years ago, I (somewhat) last minute, made a simple paper chain to help our oldest son countdown to Christmas (without driving us crazy!) Little did I know then that this easy paper project would become one of our most favorite holiday traditions ever. Since I’m now getting ready to assemble our beloved chain for the 7th year in a row, I thought it was a great time to break down exactly how to make a DIY Christmas Countdown Chain so you can start this favorite family tradition as well!
Countdown to Christmas Series
This post is part of my Countdown to Christmas Series, where I share all the resources you need to create an amazing “Christmas Countdown” tradition your family members will love (without adding stress or breaking the bank). Be sure to check out each post in this series below!
- Part 1 – The Easiest Way to Plan 25 Days of Christmas Family Fun (with Printables!)
- Part 2 – 40+ (Easy & Fun) Christmas Activities You Can Do as a Family
- Part 3 – How to Make a Christmas Countdown Chain – you are here
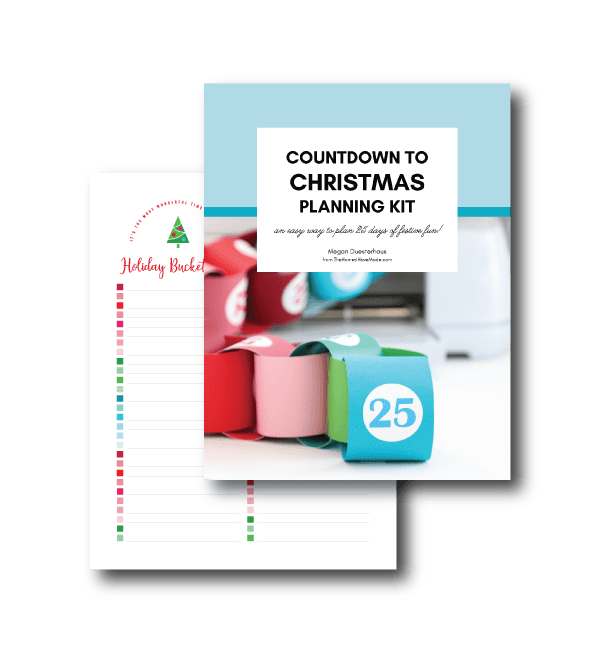
- Printables/SVGs – The Countdown to Christmas Planning Kit
Why Use a Paper Chain?
Christmas paper chains are a classic festive decoration and one of the quickest and easiest holiday crafts you can make. Essentially, they are just strips of pretty paper, looped then stapled into a long chain. They are great for decorating a Christmas tree or even as garlands on a mantel, around the home, or in a classroom. But one of their most common uses is to help children (and adults!) count down days to a special event!
We’ve used paper chains to count down to the first day of school, last day of school, special vacation, and the end of military deployments. So when trying to help kids understand “how many sleeps” there are until Christmas, this basic paper chain is a simple and oh-so-easy idea!
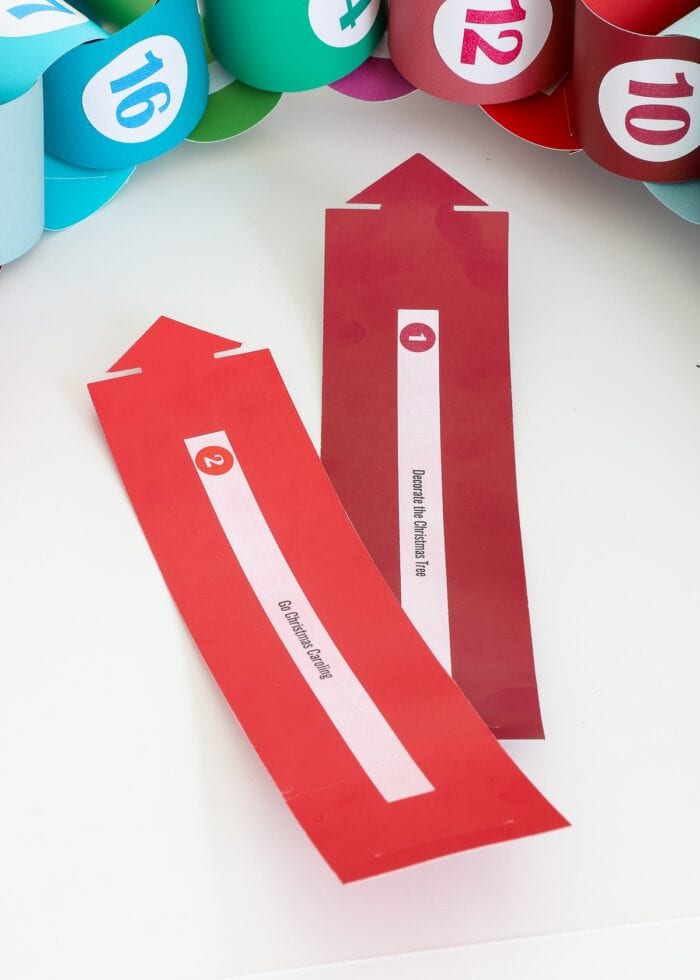
However, we take our Christmas Countdown Chain one step further. Instead of just being simple strips of paper with numbers on them…each link reveals a special family activity for us to do together. In essence, our Christmas Countdown Chain acts not just as our “Advent Calendar,” but also helps guide and schedule our entire month of December!
Learn more about how I plan out these activities here: The Easiest Way to Plan 25 Days of Christmas Family Fun
A Christmas Countdown Paper Chain that Lasts!
As much as I love to craft at Christmastime, it’s also a season with LOTS and LOTS to do. So when I can, I try to make projects that will last year after year.
(After all, if I don’t have to make it new each year, it’s much more likely to get done!)
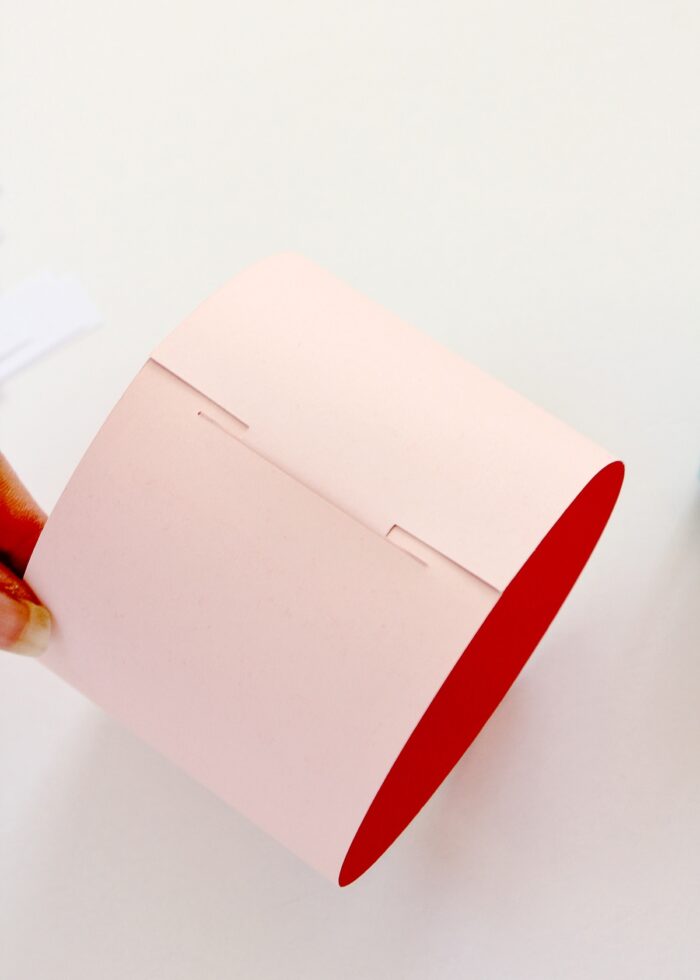
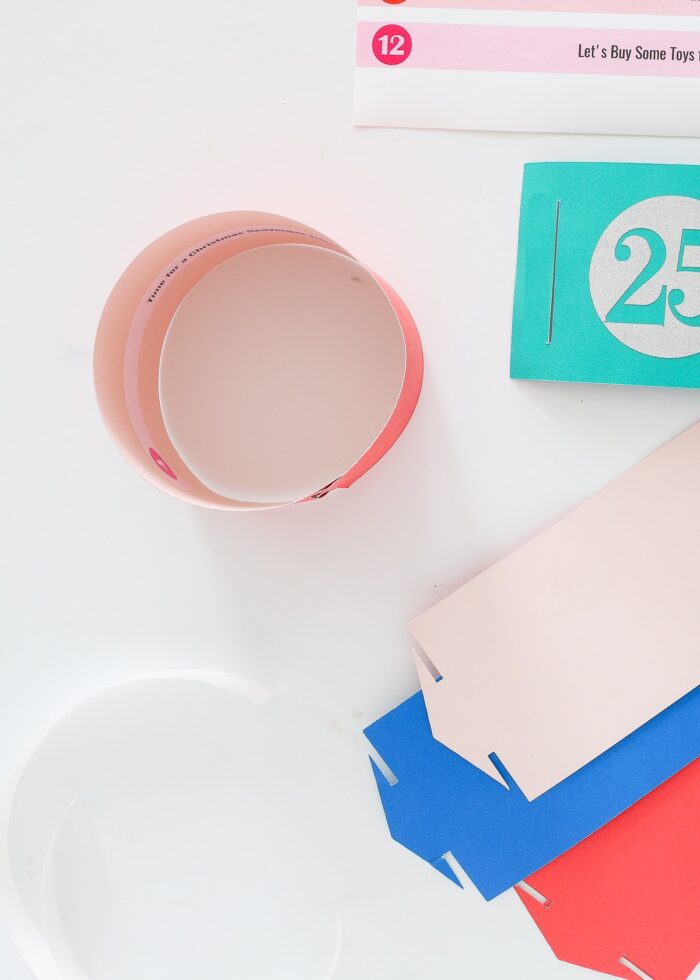
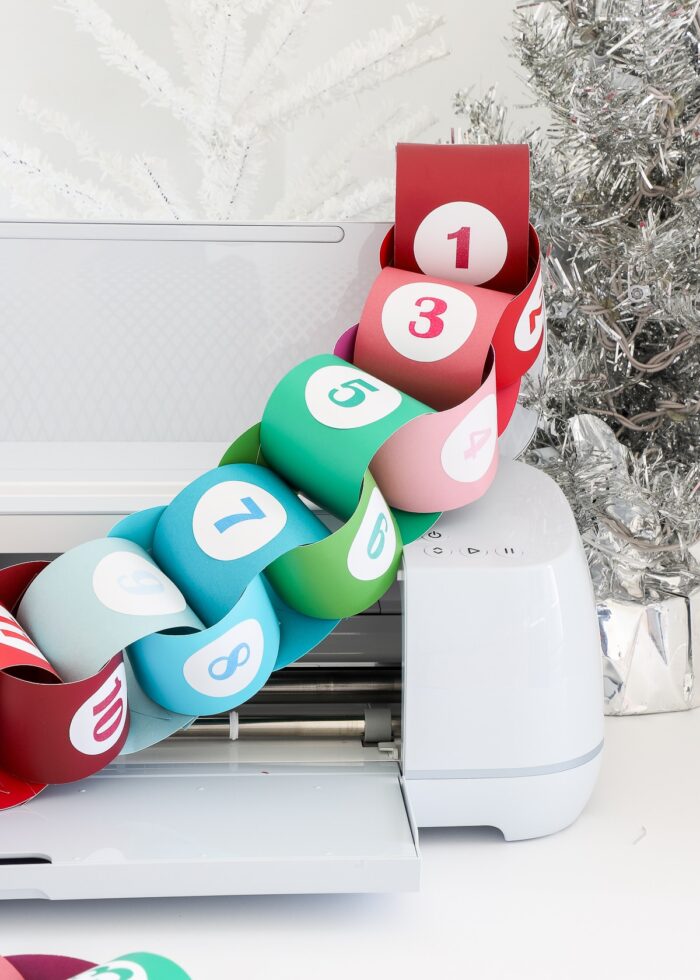
The Christmas Countdown Chain links I’m going to show today are really sturdy and have simple self assembly thanks to points and slits that hook together. This allows you to assemble (and then disassemble) the paper chain without any staples, sticky tape, glue, or tearing. And once all the links are “opened” for the year, you can simply bag them up and save them for next season!
Video Tutorial
I break down this entire tutorial in pictures/words throughout the remainder of this post. But if you’d rather watch the entire project come together, watch my video class below. (Psssst – Beyond making this paper chain, I share lots of great Cricut tips too!)
Option 1 – Christmas Countdown Chain with a Cutting Machine
Supplies Needed
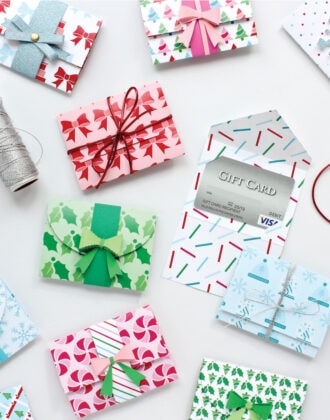
- Paper Chain SVG Files – includes the link, 1-25 numbers, and 1-25 activity strips
- Lightweight Cardstock in the holiday colors of your choice – I recommend using double-sided paper to create lots of color variety that matches seamlessly
- White sticker paper or white copy paper
- Scissors or paper trimmer
- Electronic cutting machine (such as a Cricut or Silhouette) with StandardGrip Mat
Step 1: Download SVG Files
Start by downloading the chain link, 1-25 numbers, and activity strip SVG files to your computer or device. Although the files are 100% ready-to-use, feel free to re-size, re-color, and adjust various elements as desired.
The SVG files come pre-color coordinated so you can quickly and easily make links, numbers, and activity strips that perfectly match!

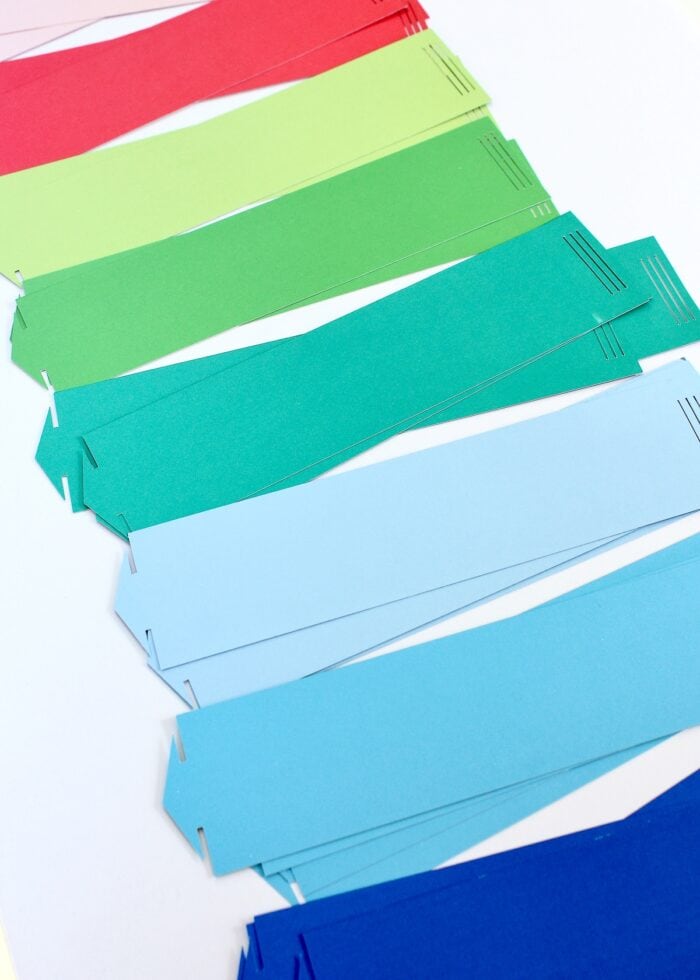
Step 2: Cut out the Chain Links
Next, use your Cricut or Silhouette machine to cut out 25 chain links in different colors of paper. Unless you adjust the size of the chain link, you can expect the following…
- 12×12 cardstock = 4 chain links
- 8.5×11″ cardstock = 3 chain links
By using double-sided cardstock, you can get lots of different colors for your chain with fewer cuts!
Step 3: Print Then Cut the Chain Numbers
To eliminate the “Did we take a link off the chain today?” problem, the next step is to add numbers to your chain links.
In the SVG download, I provide numbers 1-25, all sized and ready to use. Although you can cut the numbers out of vinyl, I’ve found that using the Print then Cut function to create peel and stick numbers is the quickest option!
- Within your e-cutter software, re-color and/or re-size the numbers, if desired.
- Select each circle and number together, and then click the “Flatten” button to make each circle into a printable sticker.
- Repeat with all remaining circles/numbers.
- Send the numbers to your machine to be 1) printed, and then 2) cut.
- Print the stickers onto white sticker paper.
- Use your e-cutter to then cut out the circle stickers with a “kiss cut” setting.
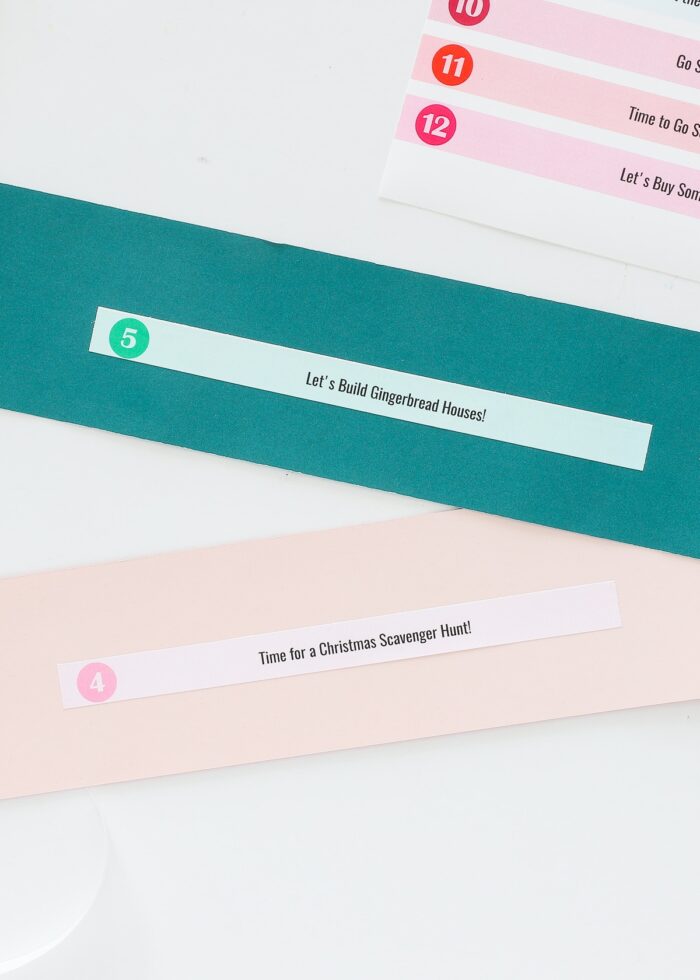
Step 4: Add Chain Activities (Optional)
To make your Christmas Countdown Chain a little more fun and interactive for the whole family, I recommend adding something to the inside of each link. Here are a few ideas to consider:
- Festive Family Activities – This is what we do and the whole reason our kids love this chain so much. See how I plan it all out here: The Easiest Way to Plan 25 Days of Christmas Family Fun
- Bible Versus
- Holiday Jokes
- Christmas Song Titles – Listen to it each morning or evening
- Christmas Book Titles – Read it at bedtime each night
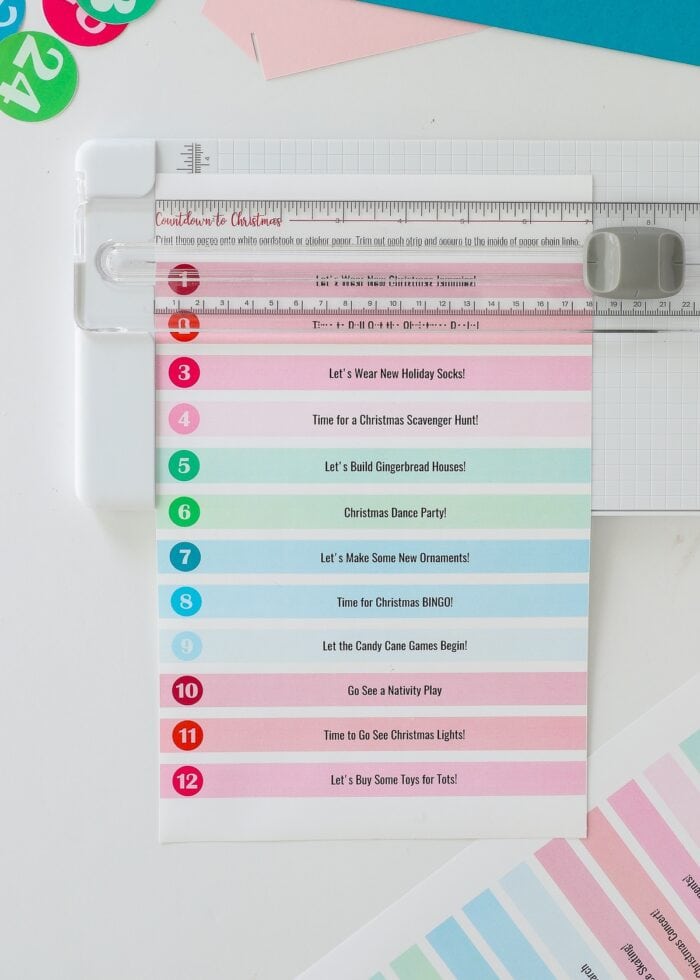
Once you have the 25 “activities” identified, type them up in the included PDF worksheet and print them onto white sticker paper. Once printed, trim the strips out with a paper trimmer or scissors.
You can also Print Then Cut your activity strips with your e-cutter, as the SVG file for the strips is also included. Step-by-step for how to do this is in the video tutorial.
Step 5: Assemble Your Christmas Countdown Chain
Assembling your paper chain is so much fun, and your kiddos can probably help you do it! (Unless you want to keep the various activities a surprise!)
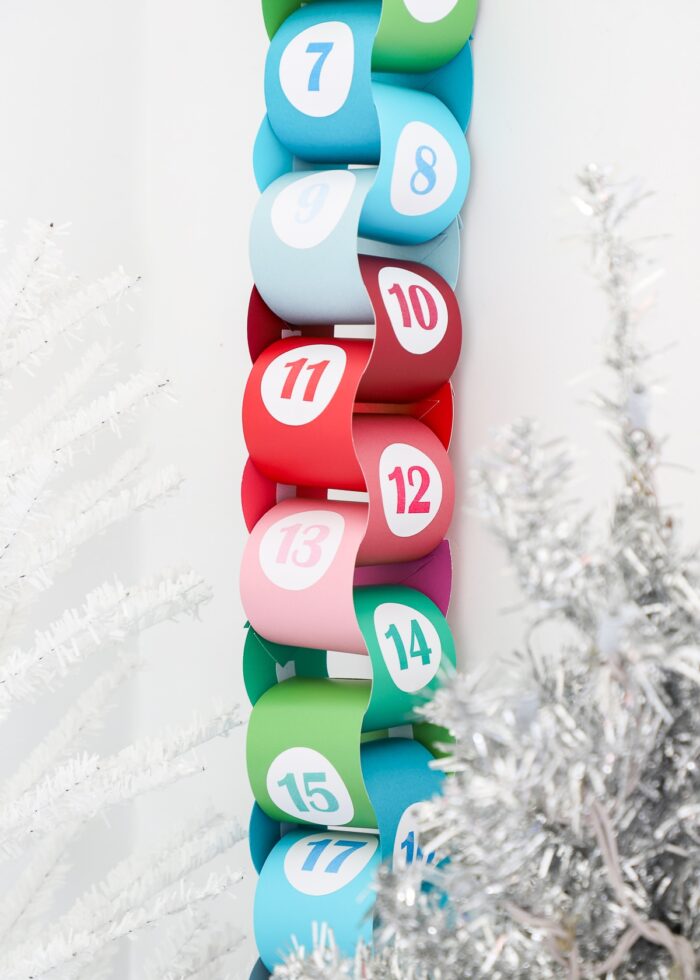
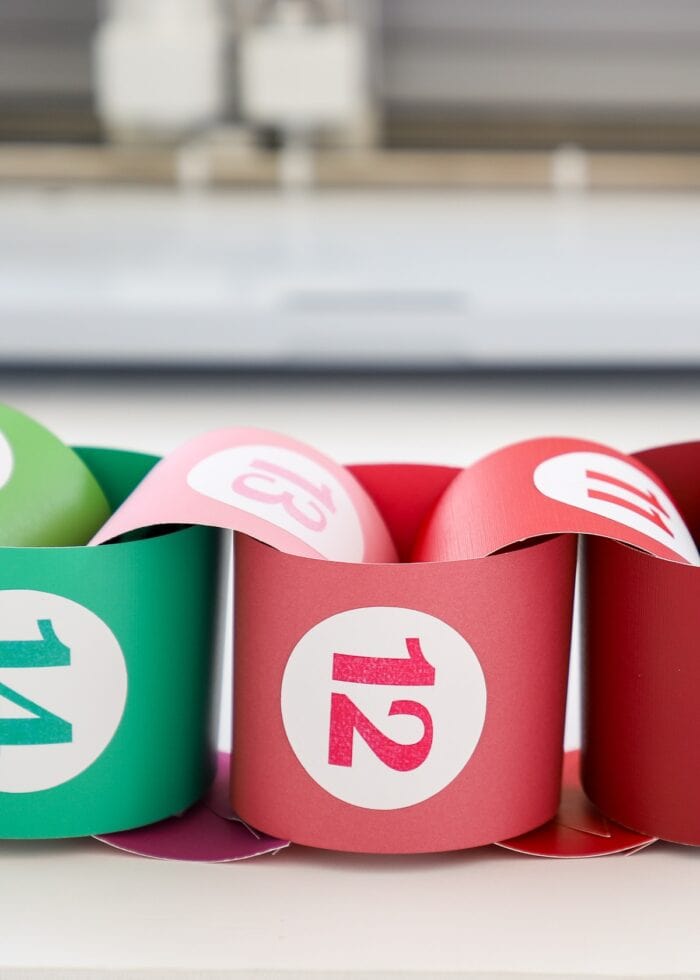
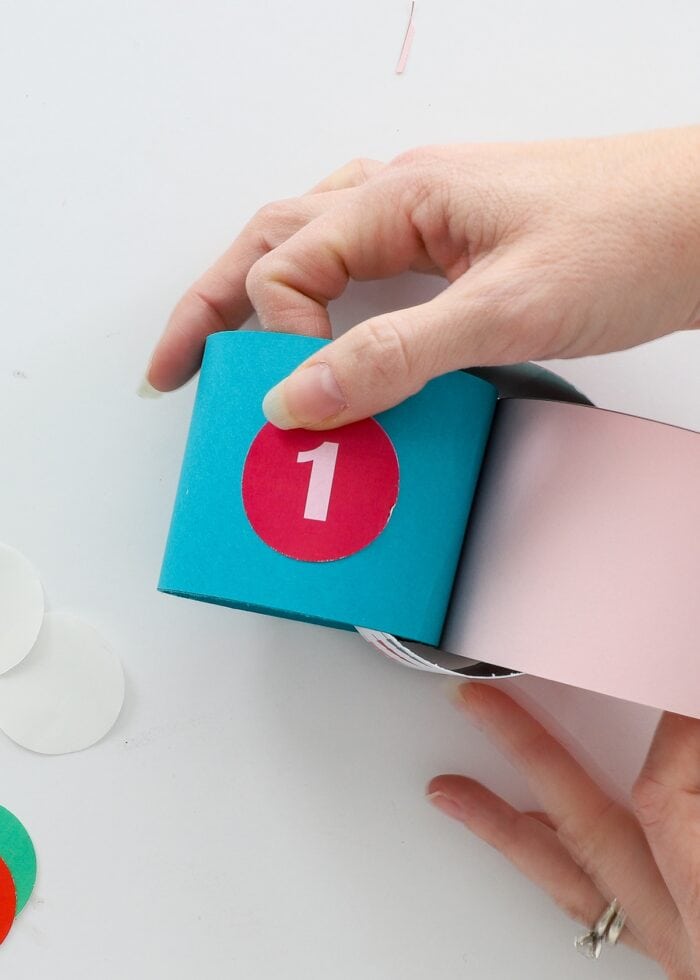
Started by sticking the activity strips to the underside of the paper links (if desired). Then place the corresponding number onto the top side of the paper link.
If you want your numbers to all face the same (readable) direction when the chain is assembled, you’ll want to place the numbers in the exact middle with the point of the link facing up.
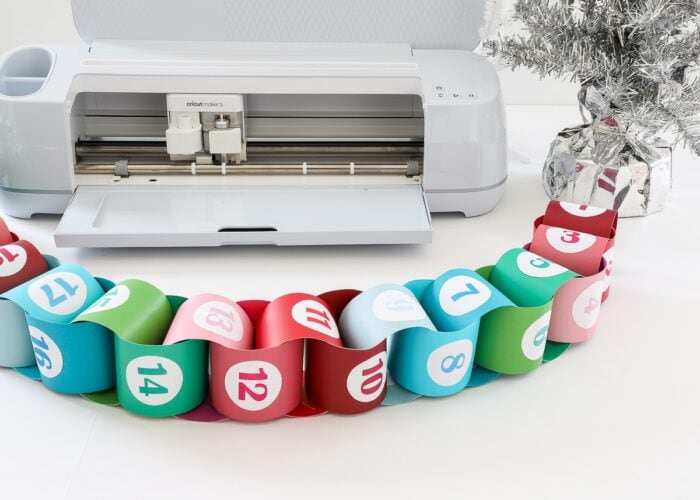
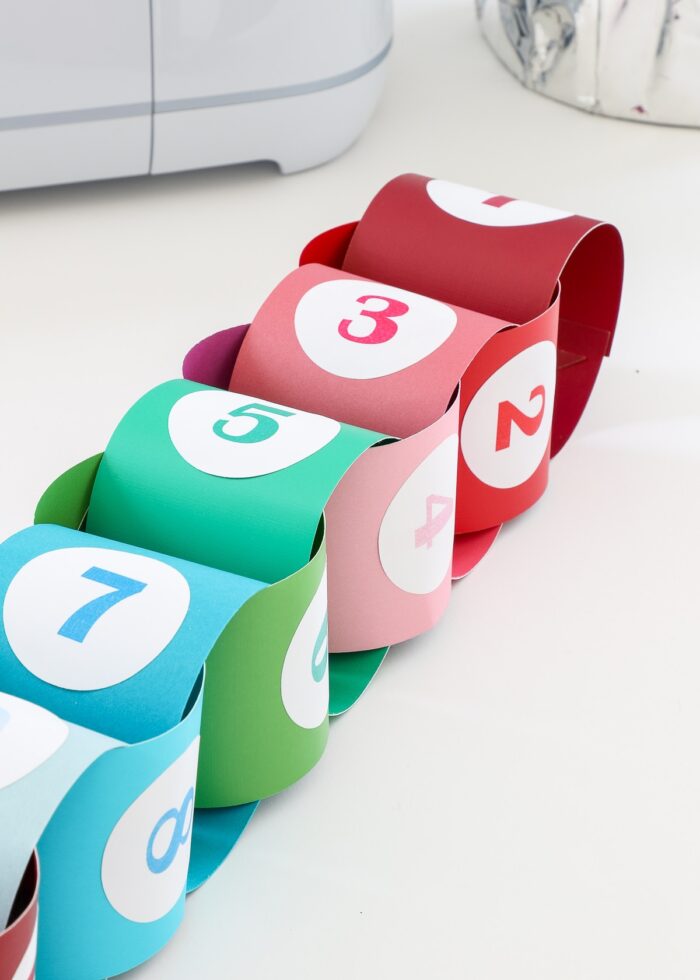
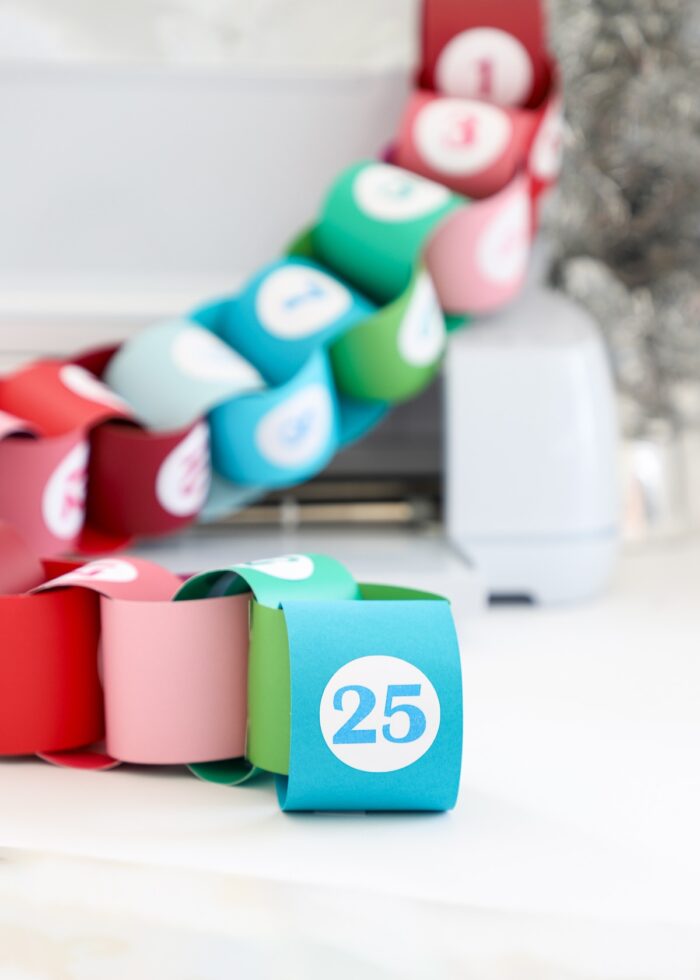
Finally, loop the paper strips all together to make a chain! Start by making a loop with the #1 strip…then add the next strip, then the next, until all 25 are strung together.
If you’d like to adjust the garland length or want all the numbers facing front, consider adding a non-numbered link between each numbered link!
Option 2 – Christmas Countdown Chain with a Scissors
If you love the idea of making a reusable Christmas Countdown Chain but you don’t have a cutting machine, don’t worry. I have printable templates ready for you to use instead!
Supplies Needed
- Paper Chain Link Printable Template
- Home Printer
- 8.5×11″ Lightweight Cardstock in the holiday colors of your choice – I recommend using double-sided paper to create lots of color variety that matches seamlessly
- White sticker paper or white copy paper
- Scissors or paper trimmer
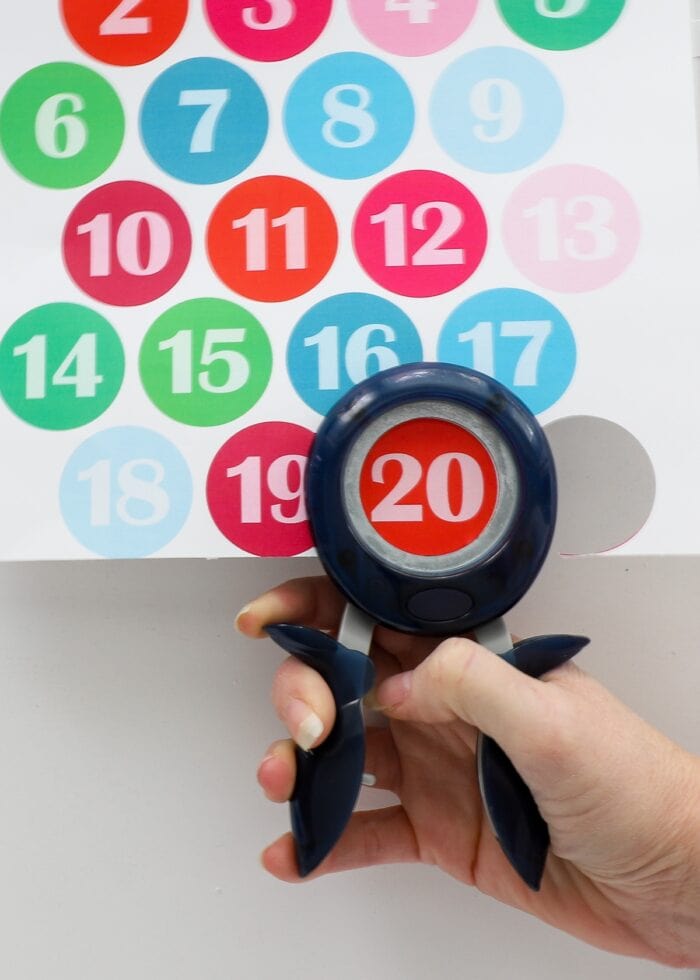
- 2″ Circle Punch (optional)
Step 1: Download Chain Link Printable Template
The printable chain link template (as well as the 1-25 numbers and activity strips) can be accessed here. Download the PDF to your computer and open the file using the free version of Adobe Acrobat Reader.

Want to save this post?
Step 2: Print the Chain Links onto Cardstock
Open up Page 12 of the printable template and print the 3-link template onto 8.5×11 paper/cardstock with your home printer. Repeat with 9 different sheets of paper in order to print off enough links.
Can’t find any cute holiday colors/patterns in 8.5×11″ size? You can quickly cut 12×12″ paper down using a paper trimmer!
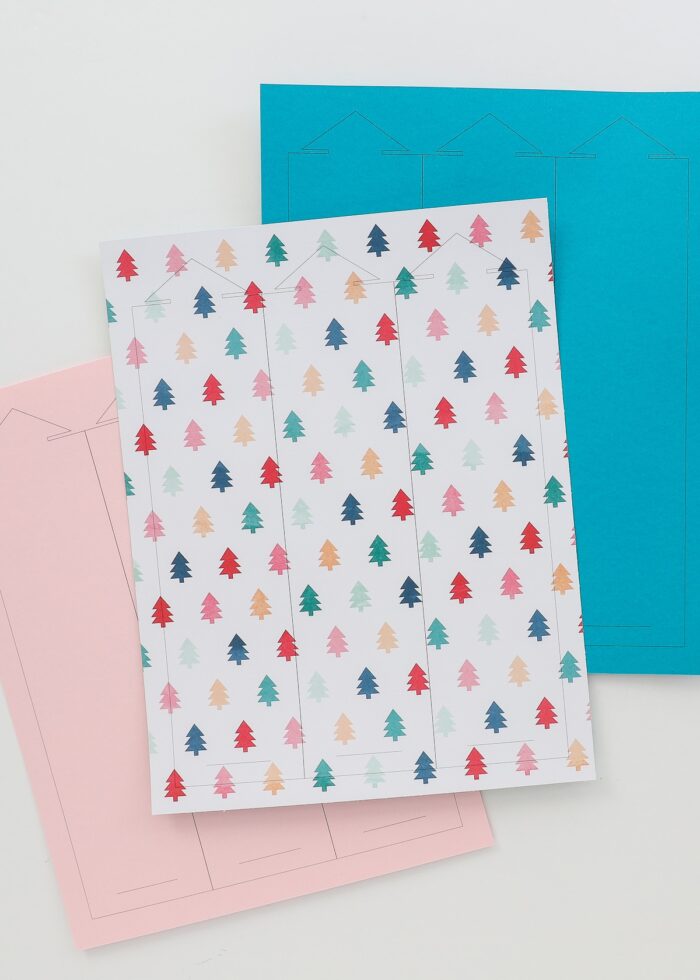
Step 3: Cut out the Chain Links
Use a scissors to cut out the paper chain links along the provided black lines. Keep cutting until you have a total of 25 links.

Step 4: Print the Numbers onto Sticker Paper
Locate Page 11 in the printable template and print the 1-25 numbers onto white sticker paper.
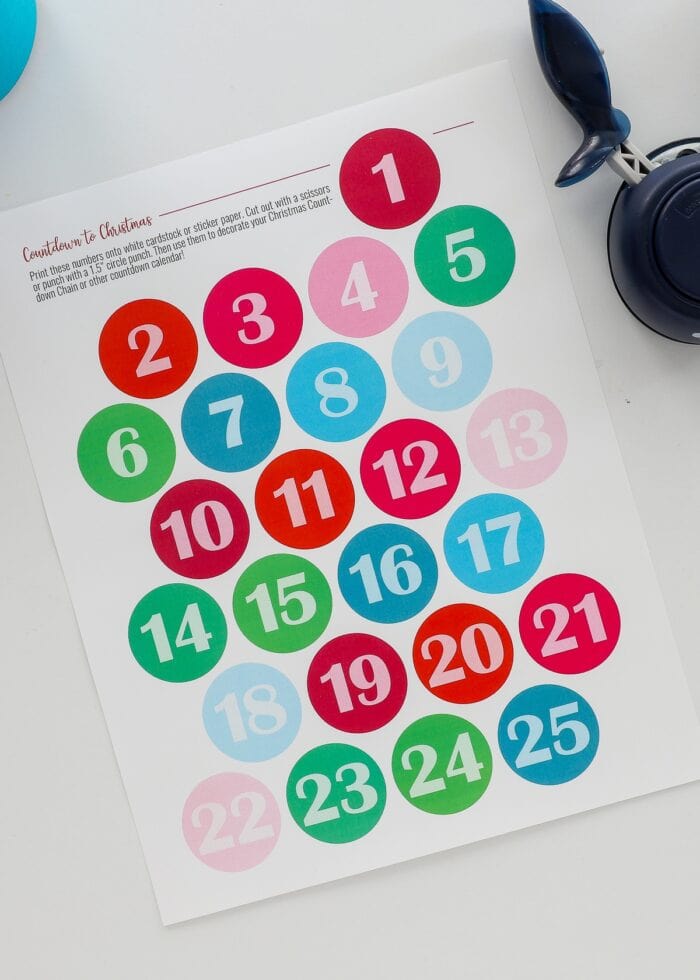
Use a 2″ hole punch (or scissors) to cut out all the numbers.
Step 5: Add Chain Activities (Optional)
Just as outlined above, type 25 different activities, Bible versus, holiday jokes, etc in Page 9-10 of the printable template. Print these strips out onto more white sticker paper and trim out with a paper trimmer or scissors.

Step 6: Assemble Your Christmas Countdown Chain
Assemble your Christmas Countdown Chain as outlined above.
Using Your Christmas Countdown Chain
With your Christmas Countdown Chain assembled, place it where the whole family can see it every day. Start removing links on December 1st and work your way down to Christmas Day!
Whether you count down or up is completely up to you! We count up so that the number on the chain matches the calendar date (making it easier to stay on track!)
Get the Christmas Countdown Chain Templates
The Christmas Countdown Chain templates (with SVG and PDF files) are now available for download from The Organization Toolbox. Click HERE to shop or learn more.

I still can’t believe that this simple paper chain countdown I made 7 years ago is still going strong and something we all look forward to year after year. In fact, when I was working on this post this week, my oldest saw the pictures and said “Are you getting our Christmas chain ready, Mom?!?” It just goes to show that homemade holiday projects can go a long way in creating fun family memories, no matter how simple and inexpensive they are!
I hope you give this easy project a try…I think your family will love it as much as ours does!
Megan