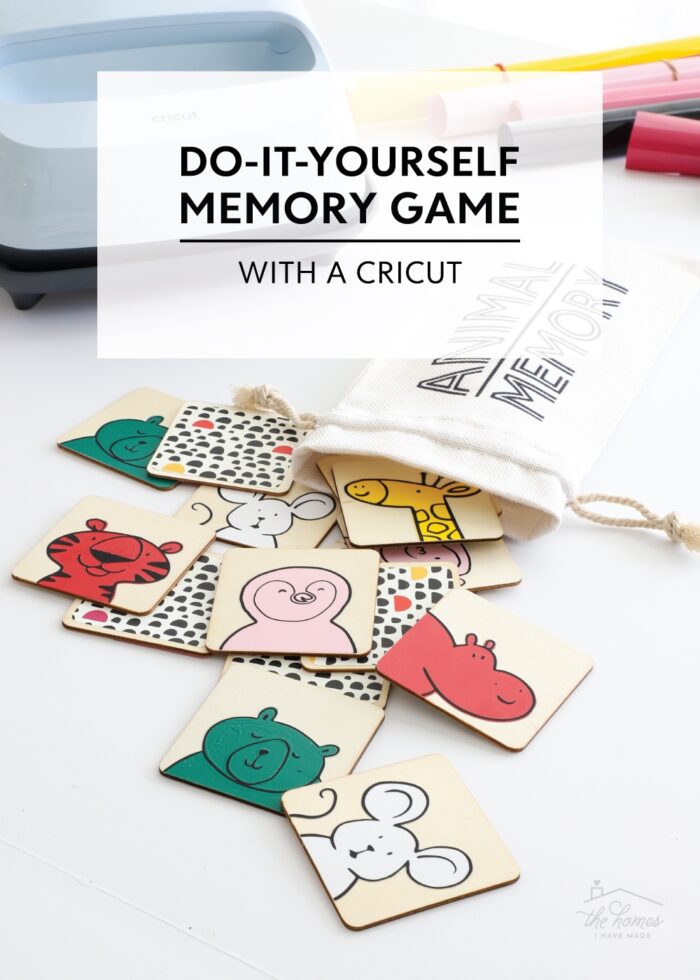
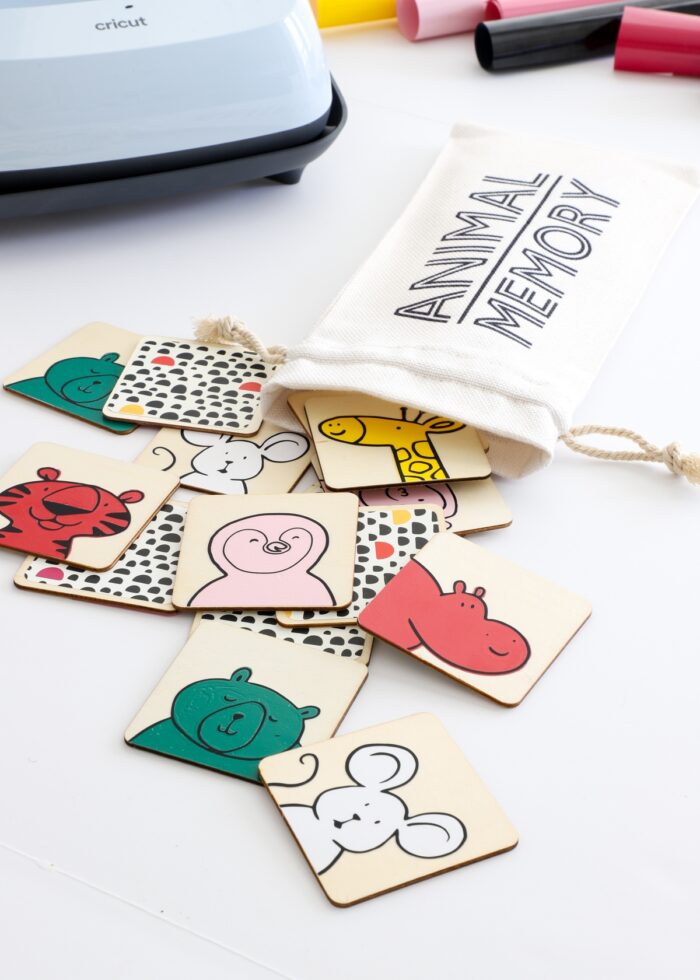
DIY Memory Game with a Cricut
While I primarily use my Cricut machine to decorate and organize our homes, I sure do love using it to make custom things for my kiddos too. Homemade games (such as puzzles, bean bags, and this DIY Memory Game) become quick-and-easy afternoon projects thanks to your Cricut doing all the design and cut work for you! This project is a real joy to pull together (although a tiny bit tedious), and my kids can’t seem to get enough of it. If you’re looking for a fun summer project to bring the whole family together, this is a great one to add to your “To Make” list!
One of the best things about using a Cricut machine to make your own DIY Memory Game is that you can customize it to your preferences in countless ways! From the colors you pick and images you use to the size and amount of tiles you make, you get to choose how simple or complex this project will be!
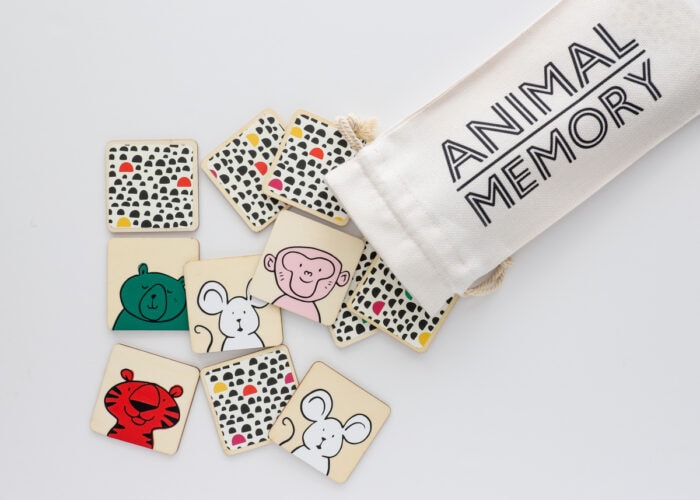
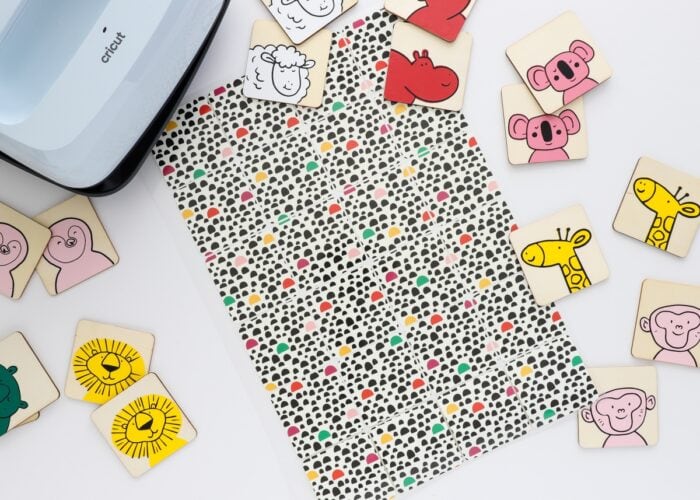
I chose to use a single set of adorable animal faces (straight out of the Cricut Design Space Image Library), but you could make this same project using any images you like (e.g., fruit, super heroes, emoji faces…so many fun directions to go!) By unifying the colored animals with an eye-popping pattern on the back of the tiles, the result is a DIY memory matching game that is super chic while also being fun and completely unique!

Why Use Iron-On Vinyl on Wood?
The designs on this DIY Memory Game are made with iron-on vinyl and permanently applied to the wood tiles via heat. While you can absolutely make this same project using adhesive vinyl instead, there are a few specific reasons I recommend iron-on for this project:
- Durability. Because iron-on is heat fused, the designs will be more durable and longer-lasting. Standard adhesive vinyl can easily peel off wood; and since this game will likely be handled by kids, you run the risk of your designs coming off sooner rather than later.
- Easy Application. Layering and applying standard adhesive vinyl via transfer tape is not for the faint of heart. It can be quite tricky to line up edges and outlines perfectly (although I do have lots of layering tips and tricks here should you want to make this with vinyl). Plus, getting adhesive vinyl to stick to wood can require lots of “coaxing,” which can be tiresome and time-consuming. Iron-on vinyl, on the other hand, is MUCH easier to line up and apply (since it doesn’t have a sticky backing), so you can be sure of easier, better alignment!
Supplies Needed
Here is everything you need to make a DIY Memory Game with your Cricut!

- Cricut Machine – Any Cricut machine can be used for this project, including Cricut Maker Series, Cricut Explore Series, or Cricut Joy
- Standard Grip Mat (unless using Smart Iron-On)
- Premium Fine-Point Blade (the one that comes with your machine)
- Animal Memory Game File for Cricut Design Space
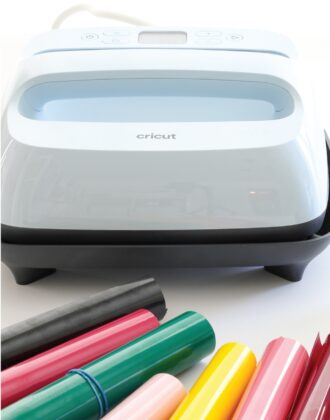
- Cricut EasyPress (a household iron can also be used)
- Cricut Heat App (if using Cricut EasyPress 3)
- Cricut EasyPress Mat
- Heat Resistant Tape
- Iron-On Vinyl
- Solid – Solid colors can be used to create the tile images
- Patterned – Patterned vinyl can be used to decorate the backside of the wooden tiles
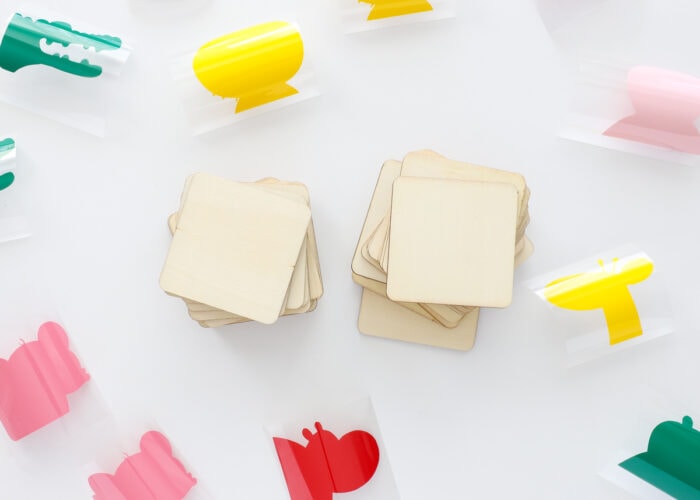
- Wooden Tiles – You can choose any size you like. The 3″ size is ideal for little hands and doesn’t require a lot of iron-on vinyl for the designs, making this a great project for scraps!
- Drawstring Bag (Optional) – Instructions for labeling your bag HERE.
Step 1 – Design Memory Game in Cricut Design Space
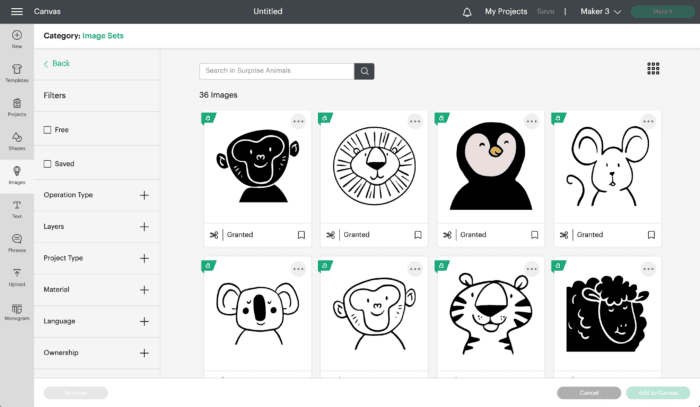
Your first step is to design your DIY Memory Game in Cricut Design Space. As mentioned above, you can really use any images for your game; but if you want your tiles to look and feel cohesive, I recommend using images from the same Image Set.
Designing the Tile Fronts
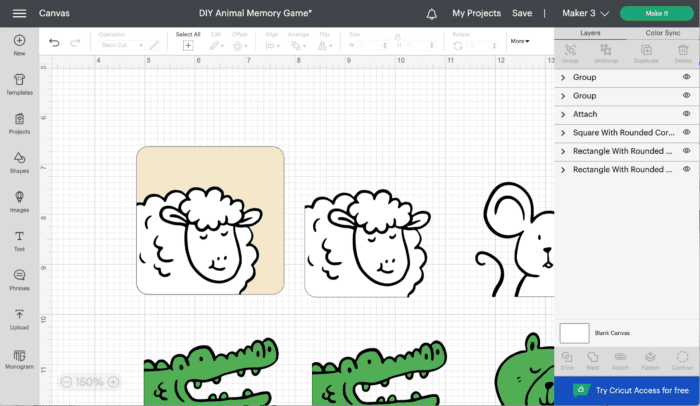
Once you select the images for your tiles, you’ll want to size them so they fit just right. To do this, first place a square on your canvas in the same dimensions as your wooden tile (3″ in my case) to serve as a template. Then size each image to fit the square accordingly.
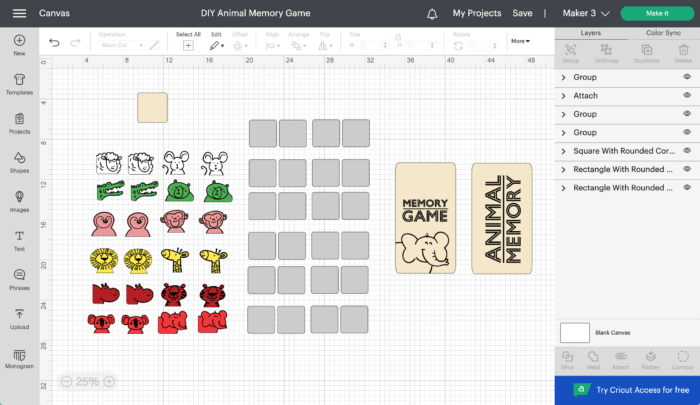
Once you have the images sized and colored just as you want them, duplicate them all because you’ll need a matching set to play Memory!
Designing the Tile Backs
You can create a custom design for the back of your memory tiles and cut/apply them the same way as the front images. I personally wasn’t up for much extra work, so I chose to use some adorable patterned iron-on cut into basic squares. My square backings measure 2.75″, but you can do whatever simple shapes you like.
My Animal Memory Game File
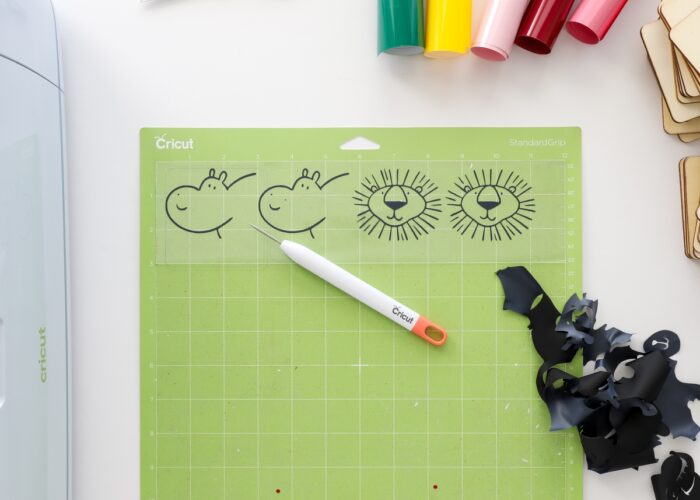
I specifically chose the “Surprised Animals” set because of how they were designed with a flat edge, meaning I could align them with the edges of my tiles. The backgrounds of each animal were cut from solid colors, while the details/outline were cut from black. You can access my exact Animal Memory Game File in Cricut Design Space here!

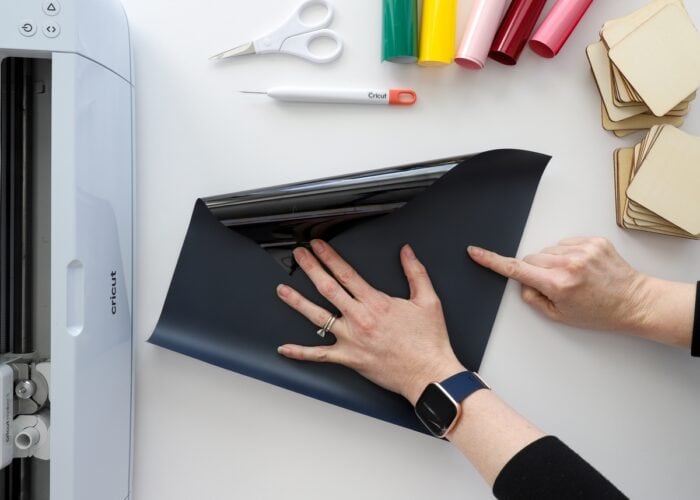
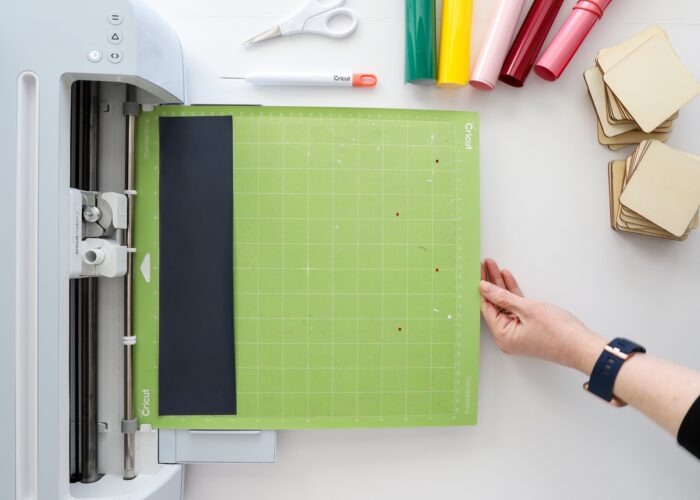
Step 2 – Cut Memory Game Images from Iron-On Vinyl
Once you have all your memory match game images sized, colored, and ready to go, send them to your Cricut machine to be cut from iron-on vinyl. As a reminder, make sure you always cut iron-on vinyl with the dull side facing up and the Mirror setting “On.”
If you need more detailed instructions for cutting iron-on vinyl, refer to my comprehensive guide HERE.
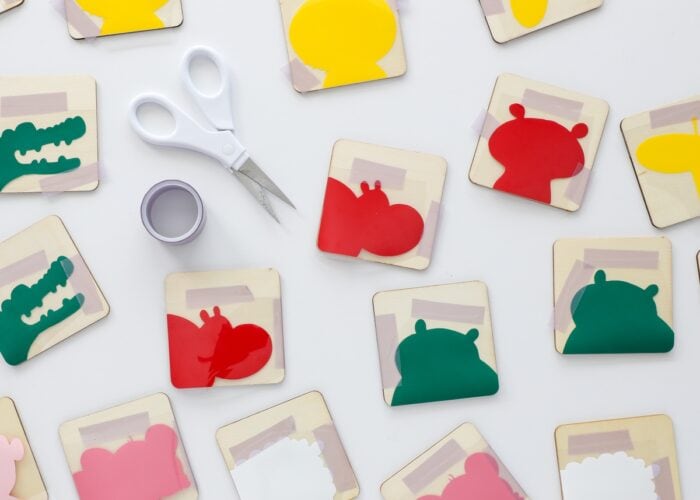
Once you’ve run all your iron-on vinyl colors through your Cricut machine, use a weeding tool to remove the excess material around each design.
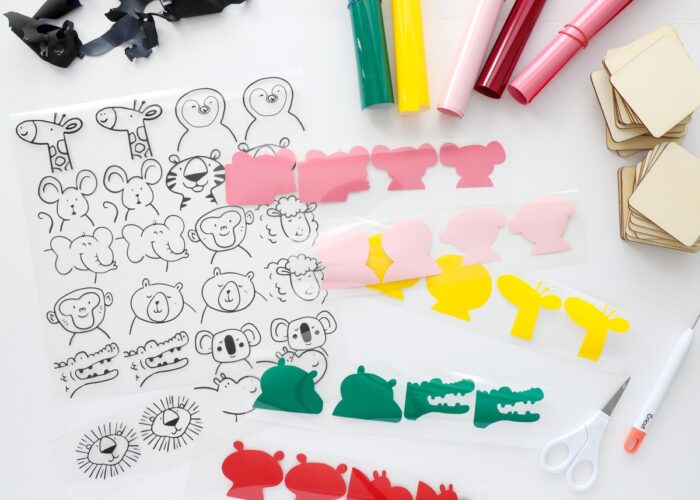
Before moving on, trim apart each individual design so they can be applied to the wood tiles one at a time.
Step 3 – Iron Memory Game Designs Onto the Wood Tiles
Next, you’ll need to set and warm up your Cricut EasyPress.
NOTE: Applying iron-on to wood can often involve some trial-and-error to get the correct pressing duration right. The settings I’m sharing here worked great for this specific 2-layer design, but understand you may need to adjust based on your own project. If possible, cut a few extras and practice before heating your actual game tiles.
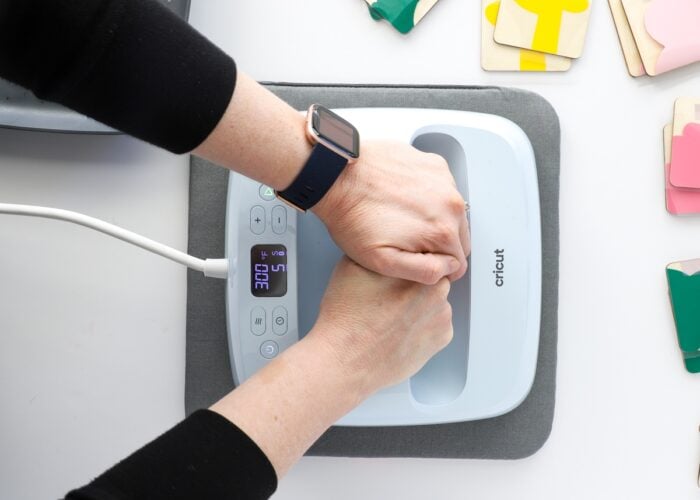
For applying two iron-on layers to wood, I recommend the following settings:
- Temperature: 300 degrees F
- Layer 1: 5 second press with firm pressure, cool peel (a warm peel is usually recommended when layering, but I found letting it cool first yielded better transfers)
- Layer 2: 10 second press with firm pressure, cool peel
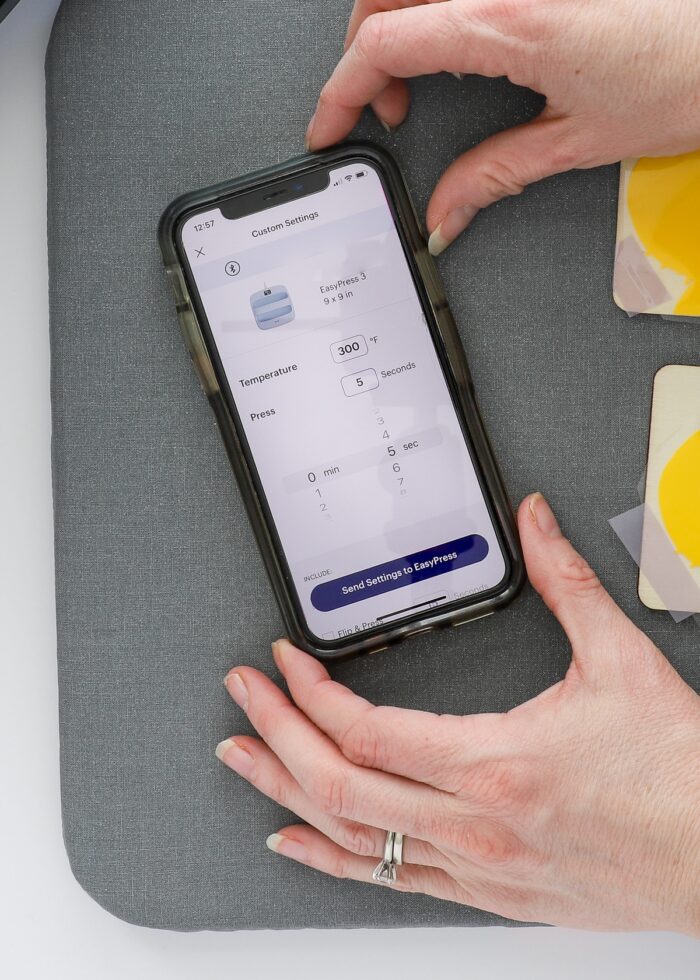
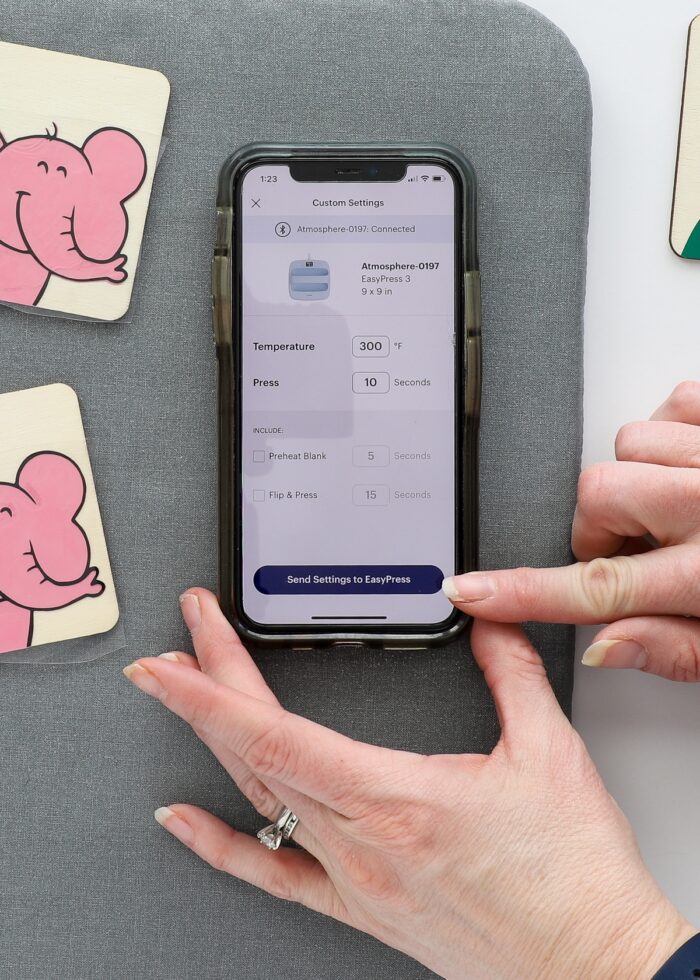
If you have an EasyPress or EasyPress 2, make your settings manually by pressing the buttons on the press. If you have a Cricut EasyPress 3, use the Cricut Heat App to set the time and temperature for this project. To make your own custom settings, click the “Set Custom Time & Temp” area at the bottom…
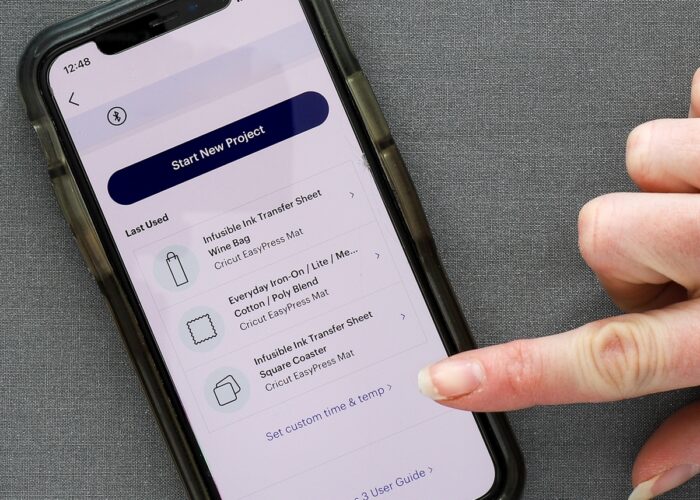
…and then input the temperature and time settings listed above before sending them to your Cricut EasyPress 3.
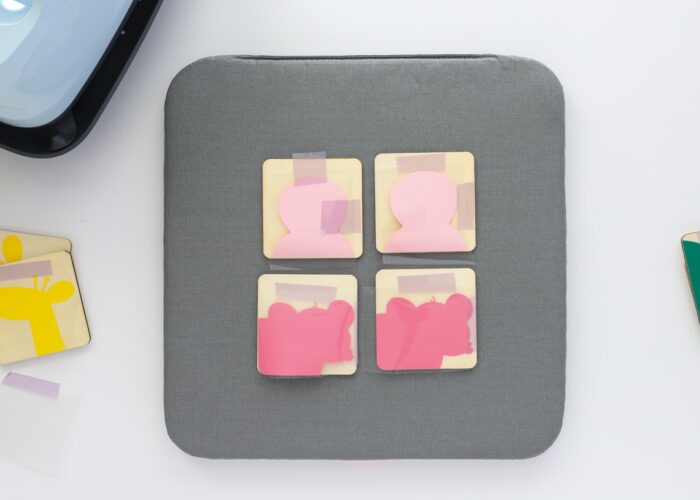
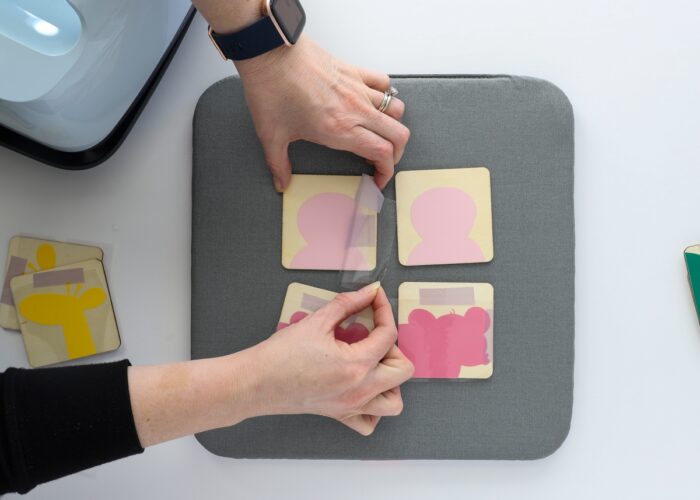
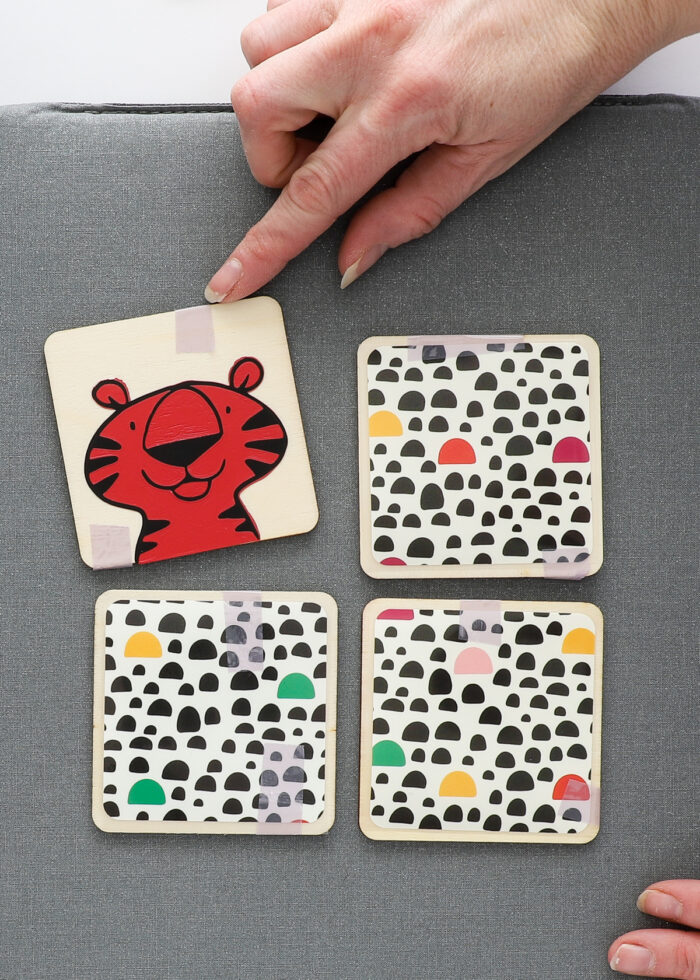
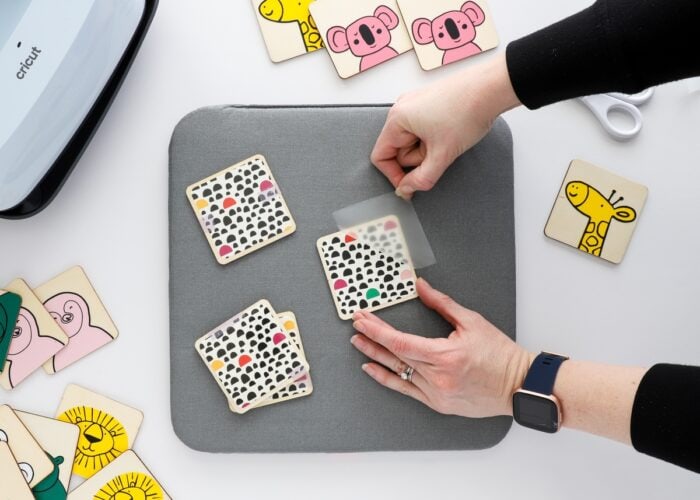
While your Cricut EasyPress is heating up, secure each image to the front of the wooden tiles using Heat Resistant Tape. I lined up the flat edge of each animal head with the edge of the tile, but you can place your images wherever you want them.
NOTE: The images WILL slide around on the wood when heated if not fully secured with tape. Use as much Heat Resistant Tape as necessary to keep the images perfectly in place.
Want to save this post?
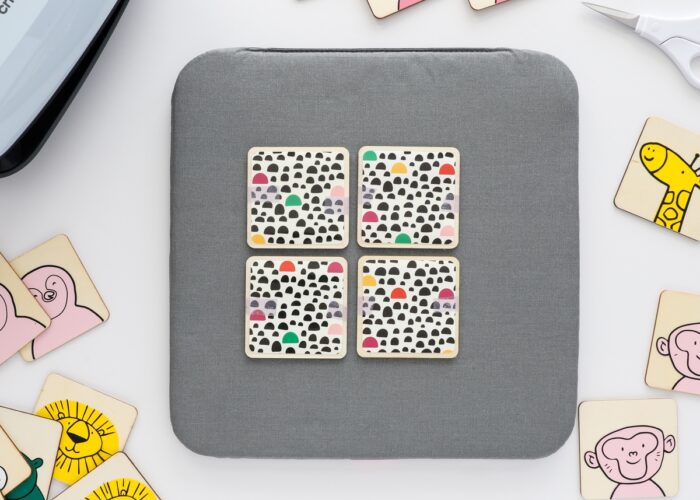
When ready to fuse the iron-on to the wood, place as many wood tiles onto an EasyPress Mat that will comfortably fit under your EasyPress. (Under my 9×9″ EasyPress 3, I could easily fit 4 tiles.)
As described above, press the first layer for 5 seconds with very firm pressure.
Once cool to the touch, remove the plastic carrier sheet to reveal your base layer. Continue heating the base layer on all tiles before proceeding.
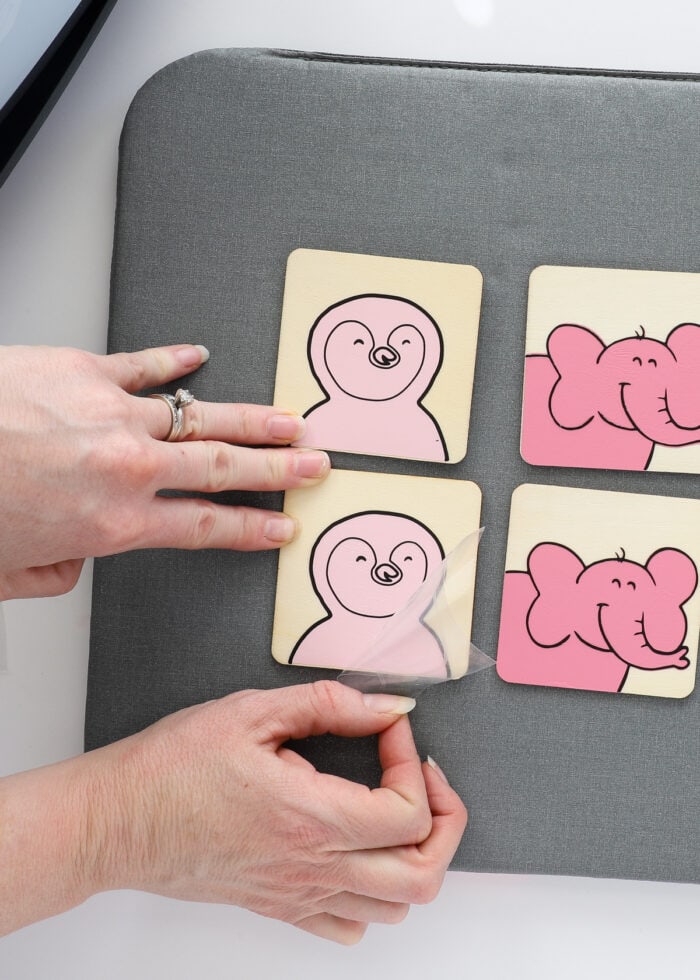
Once all the first layers are in place and fully cool, place the top layer (the black outline) onto the tiles, taking care to line up the designs perfectly.
I did not need any tape for the top layers (because enough sticky carrier sheet was exposed to hold them in place), but if you want/need, don’t hesitate to use more Heat Resistant Tape to ensure your designs stay put.

Before heating, readjust your Cricut EasyPress for 10 seconds at 300 degrees.
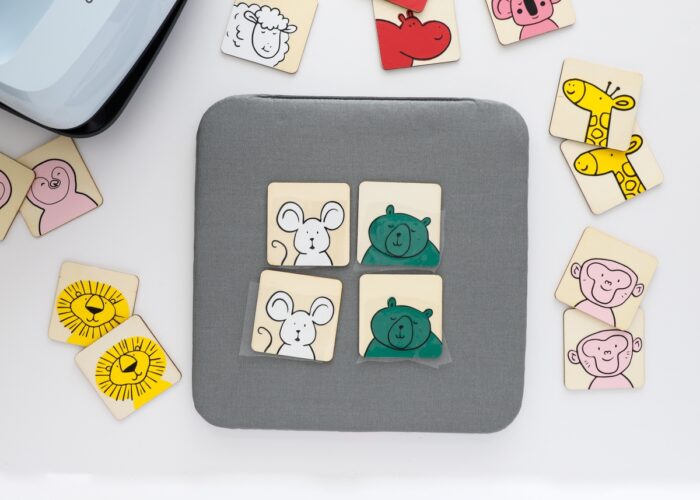
After you press each set of tiles for 10 seconds with firm pressure (not shown), remove the clear carrier sheet once the entire design is perfectly cool to the touch.
Keep working until all the fronts of your DIY Memory Game tiles are complete!
Step 4 – Add Backings to the Memory Game Tiles
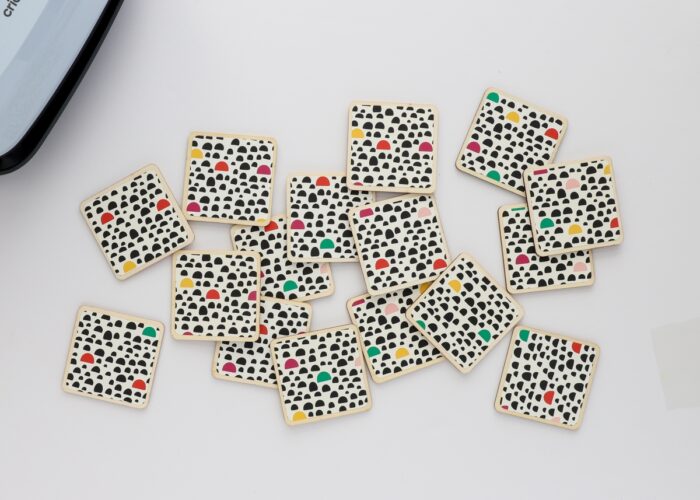
If you were to purchase a commercial matching game, the backs of the tiles are usually all identical (so you can’t memorize which tile has what image!) While I could have left the backs of my tiles blank or created a custom design, I chose to adhere squares of adorable patterned iron-on instead.
Not only was this SO much quicker than making a custom design with more iron-on, but the colors in the dotted pattern really brought the entire game together!
Once the iron-on vinyl is cut with your Cricut, cut them apart into individual squares using a scissors. Then, just like before, use Heat Resistant Tape to secure each square in place on the backside of the wooden tiles.
Take care not to place tape over the design on the other side, as the tape+heat can indeed warp or damage the image.
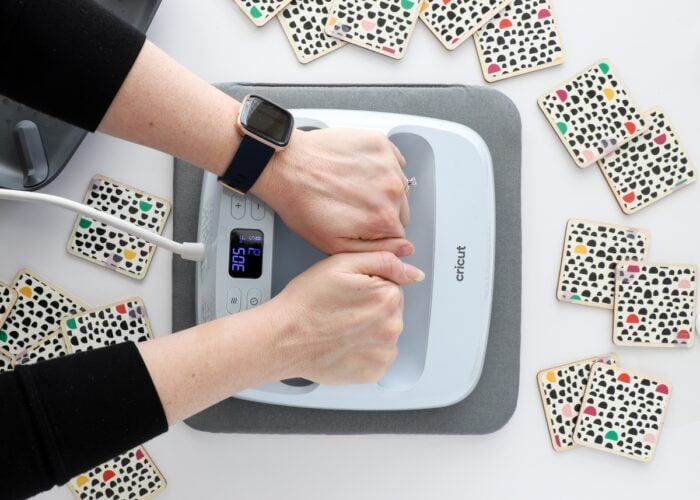
In this instance, I found Cricut’s prescribed settings for Patterned Iron-On Vinyl onto Wood just right for optimum adhesion without melting:
- Temperature: 305 degrees F
- Time: 30 seconds with firm pressure, cool peel

Once you’ve applied all the backings, your DIY Memory Game is now complete and ready for playing!
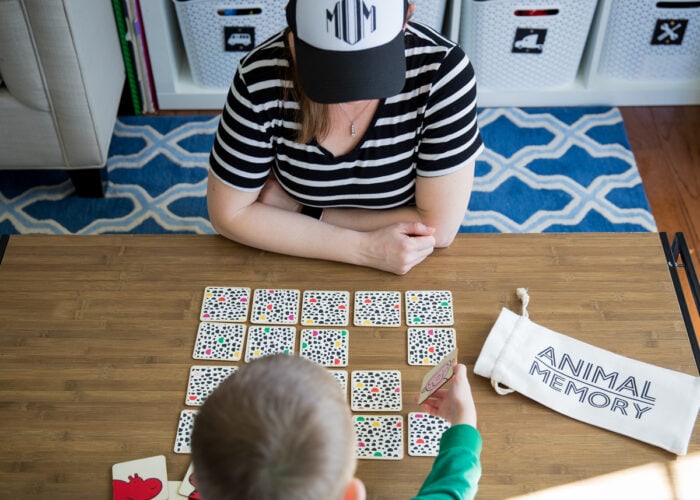
Step 5 – Play Your DIY Memory Game!
I’ve made lots of things for my kids over the years. Sometimes they fall flat; but every now and then, I hit it out of the park.
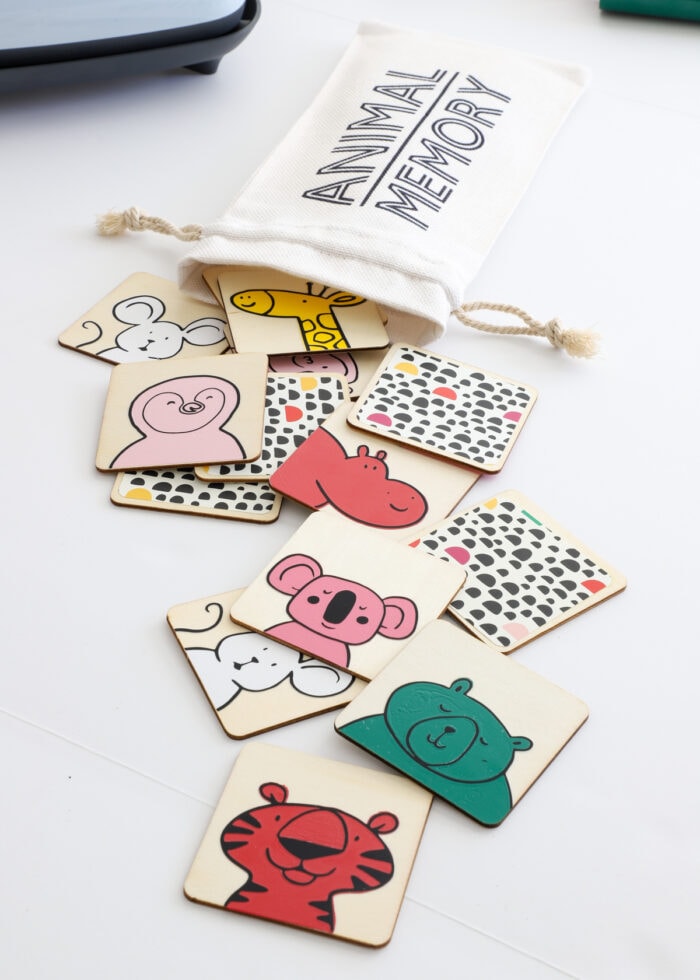
I’m not entirely sure why, but my two little boys (2.5 and 5) LOVE this memory game. Sure, we have other versions that we’ve played over the years…but they just love the bag, the wooden tiles, and the cute animal faces that pop out at them from the grid pattern. Even after lots and lots of play in recent months, the game is still looking great!
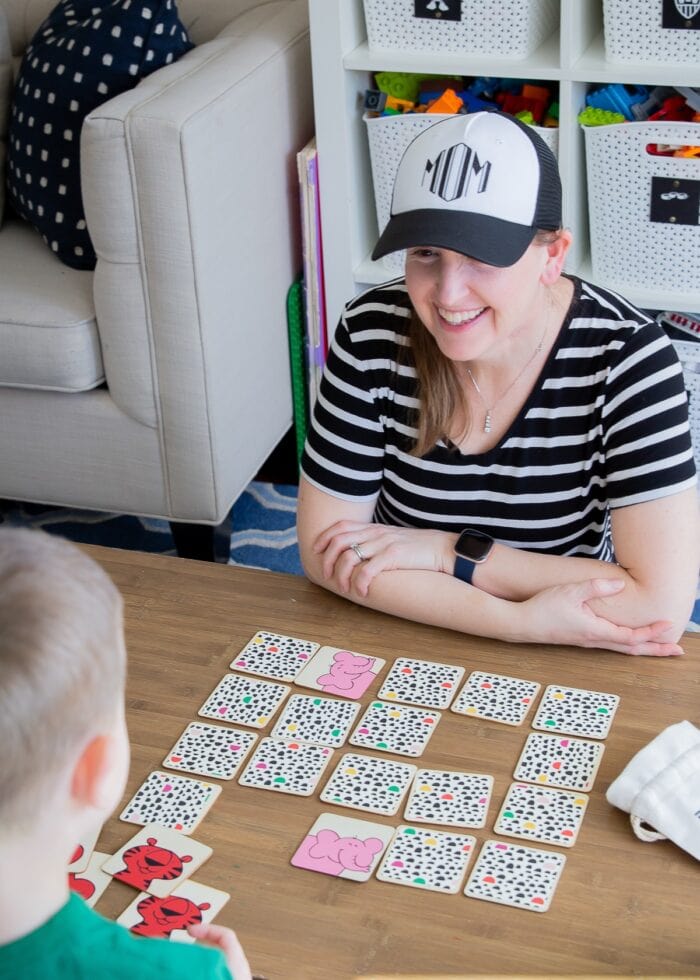
Although a little time-consuming (3 different iron-on applications for each of 24 tiles), this DIY Memory Game is a FUN one to make! Not only is applying iron-on vinyl onto wood very gratifying (it adheres SO nicely!), but the adorable animal faces paired with fresh colors just make this such a joy to work on.
Whether you use my designs or come up with your own, I hope you give this project a try if you have kiddos in the house. A Memory Game is always great to have on hand, and this DIY version really couldn’t be any more charming!
Megan
One Comment on “DIY Memory Game with a Cricut”
So cute! I made a set for my granddaughter. What font did you use for your storage bag?