How to Use Cricut Smart Iron-On to Make a Custom Pillow
One of (if not THE) biggest updates in the new Cricut Maker 3 and Cricut Explore 3 machines is the ability to cut really long designs…up to 12′ at one time! This makes creating large projects so much quicker and easier since you don’t need to pre-measure or pre-cut your material, load material onto mats, and load/unload your machine for cut after cut after cut. By simply feeding material straight into the machine just one time, you can create large designs for your walls, furniture, fabric, and more! Today, I’m breaking down how to use Cricut Smart Iron-On to make custom fabric, which can then be turned into something unique for your home like a pillow!
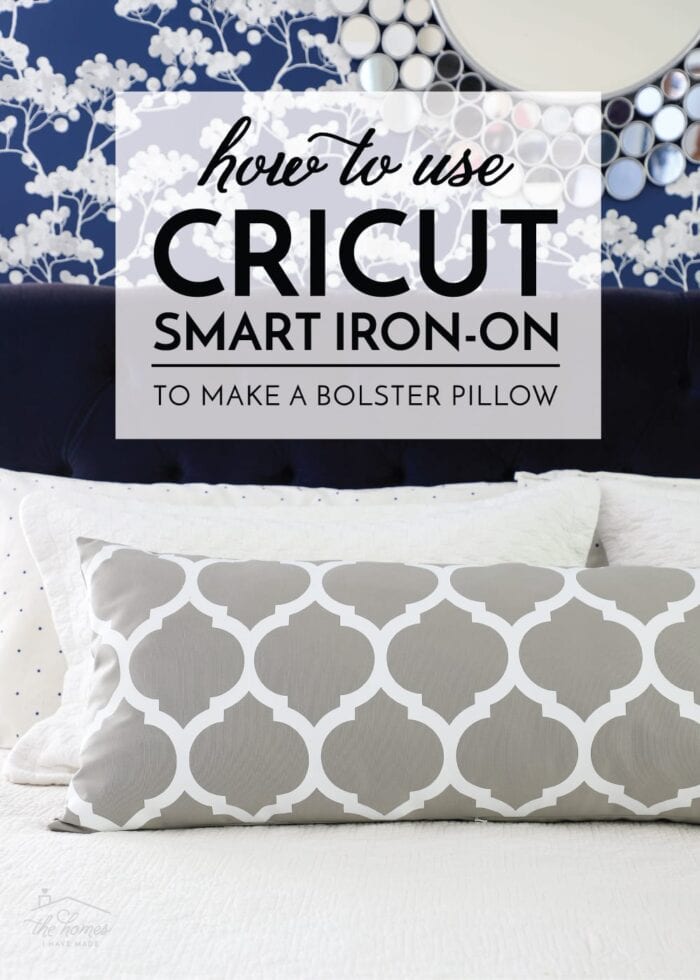
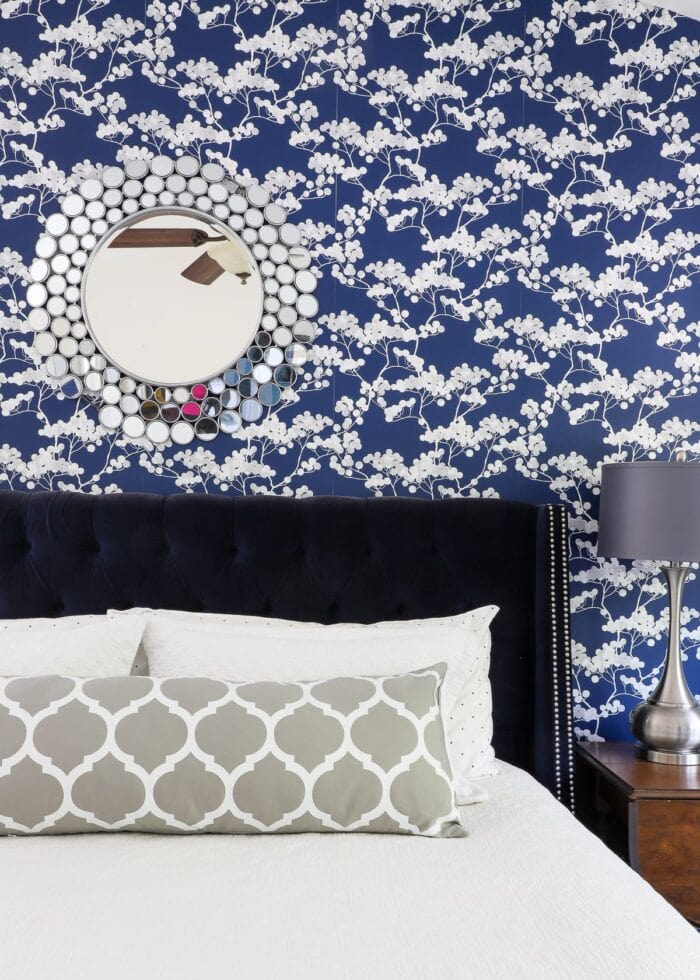
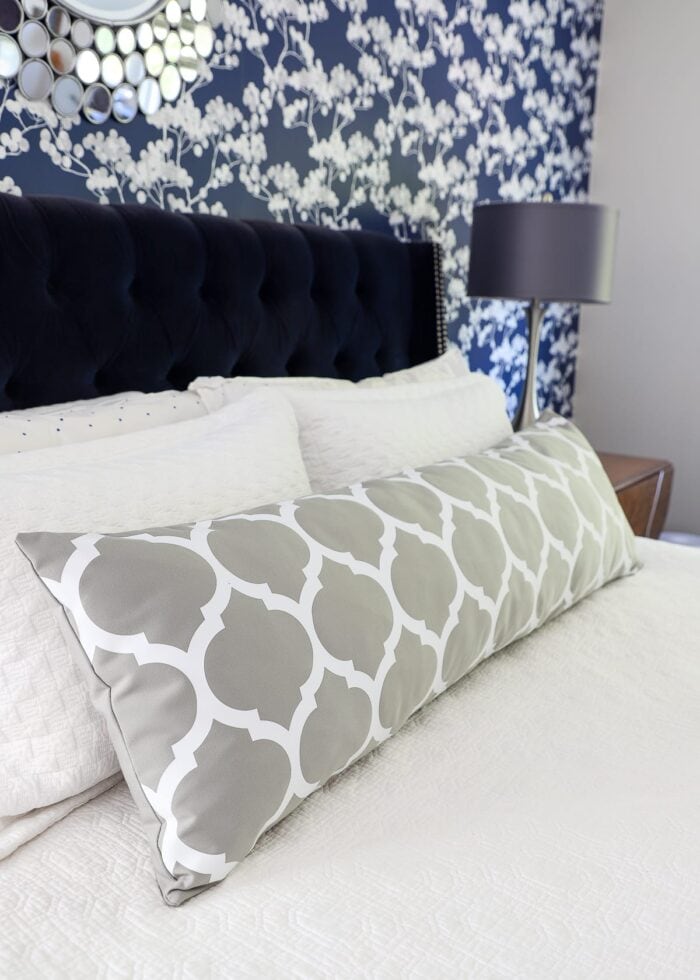
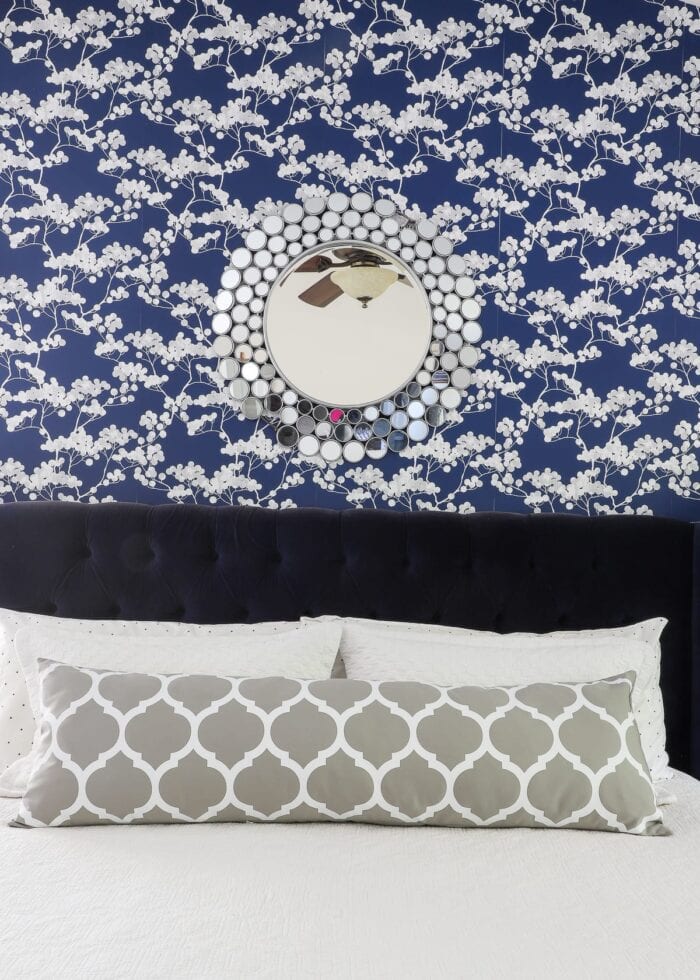
Funny Story: I’ve been hoarding this huge bolster pillow form for almost 2 years. When we purchased a new mattress, the store gave us two of them to protect our car roof. I turned one into this pillow for Sam’s bed, and have been saving the other one for our King bed because the size was spot-on. Until now, I could never decide what to do with it!
To test drive the new Cricut Smart Iron-On with the Cricut Maker 3, I determined it was the perfect time to finally dig the pillow form out of the basement and refresh our bed arrangement. I don’t think I would have ever attempted to make such a huge pillow with standard rolls of iron-on because it would 1) take forever and 2) cost a fortune. But with 9′ of Smart Iron-On and my Cricut Maker 3 (which cuts extra fast!), this project came together so easily! This is definitely one of those projects that far surpassed my expectations…it turned out soooo good!
Supplies Needed
Here is what you need to make your own custom pillow with a Cricut and Smart Materials:
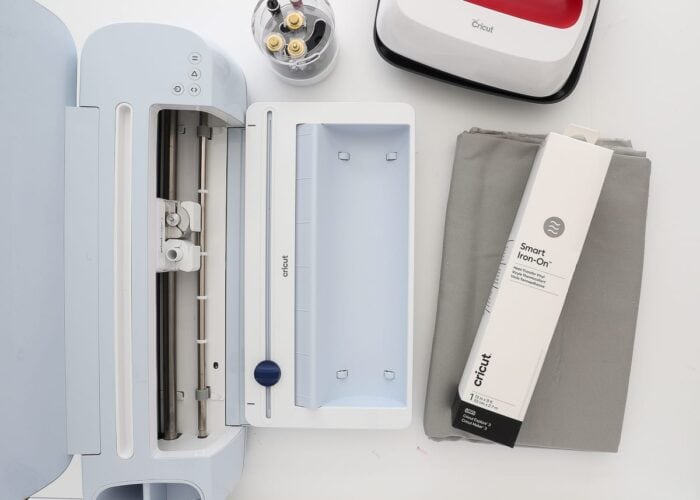
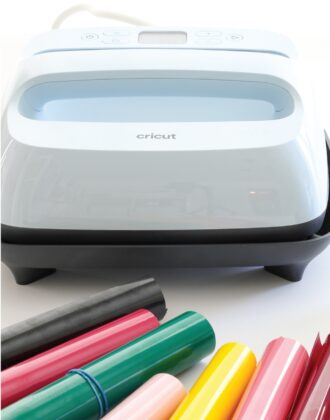
- Cricut Maker 3 or Cricut Explore 3. While you can theoretically do this project with any Cricut machine, cutting large designs all at once will require either the Explore 3 or Maker 3.
- Cricut Smart Iron-On in the color of your choice. Make sure to get the length roll that matches the size of your project.
- Fabric in the color/weight of your choice. Make sure you get enough yardage to make a complete pillow case or whatever project you are tackling.
- Easy Press 2. Although you can do this project with an iron, the larger heat plate on the Easy Press really comes in handy for these large designs.
- Tools: Scissors, Weeding Tool, Sewing Machine (to assemble you custom fabric into a pillow or other project)
Optional Supplies
- Cricut Roll Holder. Not required but will help control the long length of iron-on for this big project.
- Cricut Easy Press Mat. You can use an ironing board or table protected with folded up towels, but this mat will help you get even, constant pressure on your design, resulting in a better transfer.
Design Your Pillow in Cricut Design Space
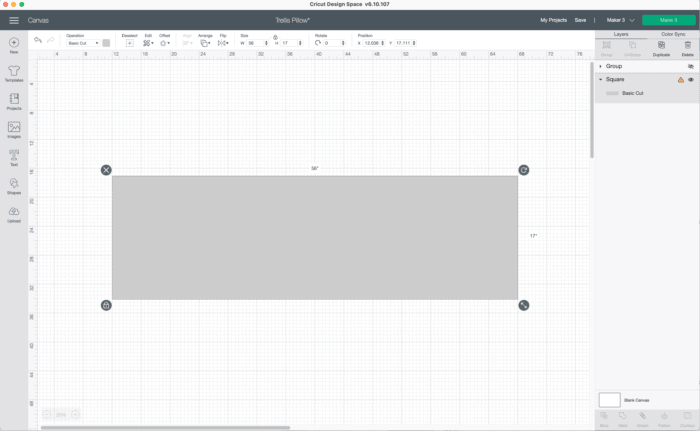
Like any other project, start in Cricut Design Space. When creating a large project like this one, I find it helpful to use a “template” onto which you can size and scale your design. In my case, I added a 17″ x 56″ rectangle to serve as my needed fabric cut for my pillowcase (finished pillow dimensions + 1″ for seam allowance)
Next, use the images in the Design Space Library to come up with your fabric pattern. More and more “longer” designs are being added to the library; but you can also slice, weld, and contour any image to make whatever pattern you like. Below are some of the various designs I considered for my pillow.
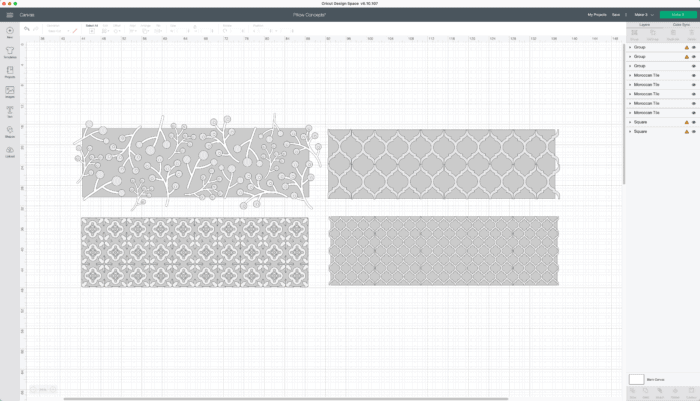
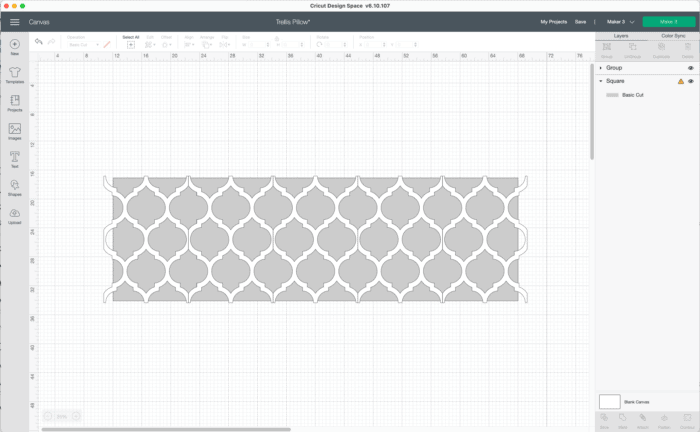
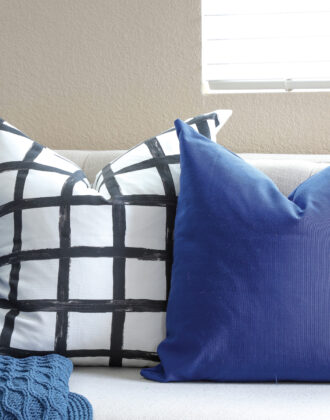
I ultimately went with the tile design because it was simple and classic.
NOTE: I made my pattern slightly bigger than my finished cut dimensions. This ensured my design went all the way to the seam once trimmed down and sewn together.
A Quick Note About Conserving Material
When I first conceived this project, I planned to cut my entire pillow design in 1 long cut. However, my pillow measured 15″ tall, and the widest cut space available is 11.7″. I could have done two long cuts, each 8-9″ tall, but that would have required twice the length of iron-on material AND wasted quite a bit too. I ultimately decided to splice my pillow design into five 11.7″ x 17″ cuts. I still cut all the iron-on material in one go, but this method allowed me to use up every available inch of pricey iron-on material.
My point here is that even though you CAN cut long, you may want to consider the best layout option for conserving material too.
Cut the Cricut Smart Iron-On
With your fabric pattern designed and sized for your project, it’s time to cut it out of the Smart Iron-On!
After clicking the Green “Make It” button, “Without Mat” we be chosen for you since the design is so big. Design Space will also determine how much Smart Material you need for your cut. You do not need to pre-measure the iron-on (the machine will do that for you!), but this is a good time to make sure your project will fit on the roll you plan on using (e.g., I needed 90″ and planned to use a 9′ roll). Finally, as with any iron-on project, click the “Mirror” option before continuing. (Not sure why? Learn more HERE.)
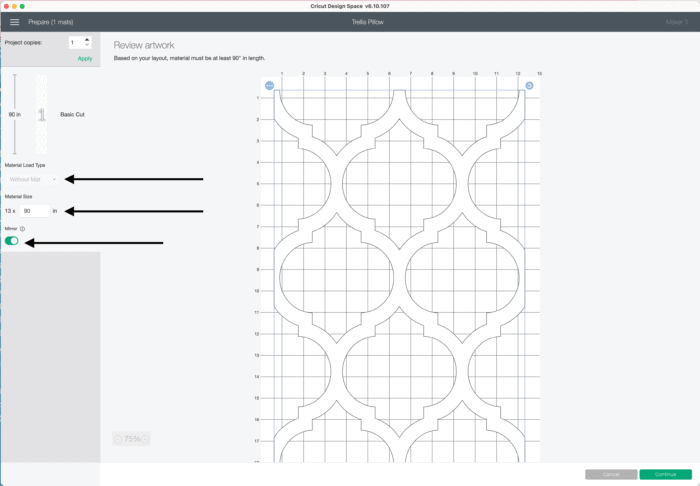
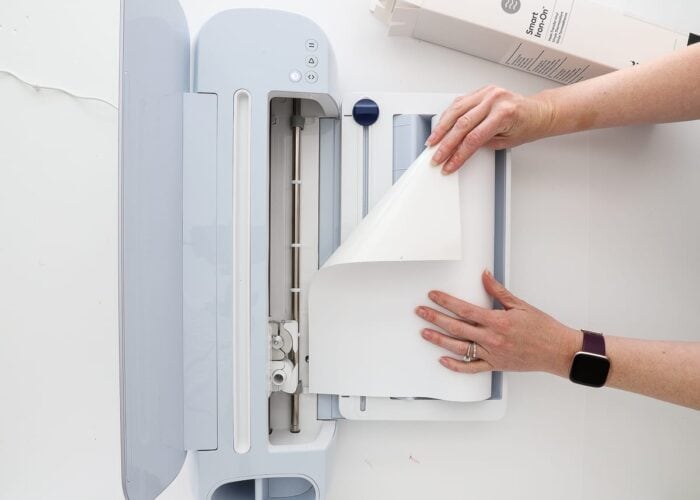
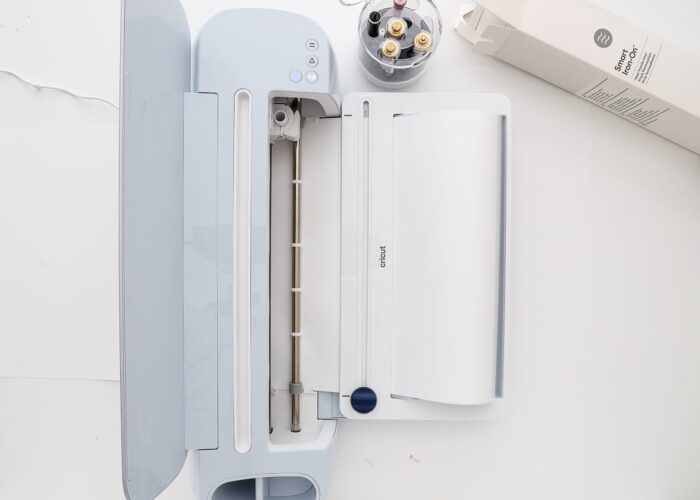
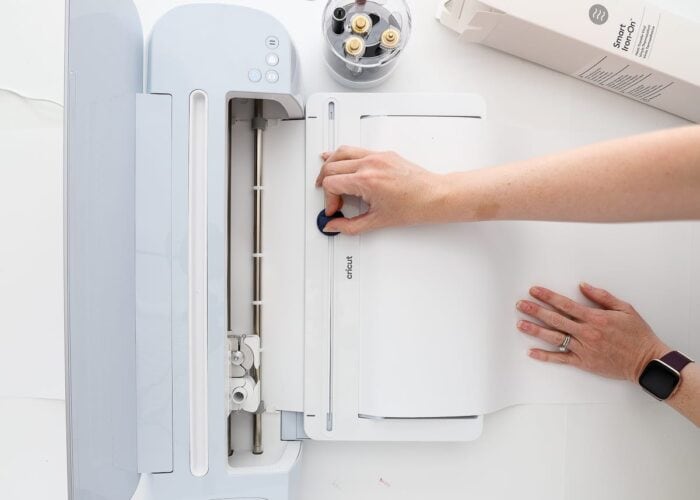
When prompted by Design Space, feed the Smart Iron-On into the Cricut Explore 3 or Cricut Maker 3 with the shiny side down. If you need help loading your machine, watch this video HERE.
The machine will first pre-measure the Smart Iron-On to determine there is enough material on the roll (if there’s not, Design Space will give you an error message and tell you to load the correct material length). To start the machine cutting, click the flashing “Go” button. You can then sit back and watch your Cricut cut your entire project all at once!
When the machine is done cutting, trim away the unused material and unload the cut from your machine!
Preparing the Iron-On Design
You are now done with your Cricut machine so you can push it aside or move to a different work surface.
TIP! You might need a long table, counter, or floor when working with these long designs!
To prepare your design for heat transfer, use a weeding tool to remove all the negative aspects of your design (the parts you DON’T want). If necessary, refer back to your pattern in Design Space to ensure you remove everything correctly.

Want to save this post?
Prepare the Fabric
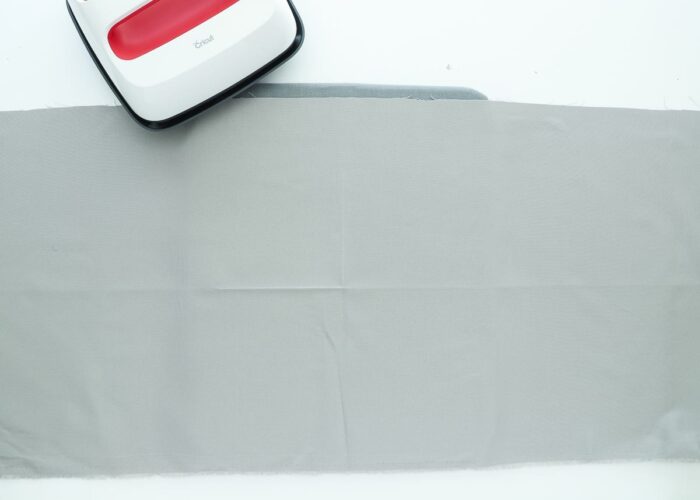
Next, prepare your fabric for the iron-on. If necessary, pre-wash it, cut it down to your needed dimensions, and iron it smooth. My iron-on design was 17″ x 56″, so I started with a cut roughly 20″ x 60″ to give me some wiggle room.
TIP! This is also a good time to pre-heat your Easy Press according to THESE settings for your specific project.
Transfer the Iron-On Design to Your Fabric
At this point, your design should be cut, weeded, and ready-to-go; and your fabric should be washed, dried, ironed, and cut down.
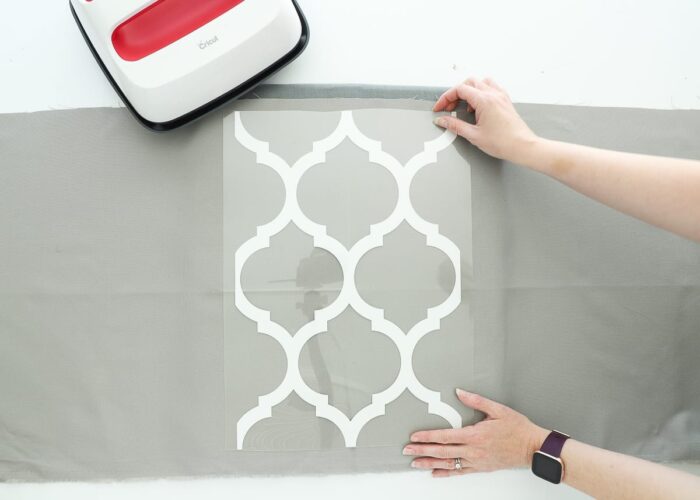
To place your pattern, you’ll want to find the center point of your fabric. To do that, fold it in half, then in half again, and gently iron it.

Open up the fabric to find the intersecting creases. This is your center point.
Place your iron-on design, shiny side up, centered onto those intersecting creases.
Heat the iron-on design according to the time and temperature specifications in THIS Heat Guide.
TIP! You will likely find that more time will be required than indicated in the Heat Guide. This is because you will have to keep moving around the design to hit every single spot for enough duration.
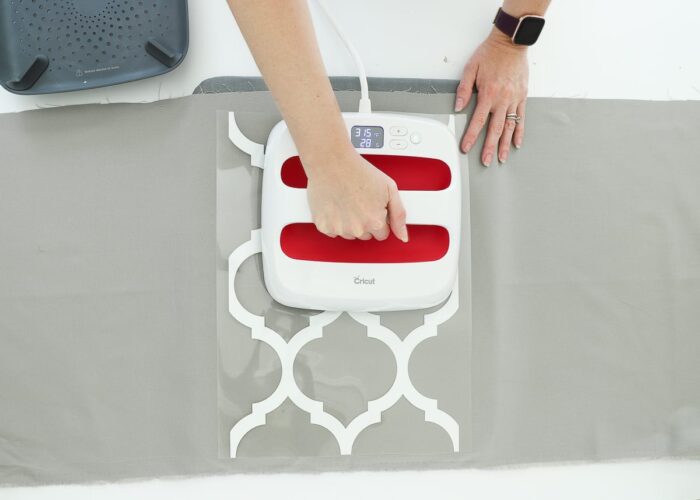
Once the design is fully heated, flip your fabric over and heat again from the back.
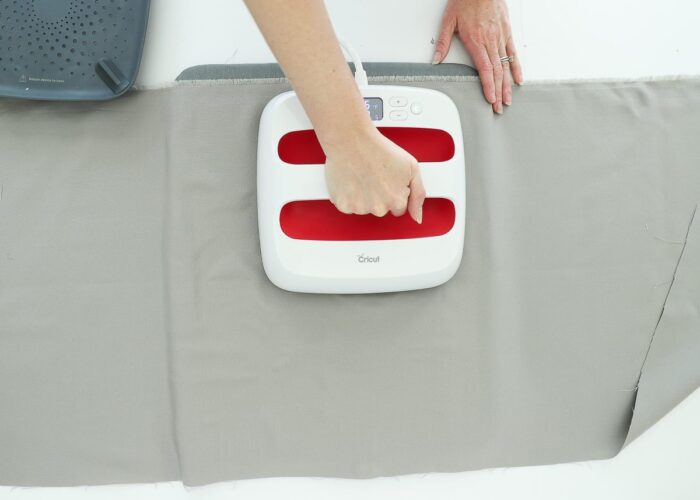
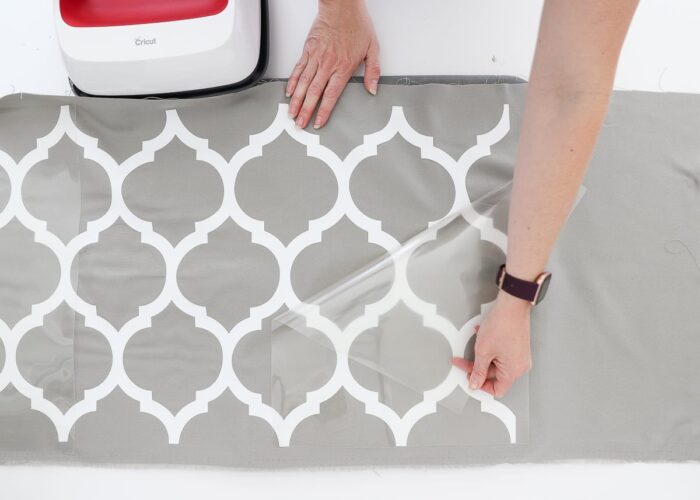
Once the design is cool, slowly lift up a corner or two to make sure the iron-on design is fully transferred to your fabric. If it’s not, continue to heat a bit longer. If the design is transferred to the fabric, go ahead and carefully peel off the clear sheet.
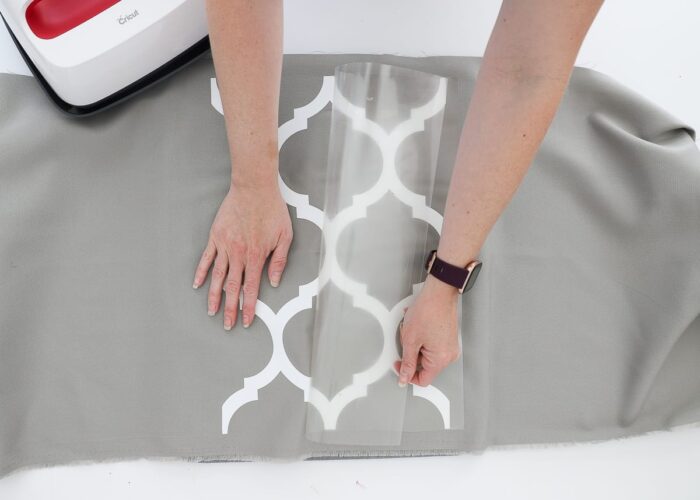
If needed, continue to iron-on additional design elements, colors, or patterns using the same method. Be sure to take your time matching up patterns (without overlapping) for really large designs.
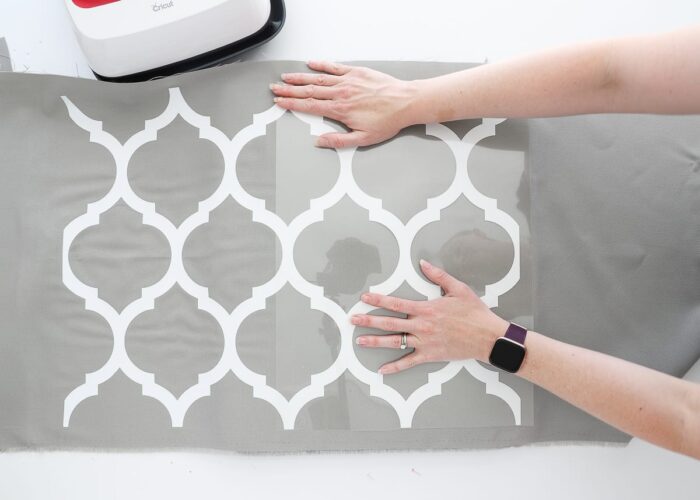
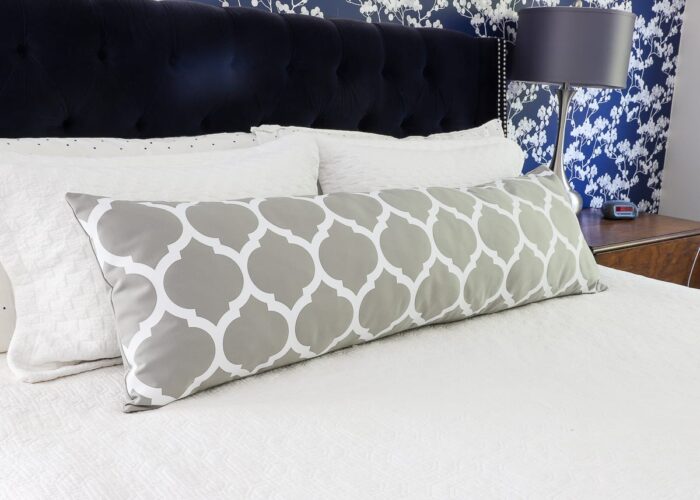
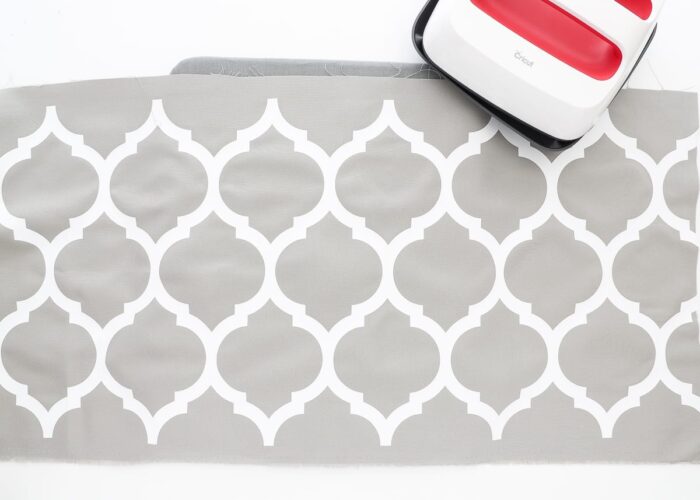
I worked out from the center in both directions, placing all my iron-on cuts until my full fabric panel was complete!
NOTE: I was really concerned about being able to see the “seams” between each cut, but I really can’t (unless, I get up really close). If you take the time to match up your pattern, you will end up with a very seamless design down the entire length of your fabric, no matter how big it is!
Sew the Pillow Together
Your final step is to assemble your finished project with your new custom fabric!
In my case, I cut a second length of fabric for the back of the pillow and then assembled it using my tried-and-true zipper pillowcase instructions. I really think the toughest thing about this entire project was stuffing the super long pillow form inside!
So Much Possibility!
Because we have ultimate design control within Design Space, the sky is really the limit for creating pillow patterns with Cricut Smart Iron-On and the new Cricut machines. With countless designs available plus the ability to specify sizing, spacing, and more, you can really create something SUPER custom for your home.
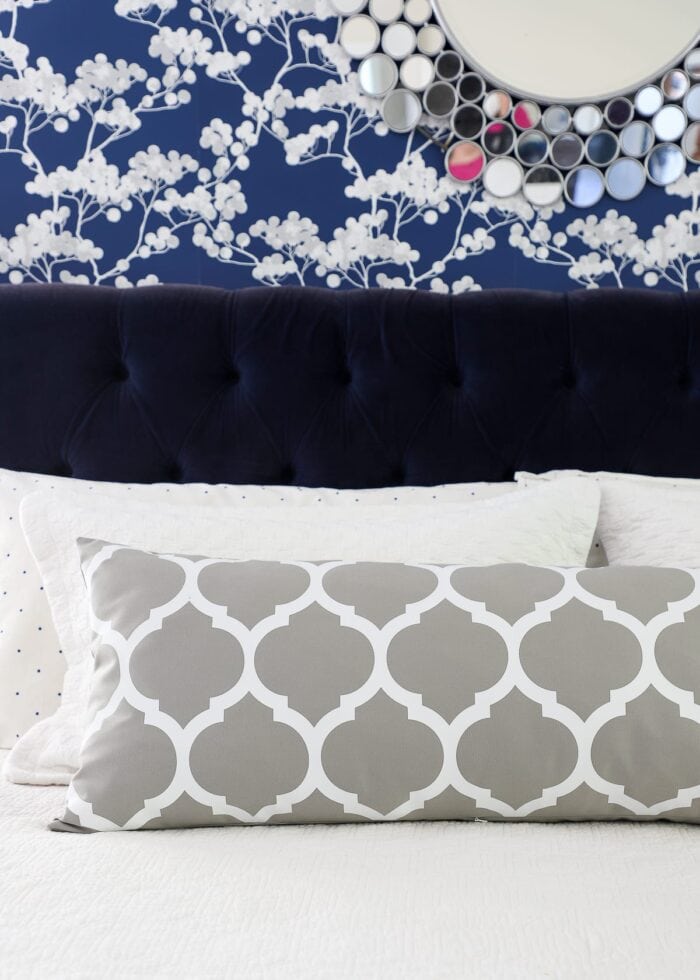
Because our wallpaper is so busy, I purposely picked a simple design for this pillow (trust me, I hemmed and hawed for days on which design to make!) Although this design isn’t particularly unique, I did determine how tight or open the pattern was, as well as the scale of the whole arrangement. This pillow turned out so great and looks so chic that I am much more confident and ready to try some more ambitious designs next!
After spending years shying away from large projects because it was just too tedious to bring it all together, I am so stoked about the new Cricut Maker 3‘s and Cricut Explore 3‘s ability to cut BIG. I feel like a whole new creative world has been opened to me, and I can’t wait to make more projects for our home! Are you ready to try your hand at making some custom fabric for pillows?
Megan
One Comment on “How to Use Cricut Smart Iron-On to Make a Custom Pillow”
The pillow would be perfect for my bedroom. It’s the same print & color of the contact paper I have on my shelving. I also have a throw with that print.