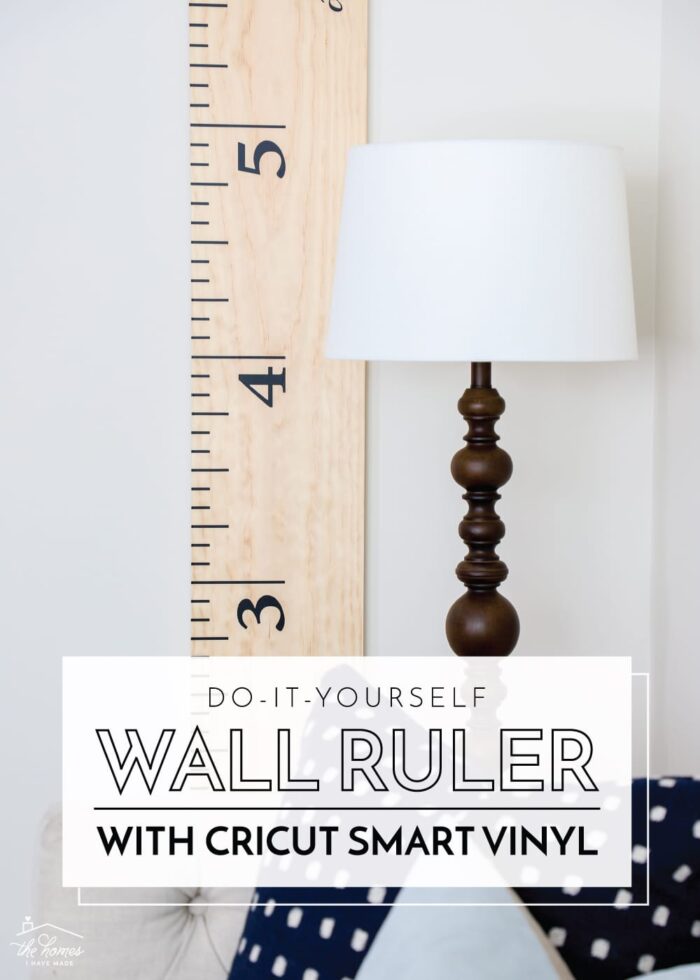
DIY Wall Ruler (with Smart Vinyl & Cricut Maker 3)
I am so excited about today’s project! You see, I’ve been wanting to make a DIY Wall Ruler for just about 10 years…seriously! But it always seemed like such a tedious project, so I never made it happen. Now, thanks to the new Cricut Maker 3‘s ability to cut really large designs at one time, this project jumped to the top of the list; and I am over-the-moon to finally have one hanging in our house. Let me break down why and (more importantly) how I made this adorable new addition for our playroom!
Greg and I have always wanted to have that special slice of wall onto which we regularly measured our children. But being perpetual renters, it never made sense to mark up a wall, since that wall would always stay behind each time we moved.
Almost 10 years ago, a neighbor purchased a wooden wall ruler off of Etsy, and I knew it was the perfect solution for our family too (since it could actually move with us). Being the chronic DIYer that I am, I decided on the spot to make one instead of buy one. Ahem…did you catch that I decided that 10 years ago?
Although I knew it wouldn’t be that hard to cut the vinyl design with my Cricut, I just had this mental barrier against all the measuring and piecing together required to make a 6′ long ruler. So I kept putting it off and off and off. But then I got the chance to play with the new Cricut Maker 3, and I immediately knew what my first project was going to be: that DIY Wall Ruler I’ve wanted all these years!
Thanks to Cricut Maker 3’s ability to cut a single image up to 12′ long, I was able to cut and transfer the perfectly-measured design in a single shot. Once designed, this entire project took me about 30 minutes, and it’s now one of my very favorite things hanging in our house. Let me show you!
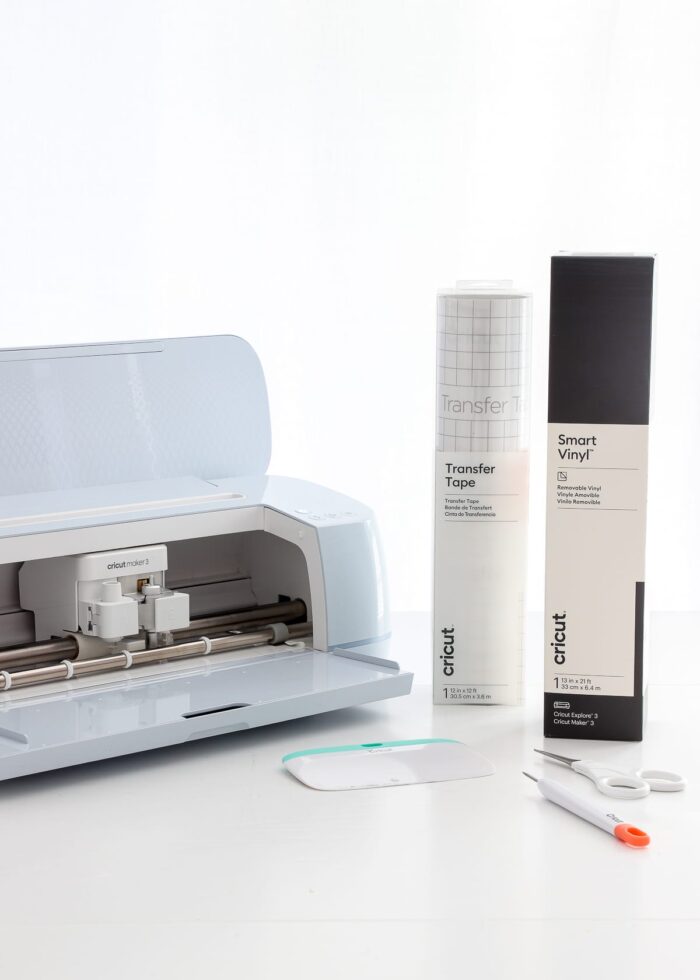
Supplies Needed
Here is what you need to make a DIY Wall Ruler with a Cricut Maker 3:
- 6′ wood board – Head to your local hardware store and pick out a 6′ board in the wood and price range of your choice. Mine is unfinished pine, measuring 9″ x 6′ and cost just under $10.
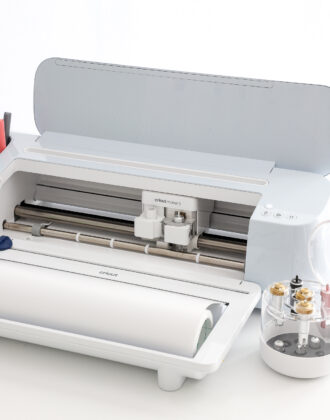
- Cricut Maker 3 with Fine Point Blade
- Smart Vinyl – I used black, but you can choose any color you wish.
- Transfer Tape
- Weeding Tool
- XL Scraper
- Wall Ruler Design for Cricut Design Space
- Ruler
- Scissors
- Optional: Cricut Roll Holder | Clear varnish + paint brush
Prepping the DIY Wall Ruler Design
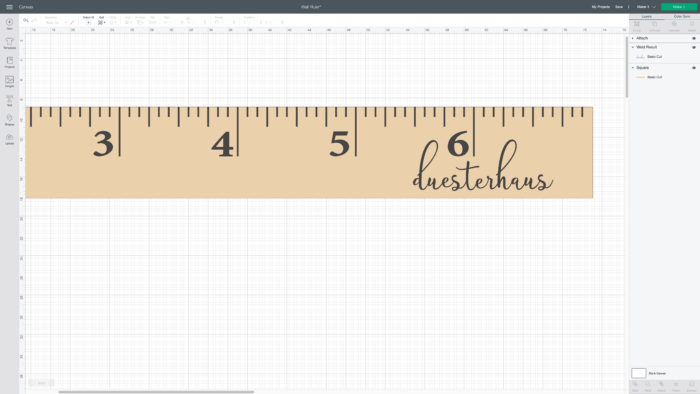
Like with every Cricut project, you will start in Cricut Design Space. You are most welcome to create your own ruler image, but you can access my ready-to-cut design HERE.
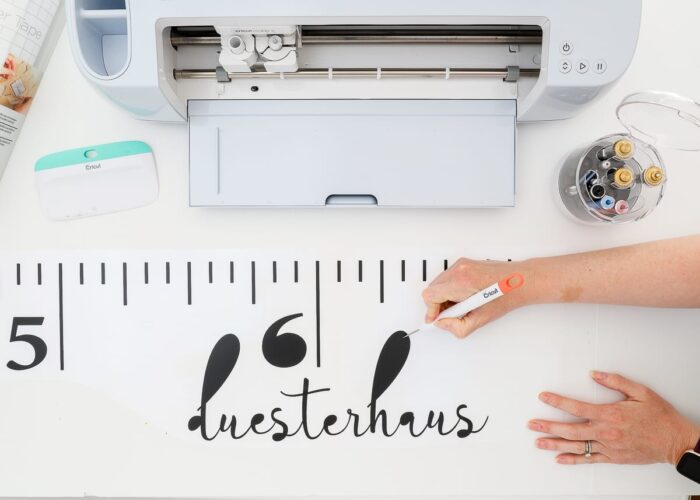
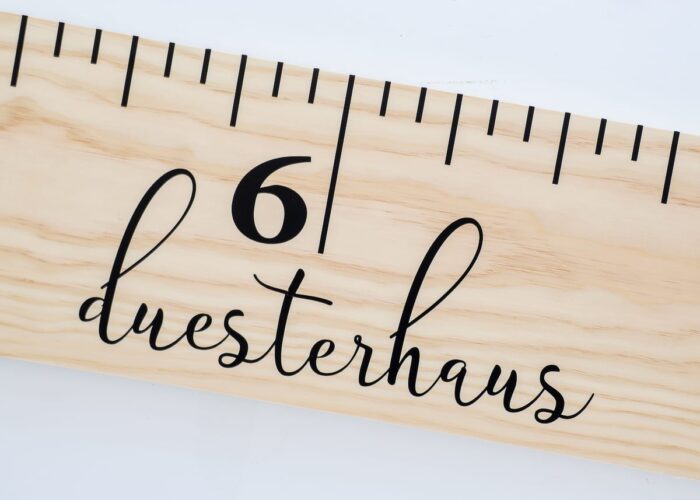
If you’d like to add your own last name, delete out my last name and type in your own to fit the available space where desired. The fonts used are Lana Jane (last name) and Chip Decor (numbers), but you can easily swap out any font you prefer or leave off the name all together.
Once you are satisfied with your ruler design:
- Attach the ruler and name together (you can learn why HERE)
- Hide the wood board template (using the eye symbol in the layers panel)
- Click the green “Make It” button
- On the first cut screen, select “Without Mat”
Cutting the Ruler Design from Smart Vinyl
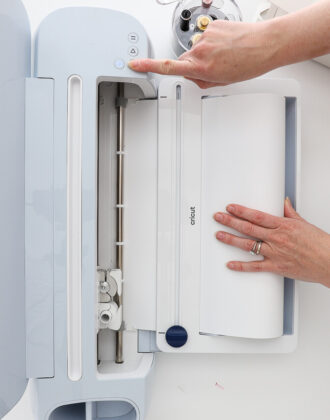
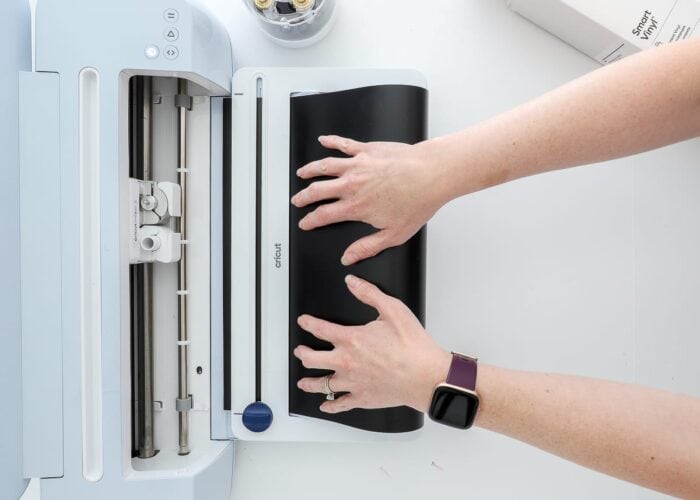
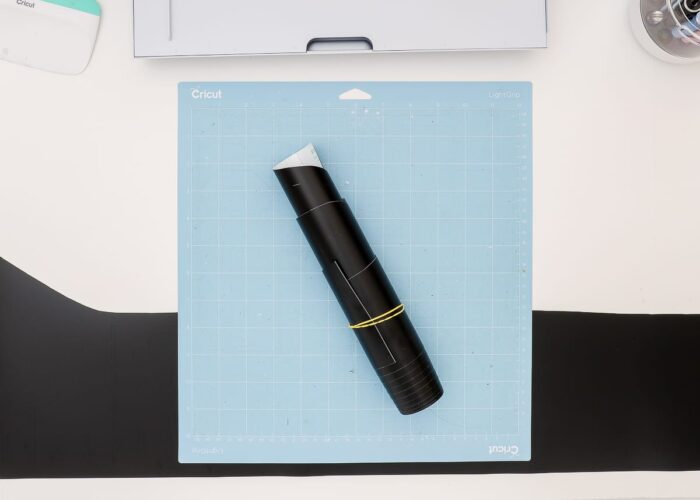
Once your design is ready to go, load a roll of Smart Vinyl directly into Cricut Maker 3. There is no need to pre-measure or put the vinyl onto a mat. Once loaded, Cricut Maker 3 will pre-measure the vinyl to ensure there is enough for this project. If you are using the Cricut Roll Holder, you can learn how to attach and use it HERE.
With your Smart Vinyl loaded up and measured, click the flashing “Go” button to start the machine cutting. Be sure there is plenty of space behind your Cricut, as this project uses about 7′ of vinyl!
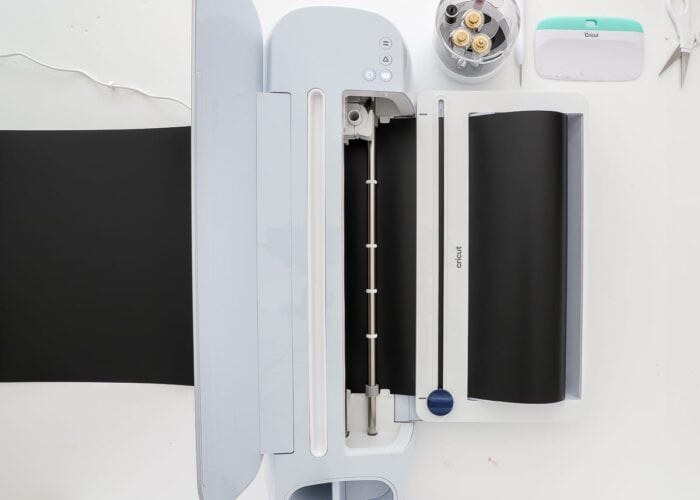
Once the ruler design is cut, unload the vinyl from the machine.
Prepping the Vinyl Wall Ruler
This ruler design is about 9″ wide, which leaves about 4″ of vinyl untouched. So that you can use this vinyl for future projects, use a scissors to trim the ruler design out from the roll.
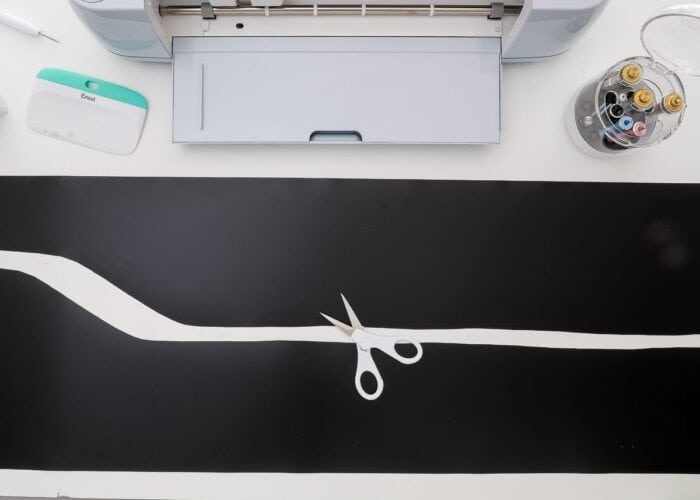
TIP! This excess vinyl off the Smart roll can still be used. Just trim it down and load it onto a mat for smaller cuts!
Want to save this post?
Next, use a weeding tool to remove all the excess vinyl from around the ruler design. Be sure to pull away carefully so you don’t accidentally pull off one of the ruler hash marks.
(If you do, no big deal. You’ll just need to place it onto the wood board manually.)
Continue to weed out the insides of numbers and letters, as needed.
Prepping the Wood Board
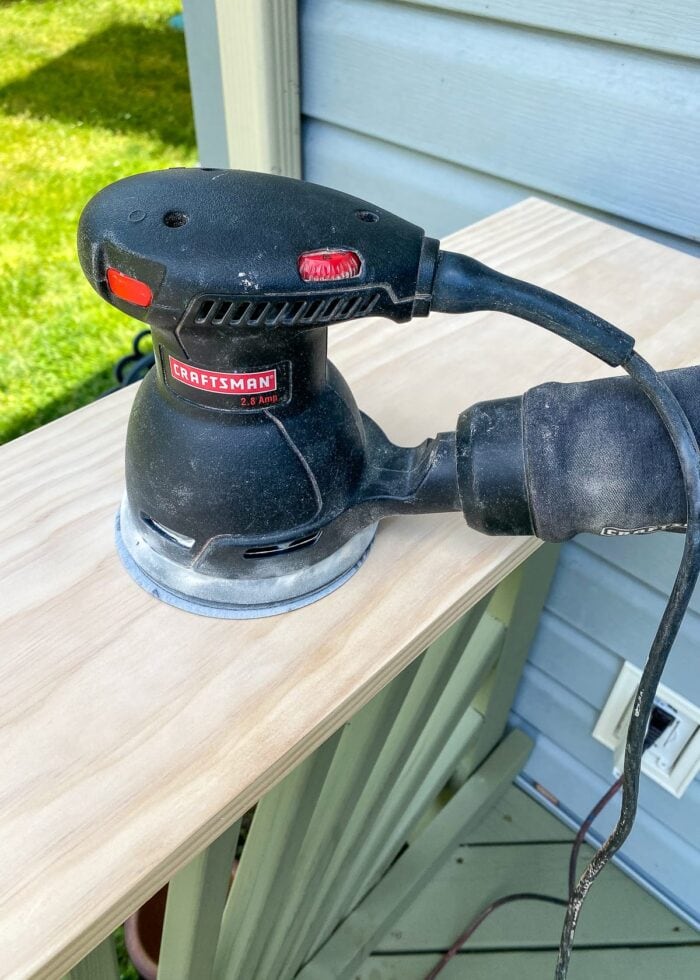
If your wood board is particularly rough or you’d like it a different color, spend a few minutes prepping it now. A quick sand and a coat of stain and/or clear polyurethane can minimize splinters and give the entire board a cleaner appearance.
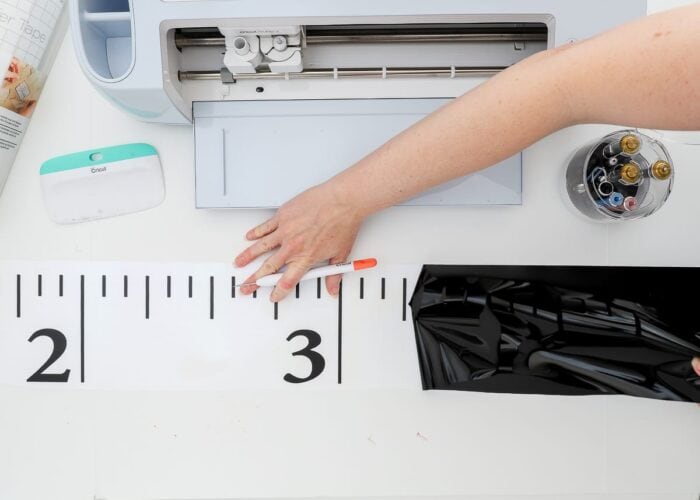
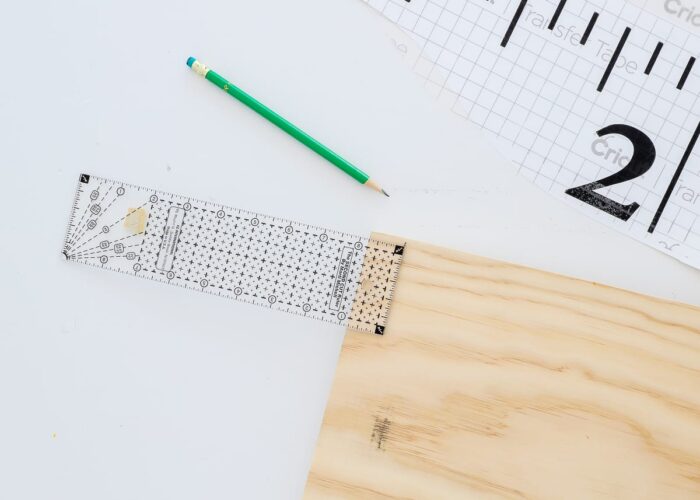
In order for your ruler to actually measure correctly, the first (vinyl) hash mark needs to be placed 1″ from the bottom edge of the board. Find that spot by measuring in 1″ with a ruler and marking it with a pencil.
Transferring the Vinyl Wall Ruler
Once your board is smooth and dry, it’s time to transfer the vinyl ruler design!
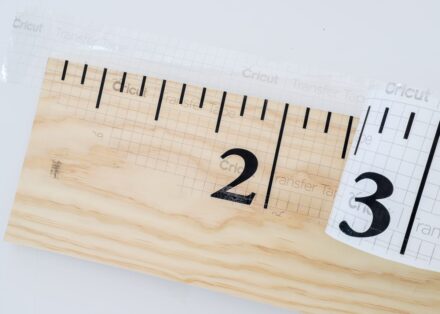
Place Transfer Tape, sticky-side-down, onto the entire length of the vinyl ruler design. This is where the longer rolls of Transfer Tape come in handy, but you can also piece smaller cuts together if needed. Use an XL Scraper to vigorously rub the transfer tape onto the vinyl. And when you think you’ve rubbed the entire design enough, continue to scrape/rub a little more to ensure the Transfer Tape is fully adhered to the vinyl.
Placing the ruler design onto the wood board is certainly the trickiest part of this project. Not only do you want it positioned at the correct starting point, but you also want it to run straight up the side of the board (and not veer in/out). How you place the initial part of the ruler will determine how straight the rest of the design ends up.
-

- Peel away JUST the first foot of vinyl design off the paper backing. Trim the paper backing off.

-
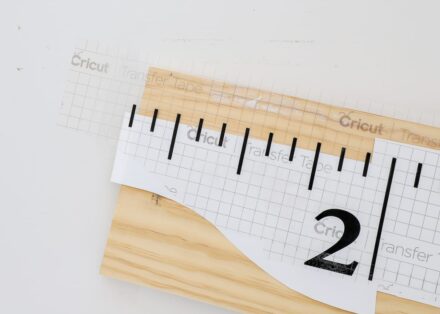
- Next, re-place the paper backing onto the vinyl design, leaving about 1/2″ of the hash marks still exposed.
-
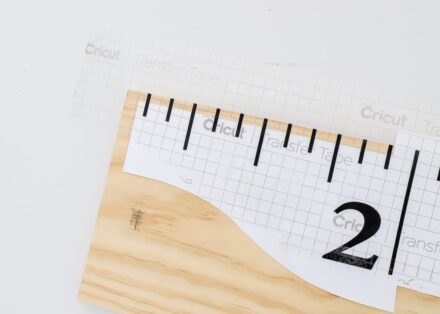
- Line up the first hash mark with your pencil line at 1″. Then line up the rest of the hash marks along the side of the wood board. Ensure the vinyl ruler is as straight/flush as possible before moving on.
-
- At this point, you can slowly peel away the paper backing from the rest of the ruler, laying the design flat against the board and along the edge.
-
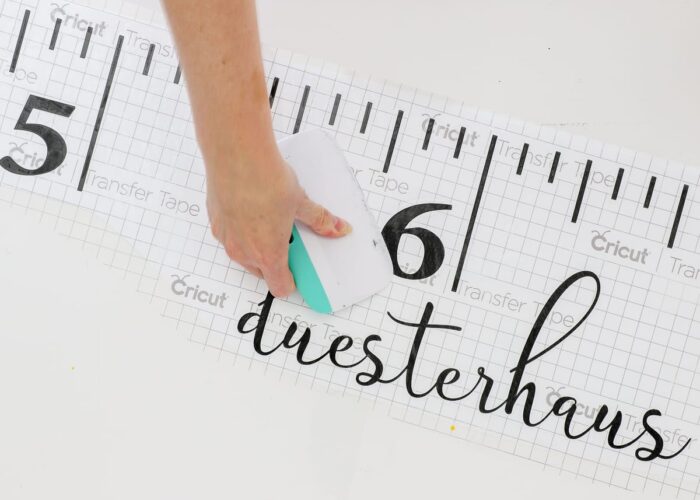
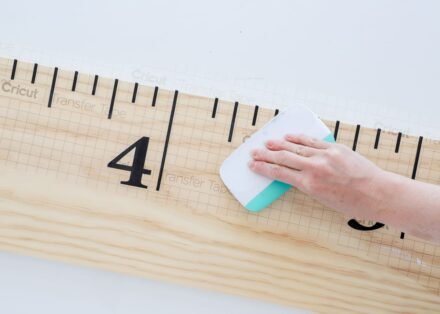
- Once the ruler design is down on the wood board, use the scraper to vigorously rub the entire design.
-
- Finally, pull away the Transfer Tape to leave the vinyl ruler behind on the wood.

Although getting the vinyl ruler design to line up and lay out just right can be tricky, it’s really nice to be able to transfer the entire design at once and know your spacing and layout is perfect!
Hanging the Wall Ruler
The final step is to hang the DIY Wall Ruler on your wall!
- Use a ruler and pencil to mark 1′ up from the floor (not the baseboard)
- Place Large Command Strips along the entire length of the back of the ruler (I used 4 strips on either side and can say for certain it’s not going anywhere!)
- Align the bottom of the ruler with the 1′ mark on the wall and then place a level along one side of the ruler
- With the level and ruler perfectly even and straight, press the ruler into the wall to activate the Command Strips.
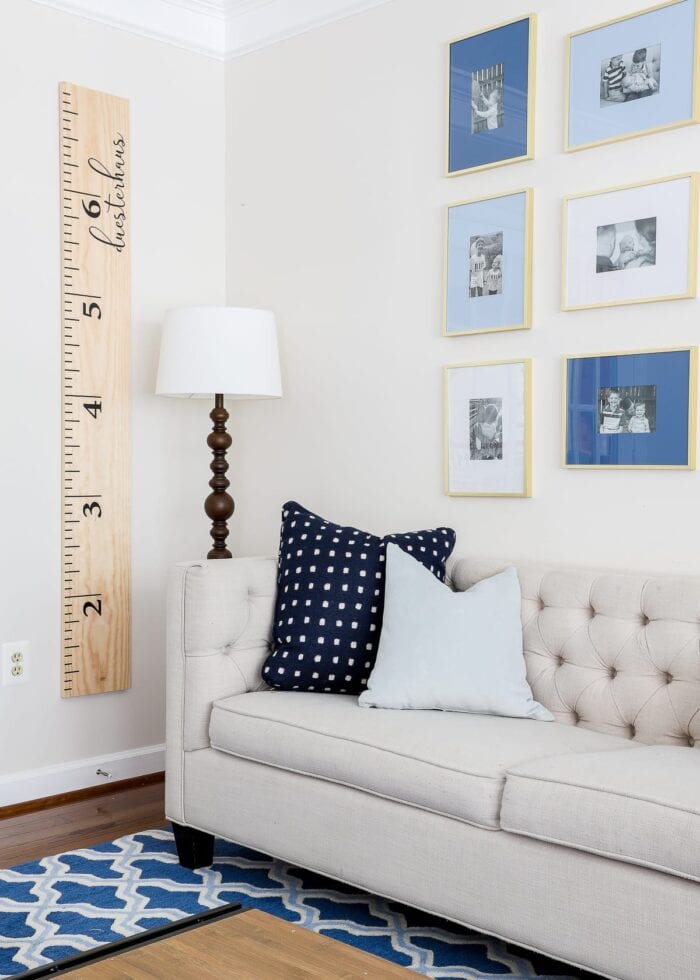
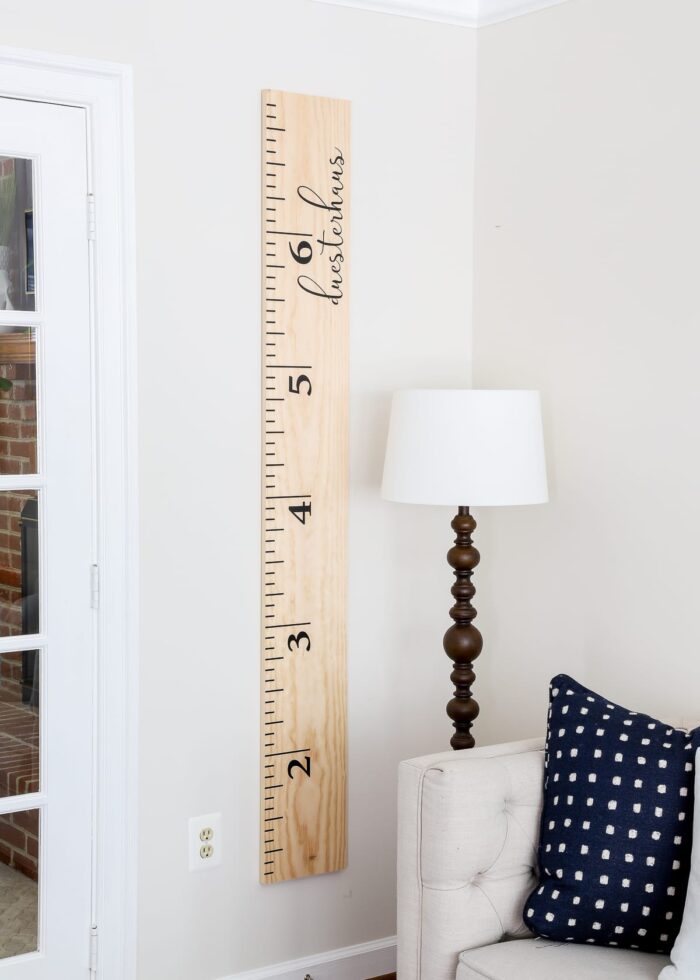
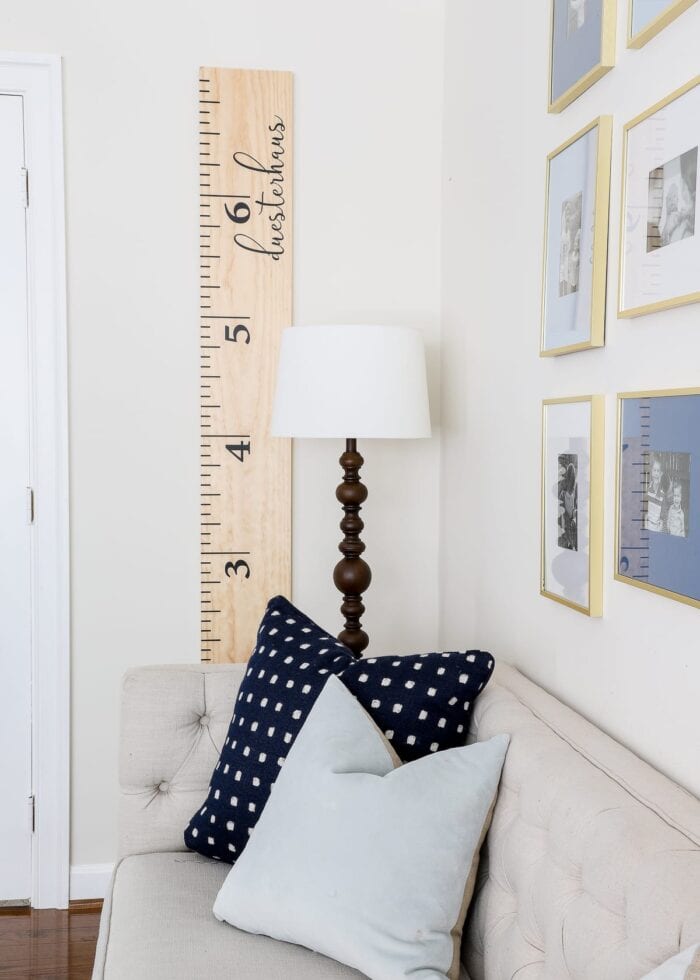
Step back to see your brand new ruler for your home!
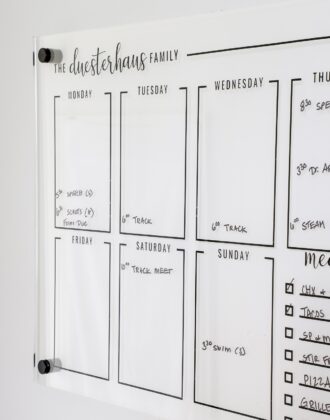
I’ve had a few friends and family ask how we’re “labeling” the measurements for the three different boys. We simply assigned each child a color marker (and made a key along the bottom). Each measurement mark has just a date, the color tells us who it is!
Purchasing Cricut Maker 3 & Smart Materials
Excited to make this project? The brand new Cricut Maker 3 and coordinating Smart Materials go on sale on Cricut.com this Thursday, June 10th! Look for supplies to start hitting shelves at your favorite craft store on/around June 27th.
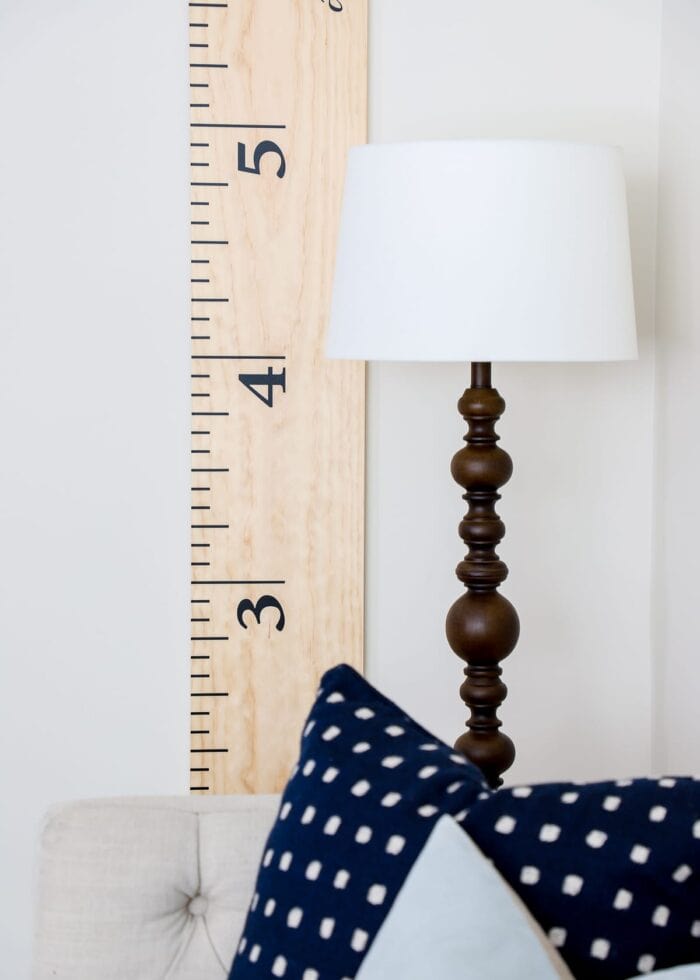
After years of wanting a wall ruler, I am SO excited to finally have one hanging in our house (especially a version that can move whenever we do!) I love love love the final result, and I can’t wait to start collecting the boys’ measurements as time marches on. You’ll have to let me know if you ever give this project a try!
Megan