Our Organized Linen Closet (Finally!)
I’m pretty excited to (finally!) be sharing our organized linen closet today. Why? Because…I started this project…oh…back in November. Yep, that’s over 6 months ago! Truth be told, this closet was about 90% done back then, but it took me forever to finally finish it. And wouldn’t you know…tackling that last 10% taught me (or at least, reminded me of) some good lessons about organizing. Let me give you the full tour and share a bit more about my “journey” to get to the final result!
The Story Behind Our Organized Linen Closet
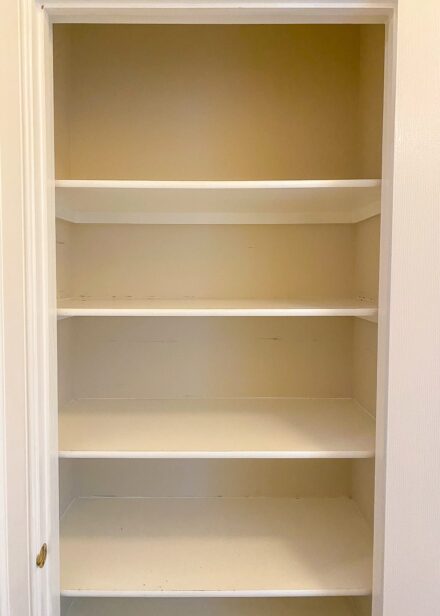
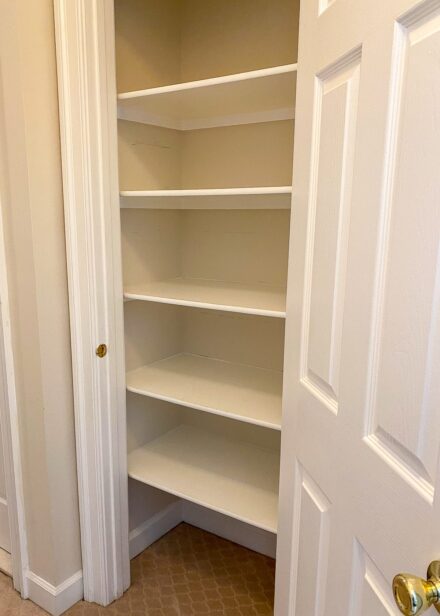
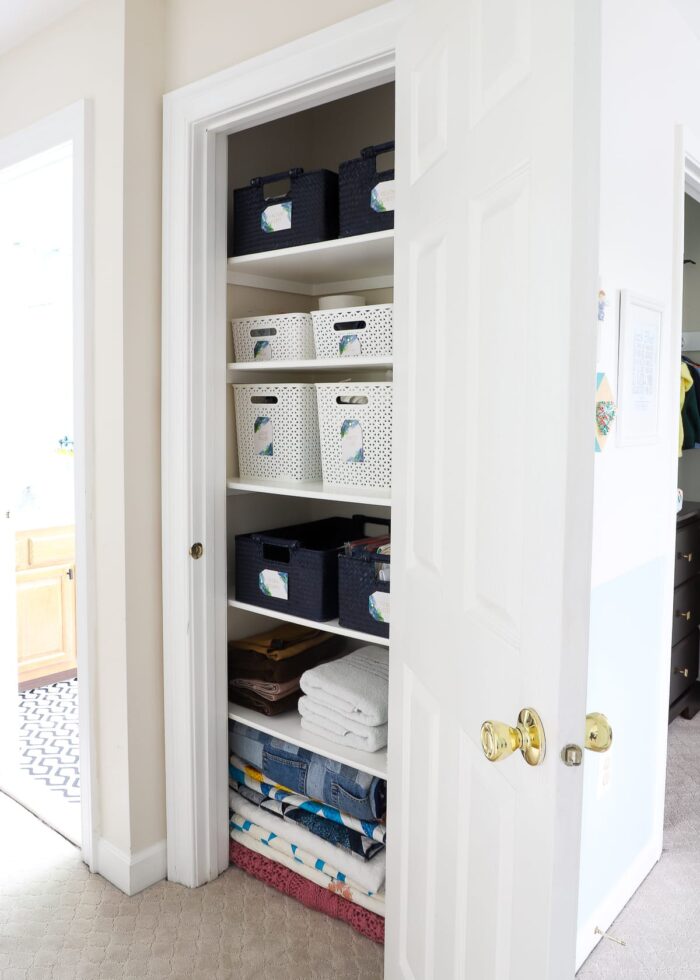
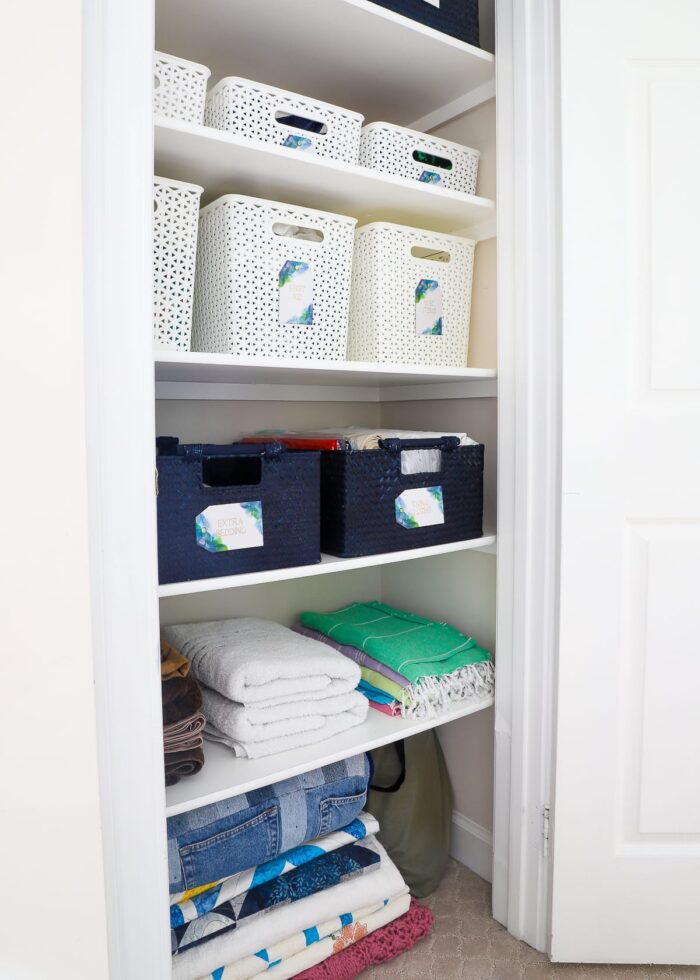
I would consider our current linen closet fairly “standard.” It sits in the upstairs hallway between a bedroom and hall bathroom. It’s a good width and depth, and has five nice sturdy shelves.
By all accounts, organizing the linen closet should have been a straightforward and easy project. And while I was able to get the organization sorted out fairly easily, it was the overall “look” of it that really stalled me out. #bloggerproblems
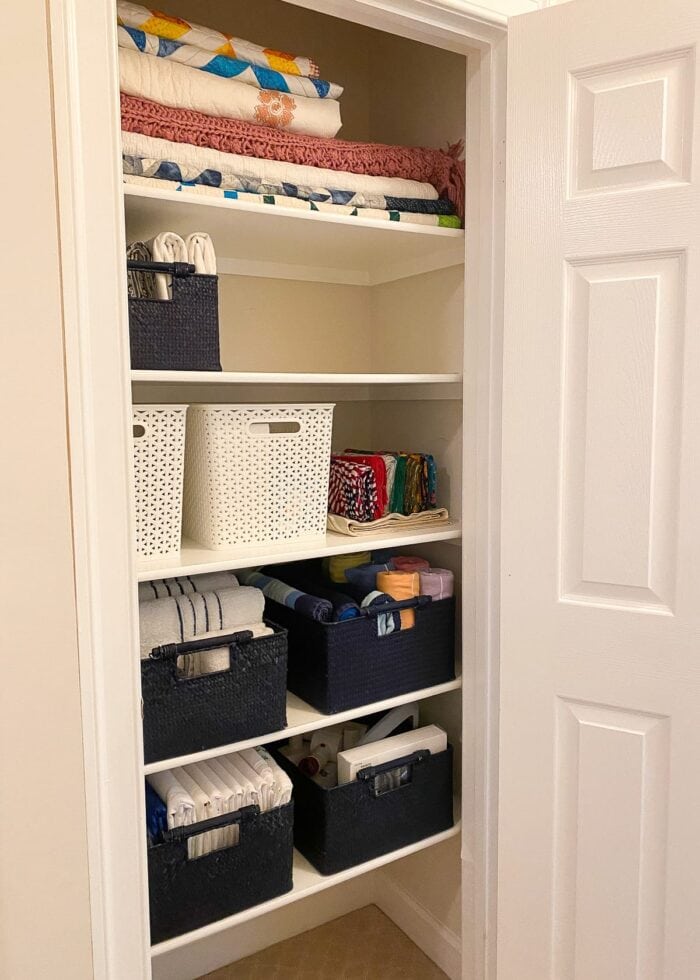
In going back through my photos, I don’t have a true “before” shot but trust me when I say this closet was fairly stuffed. But after that first day of using my SPACE method, here is where I ended up:
Not too bad, right? I relocated items that didn’t need to be stored here. I had broad categories figured out. I identified really nice fitting baskets for our particular shelves. And I found a way to fold everything so that it all fit just right. But I really wanted a “wow” factor in the form of wallpaper or shelf liner; and of course, it needed some pretty labels.
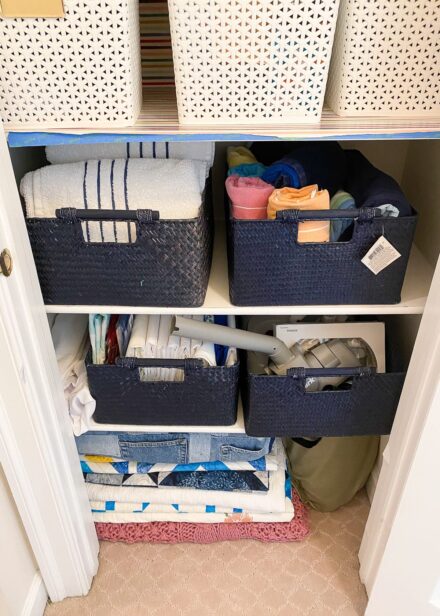
Although I didn’t get to those more decorative steps, I told myself “At least it’s organized!” But over time, it became very clear that it wasn’t organized very well; and those unfinished projects were actually making the situation worse. Case in point, here are the photos of our “organized linen closet” I snapped just last week before tackling the final 10%:
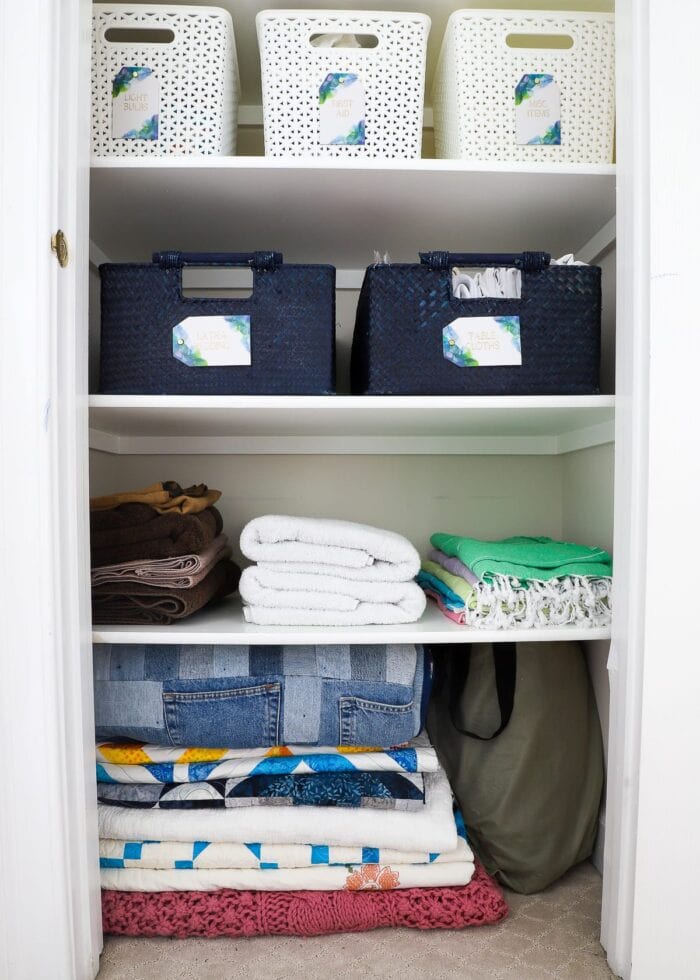
After about the 100th time of fighting with the towels, I decided to spend the 30 minutes needed to get this closet across the finish line. Yep…this is another “should have done it sooner” project. Take a look!
Three major things contributed to finally organizing the linen closet:
- Baskets aren’t always the answer
- Labels are always necessary
- Done is better than perfect
Let me break down the major lessons learned in here so you can use them to organize your linen closet too!
Lesson 1: What Can You Store Elsewhere?
Cluttered closets are almost always the result of trying to store too much stuff in a given space. When I first started organizing the linen closet, it was apparent that we didn’t have room for blankets and bedding and medicine cabinet essentials and pool towels and vacuum parts, etc. So after a good purge, I started by identifying what really needed to be in this closet and what could be stored somewhere else.
I moved bedding sets into each person’s dresser drawers. I setup a “medicine cabinet” in our bathroom instead. I moved seasonable comforters to under bed bags.
What remains are items that really warrant being in a linen closet such as quilts and blankets | towels and washcloths | toilet paper and tissues | table linens | extra bedding and pillow cases | vacuum parts and attachments | light bulbs | bandages and braces | and the air mattress.
Lesson 2: Pick the Right Baskets
These closet shelves aren’t all the exact same height, plus the very top and very bottom spaces are much bigger. Additionally, each collection of items varied in size…with towels and table linens being quite bulky, and washcloths and lightbulbs being fairly compact.
As such, this closet was NOT a situation where the exact same baskets were appropriate on every shelf. In fact, I was better able to store each set of items by picking precisely the right size/shape baskets for each category and location.
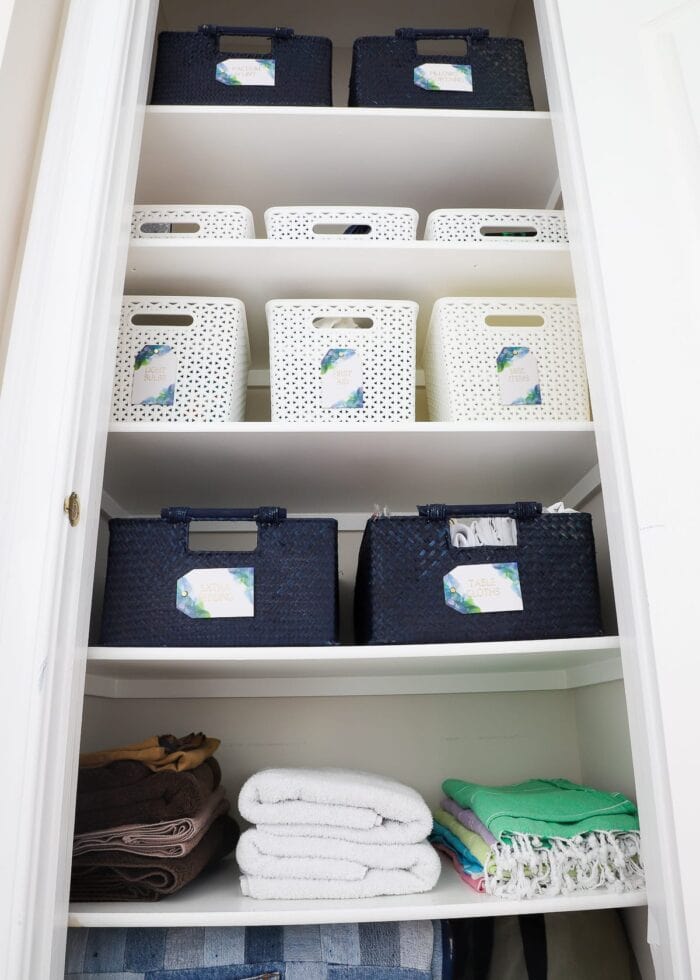
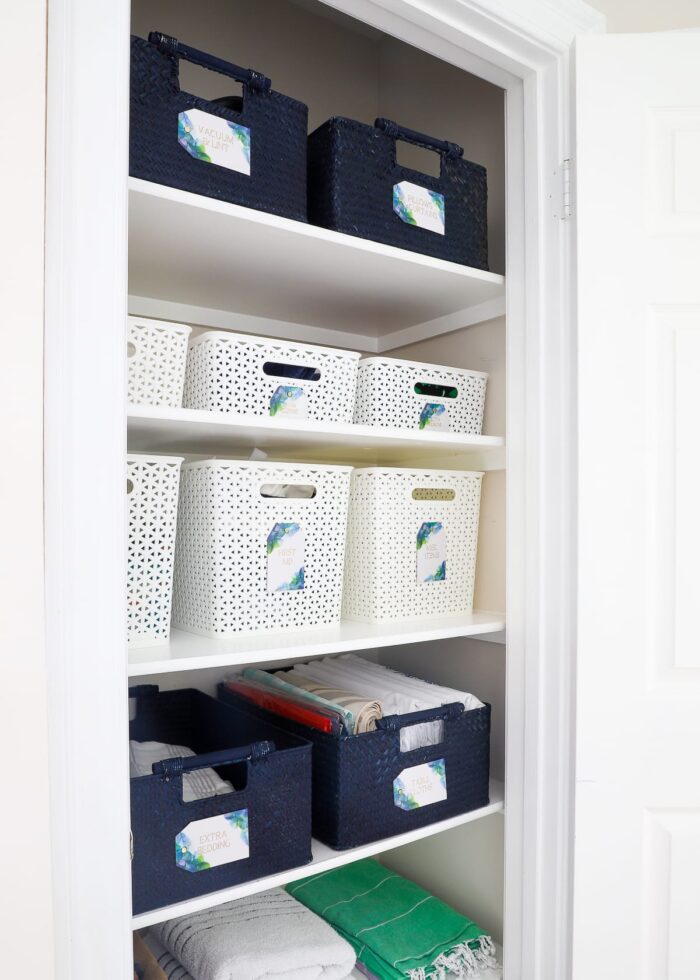
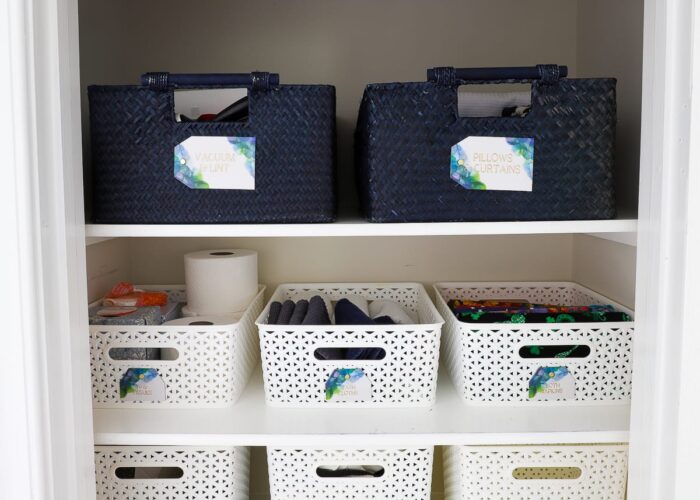
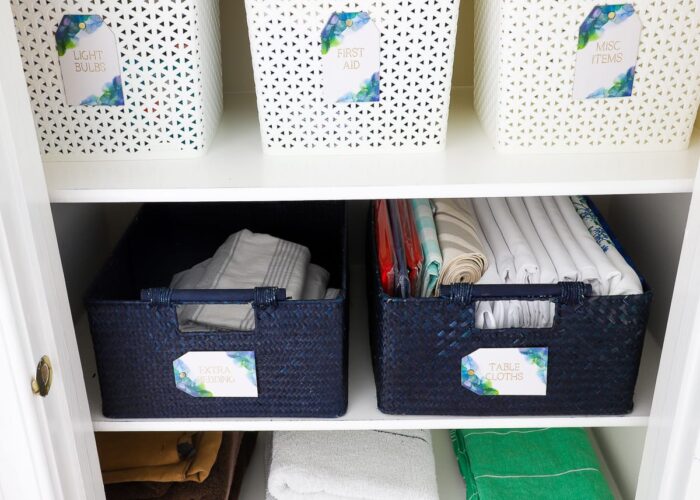
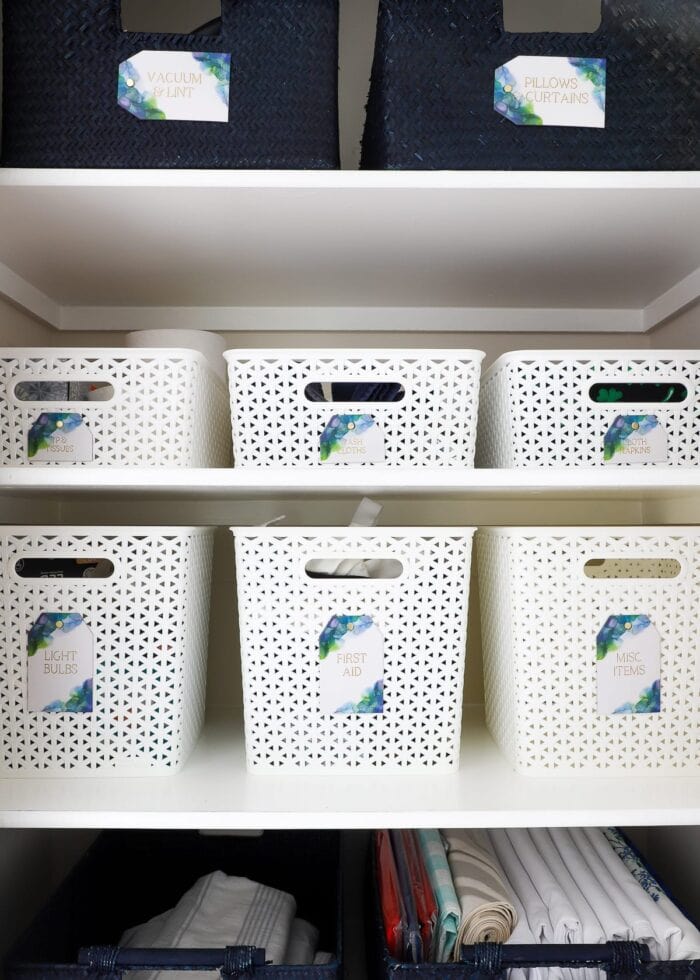
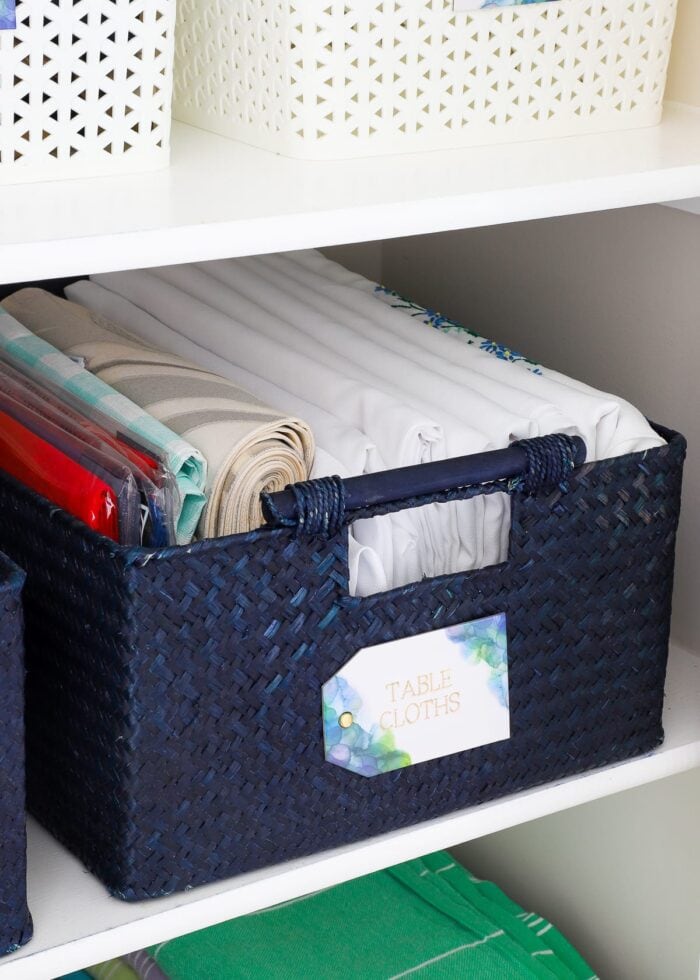
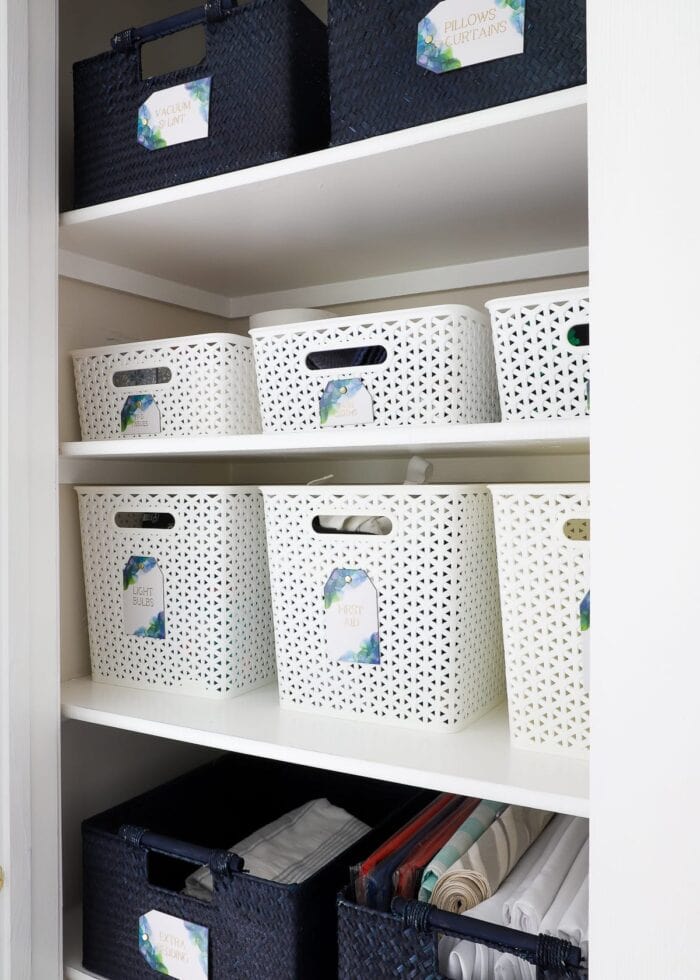
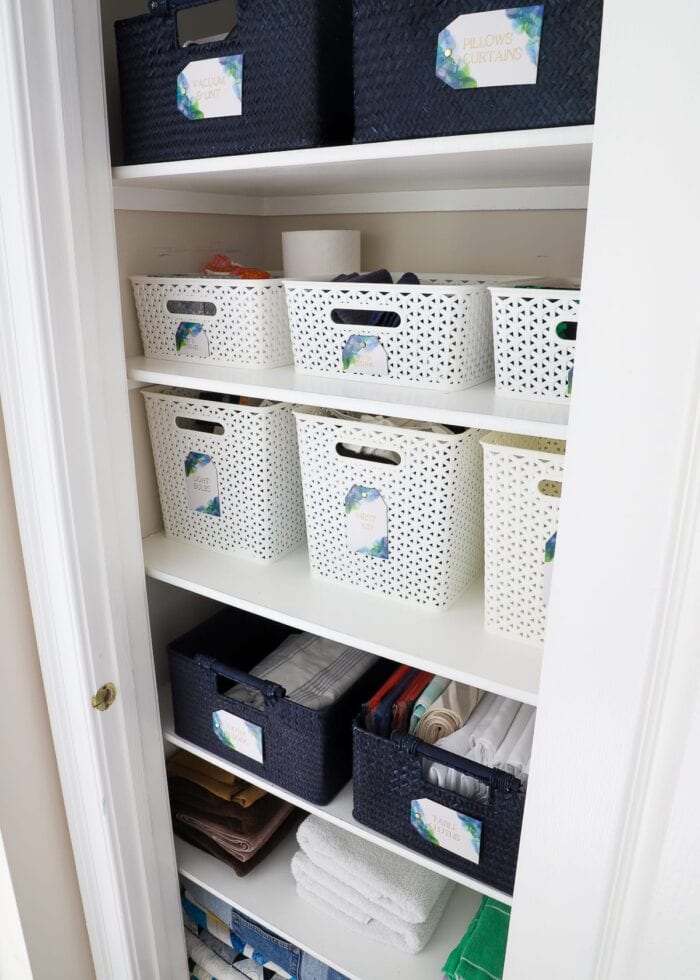
My navy wicker baskets are ideal for storing large collections of items since they use up all the available shelf depth.
I cannot, for the life of me, remember where these baskets came from; and I can’t find any similar versions 🙁
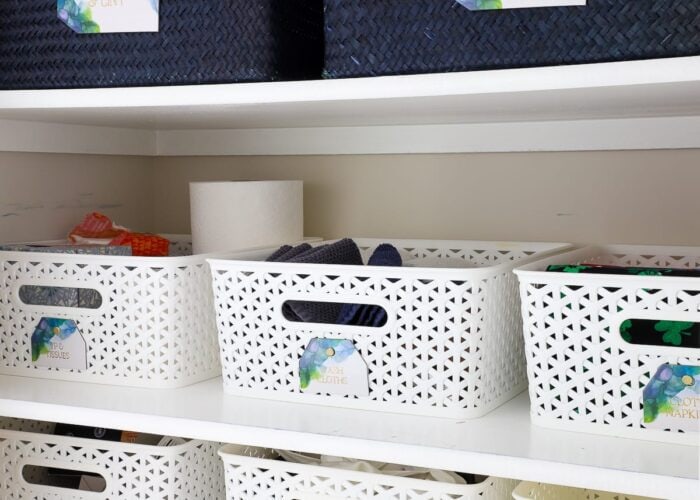
My tried-and-true Y-weave baskets corral smaller collections on the two main shelves. I learned long ago that these white baskets mix-and-match beautifully with other styles and colors; and since they fit 3 across, they also really maximize space here. The varying heights and textures also add some visual interest.
Lesson 5: Baskets Aren’t Always the Answer
Baskets are my go-to solution for corralling collections of items, especially things that can topple or spread out easily. However…if you look back at my “before” photos, you’ll notice items stuffed into, on top of, and next to some baskets. Those are all tell-tale signs that baskets aren’t working for a particular item/collection.
We were spending SO much time fighting with the towel baskets (getting towels in and out) that it finally occurred to me baskets weren’t the right answer here. Sure enough, by eliminating the baskets entirely, we can store MORE towels on the shelf (stacked into 3 piles) and they are SO much easier to get out and put away (which means we’ll actually do it!)
I almost always say items are better in a basket, so this was a valuable lesson for me to learn and see with my own eyes!
Lesson 4: Place Items Strategically
We do not often utilize all the various attachments for our vacuum; yet, I had originally placed them in a prime, easily-reachable spot. Likewise, our extra pillow cases (which we sometimes need in the middle of the night or when guests come over) were way too hard to get up and down. Along with towels and toilet paper, I made sure these frequently-used items were both easily seen AND reachable!
Lesson 5: Fold Intentionally
It may look like I just folded up our blankets and quilts and stacked them up on the floor (the tallest reachable space in the closet). In reality, I folded and re-folded and re-folded this stack until I came up with a size and shape that fit this spot perfectly. Not only did I need all of our blankets to fit under the bottom shelf, but this was also the best space for our bulky air mattress. Although it took some trial-and-error to initially find the right size, it’s now easy to re-fold items to put them back as needed.
Likewise, if you have folded items in a basket, take the time to figure out a size/shape that uses up all the available basket space. Had I folded our table cloths in shorter squares, they would have ended up too bulky to fit and wasted space at the back of the basket.
Lesson 6: Labels ARE Necessary
Around here, I often say that labels are your best accountability partner in an organization projects; and this closet makeover is a testament why!
We went for 6 months without labels on the baskets. Even though you could easily glance inside each one to find what you were looking for, it simply became too easy to just shove anything, anywhere. As a result, we ended up with lightbulbs with the toilet paper, tablecloths with the bedding, and washcloths with the towels. This certainly contributed to the mess, but ultimately made it harder to find things when we needed them.
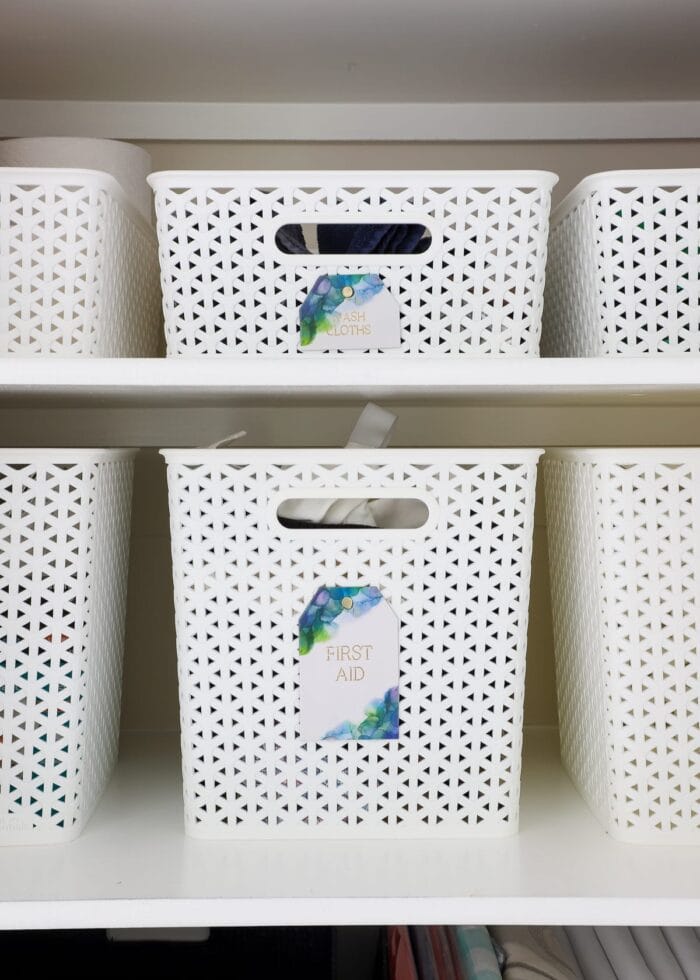
Clearly displayed labels now tell us where everything is…and more importantly, where everything goes back. In short, they are essential to maintaining the systems put into place.
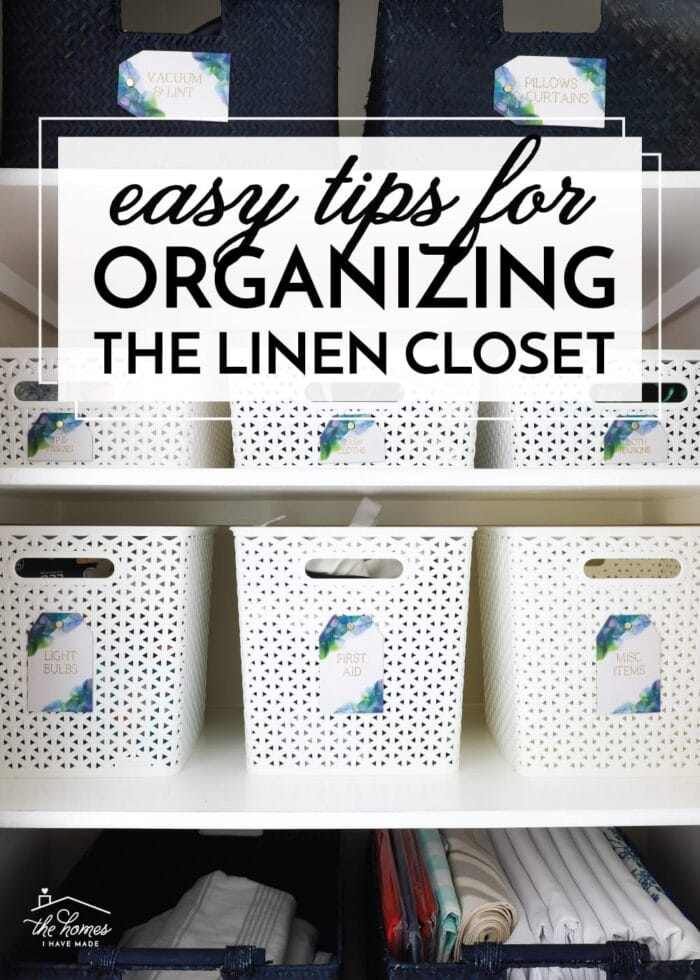
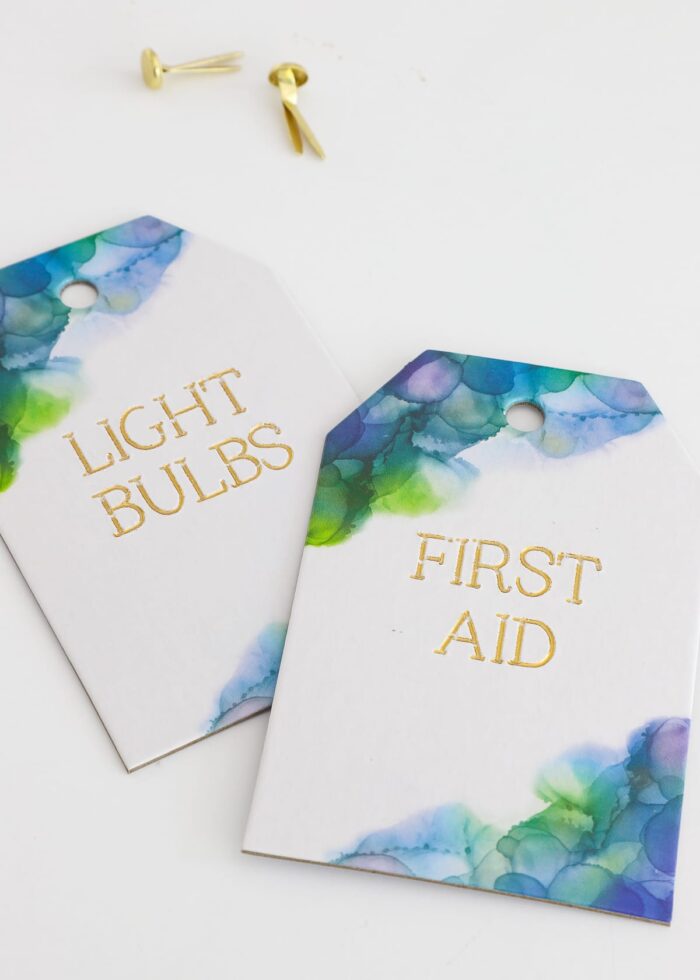
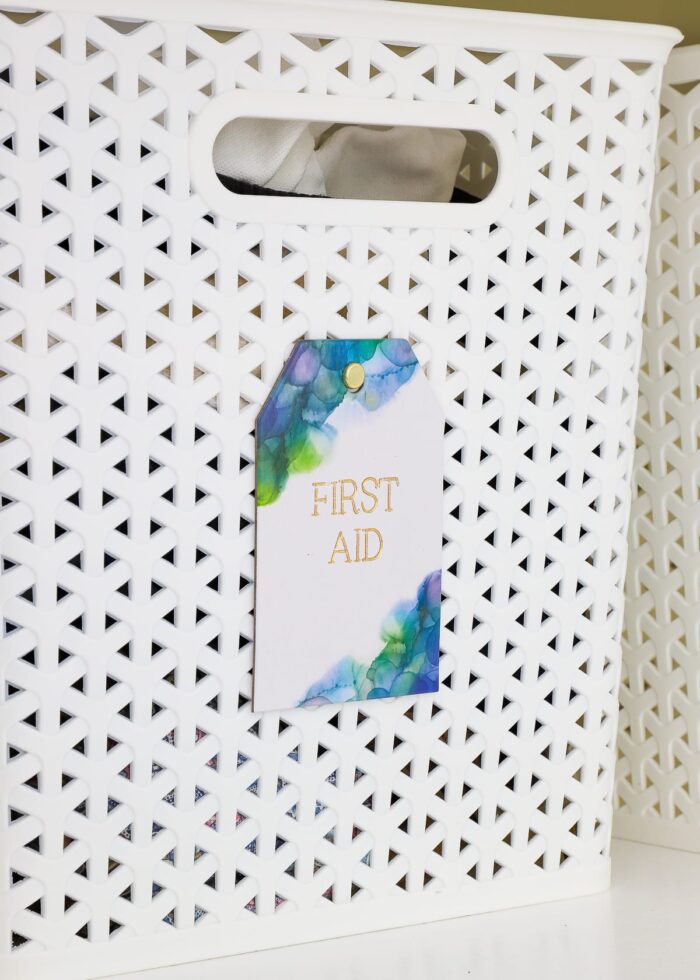
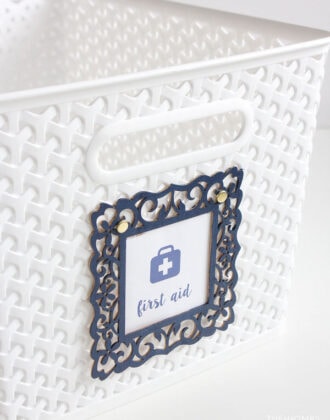
Since I abandoned my attempts to paper the closet (more on this below), I wanted labels that clearly communicated what belonged in each basket AND added some color. I hoarded these gorgeous watercolor tags from Michaels a while back and added foiled gold lettering with my Cricut Foil Transfer Kit. (I’ll have a full tutorial coming up later this month!)
Each label is held onto the basket with my favorite solution: brass paper fasteners. This allows me to add labels in a way that doesn’t damage my baskets and is easily swappable!
Lesson 7: Done is Better Than Perfect
In this organized linen closet, I got a hair-brained idea to paper the entire back wall AND shelves with wrapping paper. I even practiced on two of the shelves to identify the best method for doing so. But it was SOOO much work to maneuver the really wide paper down the back and across each shelf. I also didn’t particularly love the paper I selected, so I kept procrastinating putting up the rest.
It occurred to me that the “pretty paper” detail that was supposed to be a fun and easy update was exactly what was preventing this closet from working fully for our family. I decided to finish this closet “once and for all,” and that started with ripping out the partially-installed paper. With that mental (and physical) hurdle out of the way, I was able to re-sort some baskets, make the labels, and finally cross this project off my list!
Over the years, I’ve organized A LOT of closets and shared A LOT of closet organization posts (you can tour them all HERE!), so even I am a bit surprised I had more to learn and say on the subject. I hope both the strategies and lessons learned here help you not just create more organization in your linen closet, but also help you push through on projects that may have stalled out. I am so thrilled to (finally!!!) have this organized linen closet looking AND functioning great, and I am feeling some renewed motivation to get back to some other areas I’ve been neglecting!
Megan







6 Comments on “Our Organized Linen Closet (Finally!)”
You learn something new at every new house.
I have never had a linen closet till now(just shelves in a much larger catchall space that was too deep and oddly shaped. So I’m struggling to “think” like a linen closet…. what can I say I’ve only been here a year. And a very odd year at that!
Is that a jean quilt I see on the top of the pile of blankets and such?
I can not believe the difference labels make. I recently labelled my partner’s side of the wardrobe because I couldn’t stand seeing his clean laundry sitting in piles around the room. I didn’t move anything, every category is in the same place it has been for the last three years. Yet, ta da! The clothes are magically put away, neatly folded. Every. Time. Amazing!!
This is the perfect timing for me, as I steel myself to sort out our upstairs cupboard, as we call it. Thanks so much for the inspiration. I hope it works well, and I think you’re right in that it looks better without the liner. You’ve done a lovely job 🙂
Looks great! Crisp & clean. I’m…uh…over 60, shall we say & have always folded towels & sheets the same way my mom did. She probably did it the same way her mom did. As I heard about new ways of folding items to save space, I started researching. Now I’ve purged our linen closet & folded items to fit the space. I love it so much, I’ve been refolding everything we own! LOL Now we have more useable storage space and everything looks so nice that I’m tempted to leave the closet doors open! It’s amazing how one organizing tip can motivate you into action/change. (& it’s nice to know I can still learn & change at my age, too!) Thanks for sharing your great ideas! 🥰
ok – I think i had one of those why oh why didn’t I do that before moments… You said you keep seasonal comforters in under bed bags. Yes! That makes so much sense. And why haven’t I done that. Totally tackling that little detail this weekend to open up space in our linen closet.
Hi Megan, I have so much to learn regarding the matter at hand, so I would be greatly appreciated any suggestions from your side.