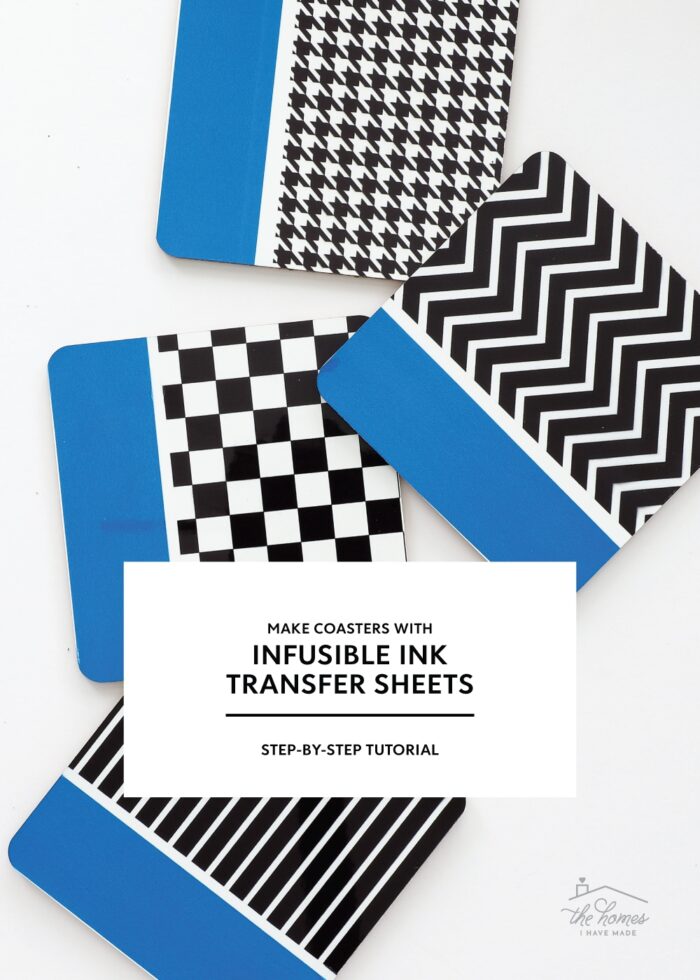
Coasters with Infusible Ink Transfer Sheets: A Great Beginner Project
When you’re just getting started with Cricut’s Infusible Ink, one of the easiest projects to tackle are DIY coasters! Thanks to their simple shape, flat surface, and plethora of ready-made designs within Cricut Design Space, you can make custom, professional-looking coasters in mere minutes. In this tutorial, I’m going to break down exactly how to create amazing coasters using Cricut Infusible Ink Transfer Sheets…with or without the help of a Cricut machine!
What Is Infusible Ink?
Cricut Infusible Ink is ink – not vinyl or iron-on vinyl – that penetrates the surface (via heat) of whatever you apply it to. This makes any design created with Infusible Ink vibrant and permanent, with no cracking, fading, or peeling no matter how many times it’s used or washed.
Infusible Ink designs can be made with Transfer Sheets or Pens on a wide variety of items such as coasters, tote bags, pillows, zipper pouches, t-shirts, mugs, and hats. Refer to the posts below for even more information.
- Cricut Infusible Ink | A Complete Get-Started Guide
- Infusible Ink Transfer Sheets on Coasters – You are Here!
- Infusible Ink Pens on Coasters
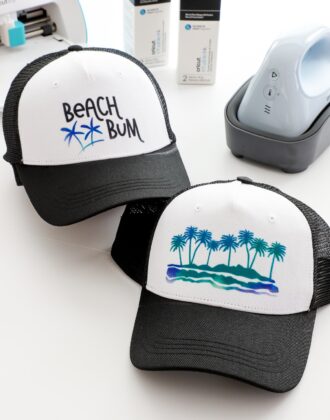
- Infusible Ink Transfer Sheets on Hats
- Infusible Ink Transfer Sheets on Mugs
- Infusible Ink Pens on Mugs
Making Coasters with Cricut Infusible Ink
Infusible Ink must be used on compatible “blanks” in order for the design to be bright and long-lasting. And one of the easiest blanks you can get started with is coasters!
Cricut makes Infusible Ink Coaster Blanks in two shapes:
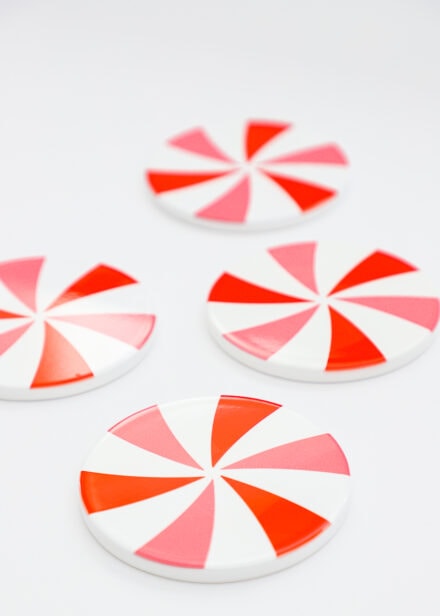
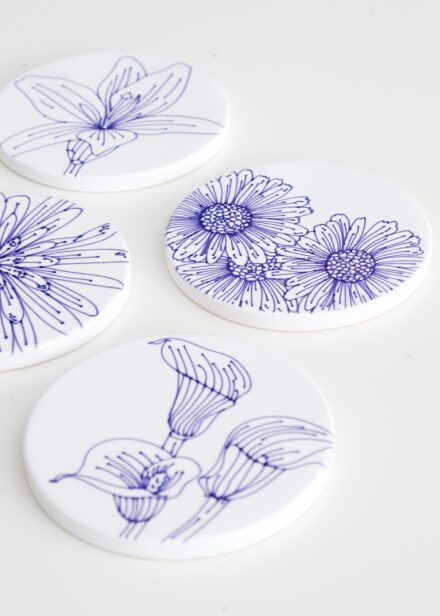
- Circles – These are round ceramic coasters, measuring 3.6″ in diameter with an unfinished underside.
- Squares – These measure 3.75″ square and are thinner than the round coasters. The surface is plastic-like with a cork underside.
Designs can be made using either Infusible Ink Transfer Sheets (this tutorial), Infusible Ink Pens (coming soon), or both (How to Layer Infusible Ink Transfer Sheets and Pens). Any design you can think of can be put onto coasters, making them an excellent project for holidays, weddings, showers, anniversaries, or just because!
Supplies Needed
Here is what you need to make custom DIY coasters using Infusible Ink Transfer Sheets:
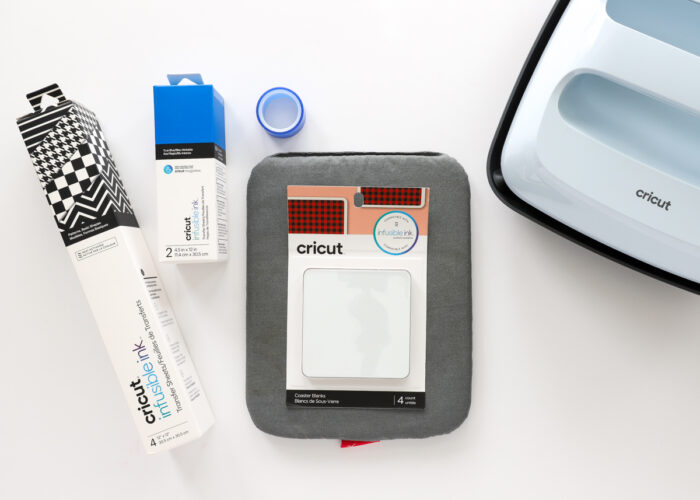
- Cricut Coaster Blanks – Circle or Square
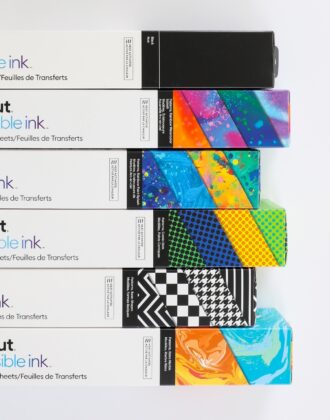
- Cricut Infusible Ink Transfer Sheets – Chose any colors/patterns you like. For this project, I used:
- Cutting Mechanism – Some way to cut the Infusible Ink Transfer Sheets
- Cricut Machine – Any Cricut machine can cut Infusible Ink Transfer Sheets (Cricut Maker | Cricut Explore | Cricut Joy)
- Paper Trimmer or Scissors – Yes, designs can be cut by hand!
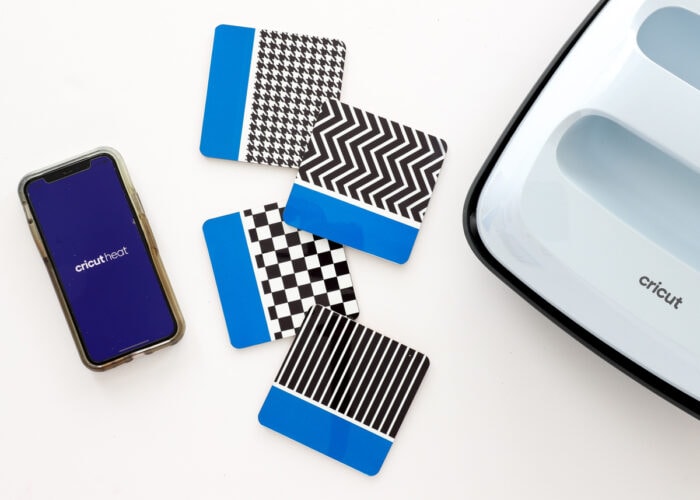
- Cricut EasyPress
- Lint-Free Cloth
- White Cardstock – Nothing specific is needed here, any white cardstock you have in your stash is sufficient.
- White Butcher Paper – Some will come in your box of Infusible Ink Transfer Sheets, but you can also buy it in bulk here.
How to Make Coasters Using Infusible Ink Transfer Sheets
Step 1: Design Your Coaster
Start by designing your coaster image. Designs can be positioned anywhere on the coaster, including centered (with a blank border) or all the way up to the edge.
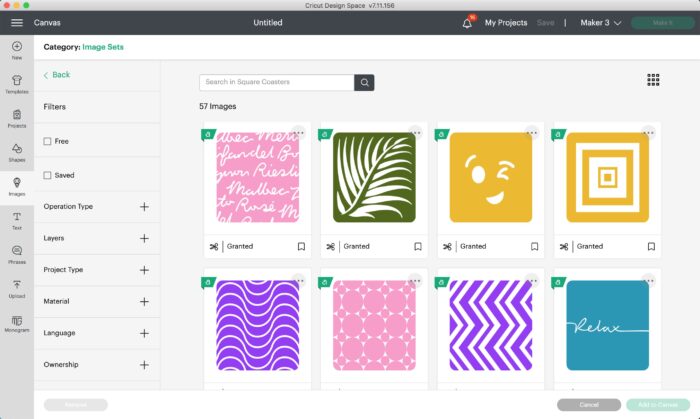
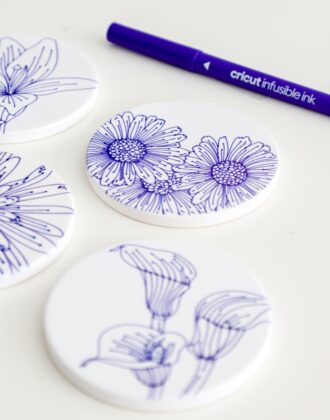
Cricut Design Space has lots of ready-made coaster designs for both the circle and square blanks. Just search “Coaster” in the Image Library.
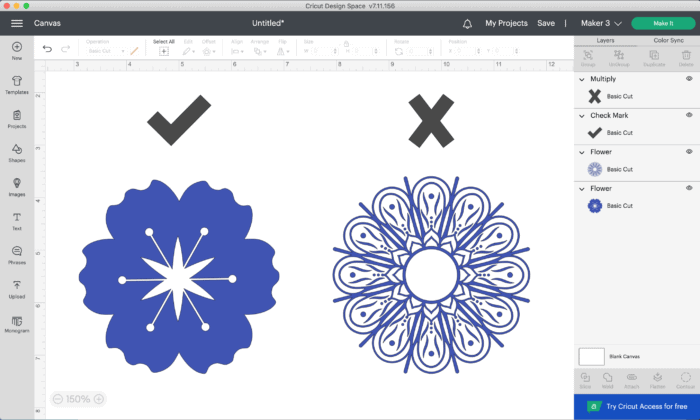
If you’re cutting the designs from Transfer Sheets using a Cricut machine, I highly recommend choosing simple, bold graphics. Tiny details get muddled with Infusible Ink, especially on small projects like a coaster. Whenever possible, skip small details and thin text and opt for bold shapes and patterns for better results.
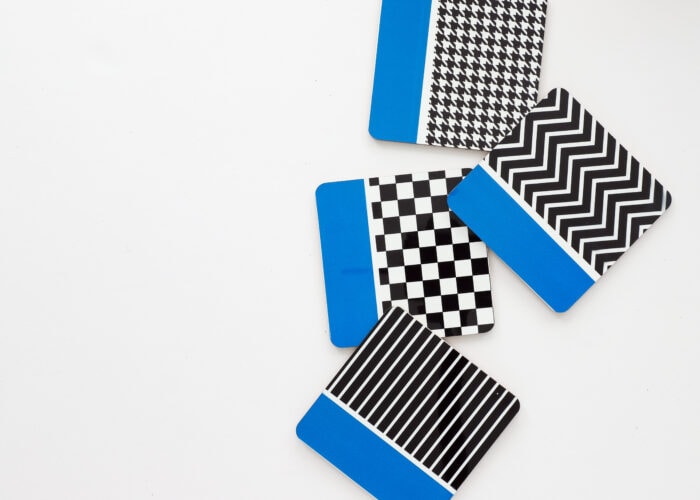
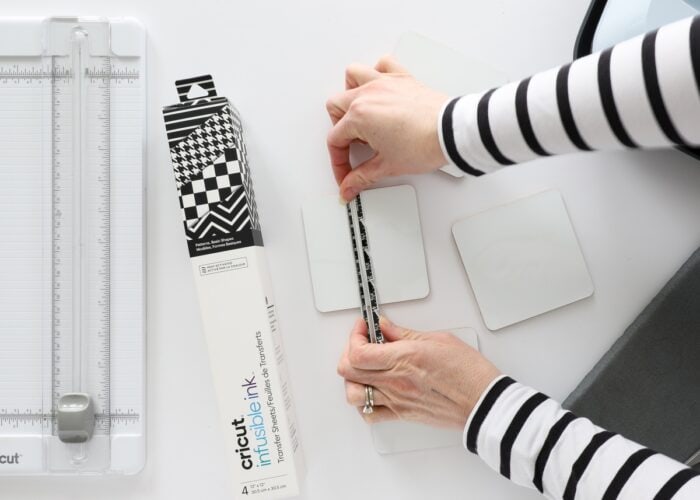
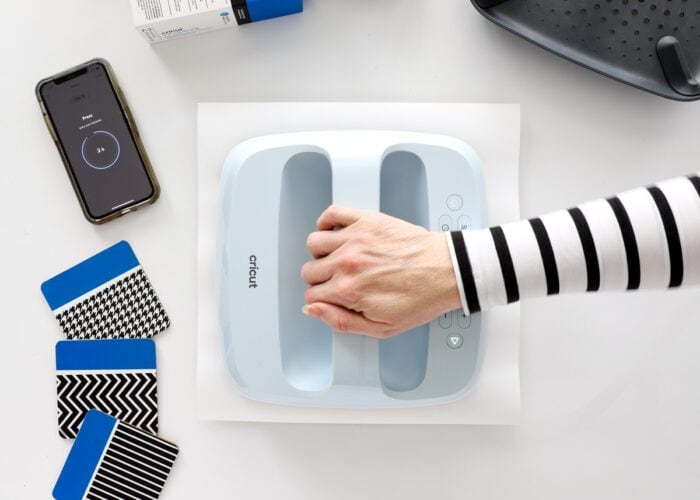
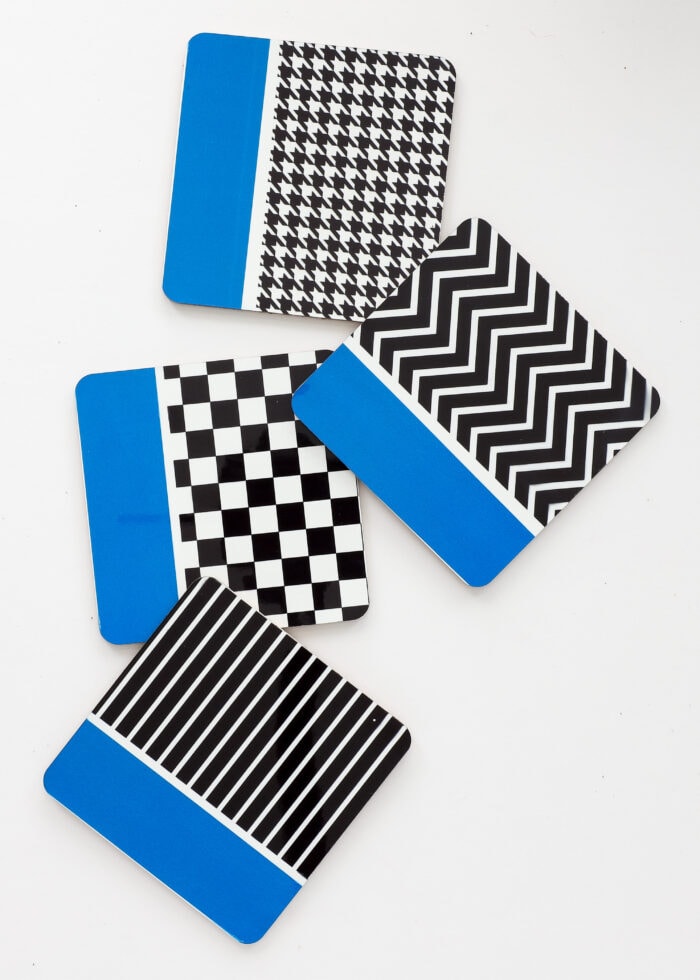
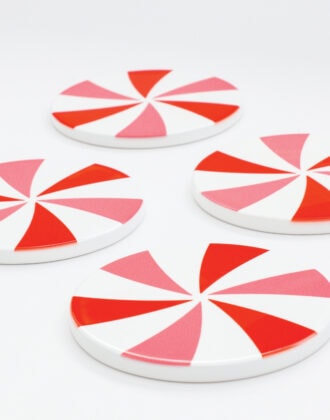
One of the beautiful things about using Infusible Ink Transfer Sheets is that you don’t have to use a Cricut machine! I wanted a really simple two-tone design to emphasize the cool patterns on this set of Transfer Sheets. As such, I simply measured the square coaster to figure out the dimensions of the rectangles I needed to cut manually.
Step 2: Cut Out the Infusible Ink Transfer Sheets
With your designs ready, your next step is to cut them out of the Infusible Ink Transfer Sheets.
Cutting Out Your Design with a Cricut Machine
When cutting Infusible Ink Transfer Sheets with your Cricut machine, follow these steps:
- Send your design to your Cricut machine by clicking the green “Make It” button in the upper right-hand corner.
- On the left-hand side of the Cut Preview Screen, where each mat is displayed, click the “Mirror” button below each mat to flip the designs horizontally.
- Select “Infusible Ink Transfer Sheets” from the materials menu.
- Ensure the Premium Fine-Point Blade is loaded into your machine.
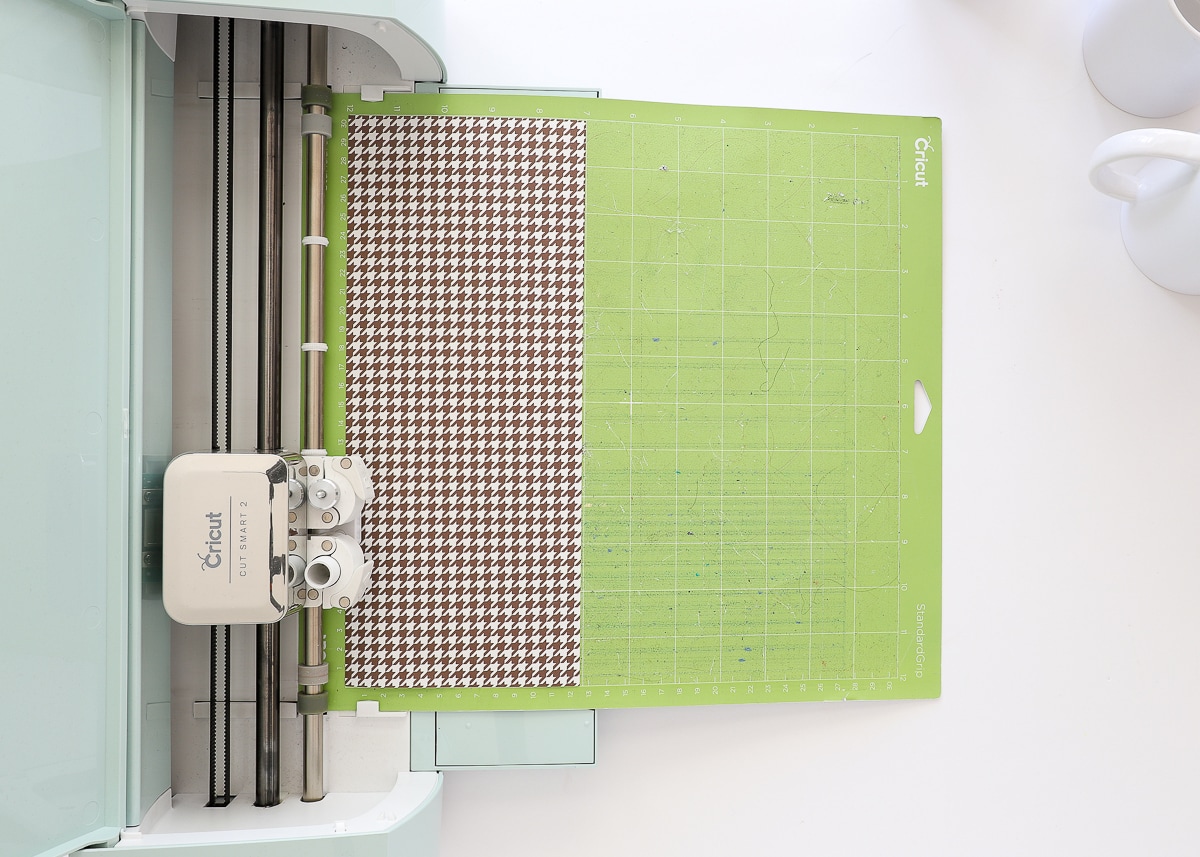
- Place the Infusible Ink Transfer Sheet onto a green StandardGrip cutting mat, shiny side down, and load it into your Cricut machine.
- Press the flashing Cricut/Go button to start your design cutting.
Once your design is cut, “weed” out your designs by removing all the thicker paper around/within your design, leaving only your final design attached to the clear carrier sheet.
Want to save this post?
NOTE: Unlike other weeding projects, you should mainly use your fingers to remove all the unwanted elements; and only use a tweezers to pluck out hard-to-catch details, as needed.
Cutting Out Your Design with a Paper Trimmer or Scissors
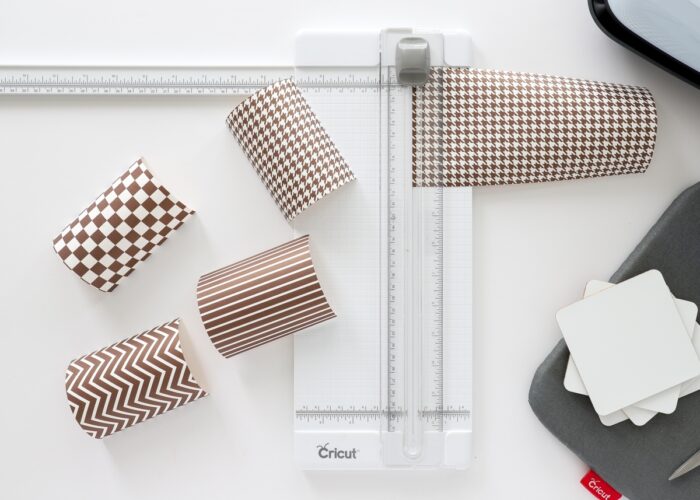
Since I was making a very simple rectangular design, I opted to skip using my Cricut machine and just cut the shapes out with my Paper Trimmer.
When cutting designs by hand, ensure your hands are completely clean (any grease or residue can affect the transfer) and cut through both the the inked paper and the clear glossy layer underneath. This will essentially feel like cutting really thick cardstock.
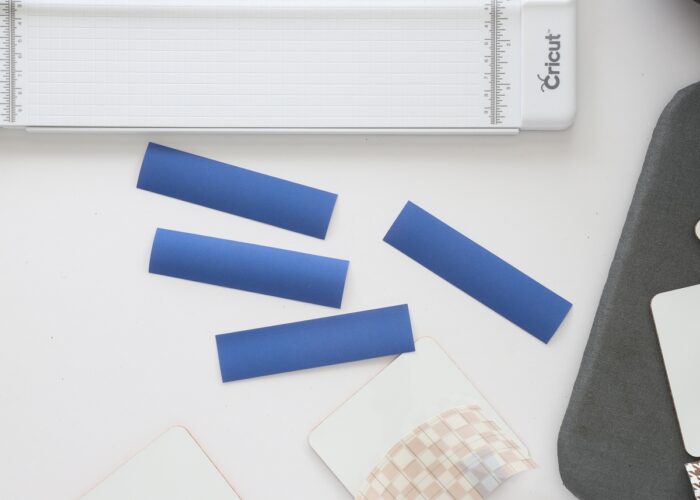
I cut my black-and-white Transfer Sheets into 3.75″ x 3″ rectangles, and the solid blue into 3.75″ x 1″ strips.
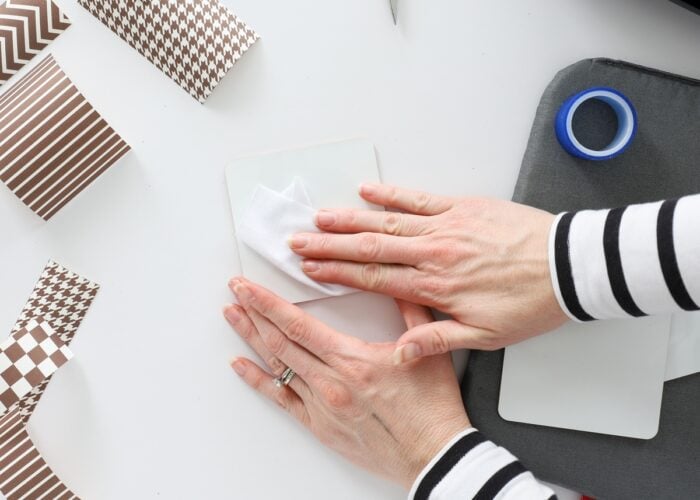
Step 3: Clean the Coaster Blanks
Before moving on, use a lint-free cloth to clean the coaster blanks. Any fingerprints, dust, or other debris can affect the results of the transfer.
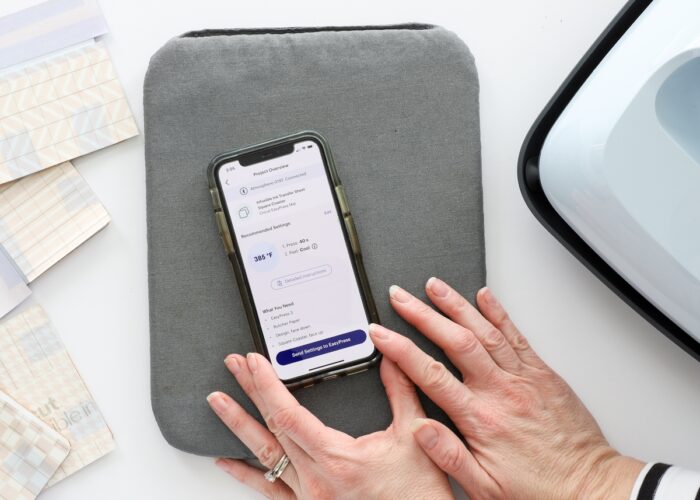
Step 4: Set Up EasyPress
There are a few more steps to complete before you actually transfer your design to the coasters, but this is a good time to pause and set up your Cricut EasyPress.
- Cricut EasyPress 3 – Use the Cricut Heat App to determine your settings and send them to your press.
- Cricut EasyPress or Cricut EasyPress 2 – Use this online Heat Guide to identify the time and temperature you need to adjust manually.
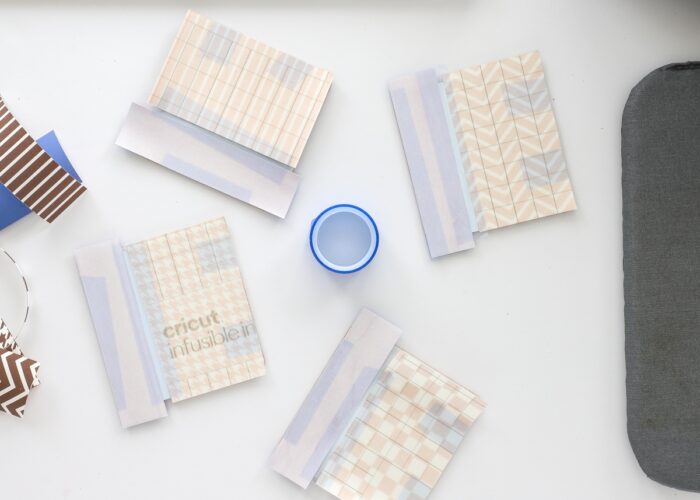
Step 5: Tape Designs to the Coasters
Next, place your cut designs onto your coasters with the printed side down and the clear glossy side up. The printed side of the Infusible Ink Transfer Sheets is not sticky at all, so you can easily move your design around to figure out exactly where you want it.
While it might seem like the sticky clear carrier sheet is sufficient to hold your design in place, I highly recommend using Heat Resistant Tape to further secure it. The heating process for coasters is lengthy, and any slipping or sliding will produce a smudged design. Don’t hesitate to use as much tape as needed, including around the edge to the bottom of the coaster.
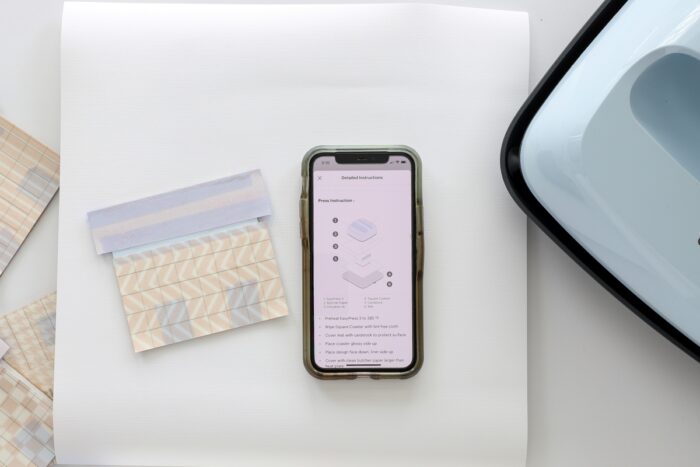
Step 6: Prepare for Transfer
One of the most intimidating aspects of working with Cricut Infusible Ink is the setup. While you do need to layer a variety of items together to get perfect transfer results, none of this is hard…you just need to pay attention to what you’re doing. Thankfully both the Cricut Heat App and the Cricut Heat Guide provide detailed layering instructions that you can reference at any time.
For coasters, layer these items from bottom to top:
- Cricut EasyPress Mat – To protect your work surface and absorb moisture created during the heating process.
- Piece of White Cardstock – To protect your mat from any ink seepage.
- Coaster with Infusible Ink Transfer Sheet Design Attached – I personally recommend doing one coaster at a time, unless you have the 9×12″ EasyPress or Cricut Autopress.
- Circle – Place the coaster upside-down onto the white cardstock with the bottom of the coaster facing up.
- Square – Place the coaster right-side up onto the white cardstock with the bottom of the coaster facing down.
- Piece of Butcher Paper – To create a protective buffer between the coaster and the EasyPress.
Step 7: Press Coasters
With everything layered correctly and your EasyPress fully warmed up, it’s time to finally fuse your design into the coasters.
Place the EasyPress onto your coaster “stack” and hold it firmly in place until the timer beeps (between 60-240 seconds, depending which coaster blank you’re using). It is very important that you don’t move or shift the EasyPress at all, as it can lead to “ghosting” on your design (smudging, shadowing). Your pressure should be firm and even (which is why I recommend pressing only one coaster a time.)
Step 8: Let the Coaster Cool
After 1-4 minutes minutes of direct, intense heat, the coaster will be exceptionally hot to the touch. Unless you have heat-resistant gloves, it is best to simply let the coaster sit for a few minutes until it cools down.
Once you are able to touch the coaster, remove the butcher paper and the Transfer Sheet+clear carrier sheet combination to reveal your gorgeous, vibrant permanent design. Repeat with as many coasters as you have to complete your collection!
If you are new to Infusible Ink and/or are hesitant to give it a try, coasters are a great beginner project. Not only are they small (so they don’t require a lot of materials), but their flat, smooth surface make it easy to get near-perfect transfers. I also think that the transfer results on coasters are especially vibrant and impressive, making it all but certain you’ll “get” the Infusible Ink craze! I hope you give them a try!
Megan
2 Comments on “Coasters with Infusible Ink Transfer Sheets: A Great Beginner Project”
Hi – I have a quick question about Infusible Ink transfer sheets and coasters – I used sublimation coasters and a Cricut Infusible Ink sheet and I cleaned the coaster with alcohol before adhering the image to the coaster with heat resistant tape. I set the temp to 400° for 240 seconds (as per the Cricut HeatPress guide). I’m wondering if you might have any suggestions about why there is black smudging around the picture? The smudging is where the edge of the liner was as I can see the cut lines around the image. There is also some smudging in the window that I’m not sure about? If you are able to provide any suggestions, I would really appreciate it. Thanks so much and have a great day!
/var/folders/4p/1tmfktqn4831db3fvq3y__3w0000gn/T/com.apple.iChat/Messages/Transfers/IMG_4587.jpeg
I’m trying to figure out how to send you a picture of the coaster. I will see if I can find a contact email for you and send it that way.