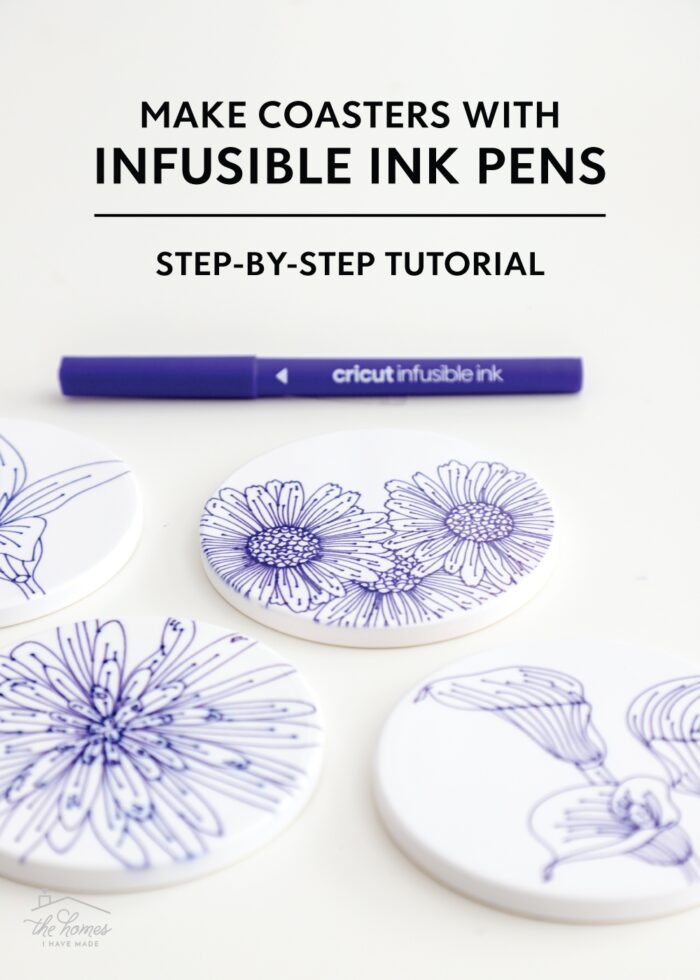
How to Make Cricut Coasters with Infusible Ink Pens
A few weeks ago, I showed you a great beginner project when just getting started with Cricut’s Infusible Ink: Coasters with Transfer Sheets. Today’s project is similarly simple, and is a great introduction to how Cricut Infusible Ink Pens work. Infusible Ink Pens are a great way to add fine-line, intricate details to your sublimation projects; but as you’ll soon see, their results are just as vibrant and impressive as their Transfer Sheet counterparts. Let me show you how to make Cricut Coasters with Infusible Ink Pens!
What Is Infusible Ink?
Cricut Infusible Ink is ink that penetrates the surface (via heat) of whatever you apply it to. This makes any design created with Infusible Ink vibrant and permanent, with no cracking, fading, or peeling no matter how many times it’s used or washed.
Infusible Ink projects can be made with Transfer Sheets or Pens on a wide variety of items such as coasters, tote bags, pillows, zipper pouches, t-shirts, mugs, and hats. Refer to the posts below for even more information.
- Cricut Infusible Ink | A Complete Get-Started Guide
- Infusible Ink Transfer Sheets on Coasters
- Infusible Ink Pens on Coasters – You are Here!
- Infusible Ink Transfer Sheets on Hats
- Infusible Ink Transfer Sheets on Mugs
- Infusible Ink Pens on Mugs
Making Coasters with Cricut Infusible Ink
Infusible Ink products must be used on compatible blanks in order for the design to be bright and long-lasting. And one of the easiest blanks you can get started with is coasters!
Cricut makes Infusible Ink Coaster Blanks in two shapes:
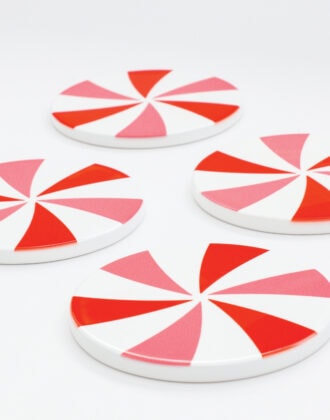
- Circle Coaster – These are round ceramic coasters, measuring 3.6″ in diameter with an unfinished underside.
- Square Coasters – These measure 3.75″ square and are thinner than the round coasters. The surface is plastic-like with a cork underside.
Designs can be made using either Infusible Ink Transfer Sheets (How to Make Coasters with Infusible Ink Transfer Sheets), Infusible Ink Pens (this tutorial!), or both (How to Layer Infusible Ink Transfer Sheets and Pens).
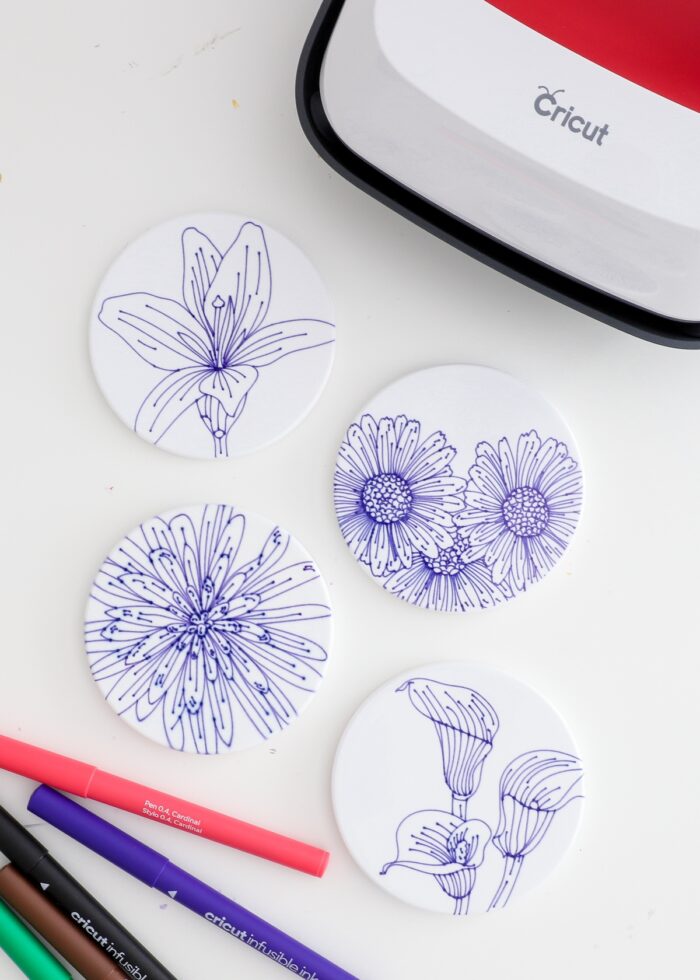
Any design you can think of can be put onto coasters, making them an excellent project for holidays, weddings, showers, anniversaries, or just because. Cricut Infusible Ink Pens, especially, allow you or your Cricut machine to draw designs (rather than cut out shapes). From intricate images and fine line details, to words, text, and names, Infusible Ink Pens are what make more intricate designs possible!
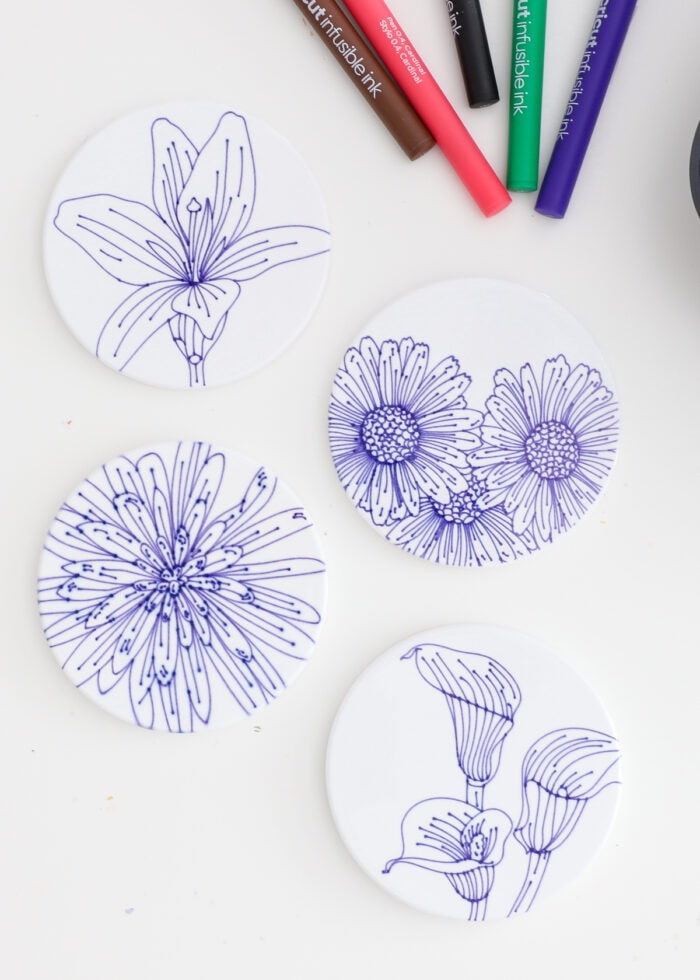
Although these coasters may look intricate and complicated, the process of making coasters with Infusible Ink Pens is quite easy and straight forward. Let’s work through it!
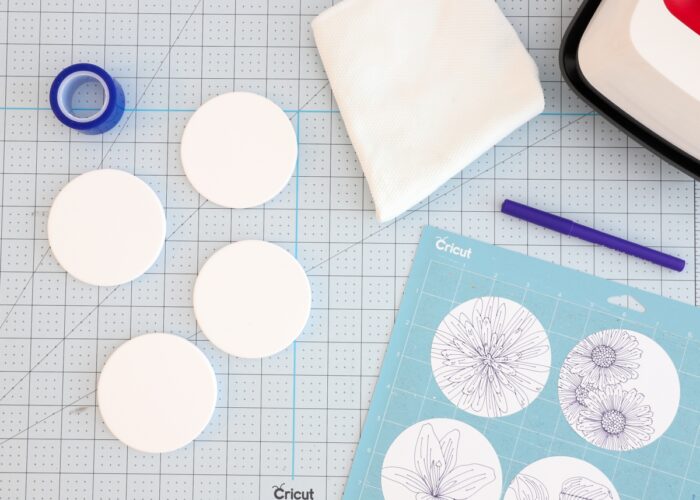
Supplies Needed
Here is what you need to make Cricut Coasters with Infusible Ink Pens:
- Cricut Coaster Blanks – Circle or Square
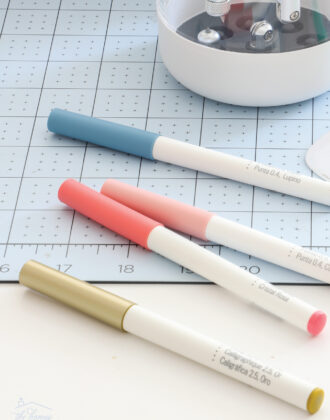
- Cricut Infusible Ink Pens* – In any color(s) you like, just make sure you pick the correct pens for your machine:
- Cricut EasyPress
- Lint-Free Cloth
- Various Papers
- White Laser Copy Paper – You need just a single sheet of white printer paper to draw the designs on.
- White Cardstock – Nothing specific is needed here, any white cardstock you have in your stash is sufficient.
- White Butcher Paper – You can use any brand or buy some in bulk here.
- Cricut Machine – Any Cricut machine can use with Infusible Ink Pens (Cricut Maker | Cricut Explore | Cricut Joy).
- LightGrip Mat – To hold the Laser Copy Paper for cutting/drawing.
*You can use Cricut Infusible Ink Markers for your drawn designs as well, but note that they will create a thicker pen line that can look “muddy” on small projects like coasters.
How to Make Cricut Coasters with Infusible Ink Pens
Step 1: Create Pen Coaster Designs in Cricut Design Space
Start by designing your coaster images in Cricut Design Space. Designs can be positioned anywhere on the coaster, including centered (with a blank border) or all the way up and off the edge.
Make a Template
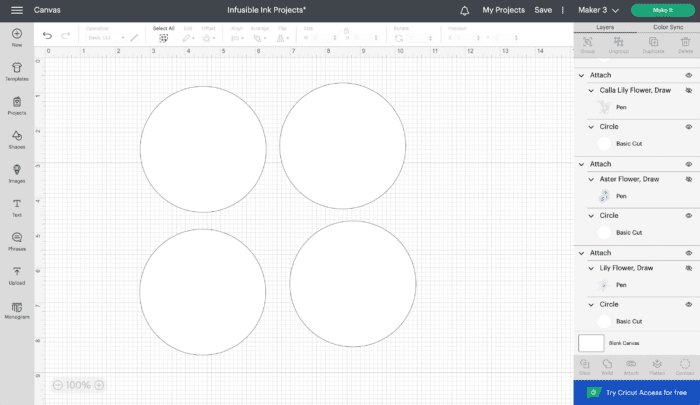
To start, I recommend placing Shapes onto your blank design canvas that match whatever coaster shape you are making:
- 4 circles sized to 3.6″
- 4 squares sized to 3.75″
These will not only serve as guidelines for your design, but also be cut out out to make your transfer easier.
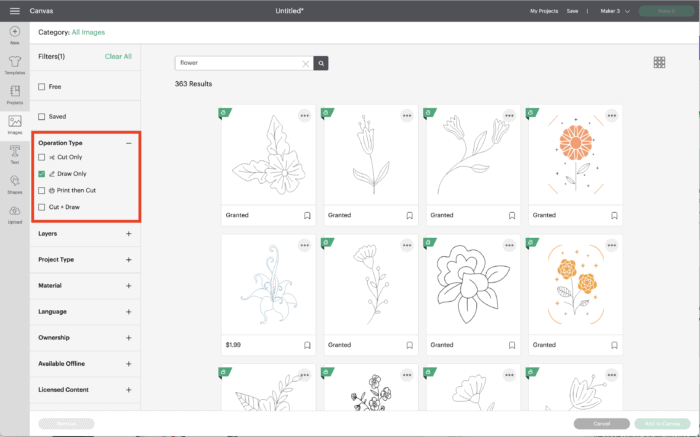
Find Drawn Designs
Next, hunt around the Cricut Design Space Image Library to find some “Drawn” designs you love. “Drawn” images will automatically be created with Cricut Pens and can be found by filtering for “Draw” images on the left-hand side of the Image Library menu.
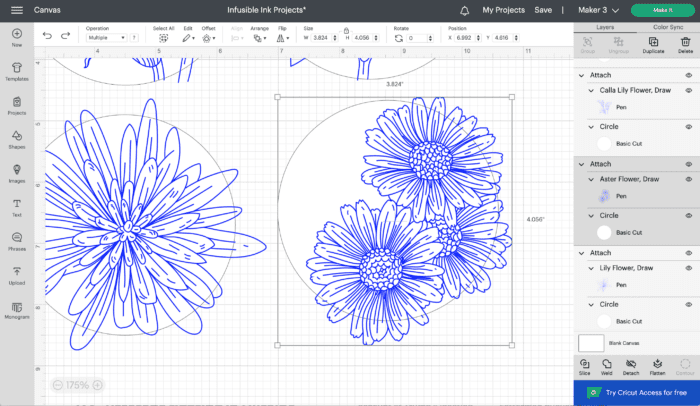
Attach Coaster Shape & Design Together
Once you find “Drawn” images you love, size and place them onto the circle or square templates to get a good sense for what your coasters will look like. You can even choose several different images and adjust the pen color (see how here) to make muti-color designs.
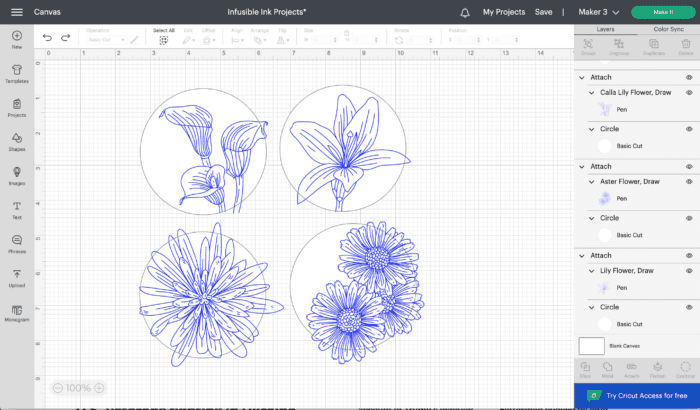
Once you are satisfied with your design for each coaster, select the image+shape and attach them together using the “Attach” button in the bottom left-hand corner.
Step 2: Draw & Cut Coaster Designs with Cricut Machine
With your design ready to go, click the green “Make It” button to send it to your machine.
If you have a directional design (it needs to read left-to-right), select “Mirror” under the mat settings on the first cut screen.
Want to save this post?
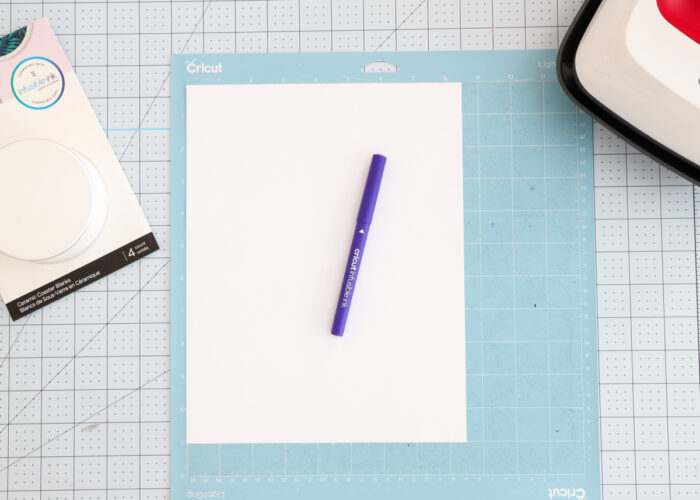
Place a single piece of white Laser Copy Paper onto a LightGrip Mat (in the upper left-hand corner with the edges lined up with the printed grid), and place the correct Infusible Ink Pen into the proper clamp on your machine.
- Cricut Explore/Maker – Clamp A
- Cricut Joy – The only clamp (you will need to remove your blade and insert the pen first).
TIP! If you made a multi-color pen design, Cricut Design Space will prompt you which pen to load first.
Load your machine using the flashing Load/Unload button and start the machine cutting/drawing using the flashing Cricut/Go button.
Your Cricut machine will first draw the designs using the Infusible Ink Pen. It will then pause and switch to cutting out the border shape around each coaster design with the Premium Fine-Point Blade.
NOTE. If you have a Cricut Joy, Cricut Design Space will prompt you when to switch out the pen for the blade.
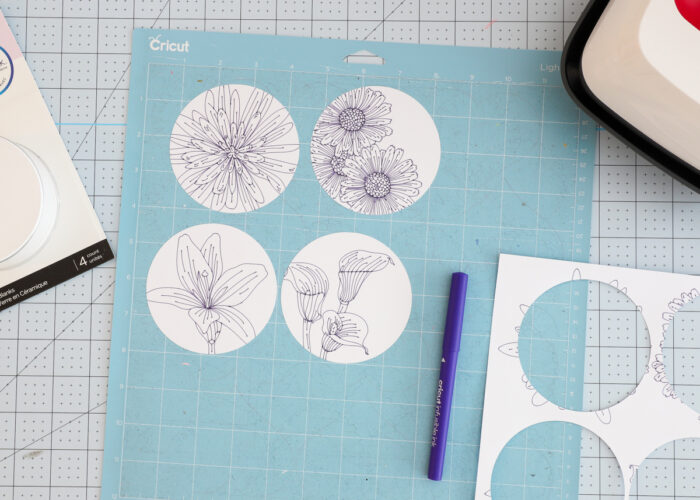
When your machine has completed both the drawing and cutting functions, use the flashing Load/Unload button to remove the mat from the machine. Peel away the excess Laser Copy Paper around the shapes to reveal your coaster designs!
Step 3: Clean Coasters
When working with Infusible Ink, it’s imperative that your blanks are free of lint, dust, dirt, and smudges (because they will show up in the transfer). As such, use a lint-free cloth to thoroughly wipe down each coaster.
Step 4: Set Up EasyPress
There are a few more steps to complete before you actually transfer your pen designs to the coasters, but this is a good time to pause and set up your Cricut EasyPress.
- Cricut EasyPress 3 – Use the Cricut Heat App to determine your settings and send them to your press.
- Cricut EasyPress or Cricut EasyPress 2 – Use this online Heat Guide to identify the time and temperature you need to adjust manually.
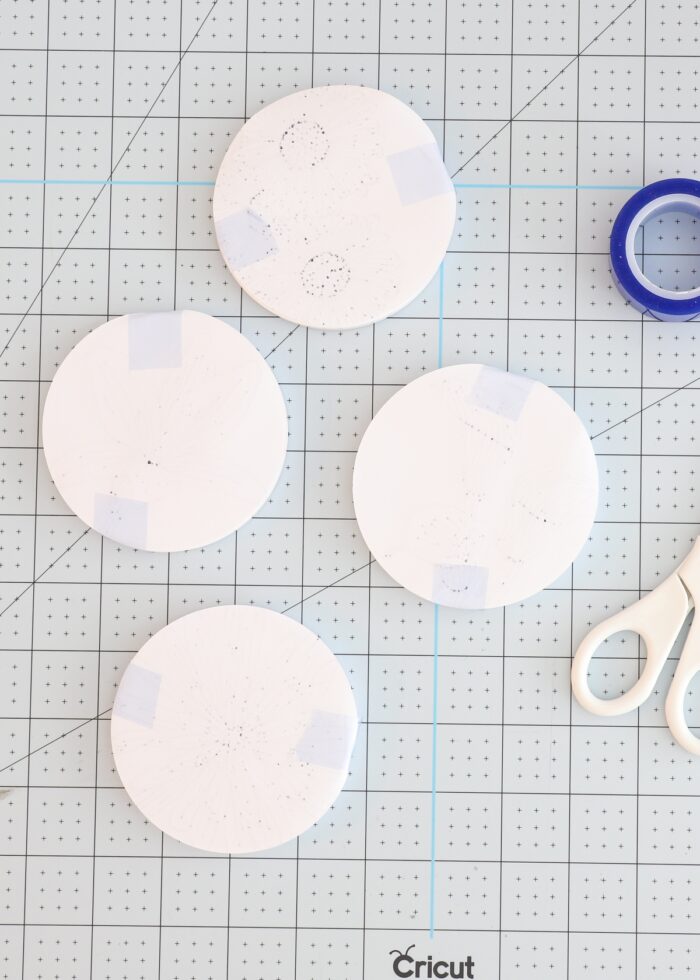
Step 5: Tape Pen Designs to Coaster
Next, remove the coaster designs from the cutting mat and place them, ink side down, onto each coaster blank, centering the edges of your cut with the edges of the coaster. Use 2-4 pieces of Heat Resistant Tape to hold each design in place.
TIP! Don’t skip the tape; your designs WILL move around (and therefor smudge) if the designs aren’t held in place.
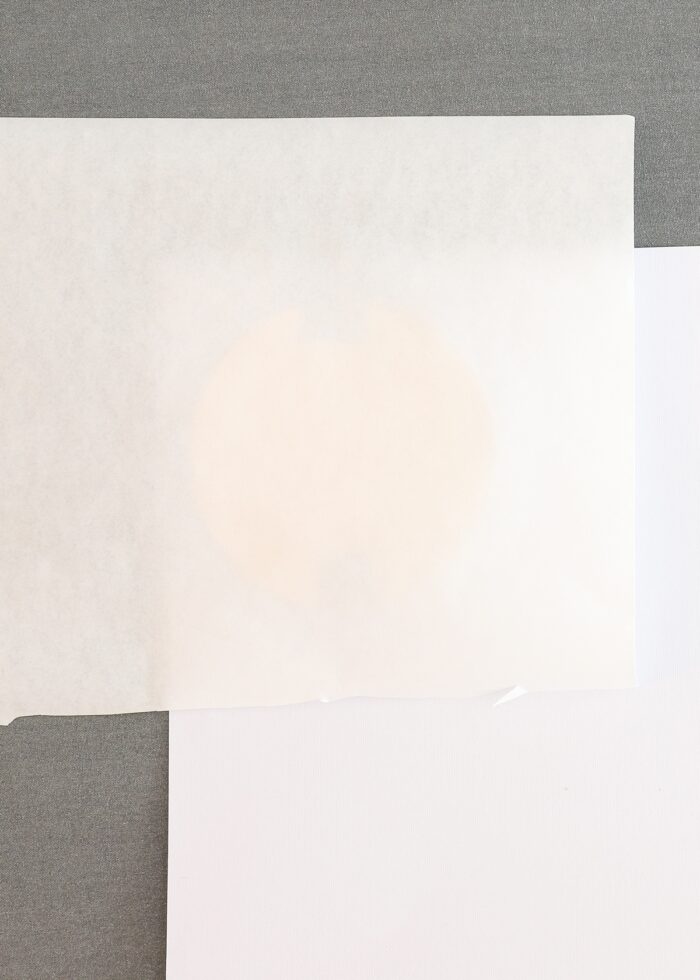
Step 6: Prepare for Pressing
One of the most intimidating aspects of working with Cricut Infusible Ink is the setup. While you do need to layer a variety of items together to get perfect transfer results, none of this is hard…you just need to pay attention to what you’re doing. Thankfully both the Cricut Heat App and the Cricut Heat Guide provide detailed layering instructions that you can reference at any time.
For coasters, layer these items from bottom to top:
- Cricut EasyPress Mat – To protect your work surface and absorb moisture created during the heating process.
- Piece of White Cardstock – To protect your mat from any ink seepage.
- Coaster with Infusible Ink Pen Design Attached – I personally recommend doing one coaster at a time, unless you have the 9×12″ EasyPress or Cricut Autopress.
- Circle – Place the coaster upside-down onto the white cardstock with the bottom of the coaster facing up.
- Square – Place the coaster right-side up onto the white cardstock with the bottom of the coaster facing down.
- Piece of Butcher Paper – To create a protective buffer between the coaster and the EasyPress.
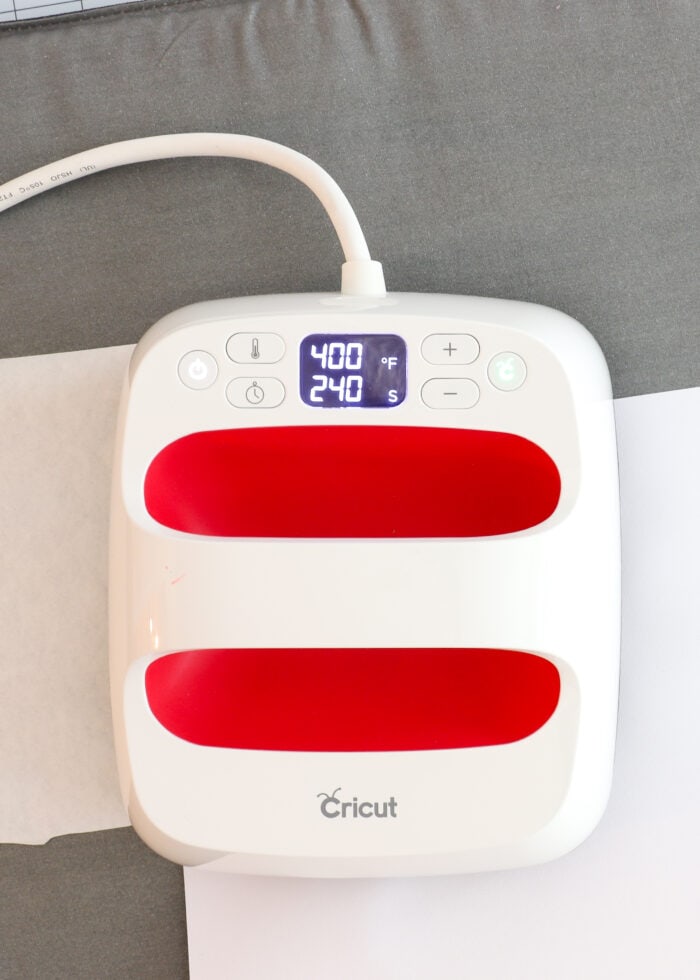
Step 7: Press Coasters
With everything layered correctly and your EasyPress fully warmed up, it’s time to finally fuse your pen design into the coaster.
Place the EasyPress onto your coaster “stack” and hold it firmly in place until the timer beeps (between 60-240 seconds, depending which coaster blank you’re using). It is very important that you don’t move or shift the EasyPress at all, as it can lead to “ghosting” on your design (smudging, shadowing). Your pressure should be firm and even (which is why I recommend pressing only one coaster a time.)
Step 7: Cool & Peel
After 1-4 minutes minutes of direct, intense heat, the coaster will be exceptionally hot to the touch. Unless you have heat-resistant gloves, it is best to simply let the coaster sit for a few minutes until it cools down.
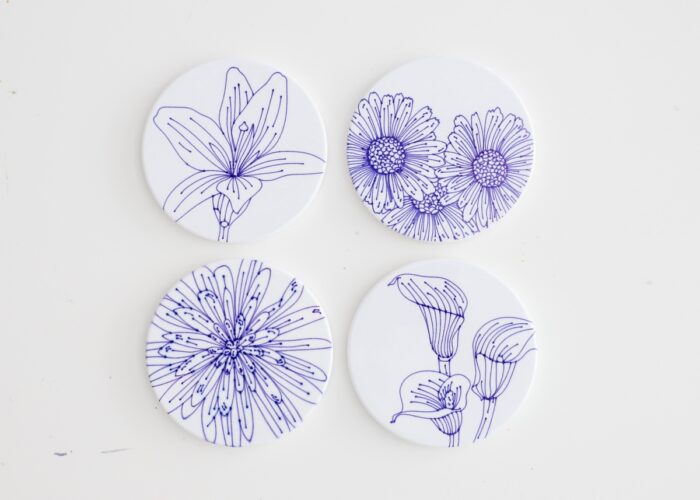
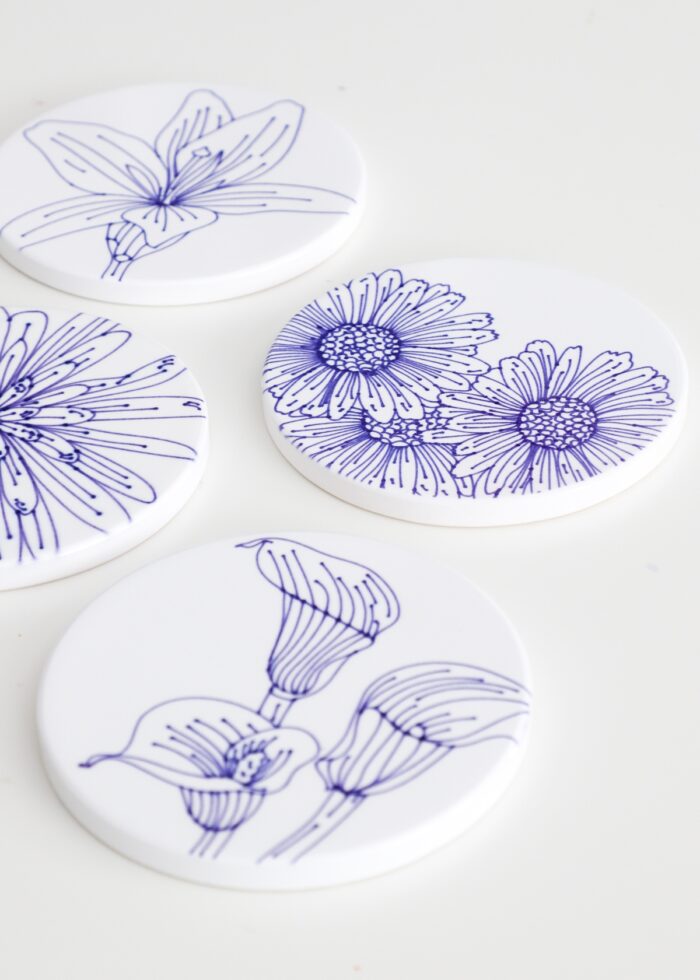
Once you are able to touch the coaster, remove the butcher paper and pull off the laser paper cut to reveal your gorgeous, vibrant permanent pen design fused into the coaster. Repeat with as many coasters as you have to complete your collection!
I am constantly impressed with how clean and vibrant Infusible Ink Pen designs turn out on blanks, especially the glossy coasters. They seriously look professional and not at all homemade. If you want to give Infusible Ink Pens a try, this a great beginner project to start with!
Megan