Super Simple DIY Chalkboard Basket Labels
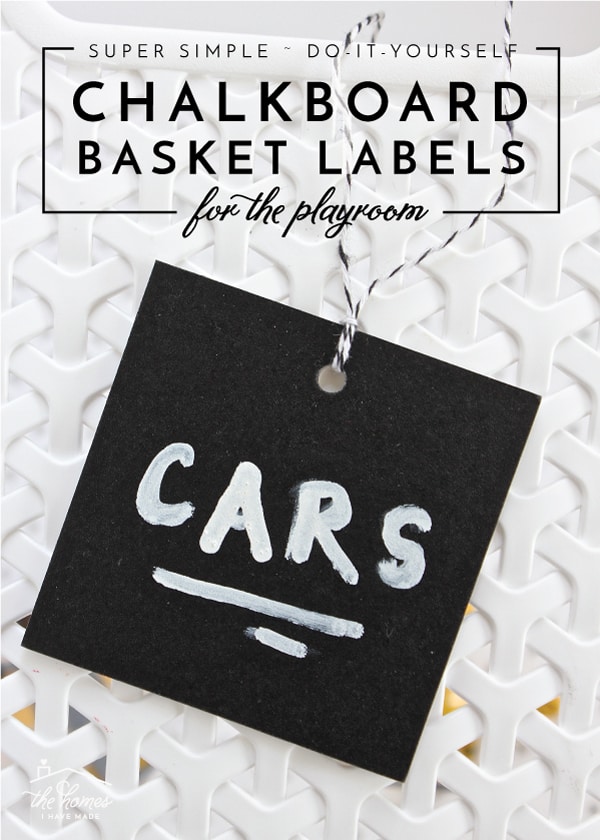
I have a super quick and easy labeling DIY to share with you guys today! If, like me, your organizing and labeling up a storm in the New Year, you’ll love how quick and easy these DIY Chalkboard Basket Labels come together thanks to some simple and inexpensive off-the-shelf tags. They are sturdy, wipeable, and oh-so-customizable, making them perfect for labeling a variety of items throughout the entire house! Read on to see how easy it can be to get simple chalkboard labels on your baskets, and what I did to dress them up for our playroom (because I can never leave anything simple, can I?)!
A chalkboard finish seamlessly fits into almost any style. And adding chalkboard labels around the home is not only great a great aesthetic, but their wipe-ability makes them a no-brainer solution for areas that tend to change often. Once upon a time, the only way to get chalkboard-style labels was to make them yourself using chalkboard paint. Now, you can find a chalkboard finish on almost anything…including gift tags!
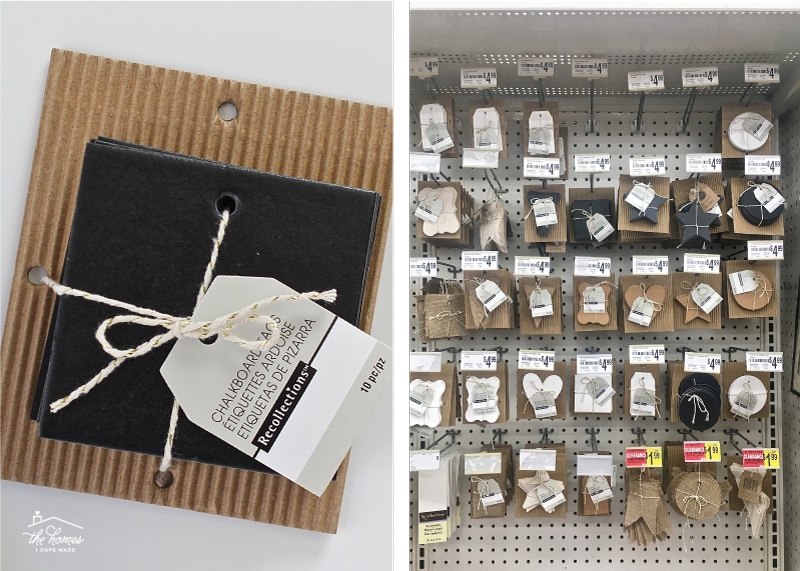
Although chalkboard tags are theoretically meant for packages, I’ve discovered they make awesome basket labels; and my favorite ones lately are the Recollections-brand tags from Michaels. Here is the package you’re looking for (below left); and because Michaels can be a maze sometimes, below right, is the section they are in (look for party invitations and decor).
Side Note: Pretty much everything on that wall would make for adorable basket labels. You better bet I have some more versions in the works to show you soon!
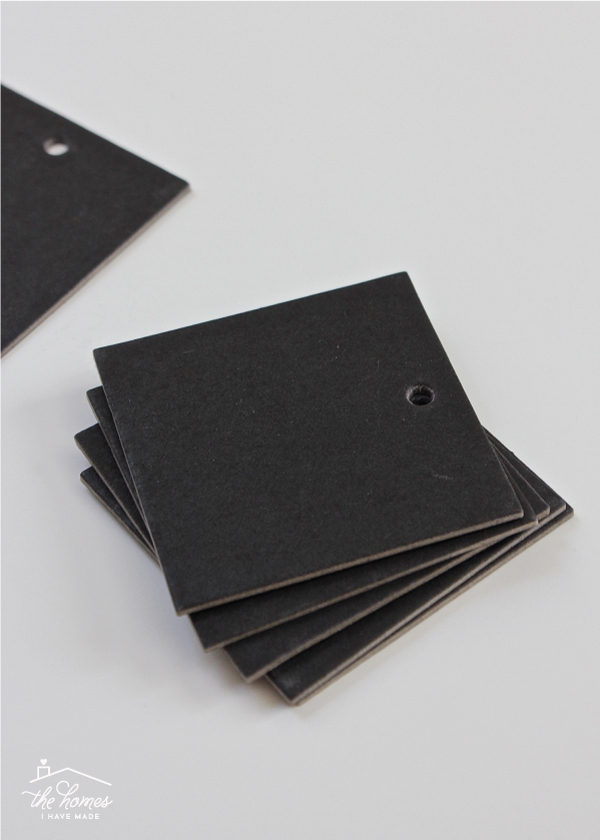
I love these tags for a few reasons. Not only do they come in so many fun sizes and good shapes, but their chalkboard surface is 100% wipeable (when you use a chalk marker) and the chipboard they are made of is super thick and durable. They are sturdy enough to withstand high traffic areas, grubby hands, and lots of banging around!
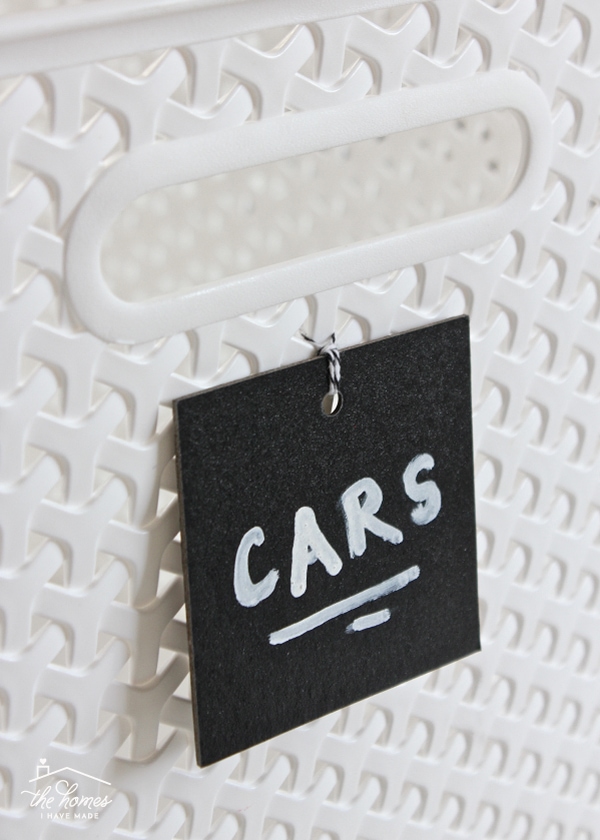
Ready to see how easy it is to turn these gift tags into basket labels? Simply write on them with a chalk marker and then thread a piece of string, twine, ribbon, wire or pipe cleaner through the tag hole and loop the ends through itself (shown below left). Then feed the two loose ends through two holes/spaces on your basket and knot them on the inside (below right).
In just a few minutes and for only a few dollars, you can add chalkboard labels to pretty much any basket with some sort of weave or holes along the sides. If your basket has a tight wicker-like weave, consider using a needle to thread the strings through to the inside!
Pssst – Wondering about my Y-Weave Baskets? They are my absolute favorite and you can find them in almost every room of my house. Shop the selection here.
So that’s the super simple version of chalkboard labels. But I am me, so of course I felt the need to dress these easy and cute labels up a notch for our playroom:
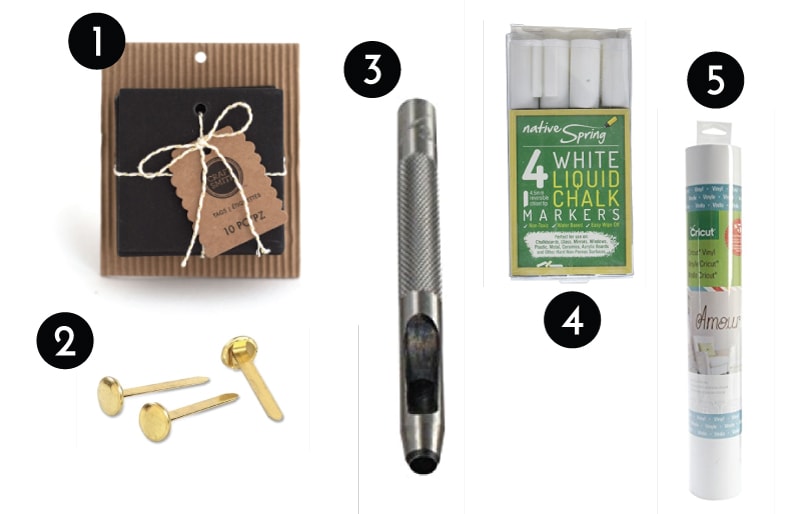
The chalkboard-style works really well in our playroom, but I didn’t want the labels hanging loose on a string (mainly because I like a cleaner look AND I didn’t want kids pulling on them). Also, I don’t love my handwriting, and I still find picture labels both darling and more intuitive for various-aged kids. So with a few more supplies and just a bit more time, I customized the chalkboard tags a bit more. Here’s what I used:
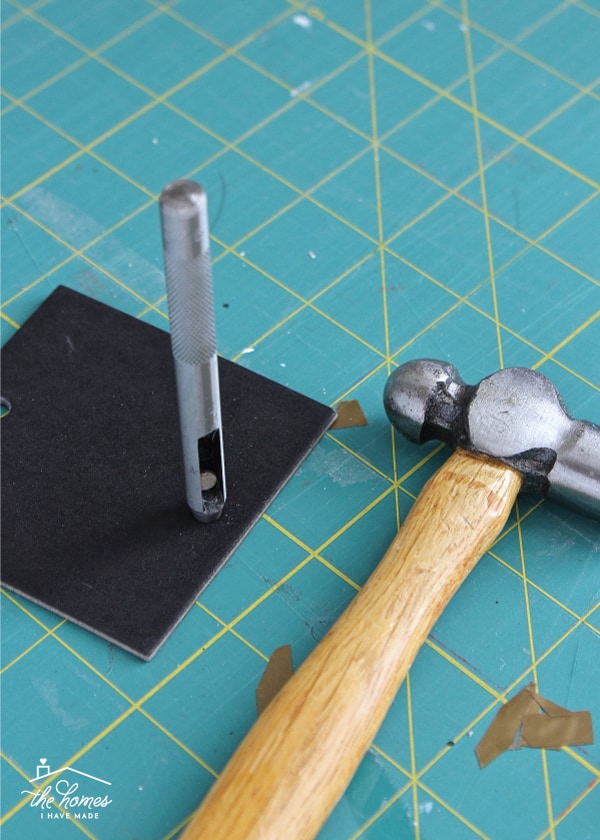
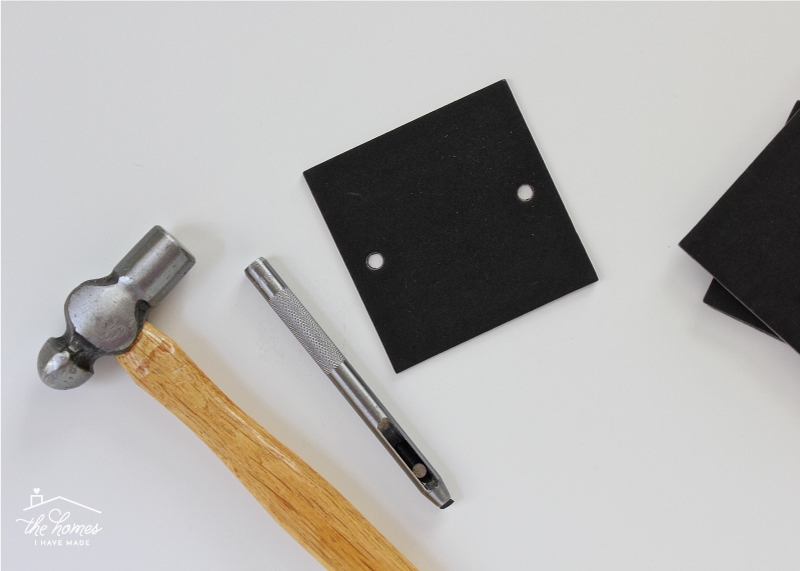
To make the labels a bit more secure on the basket, I decided to add a second hole to each tag. This not only gave another point to attach the tag to the basket, but I also liked how a second hole balances out the overall look of the label. These tags are thick, so your average hole punch likely won’t do the trick. I used a punch that I’ve had for ages; you can find a similar set here.
No need to measure, friends. Just punch a second hole on the other side of the tag…
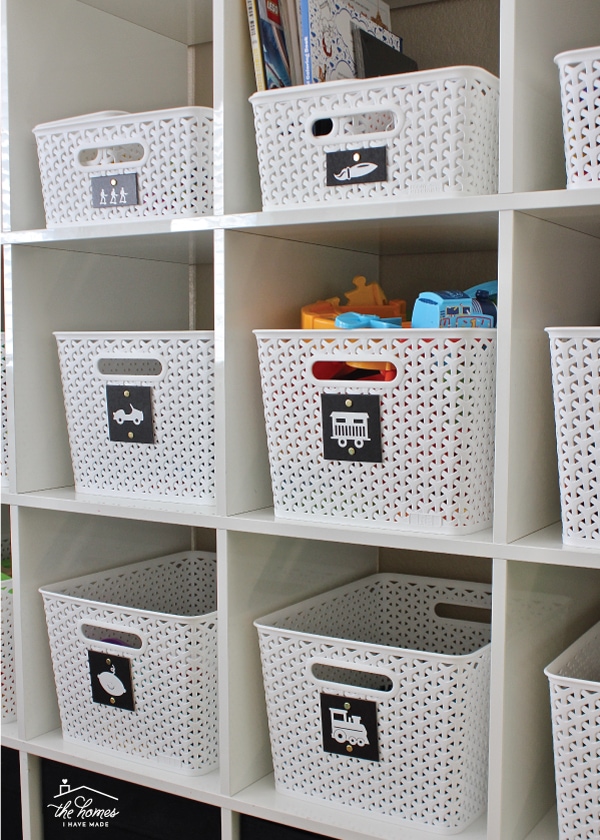
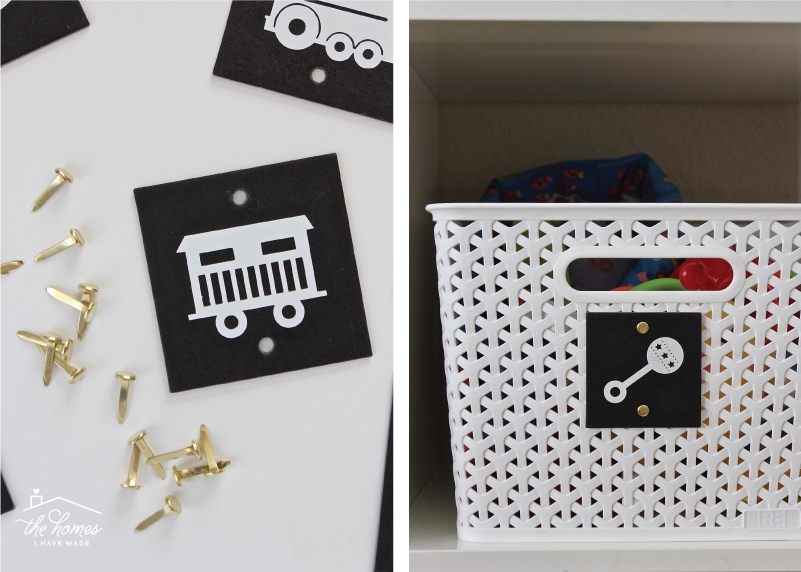
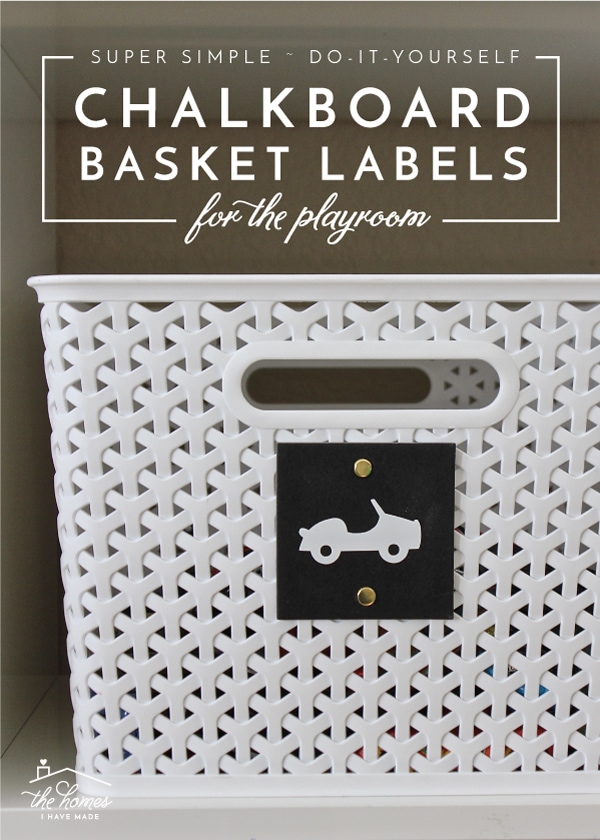
Next, add whatever you’d like to the label, whether it’s your own writing, stickers, numbers, colors, symbols…whatever makes sense for what you’re labeling. I chose to cut out a variety of images from white vinyl that match the various toy baskets in our playroom.
Pssst – If you need a bit more help creating image labels on your Cricut machine, you can reference this tutorial. Also, if you’re labeling household items, these images would certainly come in handy!
To secure the labels to the baskets, you can certainly use your imagination. I discovered a while back that using paper fasteners (yep, from the office store) is just so quick and easy, and looks so clean and polished! Simply slide the brads through the holes on both the tag and the basket and then open on the inside of the basket. By securing these labels with two brads, they are pretty difficult for little hands to pull off!
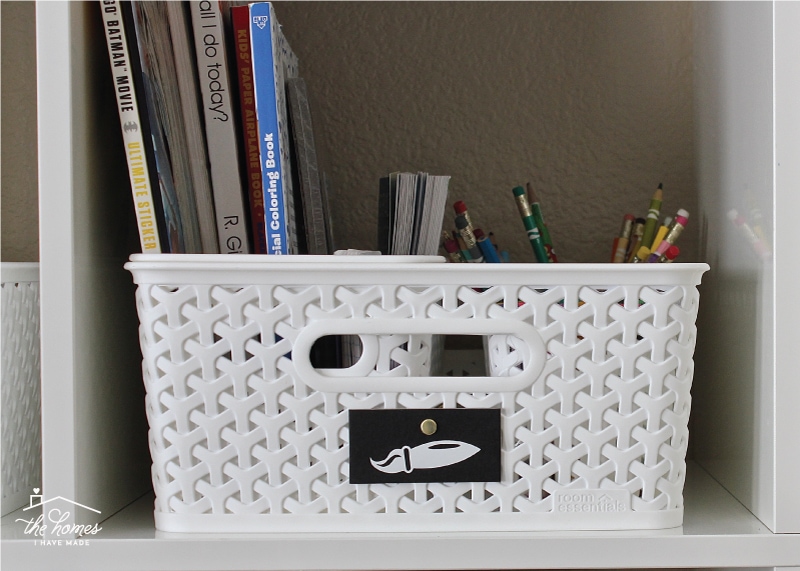
There are a lot of different sizes and shapes of these chalkboard tags available, but based on the size of your baskets, you may find that you need to re-shape them even more. For our smaller baskets, I simply trimmed a square tag in half…
…and then labeled and secured them to our baskets in the same way!
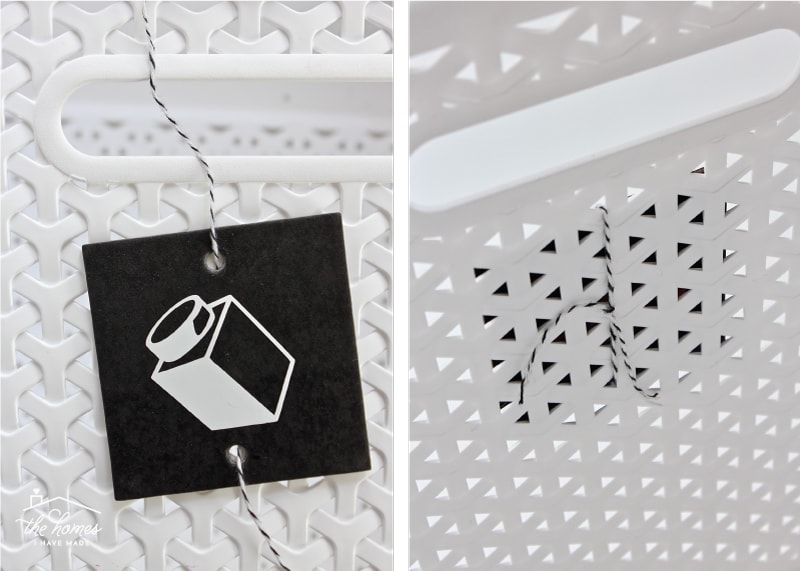
If you find the brads just not your thing (or you worry about little brads in the hands of little ones) you can still use string with the two holes for a cleaner, more secure attachment. Thread a piece of ribbon or twine through the holes as shown below left. Then thread the string through the holes in your basket and knot on the inside (below right)…
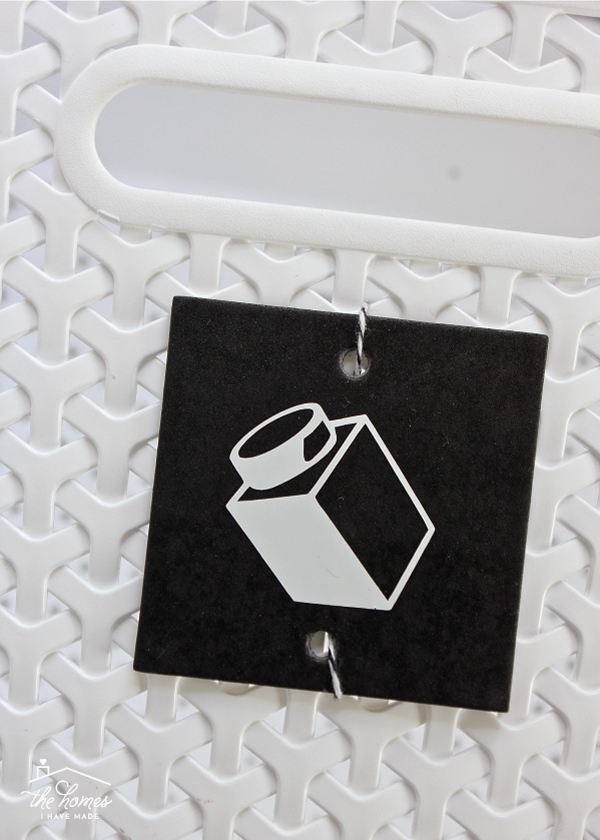
With the string knotted nice and tight, your chalkboard labels will be secure on your baskets, and you won’t need to worry about “bling” or little pieces.
Using vinyl images on chalkboard labels may seem a bit silly. But I really wanted the look of chalkboard yet still have the readability of the picture labels for the variety of ages that play in our playroom. As time goes on, I can easily peel off the images and write on the labels with chalk markers…meaning these inexpensive chalkboard tags give me a great look with ultimate flexibility for our ever-evolving playroom!
I’ve been working on organizing our playroom toys for a year now (what?!?!). It’s been kind of a long and crazy process (which I will tell you all about), but these new labels were one of the last elements to finally fall into place. It feels so good to have our toys purged, sorted, organized and labeled, and I can’t wait to share our current toy organization strategies with you soon. Have a great weekend, friends!
Megan






2 Comments on “Super Simple DIY Chalkboard Basket Labels”
I use a lot of chalkboard labels as well, but I use peel and stick vinyl ones I get from Amazon (though I’m tempted to try plain black vinyl next time). They label all our kitchen bins, especially ones that are difficult to distinguish (different flours). I also add simple directions on the labels, so on our rice container it says 1:1.5 to remind me that this particular rice needs extra water. On the pasta containers I add cook time (9 minutes on the Gemelli).
One interesting thing I found is that chalk markers work very well on frosted glass. I have spice containers from IKEA that have a frosted section around the middle and the marker works very well and is a lot more visible than I would have thought.
Hi Megan, I subscribe to your newsletter and tend to come back to your site for inspiration. I have recommended the Target Y-Weave baskets to my client and since they’ll be placed in her children’s play room, I wanted to get labels that would last. I like the idea of the Recollections-brand tags from Michaels (thick black square) pinned with the gold fasteners, BUT I can’t see to find them on the site. Perhaps they have been discontinued…are there others you would recommend?