New to The Organization Toolbox: Printable Labels
Throughout the course of this last year, I’ve added lots and lots of printable kits to The Organization Toolbox. In addition to various worksheets though, I like to offer other printable resources to help you organize your home! I have long wanted to add a comprehensive set of Printable Labels to The Toolbox, but it took me a little while to figure out a way to make them customizable and flexible enough to be truly useful to you all! Well…after lots of trial and error, I now have 90 (yes, I said 90!) pages of printable labels uploaded to The Toolbox, and I am pretty sure you will all love how easy they are to use and how great they will look all over your home!
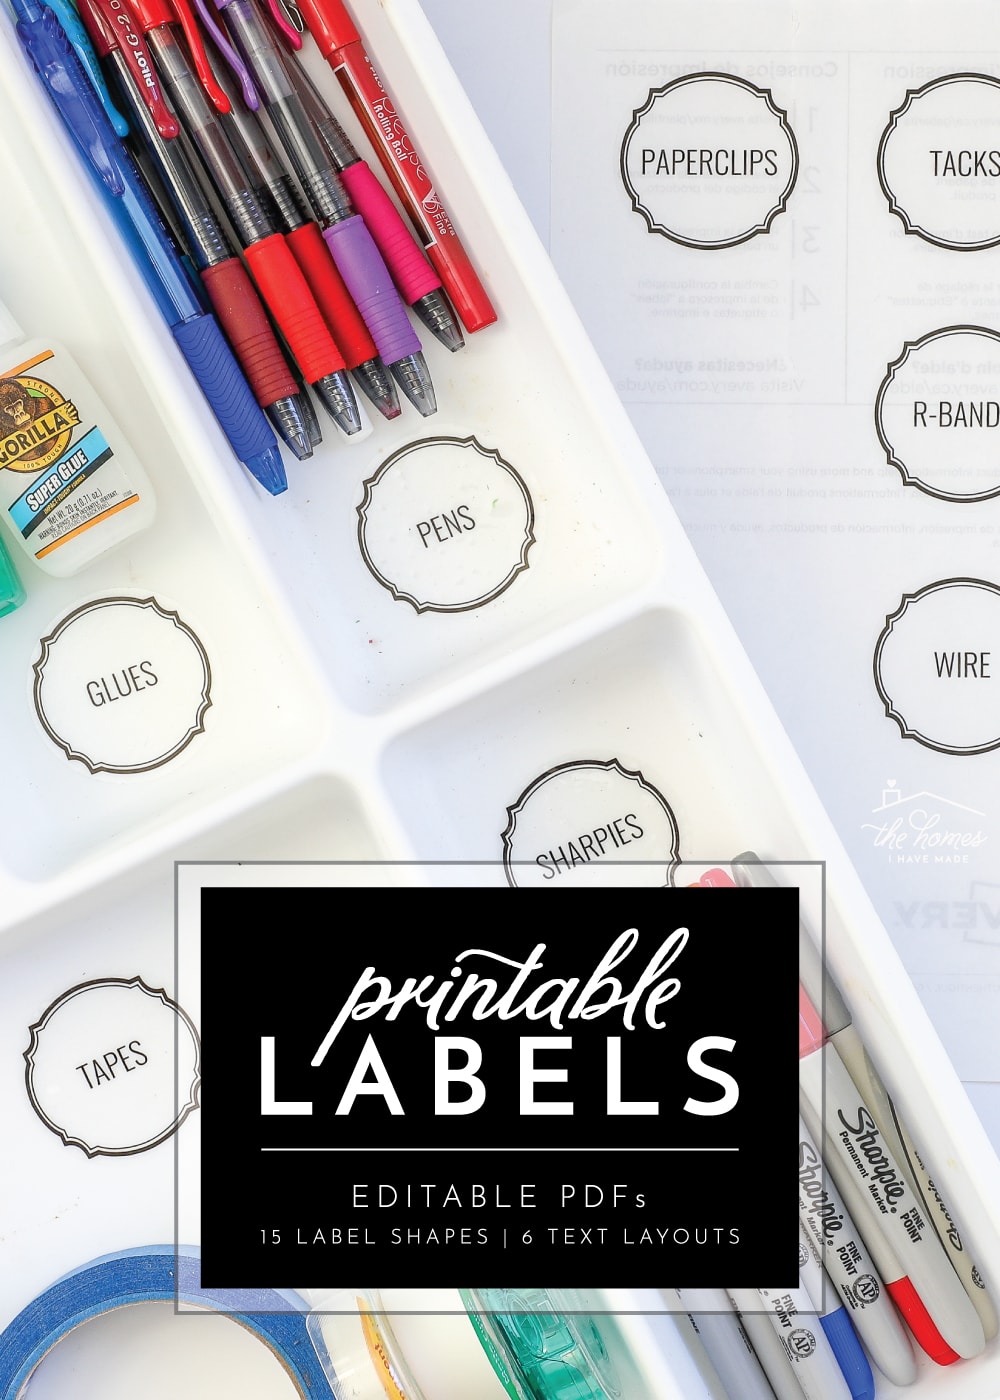
Labeling is a big part of the organization process. Not only do labels help you put things back where they belong; but aesthetically, they are literally the “icing” on the organizational “cake.” They are that finishing detail that takes every organization project across the finish line; and for me at least, they are the element that usually gives me the biggest heart eyes.
While I’ve been known to make a lot of labels using my Cricut with vinyl and pens, printable labels are another trick up my sleeve that I use time and time again. Pretty writing printed onto adhesive-backed labels is one of the quickest and easiest ways to label things in your home…and now my templates can help you get the job done even faster!
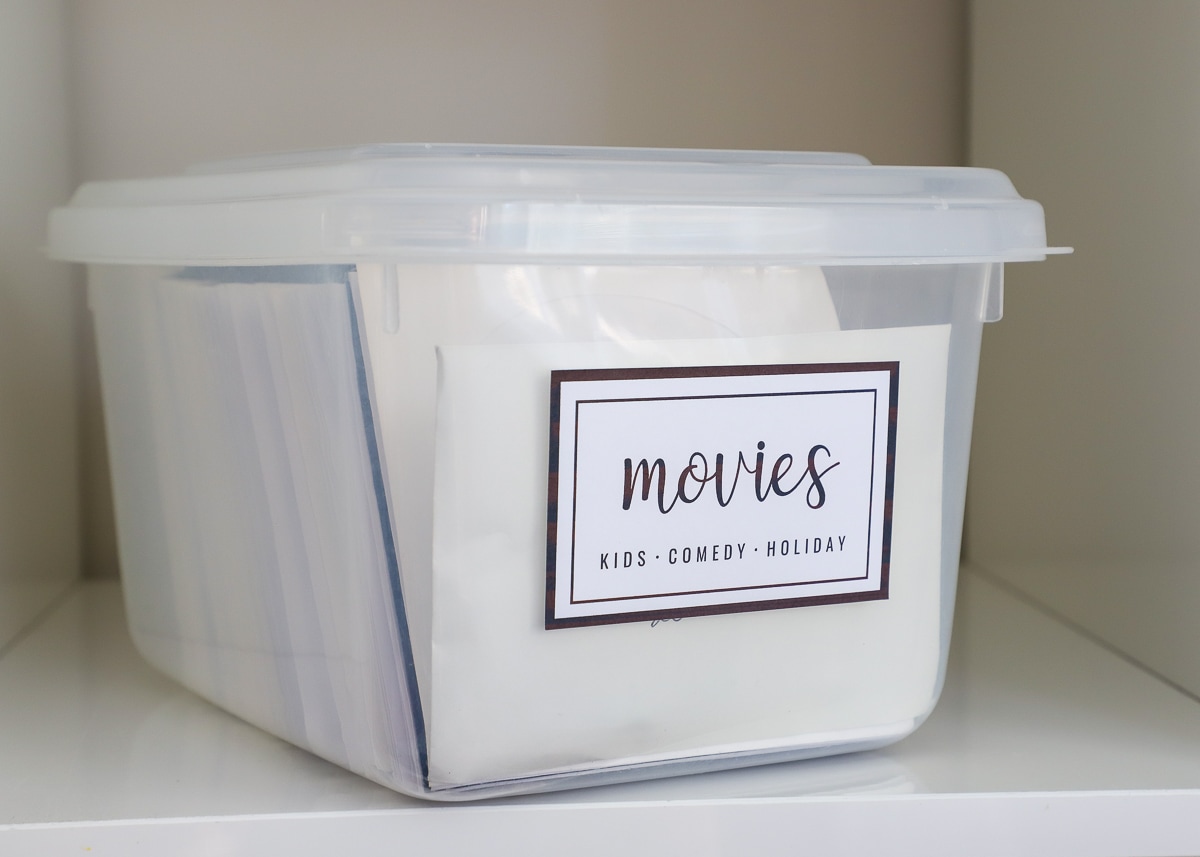
Whether you print these templates onto sticker paper and adhere them directly to your boxes, canisters, trays, file folders, etc or print them onto cardstock and slide them into label holders, these Printable Labels templates will allow you to have smart, chic and helpful labels ready to go in no time!
About The Printable Labels Templates
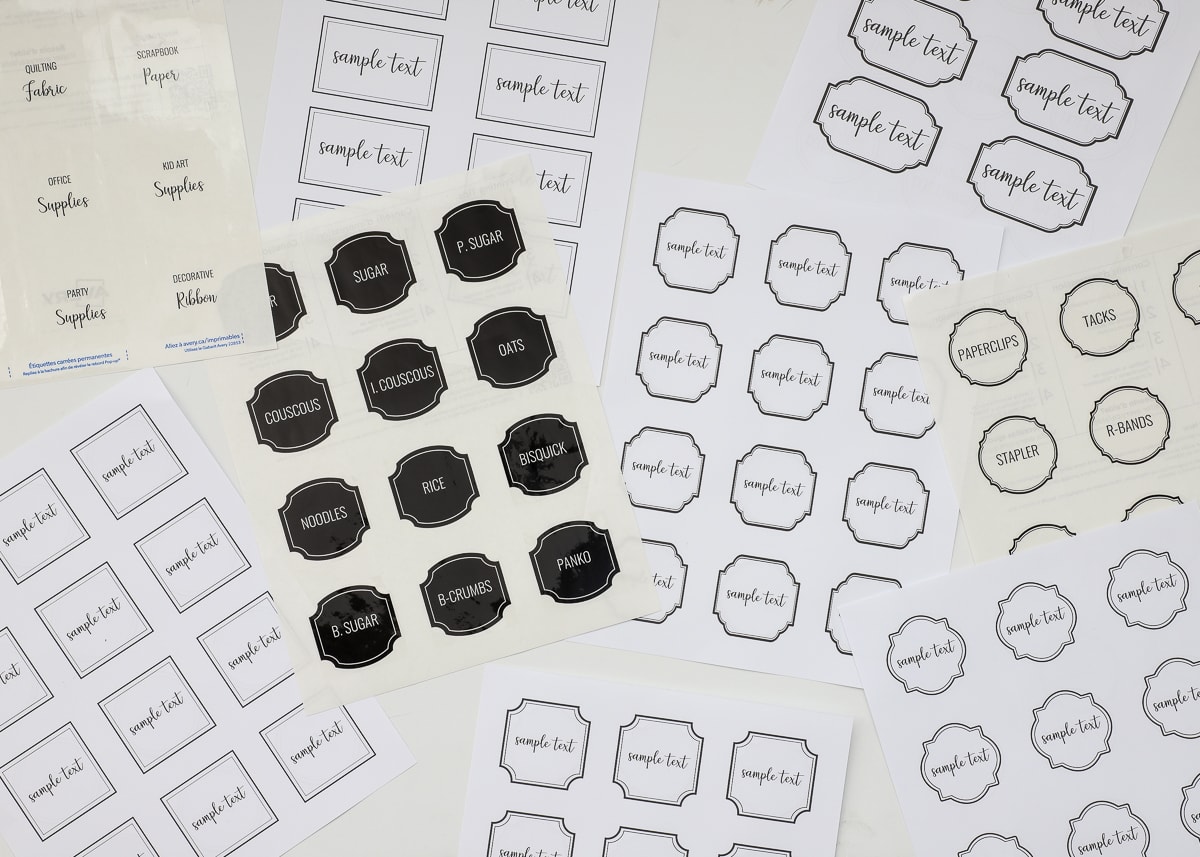
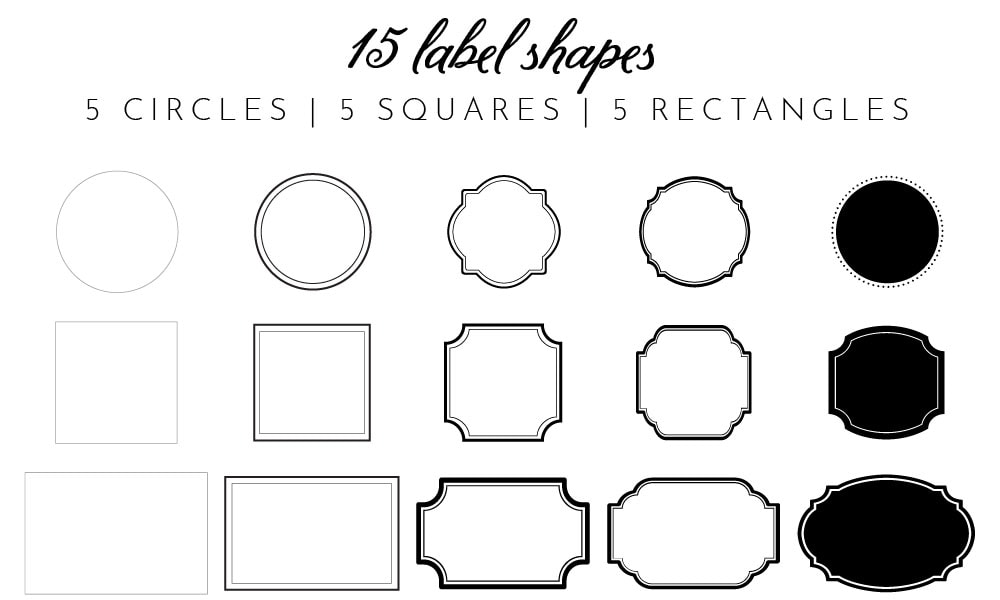
There are three different 30-page sets of label templates available: Circles, Squares, and Rectangles. Each set includes 5 different shapes: no border, 3 decorative borders, and one solid black label. Yep – there are literally 15 different label shapes you can print and use around your home!
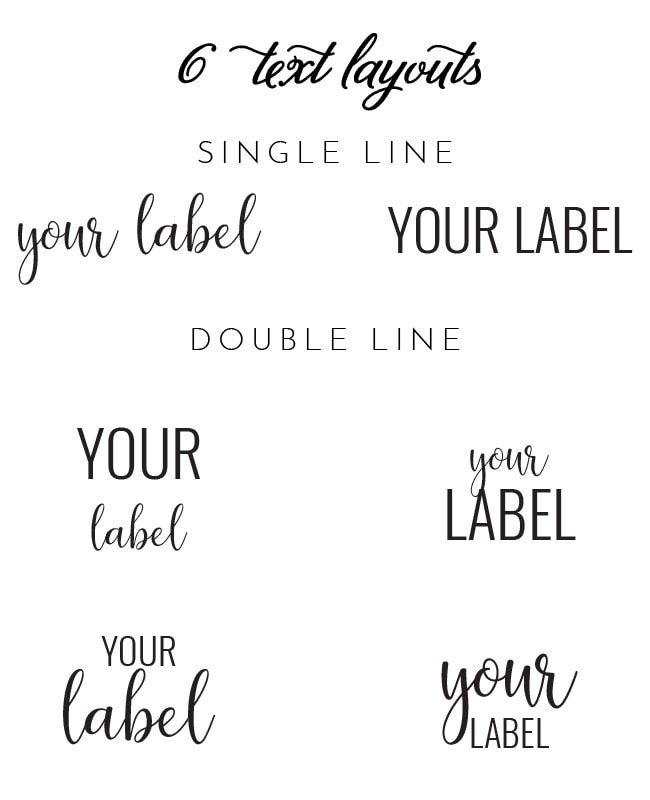
But the options don’t end there! In addition to the 15 different label shapes, I wanted to ensure you had a variety of text layouts so that you could label anything in your home with the exact look you desired. As such, every single one of the label shapes (shown above) can be printed with any of the text layouts (shown below). From all script to all san serif labels to four different mixed combinations, you have lots of options for adding text to each of the label designs!
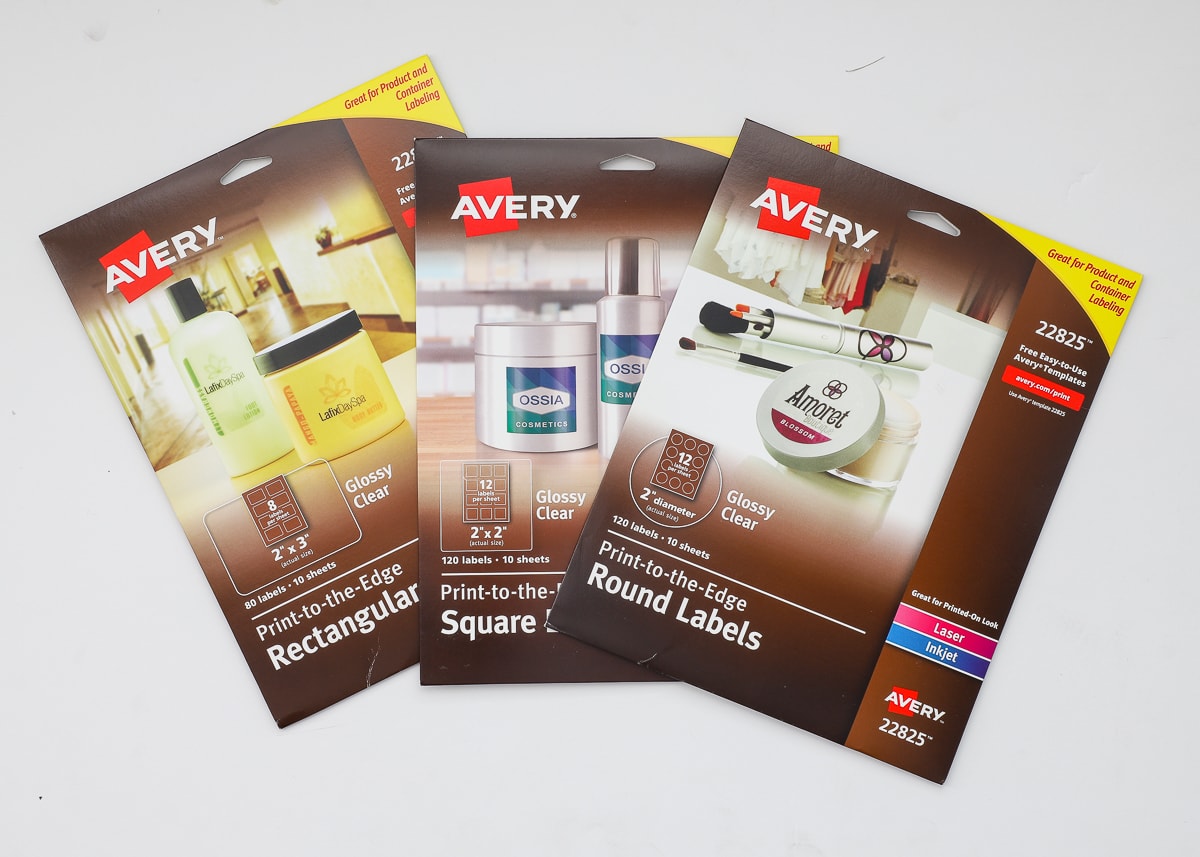
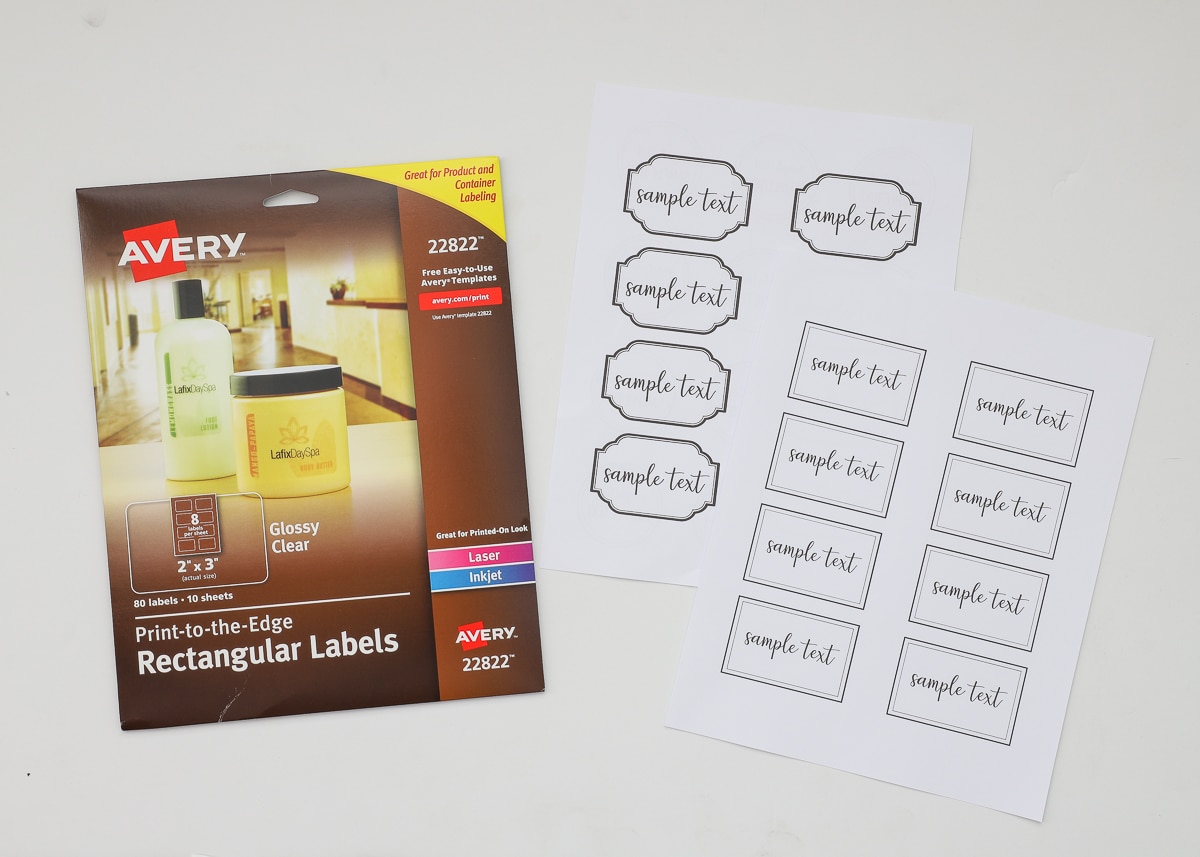
All three sets of the Printable Labels are designed to work with various Avery products. I will show you other printing alternatives later in this post, but I wanted to highlight these compatible products here. Not only will your labels come together in mere minutes by using Avery products, but these specific labels are my “secret sauce” to fabulous-looking labels. Notice these packages say “Glossy Clear”…they are my favorite because the print quality is amazing and the sticker paper is truly translucent, allowing you to place these “stickers” onto pretty much anything with flawless results!
AVERY 22822 | AVERY 22853 | AVERY 22825
How to Use The Printable Labels Templates
I’ve worked hard to make these label templates as easy to use as possible. Provided you can decide which style label is right for your project, you can have them typed up, printed out, and on your object within minutes!
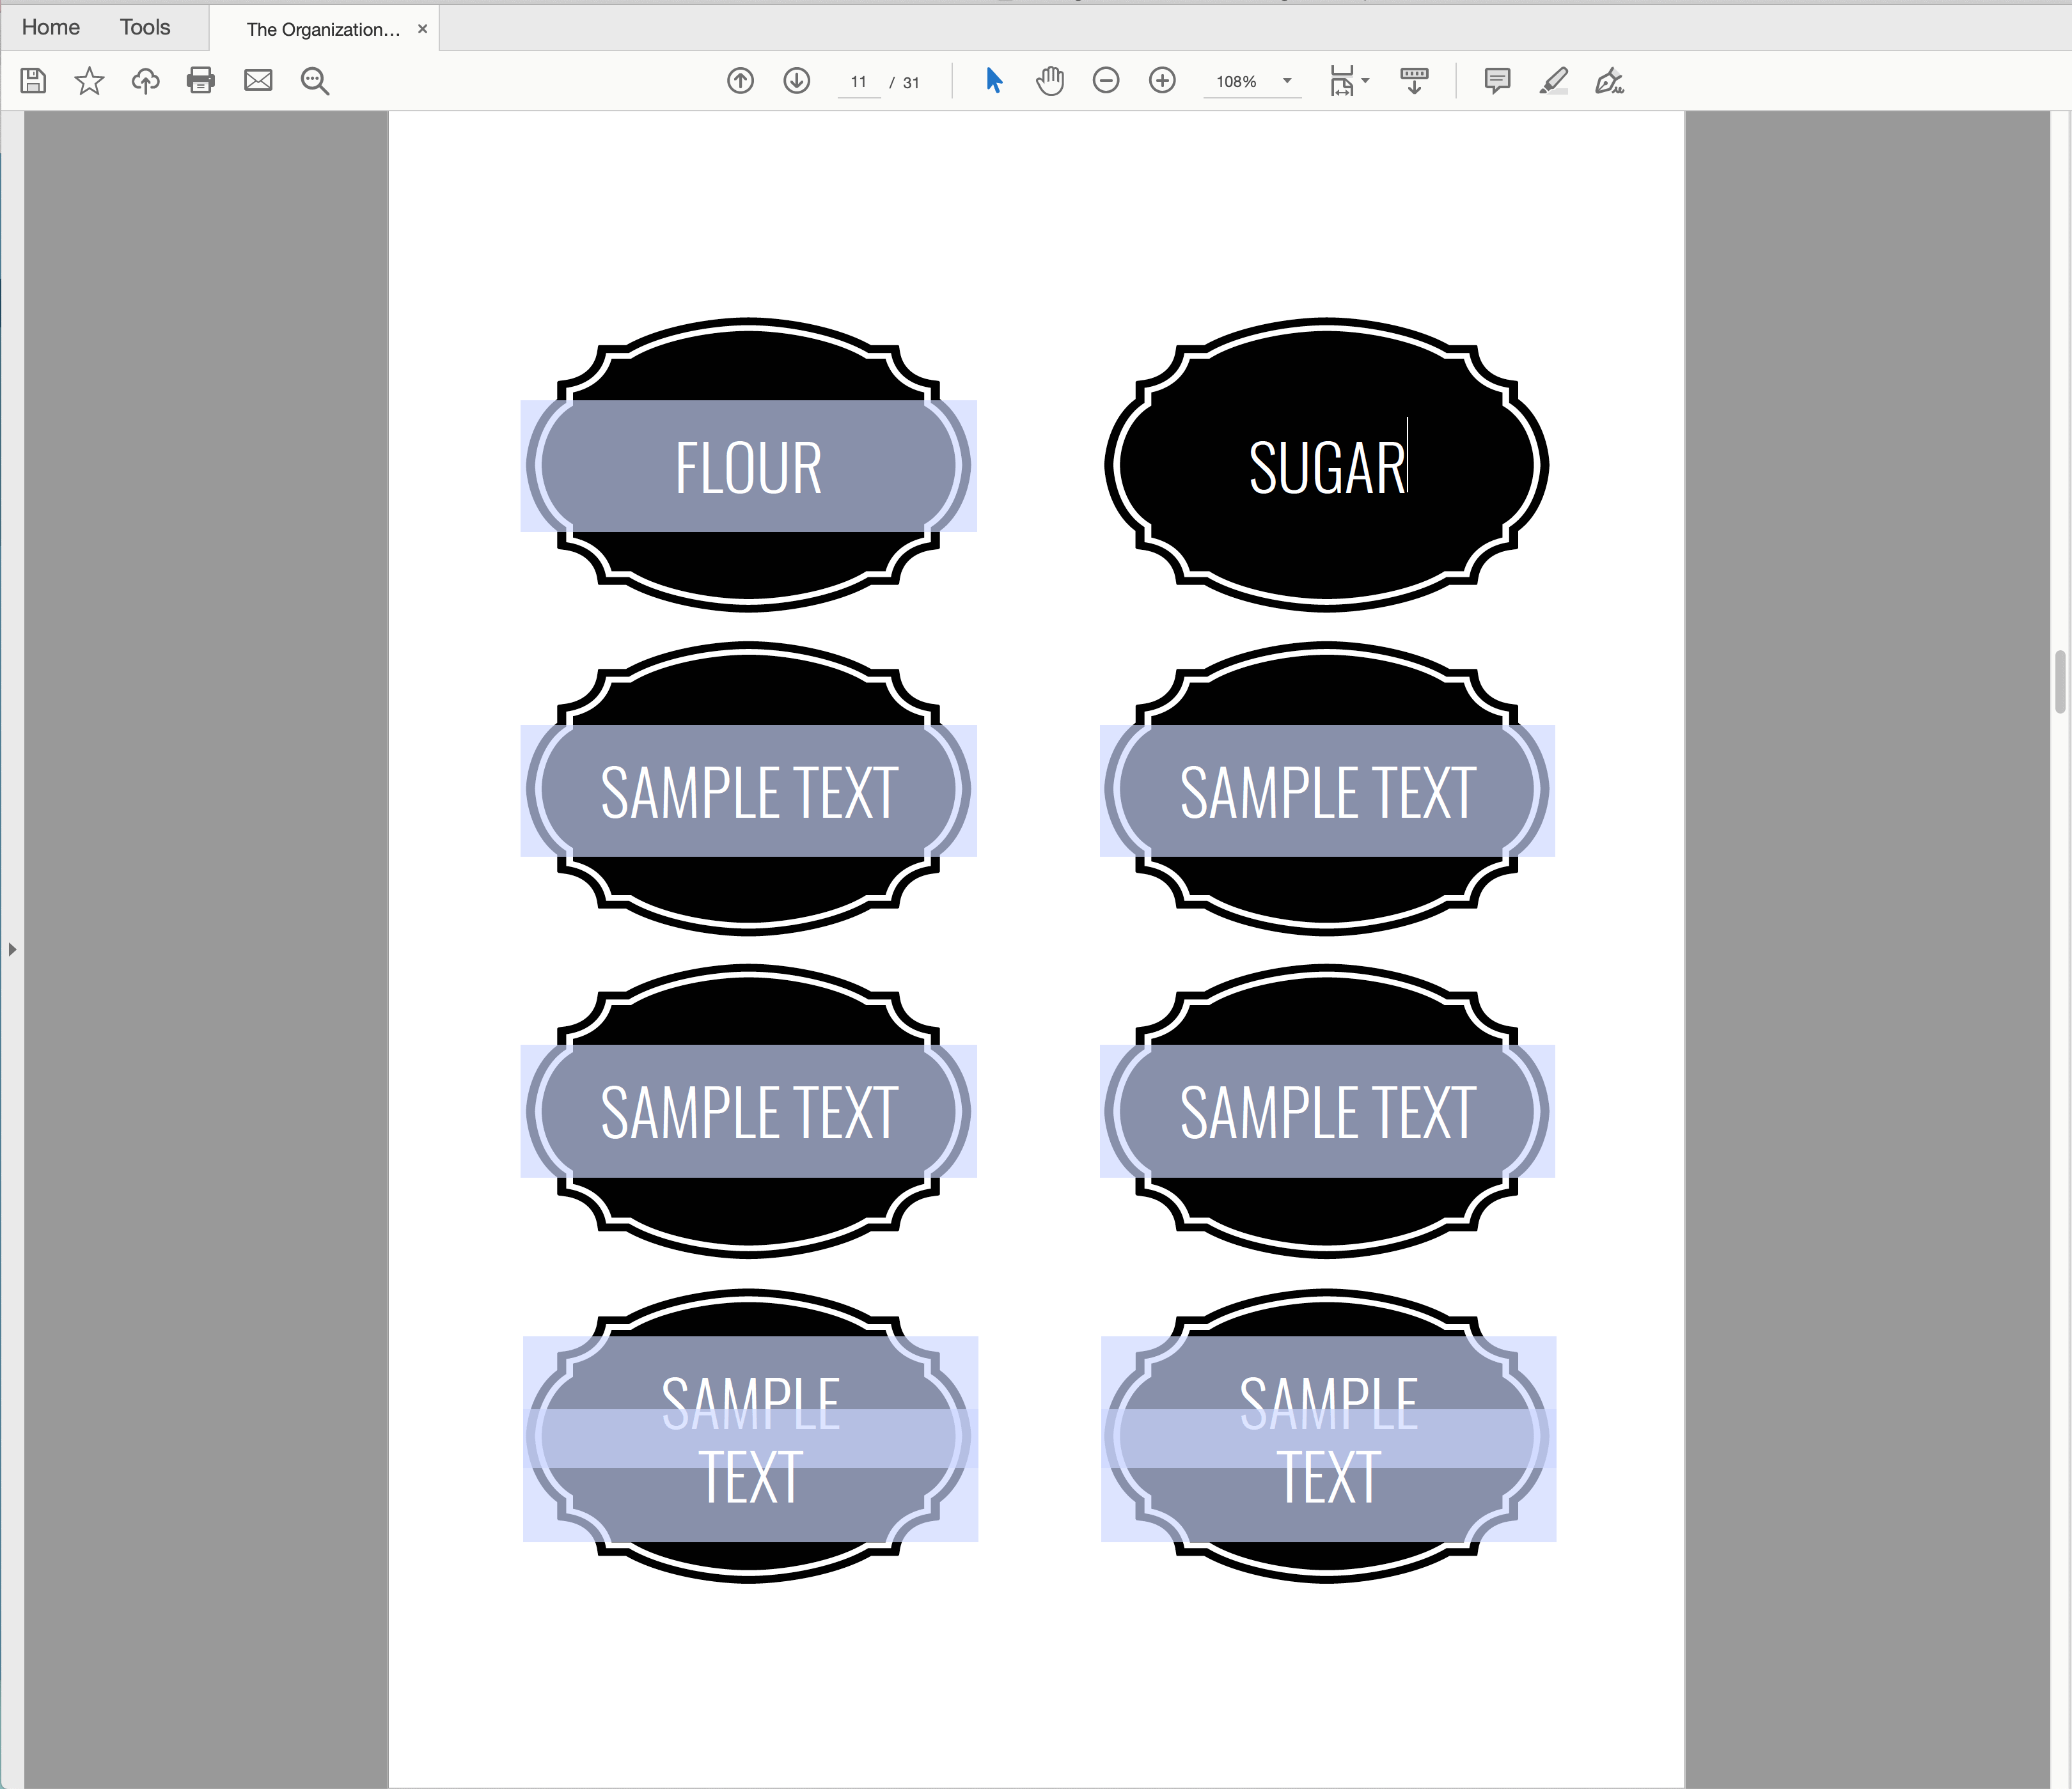
Start by downloading the Printable Labels templates from The Organization Toolbox. Then, you will need to open the file you want to use in Adobe Acrobat Reader. When you do so, you’ll notice that there are blue boxes throughout the entire document. These blue boxes are editable, changeable text fields into which you can type anything you want! (NOTE: The blue boxes do not print even if you leave them blank.)
Next, find the page with the set of labels you want to use. You’ll notice I have “sample text” placeholder text typed into each box. To add your own label, you simply need to delete out my text and add in yours!
Once you have your labels typed in exactly as you want, load the coordinating Avery label paper into your printer according to your printer’s specifications. Then print your “Current Page” onto the Avery label paper. If you need more than one page of matching labels, you’ll need to delete out your previous text, add in new text, and re-print the same page.
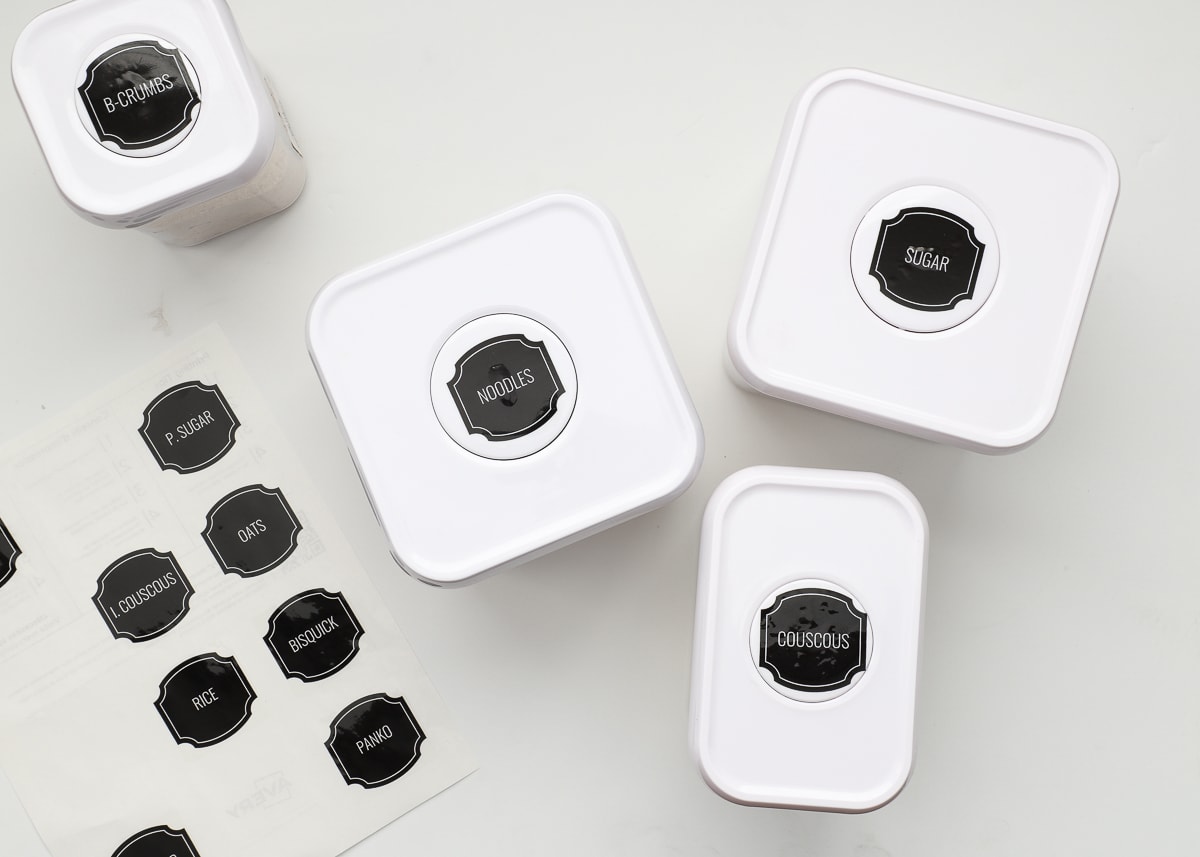
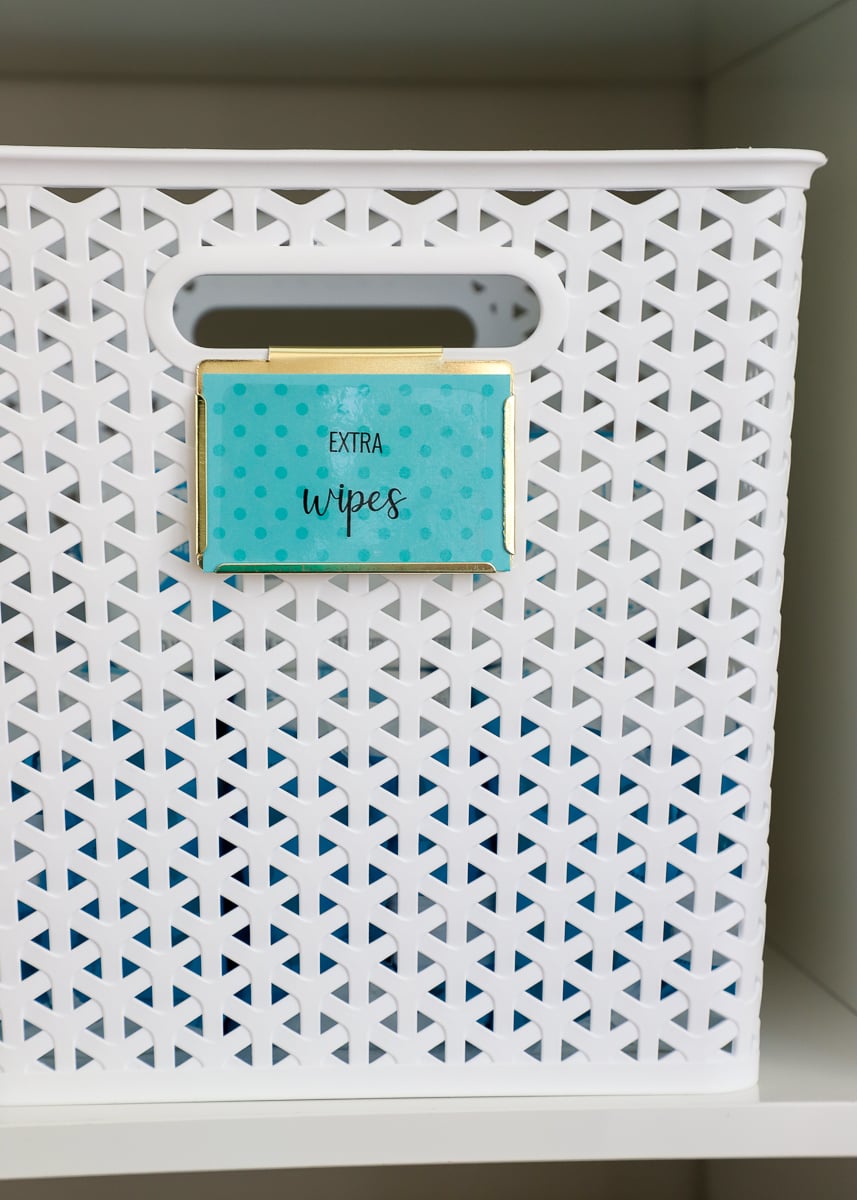
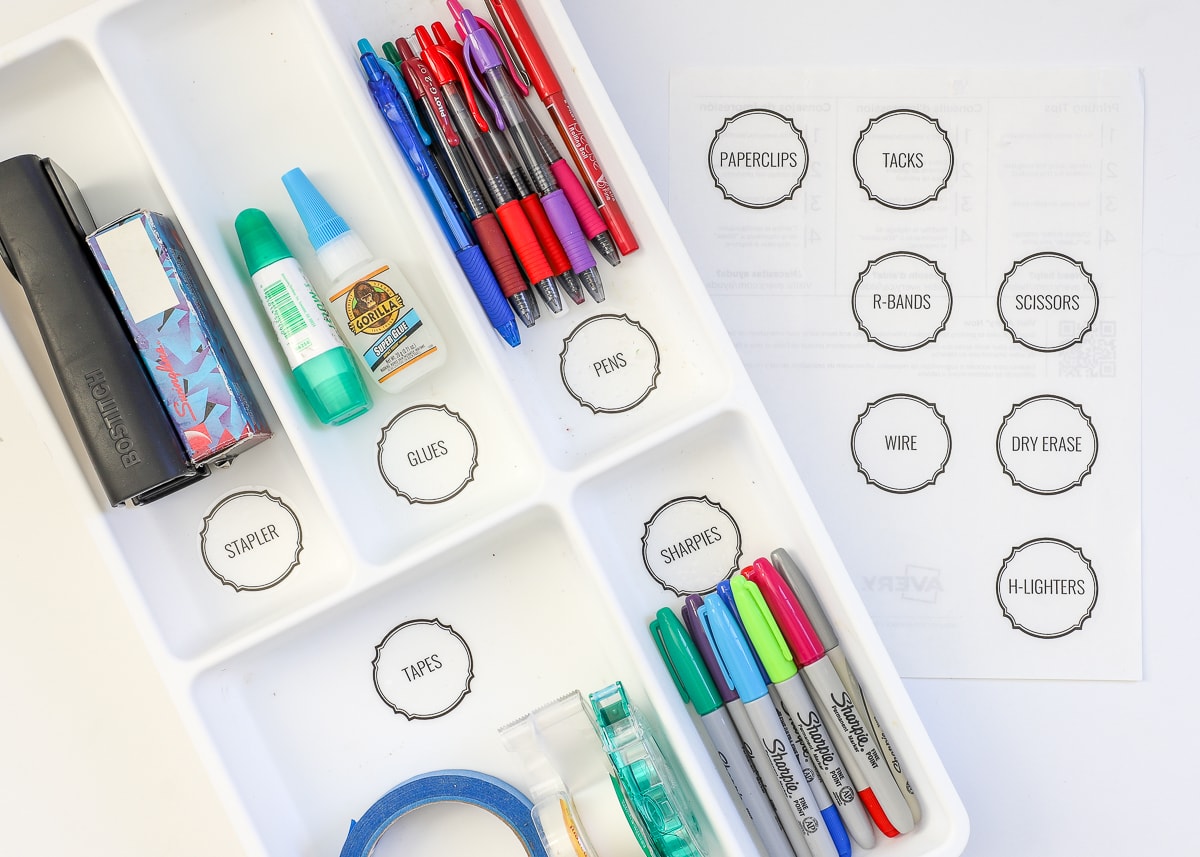
With your labels printed, simply peel them off the paper backing and secure to a clean smooth surface. Thanks to that ultra-clear background, you won’t need to trim around any awkward curves or shapes! Seriously – cutest and quickest labels ever!
Creative Uses for the Printable Labels
Admittedly, printing the labels onto sticker paper and securing them directly to your object is the easiest labeling solution…ever. However, there are so many fun ways to use these templates to make your labels exactly right for your space!
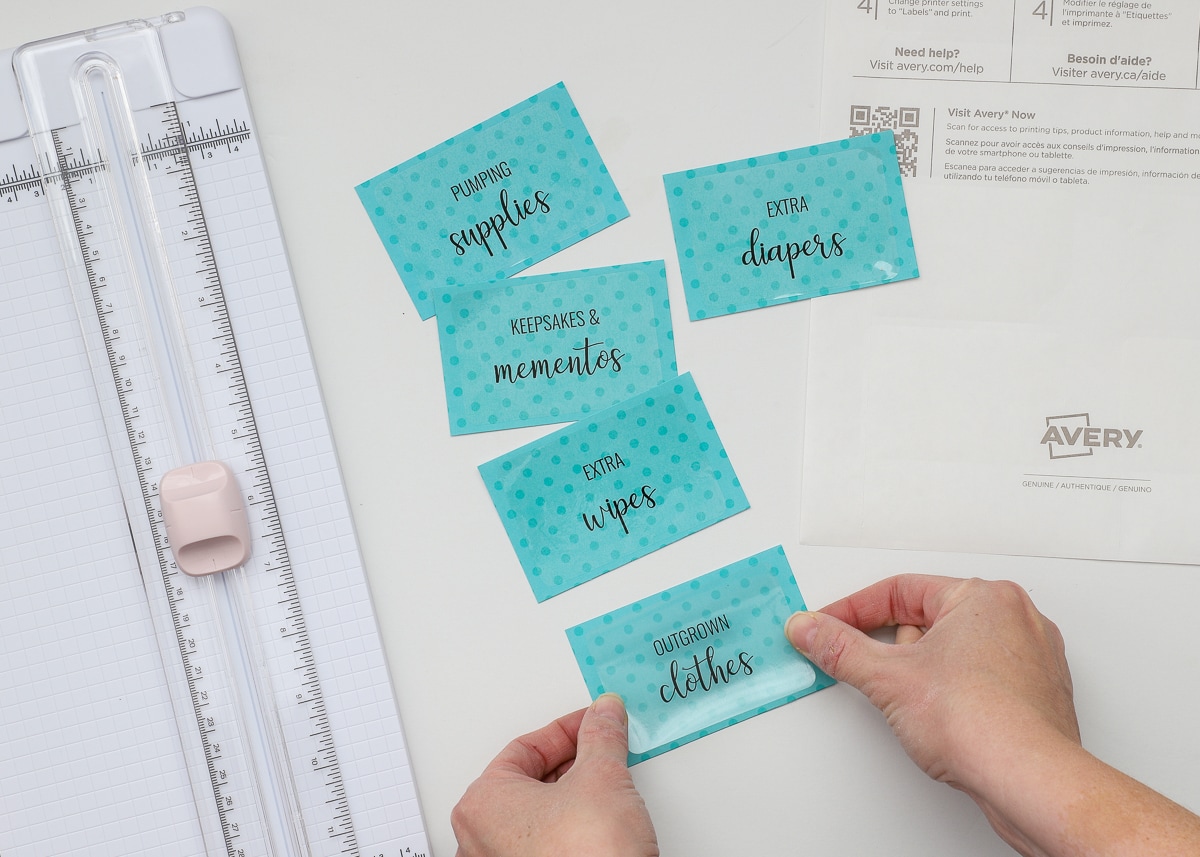
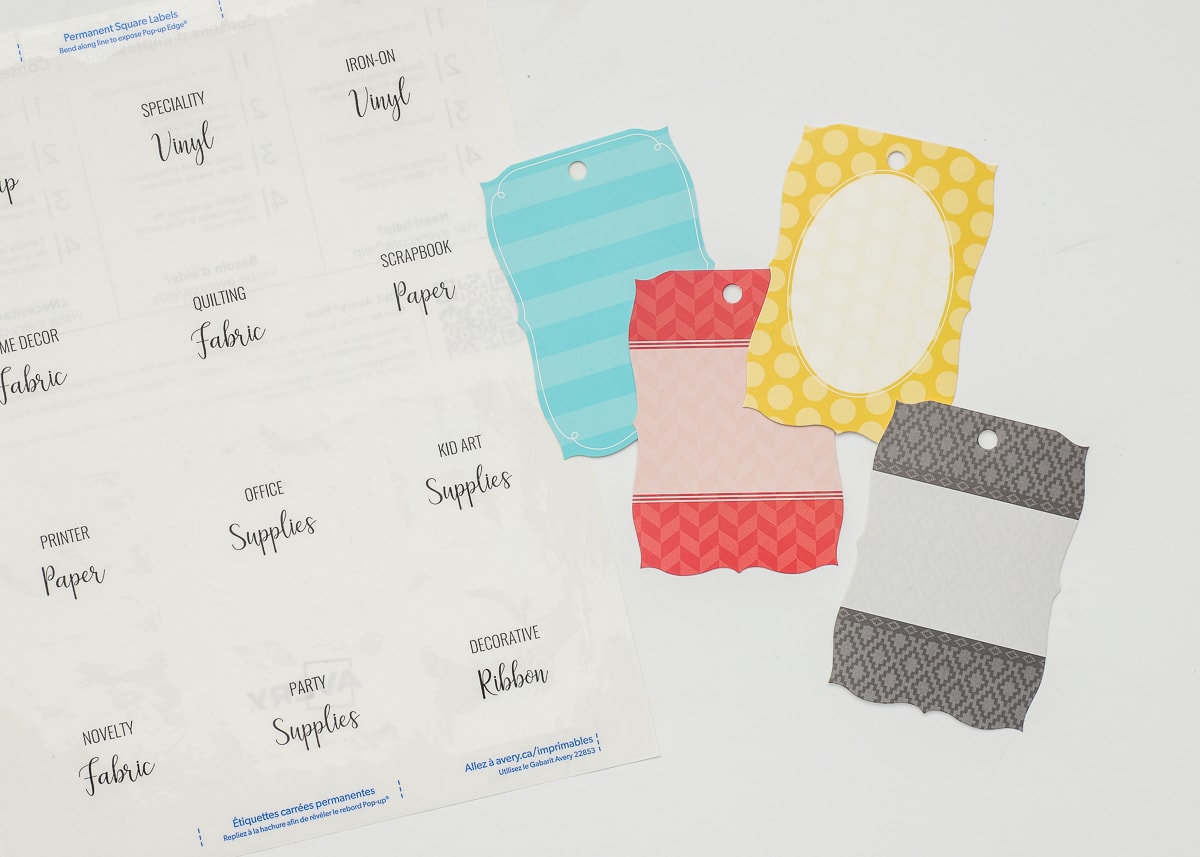
One of my favorite ways to use the “Glossy Clear” labels is to lay them over patterned cardstock.
The perfectly clear paper allows the cardstock to show through, and the bright, glossy letters really stand out. I also like that the stickers allow me to easily center my lettering without having to do any precise measuring or cutting.
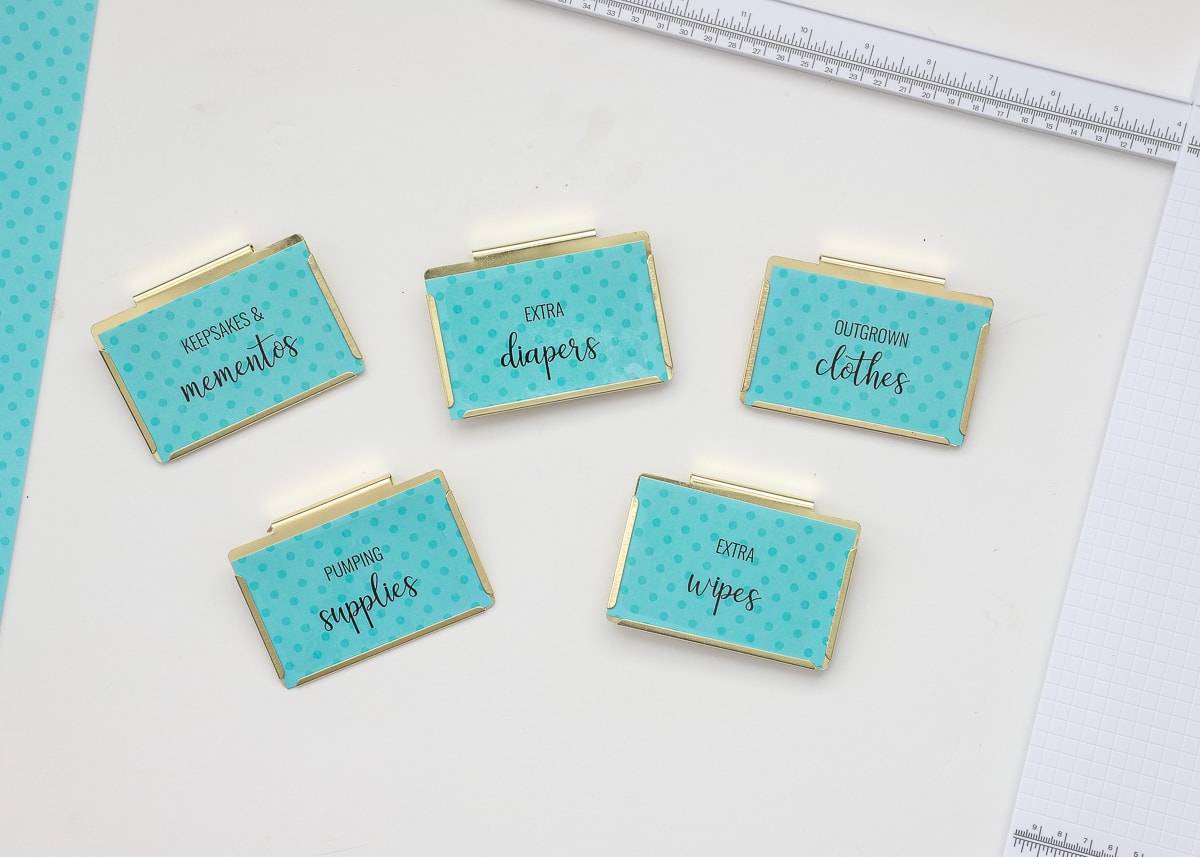
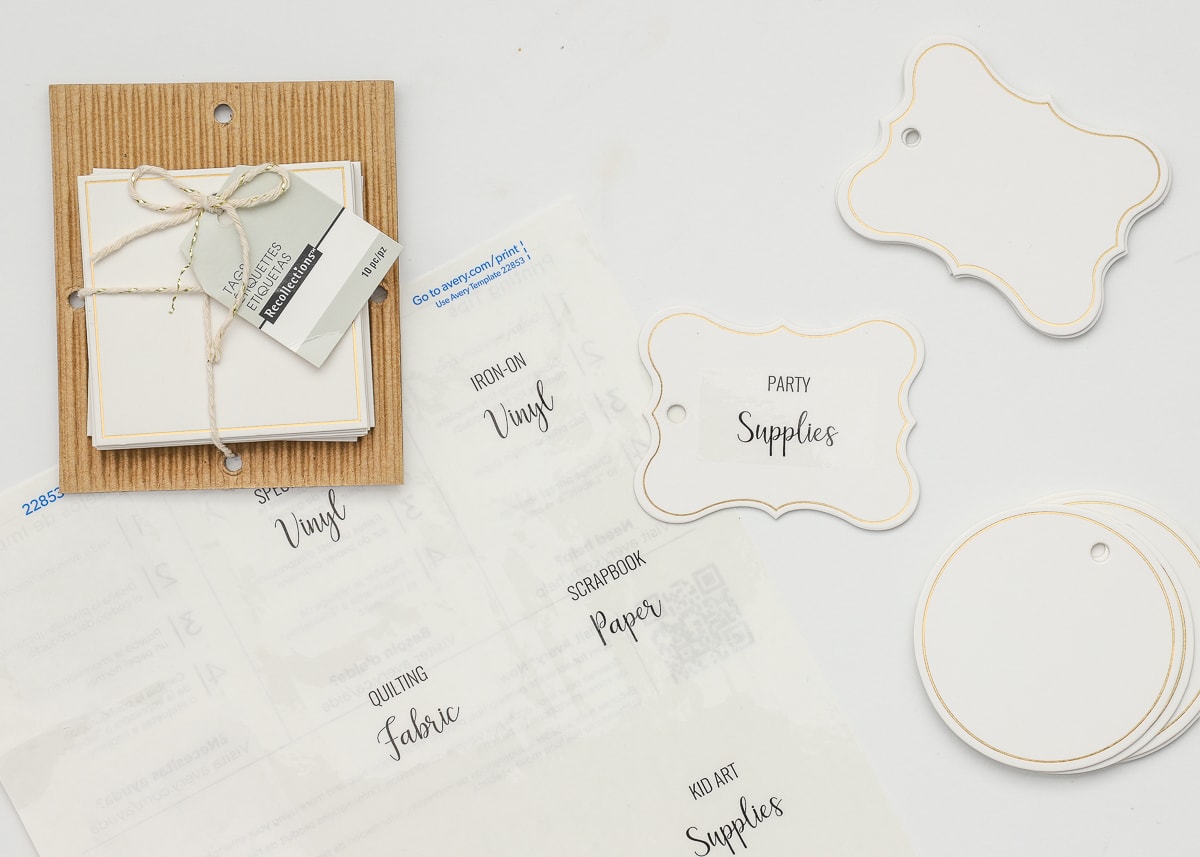
Using the printable templates with the clear sticker paper is also a great way to get wording onto any off-the-shelf labels you may come across at your favorite craft store or the Target Dollar Spot.
Instead of handwriting your labels or figuring out how to run them through the printer, simply run off a sheet of stickers and stick them right on the tags themselves!
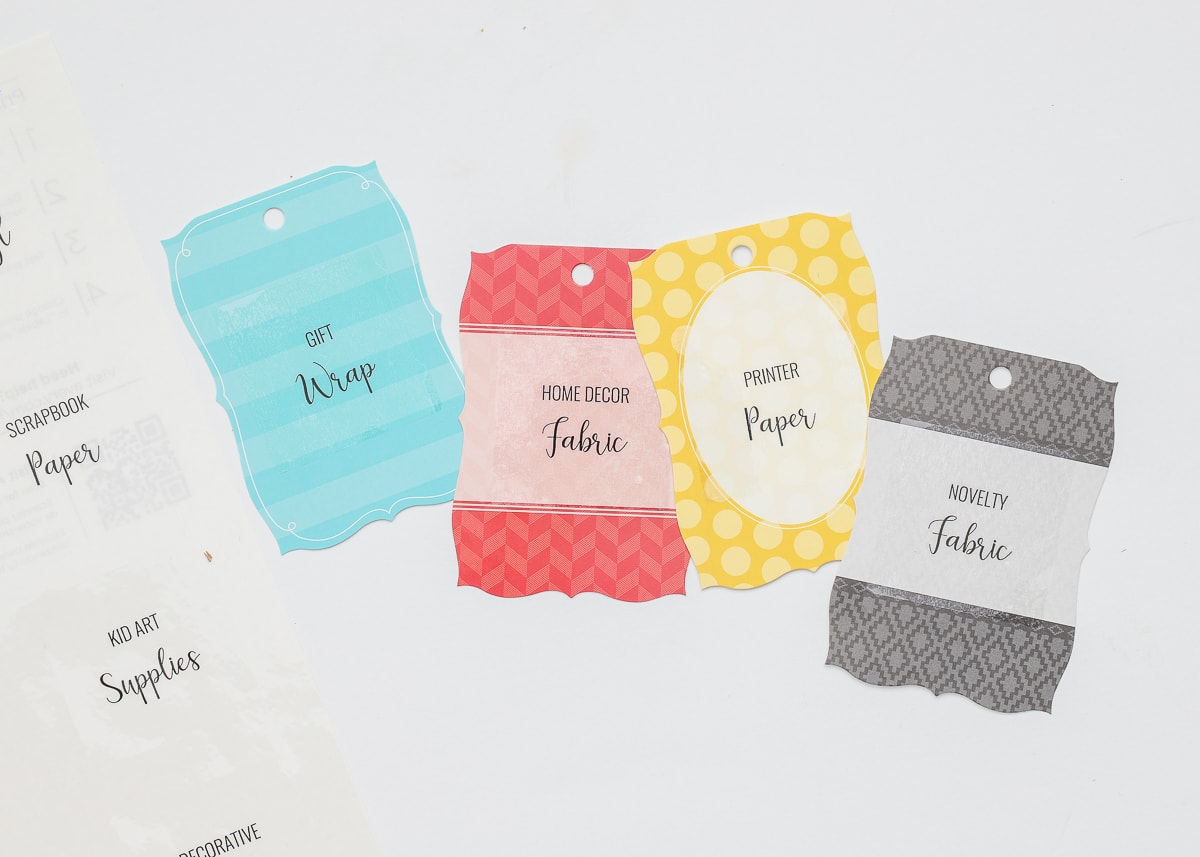
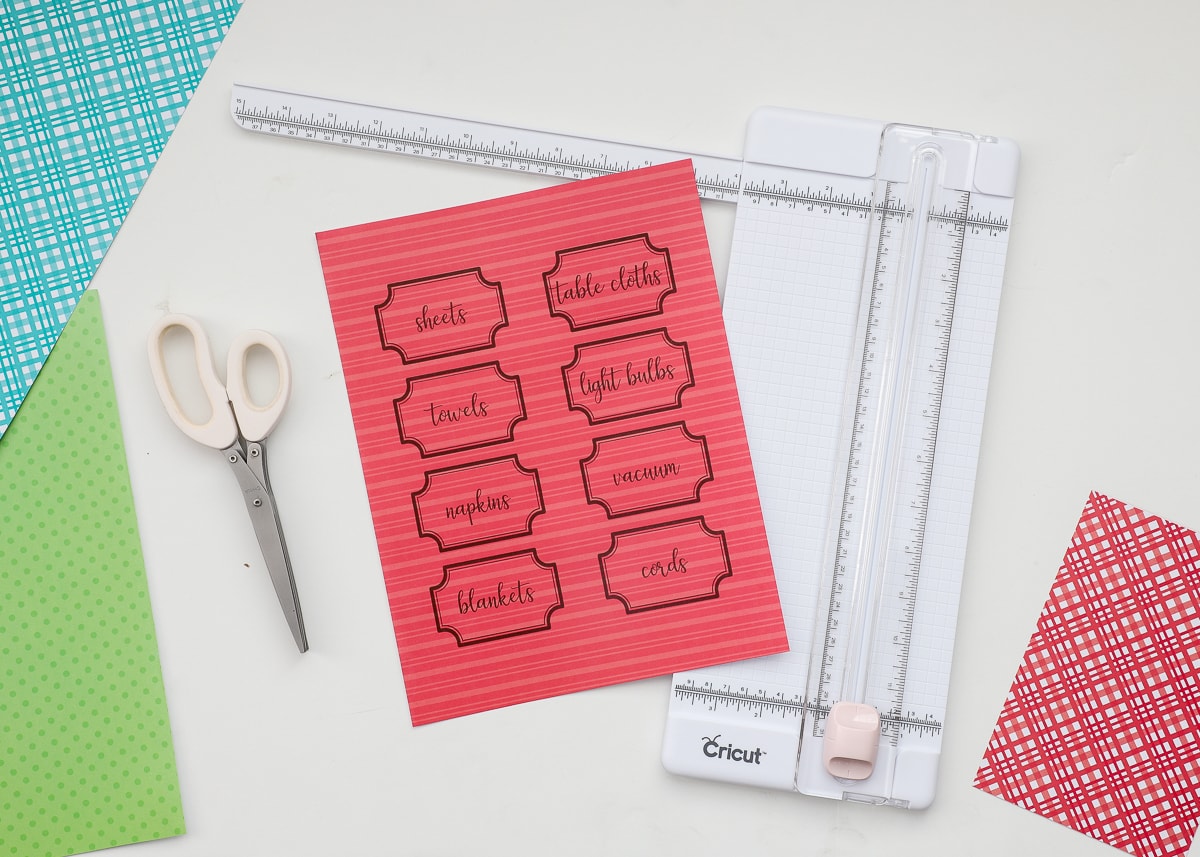
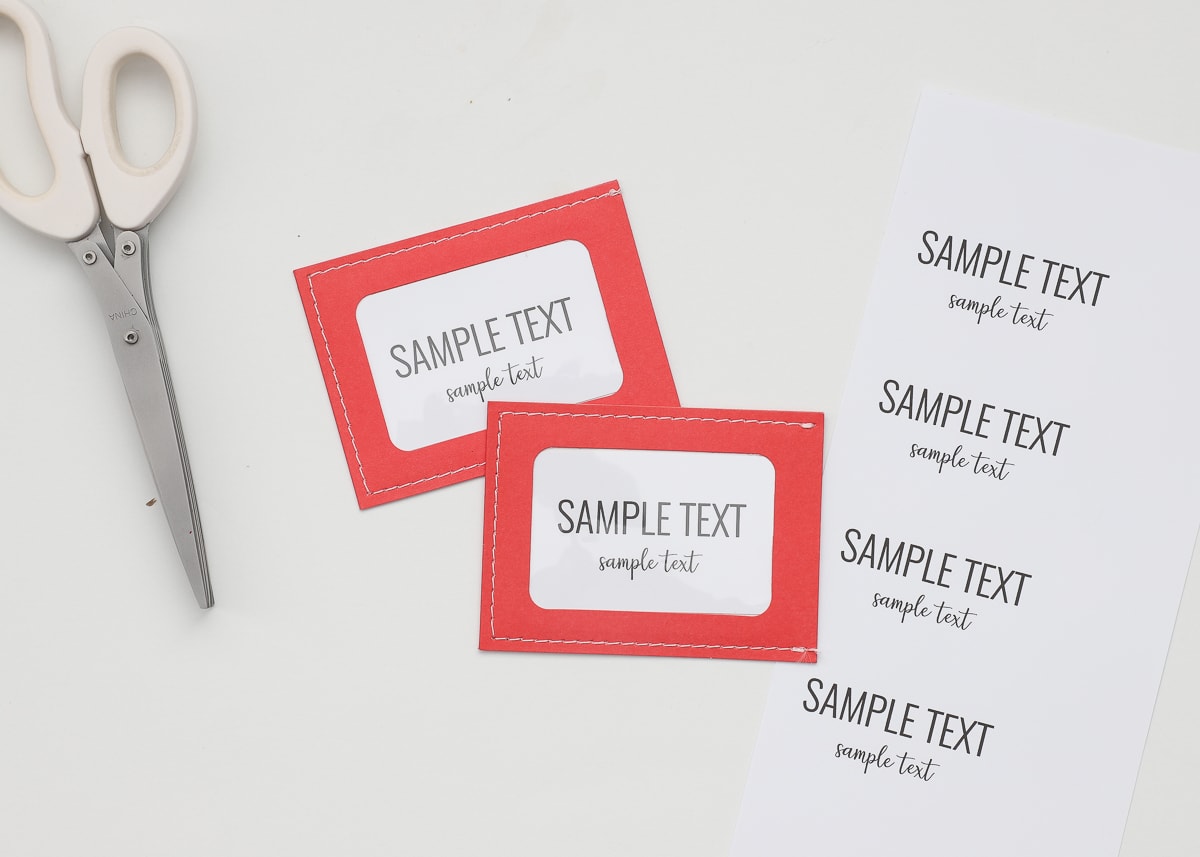
While I LOVE printing my labels onto the clear label paper, you certainly don’t have to! Printing the templates onto cardstock is another great option for customization! After printing out the template of your choice onto your favorite paper, simply use a paper trimmer or scissors to cut them down.
Printing the templates onto cardstock is especially handy if you have label holders that can hold paper inserts…
Simply print off the frame-less template, trim down and insert into your label holders!
So Many Possibilities!
As I was creating and working with these templates, I had so many ideas swimming through my head! I didn’t get a chance to create and photograph them all, but here are some other ways to use these versatile templates:
- Avery makes the 2″ square and circle stickers in many different finishes – brown Kraft paper, gold foil, silver foil, white – use different sticker papers for completely different looks!
- Do you need different sizes than what I’ve included? Play with the print scale. Scale down for smaller letters and labels or scale up for larger letters and labels. (NOTE: this will only work when NOT using the Avery labels, since the templates won’t fit properly if not printed at 100%)
- Only need a few labels? Leave the rest of the template blank. You can always re-run the sheet through your printer at a future date to use up the rest of the stickers.
- These labels would also make great gift tags, envelope stickers, planner stickers, etc.
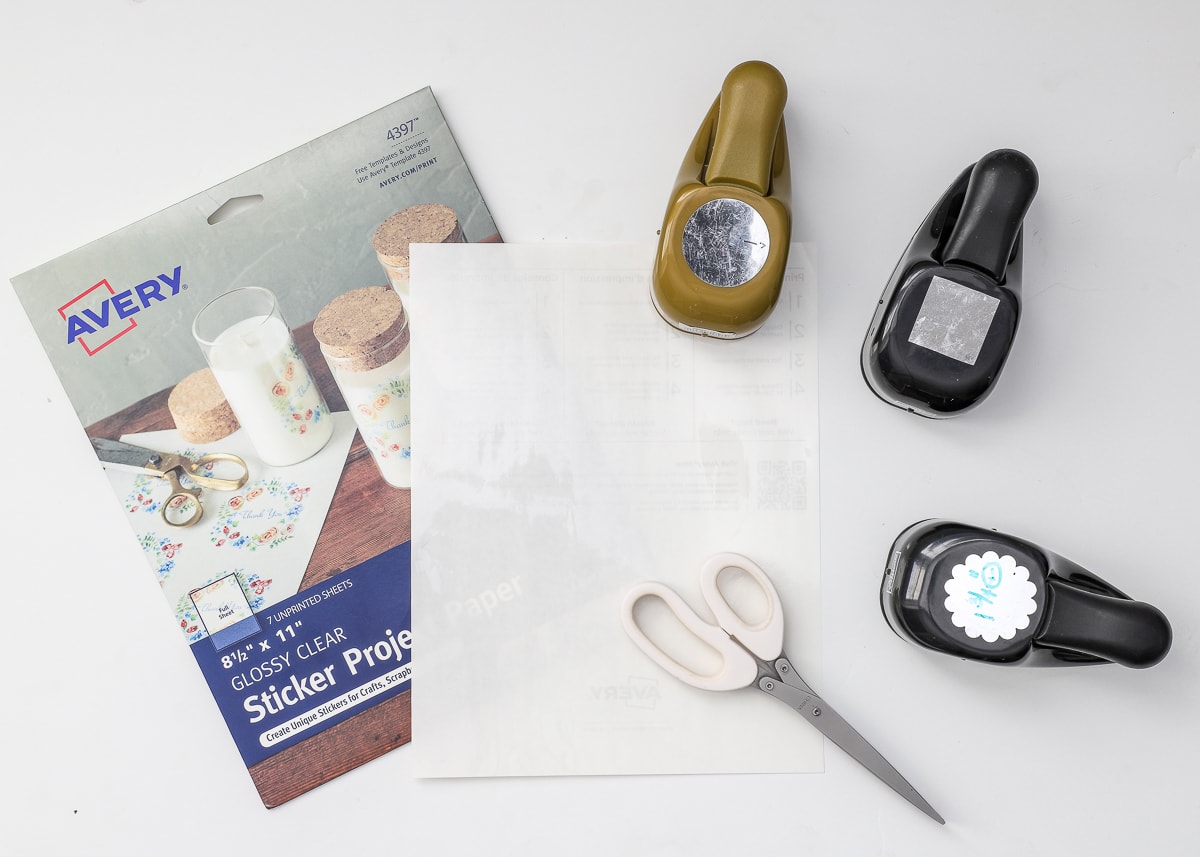
- Don’t want to invest in all the different size stickers packs? Simply buy the Glossy Clear sheets (shown below) and use scissors, punches and trimmers to cut any label you print down by hand! (This is also a really handy option if your printer has a tough time precisely printing onto stickers.)
Get This Kit!
These Printable Labels are bundled together with a variety of other popular labeling downloads. Click HERE to learn more about this bundle or download it immediately by clicking below!
Have an All Access Pass to The Organization Toolbox? Login HERE to get this download!
I absolutely adore the versatility and easy-to-use nature of these Printable Labels. Whether you print them on cardstock and load into a label holder or pair them with the Avery adhesive labels, they are sure to prove the easiest and best-looking labels in your home!
Have fun labeling all the things, my friends! Back here next week, I’ll show you how those bright turquoise labels look in Jack’s nursery closet!
Megan




6 Comments on “New to The Organization Toolbox: Printable Labels”
Perfect timing! I wanted to print out labels for my spice jars, and the ones in the Kitchen package didn’t work for me.
Thanks so much!
Thank you! Thank you!! Thank you!!!
EXACTLY. WHAT. I. NEED. RIGHT. NOW!
I just started organizing my kitchen/pantry & wanted to start searching for suitable labels. Now I don’t have to! You my friend are a lifesaver! Next task? Organising my craft corner.
How would you do editable post it notes for a Mac computer ?
Hi!
I’m not entirely sure what you mean (do you want to make an editable template? Whether you use mac or Windows, you’d do so in Adobe Acrobat (not reader, the Pro version). Nut I do have a Post-It Note template in the Toolbox: https://thehomesihavemade.com/2019/09/the-organization-toolbox-printable-to-do-lists/
It’s fully editable too 🙂
Hope that helps!Megan
Do the round labels work with Avery 22807? The link from he site took me to that label and I bought it off Amazon but I can’t get the template to line up at all. Is it just me and my printer or do I need to do something special?
Hi Erin!
Yep, they should! Those are the exact ones I used! The main reason a file won’t line up right when printing is the printing resolution. Make sure you are printing at 100% (sometimes printers like to “AutoFit”). If you tried that, please let me know and we’ll troubleshoot further!
Thanks,Megan