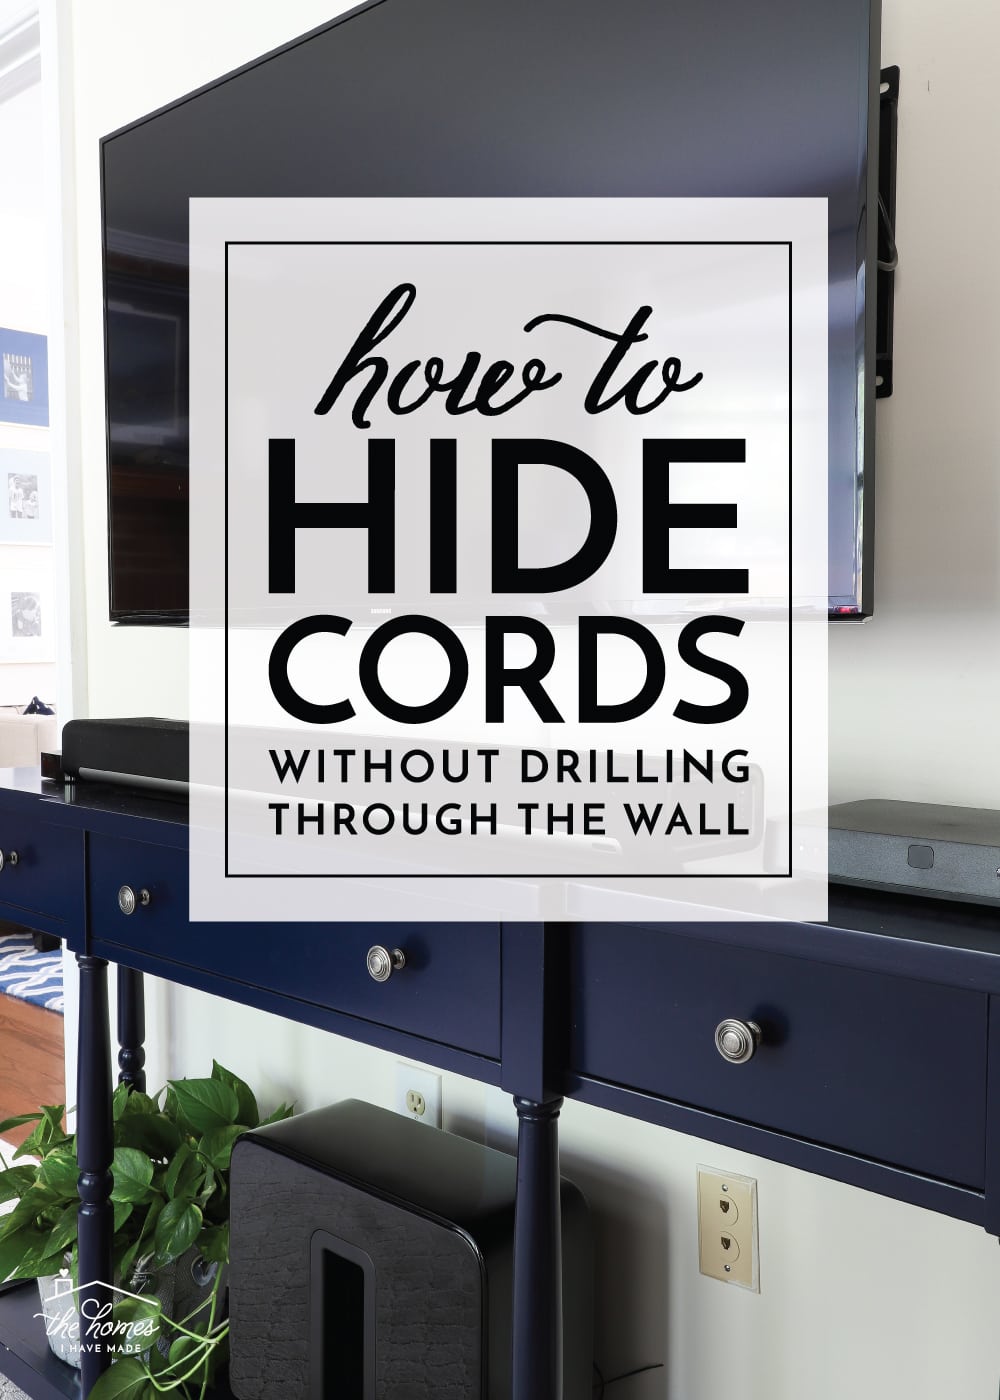
How to Hide Cords Without Drilling Through the Wall
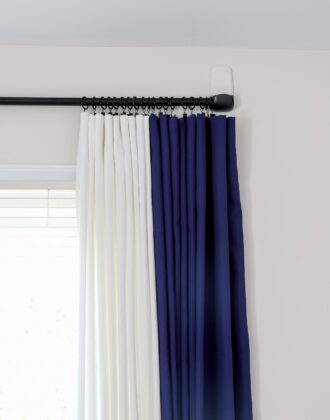
One thing I’ve mentioned over and over is that with each new home, we have unique decor and organizational situations to figure out. One such situation in our current home is the narrow walkway leading from our kitchen into our family room. The tighter layout meant we couldn’t use our beloved media cabinet to hold all of our speakers and components, so we had to instead find something with a much slimmer profile. The gorgeous navy console we picked worked wonders for the layout of the room, but it then left me with a horrible, unsightly mess of cords that were admittedly driving me crazy. As renters, we don’t really want to tunnel through the walls just to hide our cords because that would be a fairly involved and significant patch job. So…we instead turned to some really easy, affordable and renter-friendly products to hide cords without drilling, and the results are fantastic! Let me show you!

Tactic #1: The Cord Cover Kit
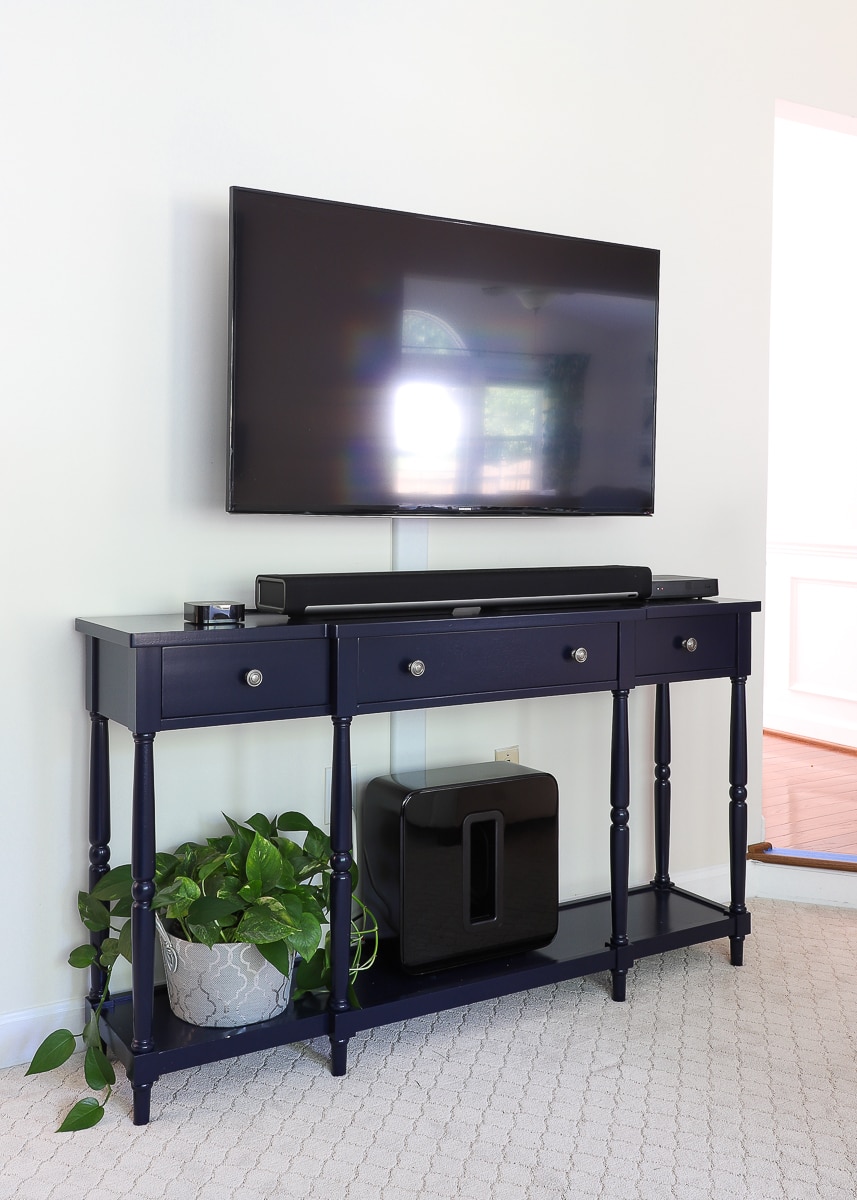
Sometimes, I am really good about thinking through purchases and anticipating their domino effects once in place. Unfortunately, that was NOT the case when I (somewhat) hastily jumped at this gorgeous navy console table while it was on sale last summer. I knew the dimensions, style and scale were spot on for our television, room, and various components. What I didn’t anticipate is how terrible all the cords would look with the very open-leg style.
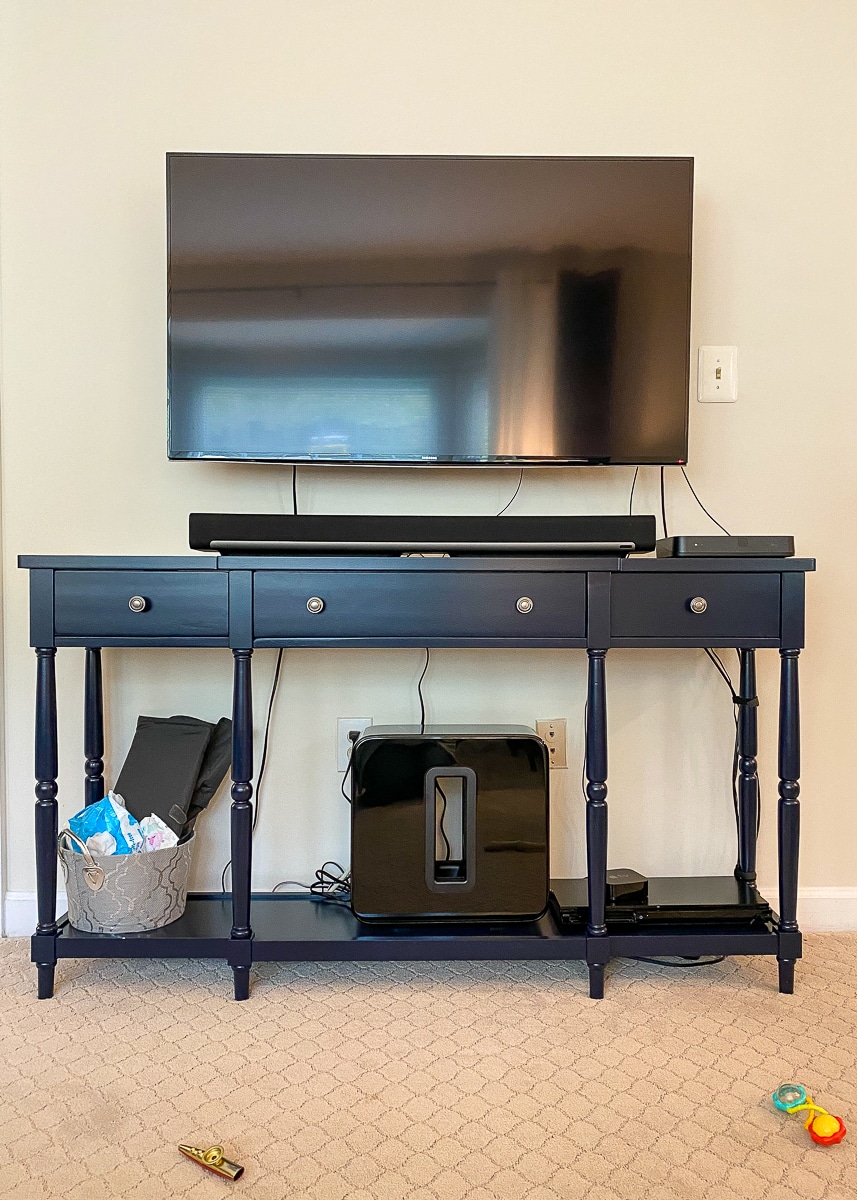
Lest you think everything in our home is picture perfect and I always achieve my style-before-function desires…let me point you to our ridiculously ugly speakers. We have long had SONOS speakers throughout our home, and absolutely love them. So for years now, Greg has had his eyes set on the sound bar and subwoofer set for our main television. After being selected for promotion last the Fall, he asked if he could buy it. Knowing how hard he works and how badly he wanted it…I agreed without even looking at the speakers he was considering. When they arrived and he set them up, I couldn’t get over how big they were nor how obnoxious all the cords looked.
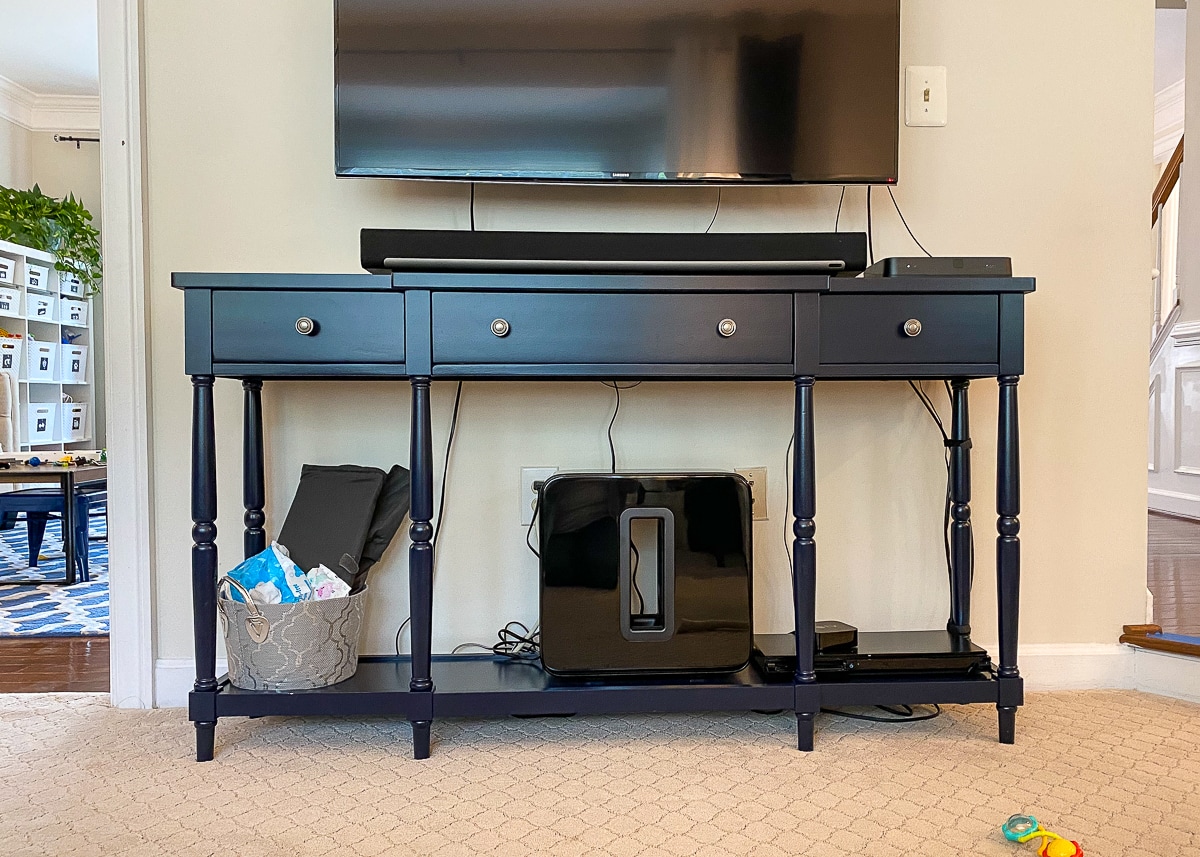
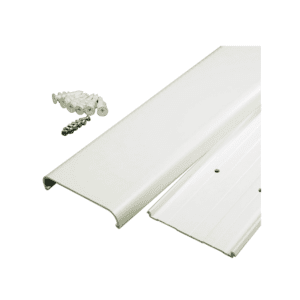
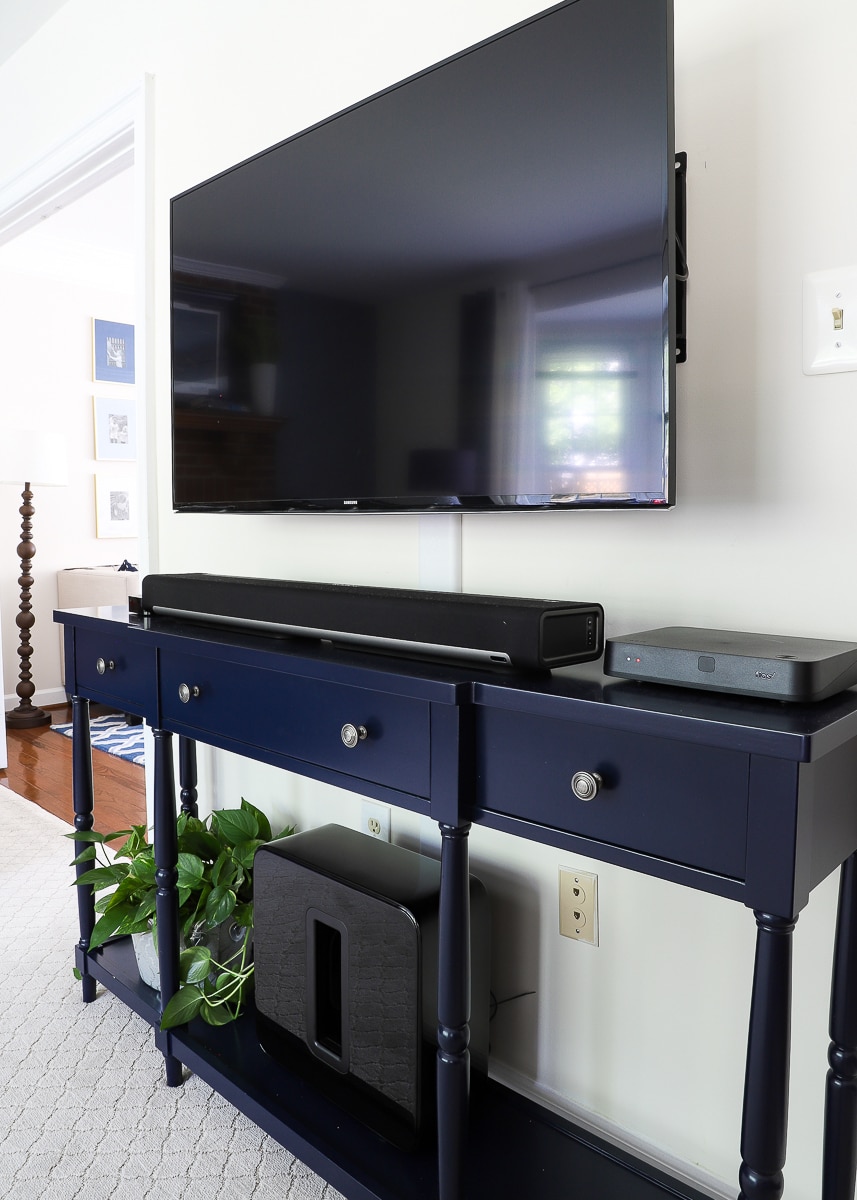
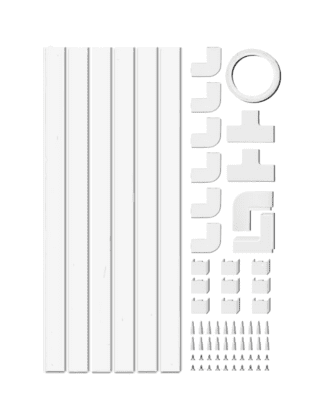
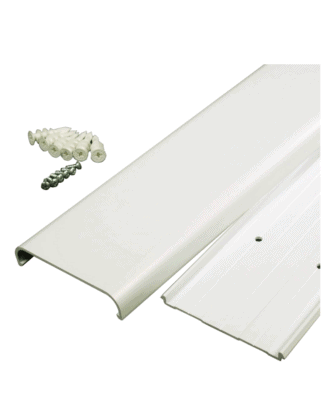
There was really no way to downplay the size and look of the speakers, but I knew we could clean up the cords to give the entire display a much cleaner appearance. In a someday, forever home, we would absolutely tunnel through the wall (like this) so the cords were 100% invisible. But that type of project is beyond what we even consider as “renter-friendly,” so I went hunting for a more temporary option. After reading reviews and weighing options, I finally settled on this Cord Cover Kit as the best way to corral and contain the cord mess.
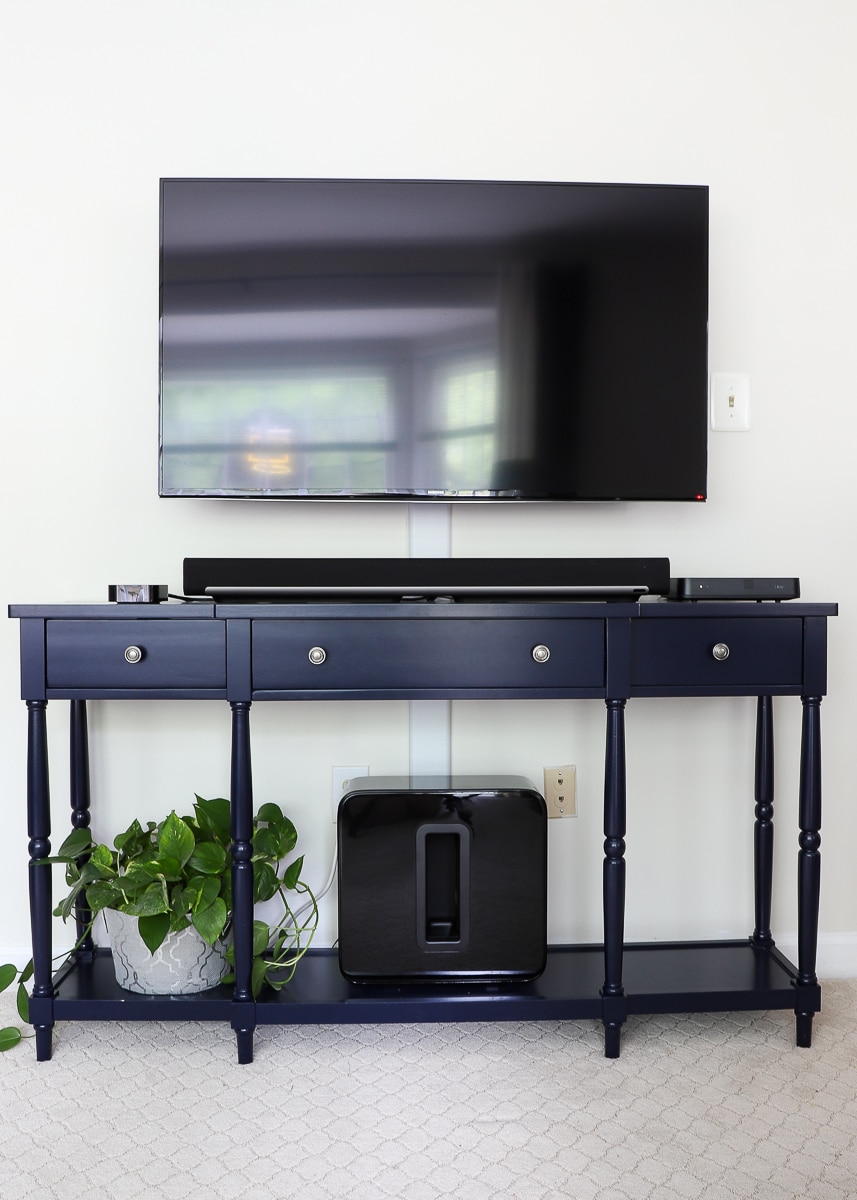
Again, in a perfect world, we would have nothing in sight behind the television and console. Yet…even though we can (obviously) see the cord track, it’s a considerable improvement from the before pictures!
This cord-concealing system is actually really user-friendly, and we had it installed in just about 30 minutes. The instructions do a great job walking you through it, but here’s a few tips and tricks we learned:
Unplug Everything First
If it’s been a while since you setup your components, or you’ve added things over time, your cords are likely a jumbled mess (ours definitely were). Before beginning, detach everything, put components where you want them, and untangle all the cords so they thread through the track nice and straight.
Paint to Match
I specifically bought this version because it is paintable. After it was hung, we determined it blended enough and I didn’t need to seek out a paint sample just for this. If we had some wall paint in the garage, we would have definitely given it a quick coat!
Make It 100% Renter-Friendly
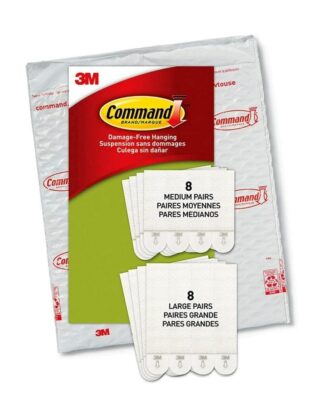
We did choose to affix the channel to the wall with screws (small holes are much easier to patch than the lager holes we’d need to run all the cords behind the wall.) However, this system could have definitely been hung with Large Command Strips to make it 100% renter-friendly.
Longer Cords May Be Needed
Because you are now running cords to a central point, up and down the wall, and back out again, there’s a chance your existing cords will no longer reach. Thankfully ours did, but mentally prepare yourself to invest in longer cords to make this work.
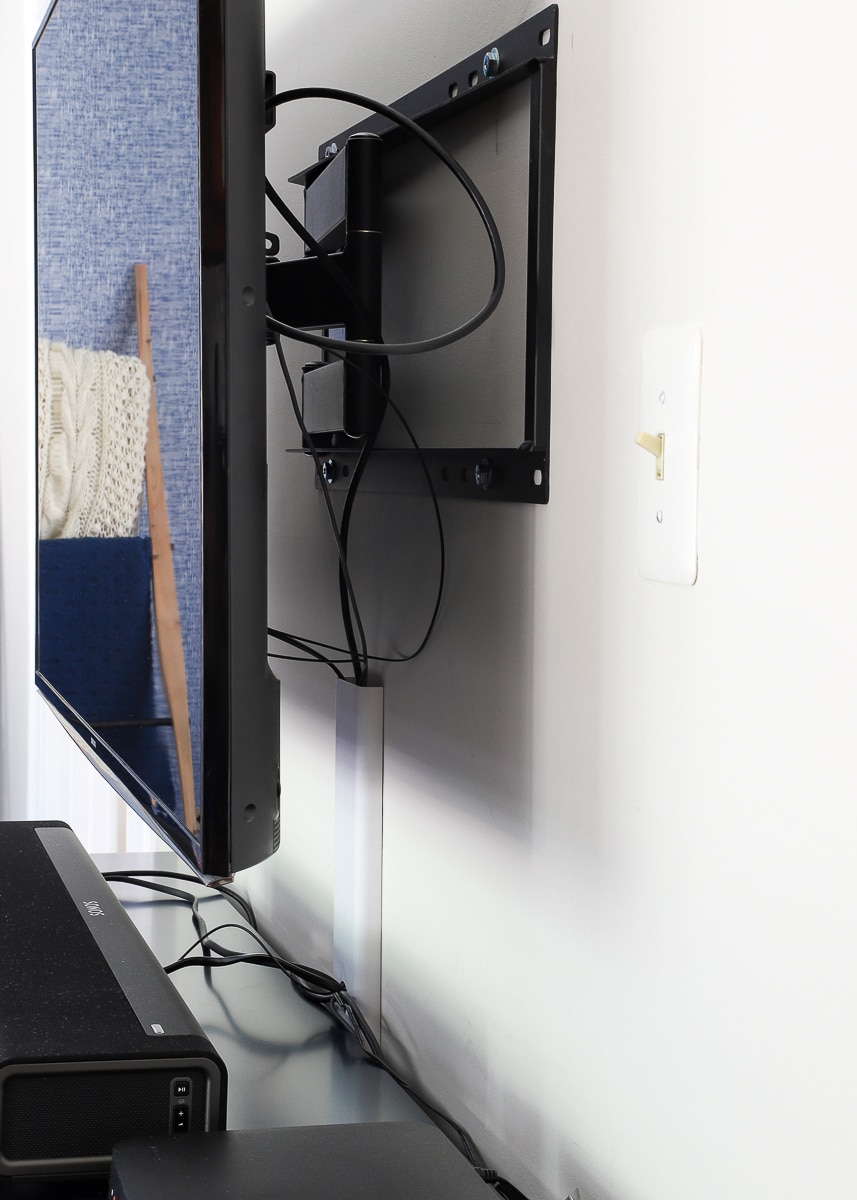
Make a Middle Hole
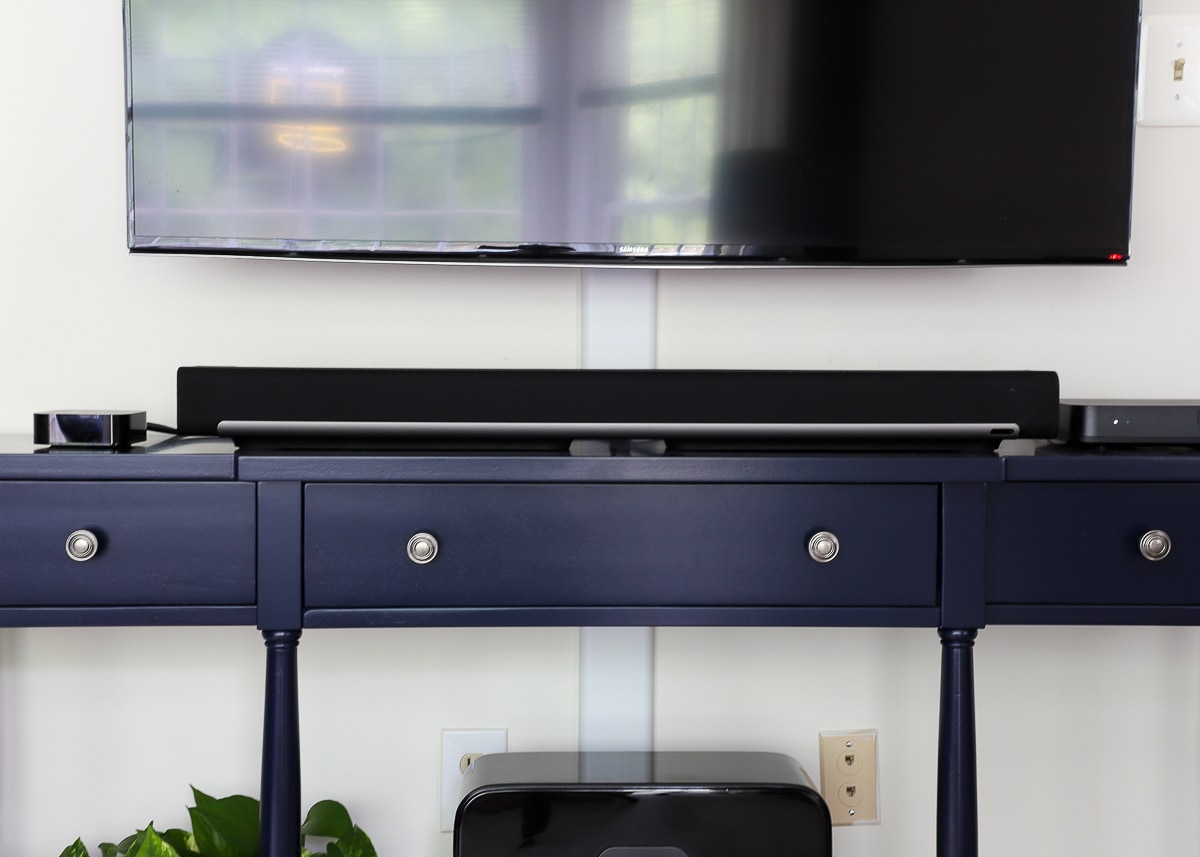
This track system, as is, only has openings on the top and bottom for the cords to come out. That is sufficient if you are only trying to conceal cords between a mounted TV and components on a console, or components on a console and a lower outlet. However, because of the open style of our console table, we needed to conceal cords that were running both between the TV and the components, and between the components and the outlet lower down. To do this, we drilled another hole in the middle of the cover using a paddle drill bit:
As you can see below, we now have all cords running either up or down through the channel:
- Any cords connecting the TV to the components sitting on the console run to/from the top of the channel and out the center hole.
- Any cords connecting components to the power outlet beneath run to/from the middle hole and out the bottom of the channel.
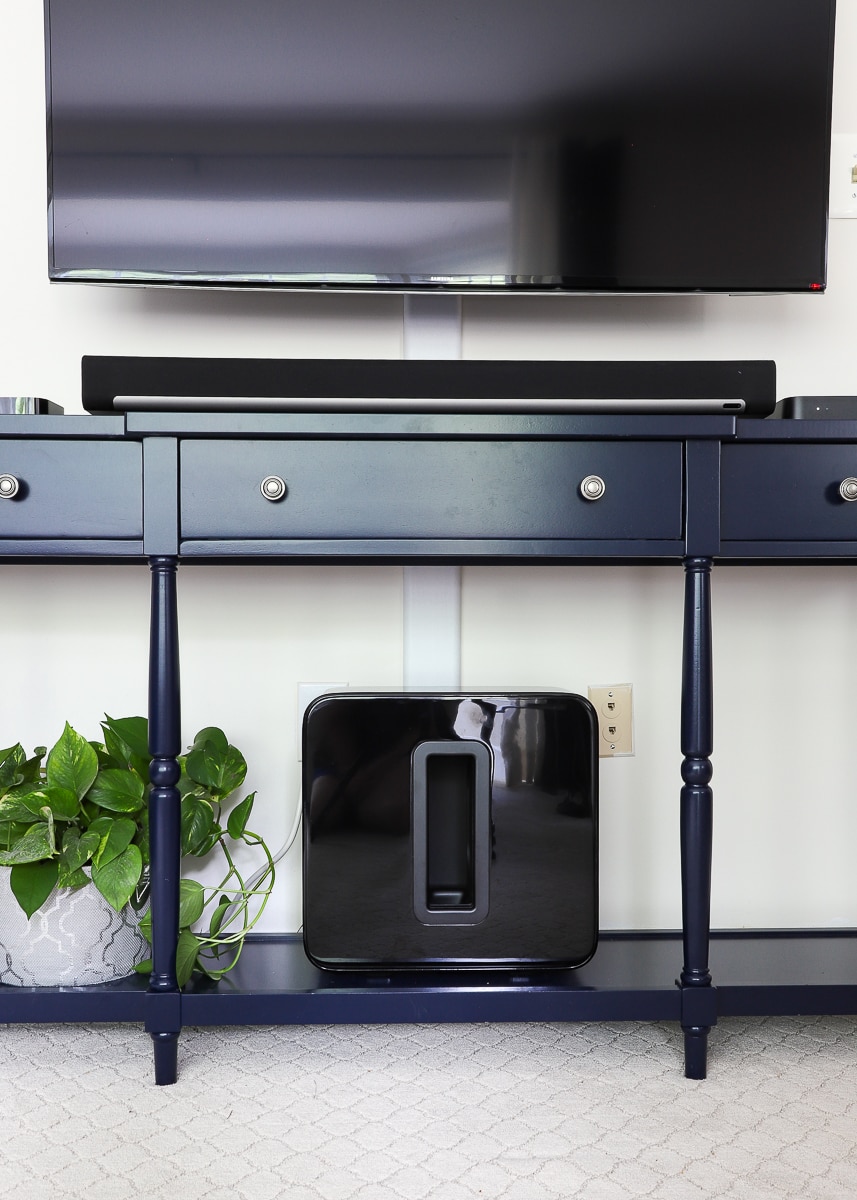
Hide the Power Strip at the Bottom
Although the subwoofer is much larger than I expected and a considerable eye sore, it actually helps hide all the cords coming out of the bottom of the track and into the power strip. If you don’t have such an ugly lovely speaker to hide the cords behind, a plant, basket or stack of books will do the same thing!
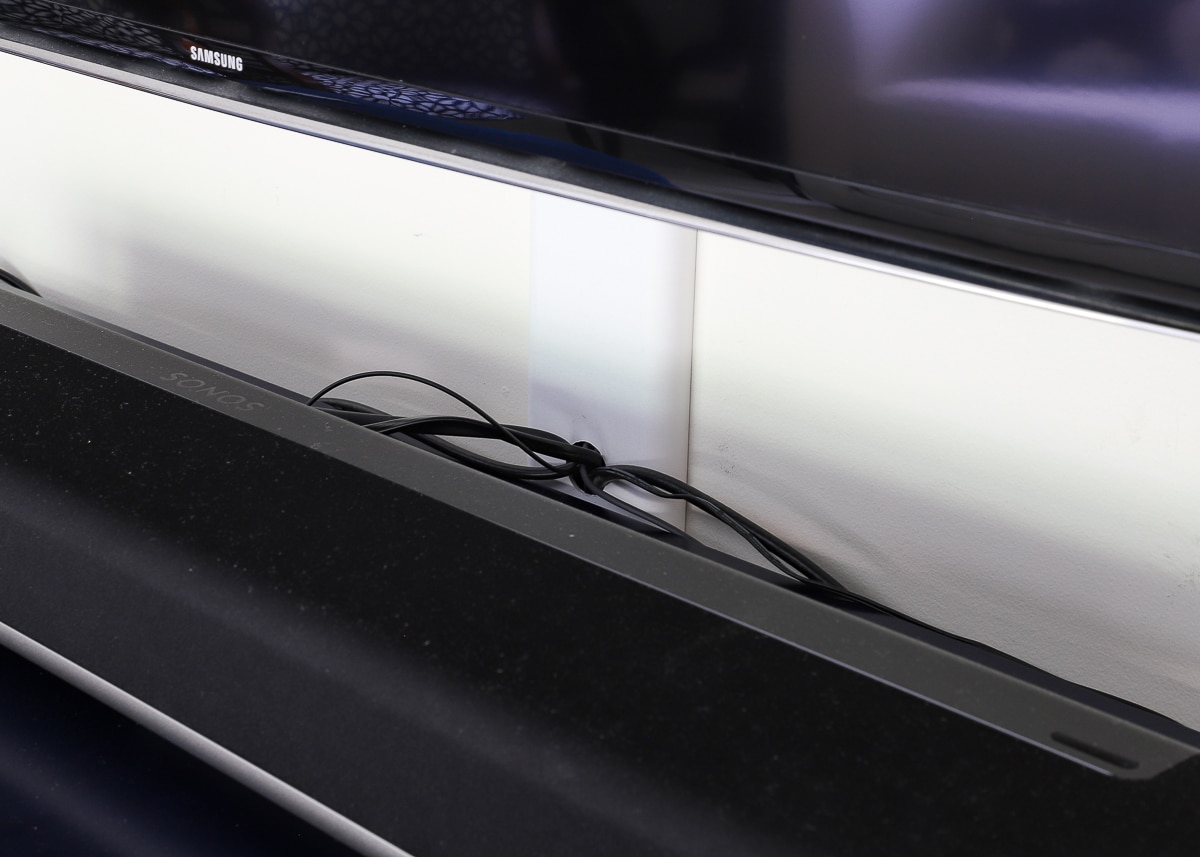
Secure Unruly Cords
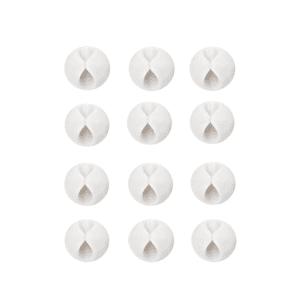
We did use one more trick to prevent too-long, bendy, rigid cords from popping up behind the console table and into view (specifically the ones coming out of the center hole to the components themselves). These clear cord clips are really easy to tack along the backs of furniture or shelves to keep cords tucked out of sight!
I think Greg would admit he was 100% skeptical when I first showed him the Cord Cover Kit. And although it was a bit exasperating to wrestle all the cords into the channel, we were both amazed at what a difference it made! You don’t realize what your eyes get accustomed to, and having all the cords concealed…albeit behind a cover…really reduced the visual clutter and enhanced our TV watching experience!
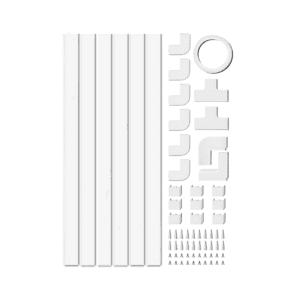
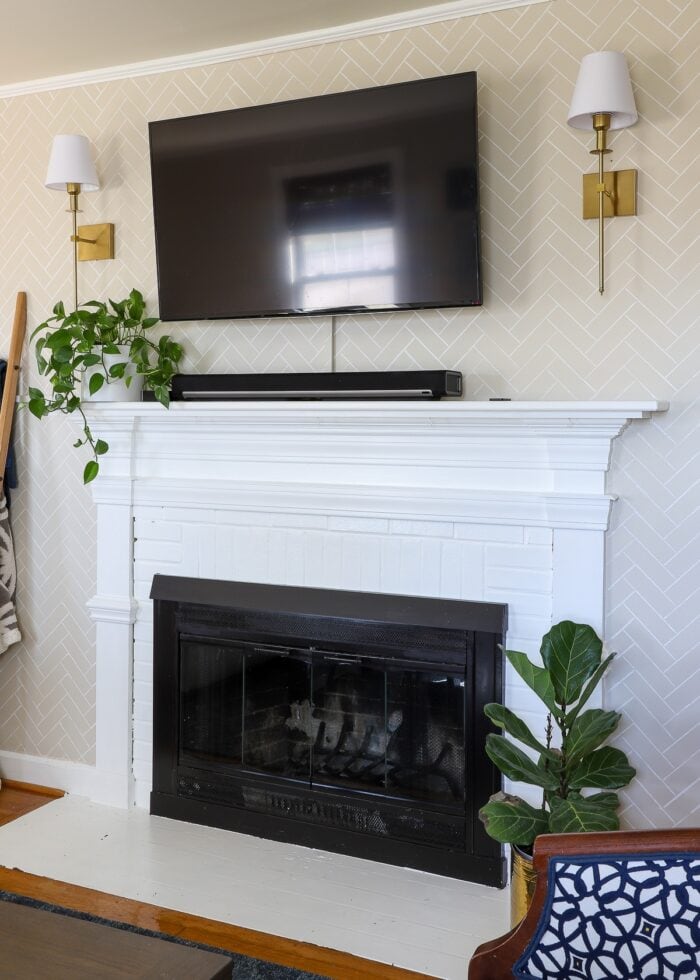
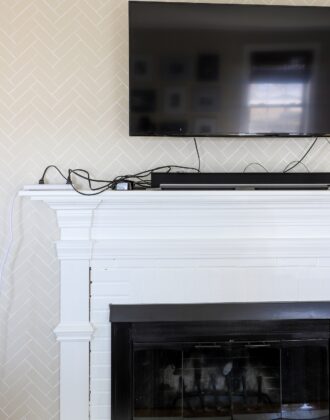
Using a Cord Cover Kit Above a Fireplace
Do you have a TV mounted above a fireplace instead? This can most certainly be a trickier install but a cord cover kit can still work. I recently used a thinner/longer version to hide cords from a wall-mounted TV down to a mantel and then across to a (far away) outlet! See how to do this here: How to Hide TV Wires Above a Fireplace (When You Can’t Go Through the Wall)
Want to save this post?
Tactic #2: Gather & Conceal
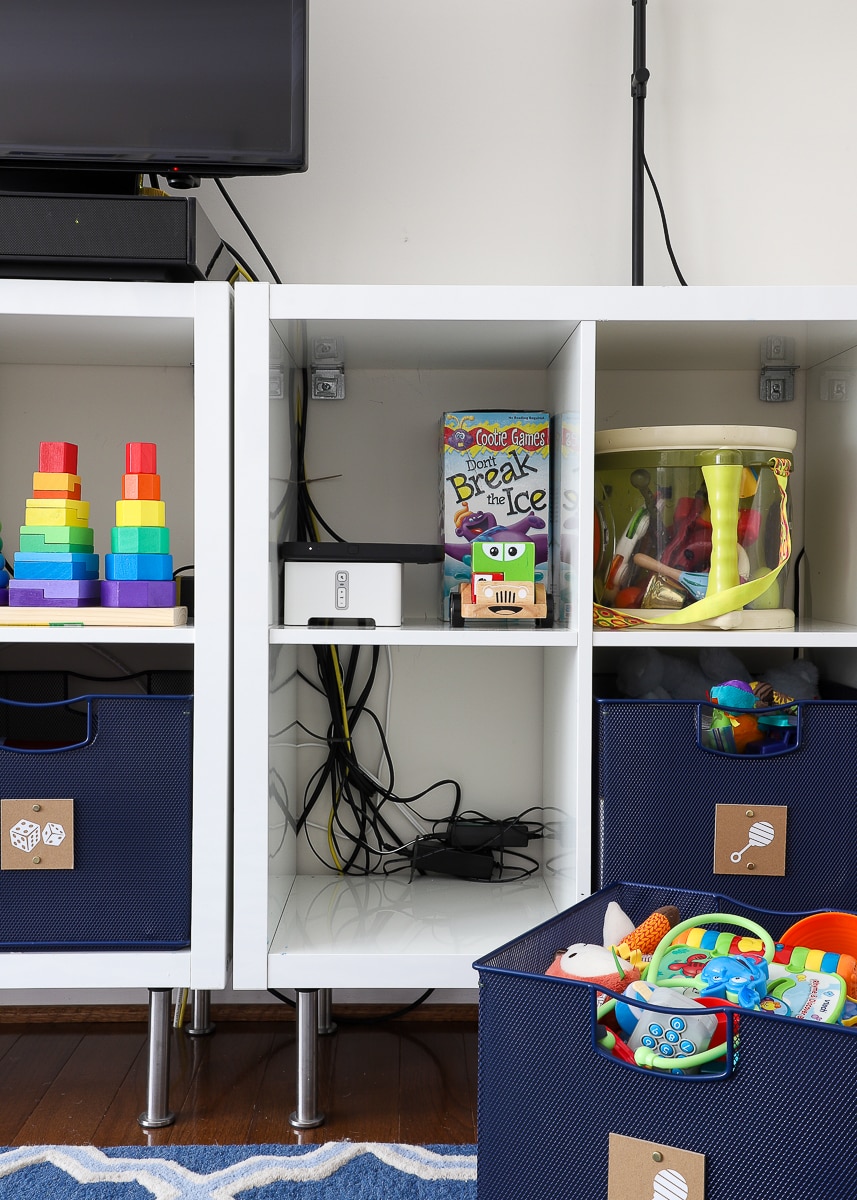
The other cord-concealing tricks I wanted to show you were employed in our playroom…where the cord situation was actually even more out of control (notice both the top and underneath the shelves!)
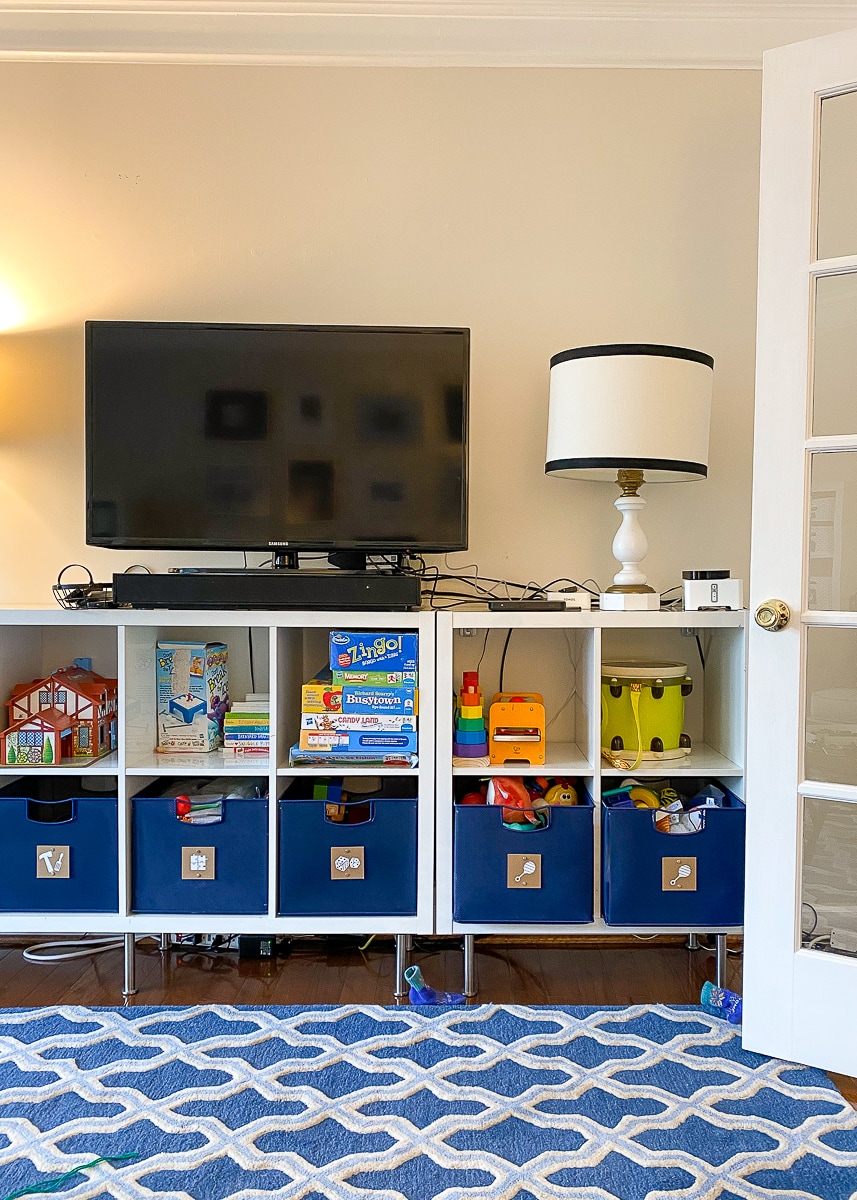
Not only is this where our Internet and Cable come up from the basement, but we also moved many of our older speakers and components in here as we upgraded the family room. Since we never took the time to sort through what we needed, what was connected to what, and the best place for it all…we had a good web of cords creating a significant eye soar.
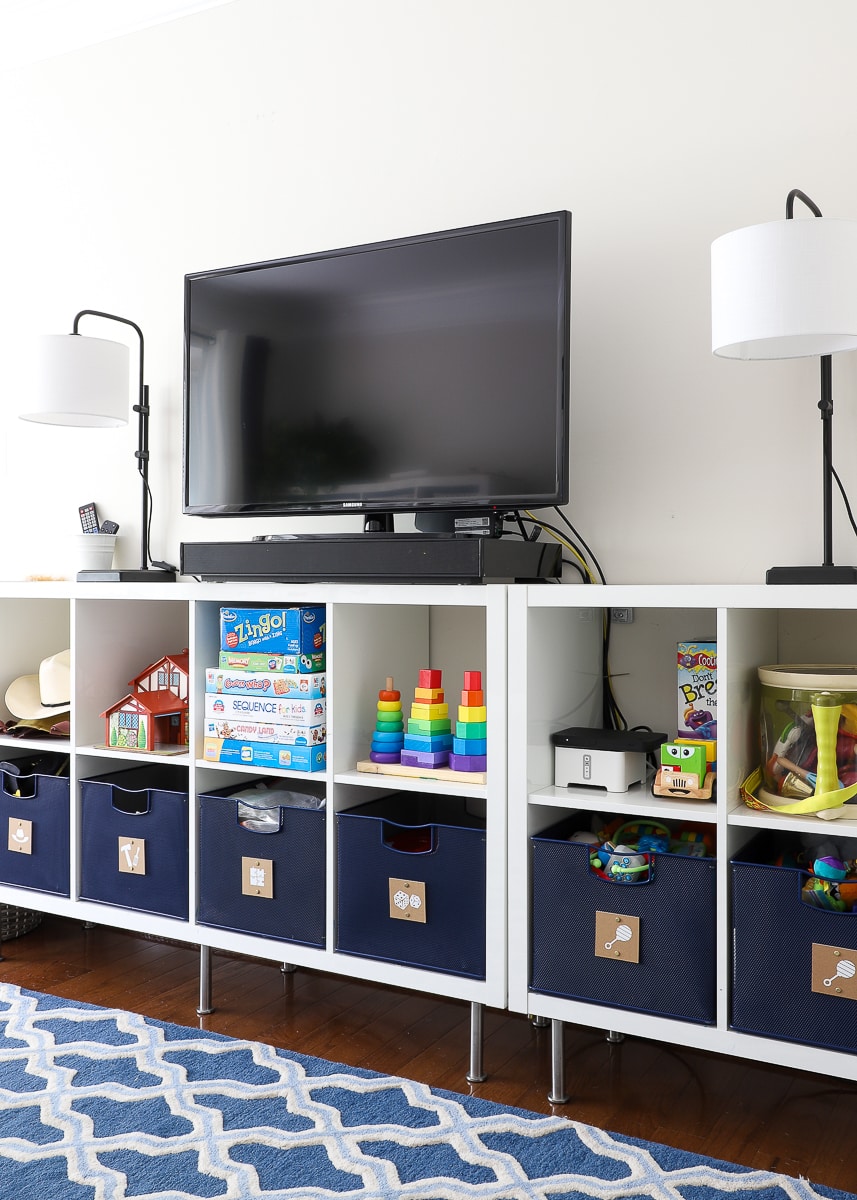
We absolutely could have used another Cord Cover Kit here, but we determined with the number of toys, baskets, and shelves available, we could use other methods to hide cords without drilling. After a good bit of clipping, hiding, winding, and concealing, we achieved a cleaner situation in here too…using all peel-and-stick products!
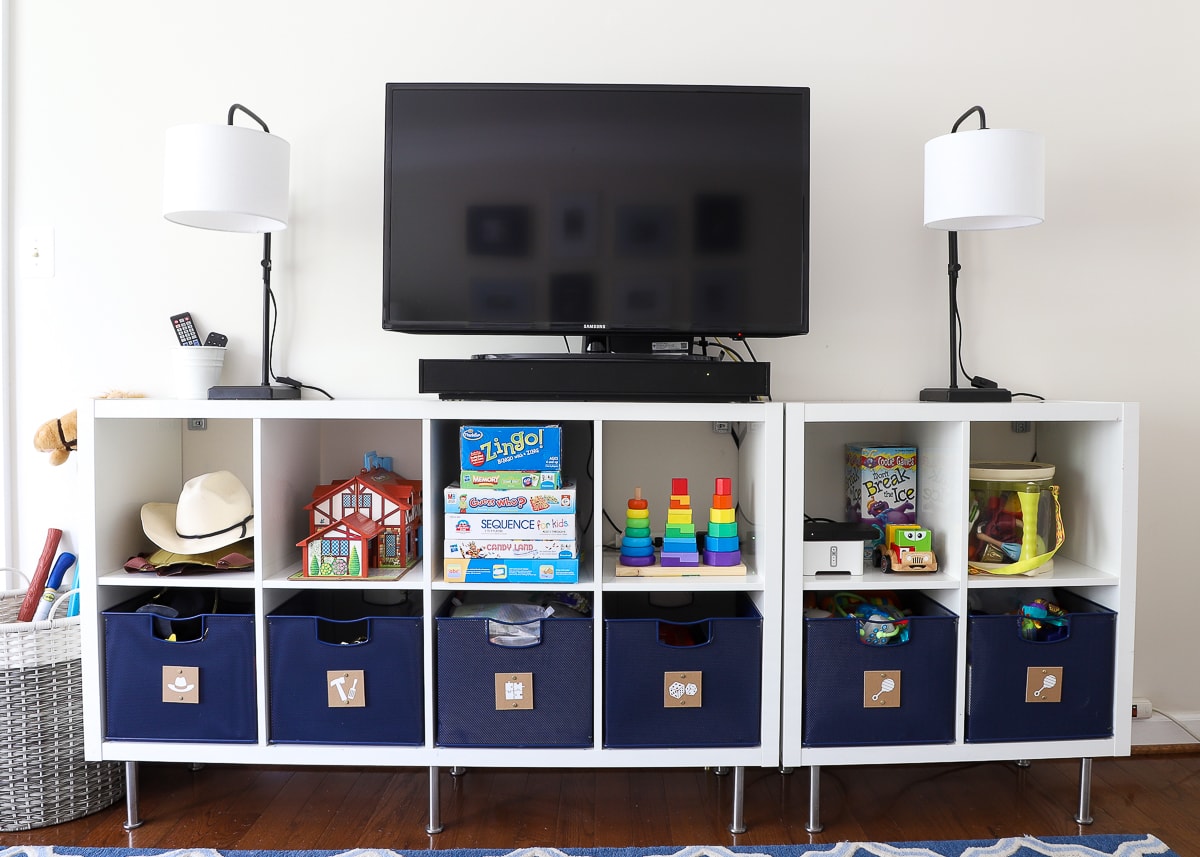
Our main approach in this room was to run cords along the backs of the Kallax shelves and behind toys and baskets. To keep cords corralled, tidy, and ultimately in place, we utilized a variety of products including mini zip ties, clear cord clips, strong-grip cord clips, and Large Command Strips.
Here are some tricks that worked great for us!
Eliminate Excess Cords
We were surprised to come across a bunch of cords we no longer needed. Even in just the year we’ve been here, we’ve adjusted things (like getting rid of the DVD player) but never removed the cords too. By identifying what absolutely had to stay, we were able to significantly reduce the amount of cords that needed hiding.
Gather, Gather, Gather
What made this room a little trickier was that the Internet and Cable cords are not only really long but also thick and tough to wind up. Still…to keep cords together and as out-of-sight as possible, try to gather cords (running to and from the same spots) together with mini zip ties. When you do have excess, use more zip ties to wind up cords into smaller (easily concealed) balls.
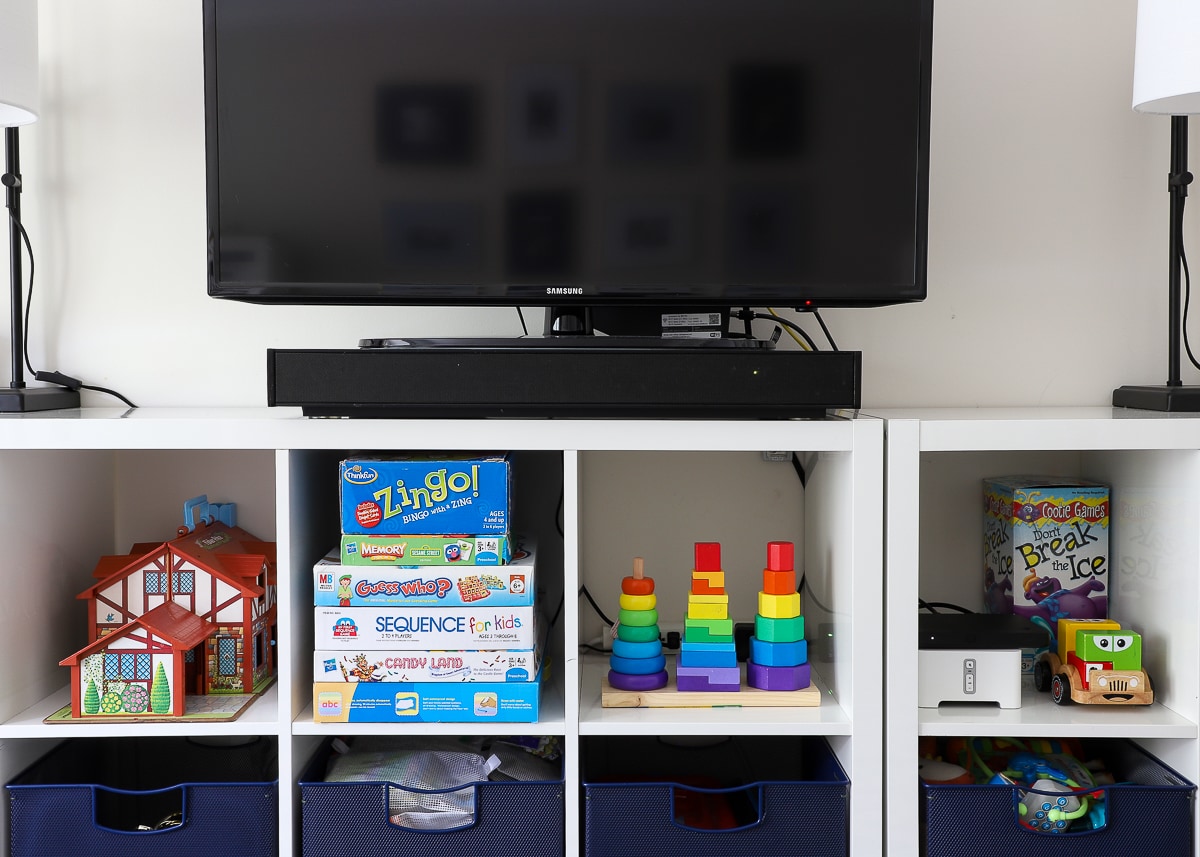
Move Components Around
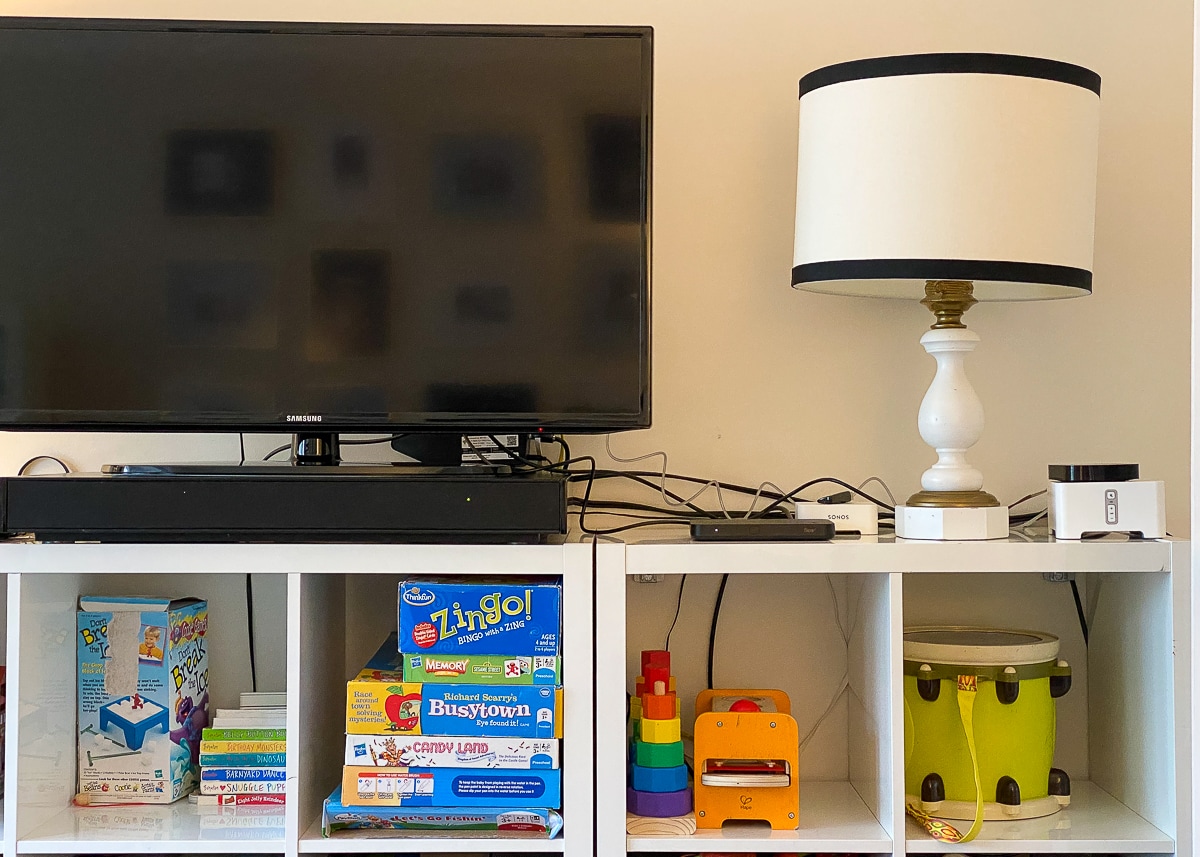
We determined we only needed the DVR Box and the SONOS bridge. I wanted them off the very top of the console to reduce clutter, but by moving them down a shelf, we also gained extra cord length to be able to run them behind the vertical parts of the shelves.

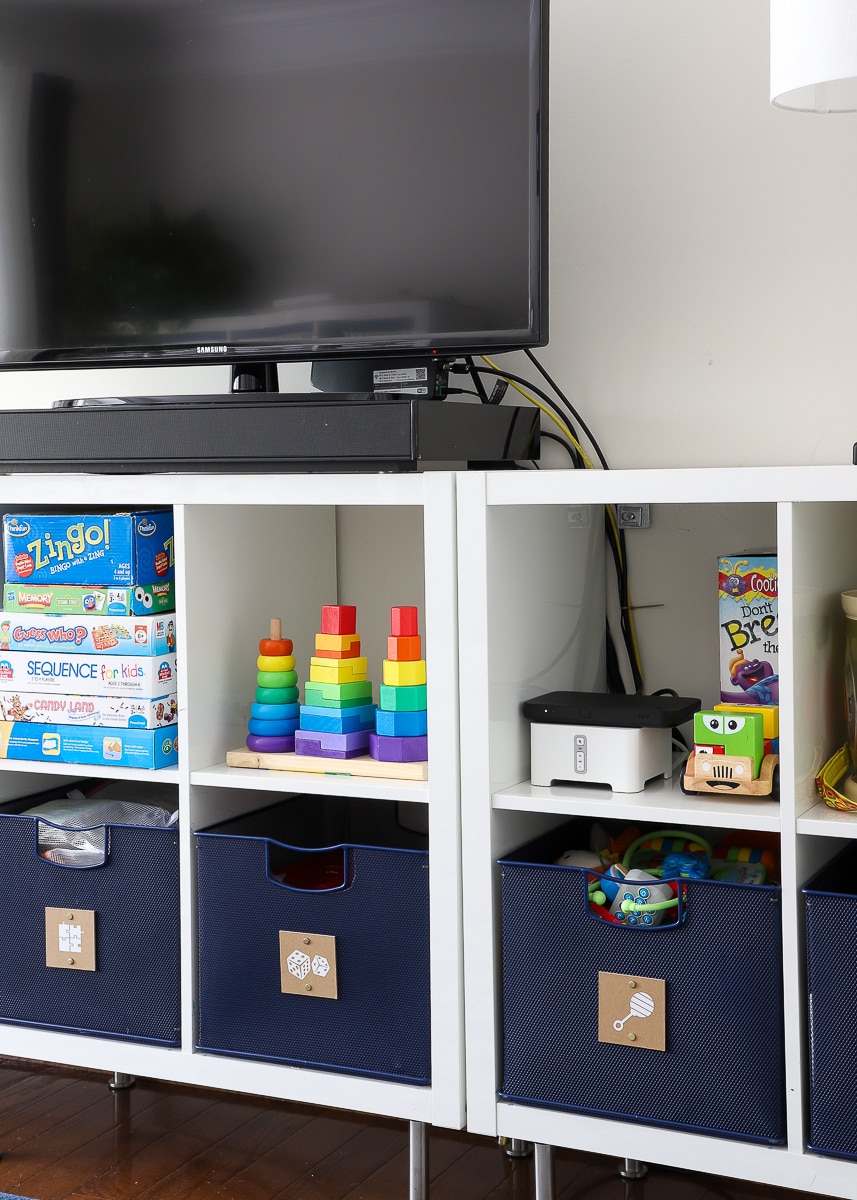
Make It Stick
Although some (thicker) cords will stay in place where you put them, most don’t. So just like we did in the other room, we utilized a variety of peel-and-stick cord clips to keep cords tucked snug behind the shelves. The clear cord clips are great for single cords running behind a shelf, and thicker clips help keep thick cords off the floor and “concealed” out of site.
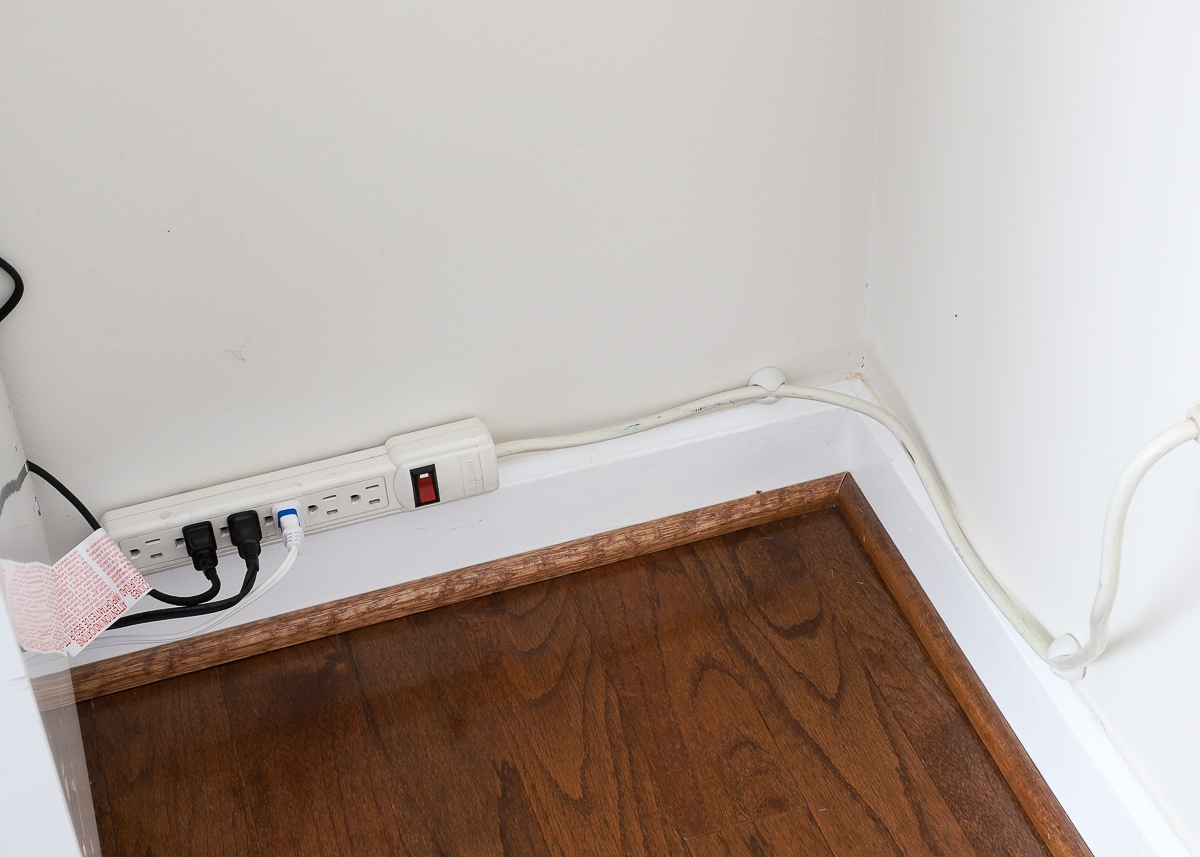
Secure the Power Strip
Both in the photo above and the photo below, we used Large Command Strips to hold the power strips in place so they wouldn’t become lose and/or fall on the floor:

Hide the Spaghetti
No matter how much you wind and clip and secure…you might still find yourself with a pile of cord spaghetti. We did our absolute best to corral all the thick cords for this room, but we also knew we had an easy way to conceal whatever couldn’t be contained…a basket!
Storing the excess cords here behind this basket not only keeps them out of site, but they are also off the floor (no longer under the shelf) so Baby Jack can’t get to them (yet!).
More Tricky Cord “Concealing” Solutions!
Have other “cord” situations in your home?!? Here are some other smart solutions that look amazing but can be drill-free and renter-friendly!
- How to Hide TV Wires Above a Fireplace (When You Can’t Go Through the Wall)
- Stylish Plug-In Light Fixtures Ideal for Renters
- Renter Friendly Wall Sconces…Without Hard Wiring or Puck Lights!
Like the family room, this cord situation isn’t perfect. But the final picture is a much cleaner, clutter-free solution than the tangled mess we were living with before. Yes, dealing with cords can be a bit exasperating, and those darn things can often be unforgiving. But with the right products and a little patience you can definitely hide cords without drilling into your walls! Whether you rent or own your home, I hope these solutions give you some ideas for getting your pesky cords out of site!
Megan


9 Comments on “How to Hide Cords Without Drilling Through the Wall”
Ha ha ha, Jamie pulled this exact same trick when we bought our first tv! I walked away for five minutes and spent the next seven years with those giant waist-height speakers you see on sound system posters. I think Greg has been comparatively restrained!
LOL. Glad to hear I’m not the only one 😉 My Dad is a “big speaker” guy…so yes, it can definitely be worse!!! Too bad SONOS JUST released white versions 🙄!
Have a great weekend!Megan
You did a beautiful job — what a great product for your main tv!
Surprised you did lamps in the playroom with an exposed cord!
Loved your vintage ones but I’m a weirdo that loves the way Ikea + vintage looks.
If you ever use any of those products I see on Amazon that convert a lamp to a touch lamp, please post it!
p.s. “eye sore” but soar makes it sound so majestic 🙂
Hey Lauren!
As with everything…the lamps have a story 😉 I REALLY wanted wall sconces to keep the Kallax completely clear other than the TV. But I couldn’t find ANYTHING that was remotely modern, fresh and budget-friendly. These lamps gave me the “look” of sconces, which I actually like…but I wasn’t aware of the cord situation until they arrived. Whomp whomp. I was tempted to return them in store….but COVID…and then Greg really liked them. I do really like how they tie into the curtain rods and I think they will be perfect as bedside tables for Sam’s room…eventually…so they stayed!
And thanks for the typo catch!Have a great weekend!Megan
I too, am not a fan of visible cords, we have a few cordopus situations in our house. We own our home, so a lot could be done to improve this. Hubby however thinks a big mess of visible cords is much better. Easier than having to break all my clips and zip ties when he wants to fiddle around with something. After all, all that electronic crap is functional and cord clips aren’t 😕
Where did you get your navy blue table under the TV? I am looking for something like that in my *new* house.
Also, where did you get the wallpaper for your laundry room?
Hi Laura,
Most of my home sources can be found HERE.
Hope that helps!
Megan
Hi Megan, I love this blog. We have lived with the fireplace eyesore forever and I am inspired to do something. I have another problem though. We have a large family room, and the L shaped couch is in the middle. No floor outlets. So we have cords running across the floor and under the couch. Still pretty ugly. No cords under rugs. I also have a similar table as your navy one, but it is a sofa table and backs up to the sofa. There are two lamps with cords, of course. How to bring those down? The cords are dark and sofa very light. I’d love any advice. This is an awesome topic. Many thanks.
I have that same navy blue console in my entry way! I love it, even though it shows dust like crazy.