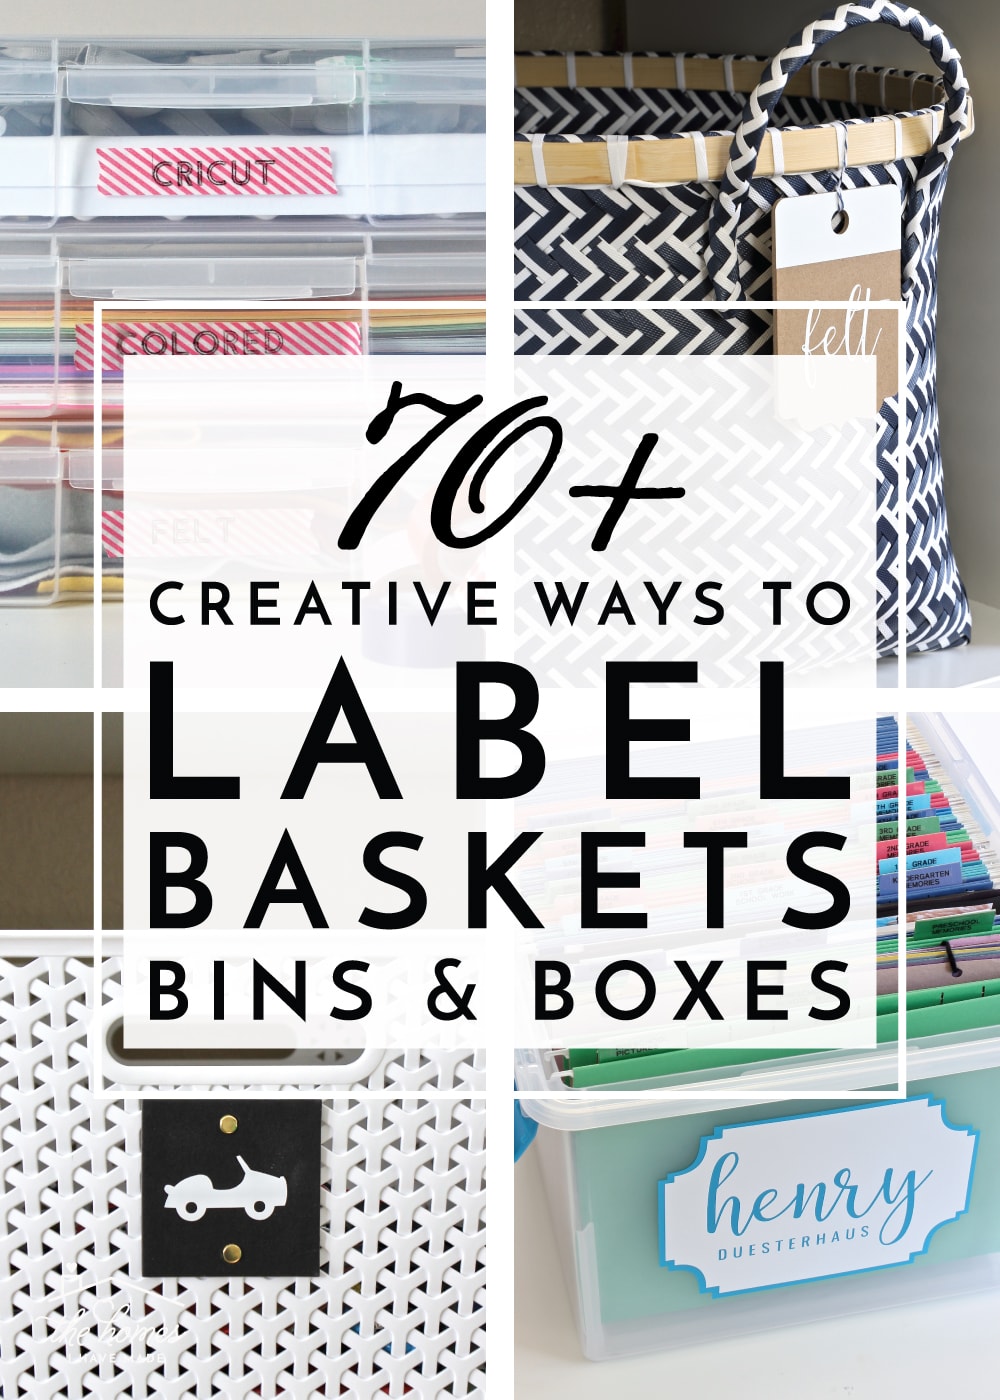
70+ Creative Ways to Label Baskets, Bins, Boxes and More!
Ahhhh…January! When practically every blogger on the Internet is writing about fitness, food, or organizing…including me! Well, I sure hope you aren’t over-saturated with organizing ideas yet because I have a whole host of label eye candy for you today! Truth be told, I’ve been wanting to write this post for forever, so I finally sat down and dug deeeeep into my blog archive to pull all these photos together for you. And even though I know that I love to organize and label all.the.things…even I was shocked to see how many different labeling projects I’ve done over the years! My hope with this comprehensive roundup is not only to inspire you to get your things organized in a pretty and intuitive way, but also to provide you with some easy and creative ways to label baskets, bins, boxes and other containers around your own home!
Vinyl Picture Labels
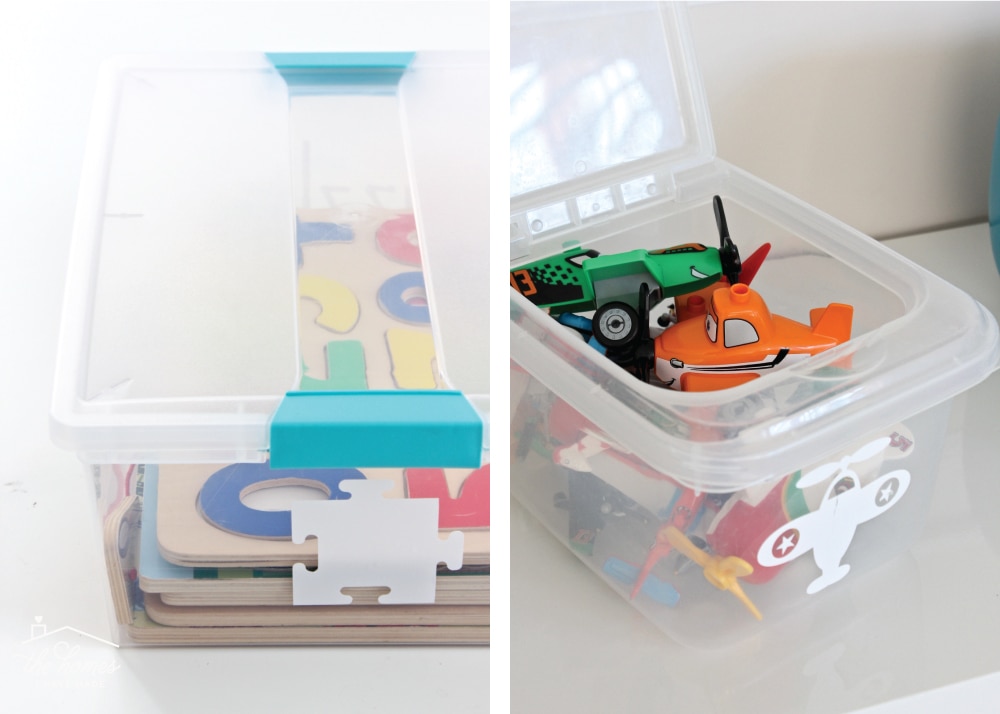
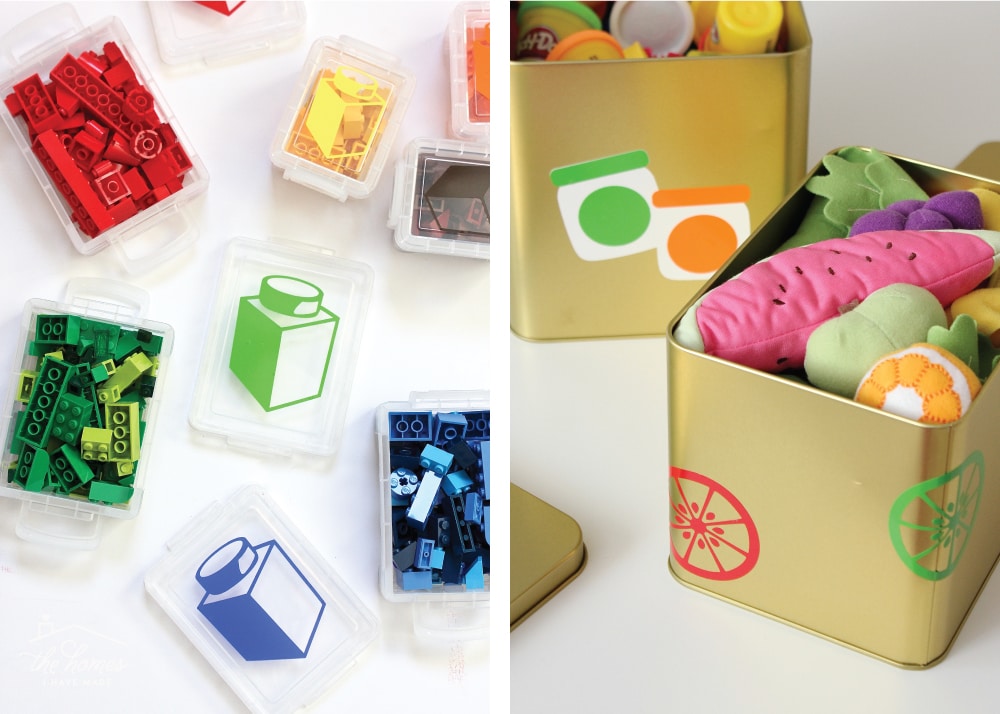
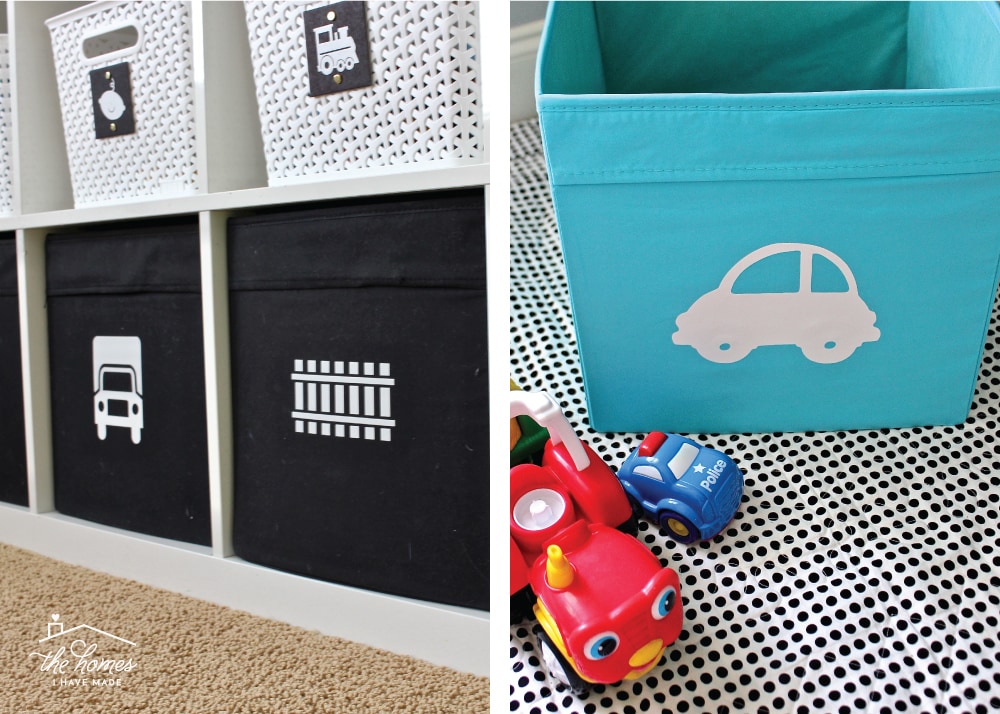
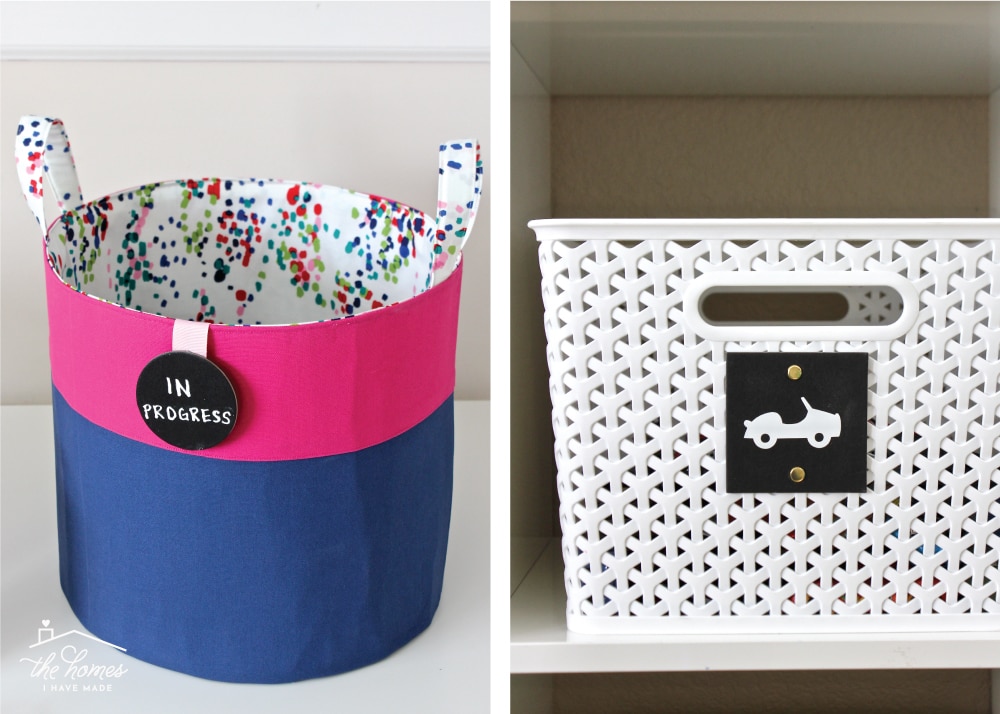
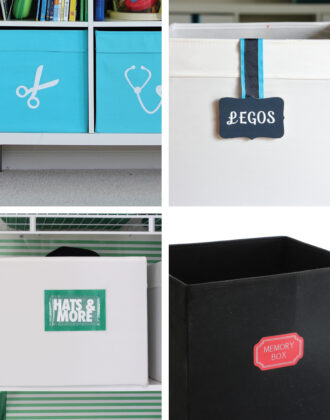
It’s really no secret around here that vinyl is my #1 solution for labeling hard, clean surfaces such as plastic boxes and smooth fabric totes. I love that vinyl is simple and quick to cut on my Cricut, and is available in practically any color and texture you can imagine. Most of all though, I love that vinyl labels can almost always be easily removed (residue-free), so it’s no problem swapping them out as needs evolve. When organizing playrooms and other kid spaces, I almost always rely on pictures as labels. Not only are they easier for non-reading kids to understand, but they make for a nice graphic pop on your shelves!
Puzzle Storage Solution | Toy Storage Ideas
Portable Lego Play Box | Toy Storage Ideas
Toy Storage Solutions in the Playroom | How to Make Toy Box Labels
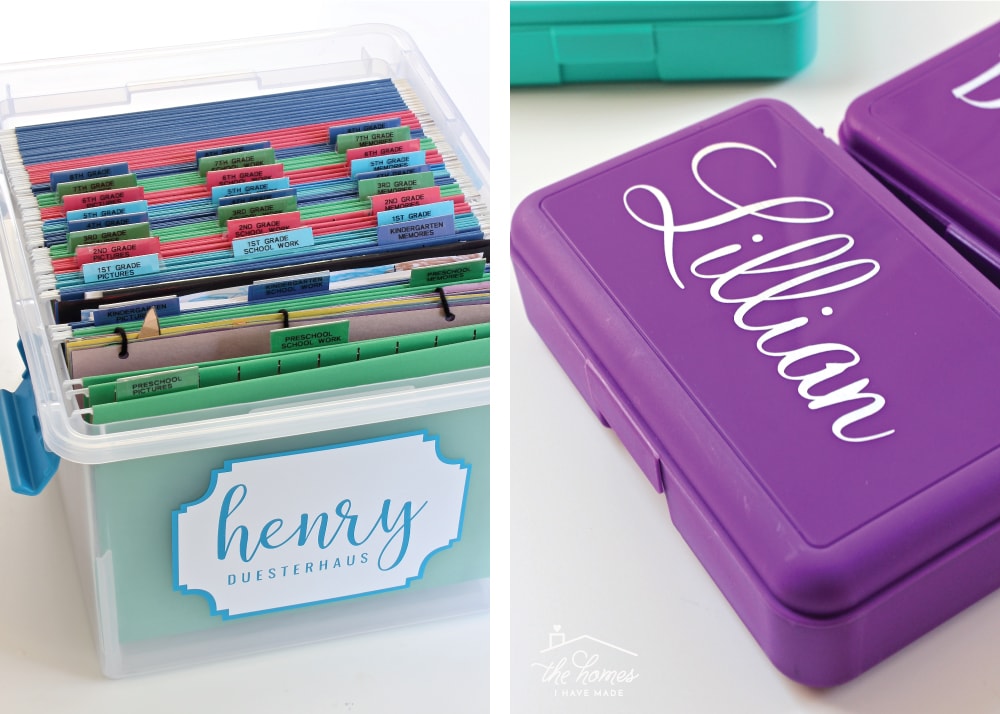
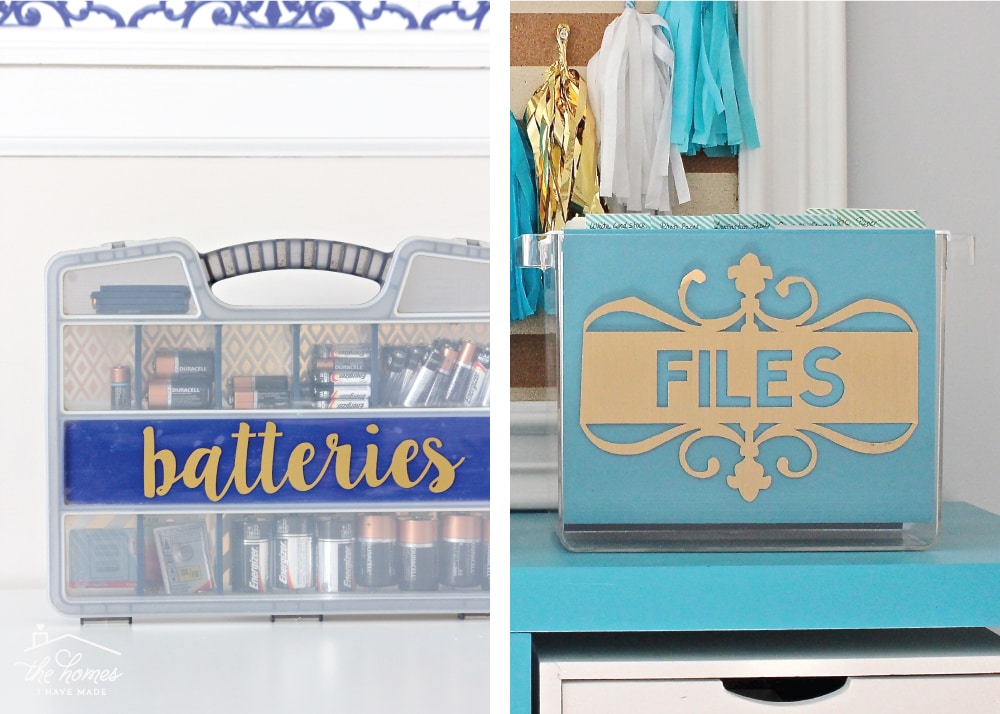
Vinyl Word Labels
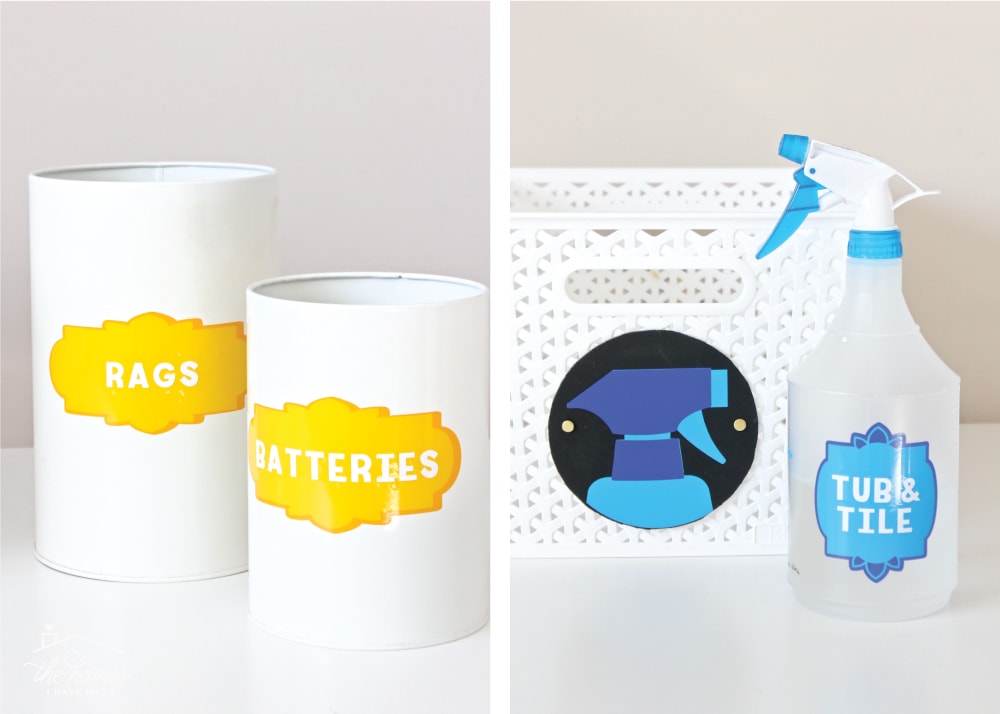
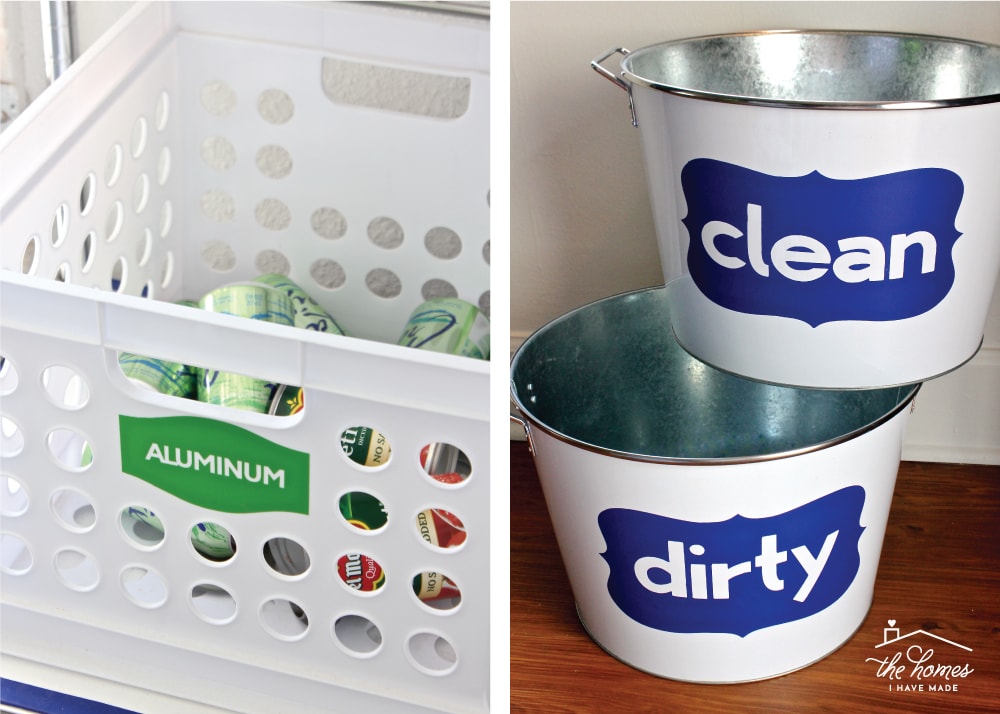
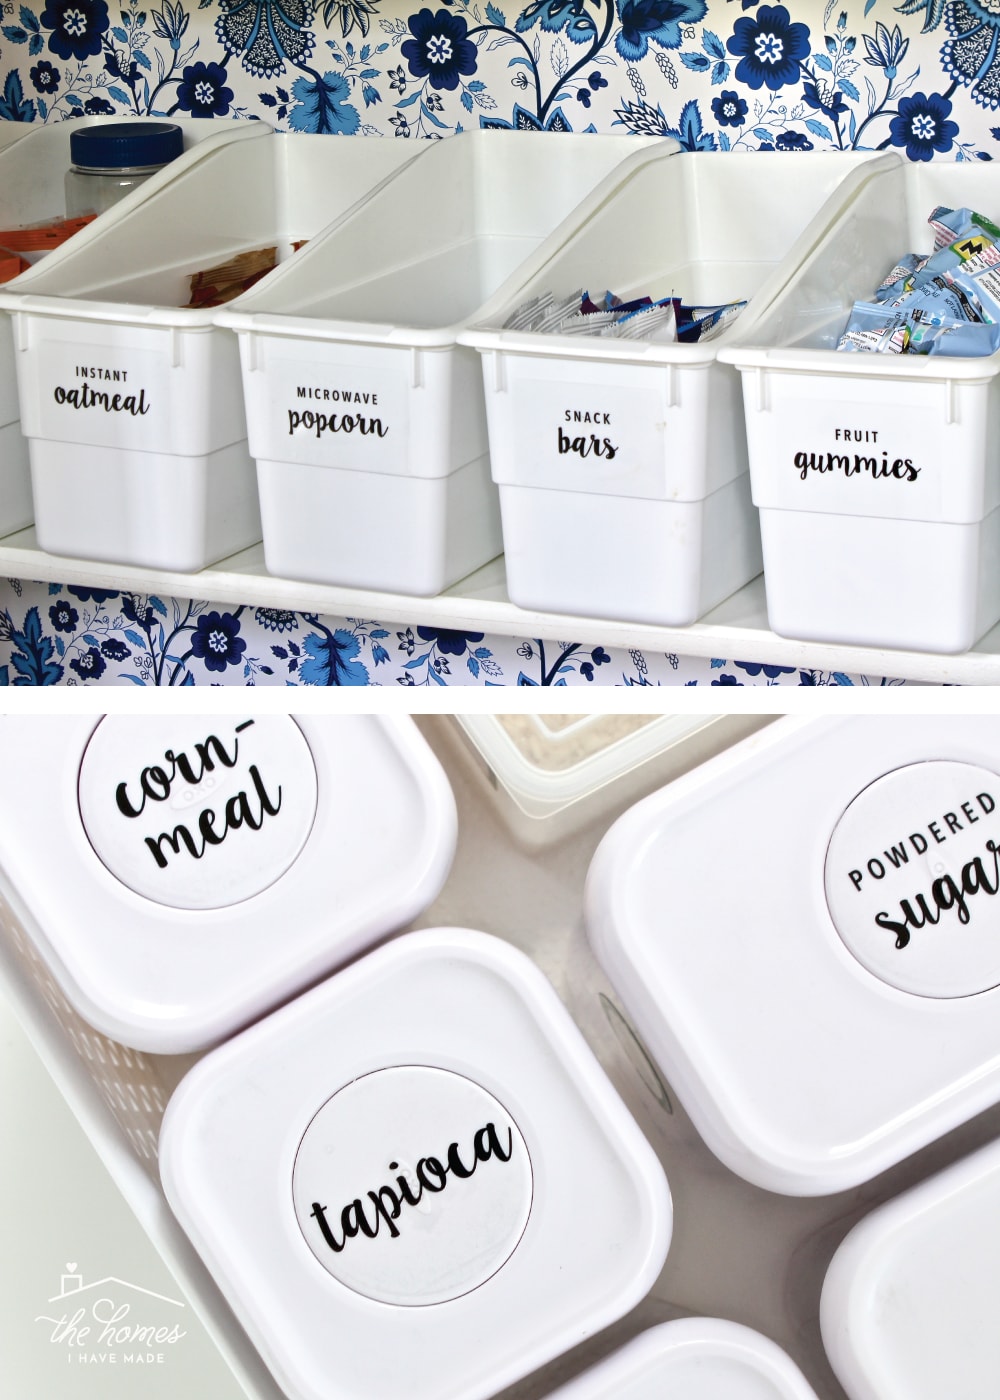
Although I love the look of an image label, it’s not always the right solution. Sometimes a basket or box will contain more than one type of item, so a single picture won’t quite cut it. Likewise, pictures can sometimes feel silly or childish in adult or professional spaces. When I am trying to label hard plastic containers in a descriptive yet polished way, vinyl words are usually my go-to solution. Just like the picture version above, I can cut vinyl words in any size, font, color and texture, which allows me to customize my labels to my style and spaces!
Kids’ School Paper Organization | Personalized Coloring Boxes
Battery Storage Case | Printer Station
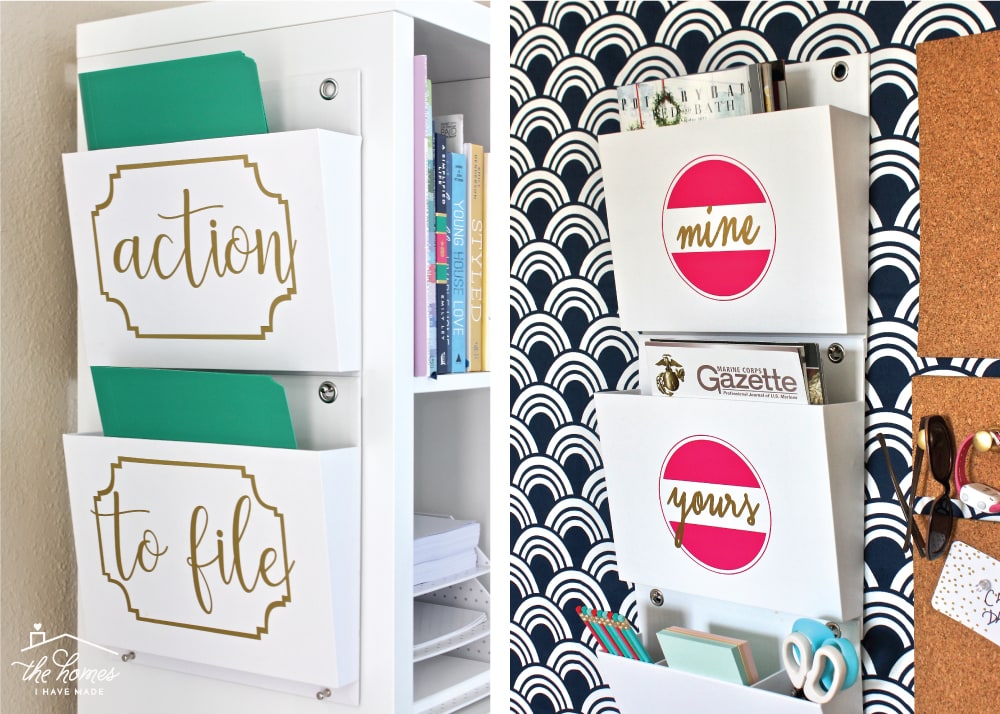
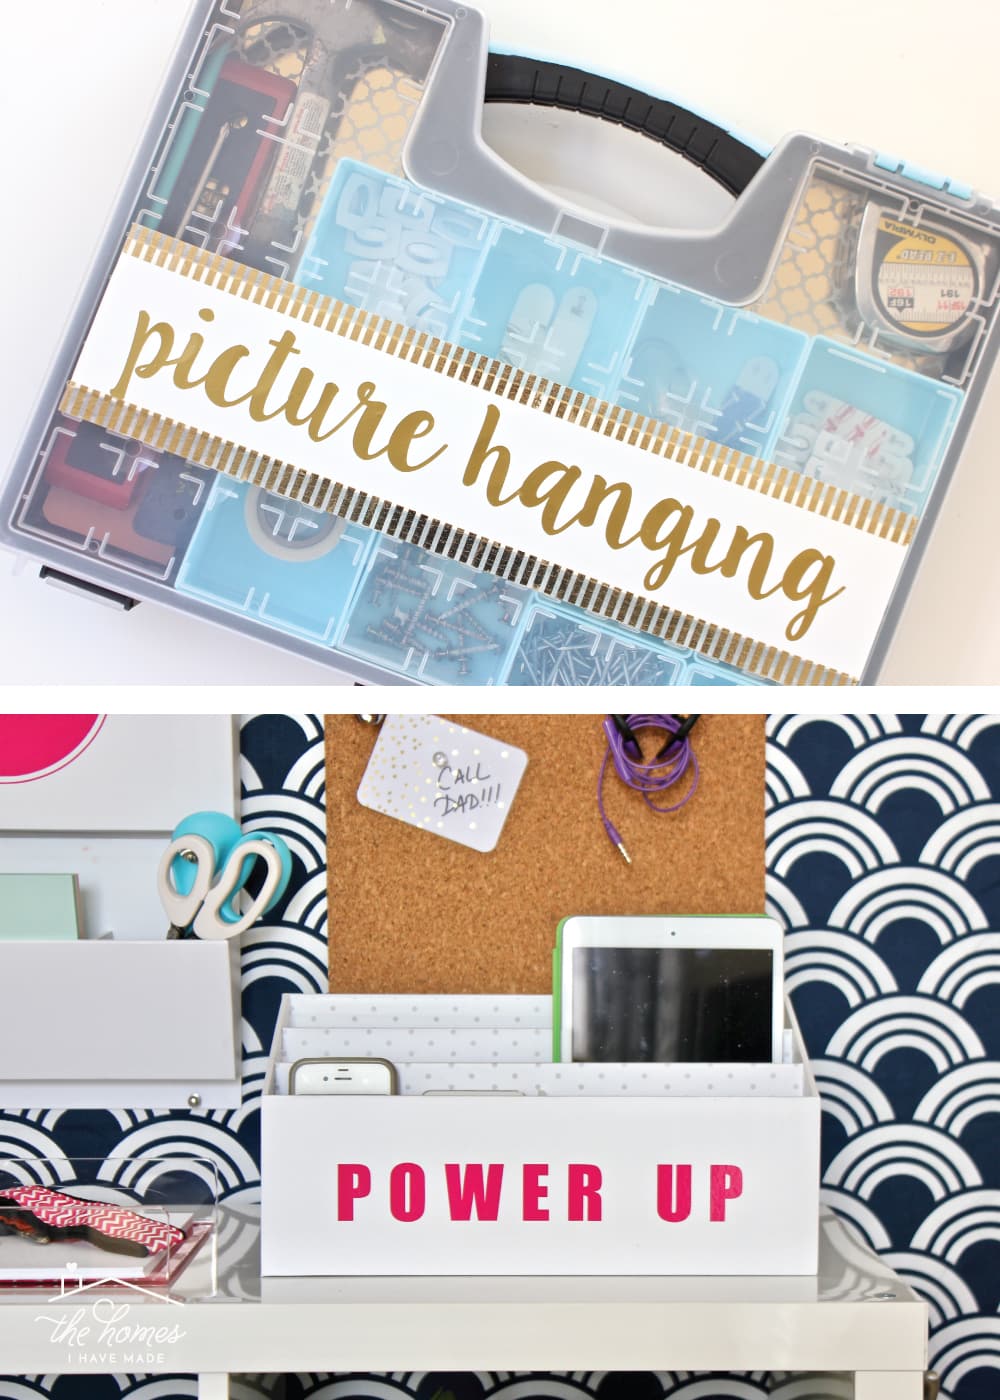
Establishing a Paper Flow In Your Home
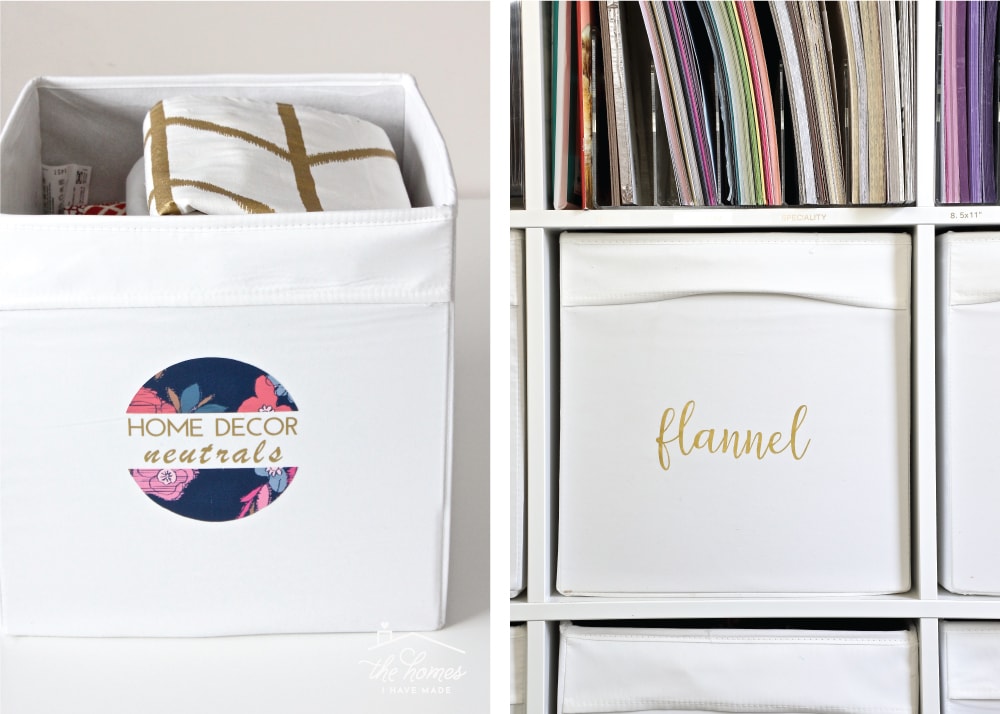
Fabric Storage Solutions | Cutting Vinyl
DIY Recycling Station | Laundry Bins
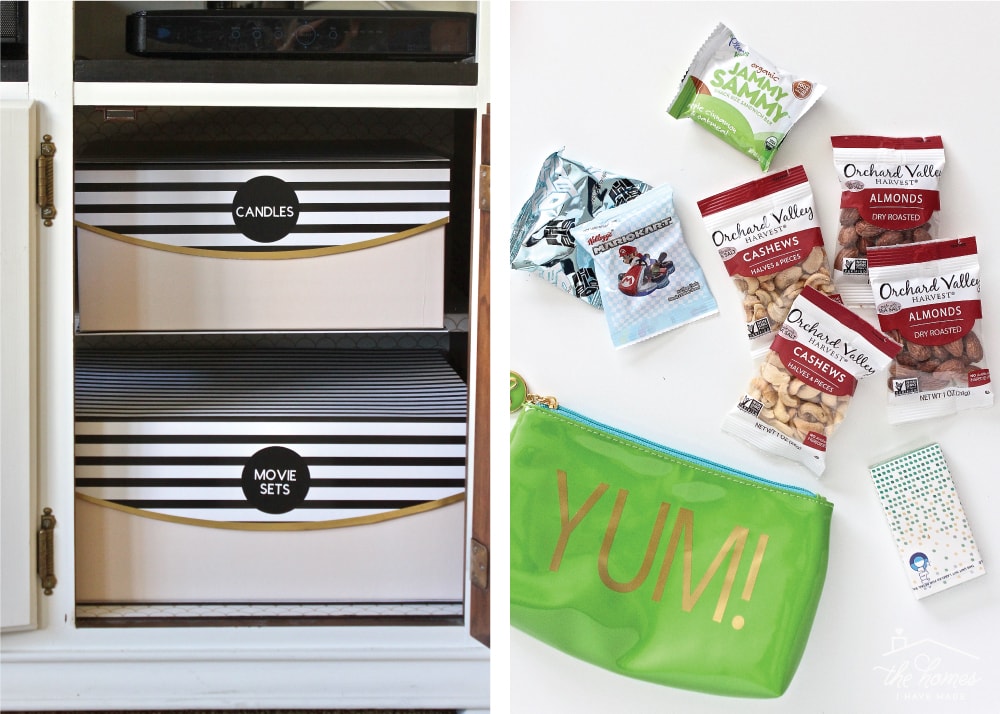
Under the Media Hutch Organization | Purse Snack Pouches
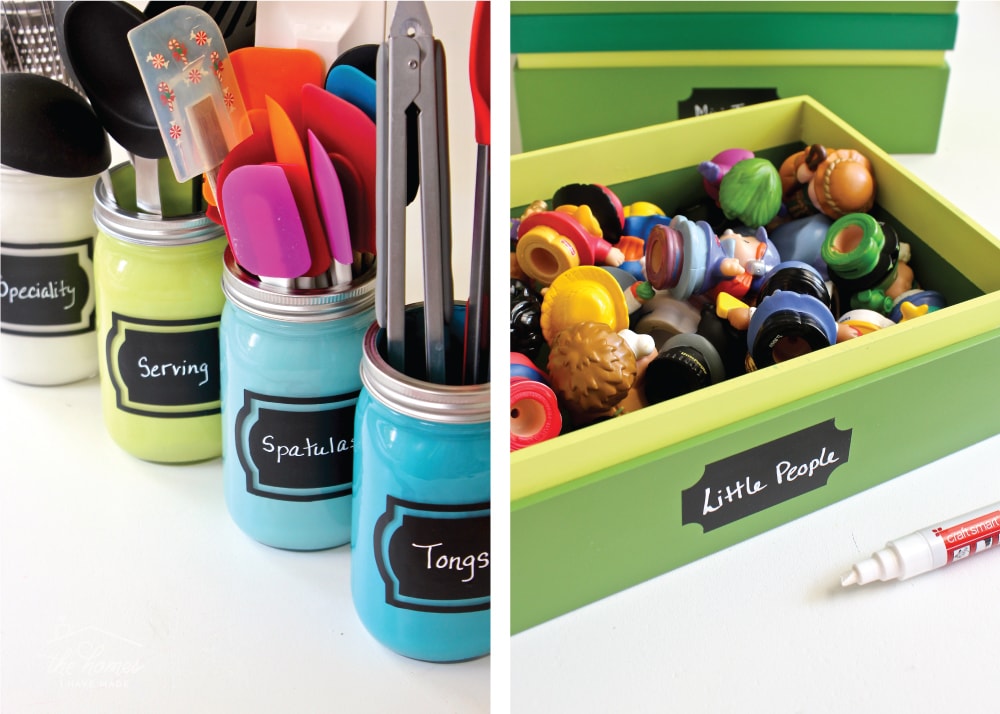
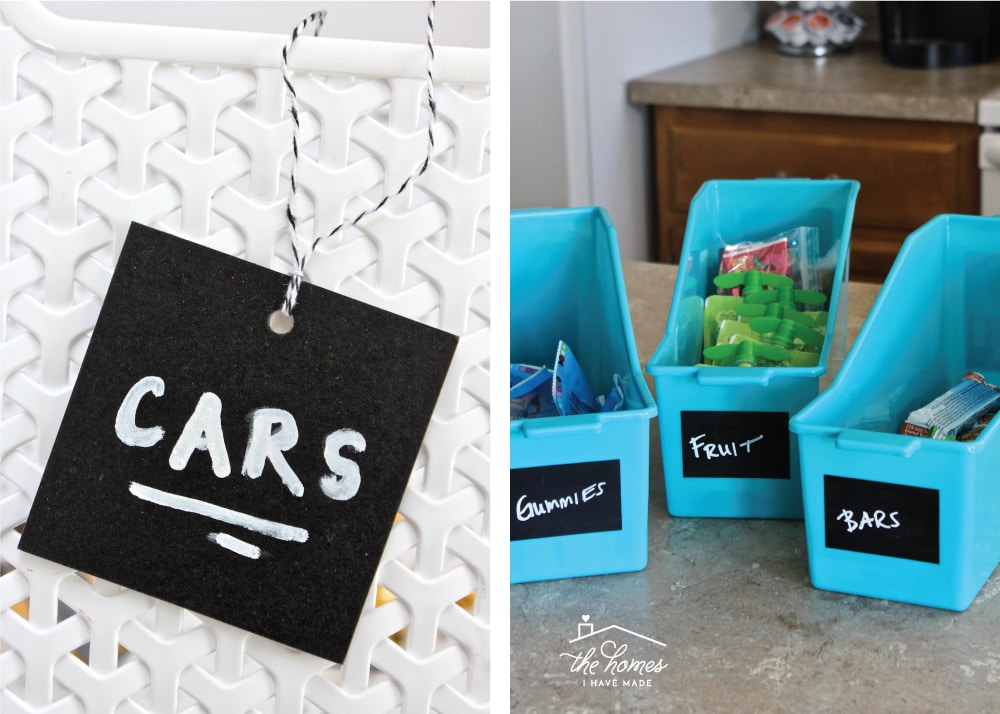
Chalkboard Labels
Chalkboard labels are a lot of fun and are really convenient since the wording can be swapped out so easily. While you can make your own labels using Chalkboard vinyl, you can also find lots and lots of great off-the-shelf options. My favorite chalkboard label trick? Black contact paper! Just trim it down to the size you need and use liquid chalk markers for a cleaner look!
Kitchen Utensil Jars | Mini Toy Storage Boxes
Super Simple Chalkboard Tags | Skinny Pantry Storage Solutions
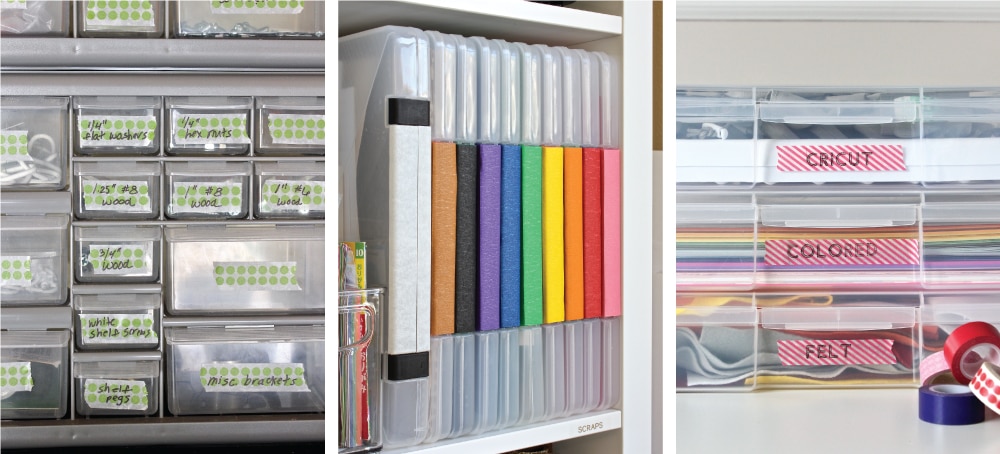
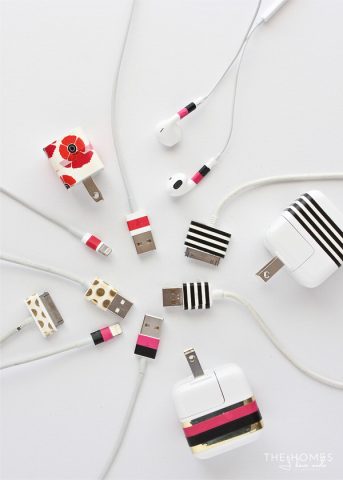
Tape Labels
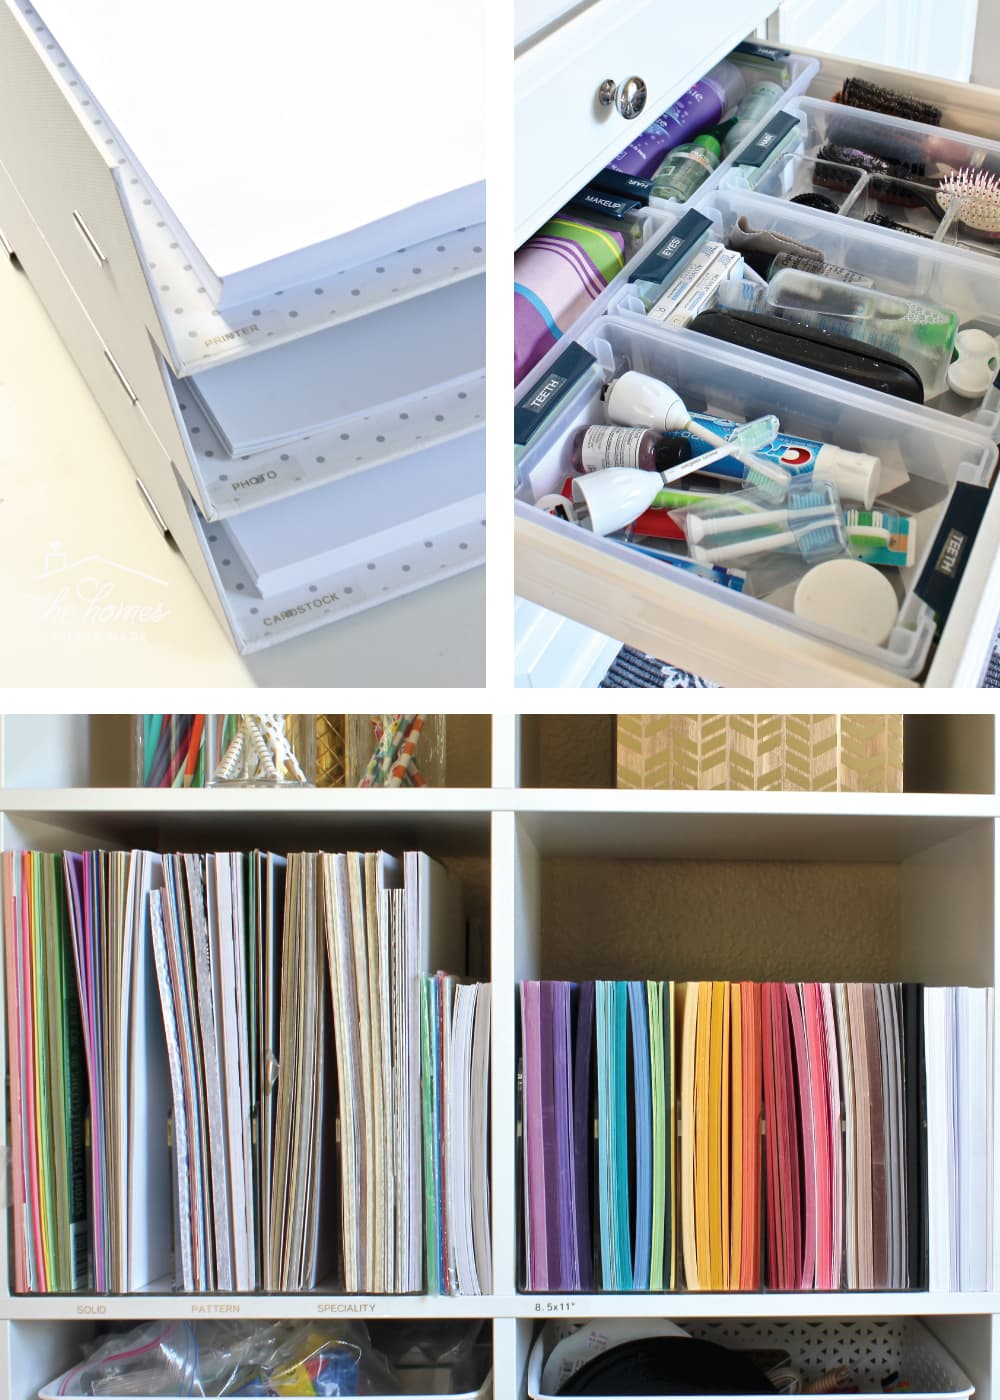
Washi tapes are another really fun and budget-friendly way to create eye-catching yet easily-removable labels! I will often use some patterned tape I love and write right onto it. When I need to swap the label, I just peel off the old, add a new stretch of tape, and write in the new label! What’s also fun is that the tapes themselves can act as labels, without even needing words or symbols. In my craft room, the colored tapes help me identify my scrap boxes; and different patterns set apart cords and chargers around our house!
Garage Labeling Solutions | Craft Paper Organization | Creative Ways to Label with a Cricut
Easy Cord & Charger Labels | Printer Paper Organization
Sticker Paper Labels
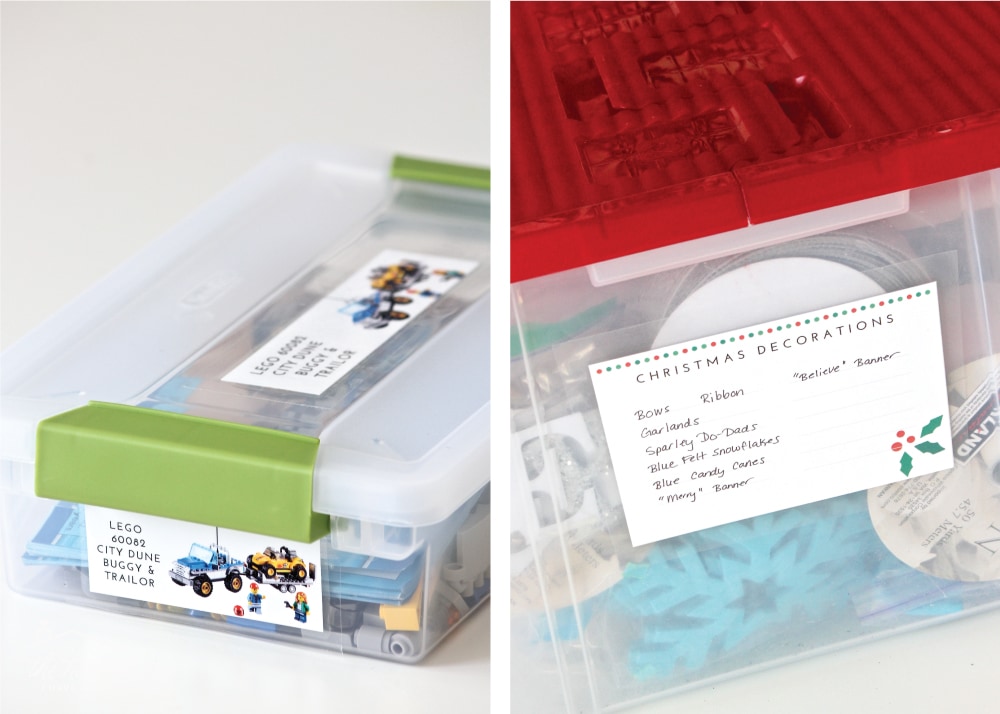
I realize a lot of you don’t have Cricut machines, so I want to remind you that your hope for cute and simple labels shouldn’t be lost! Another one of my all-time favorite ways to make labels is via sticker paper…either clear or solid white (depending on what I’m labeling). With sticker paper, you can create labels with any words, shapes or designs you can come up with on your computer, then you print them out (just as you would print anything else) and cut them apart with scissors. All of these projects below were labeled in this exact way!
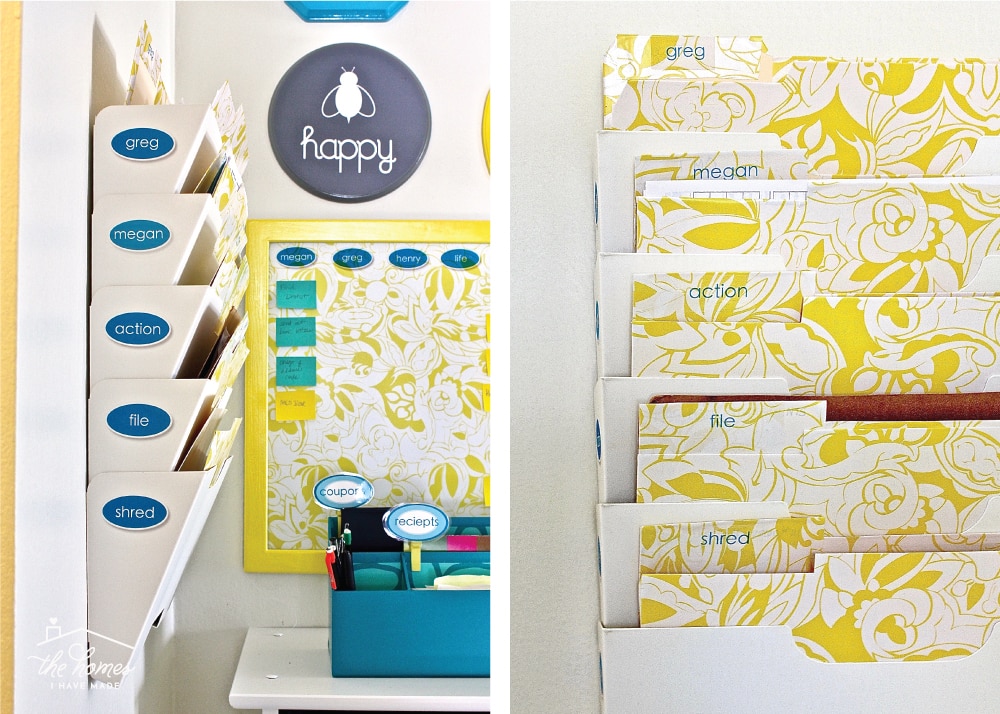
Family Command Center | DIY File Folders
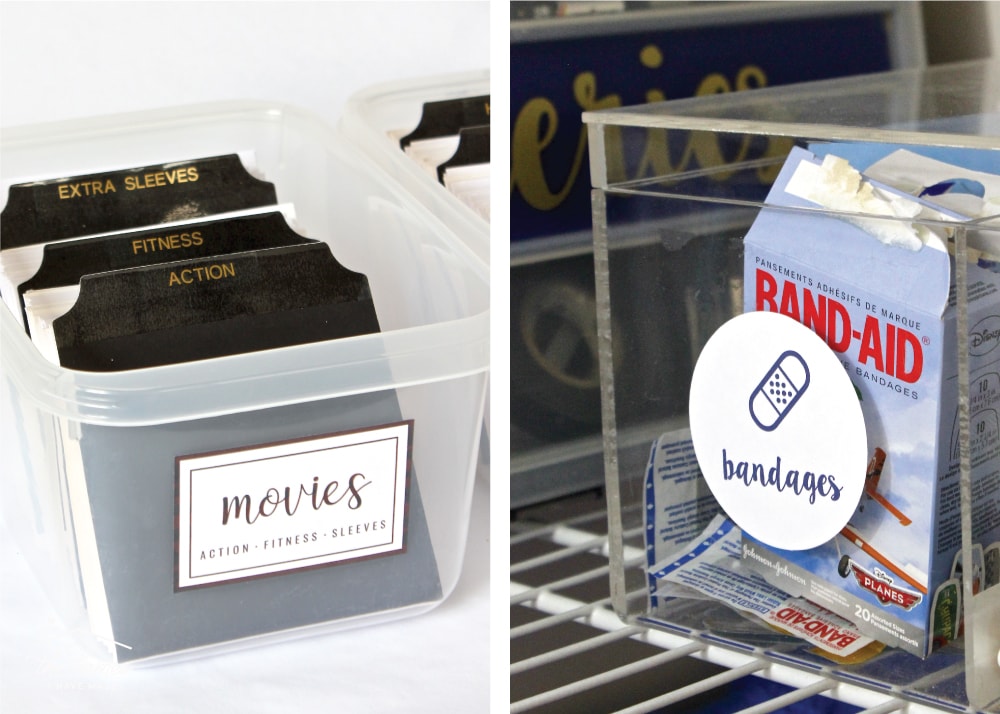
DVD Storage Boxes | Printable Household Labels
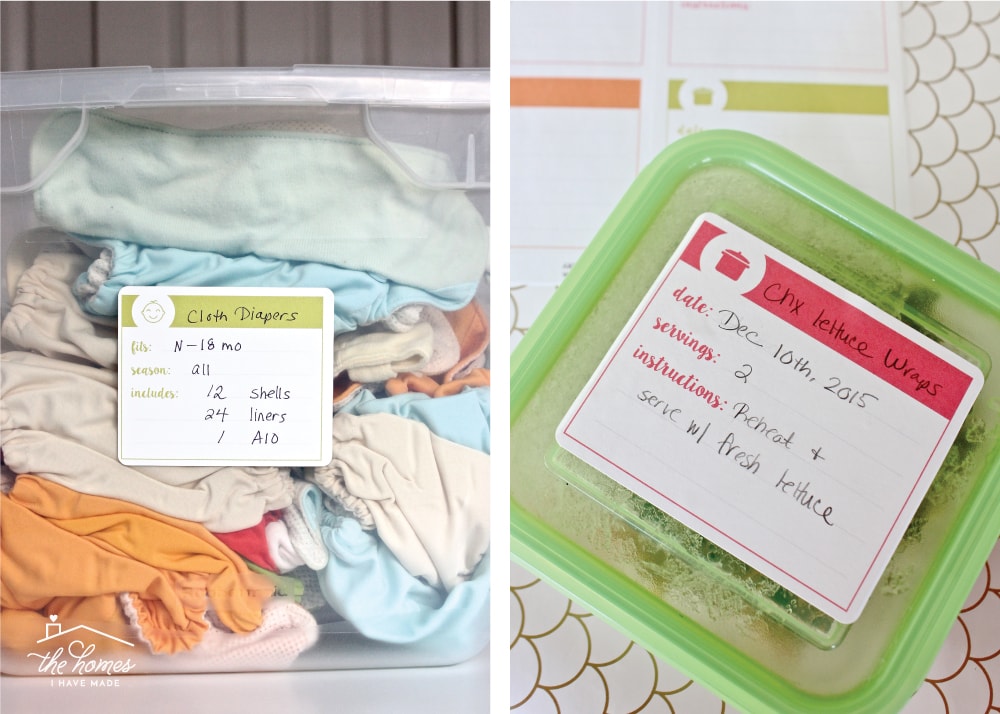
Printable Kids’ Clothing Labels | Printable Freezer Labels
Paper Labels
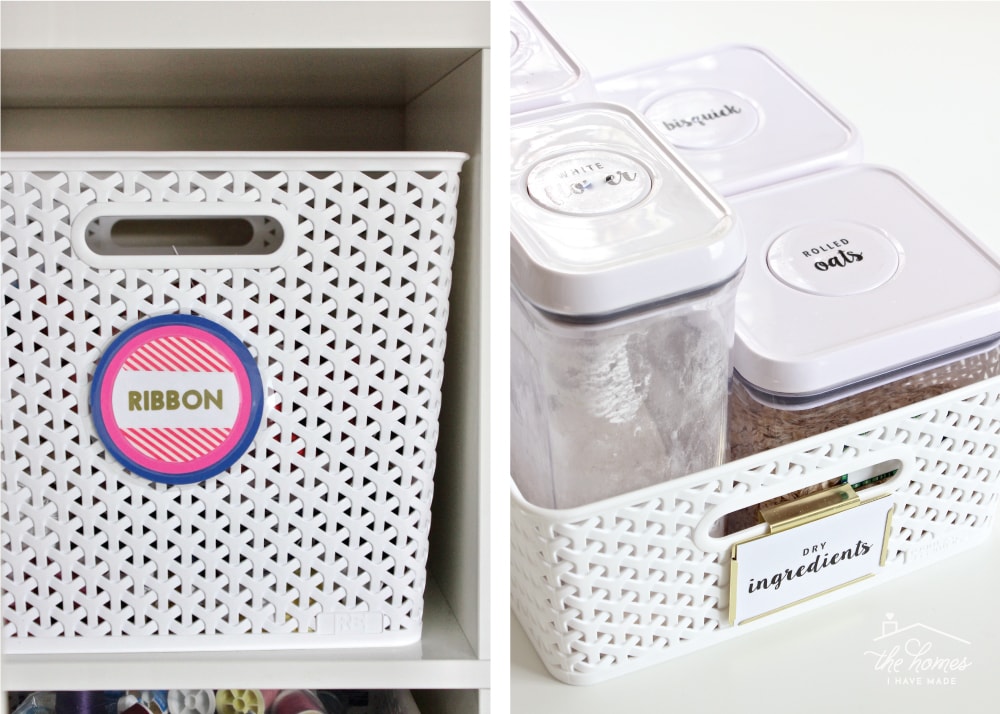
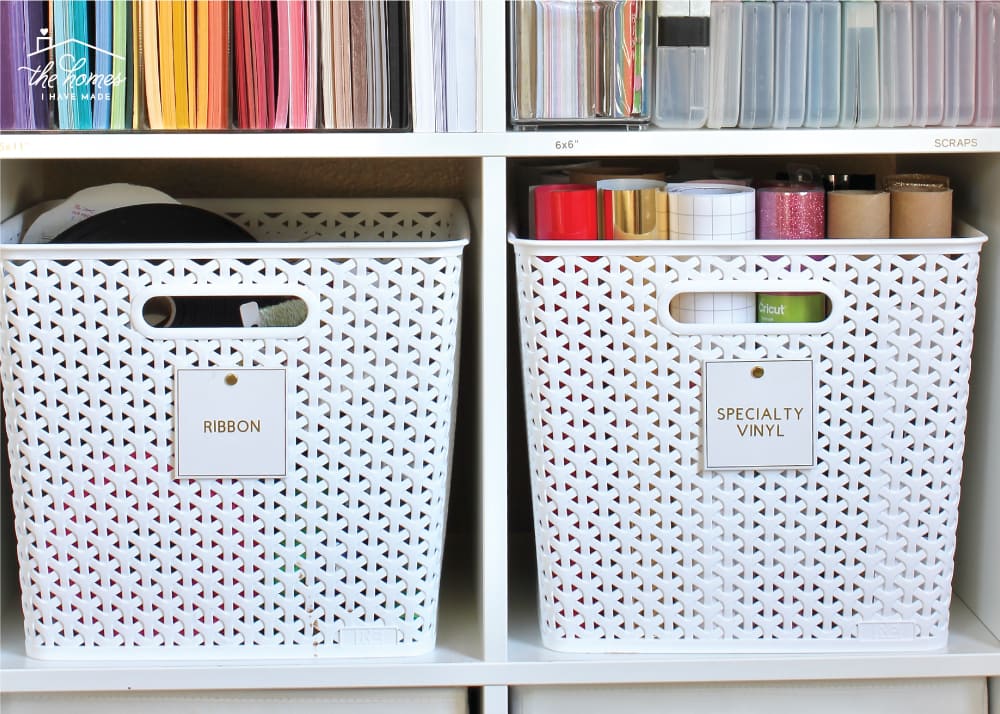
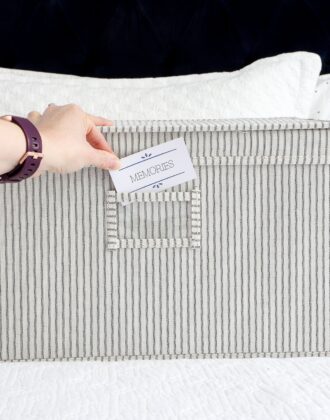
Sticker paper isn’t your only print-and-go option, though! You can print labels onto plain ol’ paper and attach them to bins and baskets too! When making labels from paper, I strongly recommend you use heavy cardstock (since it’s a little sturdier) and protecting it in some way (although it’s not always necessary). If I’m not using a label holder (such as everyone’s favorite gold ones shown below), I will usually laminate my cardstock labels or use clear packing tape to protect and secure them to plastic boxes.
Creative Ways to Make Labels with a Cricut | A Tour of Our Organized Pantry
LEGO Set Storage Boxes | Printable Holiday Decor Labels
Printable Household Labels | DIY Book Organizers
Stickers as Labels
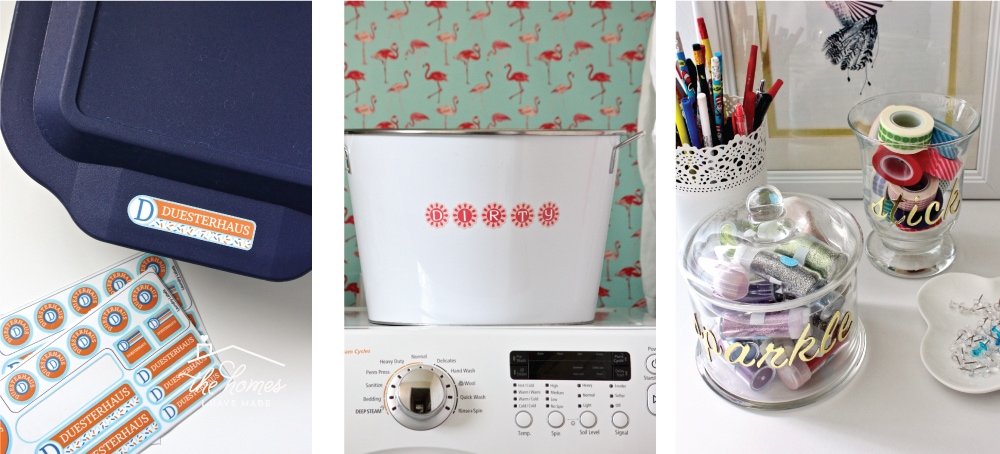
When you have smooth, flat containers to label, another fun option is stickers! Whether they are pre-printed stickers (like I use for our sippy cups and casserole dishes) or sticker letters from the scrapbook aisle at the craft store, these are a great solution especially if you don’t have your own cutting machine!
Labeling with Name Bubbles | Storage Solutions in the Laundry Room | Gold Sticker Labels
Labelmaker Labels
The label maker is my go-to solution when I need tiny labels for narrow spaces, or I want the label to be somewhat subtle. Label makers now come with lots of options including various sizes, fonts, and colors, but because the size is almost-always pretty small, they are best for smaller organizing details such as small boxes, dividers, and shelves.
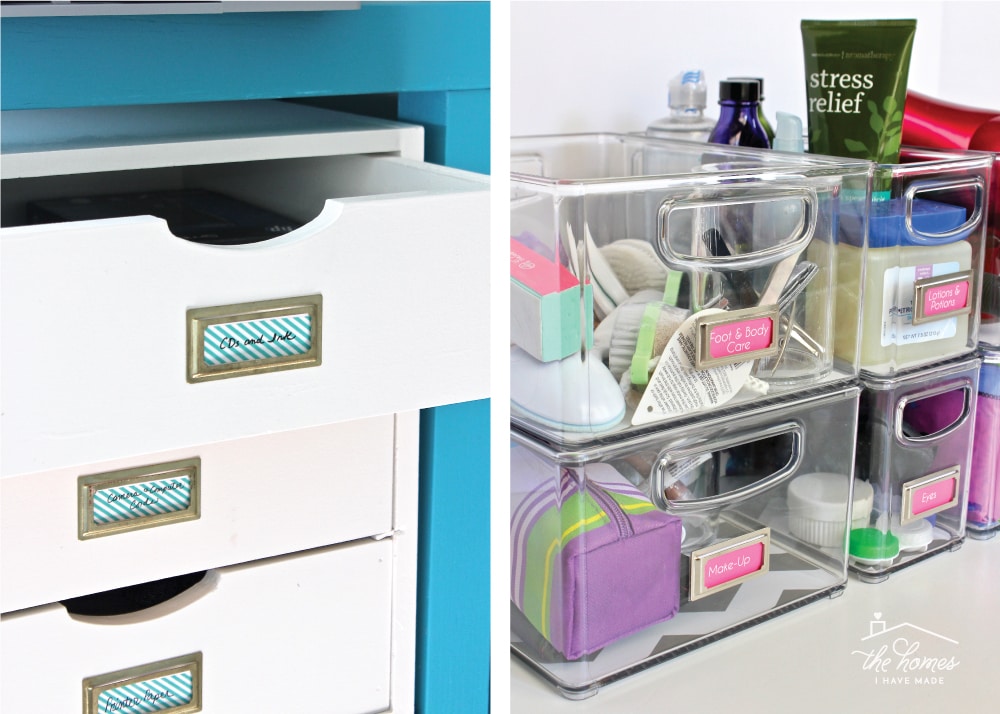
Craft Paper Organization | Storage Solutions for Bathroom Drawers
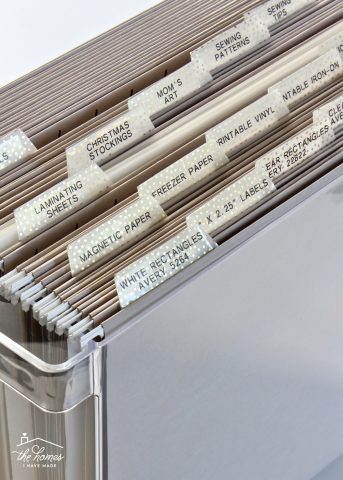
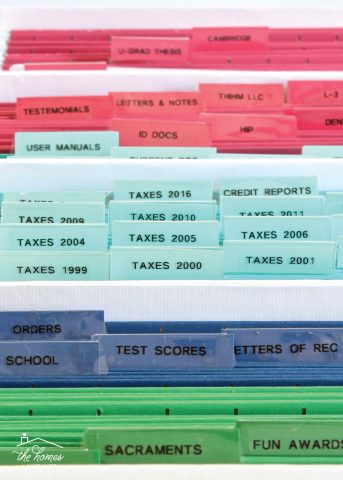
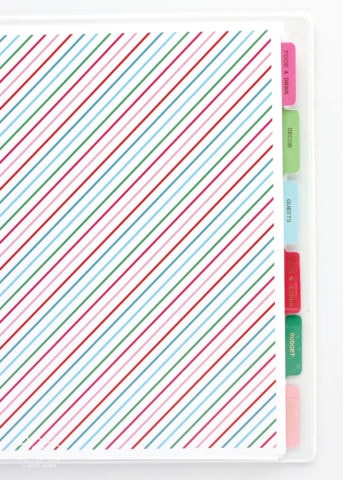
Filing Solutions | Printable Holiday Planner
Book-Plate Labels
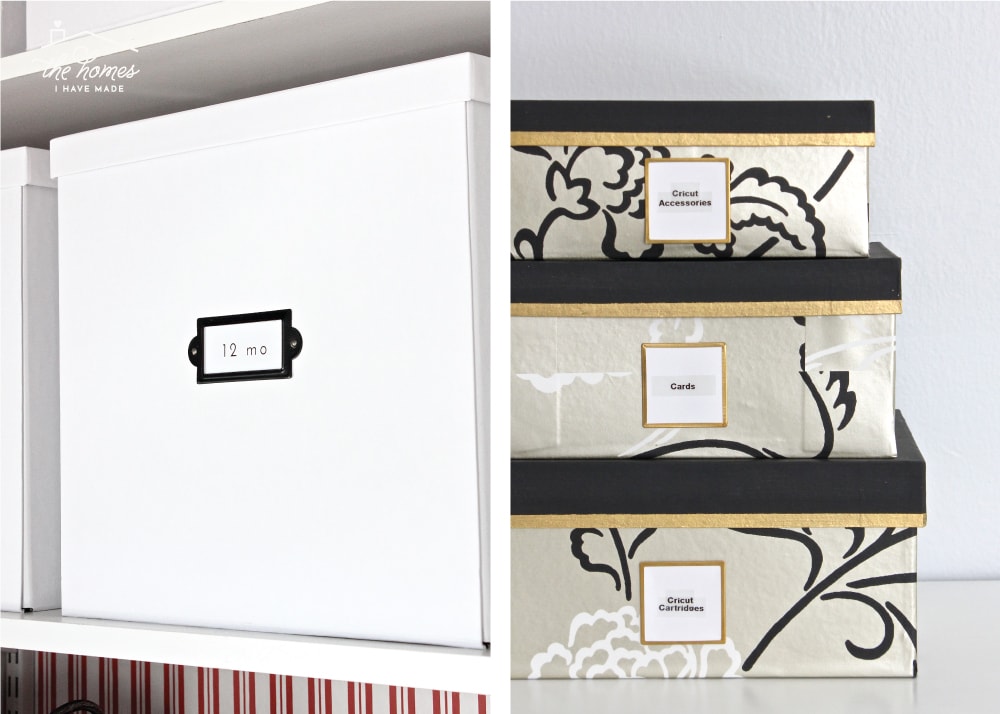
Sometimes you may not want to attach your label, no matter how you made it, directly to your container. If your label needs a little more presence or design, bookplates are a great way to set it off and make it extra special and more noticeable. I love these adhesive-backed bookplates, but I will often also scour the scrapbook aisle and the Target Dollar Spot for creative accessories to hold labels.
Nursery Closet from Top-to-Bottom | Wrapped Storage Boxes
Craft Towers | Small Bathroom Storage Ideas
Fabric Labels
Fabric is another option for creating labels, whether you create a fabric label holder or the label itself is sort of an applique. Although working with fabric can be a little tricker (since you often need to finish the raw edges), but it really opens up a whole host of colors and patterns to use in your space!
Fabric Luggage Tags | Family Command Center | Front Hall Closet Makeover
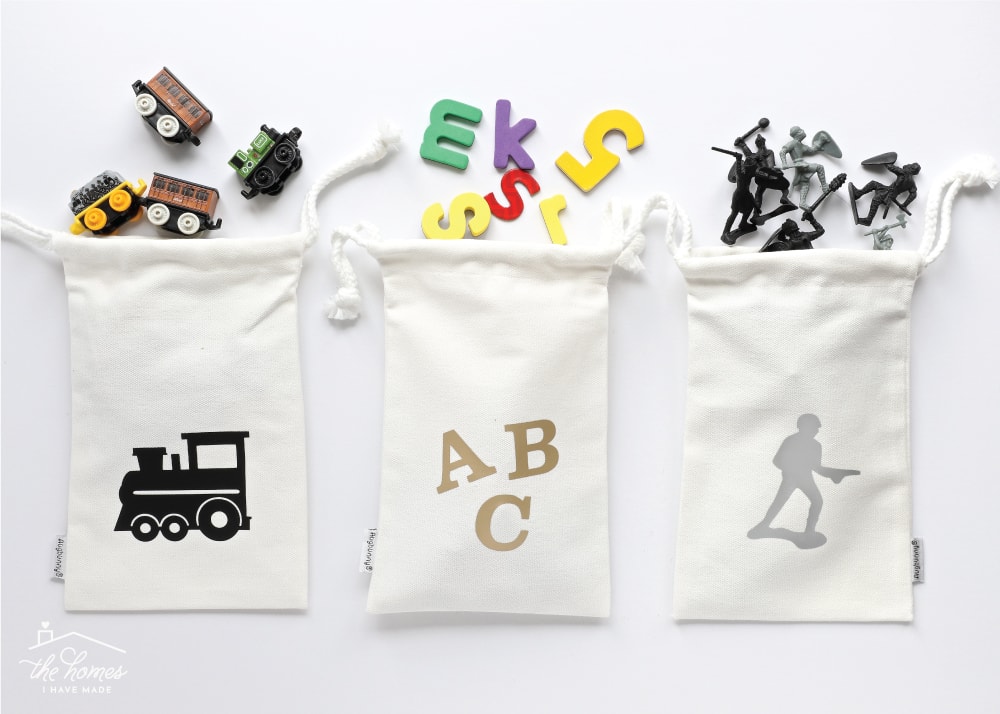
Tiny Toy Storage Bags with Iron-On Labels
Tag Labels
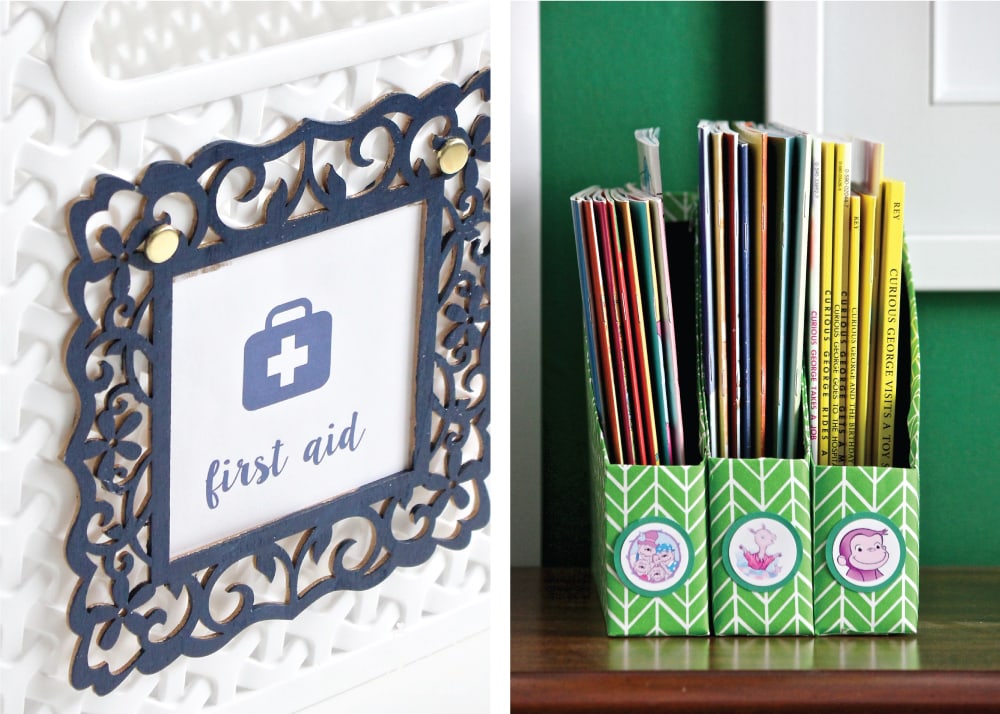
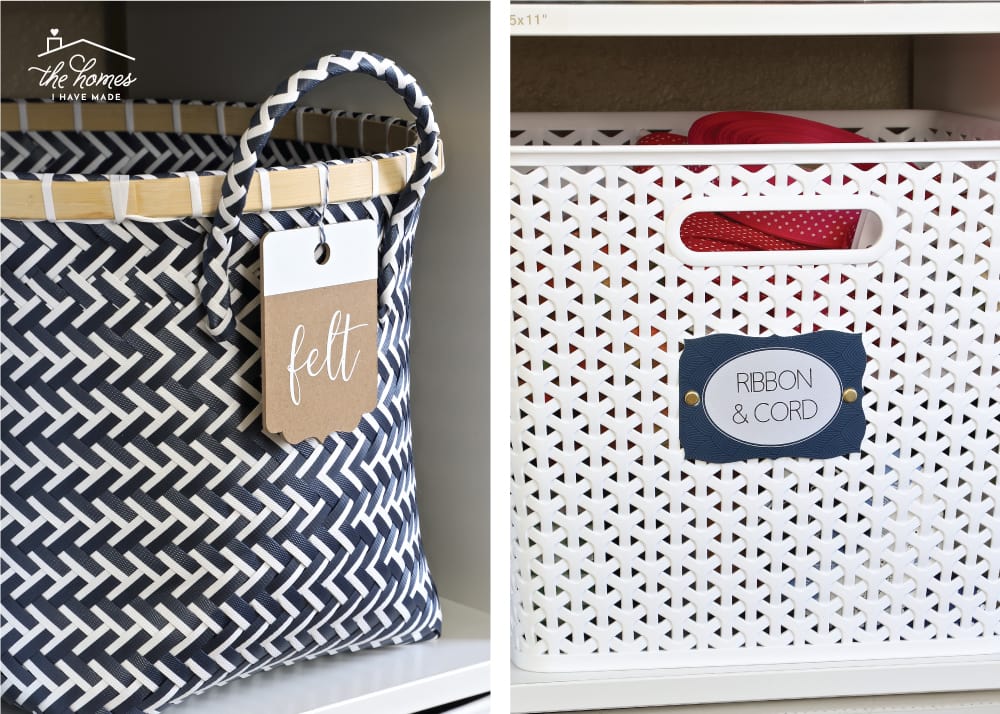
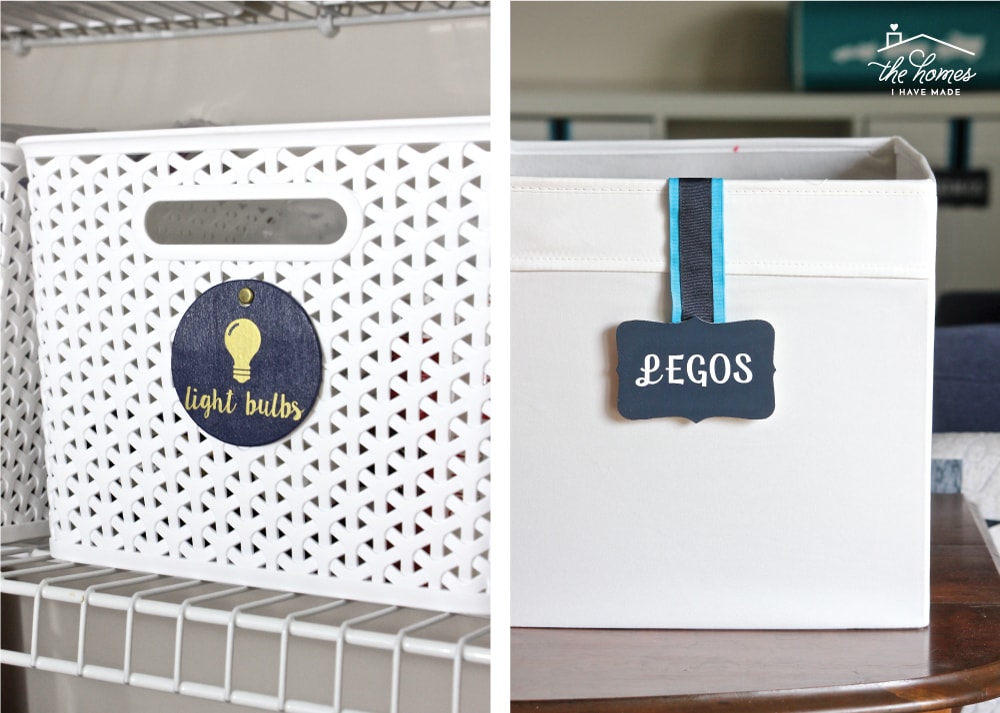
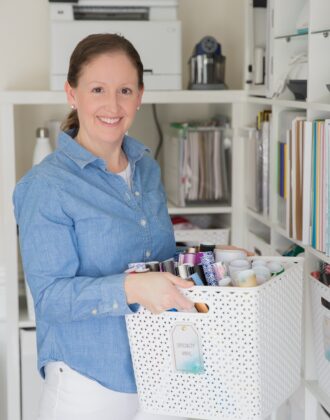
Next to vinyl, I have to admit that my other absolute favorite way to label baskets is via tags. Whether I cut them myself or use some cute off-the-shelf versions, I just find that tags provide that perfect balance of style and functionality. Over the years, I have used tags to organize toys, crafts and more…and usually use vinyl, pens, or even chalk to label the tags themselves. Tags are not only great because they provide a decorative detail to your utilitarian baskets, but they are typically really easy to attach, no matter what type of basket you have. I’ve used string, brads, Velcro and even magnets to attach tags to our bins!
Making Labels with the Cricut Maker
Household Label SVG Files | Magnetic Labels
DIY Canvas Totes | Easy Chalkboard Labels in the Playroom
Number Labels
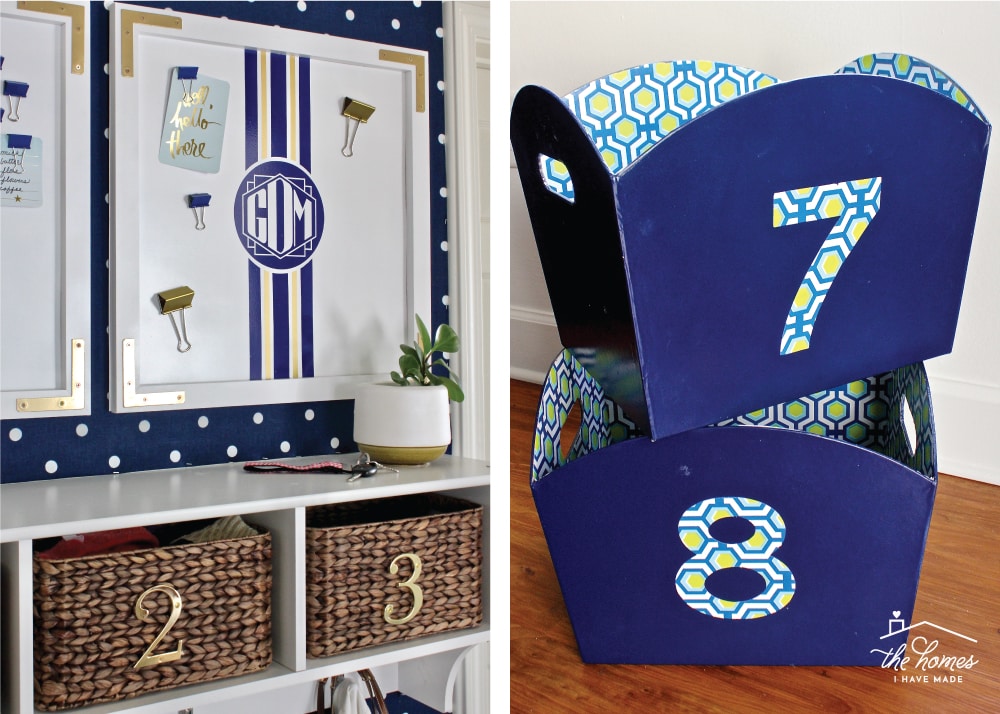
Every now and then, a picture or a word or a sticker or a tag isn’t quite right. Whether it’s because of the texture of the basket or how we use them, I have sometimes relied on simple numbers to set baskets apart. This works best in an entryway where you might want things to look a little nicer. For example, instead of a big label saying “Hats,” the whole family learns that the hats are in the #2 basket! Wondering what those gold numbers are? They are mailbox/house numbers!
Family Command Center Take 2 | Laundry Room Storage Solutions
Dry-Erase Labels
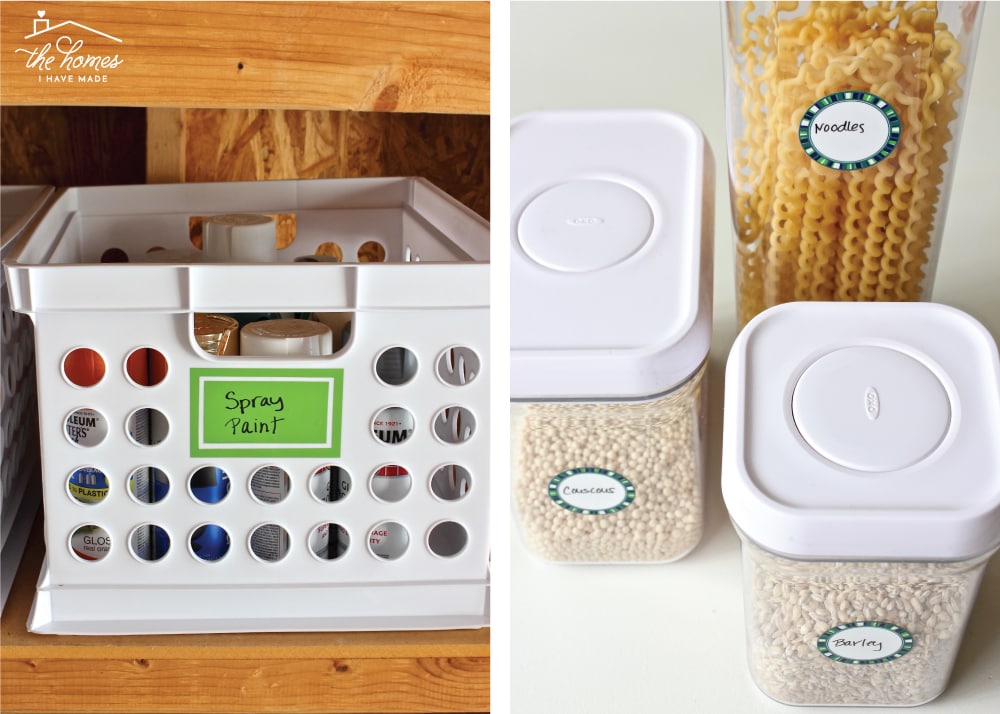
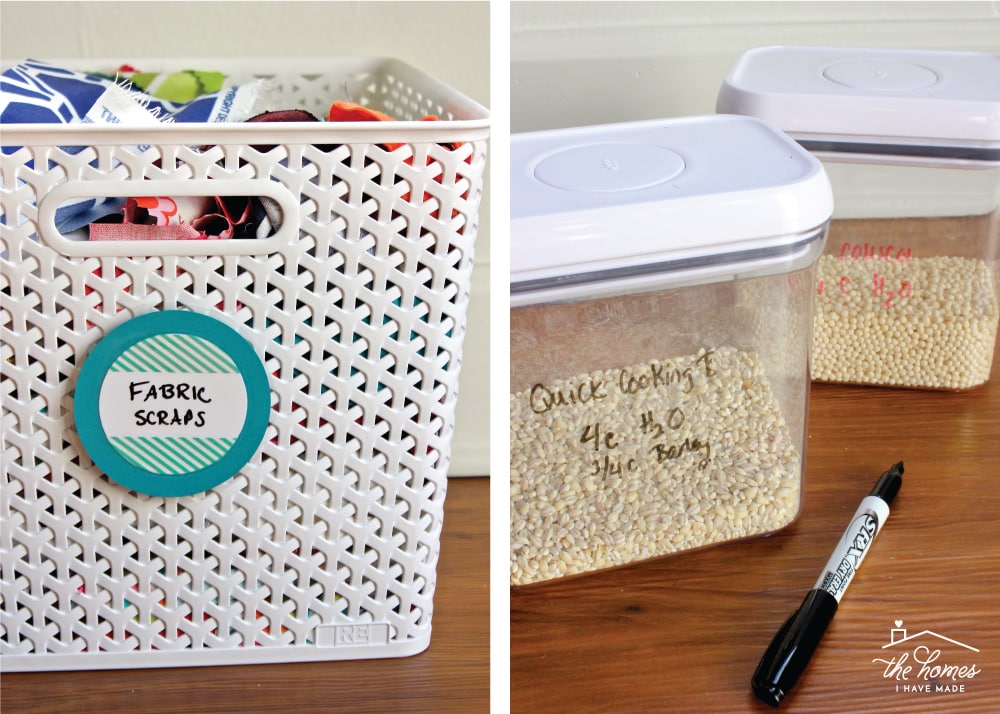
As much as I love a pretty label (and if this post has shown you anything, it’s that I loooooove a pretty label!), sometimes I just need something quick, easy and practical. And what is more practical than a dry-erase marker? I will quite often write directly onto wipeable plastic containers, but have also made my own dry-erase labels using scraps of vinyl or laminated paper!
Garage Label Solutions | Dry-Erase Labels in the Pantry
DIY Dry-Erase Labels | Quick & Simple Pantry Labeling Solution
My Favorite Ways to Attach Labels
Coming up with an adorable and descriptive label is one thing…attaching it to your basket, bin or box can sometimes be another task all together. Many of the pictures above are pretty self-explanatory regarding how the label was attached (and if you need more info, just click the link below each photo). Nonetheless, I wanted to quickly run through my go-to methods for attaching labels to bins and baskets:
- Adhesive – In the case of vinyl, stickers, tape, label maker tape, or sticker paper, these products come “pre-sticky” and can be applied directly to any hard, smooth surface without too much trouble!
- Brads/Fasteners – Brads, yes from the office section, are actually my favorite way to attach labels to any basket with holes in it (like my trusty Y-weave baskets). Not only do they function perfectly, but they can also be found in a variety of sizes and colors to suit your needs and style.
- Velcro – If I am trying to secure a label to a basket and it either doesn’t have holes or I don’t want to make holes in my label, peel-and-stick Velcro is usually what I turn to. Just a 1″x1″ square is all you need to attach any size label, and the adhesive on that stuff is strong so don’t worry about it falling off.
- String – Admittedly, string is not my favorite method for attaching labels, only because I prefer a more clean and modern aesthetic. Nonetheless, ribbon, twine, cord, and decorative string are all great options, especially if your basket has handles.
- Packing Tape – This one might seem a little funny, but I swear by it! Clear packing tape is not only super strong, but it’s glossy protective finish often acts as a self-sticking laminator. Packing tape is not only how I make all my binder tabs, but how I secure/protect almost any cardstock label directly to plastic bins.
- Magnets – Magnets are a great solution if your basket doesn’t have any holes or handles and you want a very clean look. Simply hot glue one magnet to your label, and secure with another magnet inside your basket. However, I always get nervous with little ones around, so I don’t use this solution very often.
- Screws – Did you know that you can screw into wicker? You sure can, and they hold really, really well! Just be sure you use shorter screws so they don’t poke too far to the inside of the basket and scratch you every time you reach in!
Phew! I’m exhausted! Who knew there were so many creative ways to label baskets and everything else around your home?!? Ha – I guess I did! And the crazier part is that I actually have a bunch more labeling ideas to share with you in the coming weeks! I’ll be sure to update this post as I do, so bookmark this page for future reference!
I hope you all have a great weekend, and I’ll see you next week!
Megan




One Comment on “70+ Creative Ways to Label Baskets, Bins, Boxes and More!”
I worked hard this past year de-cluttering and containing and this post has me inspired to finish the job and label those containers. Thanks for the great label inspiration!
Jennie