Organize This: Recycling
Before I get into today’s post, I have to say THANK YOU for all of you who left awesome and encouraging comments on Wednesday’s post! The Military/lifestyle posts are often some of the hardest and most time-consuming ones I write…and in the midst of it, I often wonder if I should even bother. And then I get such an amazing response, showing me that the long writing sessions and soul searching were worth it. You guys are the best!
Today’s post is the next in my Organize This series! This series is not about huge, fancy organizational makeovers, but rather small, quick, easy and smart solutions to everyday household conundrums. Today, we’re chatting about recycling!
With every move, there is a certain amount of re-figuring out the house, our organizational systems, and how we live/function in the space. Some things we figure out quickly…others take us a bit longer to work through. In this latest house, one of our bigger adjustments was to our new recycling situation. Seriously. For the past four years, maybe even longer (I can’t remember), we have had a single large trash can to collect all of our unsorted recycling. We’d toss all of our recyclables in without washing or breaking apart or removing labels, and it was all picked up alongside our weekly trash.
When we arrived in Kansas, we discovered the bummer news that not only was there no curb-side pick up for recycling, but that we had to sort and drop it off ourselves. I am certainly not trying to complain here, but after years of not really putting in any effort to recycle or establishing any organizational systems, we were finding ourselves with big heaps of recyclables in the garage with no real means of corralling it or a schedule for getting rid of it. And wouldn’t you know right before this move, we sold our recycling bins at a yard sale because we never used them. However, by repurposing items we already had, we were able to to make a simple yet perfectly functional recycling station without spending a dime!
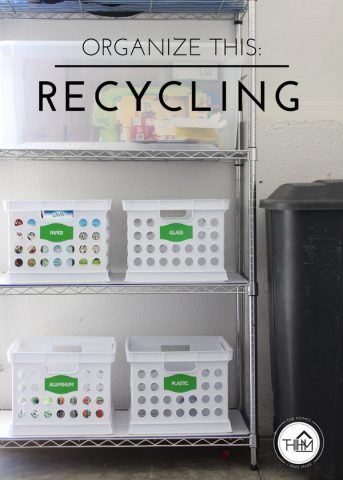
When you move, it can really feel like you are “bleeding money” for a good few weeks because of the inevitable new furniture purchases, as well as replacement doormats, cleaning supplies, trash cans, foods etc. Since we had just sold our recycling bins, weren’t sure we would need recycling bins in our next house, AND didn’t want to spend even more money during the move-in process, we decided to skip the fancy store-bought recycling bins and shop our home to see if we could make something work. When Greg suggested that we use the crates that used to live on our garage work benches, I was super skeptical. I didn’t think they would hold very much, and I worried about how best to stack/store them. But man oh man, have I been surprised how ideal this solution is!
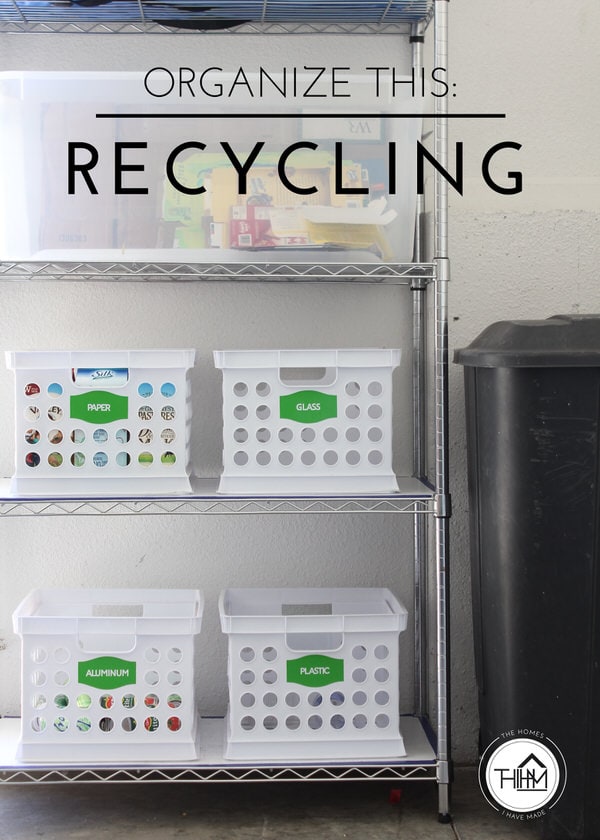
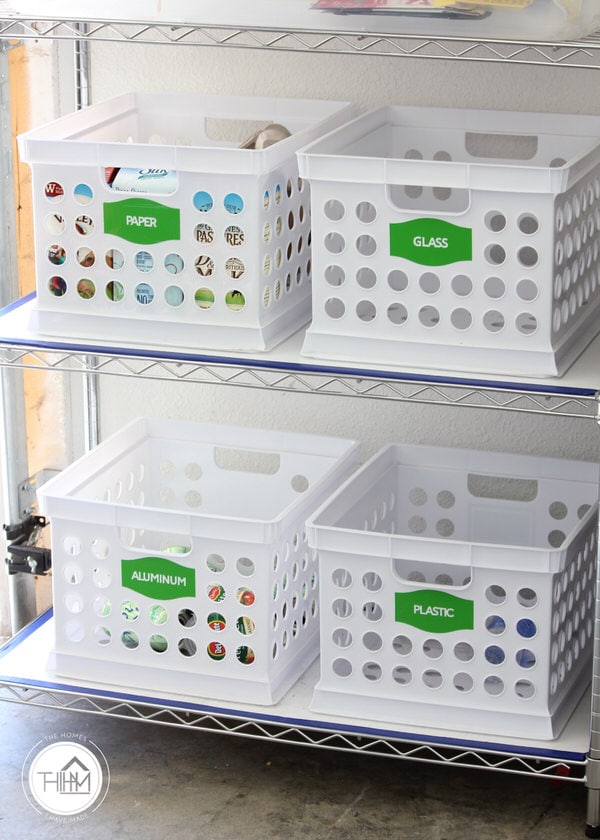
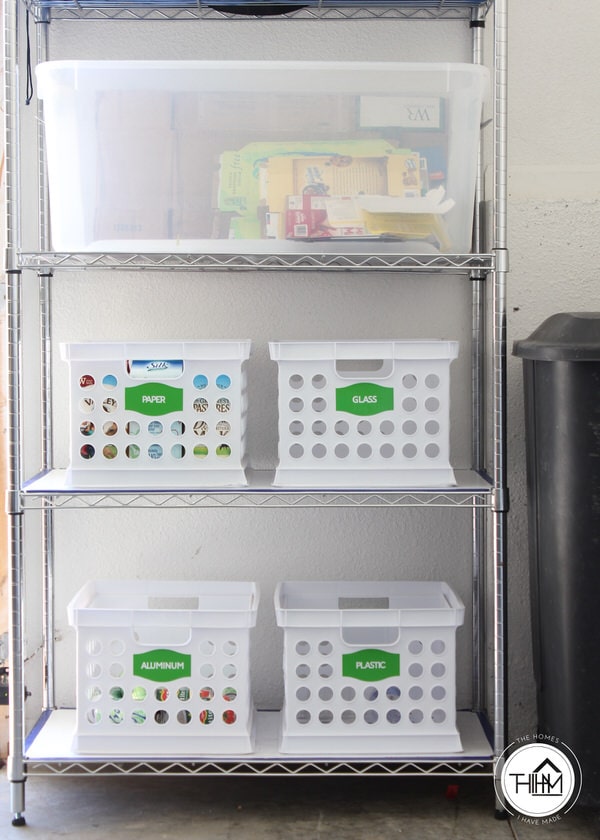
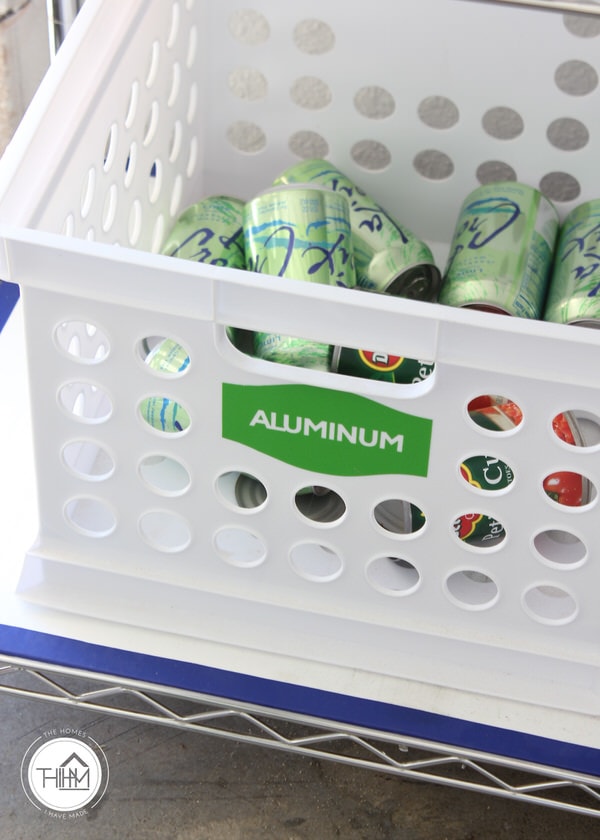
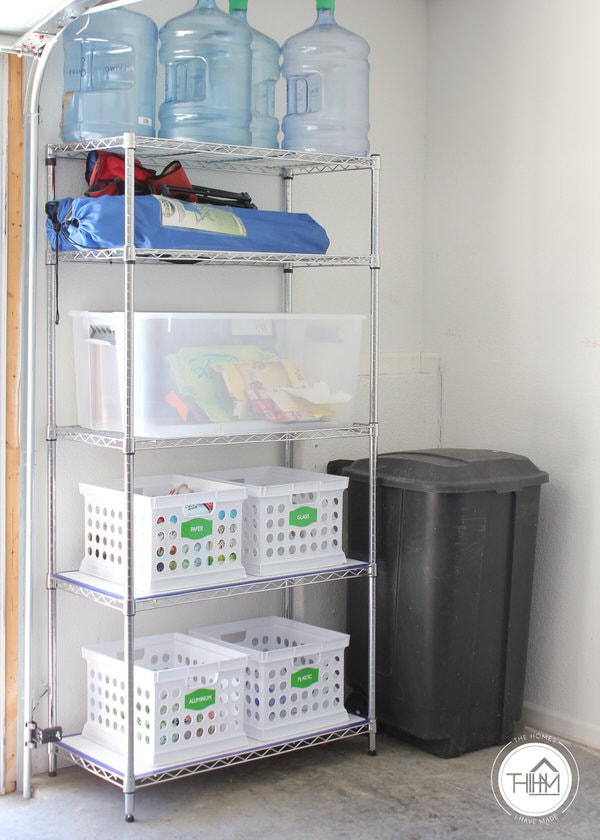
The crates are roomy enough to hold a week’s worth of recyclables; and they are plastic, so they can be easily washed out. And the best part of all? The crates are compact enough that we can easily load them all into our cars and take them to the recycling center once a week. Arriving at the recycling center with everything pre-sorted has made for a much more efficient experience overall…one that will make us more inclined to keep at it!
Of course, I can never resist a simple DIY touch…even for the trash…so simple vinyl labels help keep everything sorted! (These labels were straight from the Cricut Design Space library as is, so they were literally cut and applied within minutes!)
I didn’t like the idea of the crates sprawling across the garage floor, so we loaded them onto the metal shelf from our old laundry room. Combined with a single big tupperware for broken-down boxes and large, flat cardboard, we now have a simple and streamlined system for regularly dealing with our trash!
This certainly isn’t a super Pinterest-worthy project, but I really like to show how we use our items and our spaces differently in each home we live in. We had an unexpected need in this latest home, but were able to solve the situation quickly and cheaply but thinking creatively with what we already owned!
Organize This
My Organize This series is all about (relatively) simple and quick organizing projects that make a big difference in your day-to-day life. These aren’t intended to be large organizational overhauls, but rather quick sessions you can accomplish in an afternoon or weekend! This recycling station project is exactly that: quick and easy enough to do today or this coming weekend! Catch up on other projects in this series by clicking on the pictures below:
I hope you all have a great weekend! I have LOTS of fun DIYs planned for this one, I hope I get to them all! And I’d love to know: do you have to sort your recyclables? What kind of solution do you use? I’d love to hear any tips that might improve what we have here even more!
Megan






4 Comments on “Organize This: Recycling”
I love those bins that you have labeled. Where did you find those?
I am pretty sure they are from Target a few years ago, but since it’s back to school time…I am seeing them everywhere including Target, Bed Bath & Beyond and Walmart! Hope that helps!
Thanks for the reminder of how lucky I am. I don’t have to sort/wash any of our recyclables. They just go in the garbage can on the right in the kitchen, because recycle and right start with the same letter. 🙂 And then they eventually make it out to the big blue can next to the garbage can. This is an awesome idea for using what you and making it work for you. Thanks for the reminder to look at home first!
Pingback: 10 Stylish DIY Recycling Bin Projects | Decorating Your Small Space