Organize This: Laundry Supplies
Happy Friday, friends! Sorry for the delay in today’s post – we have company coming for the holiday weekend and I’ve been (of course) scrambling to make some last minute projects and plans! Before I take off to enjoy the final few moments of summer, I thought I would finish out this week with another peek into our laundry room progress. Today, I’m sharing how we are organizing our laundry supplies in my next installment of my Organize This series!

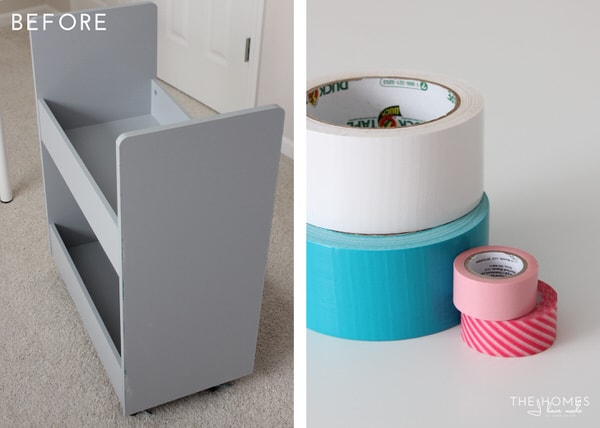
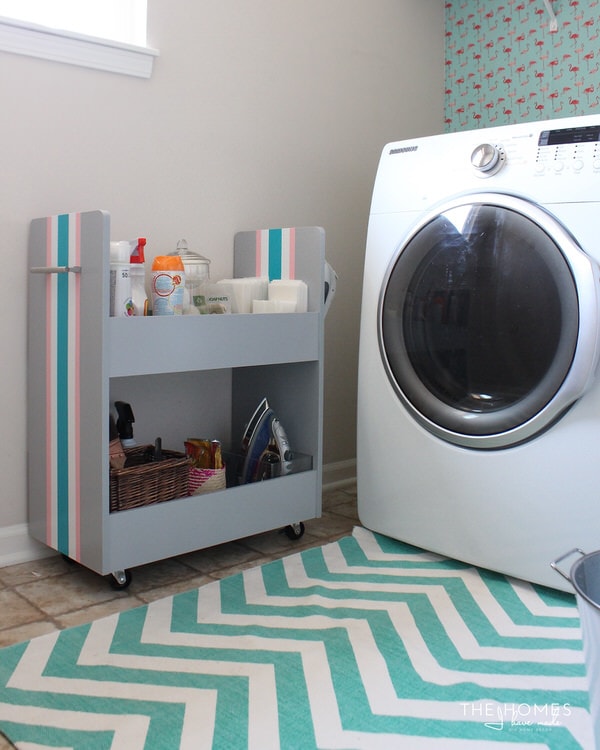
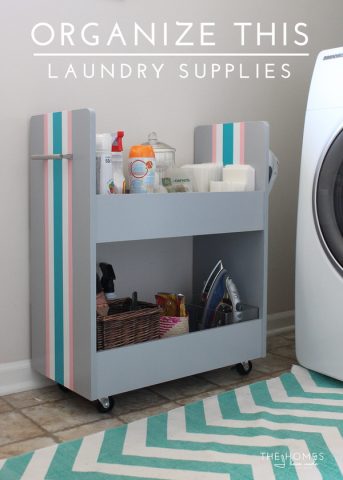
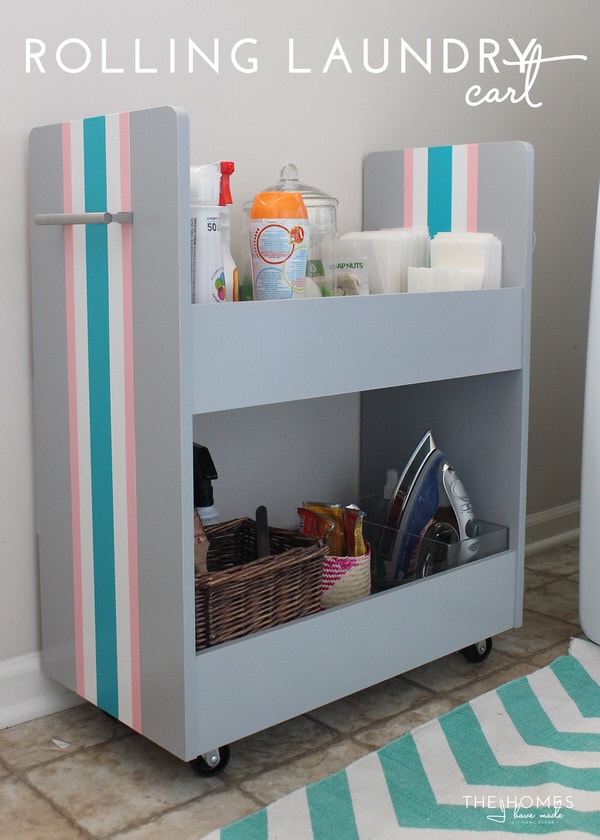
Our laundry room is a good size. There is plenty of space for our two machines, and we have the (somewhat typical) long shelf above our machines high on the wall for added storage. However, we find the shelf is a bit too high and awkward for things we use on a regular basis. We got really spoiled by the counter in our last laundry room, and I was in need of some place to coral all of our laundry supplies. A shelf mounted at counter height, similar to what I did for our command center, was my initial solution. I don’t typically shy away from putting holes in our rental walls (we don’t mind patching), but as we move forward into our one year here, I really am trying to reduce how much “damage” we do to each and every room in this house. As such, I was left looking for an alternative solution to a counter…something that could organize our laundry supplies, keep the top of the machines clear and free, AND not put holes in the wall. It was a tall order, but when I saw this rolling toy cart at Target, I knew I had my solution! The cart’s size was big enough to hold a lot of supplies, and the dimensions were perfect for sliding in right next to our machines. Since it was on wheels, I’d be able to roll it out during laundry time, and then put it back when we were through.
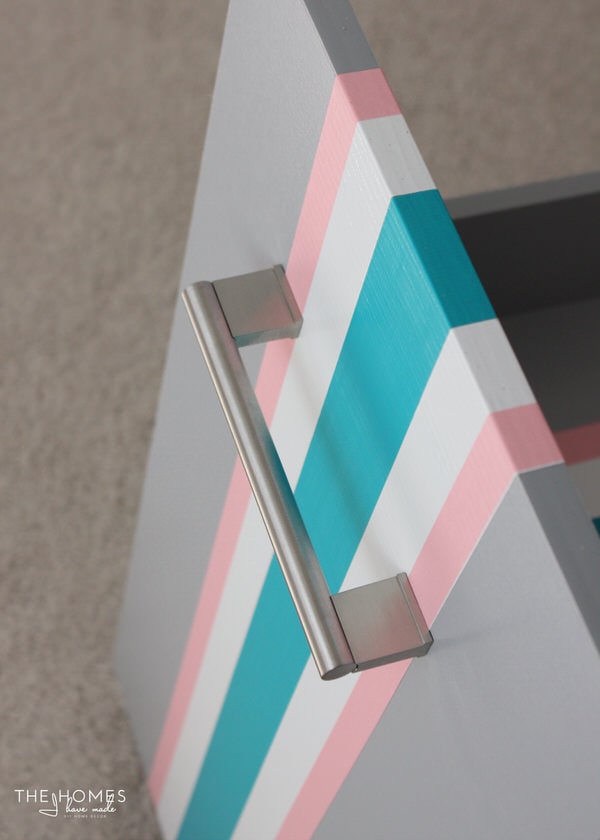
The grey color was a bit plain for me, so I decided to give it a (temporary) makeover with some tapes! I started by assembling the cart according to the instructions and then picking some Duck tapes that would match our “wallpaper.”
I toyed around with a lot of different pattern ideas, but ultimately landed on some simple stripes (shocking, no?!?) After measuring to find center, I drew a light line in pencil and then lined up my tapes along the marks. I worked form the center out, adding colors as they looked right… The best part of this project is if you don’t like it, you can pull it off and try something new!
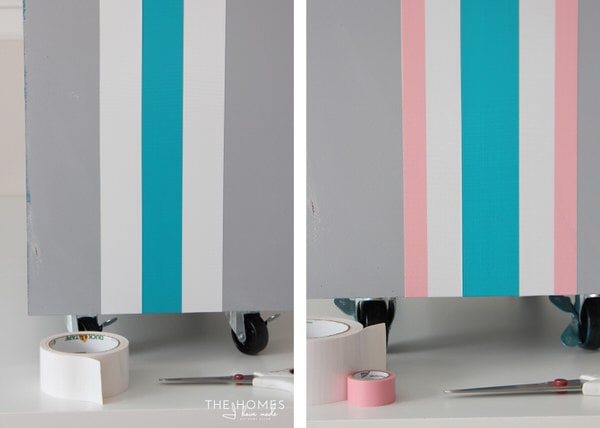
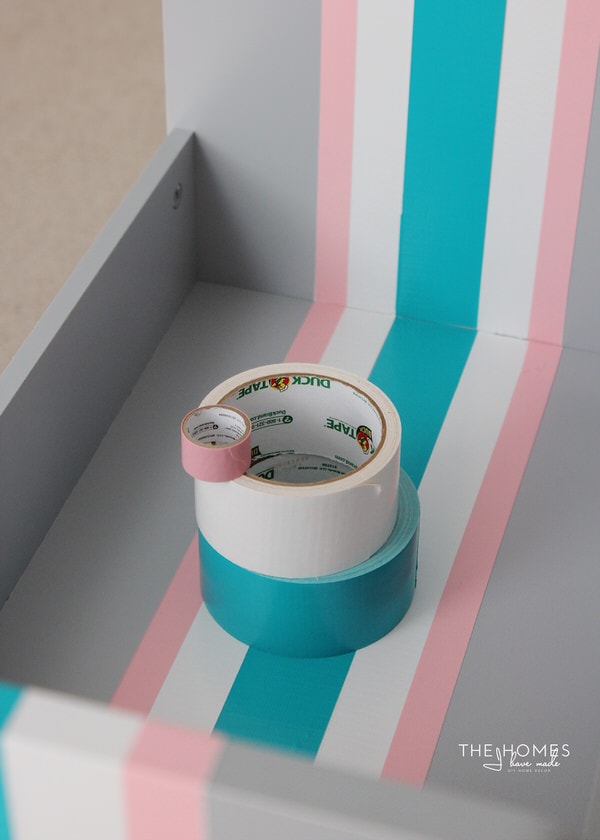
I loved the racing-stripe look so much that I carried them right up and over the top and across the middle!
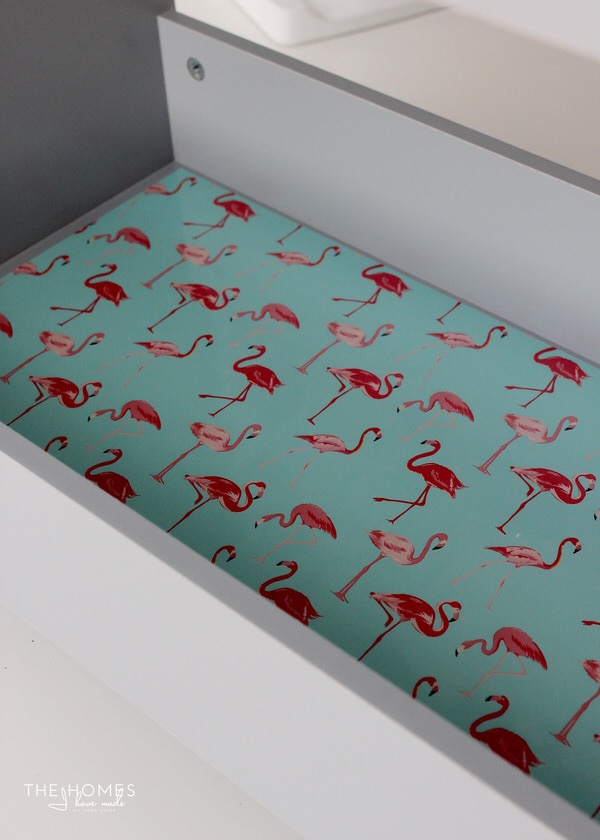
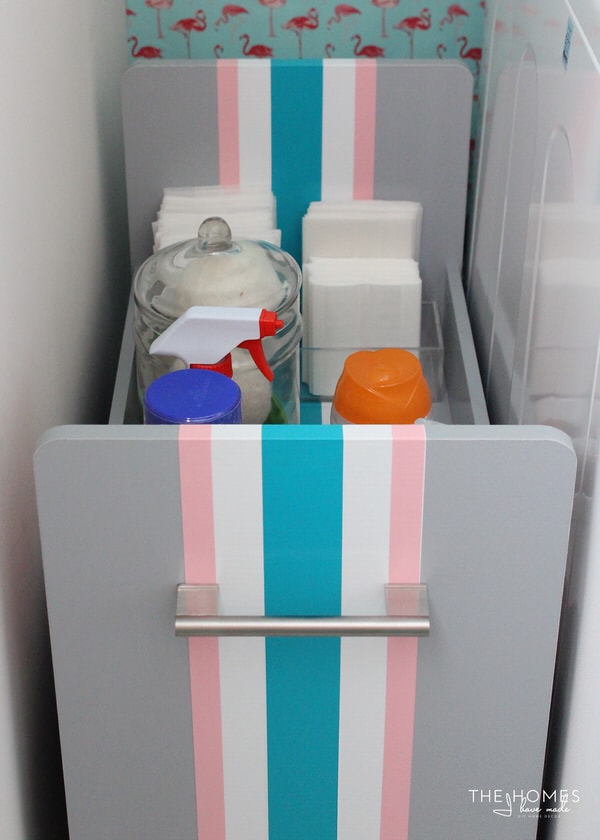
On the bottom shelf, I added a piece of flamingo wrapping paper (from TJMaxx) covered with glossy, water-resistant contact paper to hold it in place and protect it from damage.
The final step was to add a handle to one side to make for easy pulling in and out. The handle was a leftover one we had on hand from IKEA.
Want to save this post?
In just about 30 minutes, my plain-Jane rolling toy cart was a snappy and sweet laundry cart. I couldn’t wait to get it loaded up with all of our laundry supplies that have been cluttering up the tops of our machines.
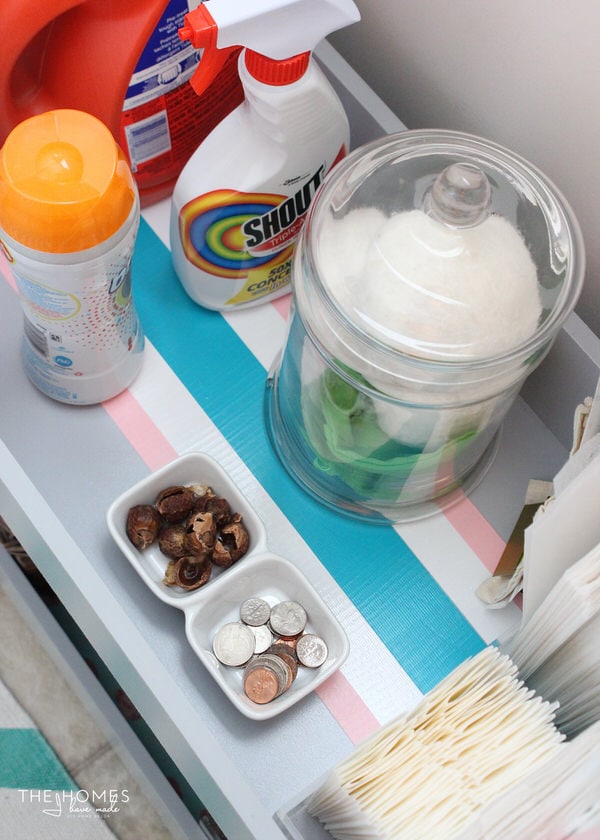
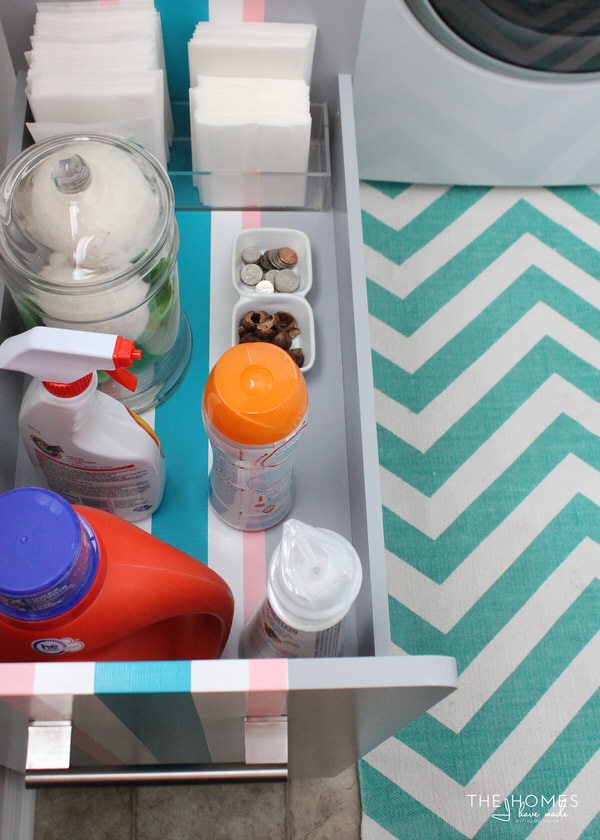
We now have a place for everything from our detergents and dryer sheets to machine cleaner, close pins, iron, and other random tools and supplies we keep in the laundry room. I even attached our Dustbuster to the back of the cart…again, to keep it off the walls! Once I had it all loaded up, I simply slid it right into a perfectly-fitted spot between the machine and wall!
We typically only do laundry once per week, so on laundry days we can pull out the cart and have handy access to everything we need…
It fits nicely on the wall, allowing us to work around the small space as we need to, but slides right back into place to conceal everything when laundry day is done!
I’m pretty smitten with our little cart. It’s turned out to be a quite functional and totally renter-friendly storage solution for our laundry space. And since it is only decorated with tape, I can easily customize it for other purposes and needs in other homes down the road!
Organize This
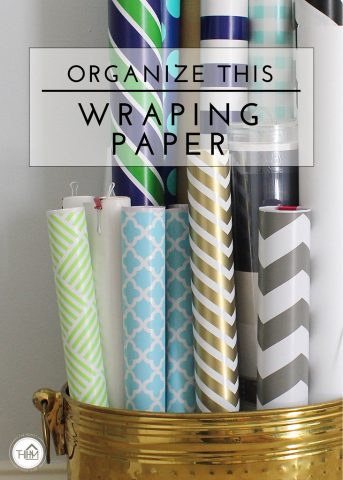
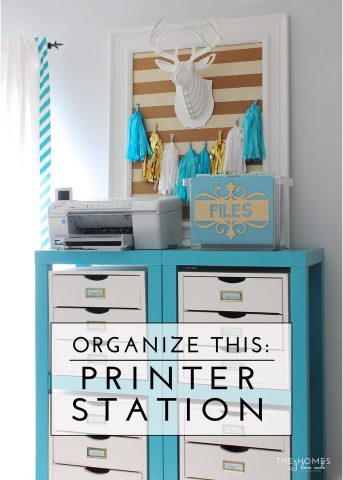
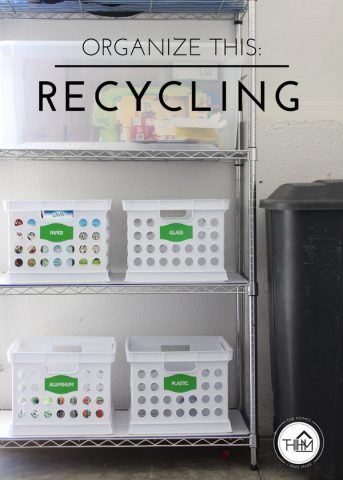
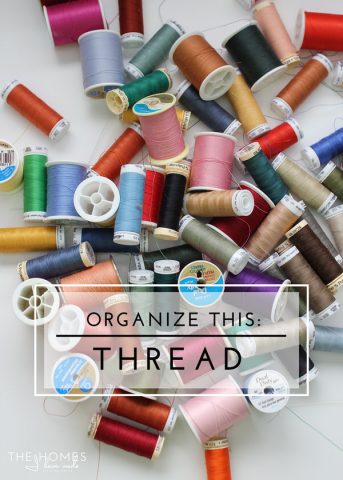
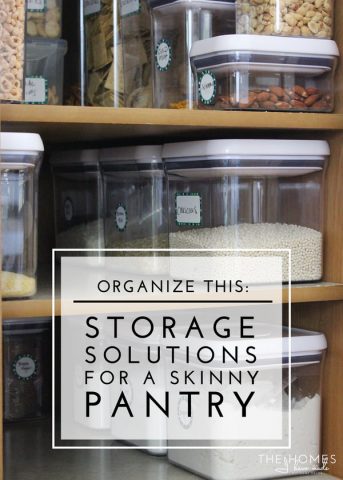
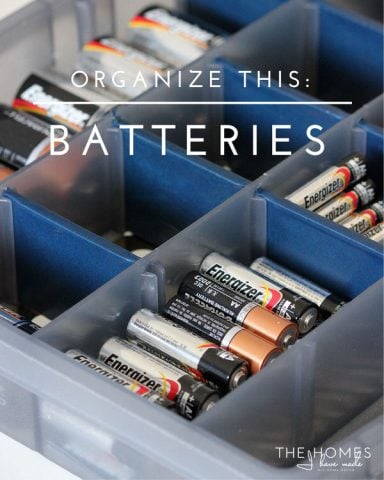
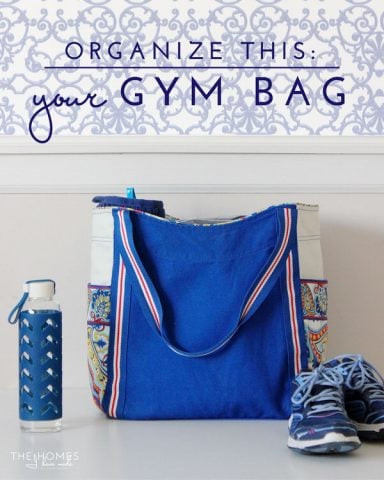
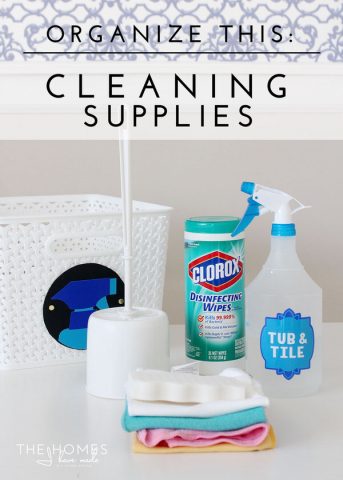
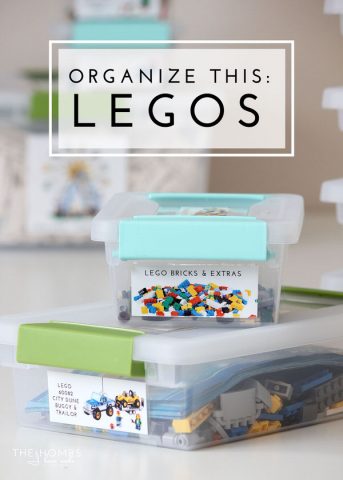
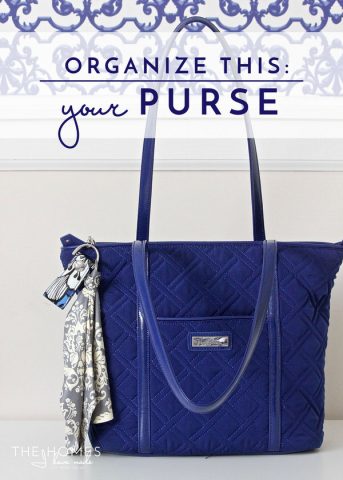
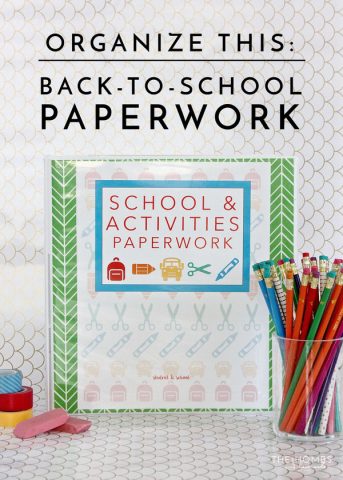
My Organize This series is all about (relatively) simple and quick organizing projects that make a big difference in your day-to-day life. These aren’t intended to be large organizational overhauls, but rather quick sessions you can accomplish in an afternoon or weekend! This laundry cart project is exactly that: quick and easy enough to do today or this coming weekend! Catch up on other projects in this series by clicking on the pictures below:

If you’re hankering to do some organizing or house updates this holiday weekend, perhaps make a laundry cart for your own home! I can think of so many fun uses for this little cart…what kind of storage could you use it for?
I hope you all have a fantastic Labor Day weekend! I am going to take Monday off to spend time with family, but will be back to regular posting on Wednesday! See you back here then!
Megan
2 Comments on “Organize This: Laundry Supplies”
What a great little project! Love it and I loved how you added some of that amazing flamingo wallpaper to tie everything together 🙂 Home run Megan!
Lauren Baxter | Lovely Decor
xx
Pingback: 5 lavanderias bonitas e bem organizadas para inspirar você - Casinha Arrumada