DIY Floating Acrylic Frame
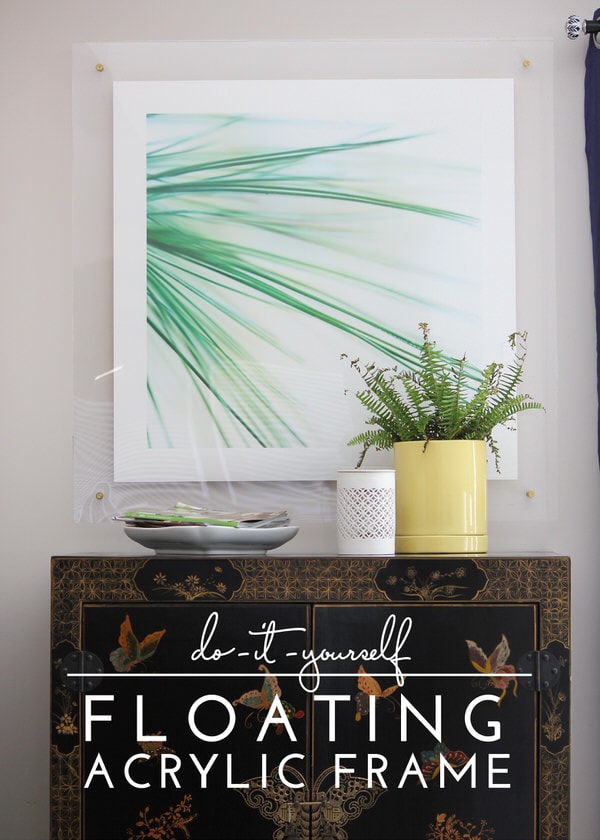
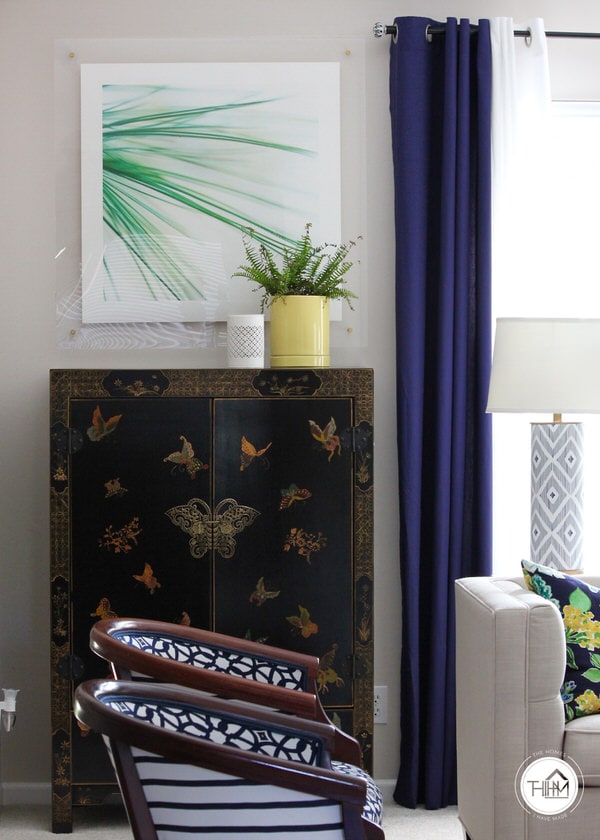
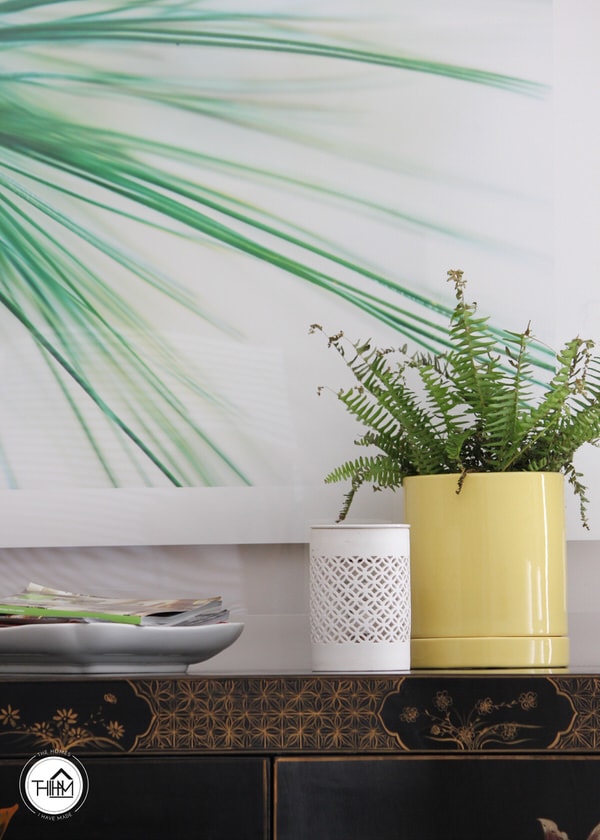
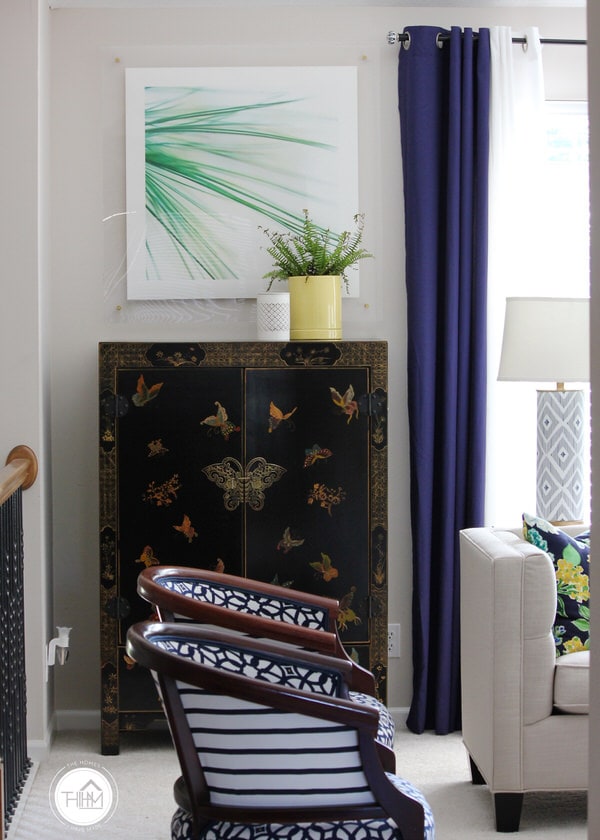
A few months ago, I was really, really drawn toward this Pine Study print from Minted. I ordered the print in the 36″ square size, and it arrived just a few days later. I was awe-struck by the colors and print in person, and just as I hoped…it was PERFECT in our family room! When it came time to figure out how to frame and display the picture, I knew I really wanted to attempt the gorgeous floating acrylic frames I’ve been seeing all over the web. I had a hunch the sleek, modern, frameless option would really allow the art to shine; and now that it’s done, I think my instincts were spot on!
There are so many great tutorials around the blog-o-sphere for this project, and I used a combination of a few of them to put ours’ together. I’m not going to share a step-by-step tutorial for what exactly we did since there are so many tutorials out there already. Instead, I thought I would tell you a little bit about what steps and supplies we used, how it worked, and some tips we learned along the way if you want to try this project yourself!
First things first, this project is not as intimidating, difficult or scary as it might look. Yes, acrylic can be tricky to work with, but once I got started, it was completely doable and actually came together fairly easily. I referenced four different tutorials, and I highly suggest you check them out, do your research and figure out what will work best for you:
Here are the supplies I gathered and used for our frame:
- 36×72″ sheet of acrylic
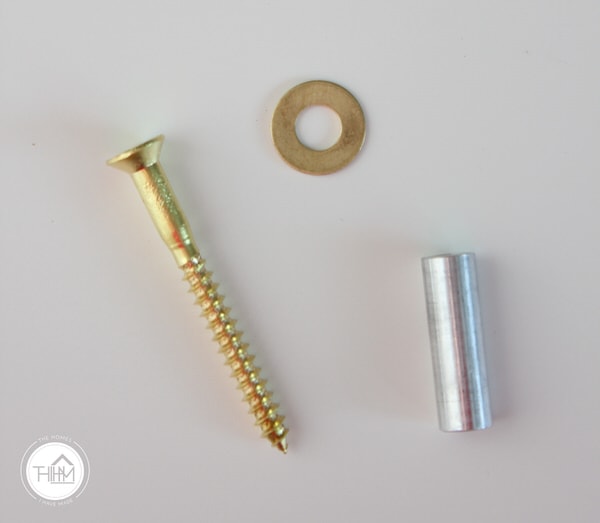
- 2″ brass screws
- Brass washers
- 1″ spacers
- Gold spray paint (to paint the spacers)
- Plexiglass cutting tool
- Straight edge
- Packing tape
- Marker
- Dry wall anchors that will fit the 2″ screw
A quick note about the acrylic. This is not my first time buying acrylic, but for some reason it struck me as a little more expensive than I remember. The sheet I purchased cost about $56, and with the hardware, this entire project came in at about $70. Finding a 36″ square frame isn’t exactly easy, and to custom frame this 36″ square piece of art would have cost hundreds more than that. So in the end, this option is not only a chic and creative way to display your art, but also a pretty budget friendly option!
To me, the hardest part of working with acrylic is cutting it down. I’ve had to do it before, and it’s just not one of my favorite tasks! This time around, I simply needed to cut my 72″ sheet in half to make two 36″ squares. Since the acrylic was somewhat thick and would need quite a few scores to cut through, I used packing tape to hold my ruler in place as I scored over and over. It worked great; and without too much sweat I got the piece cut in half. Acrylic can crack and snap pretty easily, so I recommend taking your time and score as much as you need to in order to get a clean break.
The other tricky part was making holes in the acrylic. Since I’ve had acrylic split/crack on me before, I wasn’t too keen on the drilling idea, so I decided to give the hot nail trick a go (see the tutorials above for more info). While it did eventually work, I will say this: your nail needs to be REALLY sharp and REALLY hot. I didn’t have any other heat source besides a candle, so I had to heat then pierce then heat then pierce just to get it to go through all the way. Another downside of using a candle is the wax residue will build up onto the nail, which will then be transferred to the acrylic. So…if possible, use a stove or non-candle flame to get your nail nice and hot.
With those tips in mind, here’s a quick rundown of what I did:
- Cut down two sheets of acrylic into your desired sizes.
- Clamp the two sheets together, and use a VERY hot nail to make holes in each corner of both sheets of acrylic. My holes were 2″ in from the sides.
- (Optional, if necessary) Spray down the hardware to match/coordinate
- Place your art in between the two acrylic sheets, centering it both vertically and horizontally, and secure it with double-stick tape on the back of the art.
- Once dry, thread the hardware through the acrylic holes as follows: screw | washer | acrylic | spacer
- Position your art on the wall and note the placement of the four screws by gently pushing the screws into the drywall.
- Insert dry-wall anchors into the wall at the designated spots, and then screw the long screws on the art directly into the anchors to secure the art to the wall.
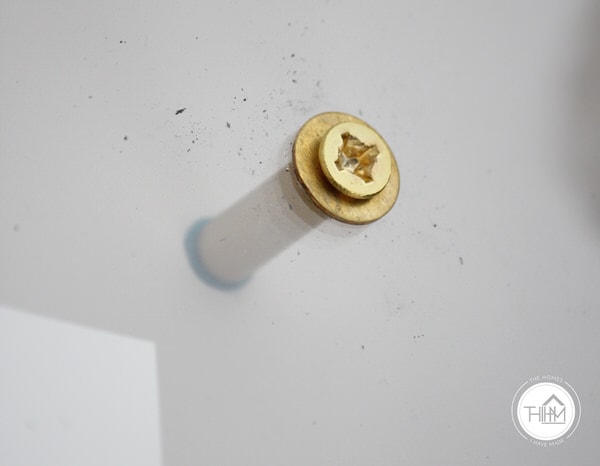
Below is a close-up shot at what the hardware looks like attached to the wall. The dark ring is our dry-wall anchor…had I realized they’d show a bit, we would have used white ones. Oh well, from a distance, they are barely noticeable!
The other tip/trick I wanted to point out is to make sure you REALLY secure your art to the back sheet of plexiglass with double stick tape. I was under the impression that the two acrylic sheets would stay tight enough together and hold the art in place, so I originally only used two pieces of tape. However, because of the size of our particular frame, the acrylic didn’t stay tight together and the picture started to slip. We had to ultimately take it down, re-tape it, and re-hang it back up!
My other word of caution is that this framing option is SUPER reflective. I probably should have figured that out, but since the picture directly faces two windows (I had to pull the blinds shut for these photos), there are times of day the picture itself is hard to see because of the reflection! As such, this hanging method might be best for less sunny spots!
All in all, I am thrilled with this artwork (thanks, Minted!) and this framing alternative. If you have a printed piece of art that needs to get up on the wall but you’re just not sure a traditional frame is the answer, I highly recommend giving this method a try. Even if you’re not overly DIY savvy, this is a project that is easily tackled!
I’d love to know if any of you have tried the floating acrylic frame in your own homes! Did you try any tricks or methods that worked especially well? Do you have anything that might look good framed out in acrylic?
Coming up Wednesday, do I have a project to share with you! It’s the next installment in my Renter-Friendly Walls series, and I think you’re gonna love it! See you then!
I did not receive compensation for this blog post; however Minted did gift me a store credit as a thank-you for a previous post featured here on The Homes I Have Made. Please remember that I only work with brands and products I fully support and that make sense for my home, my family, and this blog. All opinions are 100% my own!
Megan




4 Comments on “DIY Floating Acrylic Frame”
A light coating of mild hold hairspray over the front sheet of acrylic will make it slightly less reflective.
Pingback: DIY Large Pin Board (with an acrylic dry-erase surface!) | The Homes I Have Made
How thick was the acrylic that you used??? Love how yours turned out!
HI Kristina!
Thanks so much. This is the acrylic I used.
Hope that helps!
Megan