Label ANY Bin or Basket with Magnetic Basket Labels!
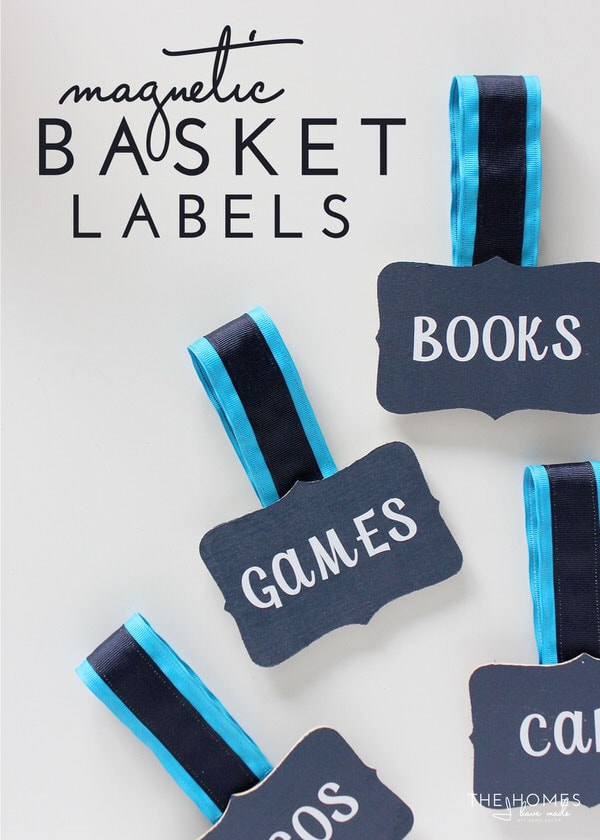
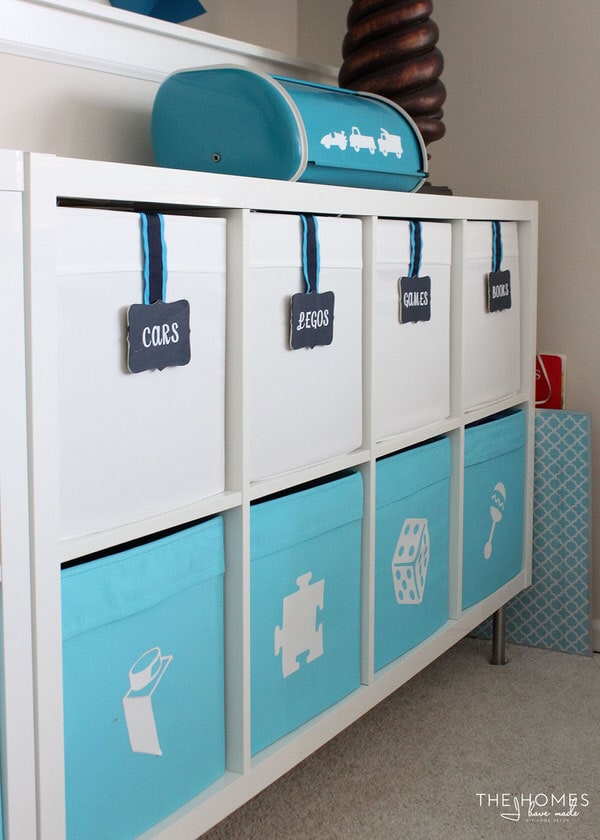
So…you have a basket that you want to label, but there is no handle, no solid surface, no perforated sides…and you really don’t want to do anything to permanently alter or damage it. What to do now? Today I present you a solution for labeling almost any bin or basket in your home: magnetic basket labels!
You guys know me…I am ALWAYS on the lookout for fun, creative, functional, and cute ways to label the bins and baskets in our home! I have a few methods I lean on pretty frequently (specifically fasteners, Velcro, and adhesive papers). However, I recently made some new totes for a post over on I Heart Organizing and had a really tough time coming up with a cute but damage-free way to label them. Then I had a lightbulb moment: magnets!!! I got brainstorming and experimenting and playing at my sewing machine just for the fun of it…and ended up here!
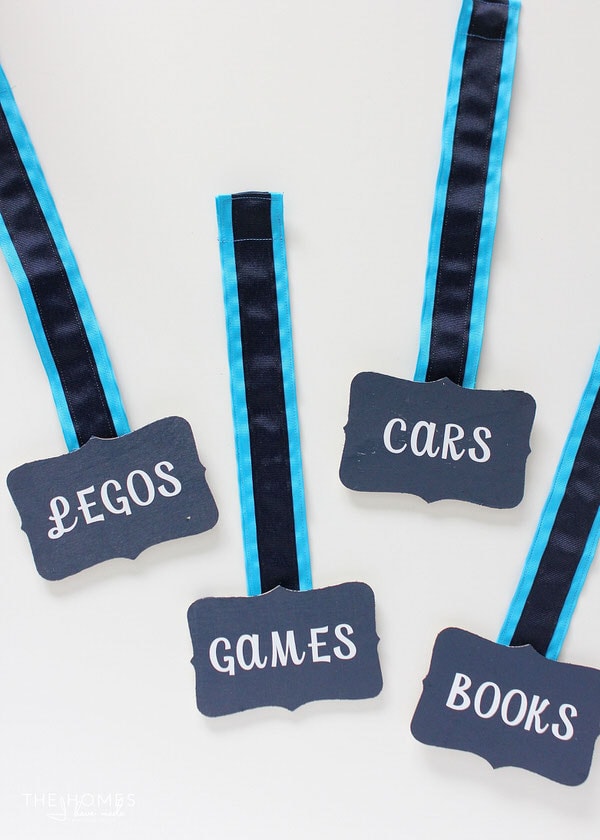
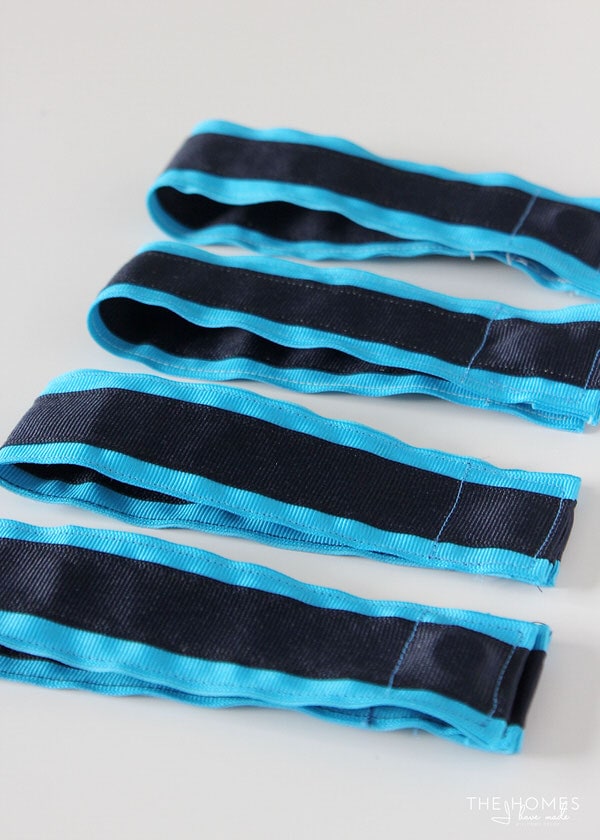
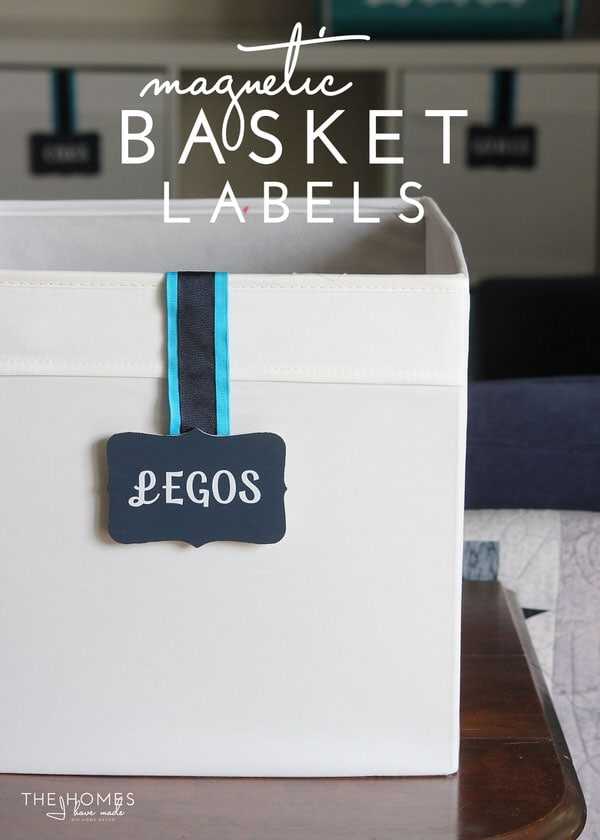
These labels are simple lengths of ribbon with magnets sewn into each side…
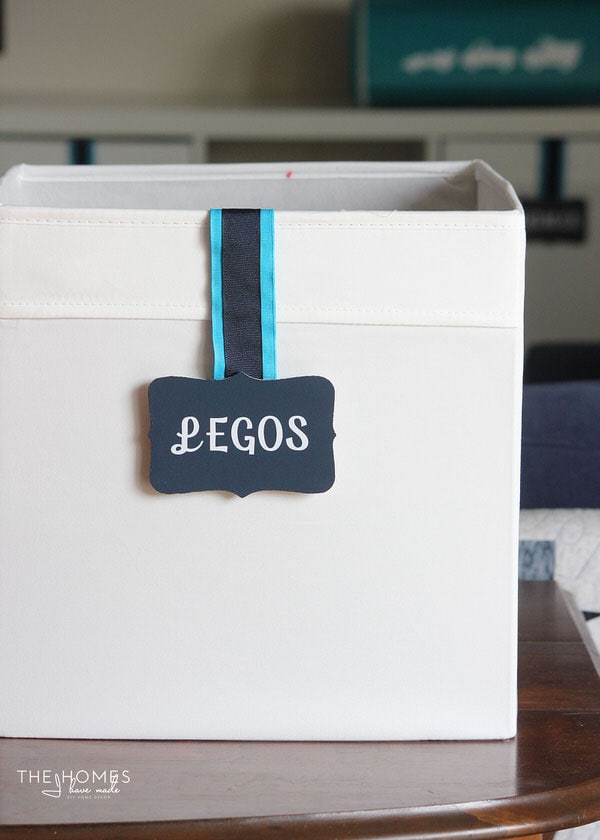
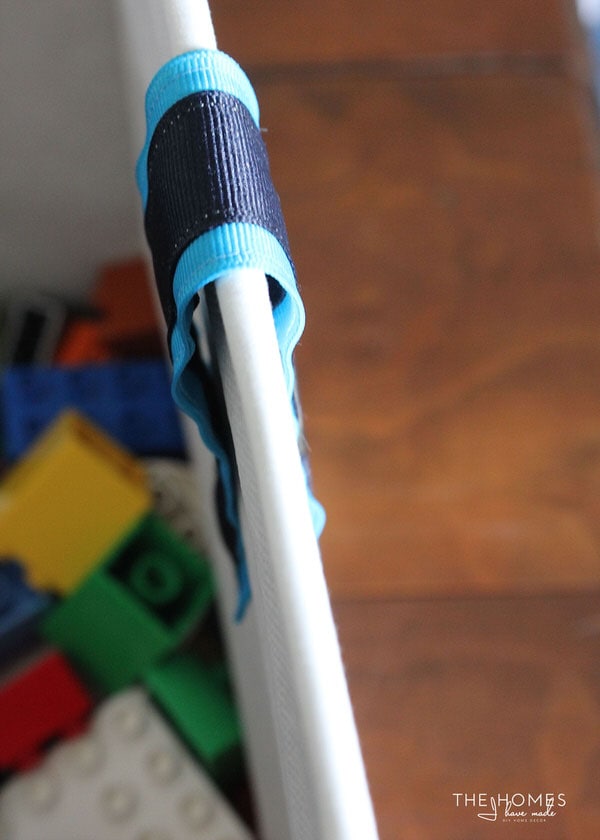
When folded over the side of ANY basket, the magnets connect and hold your label in place! (Do you hear the angels singing??? I do!)
Not only do I love that the strong magnets allow you to label literally any basket you can find…no matter its size, shape, texture or features. But I really love that they are so easily changeable. Don’t get me wrong…I LOVE our contact paper image labels in our playroom. But when I change buckets around or consolidate certain things, I have to peel off (and trash) the labels and start over. These magnetic labels can be swapped around super easily, and if you use chalkboard paint/markers for the words, you can swap the names just as quickly too!
I’m showing off these cute magnetic basket labels in our playroom today, but I tested them ALL over the house! Some thick, wicker baskets required some stronger magnets, but I got them to attach and hold on every single one!
These may seem a bit tedious, but I promise they really are quick and simple to put together (especially if you do them assembly-line style). And just a note about safety: small magnets are not safe around small children. As such, I purposely sewed my magnets into the ribbon so they cannot fall out or be accessed by curious hands. That said, please use caution when using small magnets around your children or with your children’s things.
How to Make Magnetic Basket Labels
To make one label, as shown, here is what you need:
- Ribbon(s)
- Small magnets
- Wooden or chipboard placard
- Coordinating thread
- Acrylic/chalkboard paint (optional)
- Sticker letters or chalk markers
(optional)
- Tools: Sewing machine, scissors, ruler
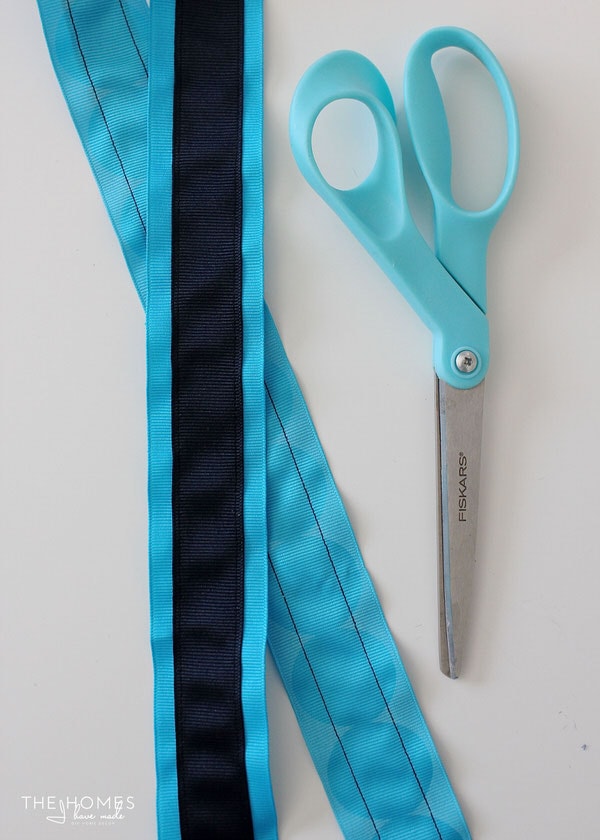
Just a quick note about my ribbon. This project can be done with ANY grosgrain ribbon as long as it is wide enough to fit the magnets you’re using. My original plan was to use the wide turquoise ribbon only. But because I’m me and wanted the extra navy blue striped detail on top, I took one more step before getting started.
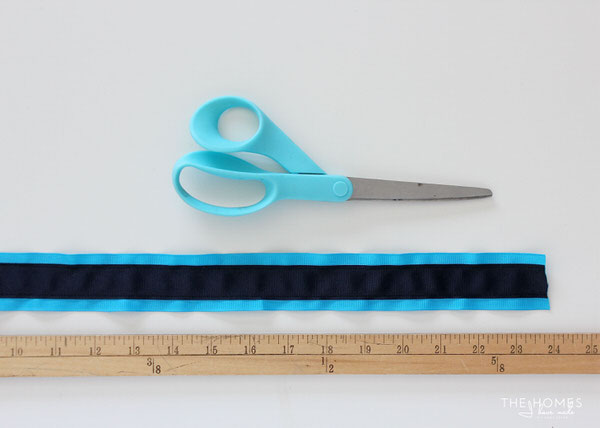
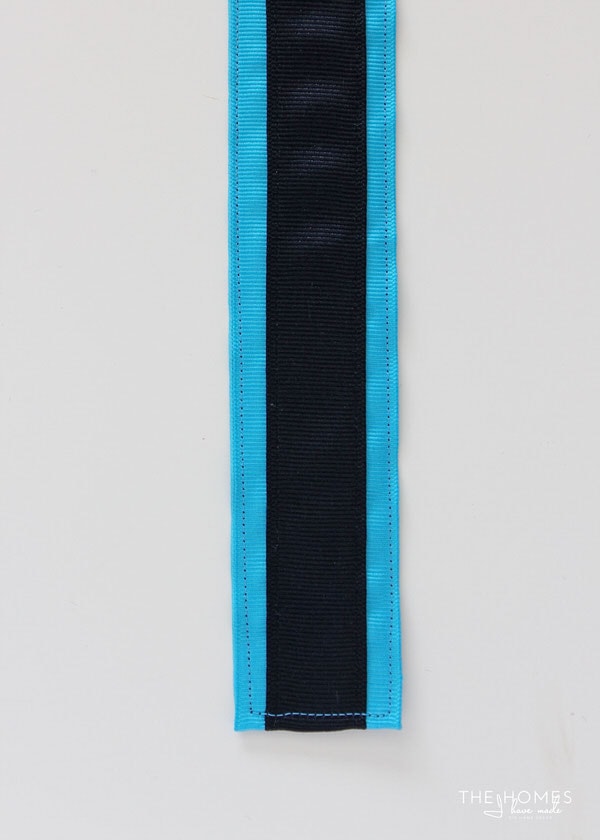
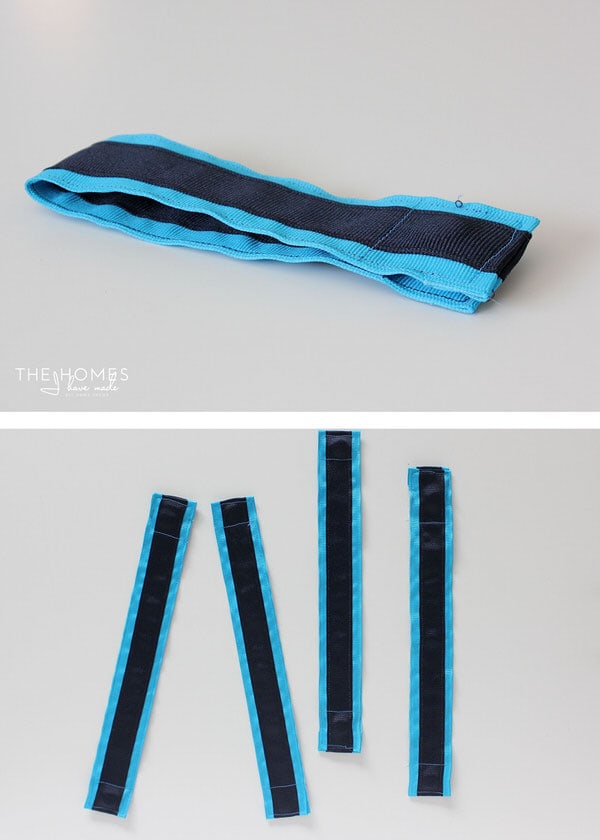
In order to get a two-tone ribbon look, I simply centered the navy ribbon onto the turquoise ribbon and sewed down each side using navy thread. Once done, I had a long single piece of ribbon to work with.
Okay…with that detail out of the way, let’s get started. Before you can cut and sew the ribbon, you need to figure out how long you want your label to hang down on your basket. Use the following formula to cut your ribbon:
# of inches from top of basket to label placement X 4
I wanted my labels to hang down about 6″ from the top of my basket, so I cut my ribbon to (6″ x 4) 24″ total.
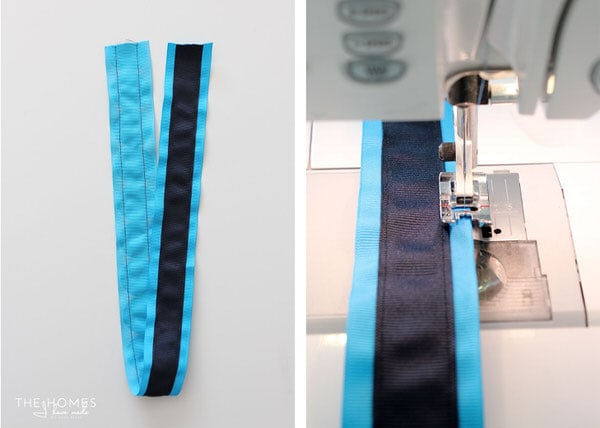
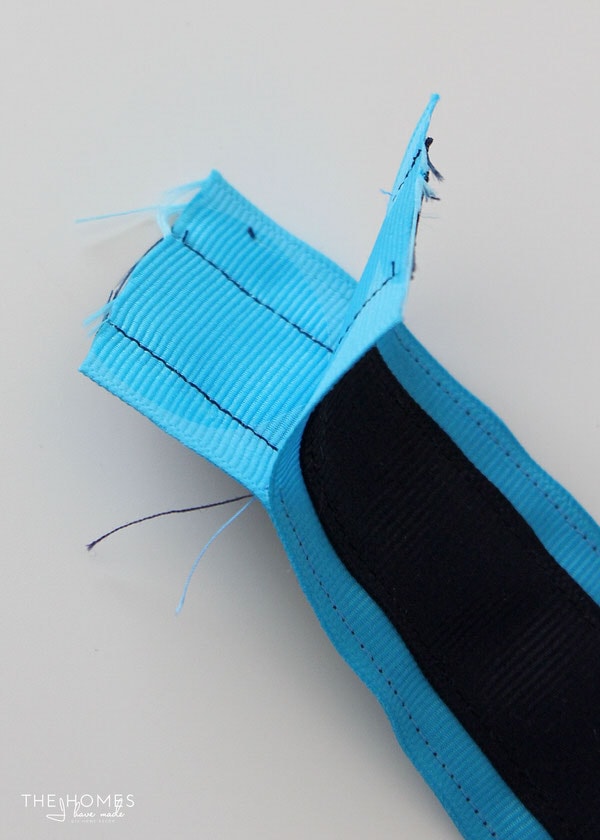
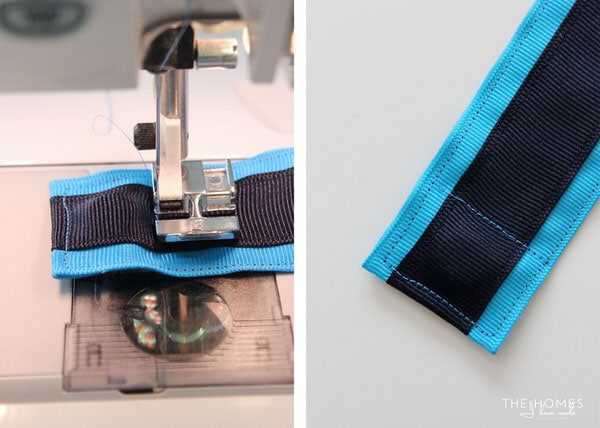
Next, fold your ribbon in half, with wrong sides together, and use a sewing machine to sew down one side, across the fold, and up the other side.
Be sure to leave the top two ribbon ends un-sewn about 1.5″ down on each side.
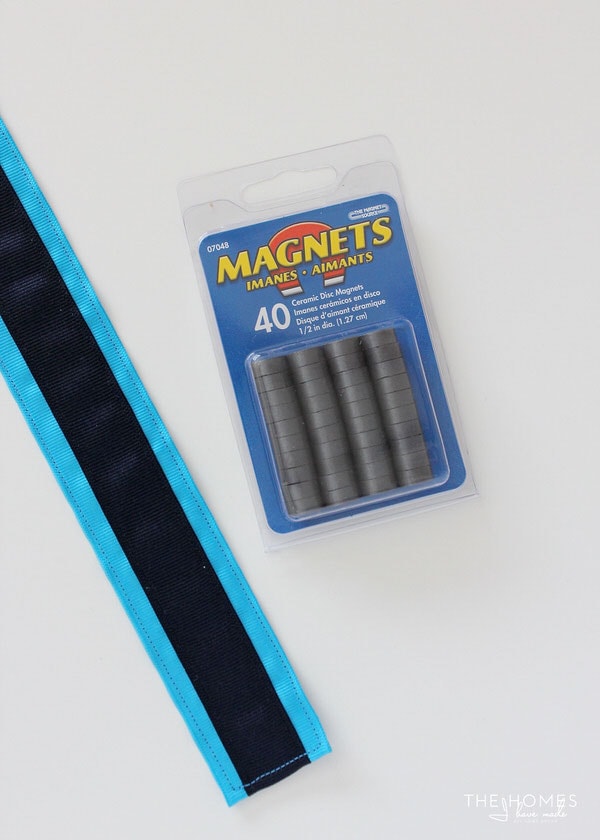
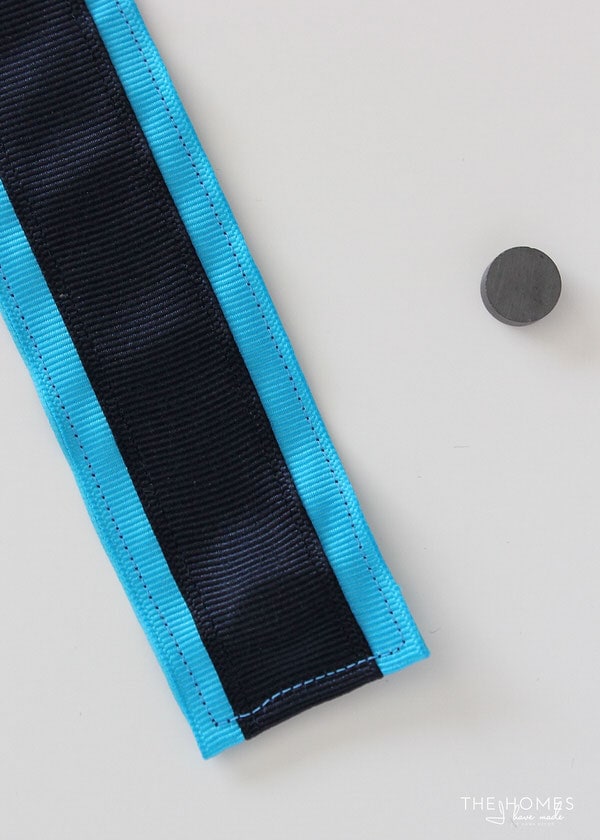
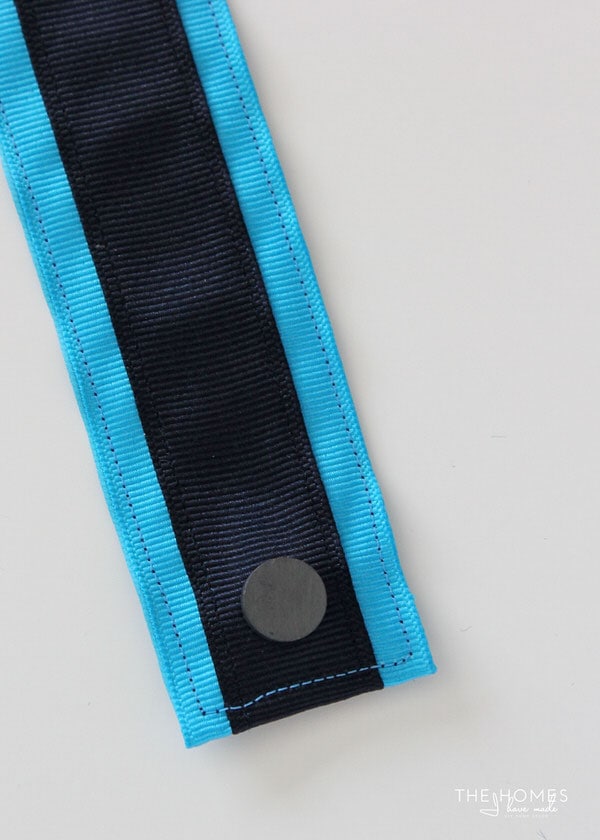
With the three sides sewn together, you now have a secure tunnel to drop magnets into. I experimented with a few different kinds, and liked both the strength and size of these (shown below). Again, please use caution with these strong magnets, and keep them away from children.
Take one magnet and insert into the ribbon tube. Use your fingers to slide it ALL the way down to the bottom of the ribbon tube. If you look closely, you can see it there by the bottom seam.
Using your zipper foot (so you can easily get close to the magnet), sew across the ribbon to enclose the magnet at the end of the ribbon.
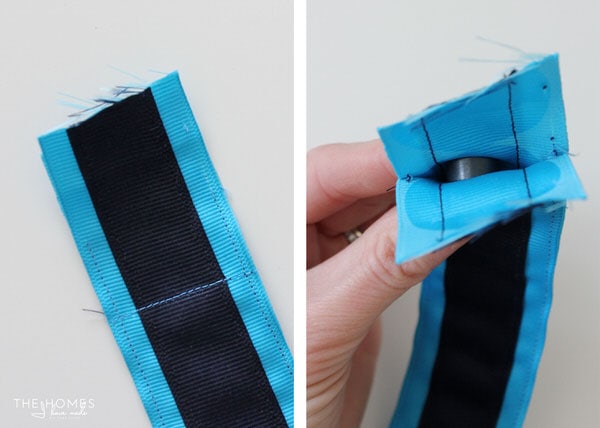
Before proceeding, test the magnets to determine which way the second magnet should be placed into the ribbon. You want to make sure the magnets connect rather than fight each other once all sewn together.
Back at the top of the ribbon, sew a straight line across the ribbon about 2″ from the top (below left). Then place the second magnet into the end of the ribbon (making sure it’s facing the right way to attach to the other magnet)…
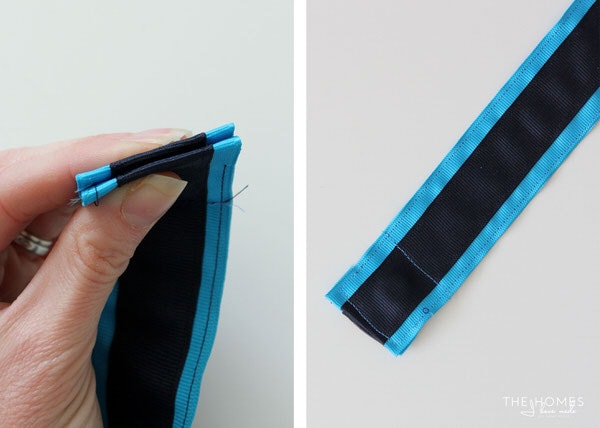
Fold the two ends into each other, and use a sewing machine to sew up and over the top, encasing the second magnet into the ribbon.
When complete, you will have a 12″ length of ribbon with magnets sewn into and secured at each side. When folded in half, the two magnets should connect!
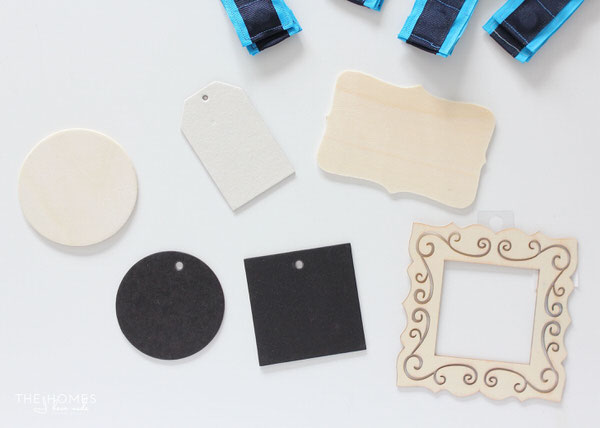
With the ribbon part sewn, now you need to make an actual label. You could use pretty much anything you can think of. Small frames, chipboard cutouts, and die-cut wooden shape all work great. Here are just a few options I considered for my labels.
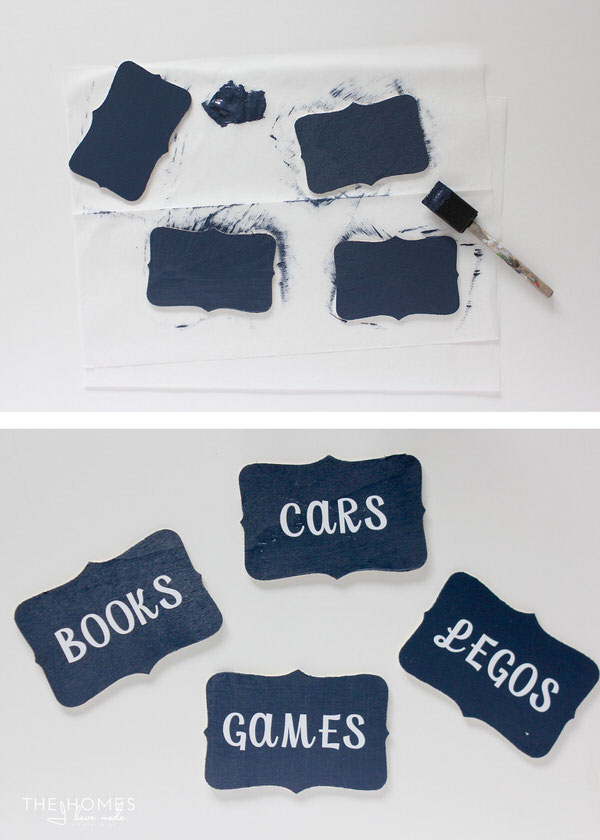
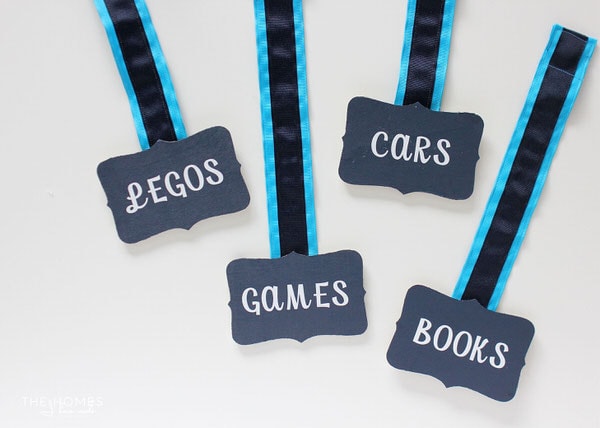
I ultimately chose the wooden placards for their size and shape. I gave them a quick coat of navy acrylic paint and some white sticker letters to turn them into labels!
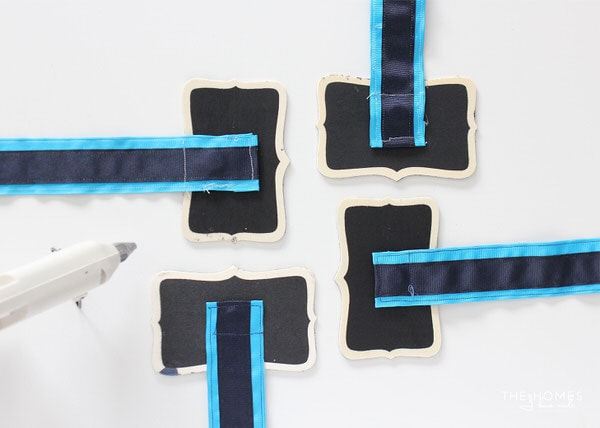
The last step is to hot-glue one end of the magnetic ribbons to the back of your placards.
Once the glue sets, your labels are ready to be secured anywhere you need them!
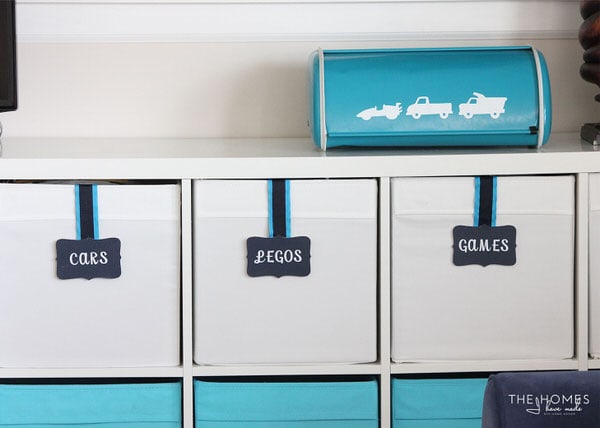
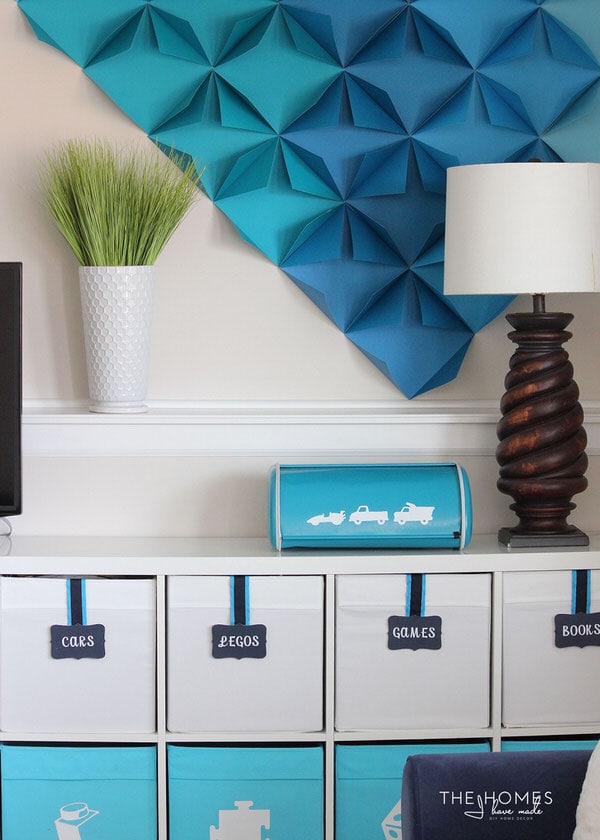
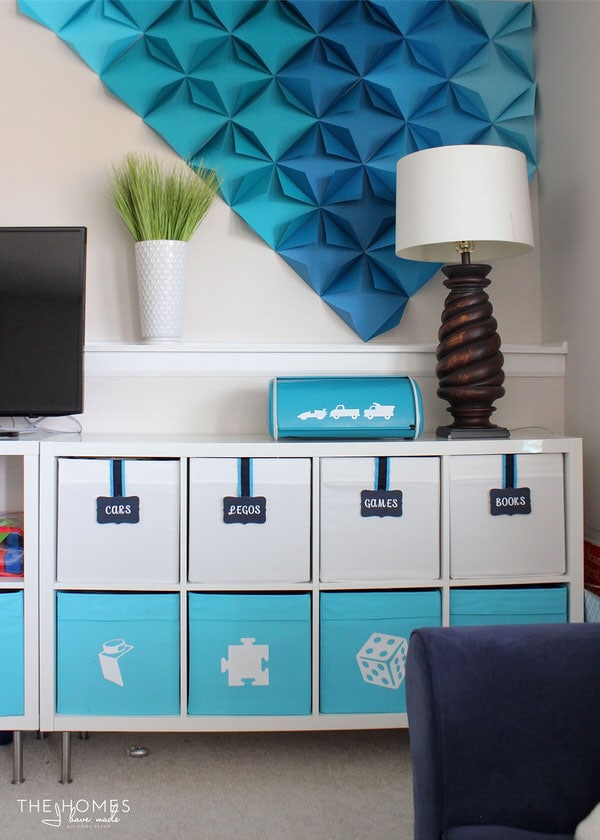
Like I said, I’m showing these on our IKEA DRONA bins, but I found they worked on most baskets around the house! If you have a really thick, bulky basket, I suggest you test your magnet strength before sewing them into the ribbon holders!
I think this magnetic concept could be adapted in several different ways. I’m actually working on a wider and longer fabric version for some baskets in my bedroom. If sewing isn’t your thing AND you don’t have little kids to worry about, you could even just hot glue magnets to the backs of the placards and hold in place using another magnet inside the basket (without the ribbon!). I think I may have just come up with my new favorite way to label baskets!
What do you guys think? Have you ever tried using magnets to hold labels in place? Can you think of any other fun ways this concept could be adapted for your home?
I hope your week is off to a great start! I’ll be back later this week with some reflections on our upcoming move (groan) and the first “final” room reveal in this house! See you back here Thursday!
Megan





9 Comments on “Label ANY Bin or Basket with Magnetic Basket Labels!”
I love this idea. And the fact that you put the magnets inside where it would be a little safer is such a great idea! I kinda feel a little dumb for not thinking of this sooner, you know? Now to buy those magnets!
I kinda had a “duh” moment with this one too, lol! I’ve been labeling baskets AND using magnets all over my home for how long….why didn’t I think of this one sooner??? Glad you found it useful!
Hope your week is off to a good start!
Megan
Wonderful idea there! This is going to replace those sticky labels that always get ripped and leave a mark. I’m not very good with the needle and a sewing machine, but I know someone who can help me.
Thanks
This is genius!! What a great and non permanent solution to label things!
Great work 🙂
Lauren | Lovely Decor
xx
I love this idea. I really like what on the wall. What are those made of?
Hi Andrea!
The wall mural is made with basic cardstock! So easy and inexpensive. You can see the full tutorial here: https://thehomesihavemade.com/2016/04/3d-paper-mountain-mural/
Hope that helps!Megan
Where can I find these magnets? I’ve searched online but cant seem to find the exact same ones.
Brilliant! Was looking for something clever and this will be perfect. I am way to lazy to bust out the sewing machine though. I think I can do something fun with patterned duct tape.
I love this creative way to label baskets, which I have many. I’m going to start organizing and labeling them. Thank you for sharing.