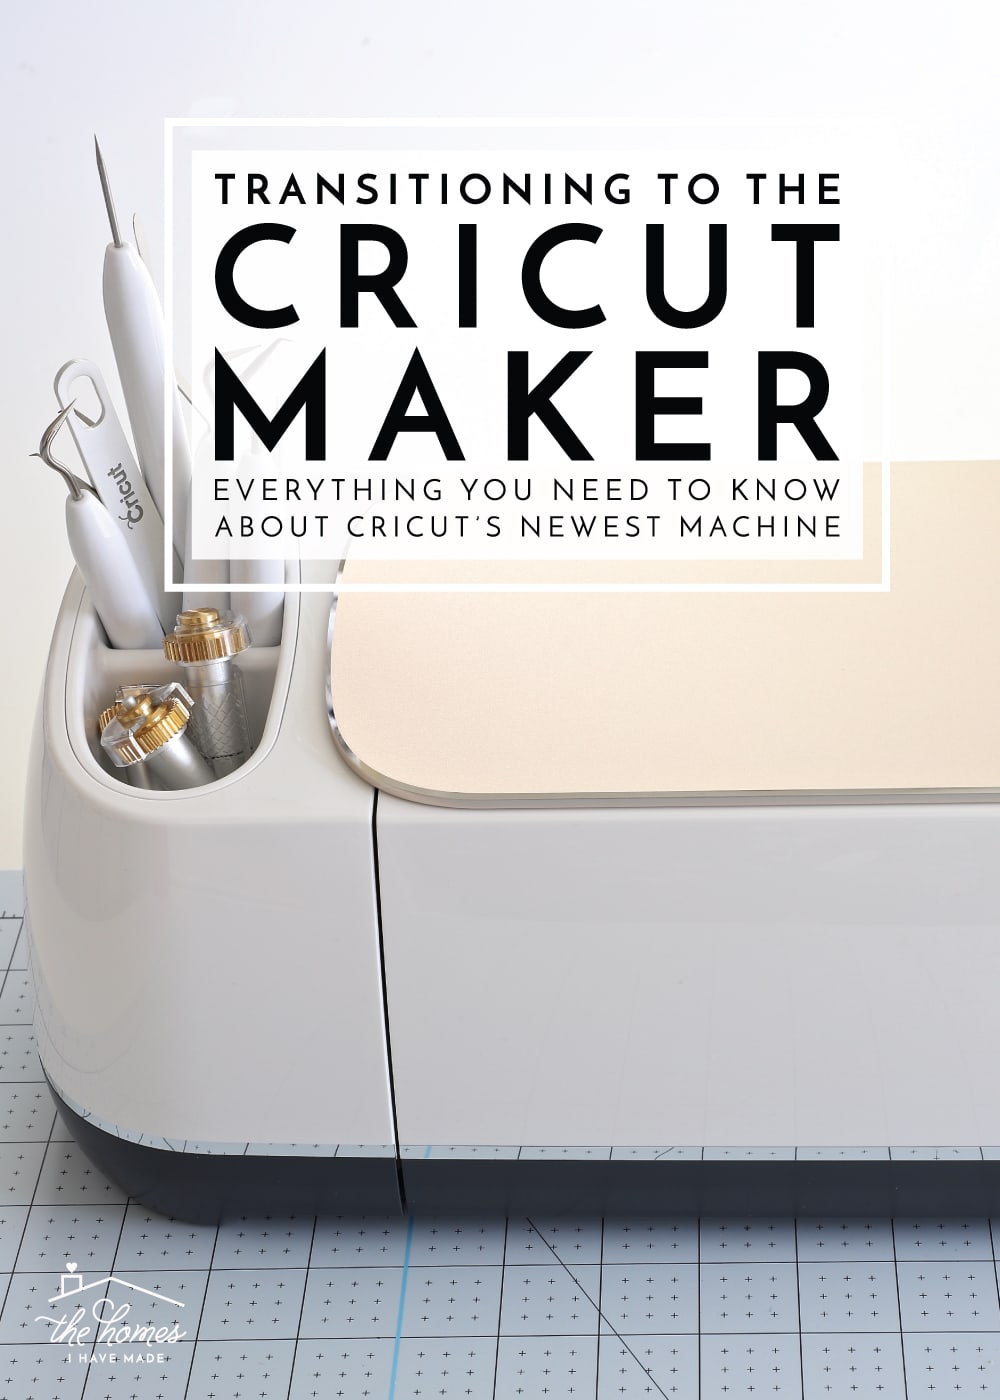
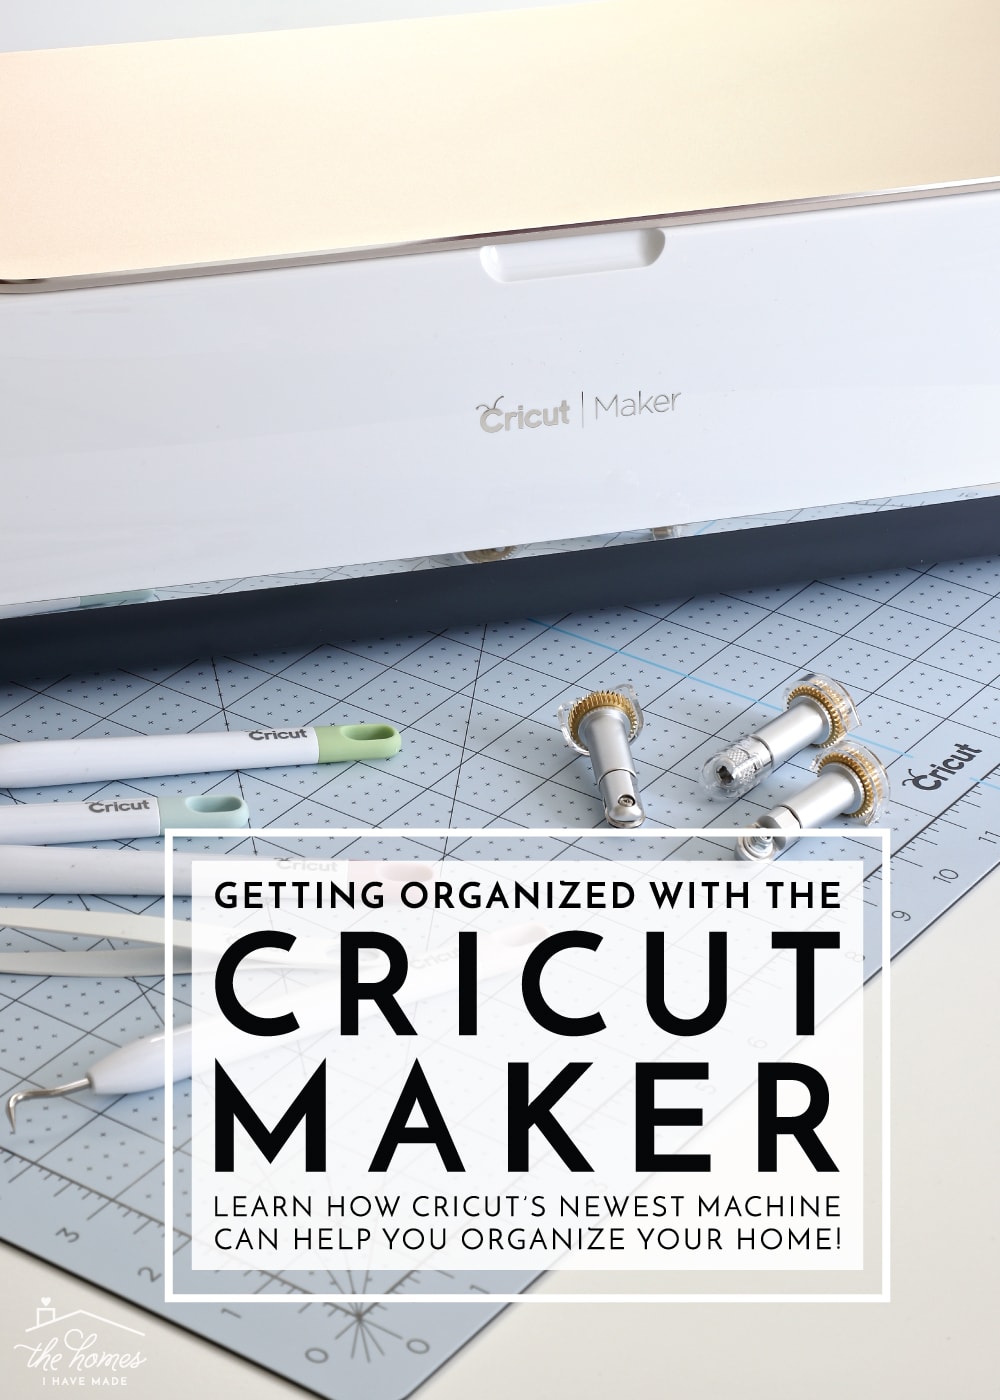
Transitioning to the Cricut Maker | Everything You Need to Know
If there’s one Cricut-related question I’ve gotten more than any other over the last year, it’s this one: “Megan, what do you think of the Cricut Maker? Is it worth it? Should I buy it?” Unfortunately, I’ve never been able to answer those questions…until today! Truth be told, I’m a creature of habit; and as much as I was intrigued by Cricut’s newest machine, my trusty Cricut Explore Air 2 was doing just great making all of my label, paper, and other home projects. But when Cricut reached out and asked me to create some organization projects with the Maker, you better bet I jumped at the chance to see what all the hype was about. Today, I want to give you a tour of the Cricut Maker and share my initial impressions of this newest machine after years of working day-in and day-out with the Explore Air 2 model. It is my hope that these thoughts will help those of you debating an upgrade from the Explore to the Maker and inspire those of you who haven’t yet jumped on the Cricut bandwagon!
This is a sponsored conversation written by me on behalf of Cricut. The opinions and text are all mine.
I’ve made it no secret that my Cricut is one of my all-time-favorite, go-to tools for creating labels, tags and other organizing projects around our home (not to mention small crafts and decor items!). In mere minutes, my machine allows me to cut any shape or word from a variety of mediums (e.g., vinyl, paper, etc) and use them as labels for bins, baskets, boxes, water bottles and so much more. I primarily used my Cricut Explore Air 2 to cut vinyl and paper, so I was most intrigued to put the Maker to the test by cutting other mediums such as heavy cardstock, chipboard, and fabric. To cut right to the chase (ha!)…the Maker’s ability to cut significantly more materials has just opened up a whole new world of possibilities for me and our home!
![]()
But I’m guesting you want to know more than that! A lot of posts have been written comparing Cricut’s two most-popular machines: the Maker and the Explore Air 2. A quick Pinterest search will yield all the information you need about cut speeds and blade types, etc. So today, instead of focusing on the logistical differences of the two machines, I really want to share my impressions transitioning from one machine to the other. It is my hope that these practical insights from a gal who knows her Cricut like the inside of her hand will help you make the right machine choice for your DIY needs! Let’s get to it, shall we!?!
Comparing the Cricut Maker to the Explore Air 2
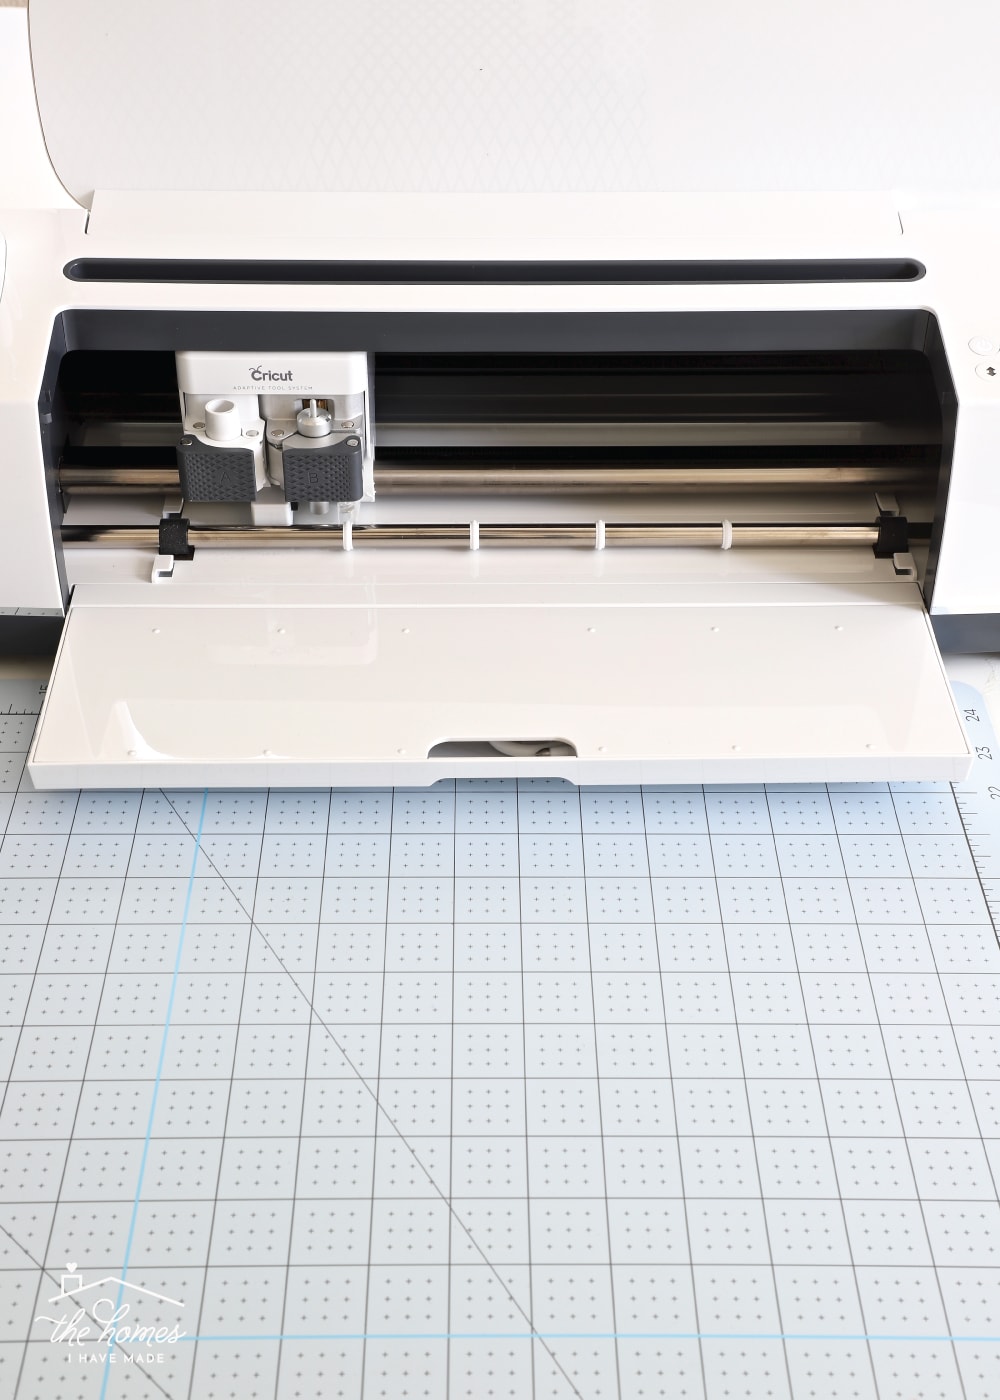
Right away, I noticed the Maker is both slightly bigger and substantially heavier than the Explore Air 2. Since the Maker has 10X the cutting power, this added weight should be no surprise! The Maker features a much more streamlined design, with no excess buttons, knobs, or compartments. Everything is clean and intentional…and easy! To open the machine, you simply lift the top flap and the whole machine folds open!
The four buttons on the right side of the machine are the same as on the Explore, although they are now flat and smooth. The BIGGEST difference any Explore aficionado will notice right away however, is that there is no knob from which to select your cutting material.
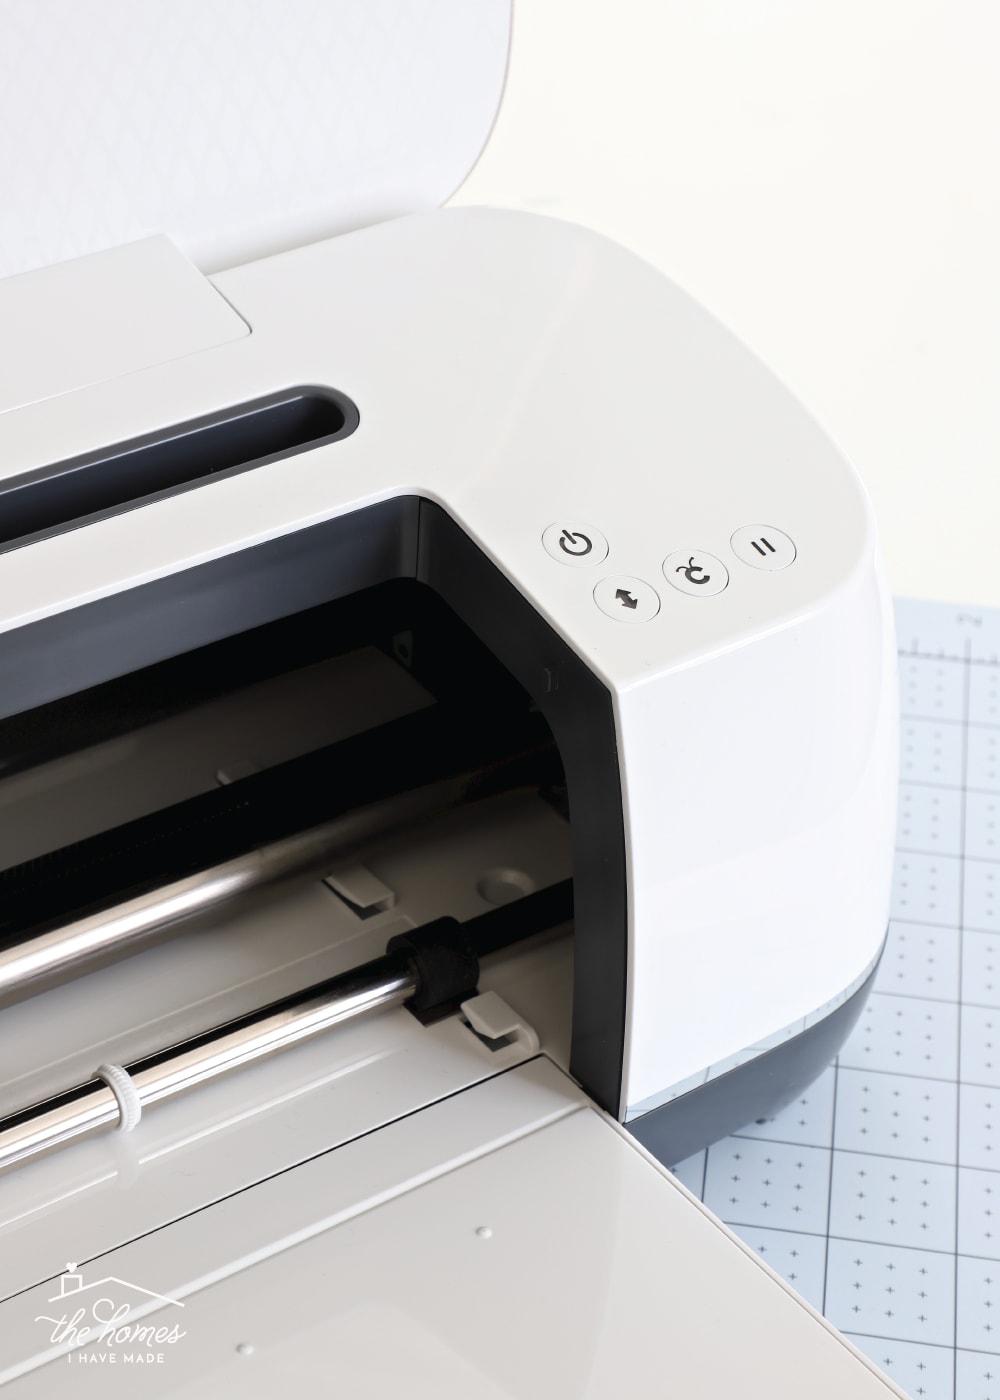
Rather, once you send your project to cut in Design Space (by clicking the green “Make It” button), one of the very first things you must do is select from one of the 100+ material options in the digital menu. Admittedly, this aspect of the Maker has been the one that’s taken the most getting used to. I did like being able to set my Explore knob to “Cardstock,” and then only refine it if my cuts weren’t coming out clean. Although having to select my material from the onset does guarantee better first-time results, sometimes I have a hard time figuring out the correct material to choose!
![]()
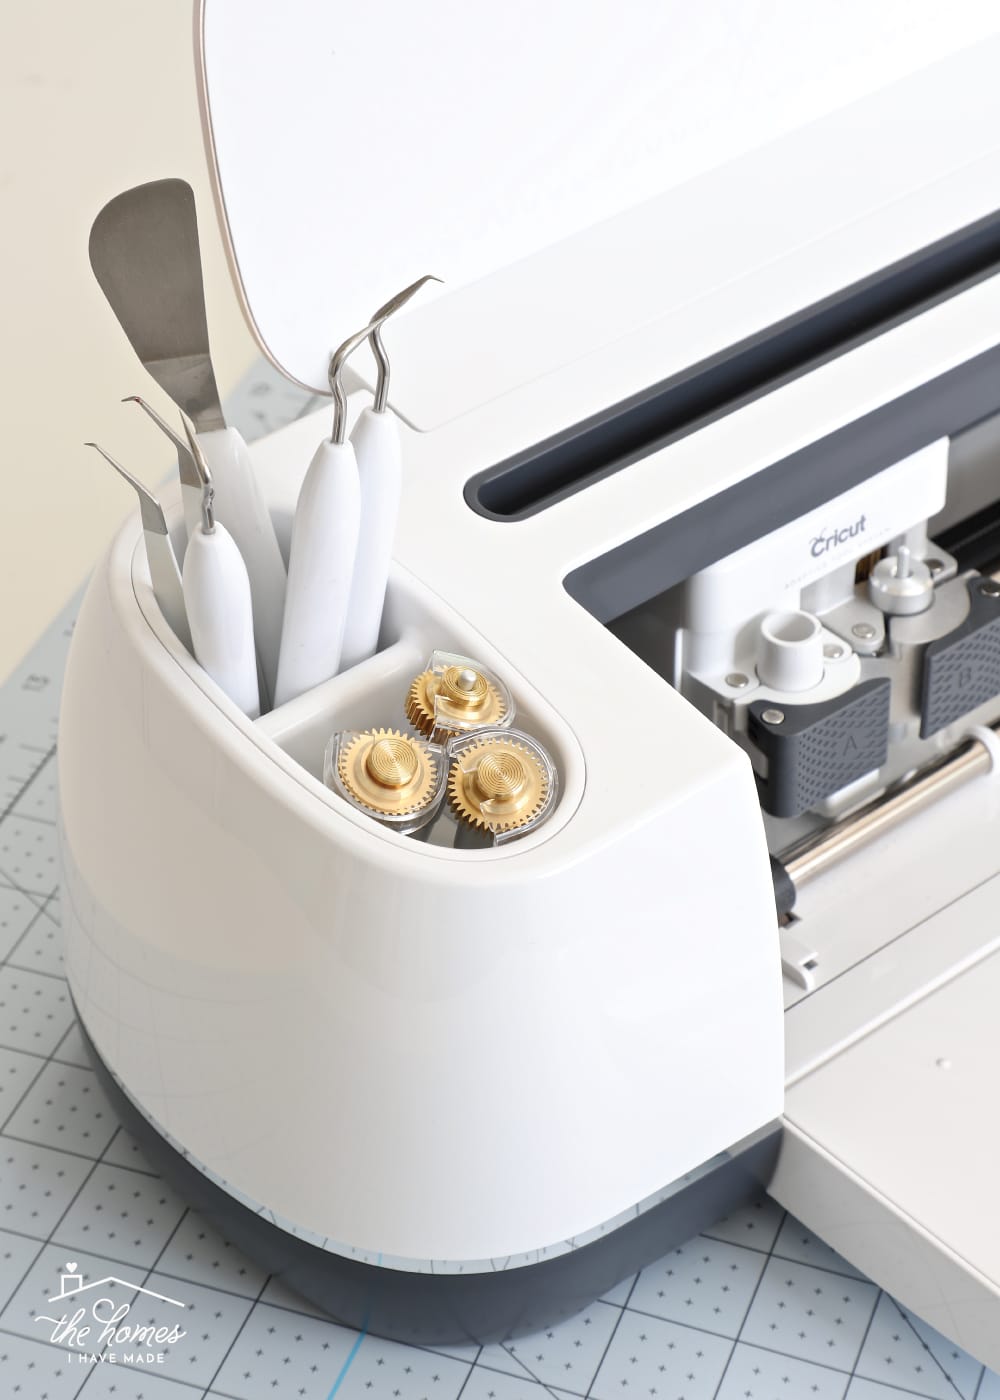
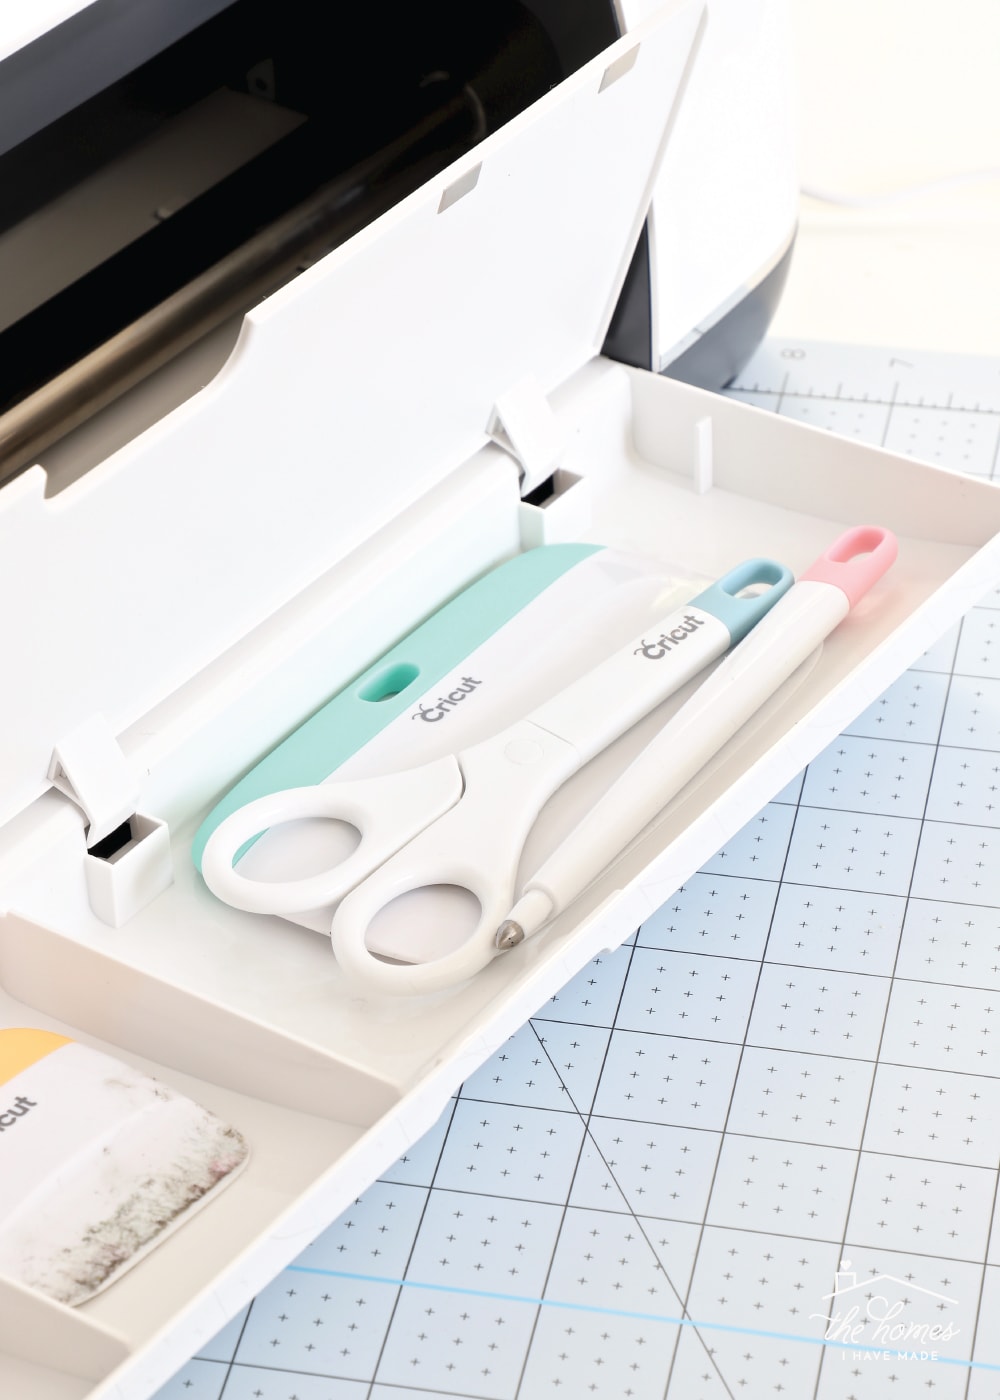
The left-hand side of the machine is also slightly different. While it still features a deep pocket to hold tools and pens, the cartridge reader is now gone and has been replaced by a more shallow pocket to hold the various blades the Maker uses. Now having used all the Maker blades (which I’ll dive into here in a bit) over and over again, I absolutely adore having this handy little spot to keep them all gathered and safe.
The rest of the Maker looks and functions very similarly to the Explore, including the tools compartment in the bottom tray…
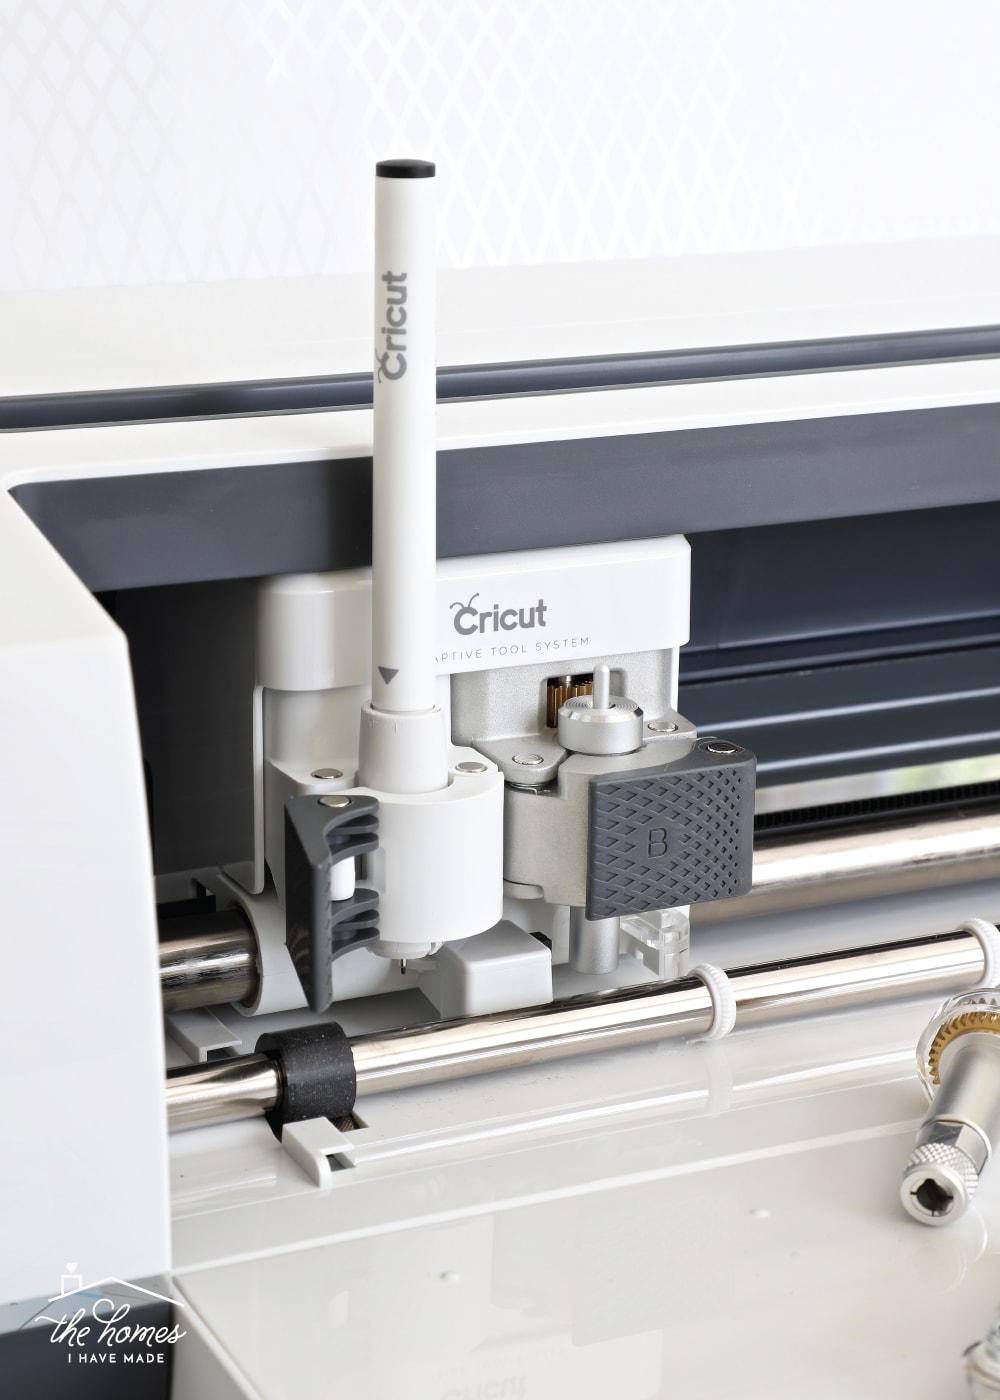
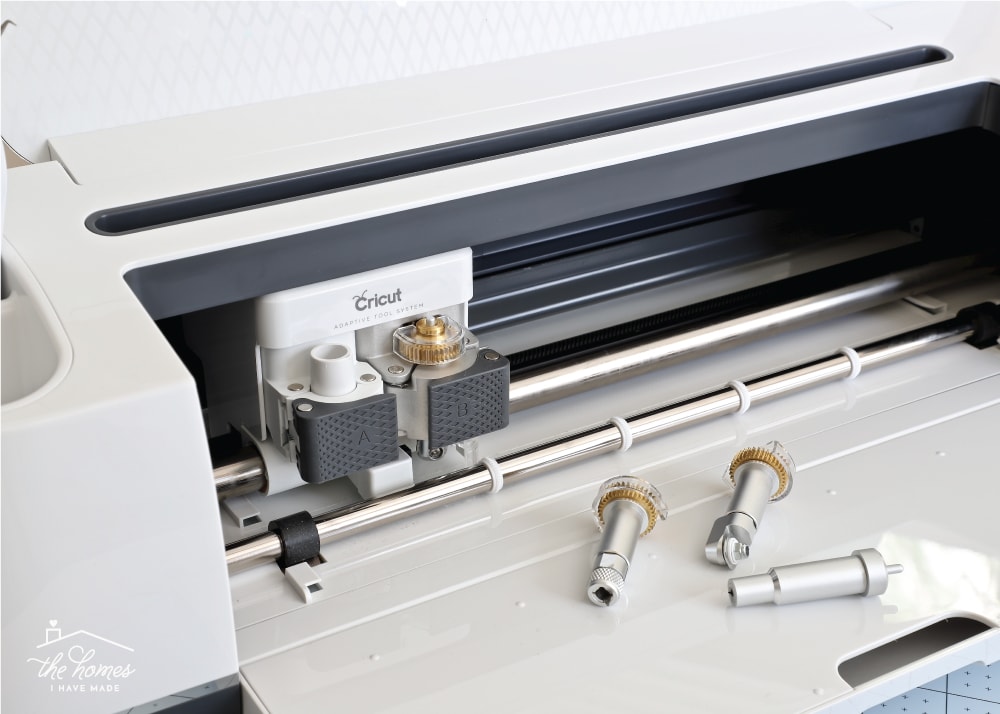
…and the dual heads on the cutting mechanism. But while the cutting system may look just like the Explore’s, it is in fact quite different. This all-new Adaptive Tool System now holds more than just the pens and scoring tool on the left and the standard blade and deep-cut blade on the right, as the Explore does….
In fact, there are now 4 different blades that fit into the Cricut Maker; and it’s these blades that truly open up a world of possibilities to any DIY homemaker! Let me walk through all the various tools and blades that fit into the Cricut Maker and share some ideas for using each one!
The Fine Point Blade
The Fine Point Blade is the same blade that comes with any of the Explore machines and looks and operates exactly the same. In fact, if you have replacement blades for your Explore, you’ll be able to use them on the Maker too. The Fine Point Blade slides into the B-clamp using the same housing and is likely the blade you will use for a majority of your cutting. It’s via the Fine Tip Blade that I do all of my vinyl cutting to create an array of labels around our home!
![]()
Want to save this post?
The Cricut Pens
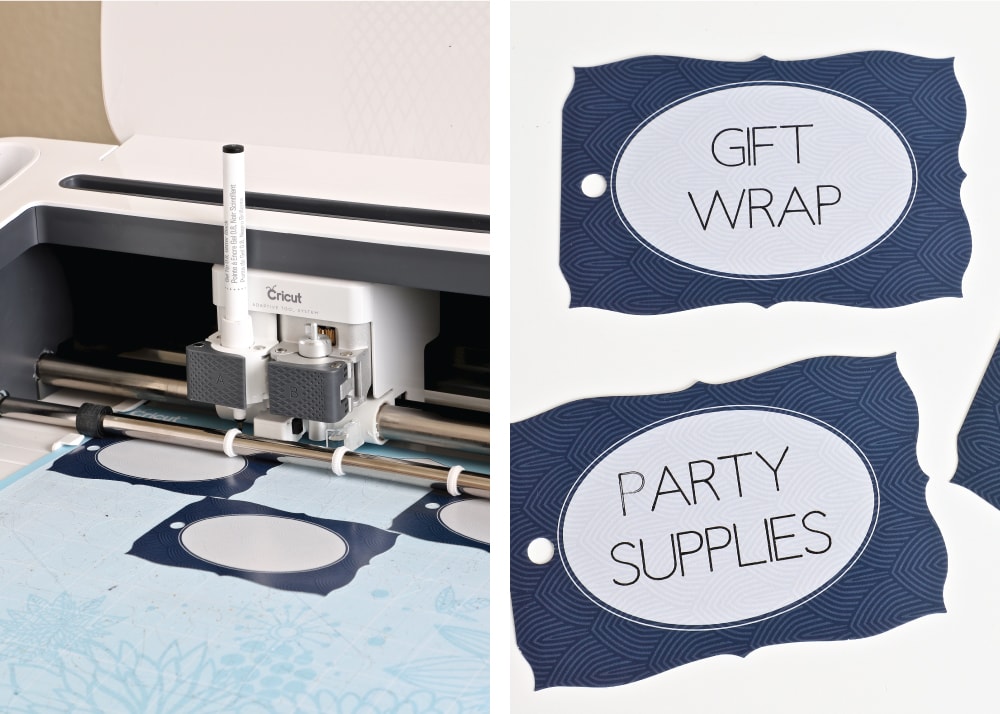
On the Explore model machines, the A-clamp (on the left side) primarily holds both the pens and the scoring tool. On the Maker, there is a dedicated Scoring Wheel (which I’ll show you in a minute), so the left-hand clamp primarily holds pens. I have horrible hand-writing and sometimes don’t want the look of computer-printed labels, so I find the Cricut pens a perfect way to get pristine letters on my labels! (I can’t wait to show you how to make these!)
![]()
The Fine Point Blade and the Cricut Pens work on both the Explore Air 2 and the Maker. And honestly, they both work exactly the same and produce exactly the same results. If you anticipate only cutting paper and vinyl, the Explore Air 2 is still a very good, solid, wonderful machine. The big distinguishing factor between the Air and the Maker are these three blades right here:
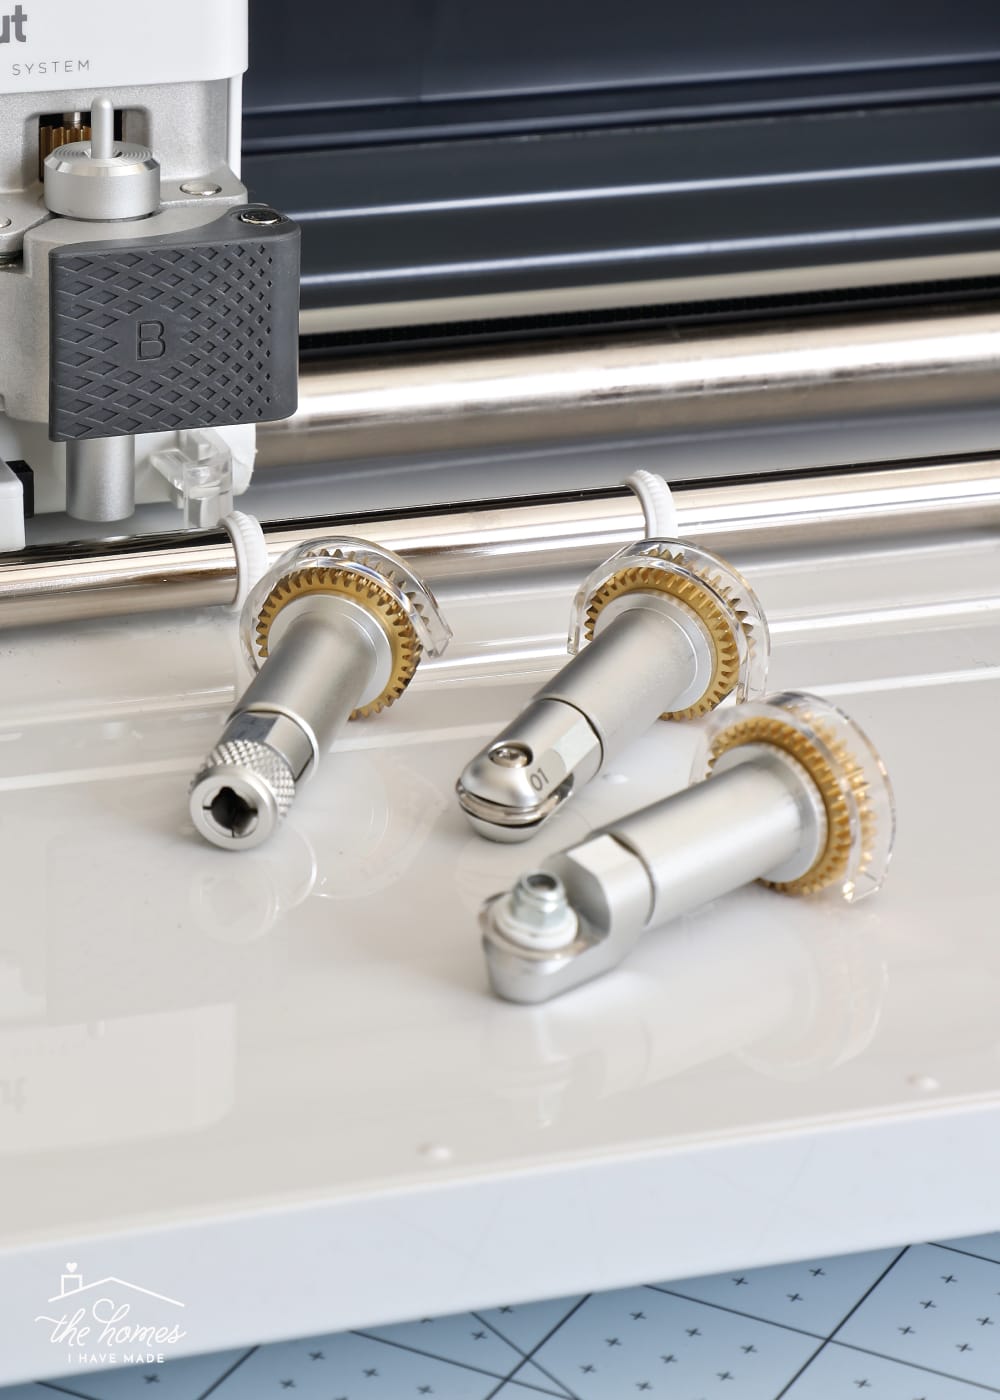
That unique gold gear housing on the three blades above is unique to the Maker’s cutting apparatus (so if you have an Explore, don’t get them!). It’s that gear housing that allows the Maker to cut with more precision and strength, and it’s these three blades that allow you to cut items such as matte board, chip board, balsa wood, fabric and more!
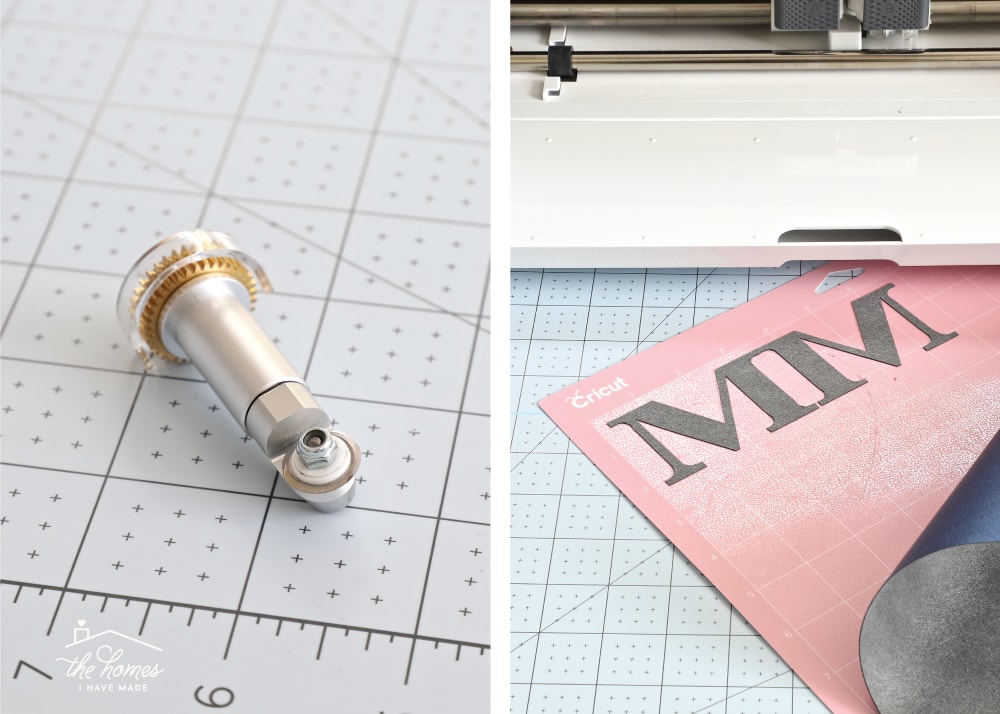
The Scoring Wheel
The Maker’s Scoring Wheel is a pretty significant upgrade to the Explore’s scoring tool (which looks more like a pen). Not only does it’s rotational ability allow for smoother, deeper score lines, but it comes with both single and double line attachments. These tools are ideal for creating complicated folding projects; and the double-score wheel enables you to fold really thick materials with ease. I couldn’t wait to put the Score Wheel to work by making some of my favorite paper box organizers out of thick paper! (Tutorial coming soon!)
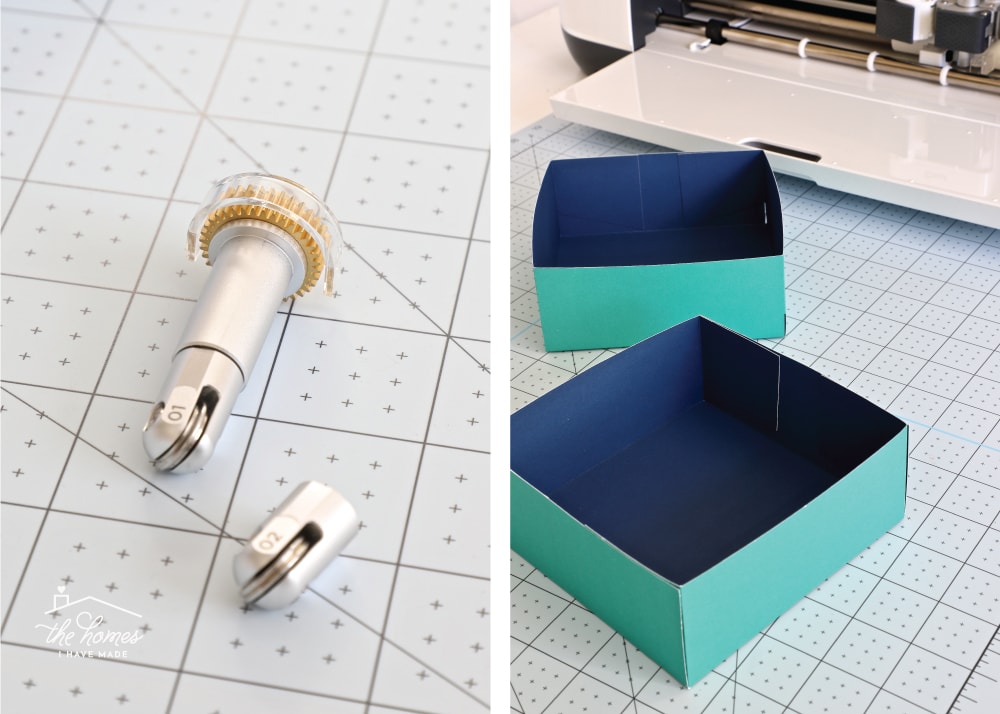
I love making these custom organizers for all my office drawers, but this time I whipped up some to hold all my new Cricut tools in a single sturdy Sterlite box!
![]()
Yeeeesss – I know. I could ditch my cartridges at this point. But they are small enough to store, and I figure if they ever un-sync with Cricut Design Space, I still have them! Or maybe I just like the visual reminder of my deep Cricut roots! 😉
The Knife Blade
The Knife Blade is what makes it possible to cut through thicker materials such as balsa wood, matte board and chipboard. Watching this strong, deep knife cut with the extreme precision Cricut is known for is most impressive, but be sure to allow for extra time on these projects! It’s not just the strong blade that cuts through these materials, it’s by making many passes (like 20+!!) over the same lines. My single chipboard tag (shown below) took about 20 minutes to cut, but the gorgeous results have me exploding with ideas for creating more with chipboard!
![]()
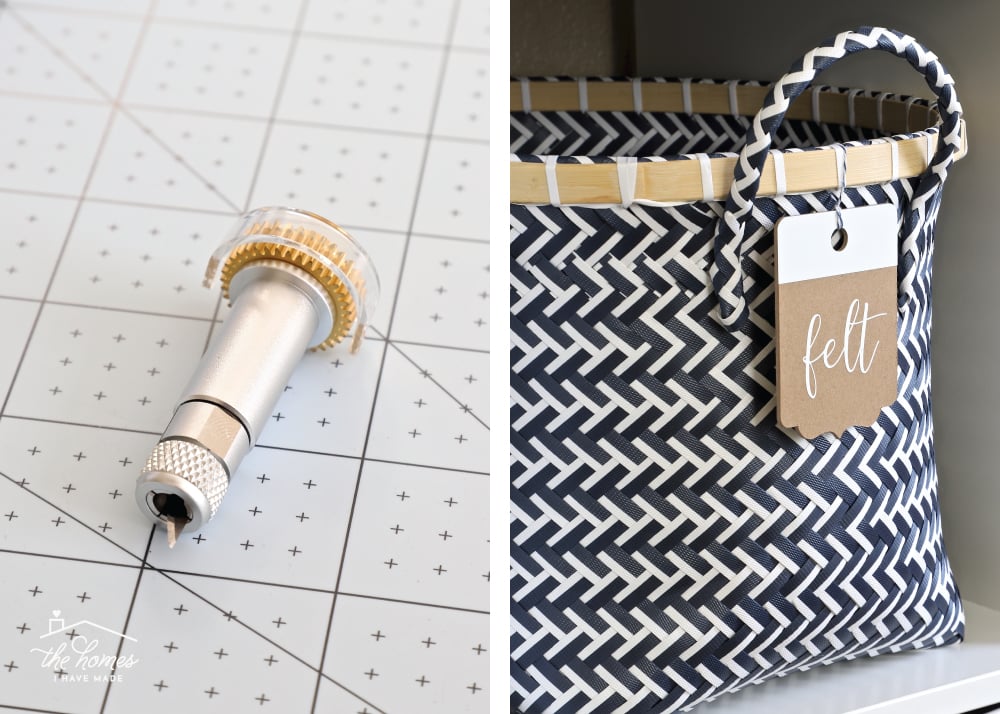
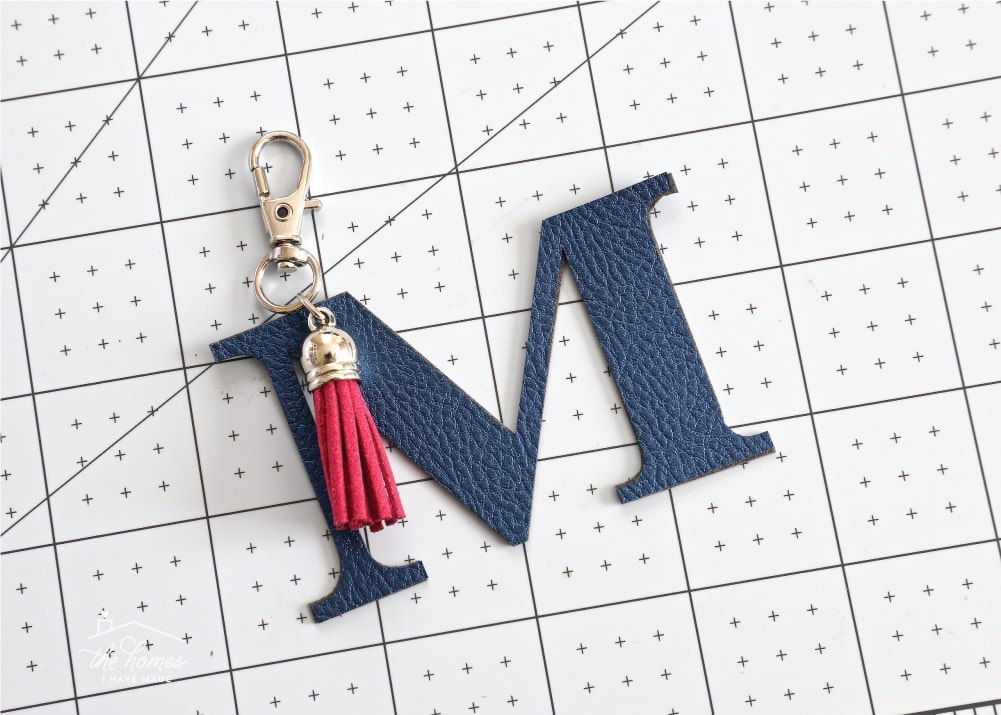
The Rotary Blade
The Rotary Blade is the tool that allows you to cut fabric. Having been able to only cut bonded fabric with my Explore (fabric that has been fused with some sort of sturdy webbing), I was incredibly intrigued to see how well the Rotary Blade performed. Just as you might expect, the Rotary Blade on the Maker cuts fabric with the same precision as any other medium, opening up so many possibilities for quilters and sewers! I made this simple monogram keychain with some faux leather, and the results couldn’t have been more quick and flawless! I wish I had thought of these as Christmas presents!
It’s important to note that Rotary Blade is the only blade that comes with your Cricut Maker (in addition to the Fine Point Blade and a Pen). The Scoring Wheel and Knife Blade must be purchased separately.
Working with the Various Blades
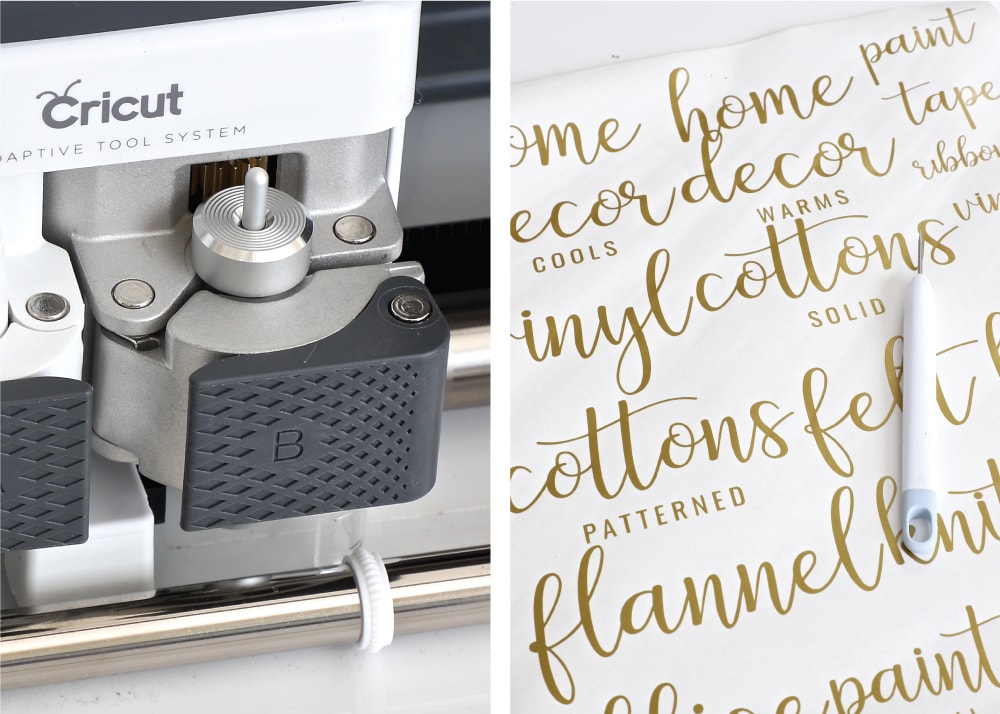
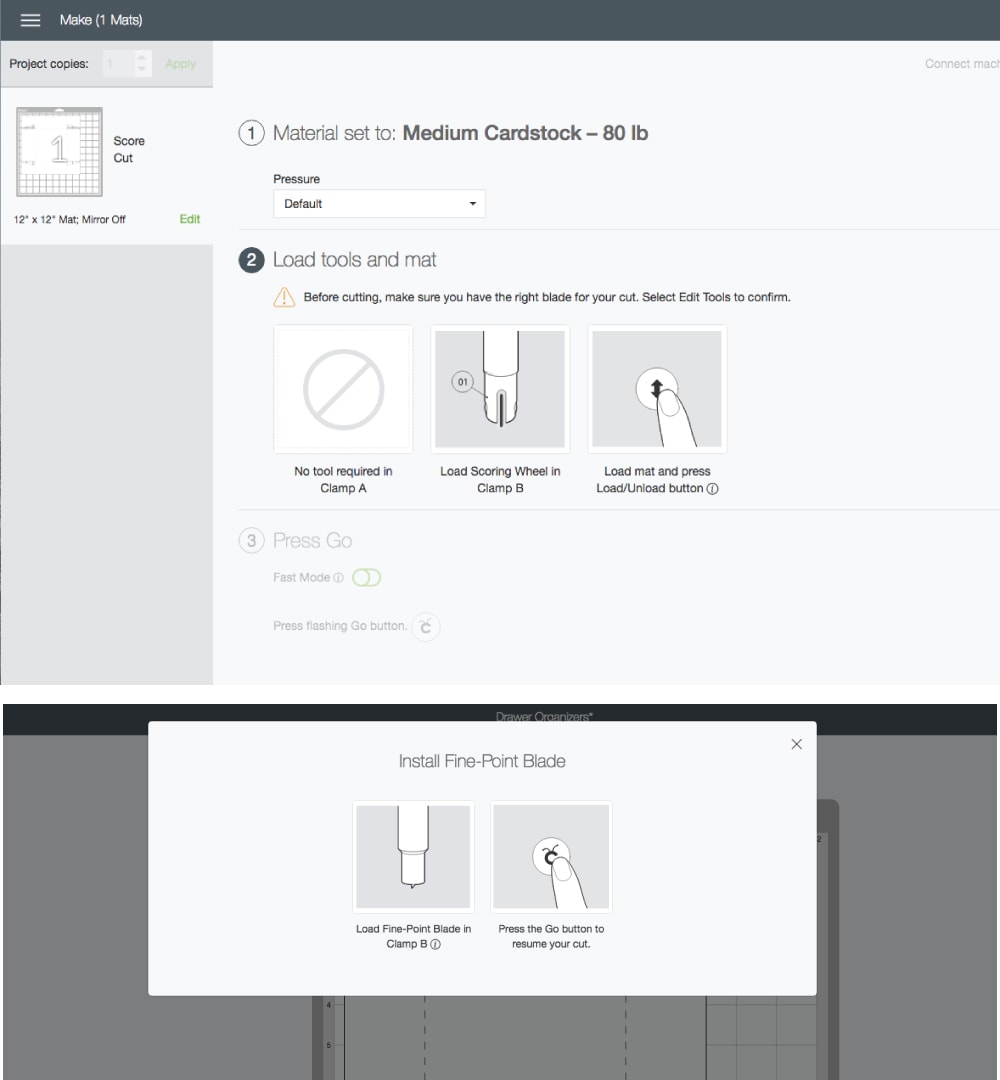
The “blade experience” with the Maker is definitely one of the most dramatic differences when transitioning from the Explore Air 2. Up until now, I pretty much kept my standard Fine Point Blade in my machine, and only added the score tool or pen when necessary. With the Maker on the other hand, in the course of a single project you may find yourself swapping out blades a few different times. And while these blade quick-changes take some getting used to, don’t fret too much about it. Inserting the various blades into the machine is really simple, and the Design Space software makes it practically impossible to use the wrong blade at the wrong time.
For example, before you even hit the flashing “C” to start cutting your project, Design Space will prompt you with the exact blade to put in the machine (below, top). If you happen to overlook or ignore that reminder, don’t worry. Before cutting, the machine will use the “Detecting Tool” to confirm you have the right blade in place. Finally, if you do need to swap blades mid-project, the Design Space software will prompt you when to do that too (below, bottom). The blades may seem overwhelming and even a little tedious, but they are truly the keys to what makes the Maker so magnificent!
In Conclusion
When I first unboxed my new Maker, I carefully put my trusty Explore Air 2 off to the side not sure I’d be able or willing to put it away for good. But after making just a few projects with the Maker, I can confidently say I have no reason to keep both machines at the ready. The Explore Air 2 certainly met my paper and vinyl needs for many years; and I highly, highly recommend it for the novice or occasional crafter. However, the added capability of the Maker to work with sturdier materials (such as wood and chipboard) and non-bonded fabric makes the Maker my absolute first choice for the kinds of projects I do. I’m not a scrapbooker and the paper crafting I do is simple and minimal. I need a machine that allows me to label, organize and decorate our rental spaces with ease, and the Maker is truly going to allow me to finally bring the dozens of projects I’ve been scheming in my head to life!
Cricut is currently in Michaels in Canada, and coming soon to WalMart and Costco.
As much as I covered here, I know there is still a lot I didn’t get to! If there is something you’re wondering about or dying to know on either the Cricut Explore Air 2 or the Circut Maker, be sure to leave a note in the comments and I’ll do my best to answer them! I really hope you enjoyed this sincere review, and I’ll see you back here on Friday!
Megan
One Comment on “Transitioning to the Cricut Maker | Everything You Need to Know”
How does the life of the knife blade and rotary blade compare to the regular blade? Did you find that you have to replace more after so many projects?