Fuss Free Label Ideas For the Garage
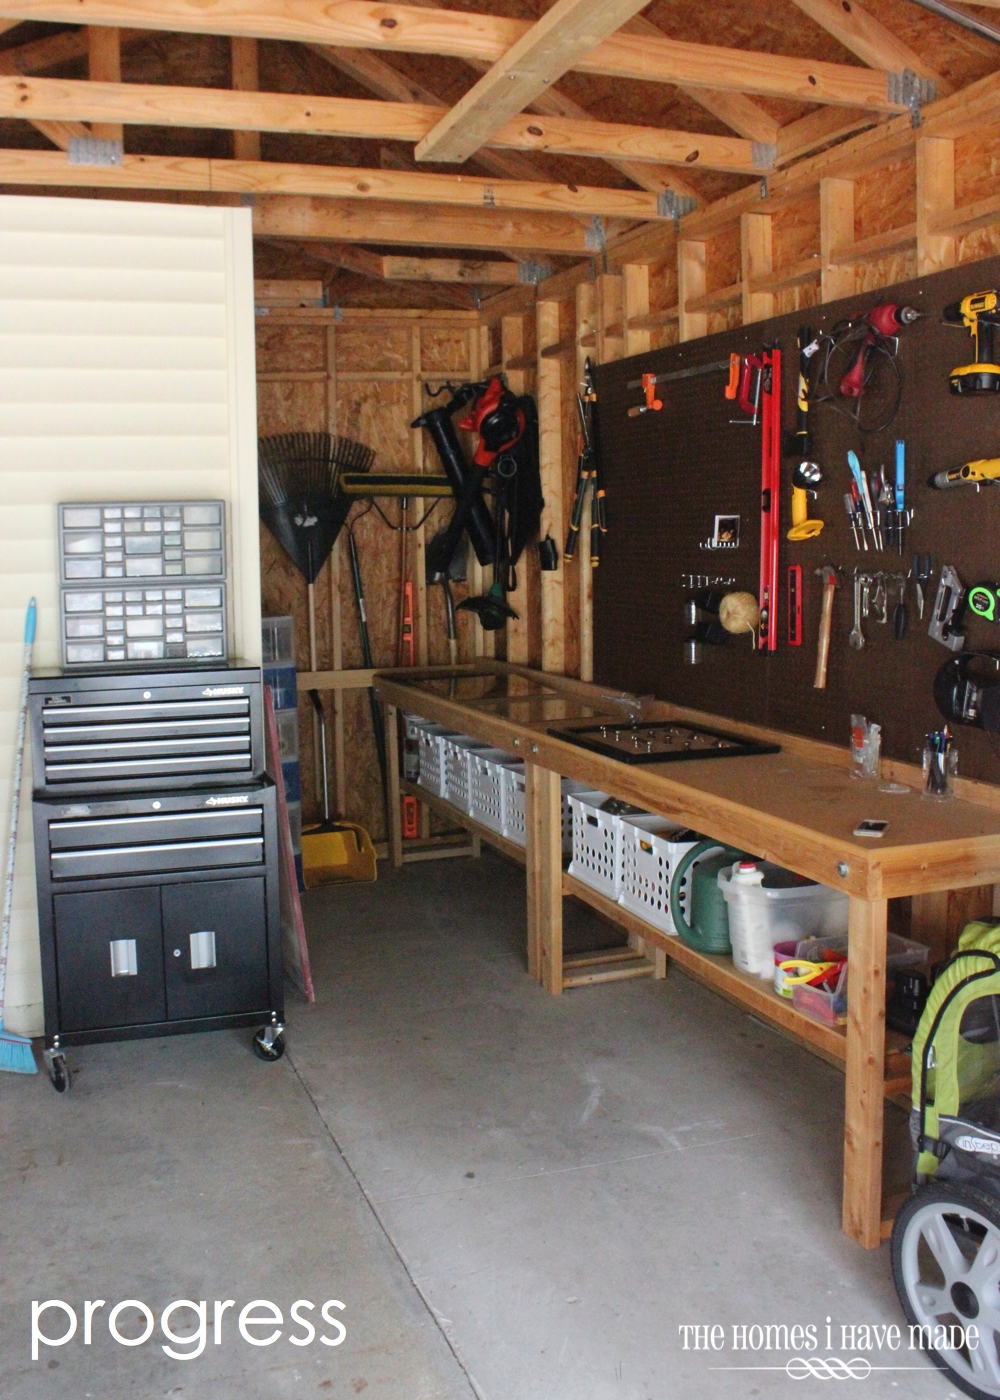
A few weeks ago, I shared the progress I made in (finally!!!) organizing our garage to make it more functional and easier to keep clean and functional. You can read more about my progress HERE.
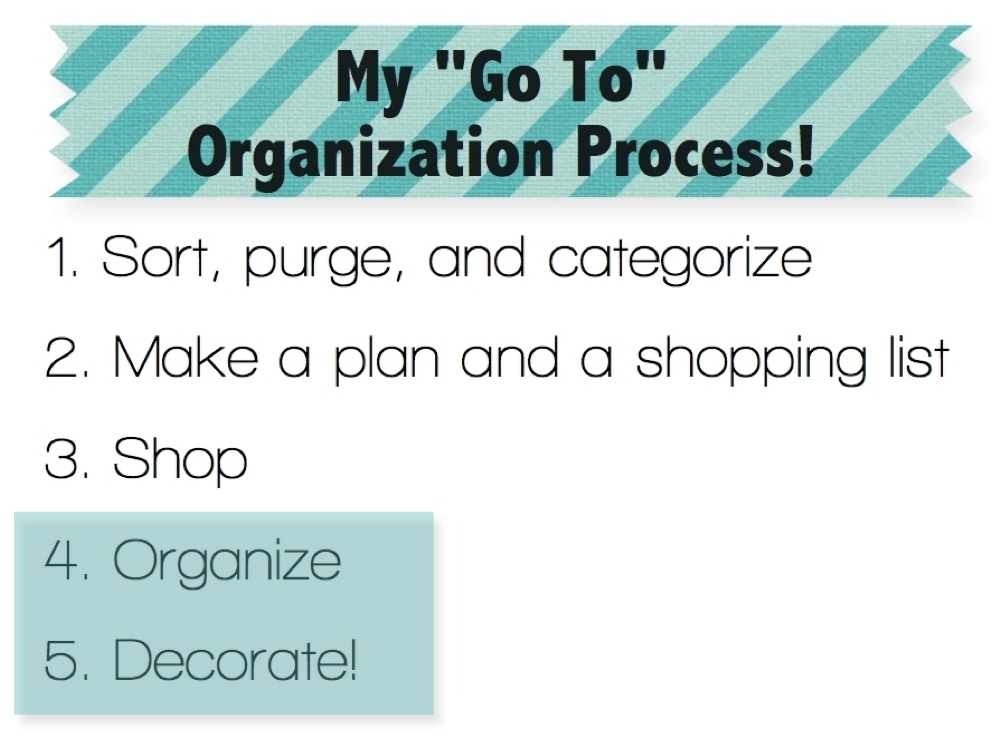
I also chatted a bit about how I take on organizing a space, which involves the steps of sorting and purging, making a plan, shopping, organizing and decorating. In this space, I had left off in my last post at the organize and decorate step. I was really excited to finish off this space…which involved color and labeling!
If you’ve been coming around here for a while, you know I am all about labeling…and often get sucked into some pretty fancy and complicated labeling systems. For the garage though, not only for the sake of time (I’ve mentioned I’m juggling a lot of different balls right now) but also for durability and clean-ability (this is a garage after all!), I was all about quick, easy, and durable labeling solutions! After looking through some supplies I had around the house, I came up with some great fuss-free ideas and wanted to share them with you today!
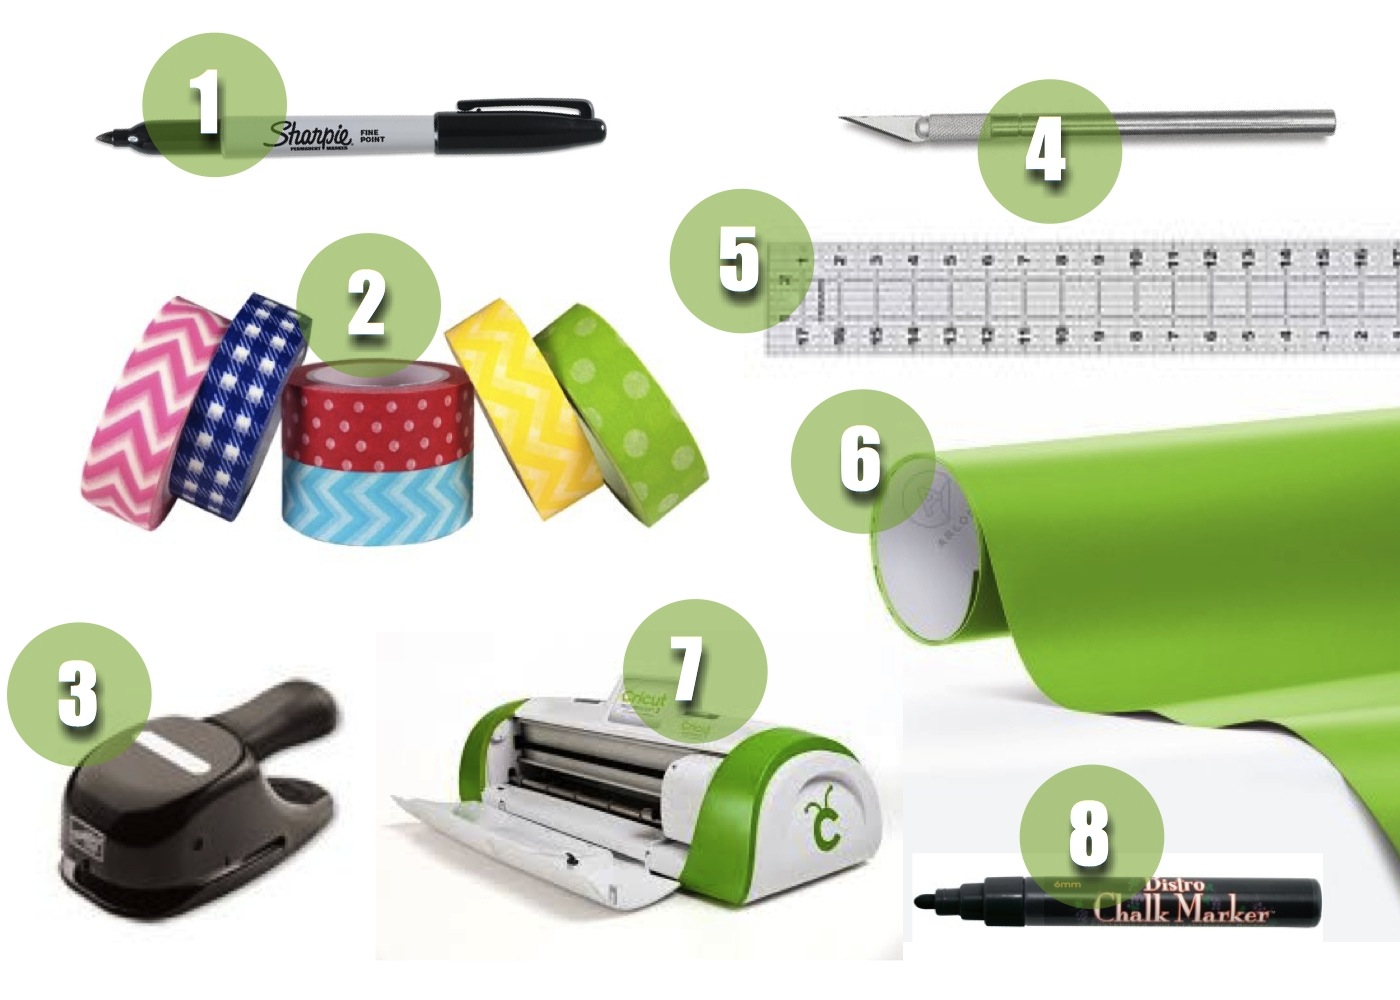
Here’s the basic supplies I used:
- Black sharpie
- Washi tape
- Word Window Punch (by Stampin Up!)
- X-acto Knife
- Clear small quilting ruler
- Green vinyl
- Cricut and font cartridge
- Black chalk maker
I used each of these supplies in a different way to get all of our different bins, baskets and containers labeled!
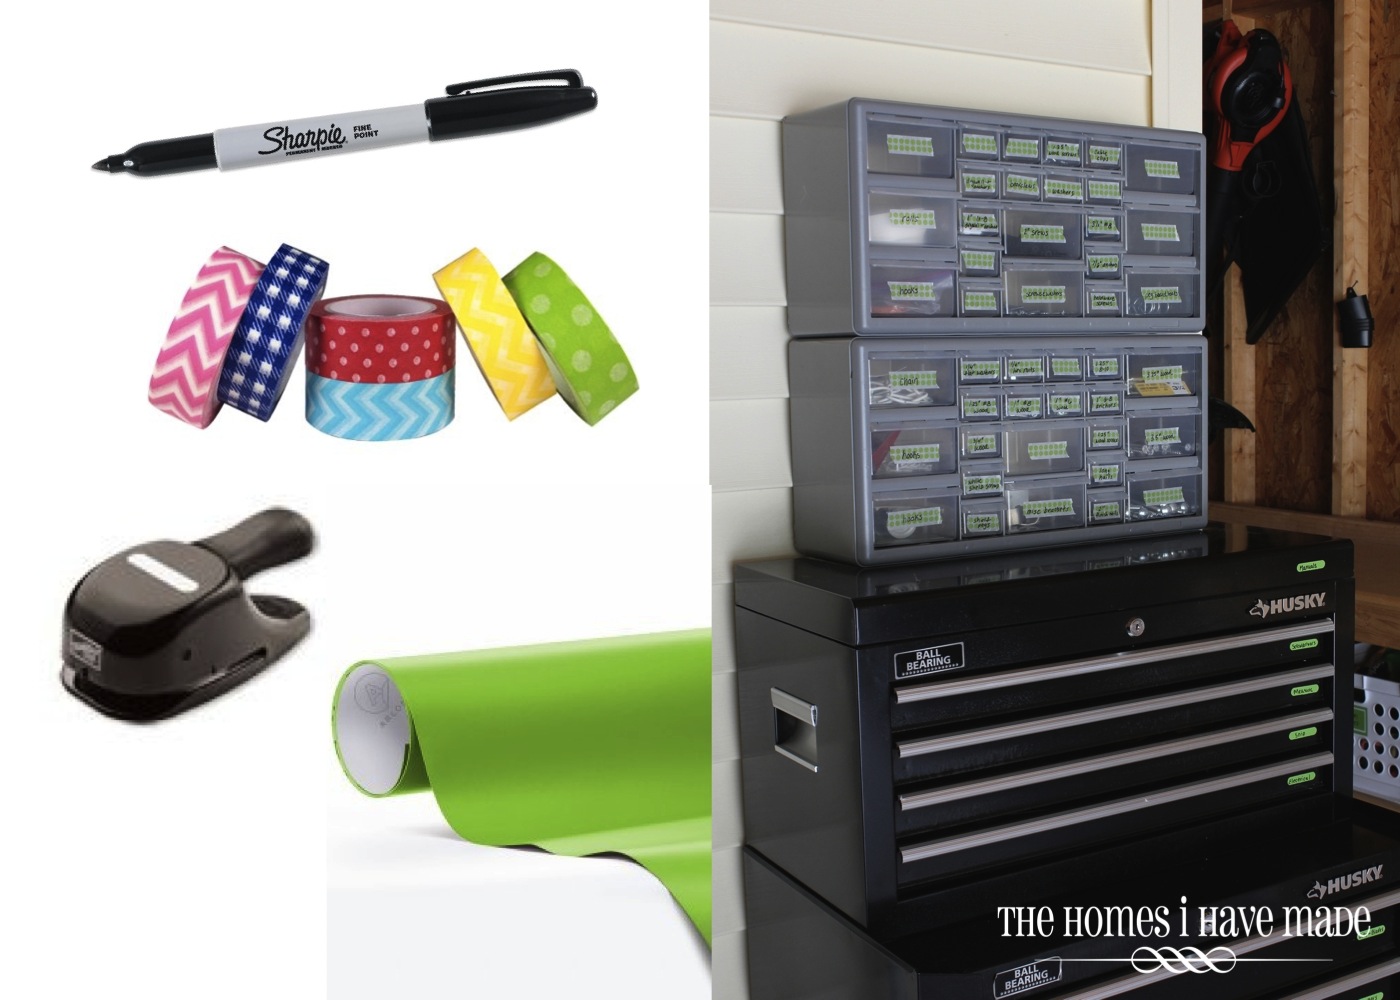
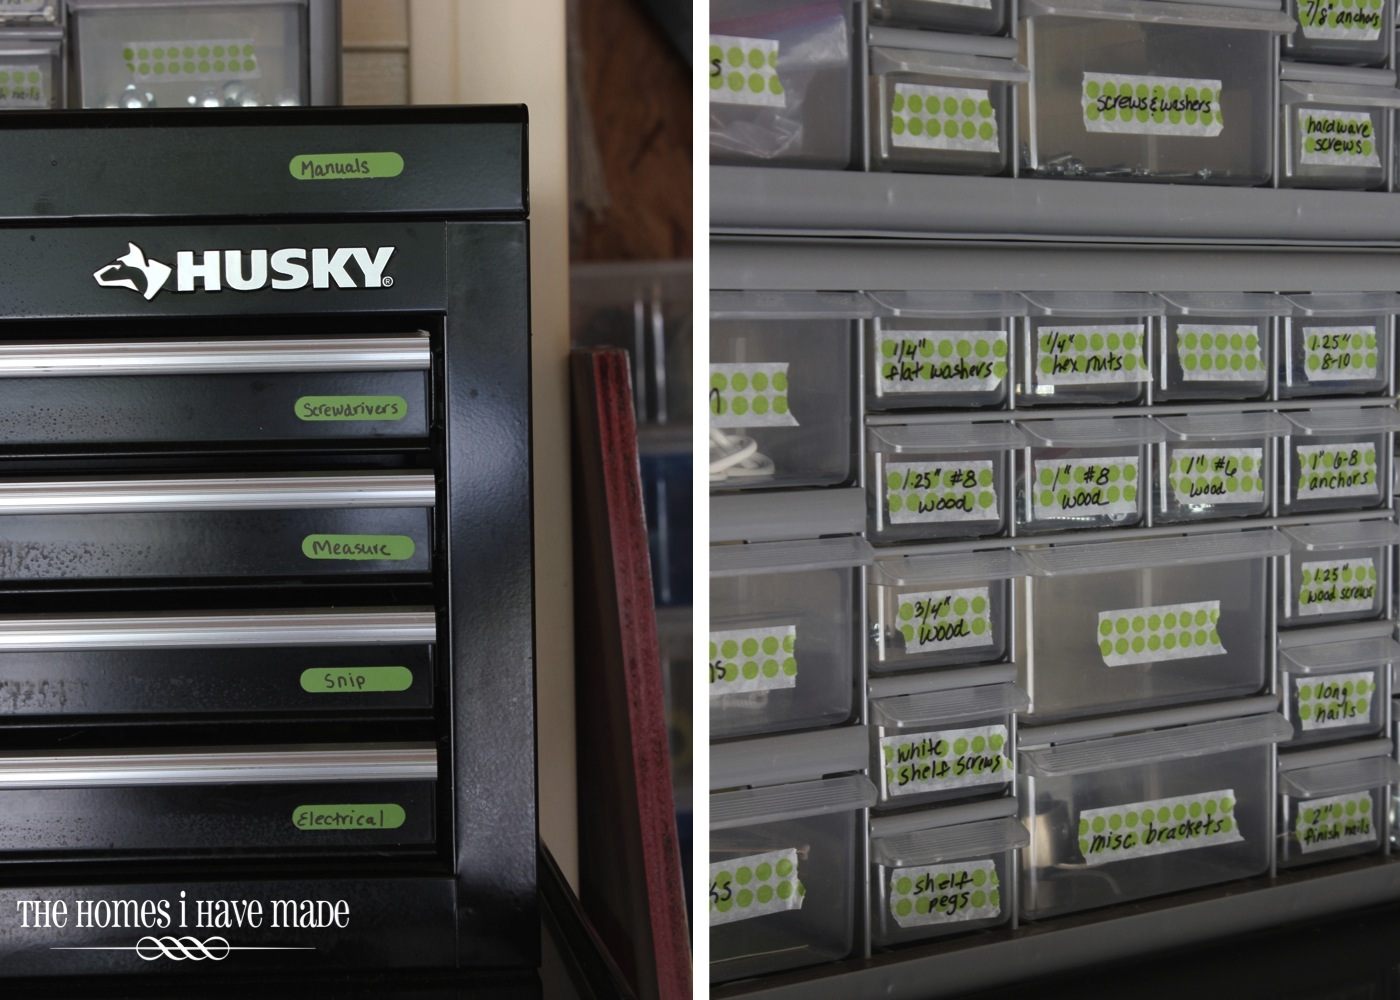
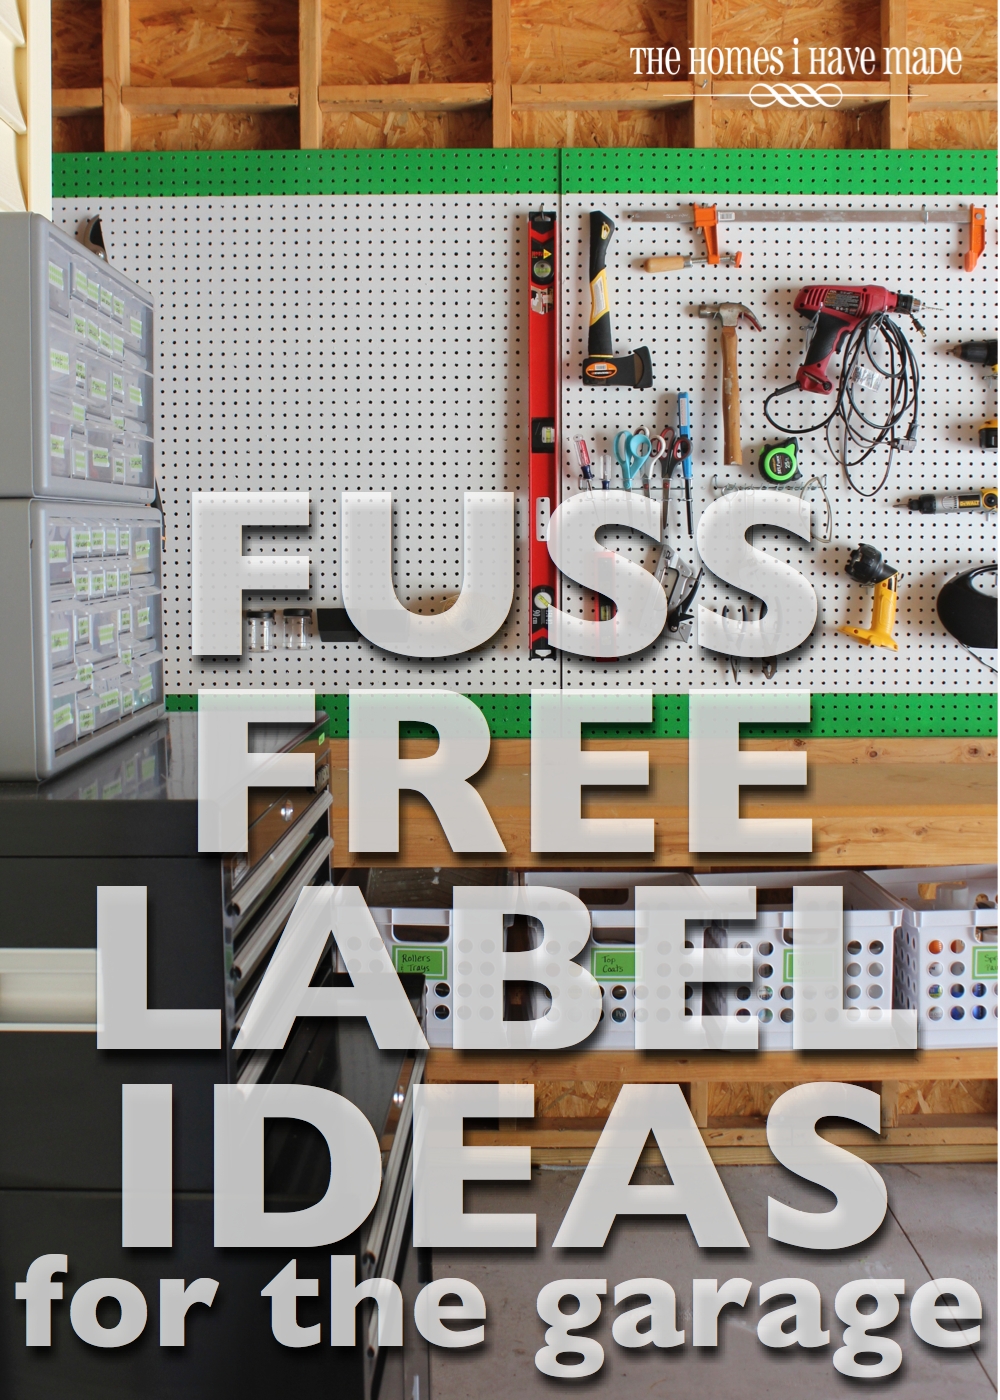
First up: labeling the tiny drawers that hold our screws, nails, anchors and other small bits. For the top drawers, I used simple stretches of washi tape and a sharpie to label label all the various screw types and sizes we have. This is a great solution because as we use up a particular type, we can just remove the tape and re-label as necessary! For the tool drawers, I punched a rectangle tag from green vinyl and labeled them with the sharpie.
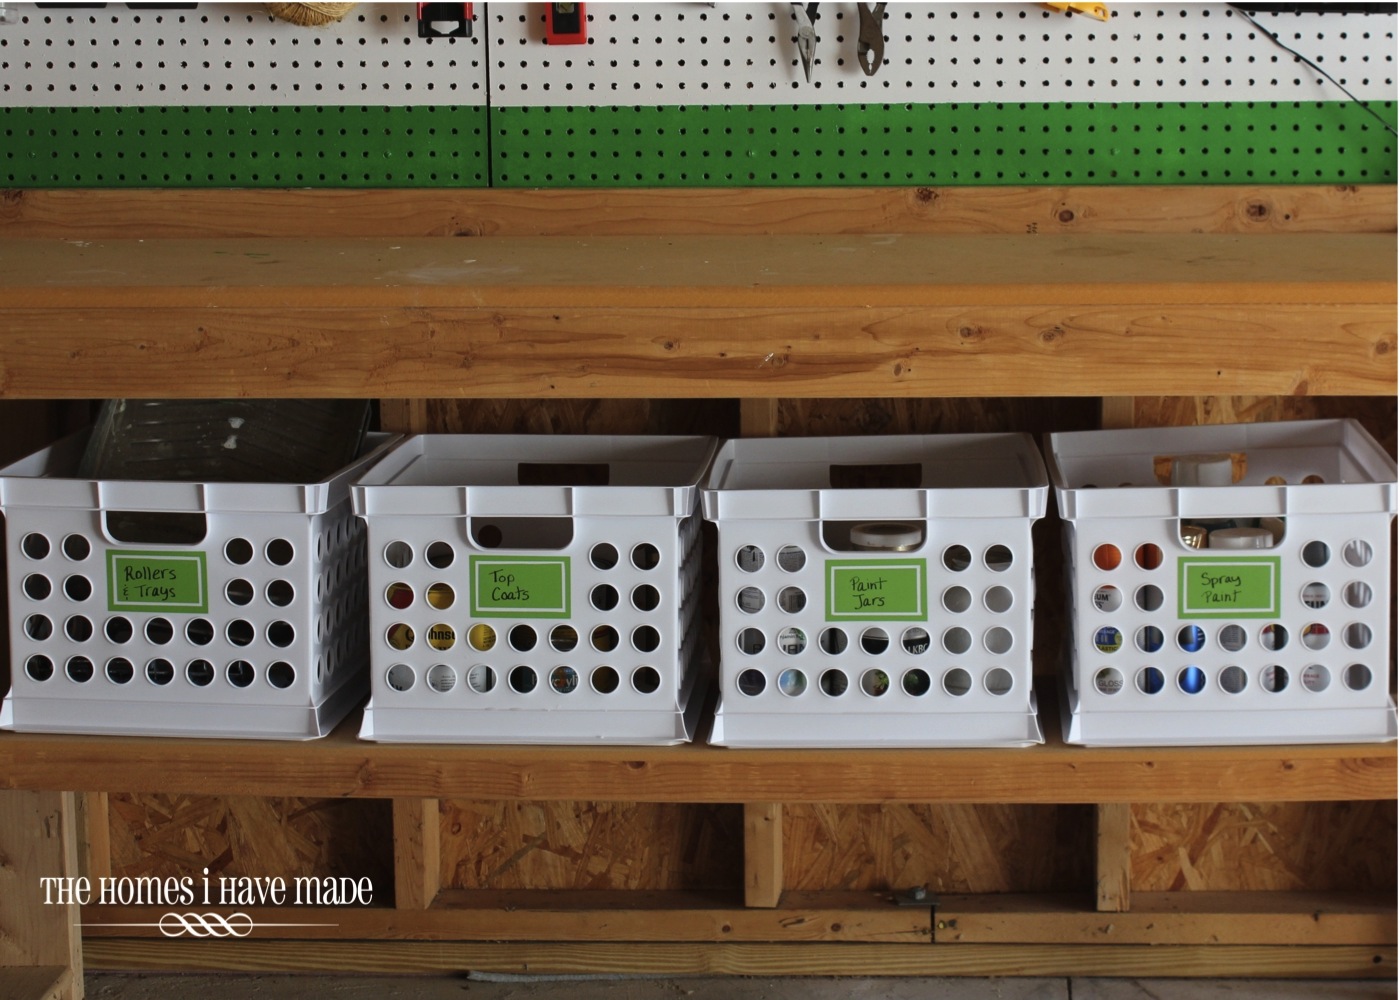
I struggled for years to keep the area under our workbench clean and in control. It wasn’t until I finally employed plastic crates to coral everything (like I do throughout our house!) that this space really turned a corner. Everything from paint, paint tools, spray paint, solvents, garden supplies and more are held in these crates. Since they are just tall enough that I can’t peer into them, labeling in this case was mandatory!
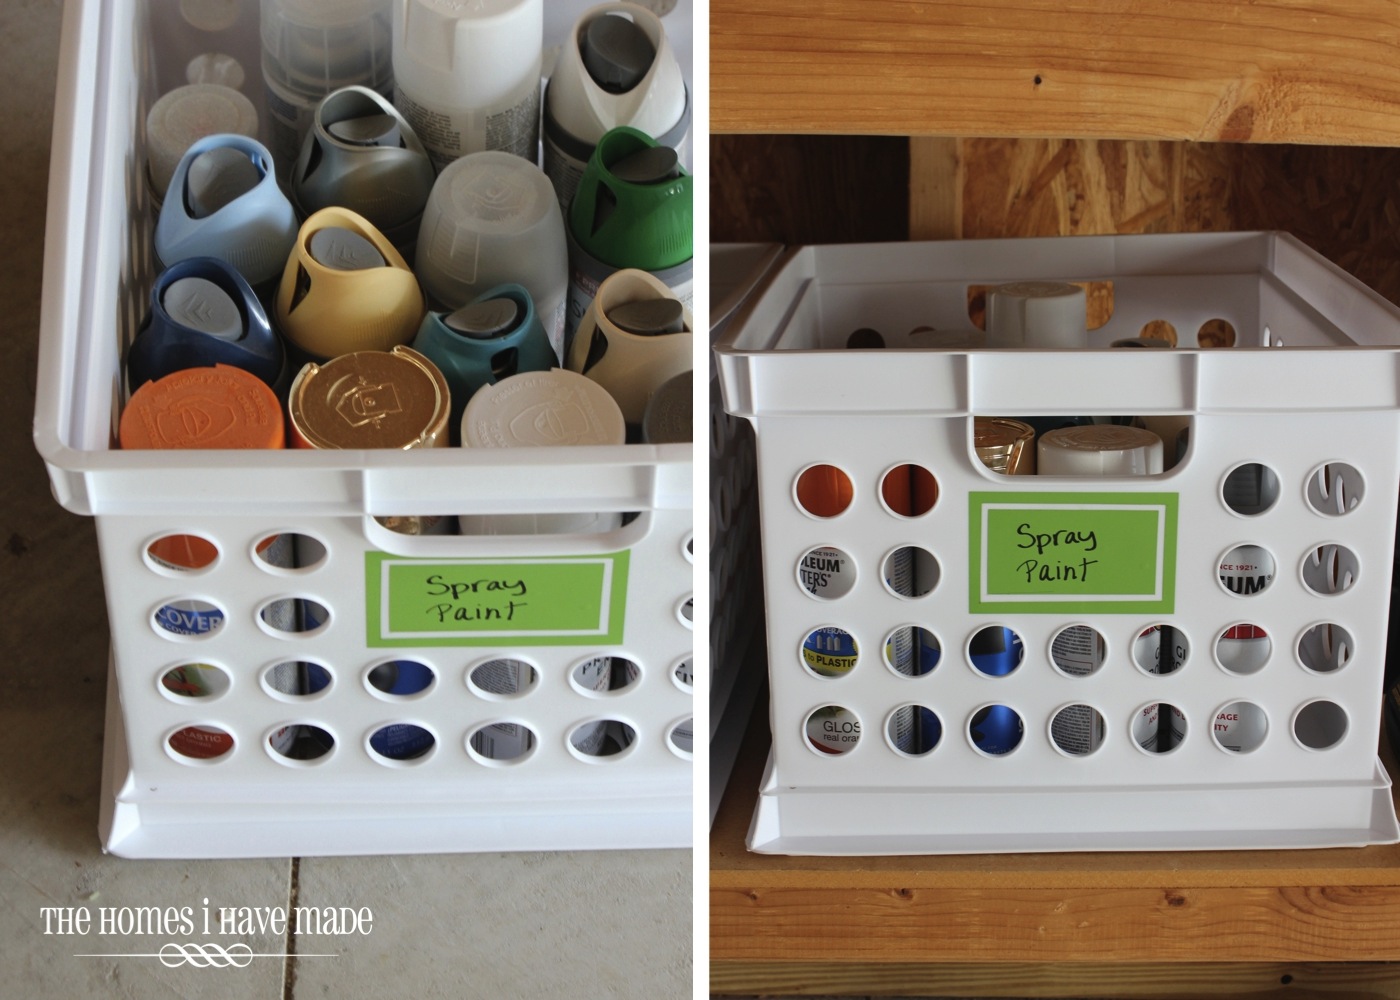
These look complicated and fancy, but they weren’t! I cut 2×4″ rectangles from green vinyl using a paper cutter. I then put the rectangles right onto the crate fronts. I was going to leave them as is, but they were looking a little plain. So I grabbed an X-acto knife and a clear ruler and cut out the white frame from each rectangle. I just measured in a quarter inch and scored a rectangle, and then measured in another quarter inch and scored another rectangle…then pulled the vinyl away! These are labeled with a chalk marker since the labels aren’t as easily removed and replaced.
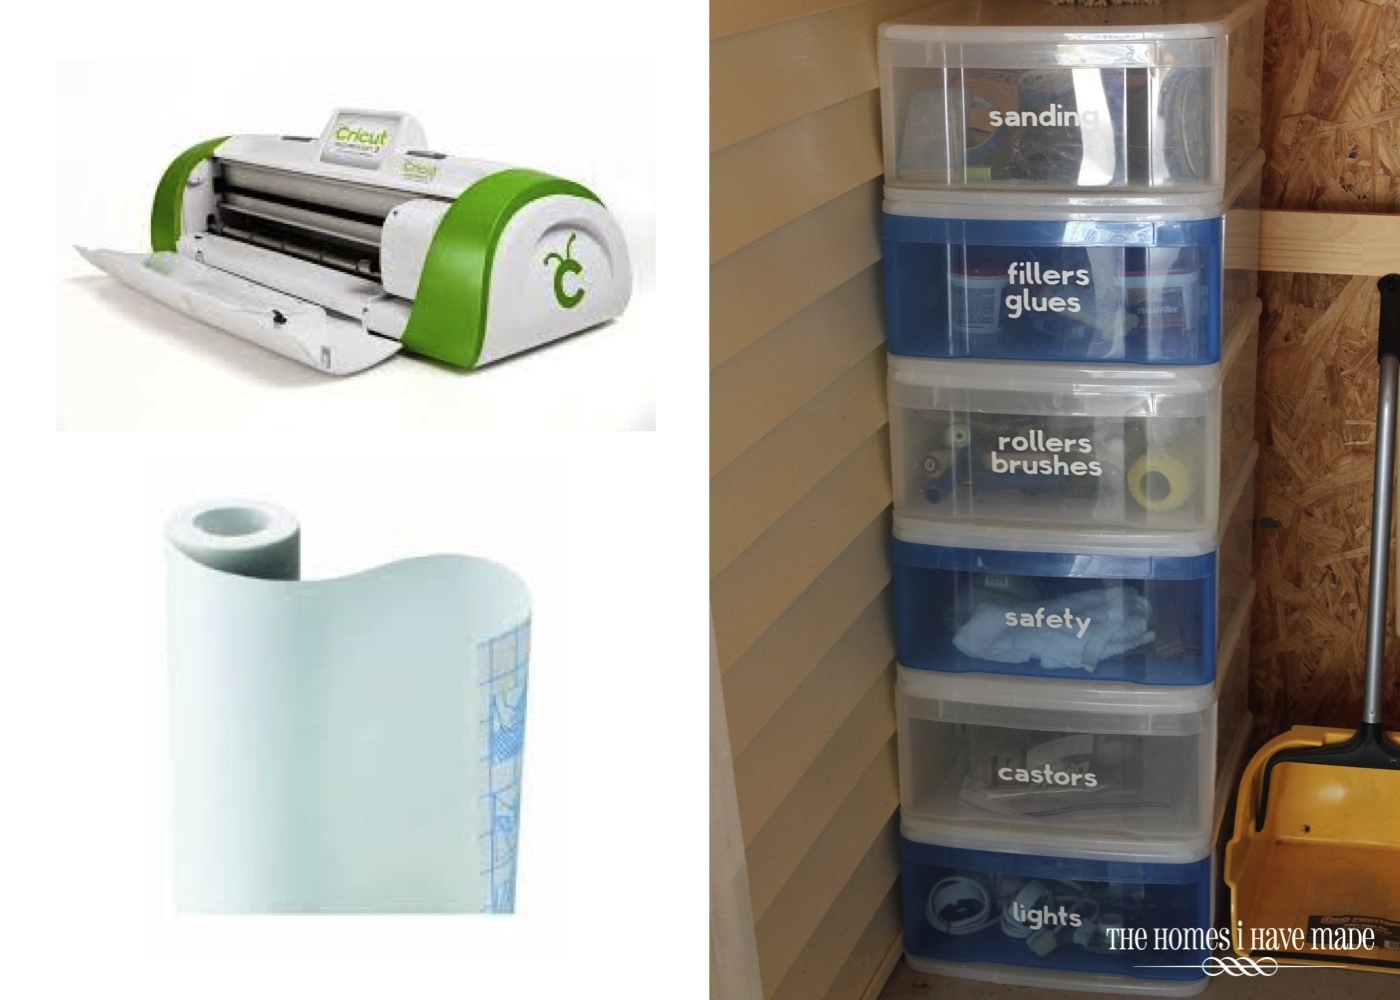
Okay, this last method isn’t exactly “fuss free” but in the grand scheme of things it was quick, easy and super perfect for this labeling conundrum. These blue and white drawers hold all sorts of various tools and supplies I use frequently, and I was constantly opening every drawer looking for one particular item. None of my other label ideas were quite bold enough for this corner so I decided to cut some descriptor words out of contact paper with my Cricut. I cut them all at one time, and used transfer paper to get all the letters nice and straight. Again, after years of these drawers not being labeled, it is so so so nice to finally know where everything is!
So that’s how I labeled/organized this space, and I am smitten with the ease of use and maintenance of all these solutions. On Monday, I’ll show you how this whole corner of our garage came together. For now, here’s a sneak peek 🙂
Hope you all have a great weekend! See you next week with more garage progress!
Megan




2 Comments on “Fuss Free Label Ideas For the Garage”
Nicely done! I am curious though… Who uses the garage more – you or your husband? I'm itching to get in and organise the garage, but its his man cave, and mostly his tools that are in there. I only use them from time to time.
Sheree
I admire your diligence and creativity. I just used green painter’s tape & black heavy marker for everything! It’s okay on the walls and on magnetic tape for the metal shelving but it’s not pretty.