How to Coordinate Mis-Matched Baskets
Happy Monday, and Happy Presidents Day! We’ve been really productive around here with some projects and shopping items checked off the list, and I am excited to have one more day to squeeze a few more things out! One of the things I did this weekend was compile this post, a post I’ve been antsy and anxious to write ever since I completed all the projects seen here! I am pretty passionate about not doing projects just for the sake of the blog. But sometimes a project (or in this case, a collection of projects) turn out better than I expected, I just can’t wait to get them up here for you to see. I think you’re gonna love this concept and the ideas here, so let’s get to it!
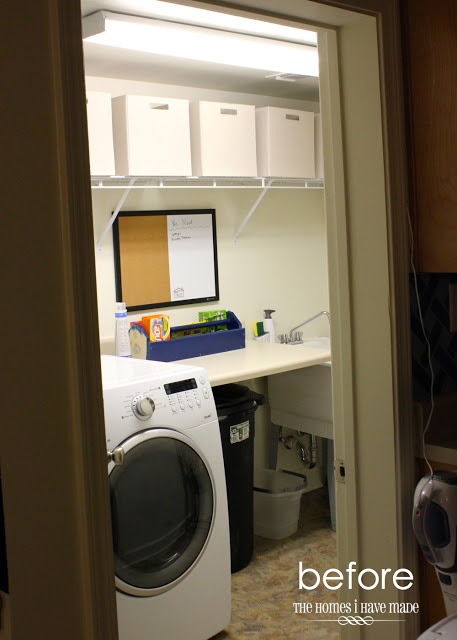
On Friday, I gave you the first look at our little but hard-working laundry room! I emptied the room out, then filled it back up with super functional but sorely mis-matched bins, baskets and containers. You can catch up on what I’m talking about HERE. This is where we left off…
Well, today, I want to show you how I took all those mis-matched bins, baskets and containers and coordinated them to work perfectly TOGETHER for this room..
Here’s what I mean! Using some pretty basic and simple supplies, I took these 5 items (1 – a Lazy Susan, 2 – ITSO canvas bins, 3 – an old tool box, 4 – cardboard totes, and 5 – metal buckets) and gave each one a preppy blue & white makeover so that they looked like they were all meant to be together!
I detail every last step after the jump!
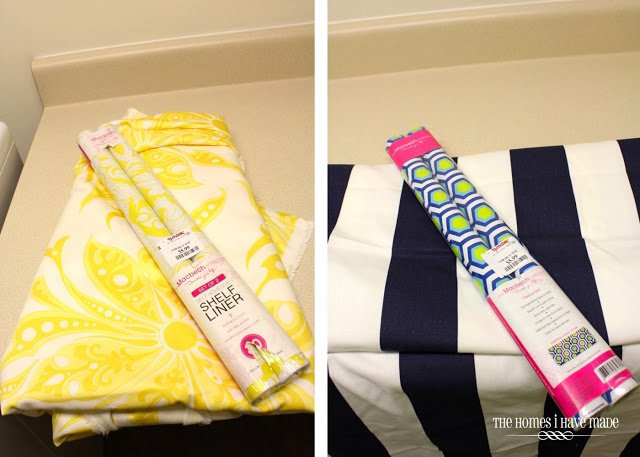
Before I could get to work on making everything pretty for the laundry room, I had to pick a color palette. I had both of these fabrics and packages of patterned shelf liner in my stash (photo below). I thought both would be great to bring a little life into this small room. Although I was really leaning toward the yellow in my head, once I got the fabrics into the room, the blue was absolutely the right choice. Not only did it work better with the lighting and color on the walls (aka: no color), but as the room sits right off the blue dining room and turquoise kitchen, the blue color scheme was a more seamless fit!
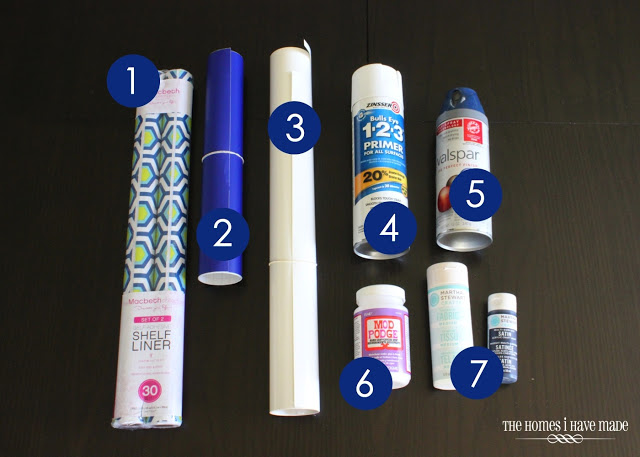
Here are the raw materials I used to makeover all my containers:
- Patterned contact paper – I found mine at Marshalls or TJMaxx, one of those two.
- Blue re-positionable vinyl
- White re-positionable vinyl
- Spray primer
- Navy blue spray paint
- Mod Podge
- Navy blue craft paint with fabric medium
I also used a few tools (not pictured): a cricut machine, sponge brush, exacto knife, and scissors.
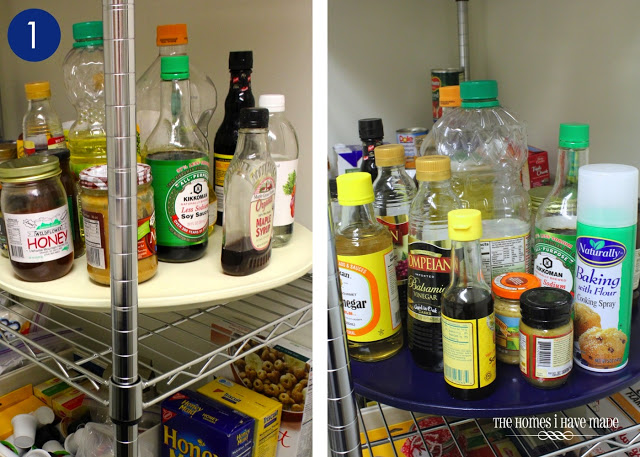
Although I really could have left the Lazy Susan white, I thought it would be fun to bring it into the room’s color scheme with a fresh coat of paint. All I did was re-prime it and then spray it with the navy blue. Once fully dry, it came in the house. Done!
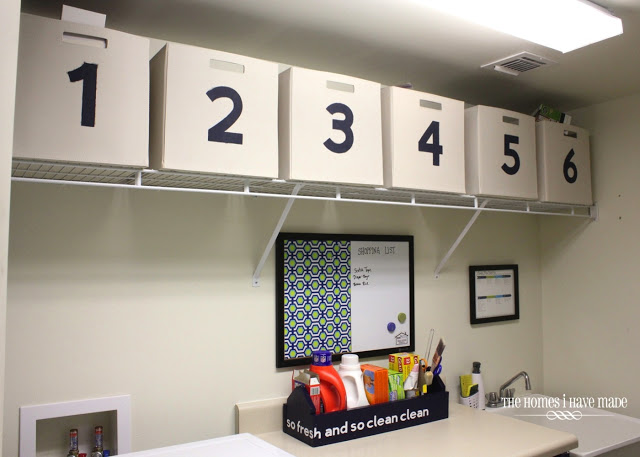
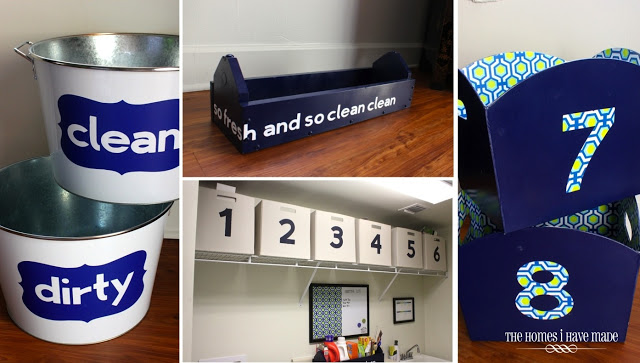
Before I even brought the ITSO bins home, I knew exactly what I was going to do with them – stencil them! I was tempted to stencil a word on each bin to describe the contents inside but felt that would be too limiting. Who knows, these might move to the play room or kid’s room someday down the road. Still bent on stenciling them with some kind of label, I employed the number system!
Here’s what I did:
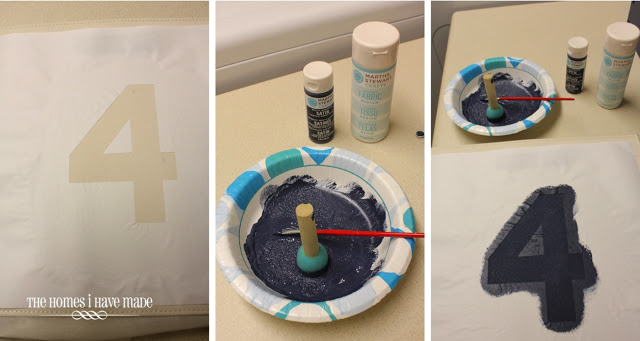
- I cut out the numbers 1-6 on freezer paper using my cricut, and then ironed the paper to the front of my bins.
- Next, I mixed fabric medium with some navy blue craft paint, and…
- …using the paint sparingly, I dabbed on the paint over the freezer paper.
I had to do two coats to get really nice coverage, but once they were all dry, I pealed the paper off to reveal some lovely numbers on the front of my bins. (Pssst! If you’re wondering how I keep them all straight, it has something to do with that framed printable above the sink! I’ll have all the details for you, including a free printable, so check back later this week!)
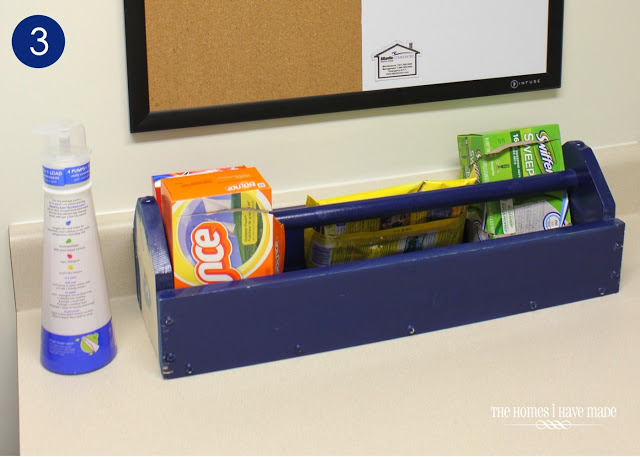
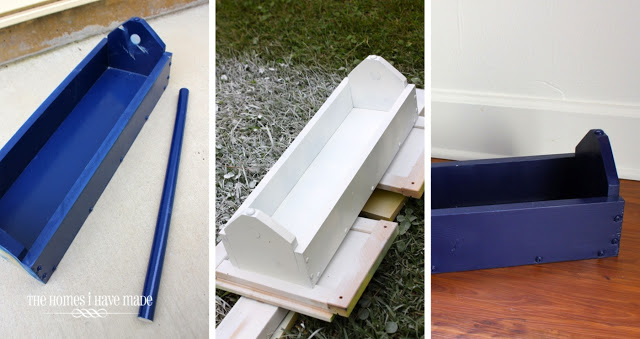
The next container that got a makeover was the old tool box I found for $6 in a local shop. Although the color was spot on, it needed a bit of work to make it room ready.
Here’s what I did:
- So the tool box could hold items a little better, my husband sawed off the handle that ran the length of the box.
- I then primed the whole box with spray primer…
- …and followed up with two good coats of the navy blue paint.
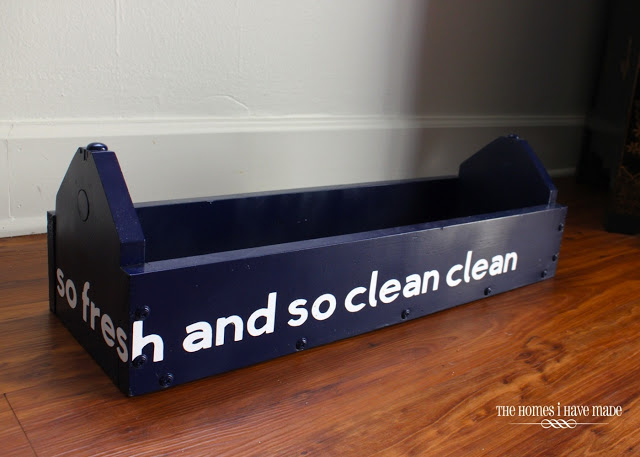
I could have left it as it is, but I couldn’t resist adding this phrase in white vinyl letters. I have these words in my head from time-to-time…it’s from an old Zest commercial, right?? Anyway, I just cut the letters out with my cricut and applied them one at a time around one side of the box. To keep my line straight, I used a stretch of painter’s tape as my guide.
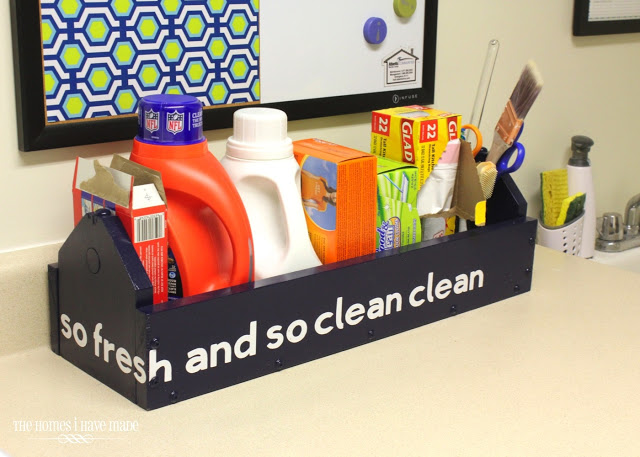
Here it is all finished and loaded up with all the items we use frequently and often need quickly! This little caddy is by far one of the best things I did for the room. I love not having to dig around for dryer sheets, trash bags etc!
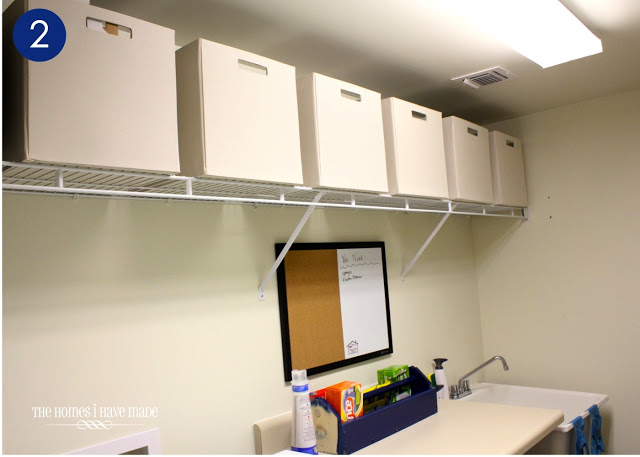
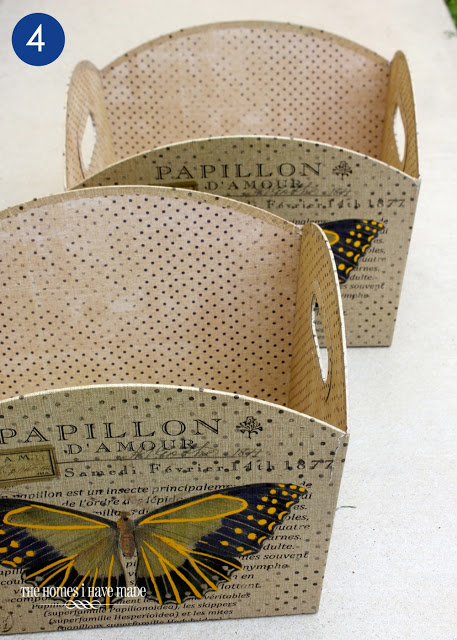
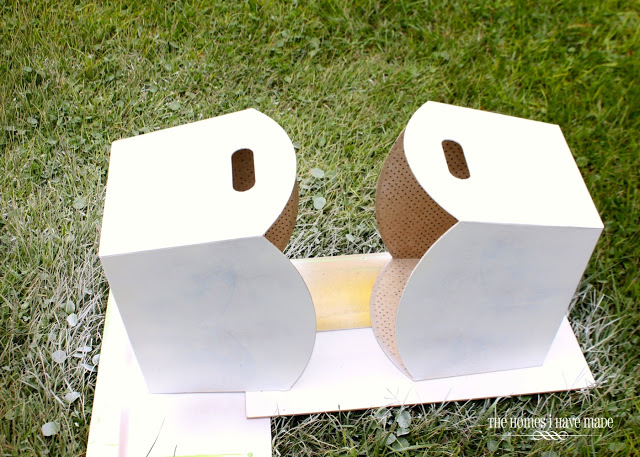
Okay, next up were these cardboard totes I snagged from Marshalls. The price was right at $7 each, and they are huge and fit my shelf perfectly. I was a little skeptical that painting them would work, but who am I to shy away from an experiment. I tell you what: it worked beautifully!
I’ve told you before and I’ll tell you again – I prime EVERYTHING. I think it makes a huge difference. I only priming the outsides and top ridges of the bins.
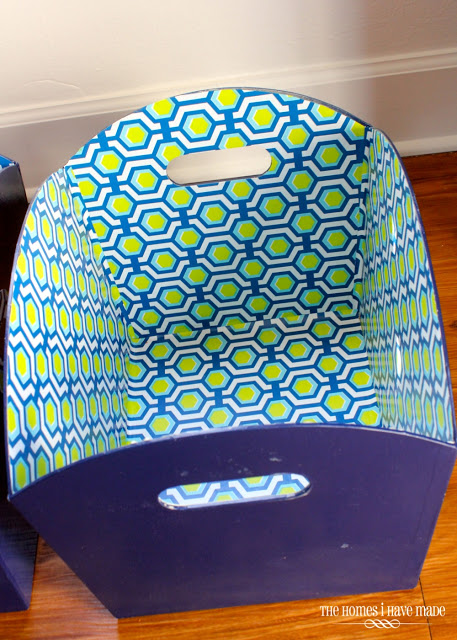
After a quick and very light sand (and wipe down), the outsides and top edges were given two good coats of the blue spray paint. I really wanted the insides to be patterned, so I thought this was a good place to try the contact paper. This contact paper is so lovely to work with, it’s worth the price. I don’t have tons of pictures for you, but here’s the gist:
- I placed a side of the box down on my contact paper and traced it.
- I then cut the shape out slightly inside of my pencil line (since you are tracing the outside of the box, and the inside is smaller, cut it a little small). Remove the paper backing.
- Line up the contact paper with all the sides and attach it, smoothing wrinkles and bubbles as you go. It’s okay if some of your seams overlap. (Note: I found that because of the spray painting process, the paper wasn’t sticking too well to the cardboard. To really ensure it stayed adhered, I covered the inside of the box with Mod Podge before placing down the paper.)
- Once all four sides were on, I trimmed all the tops, handles, and seams with an exacto knife.
- To make sure everything stayed put, I went back and covered all the seams and top ridges with Mod Podge. After it was dry, it looked and felt like a store-bought bin!
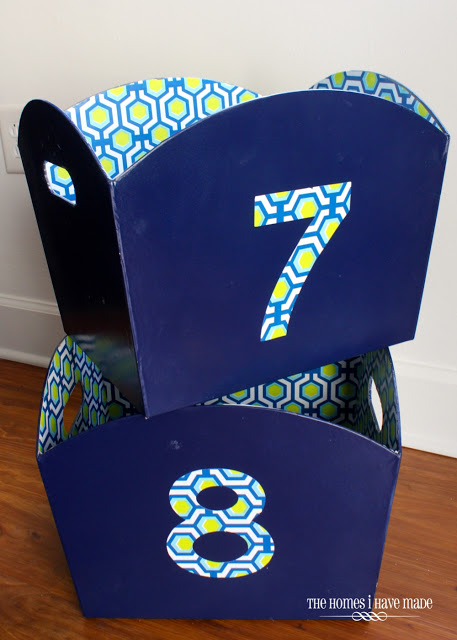
To continue the numbering system, I just cut out the 7 and 8 from the contact paper with the cricut and attached them to the outside of the bins.
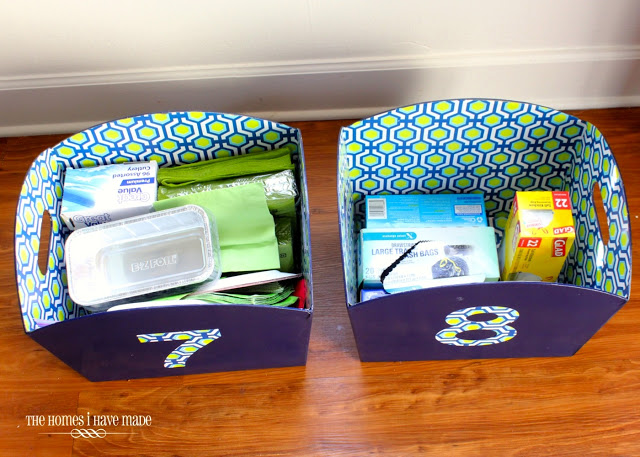
These bins turned out remarkably well. Better than I thought they would, to tell you the truth! They have held up beautifully with lots of down and ups from the very top shelf. They are nice and roomy and hold a lot of our extra paper products and plastic bags. So the lesson here? Next time you see a great deal on cardboard boxes and bins at discount stores but they don’t match your decor – buy them anyway – you CAN fix them up 🙂
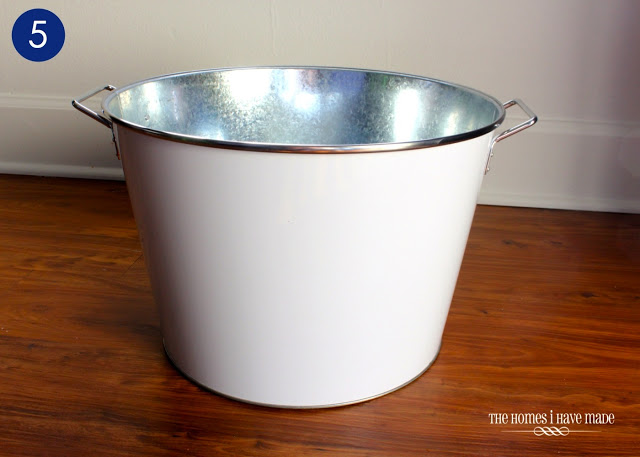
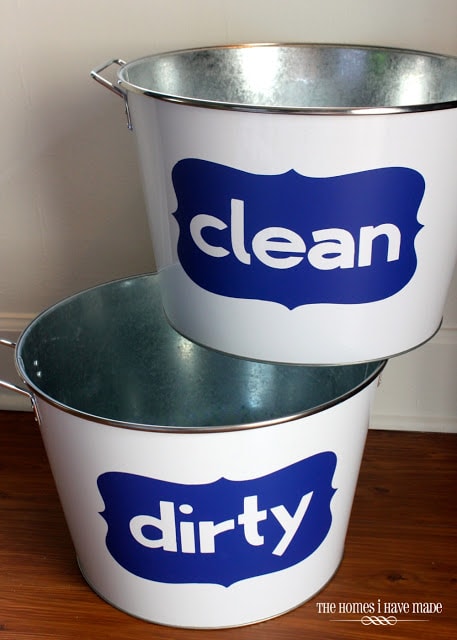
Okay, last up are these awesome bins I snagged on clearance at Lowes for $5.
I designed and cut these labels using blue vinyl and the cricut craft room program (the one and only time that program worked for me!). My technology woes aside, once these labels went on, I did a major happy dance. I just love the size and vibrancy of them!
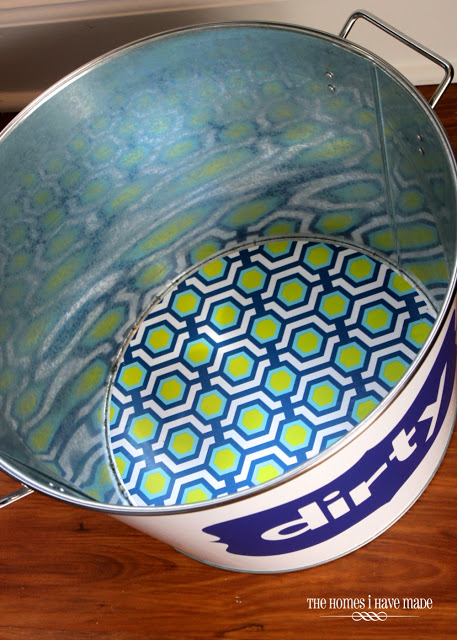
Oh, and because I couldn’t resist, I adhered some of my patterned contact paper to the bottom of these bins too. Just LOVE that pop of whimsy!!
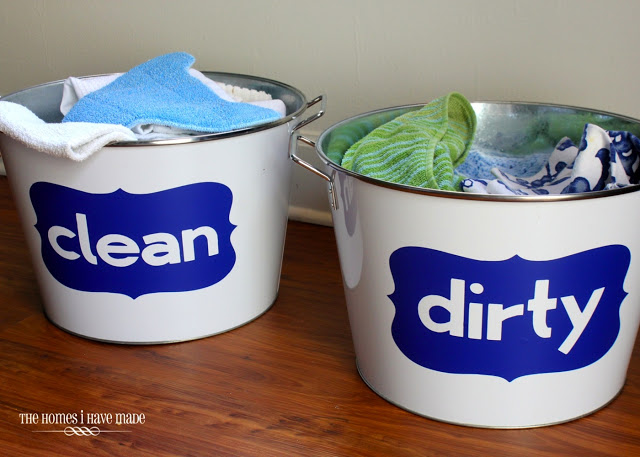
These are awesome for holding all of our clean and dirty dish towels, wash cloths, swiffer pads, etc.
So…there you have it! Five mini tutorials/ideas for transforming mis-matched items so that they work perfectly in the same space. With tricks like these (paint, vinyl, pattered paper), you can snag items on clearance or in the wrong color and still make them work!
I’ve got a few more laundry room tips and tricks coming up this week, so check back often! Have a good one!
Megan



8 Comments on “How to Coordinate Mis-Matched Baskets”
"So Fresh and So Clean" is a song by Outkast 😛
http://www.youtube.com/watch?v=aU3Rk-Z9boM
Nice work! I really really wish I had a laundry room on my main floor. So many trips to the basement….
That song was stuck in my head all through high school. When I saw the tool box I wondered if Oukast was the inspiration 🙂
I really love it! Just couldn't believe this laundry room had such a potential! All these details are so "eye-candy"! 🙂
Absolutely great!! I never would have thought to use freezer paper with my cricut! Have you ever thought of making a tab for all the posts that you used your Cricut on? As a new Cricut owner, I'm always looking to be inspired & your blog is always my go-to! 🙂
Love it!! Love it!! So fun!!!
If I had three wishes, I would ask for a laundry room. Our washer/dryer is in the garage. It's an attached garage, but still. Hard to do all your garage-type things if you are worried about that load of clean laundry in the dryer (that needed to be taken out and folded yesterday).
My second wish would be a magic wand. So, I wouldn't need a third wish would I? Technically, I wouldn't need a laundry room either. I would just use my wand to do laundry .
your laundry looks lovely I need to do this but in my craft room – so many thrifting finds and nothing matches.
You are so talented. Thank you so much for the tutorials!