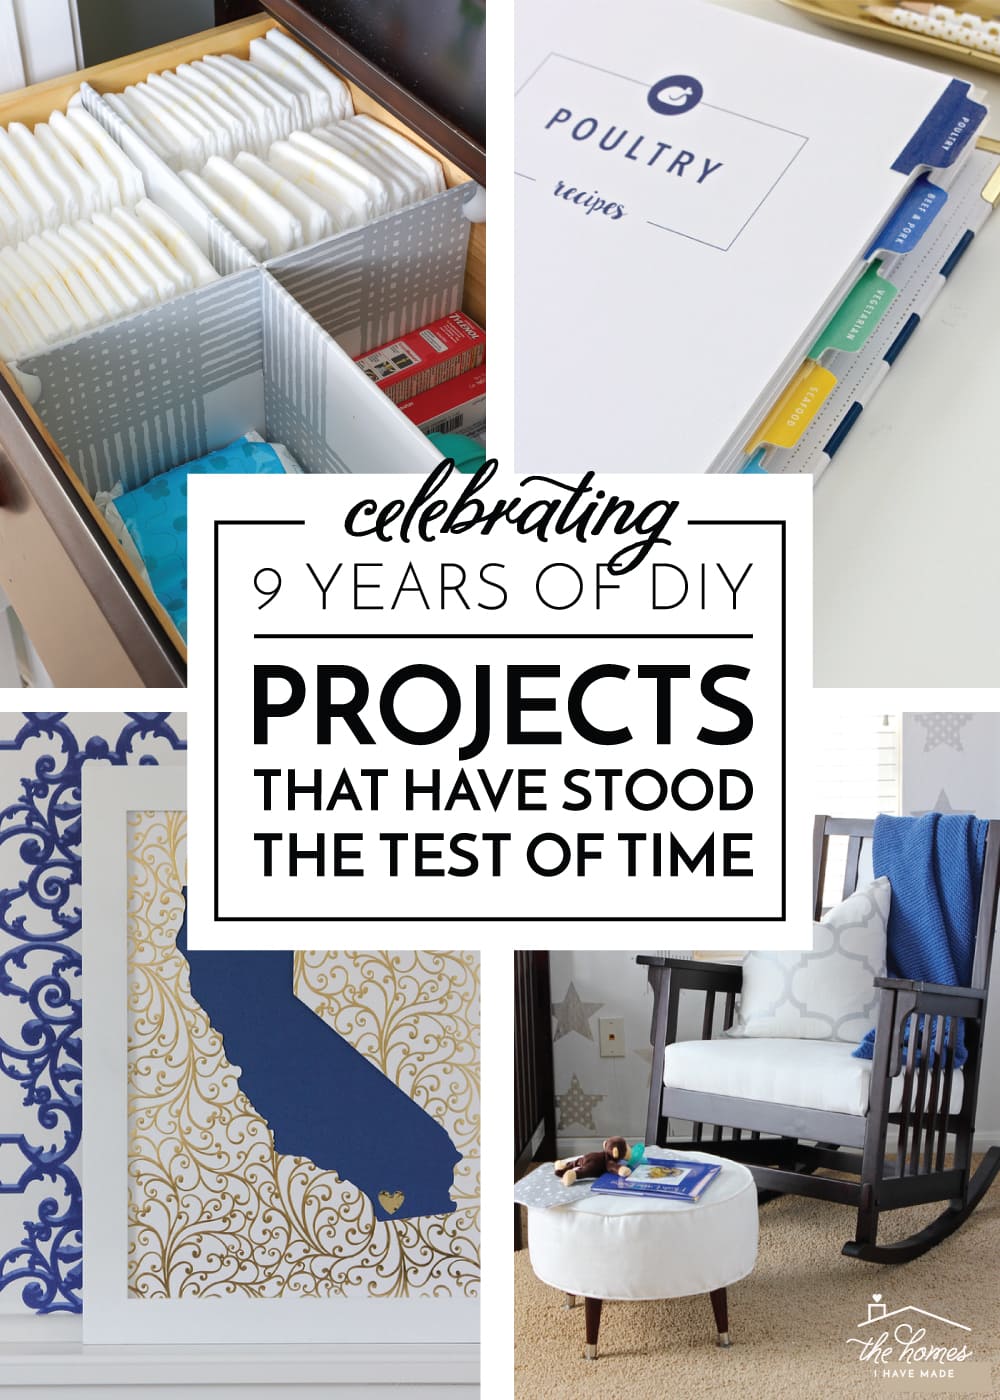
Projects That Have Stood The Test Of Time (Celebrating 9 Years of DIY!)
This past weekend marked 9 years since I started The Homes I Have Made. 9 years! Even I’m amazed that after all this time, I still love this surprise-of-a-job, keep showing up day after day after day, and am as motivated as ever to share my ideas, tips, tricks and projects with you. Recently, I was looking at the rocking chair in Jack’s nursery…the rocking chair I first made for Henry’s room…and thought to myself, “Wow, that chair has really stood the test of time!” And that got me thinking. I’ve made A LOT of projects over the years. In fact, when I look back through my archive, there are projects even I’ve forgotten about! So many of my projects are made to fill a certain need or solve a specific problem in a particular home or moment in time. Many (and I mean MANY) have been tossed when they were no longer needed or we moved on. Yet there are others that have lasted home after home, season of life after season of life. I thought this would be a fun time to share the true “oldies but goodies” of the past 9 years of The Homes I Have Made!
Wondering how I picked these projects? They aren’t necessarily my favorite, most-popular, or most-successful (although some are!). I simply went through my entire Project Gallery and found any projects, techniques, or methods I still use and have. Most of these posts, I made, developed, and wrote AGES ago, yet they are all still alive and well in our current life and home!
Organization Projects
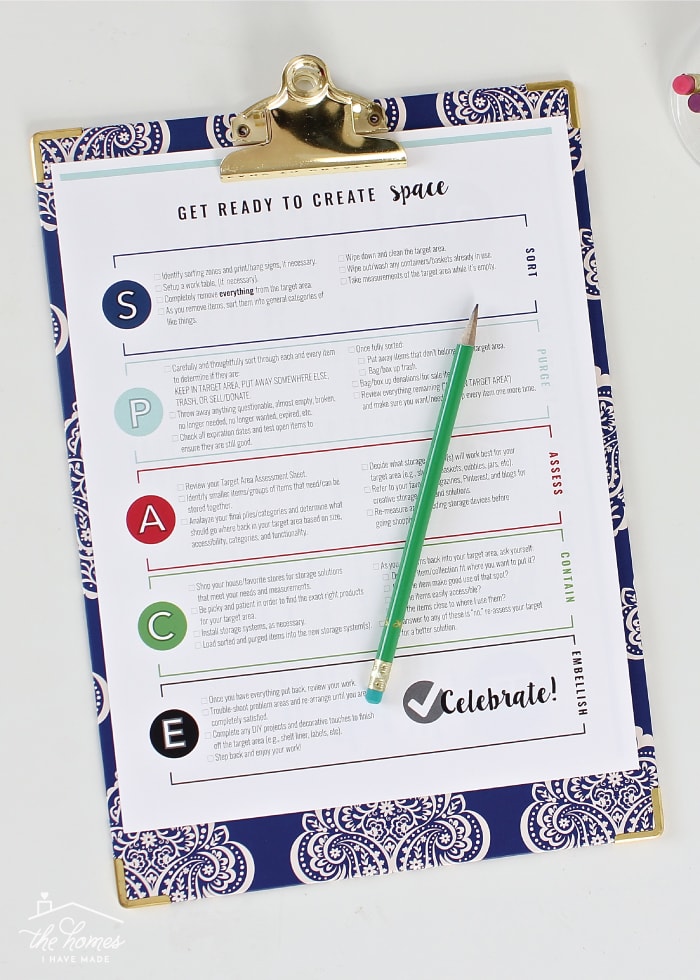
My SPACE Method. Years ago, I developed my SPACE method as a way to breakdown the process of organizing and decluttering into manageable steps. Whether I’m tacking a simple junk drawer or a massive basement cleanout, this is the exact process I use every single time!
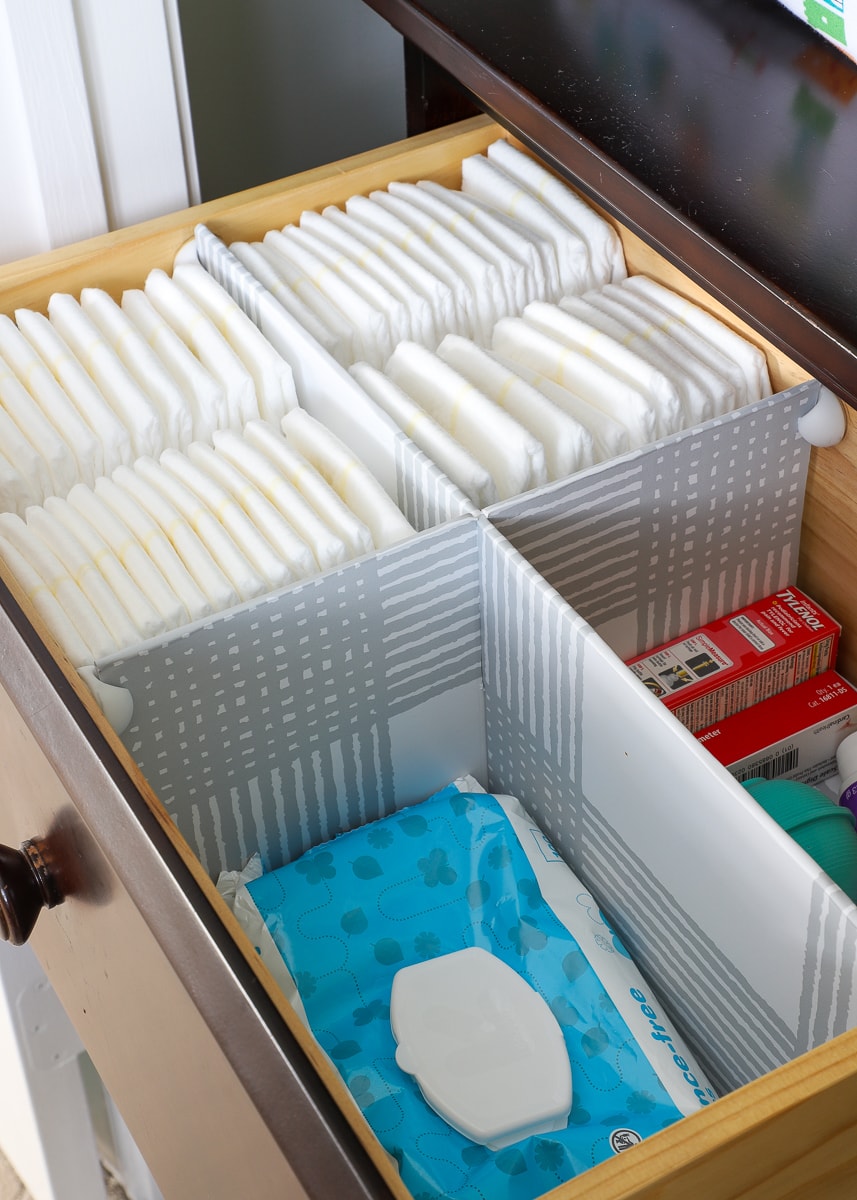
DIY Drawer Dividers. Not just one of my most popular posts of all time, these inexpensive, easy-to-make drawer dividers are a project I’ve repeated over and over to improve the function in a variety of different drawers.
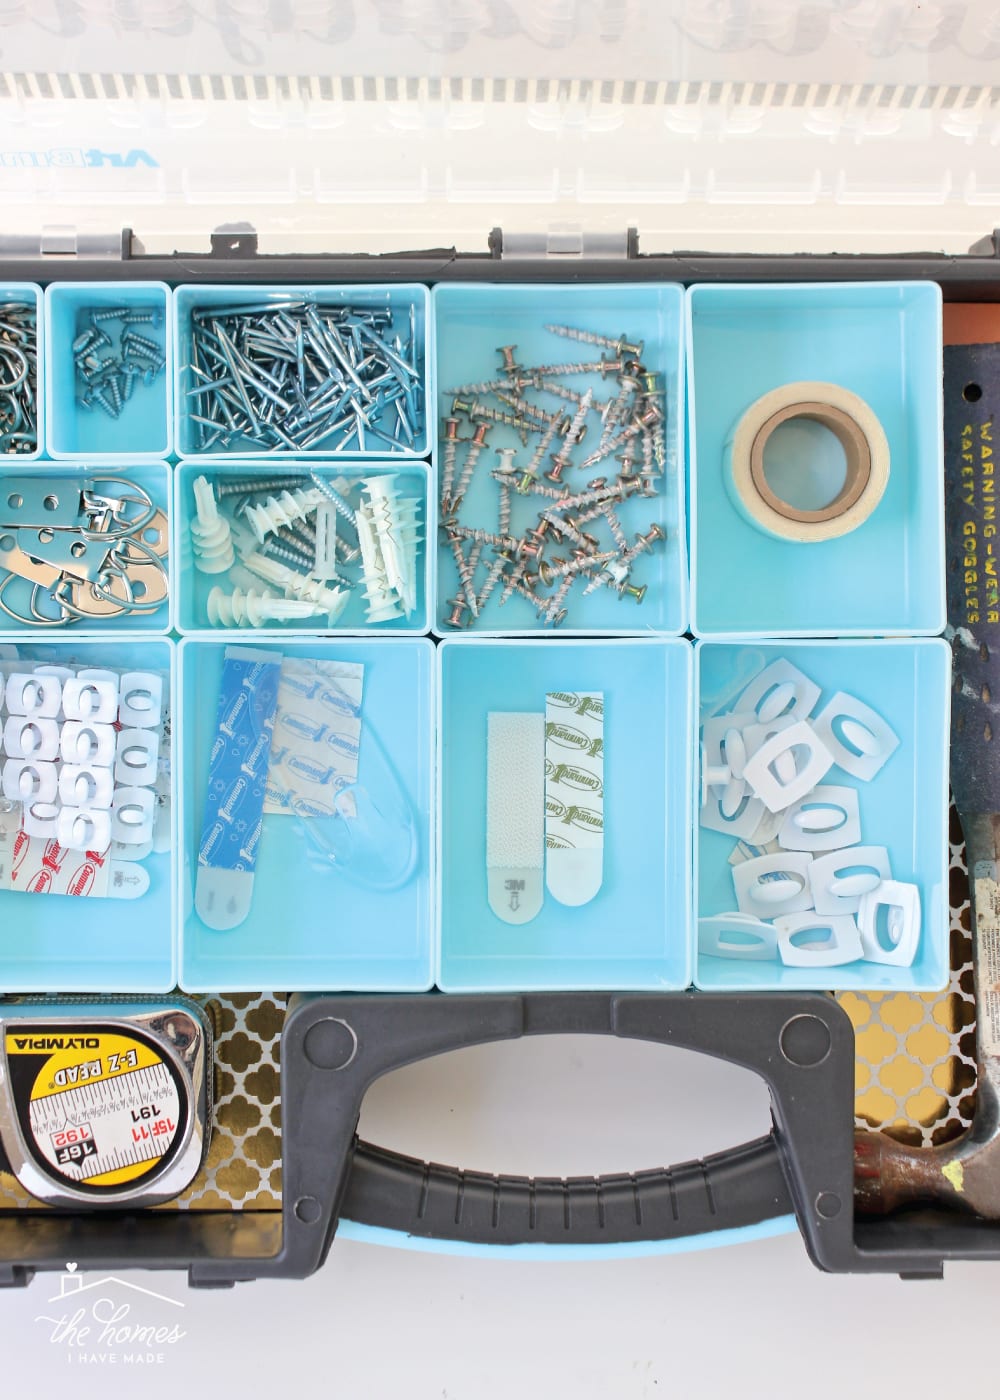
Picture Hanging Kit. File this one in the “Why didn’t I do this sooner?” column! From Command Strips to my favorite bear claw screws, our mini level to trusty D-rings, everything we could possible need to hang anything on our walls is in one easy-to-grab case. And it’s just so darn convenient.
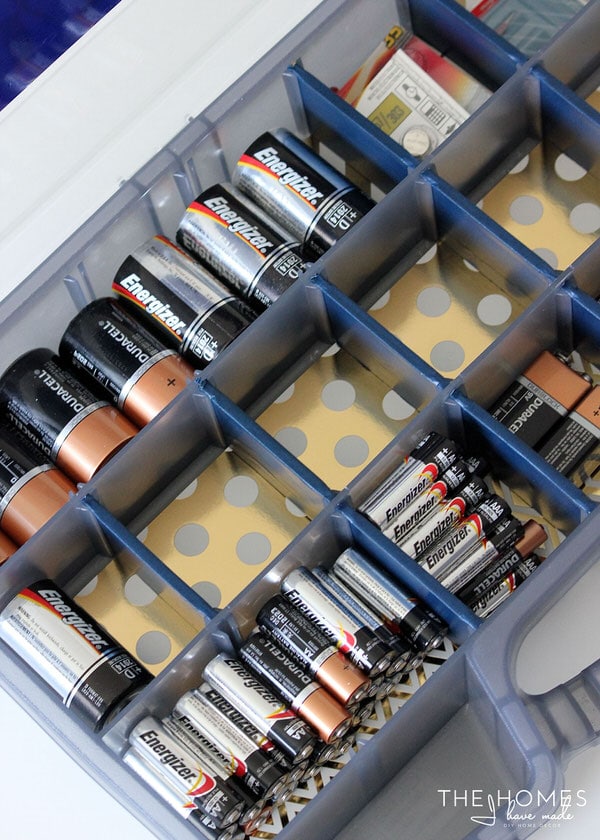
Battery Kit. Like the picture hanging kit, having our batteries unboxed, sorted and contained into a single kit ensures every family member knows where to go when batteries are needed!
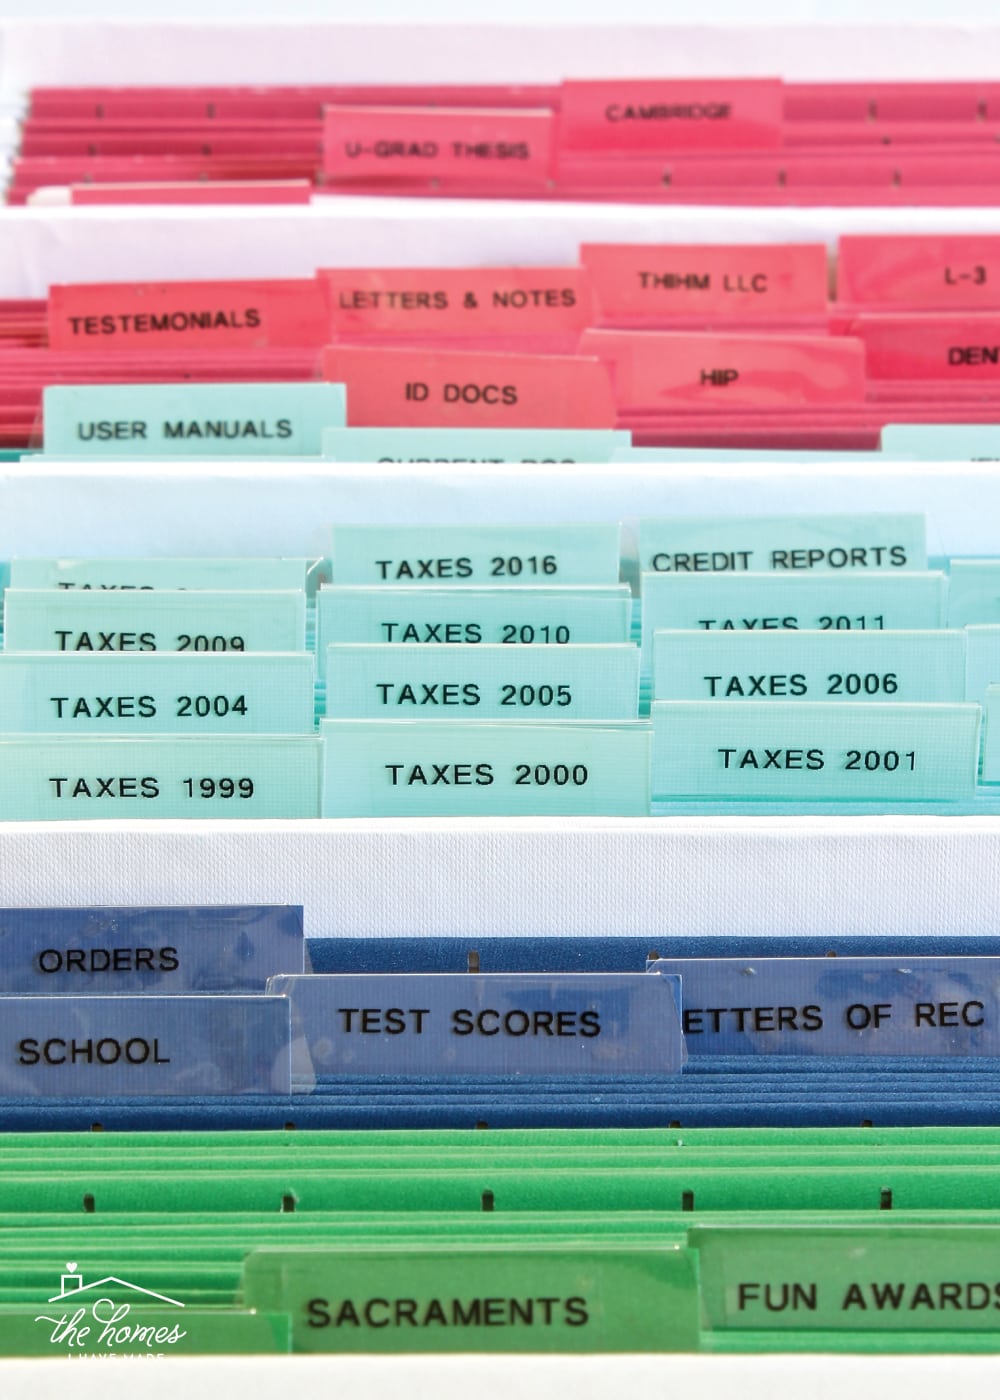
Paperwork Organization. A few summers ago, I spent weeks sorting through and organizing all of our household paperwork. The efforts were well worth it since we still use every single system today.
Bakeware Organization. Waaaay back in North Carolina, I bought some simple racks from Marshalls to hold our bakeware. Although the cabinet they are stored in (obviously) change from home to home, I still use them for the exact same purpose: cookie sheets, baking pans, and more!
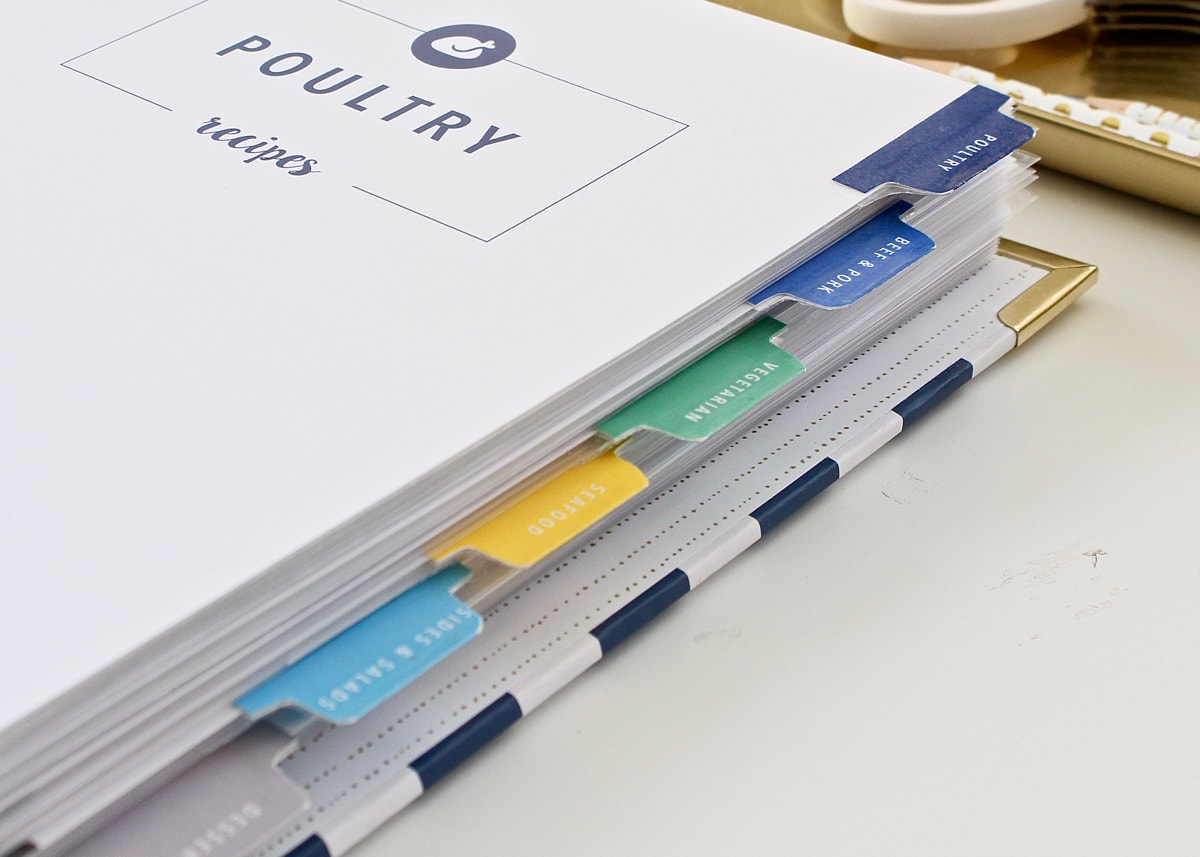
Kitchen Binder. Not a day goes by that I don’t pull out my Kitchen Binder that is full of every single recipe we love, make, and treasure. Corralling my recipes into one easy-to-use system is, without a doubt, the best organization project I’ve ever done.
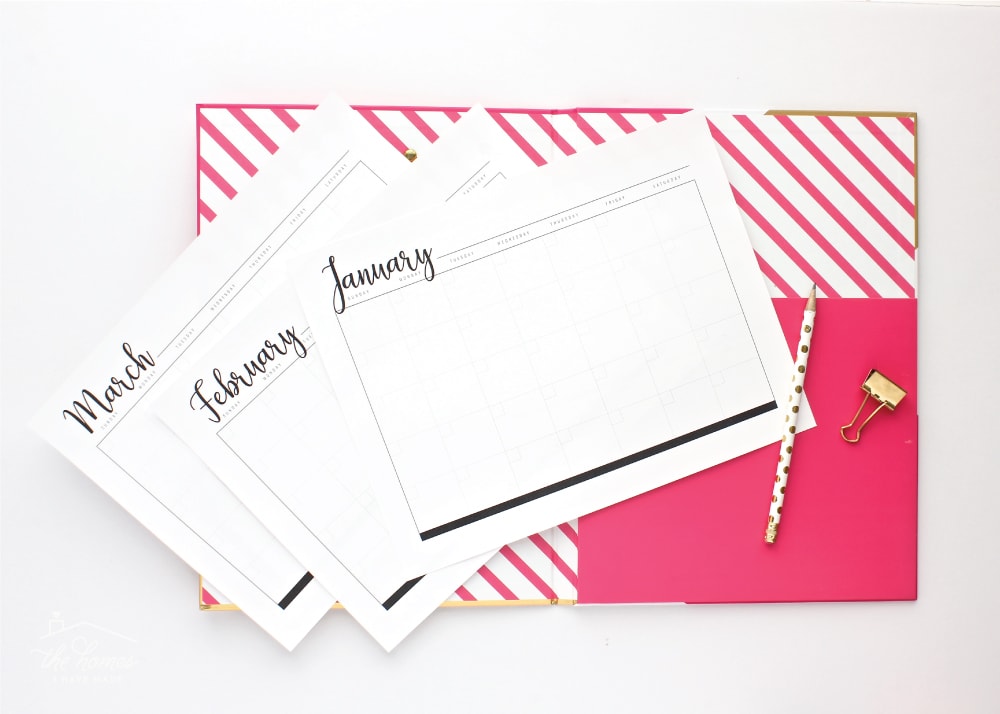
Printable Calendars. Next to the kitchen binder printables, these basic calendar pages are the ones I print off from The Toolbox the absolute most. Whether I’m trying to sort out a project timeline or plan our summer activities, fresh, blank, disposable calendars are always handy!
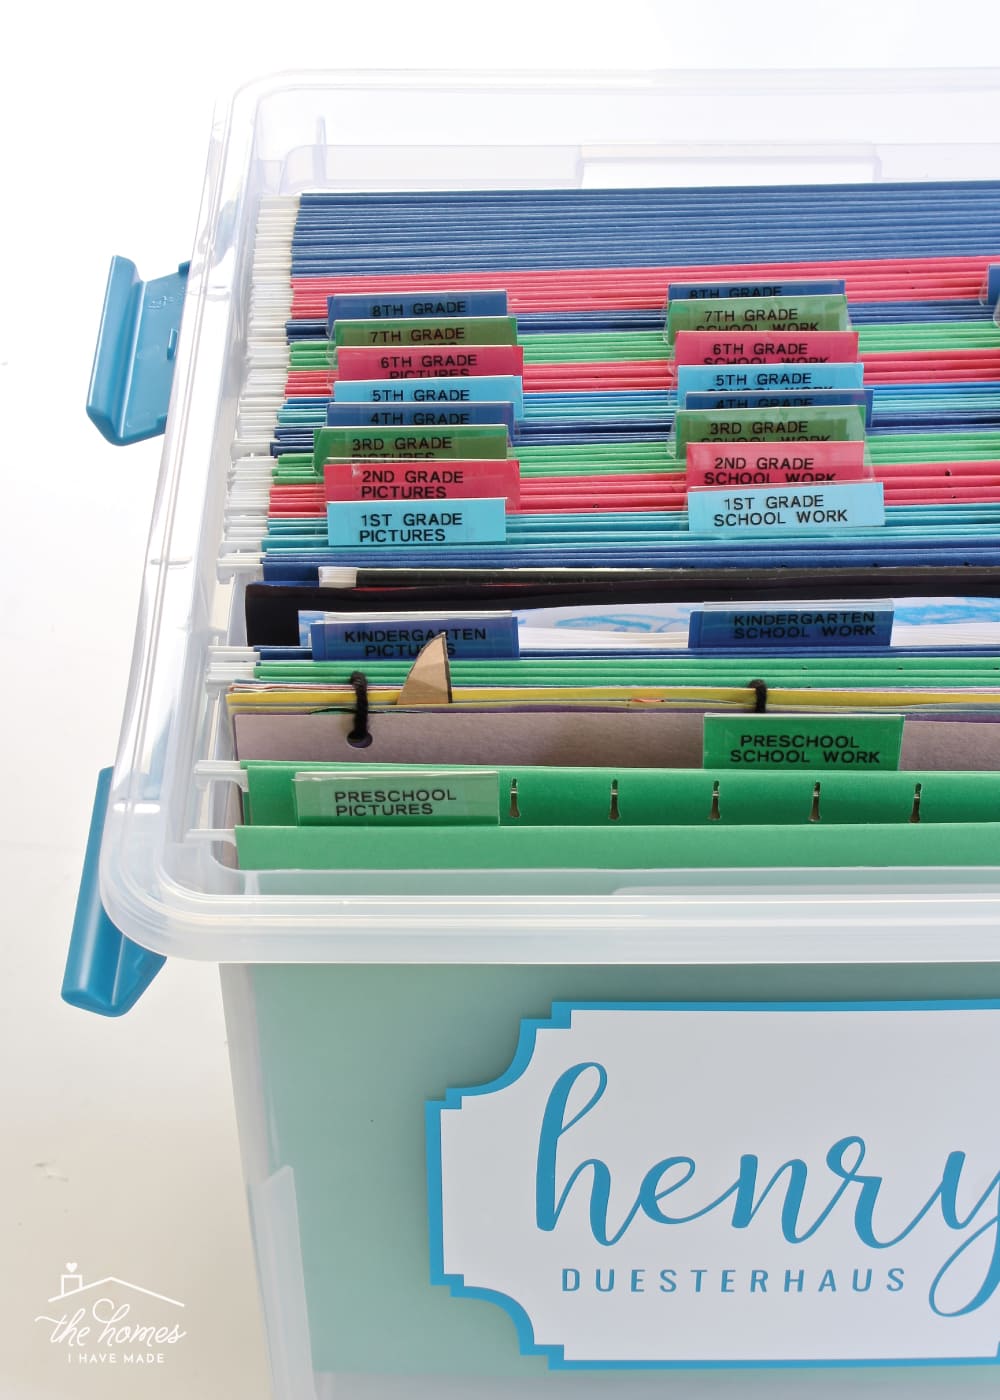
Kids Schoolwork. Setting up a single file box that holds (and will hold) all of Henry’s schoolwork, photos and memories for grades K-12 was one of the smartest things I’ve done. Instead of doing it retroactively, having it ready at a young age means sorting and filing school work at the end of each year is a breeze.
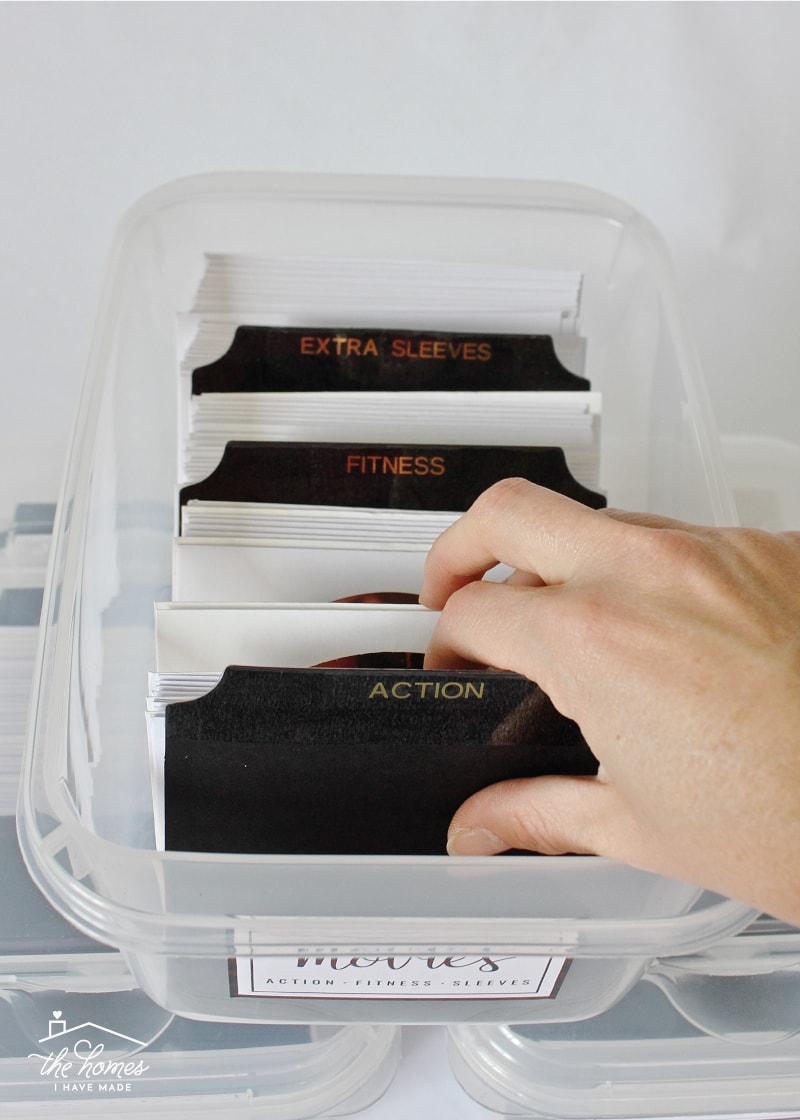
DVD Storage Boxes. Years ago, we ditched bulky DVD boxes and cumbersome storage binders in favor of paper envelopes and plastic bins. The flexibility of this solution has allowed us to easily find homes for our DVDs no matter our setup, while still keeping them sorted and accessible.
DIY & Home Decor Projects
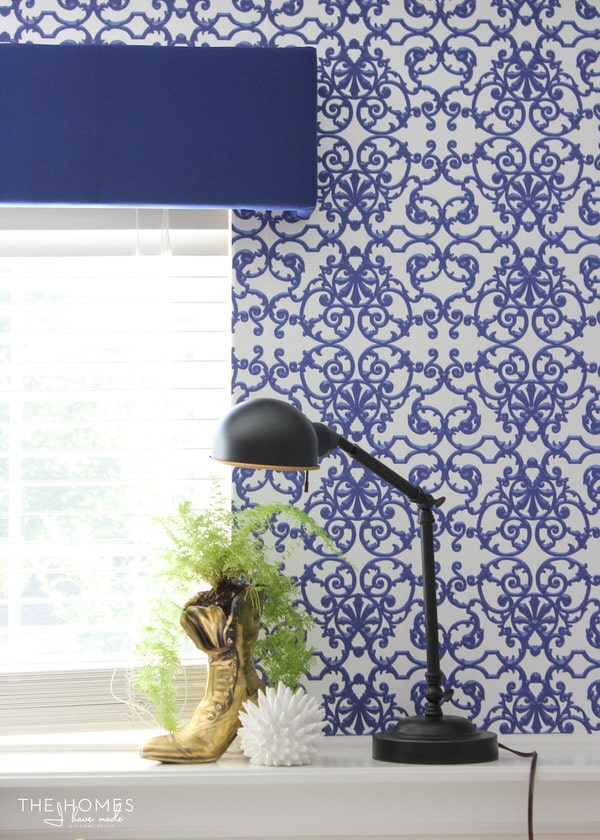
Liquid Starch Wallpaper. What started as a “let’s see if this works” project three houses ago is now one of my most popular DIYs and favorite wallpaper application methods. Although we don’t currently have any wallpaper applied with liquid starch in this home, I’ve successfully used the method 3 different times and wouldn’t hesitate to do so again!
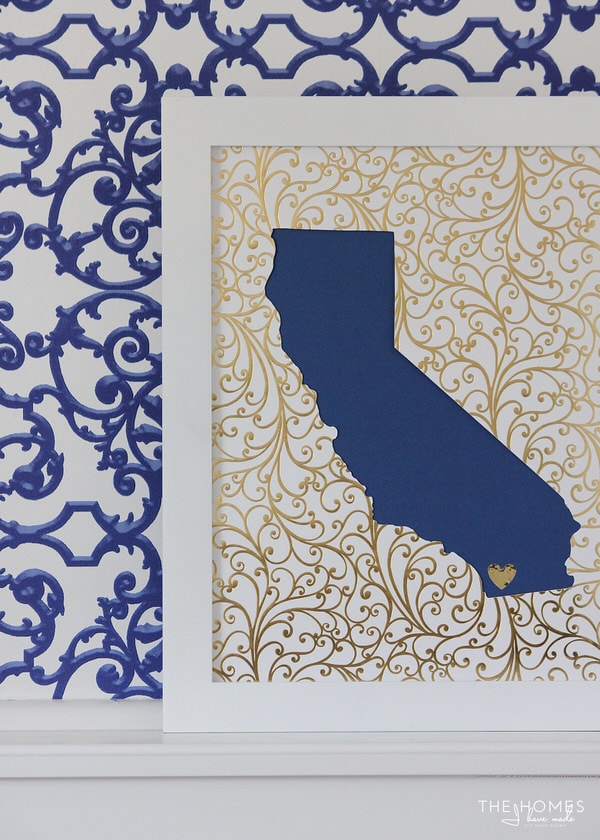
State Silhouette Artwork. For many military families, the places we’ve lived is a huge part of our family story. After struggling to find a display method that was moveable, changeable, and matched my modern aesthetic, I came up with these oh-so-simple cutouts. I still love them as much as the day I made them, and we’ve displayed them in every home since.
Fun Fact: Although I stockpiled a bunch of the gold-and-white paper to make new States as we go, we haven’t had to add any new ones since we keep going back to the same places!
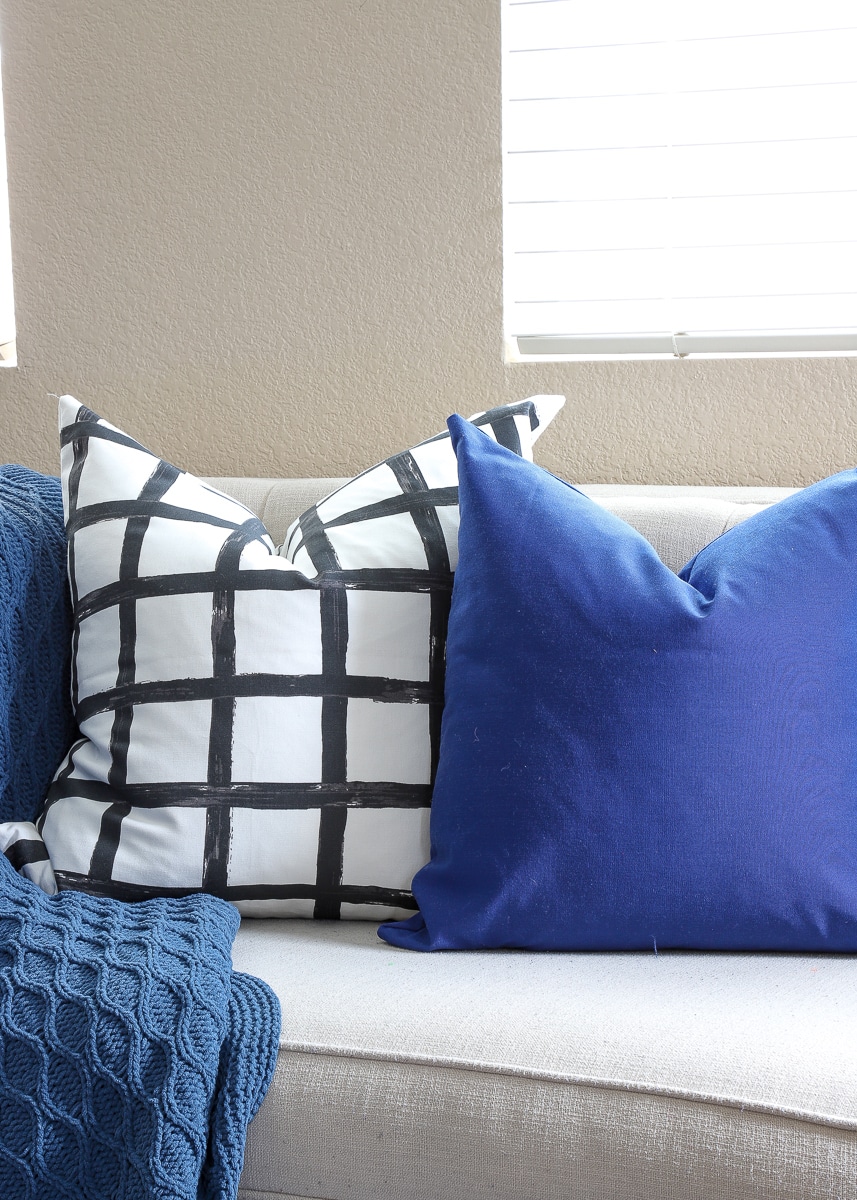
Pillows Covers With Invisible Zippers. Once I learned how to properly make throw pillow covers with invisible zippers, swapping out looks has never been easier. I now keep any pillow covers I make since they are so much more compact than full throw pillows, and I never know when I’ll be able to zip them back on and use them again!
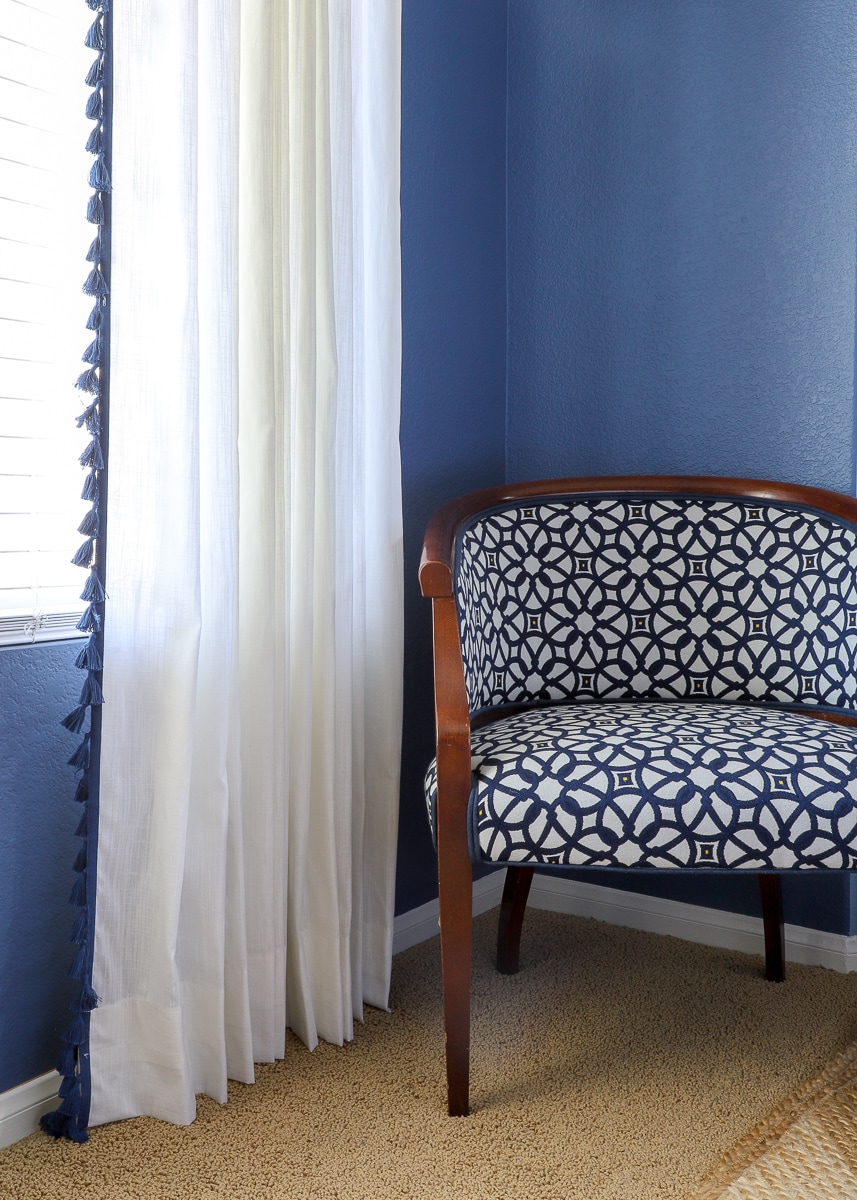
How to Hem Curtains. After struggling to achieve perfectly-hemmed curtains for years, I finally came up with a super easy and foolproof method that I now rely on time and time again!
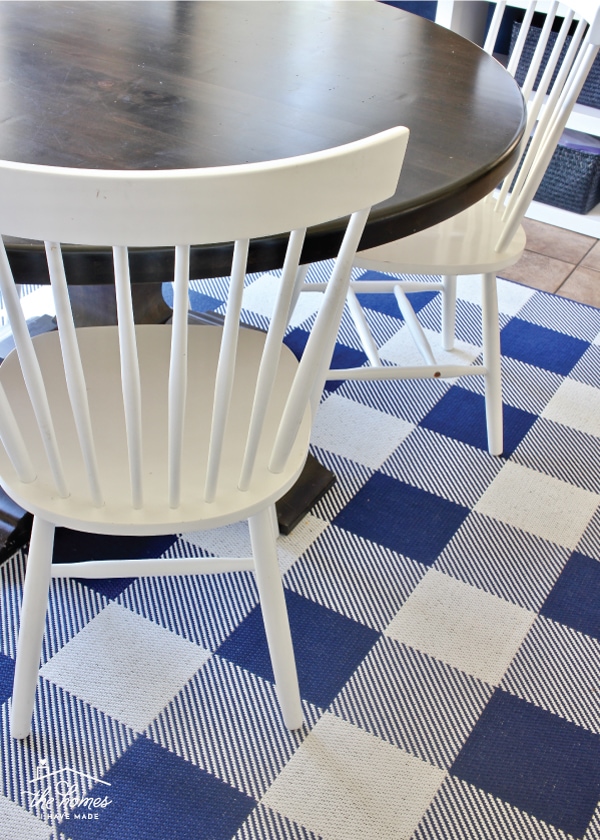
Rug Under the Kitchen Table. We are still using this tried-and-true combination of an outdoor rug+office chair mat (under the highchair). If you love the look of a rug under a table but have been struggling to make it work with kids and food, this is a fantastic solution!
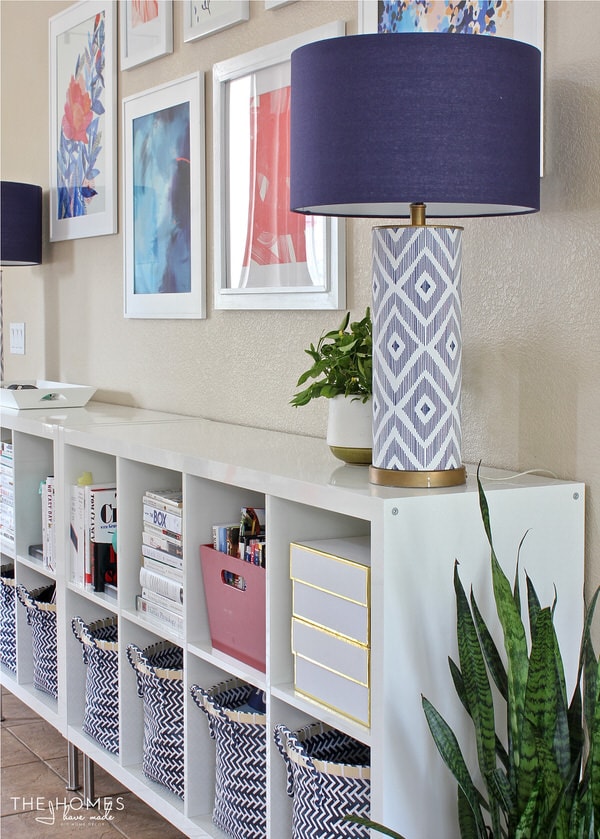
Target Lamp Hack. Back in North Carolina (that’s 4 houses ago!), I covered some basic Target lamps with some peel-and-stick wallpaper, simply in an effort to cover up the boring glass design. Once I paired them with navy shades, they became some of my favorite home accessories ever. Too bad Jack just knocked one over, and it’s not repairable!
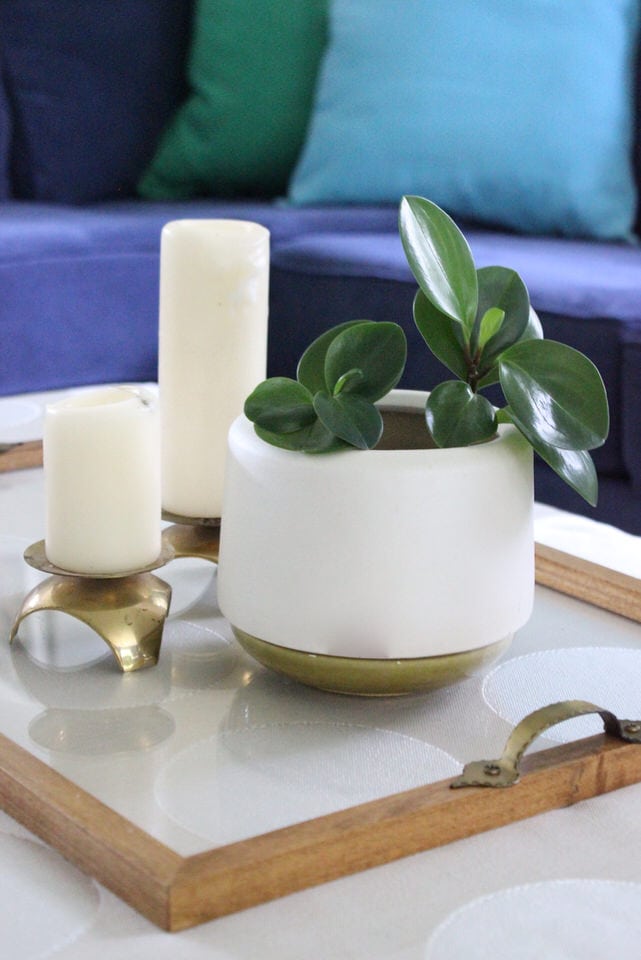
Acrylic Tray. Who knew that using gorilla glue to affix a basic frame to a sheet of acrylic would create such a versatile tray? From staging photos and holding magazines, to serving snacks and anchoring decorative accessories, this is another one I rely on over and over again! (Updated tutorial coming soon!)
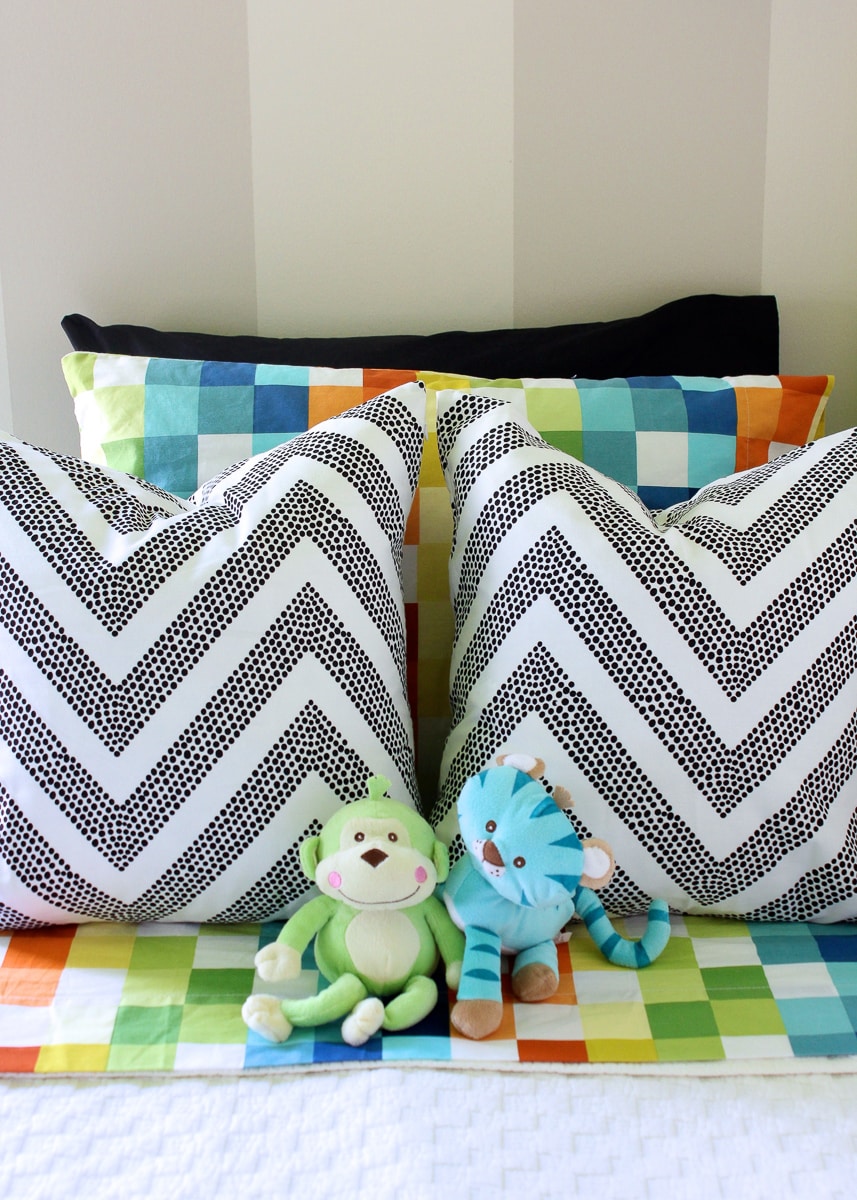
Easiest Throw Pillows Ever. It was over 6 years ago, I first transformed clearance body pillow cases into throw pillow covers for Henry’s bedroom. They are STILL on his bed now, and you better bet I check for cute body pillowcases every time I walk through Target!
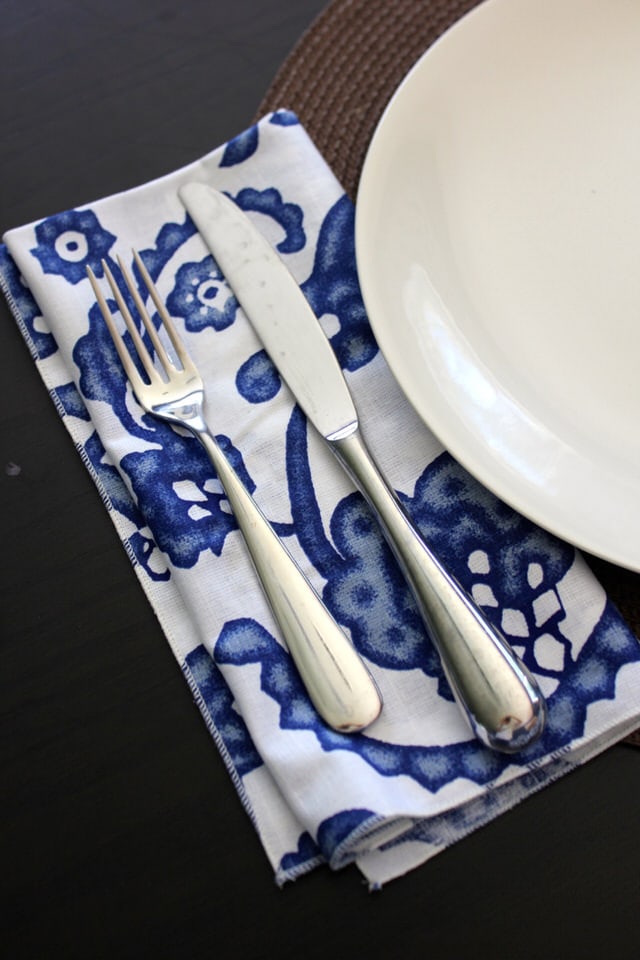
Cloth Napkins. These cloth napkins (from a shower curtain!) were one of my earliest blog projects (2012!!!). We literally still use them every single night for dinner!
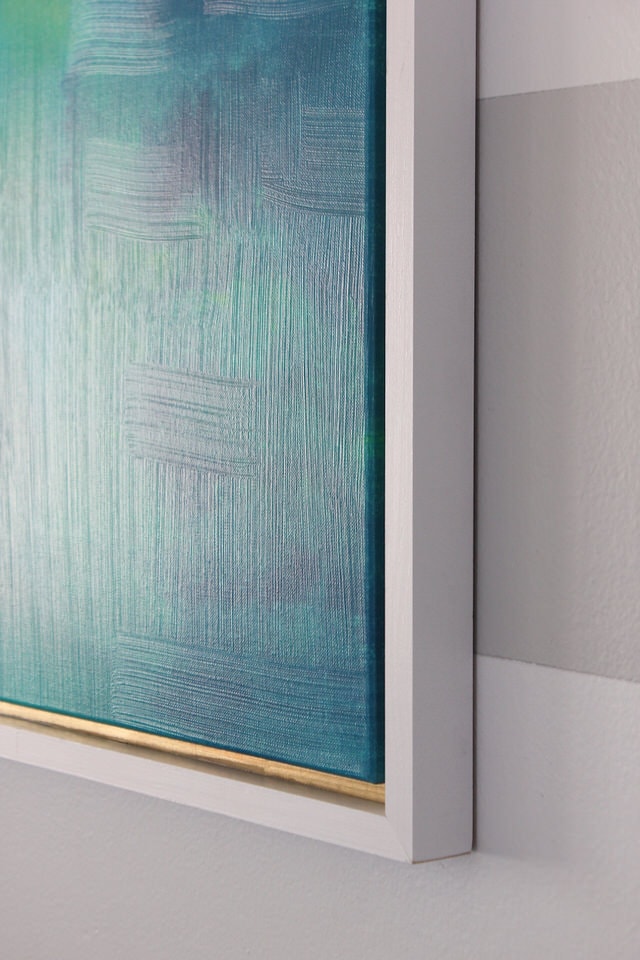
Canvas Frame. I am by no means a “wood worker” (how I wish I was), but years ago I crafted a bunch of frames to fit around canvases. This is really an easy DIY to upgrade store-bough canvases; and move after move, they are still holding up great!
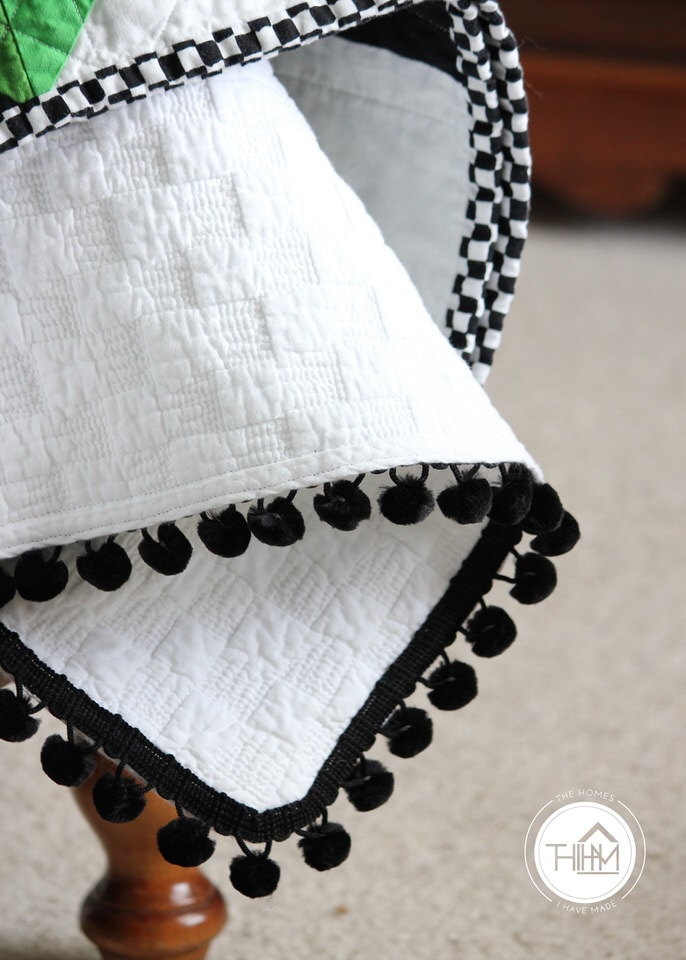
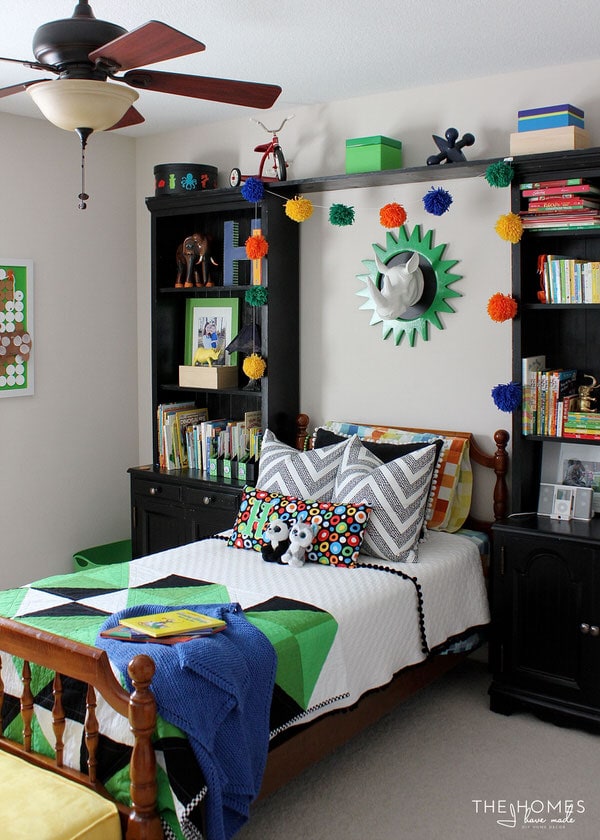
Pom-Pom Quilts. Adding pom-pom trim to Henry’s bed quilt started off as a Pottery Barn knock off project (if I remember correctly!). It’s now one of my favorite ways to customize bedding to any room theme, like I did for my friend’s daughter and Sam’s super hero room!
How to Spray Paint a Mirror. This is another “I don’t know if this will work” project that turned out far better than imagined. Not only was I able to change the entire look of this mirror (from bronze to silver) with just spray paint, it has lasted 3 moves and still hangs above our bed!
Furniture Projects
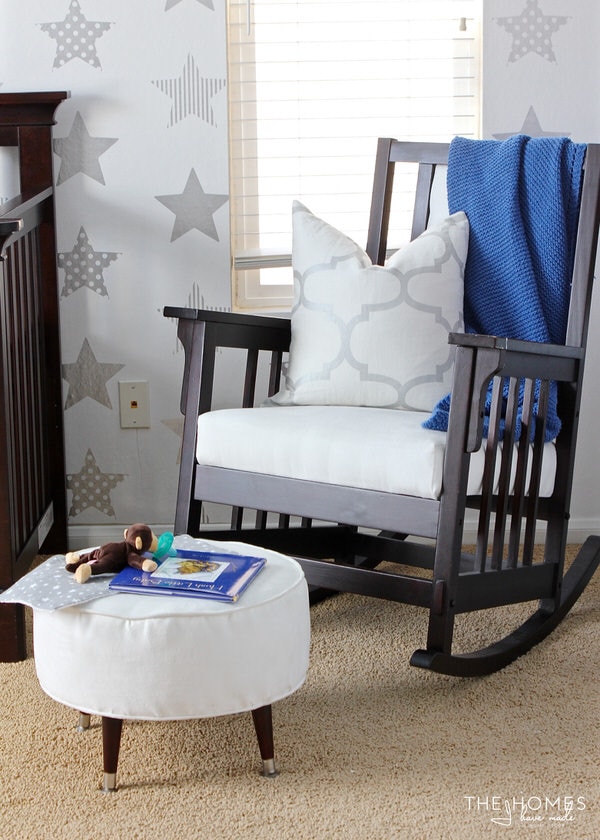
Rocking Chair and Ottoman. I found this rocking chair at a neighborhood yard sale, and stained and upholstered it without knowing what I was doing. After making a matching ottoman from scratch, this duo has been in all three of my baby’s rooms, including Jack’s current nursery. Thanks to super-durable micro-suede, both still look amazing!
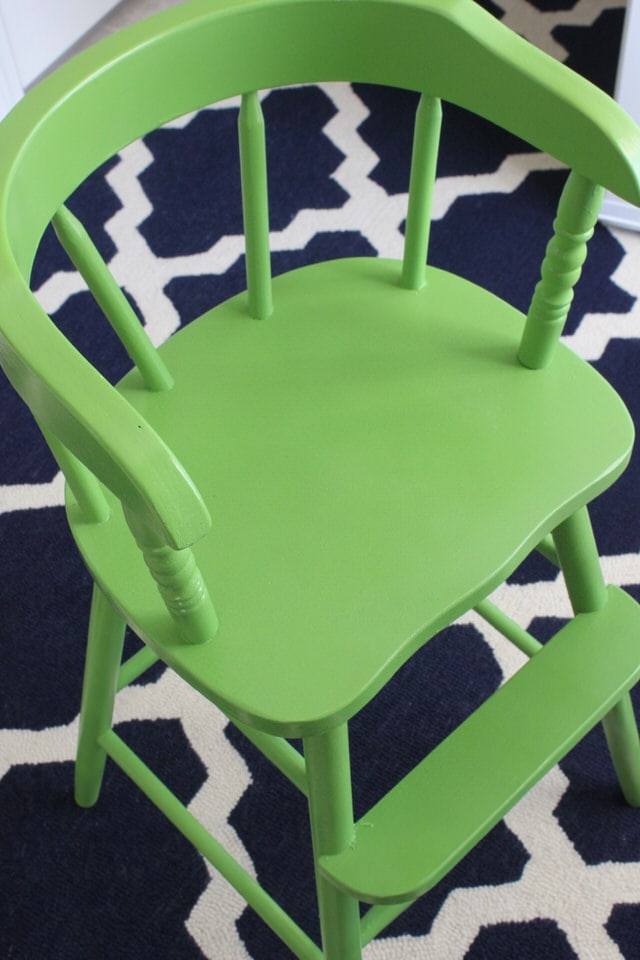
Green High Chair. This green high chair is one of my most successful spray painting projects. In fact…we still have it, it still looks amazing, and Jack is almost big enough to use it!
Adding Feet to Kallax. I wanted a quick and simple way to make our IKEA Kallax units look a little more…fancy. After adding simple feet, this became one of my most successful blog posts of all time and a standard for how we setup our units in home after home!
Faux Built-In. These black bookshelves rotated through several rooms in our first few homes. But after transforming them into a bed-framing “built-in” with a single piece of wood along the top, they’ve been part of Henry’s room ever since (even now)!
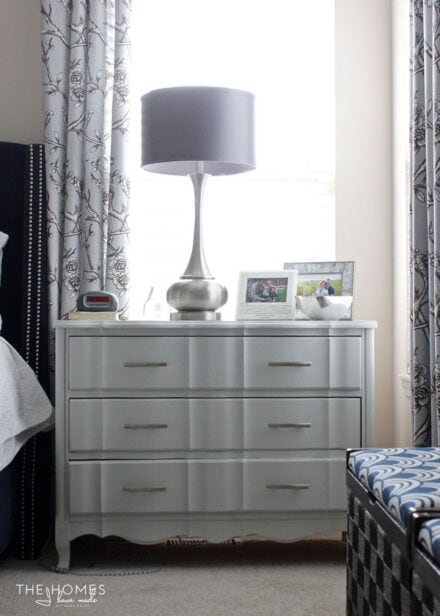
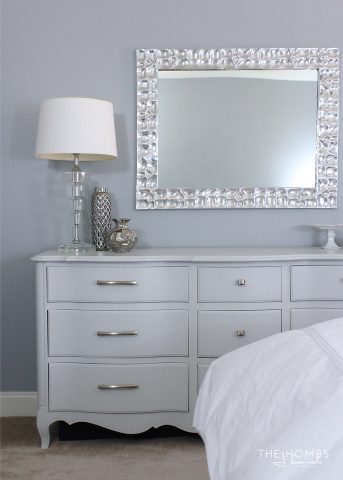
Grey Dressers. Gosh, way back, I was sooooo into furniture makeovers (as was the rest of the blog world), and painted a series of dressers. Both the big and little grey dressers are still going strong, and I’m fairly certain they are going to live in our Master for a good long time!
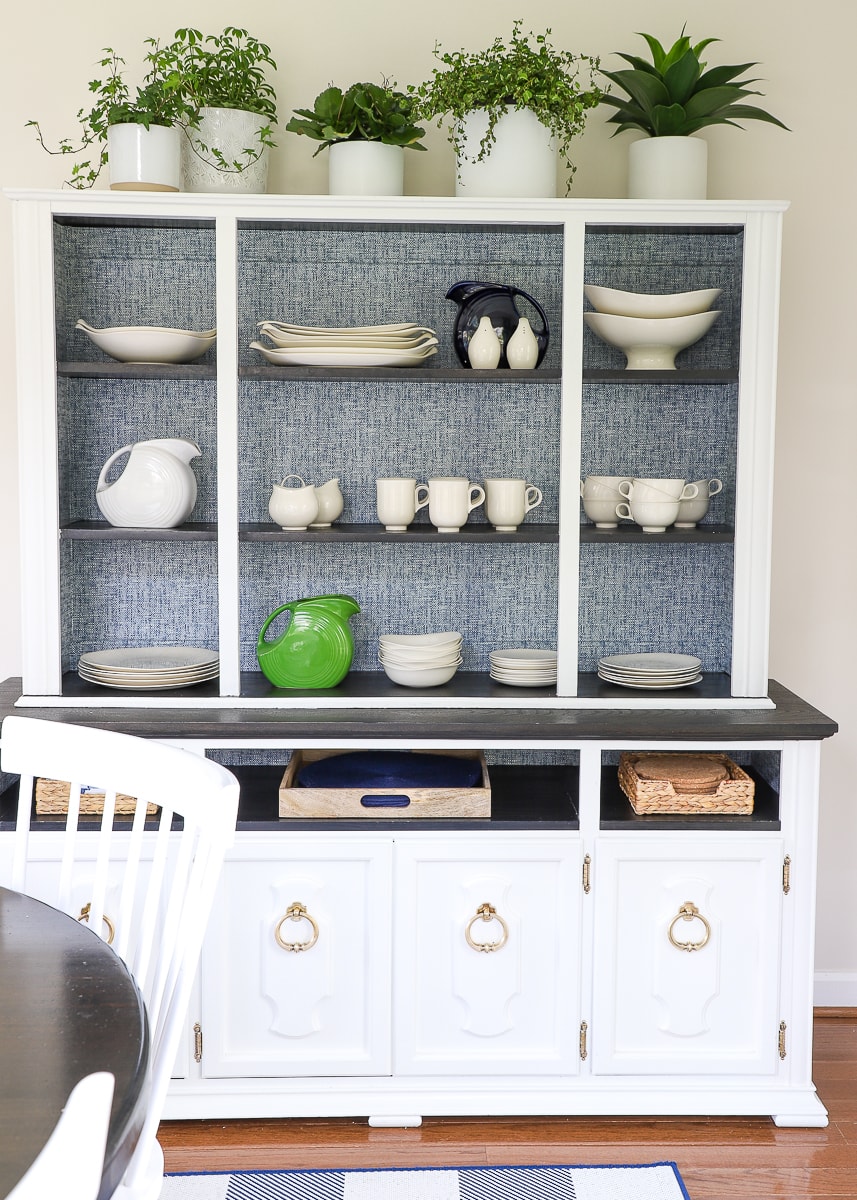
China Hutch Transformation. I first bought and made over this china hutch to be separate pieces: a media stand and a bookcase. For three homes, they served those purposes. Thank goodness I had the presence of mind to paint the to units to match in case we ever needed to reunite them, since we are now using them as they were originally intended: as a china hutch!
Baby & Kid Projects
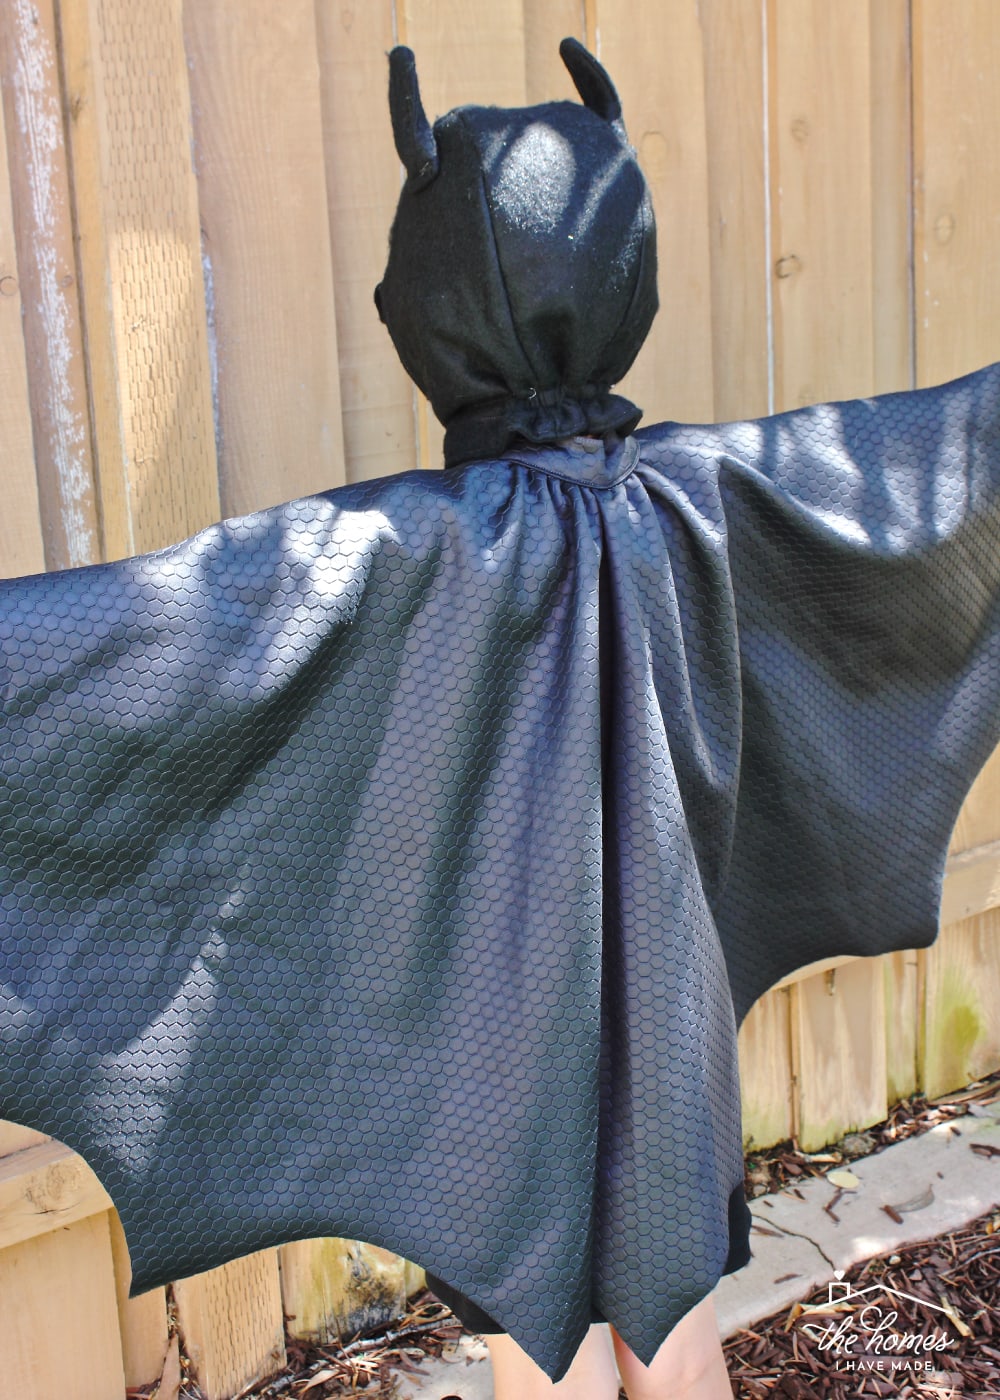
20- Minute Super Cape. Not a week goes by that this easy little super cape isn’t dug out of the dress-up basket and worn for the entire day. For being a simple little project (perfect for Halloween costumes!), it has held up so well, and we constantly get compliments/inquiries about it since it often makes an appearance at the grocery store, park, school pickup, etc.
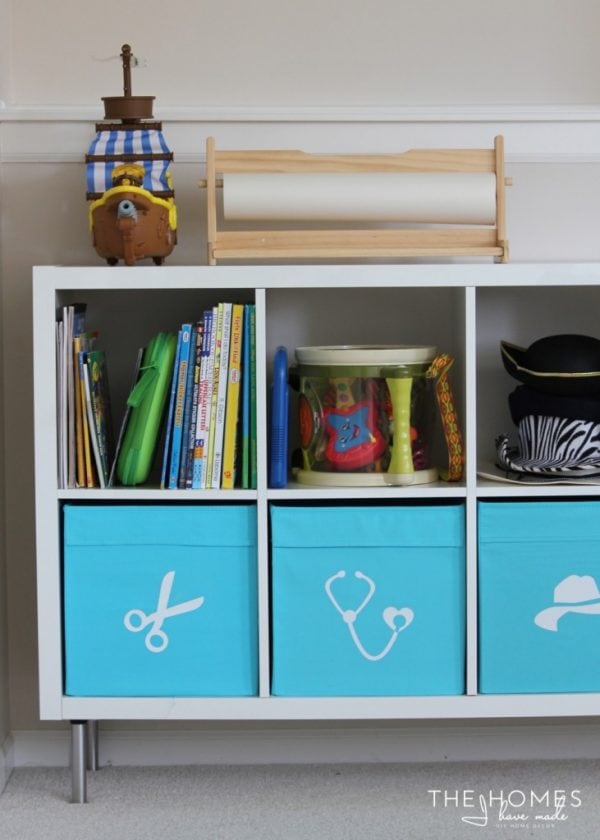
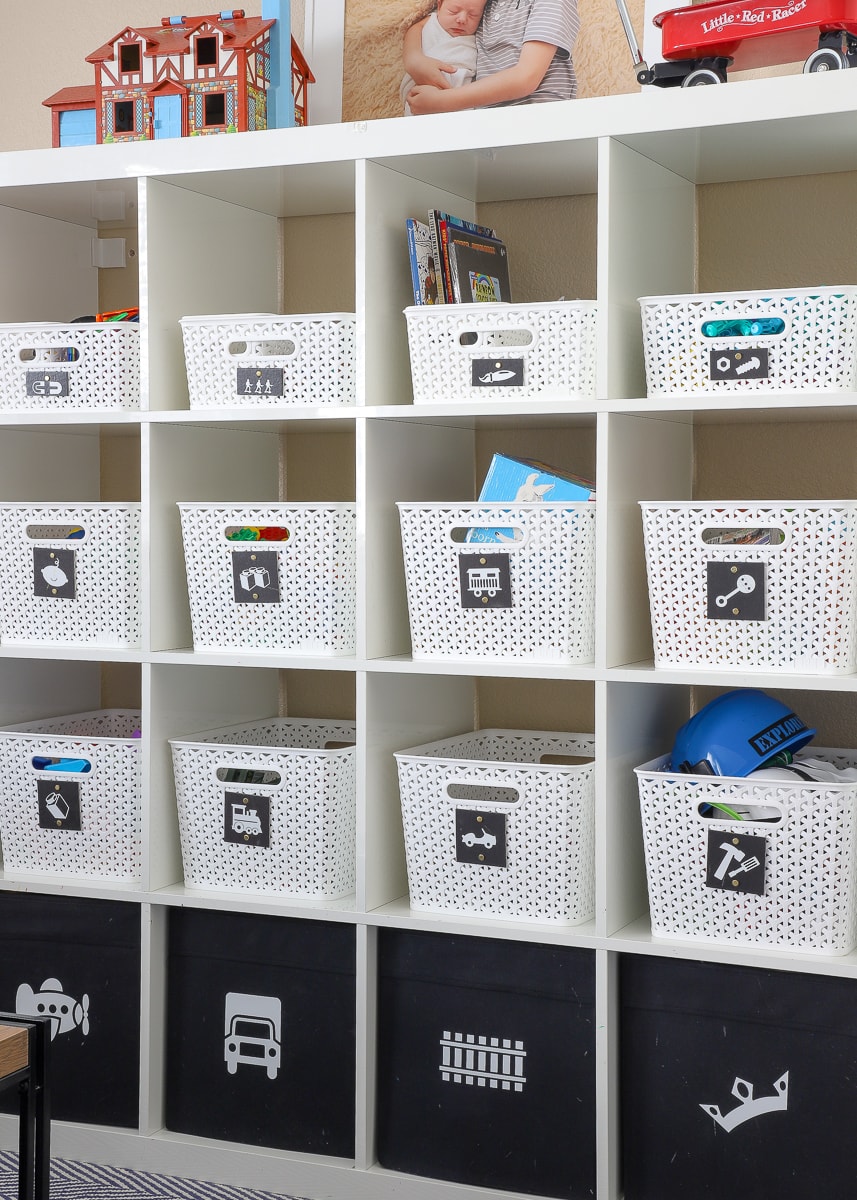
Kallax for Toy Storage. We first started storing toys in IKEA Kallax units back in North Carolina (4 homes ago!) and have in every single home since. I find the IKEA Kallax + DRONA Bin + Y-Weave basket to be the ultimate toy storage solution and will likely never drift from it. Likewise, I will forever and always attach labels to our Y-Weave baskets with brass fasteners!
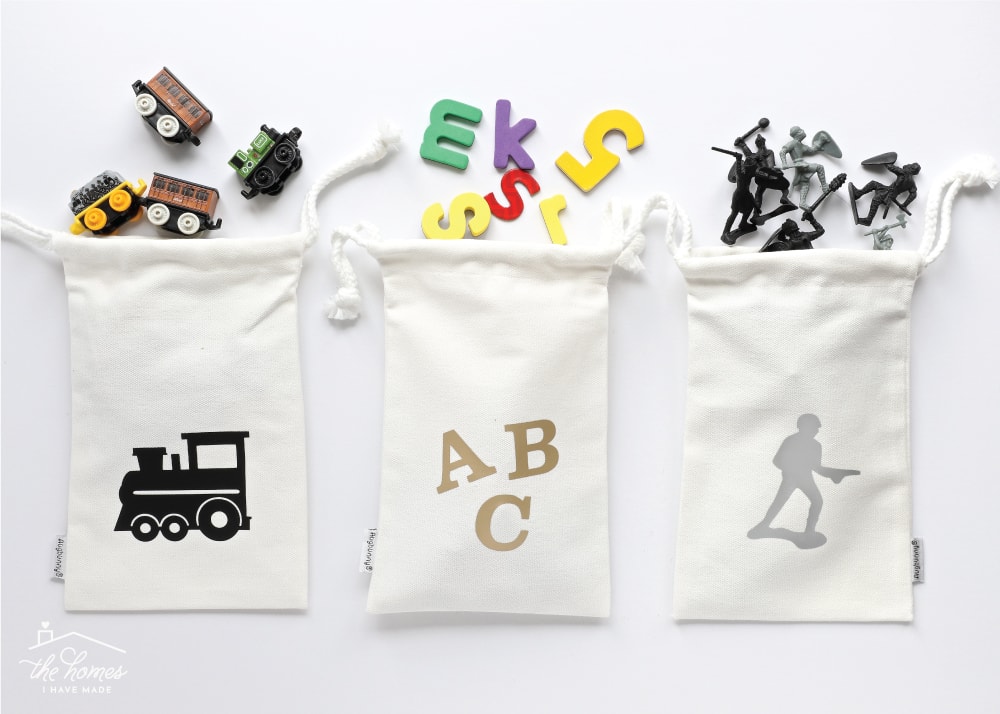
Tiny Toy Storage Bags. Since I store a vast majority of our toys in big baskets, sometimes little pieces get lost in the abyss of larger trucks, blocks, etc. These labeled drawstring bags are super sturdy, a great size, and can get tossed in with bigger items.
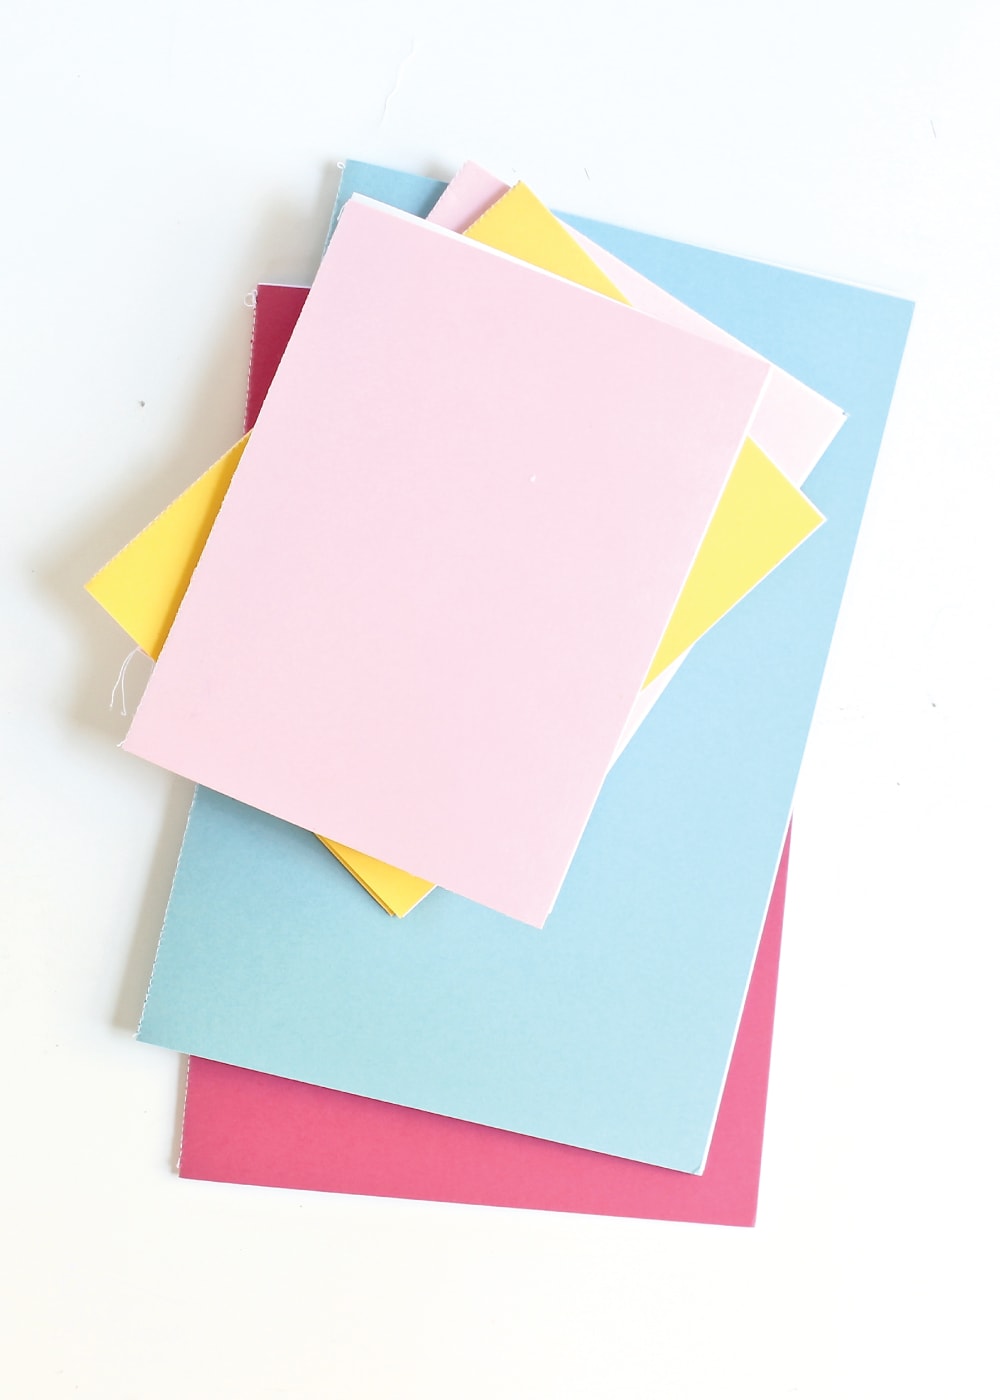
DIY Coloring Books. These little books couldn’t be easier to make. Every quarter or so (or whenever the sewing machine is out), I’ll whip up a bunch to keep in the diaper bag, glove compartment, church bag, etc.
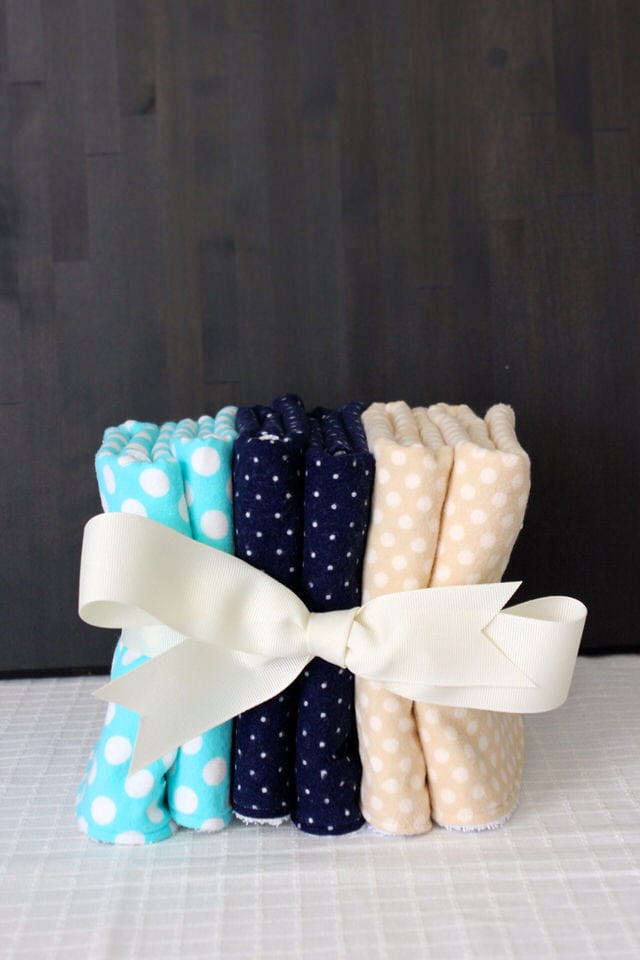
Burp Cloths. I first made these as a gift for a girlfriend. She raved about them so much that they became my standard baby shower gift. I also made myself sets with my two younger boys!
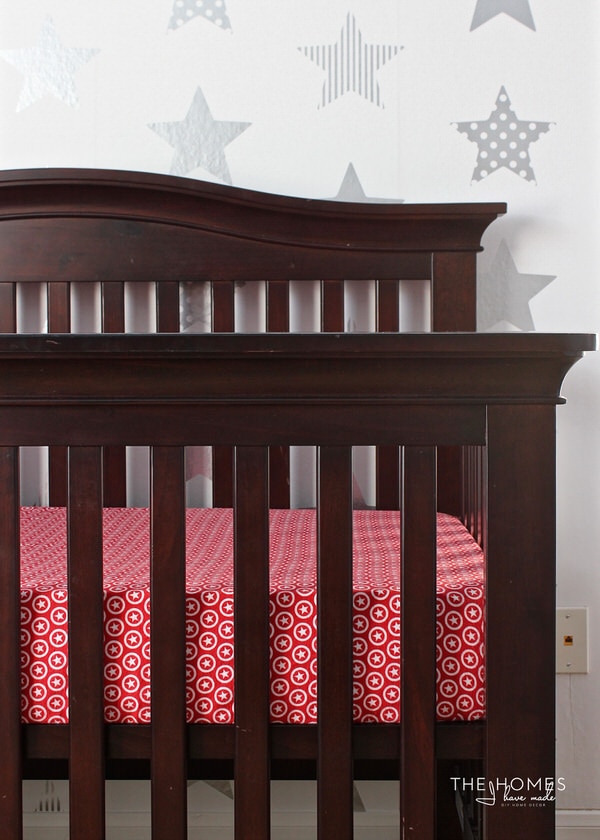
Crib Sheets. I’ver never bought a crib sheet because making them with your own hand-selected fabrics is just too easy. I’ve now made 7 crib sheets for my boys’ nurseries, using this tutorial every single time.
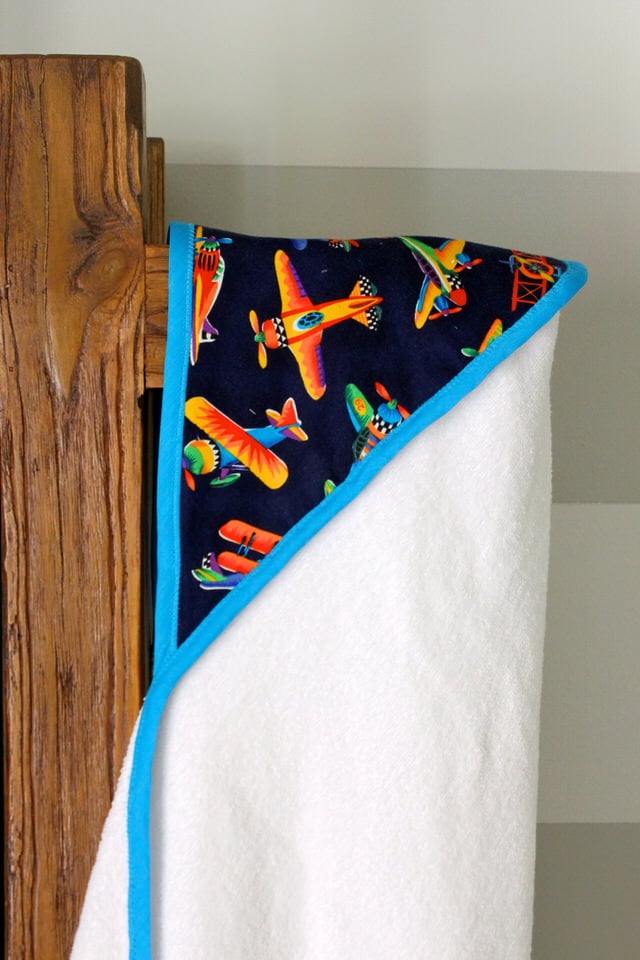
Hooded Towel. This hooded towel is my other go-to baby shower gift, and something I have made for all of my babies (multiple times!). I love that it can be used from a newborn up to age 5-6, and then it’s easy to size up for bigger kids. Mixing and matching fabrics make them so fun to customize, too!
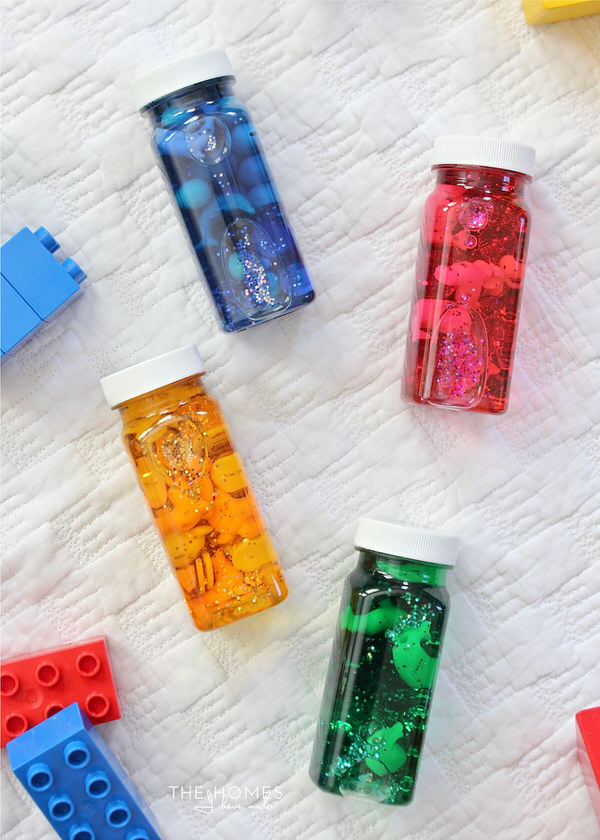
Glitter Bottles. There is something about these bottles. Not only are they a baby favorite, but any child that comes over to play is immediately obsessed with them. The ones I made over 3 years ago for Sam are still going strong!
Holiday & Party Projects
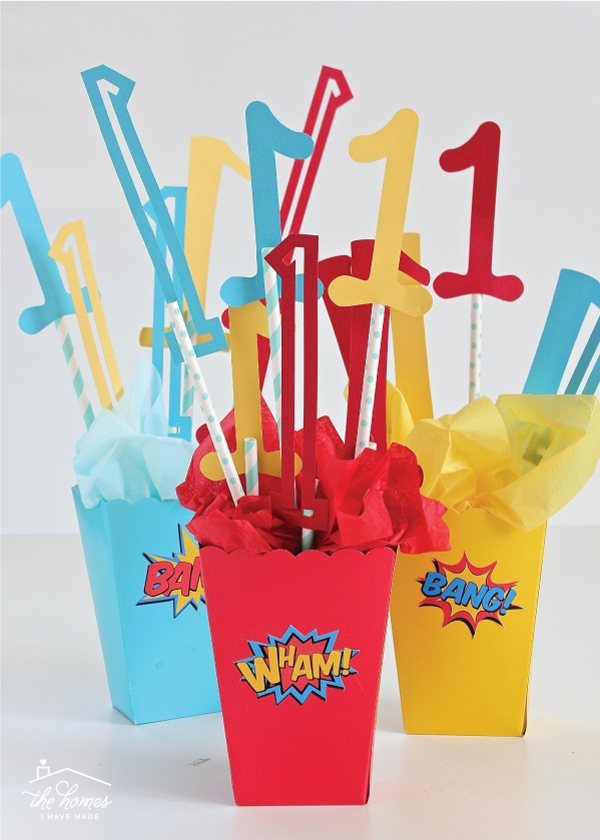
Party Centerpieces. I shared these centerpieces as my “tried-and-true” birthday party decor, and boy is that true! Whether the theme is Elmo or Captain Underpants, Ninja Turtles or Super Heroes, I follow this easy-to-do formula for every party I host!
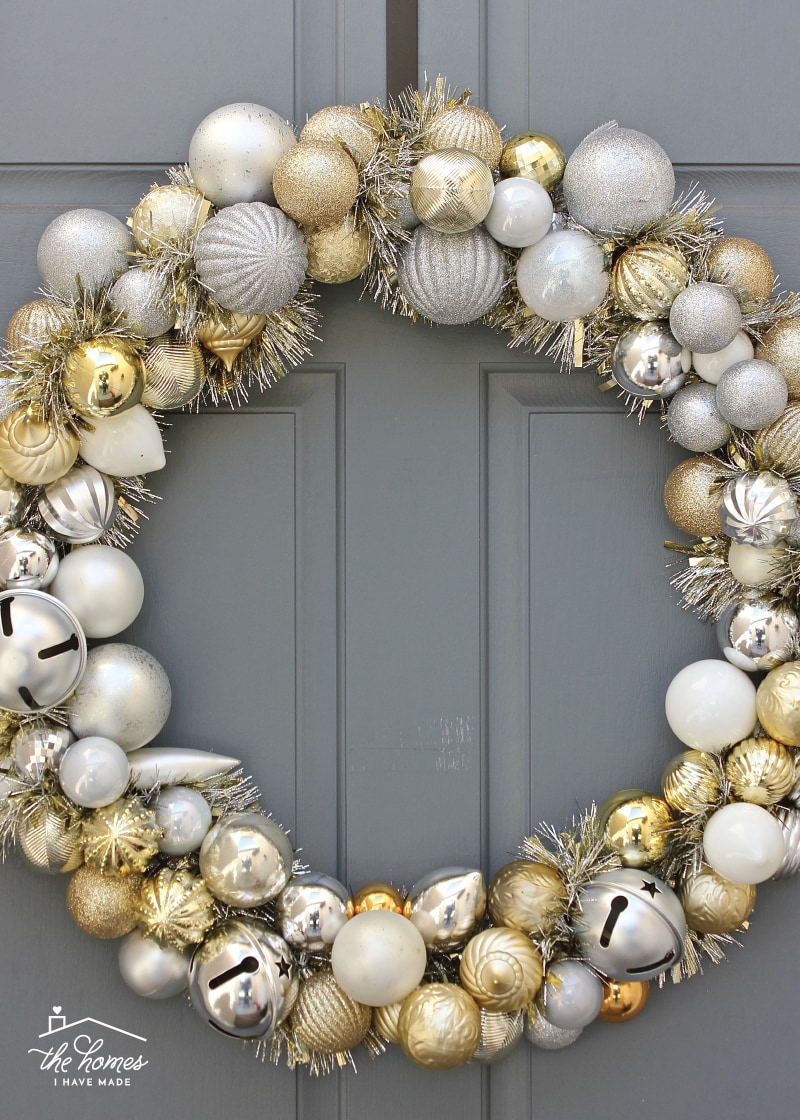
DIY Ornament Wreath. This is my absolute favorite way to make a holiday wreath for our front doors, and it truly couldn’t be any easier! I’ve repeat this method, changing up colors and sizes as I desire, almost every season!
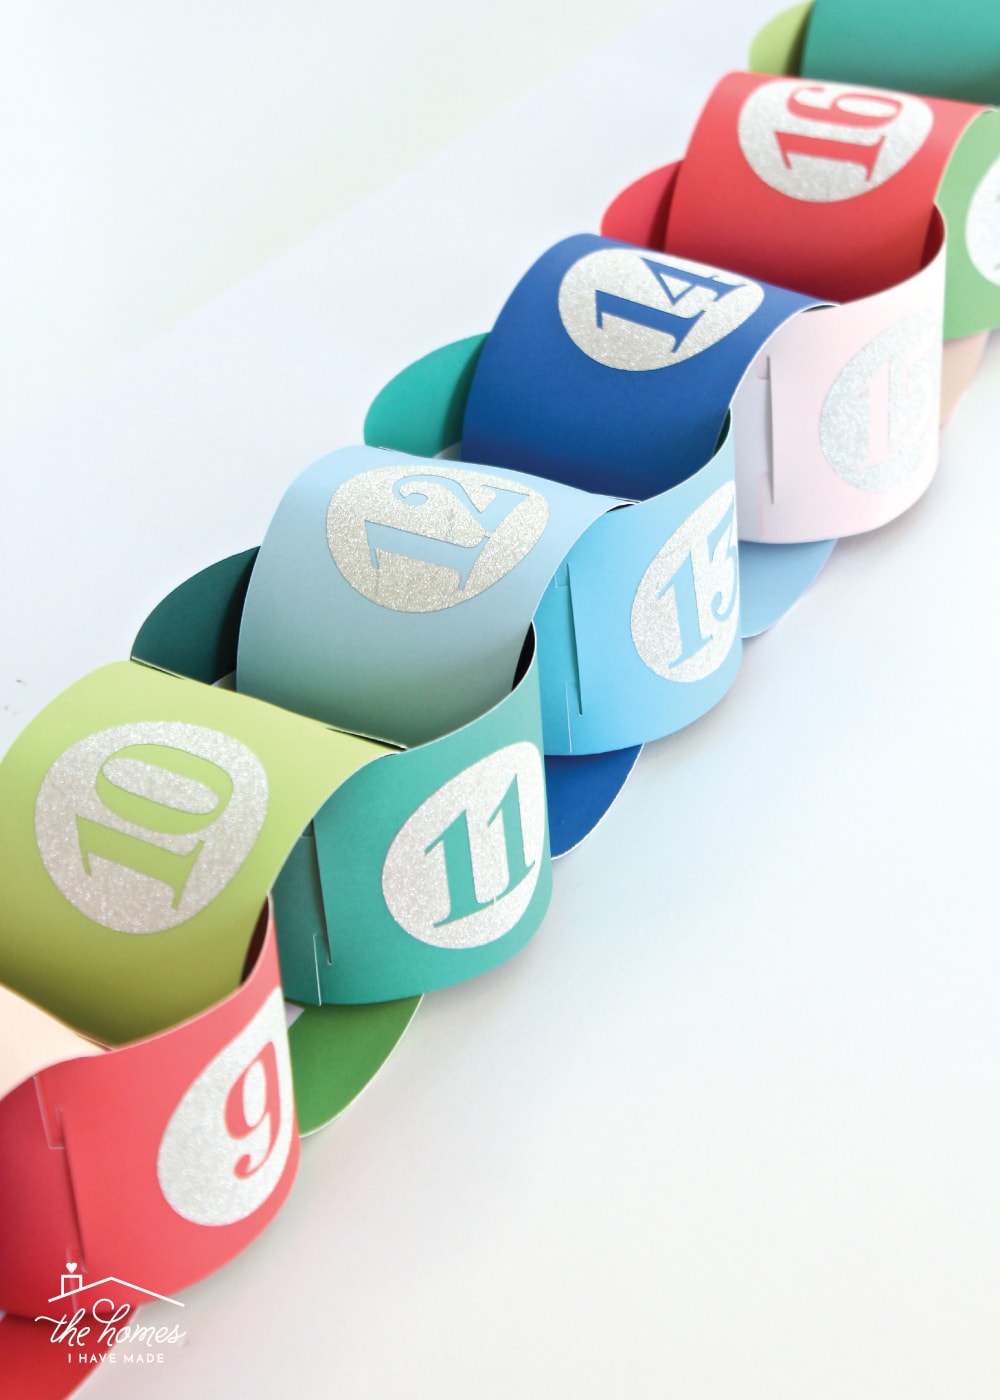
Christmas Countdown Chain. This was another “whim” project that has become a fun family tradition. I update the events every year to match our schedules and local offerings, but the boys are always eager to get it assembled and hung to kick off our Christmas season!
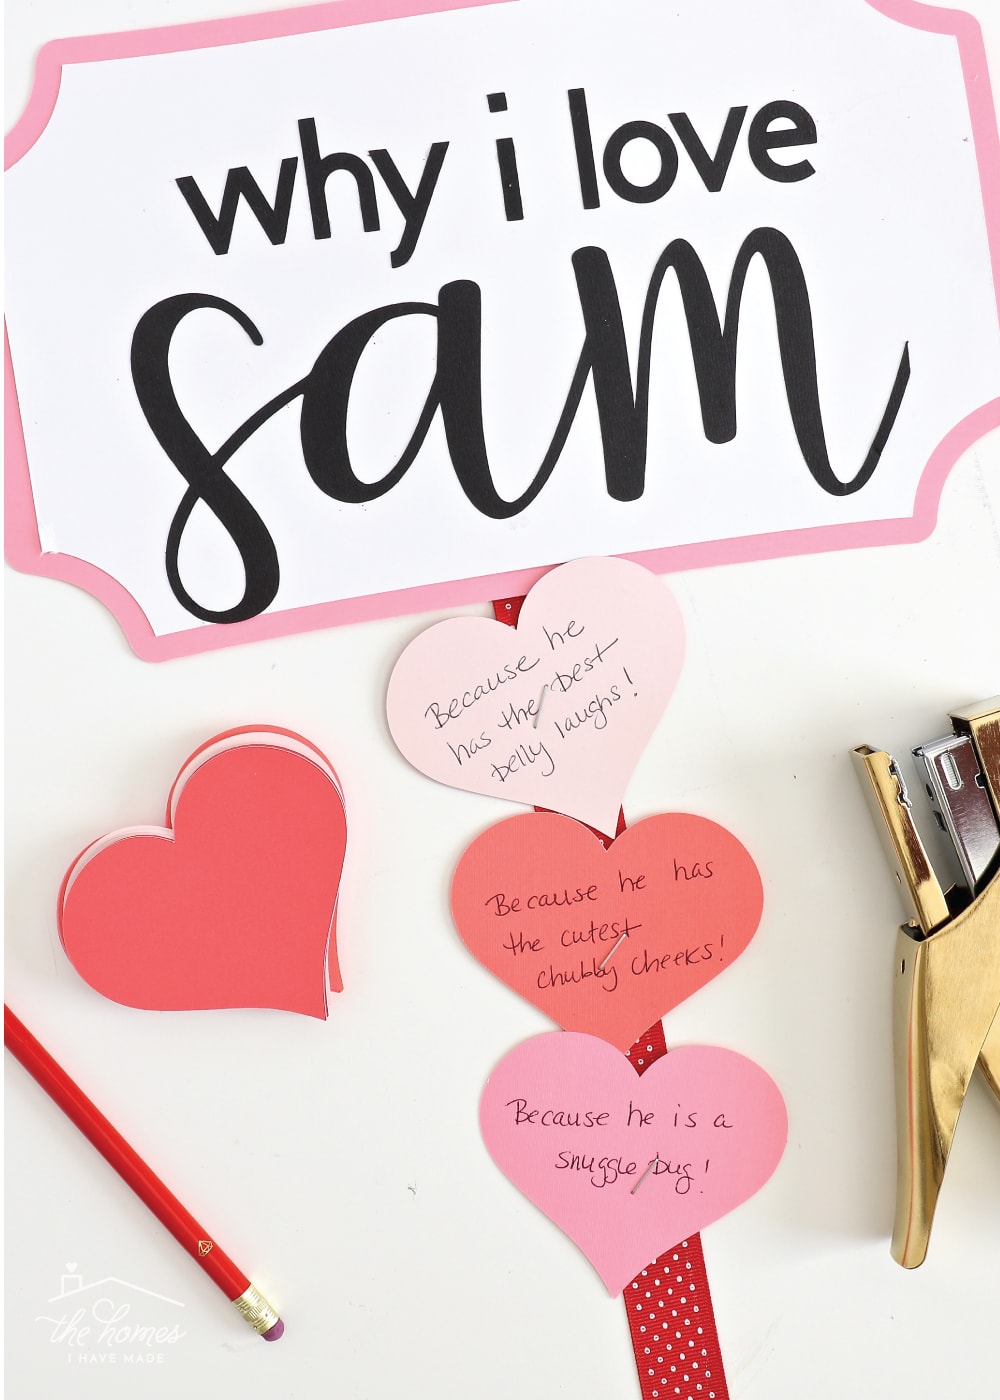
Valentine Love Notes. I started this tradition with the boys while Greg was deployed, and they enjoyed it so much we’ve kept it up. It got even better once Henry could write his own notes, and I can’t wait to see it evolve as the younger boys grow up too!
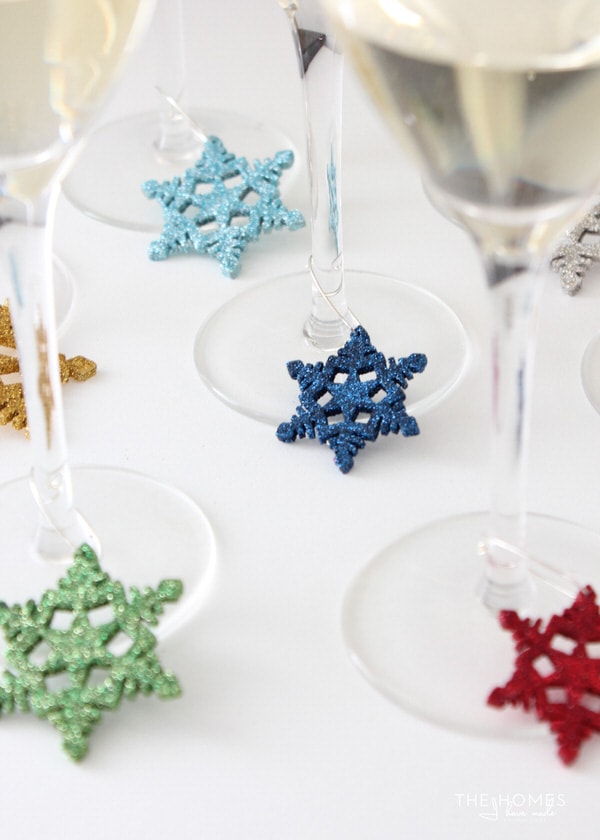
Wine Charms. I made these snowflake wine charms as a contributor project years ago, and we still pull them out every winter. Not only are the colors vibrant, but they are easy to pop on and off glasses for a festive accessory! (Updated tutorial coming soon!)
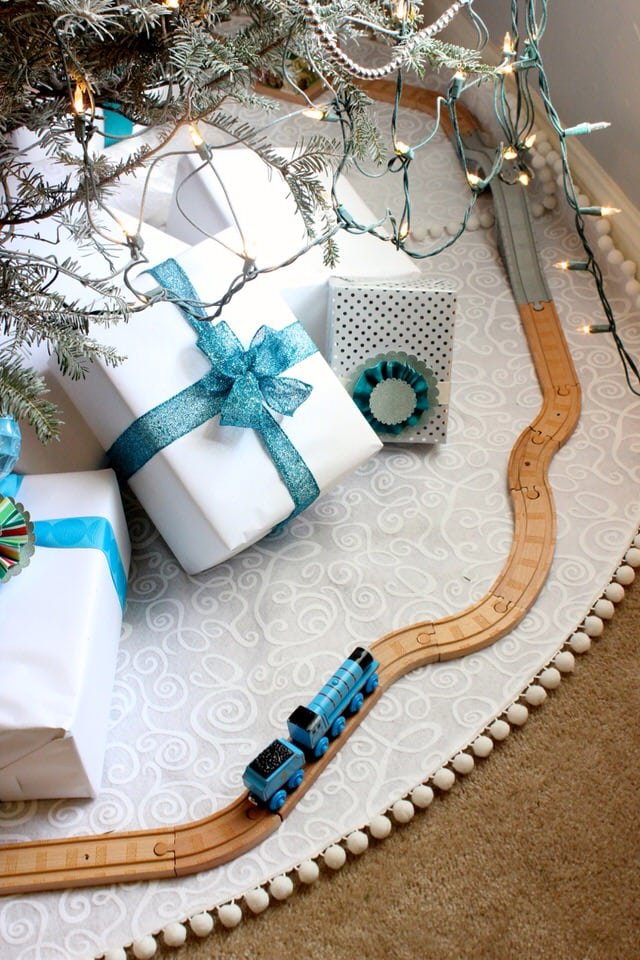
Extra-Large Christmas Tree Skirt. I’ll never regret swapping our patchwork Christmas tree skirt for an extra-large solid white felt version. Now, it fits no matter what size tree we get and coordinates with whatever color scheme I choose!
Gosh – soooo many of these projects really are oldies. In fact, if you are relatively new here, you might not recognize any of them! I know as a blog lover and reader myself, I always wonder about past projects from my favorite bloggers: How did they hold up? Are they still using them? Do they still look the same? I hope this fun roundup gives you a glimpse into what’s lasted and why. Maybe I should do a corresponding post of all the epic fails?!?
Happy 9 Years to you, my wonderful readers! Looking forward to many more “goodies” to come!
Megan





5 Comments on “Projects That Have Stood The Test Of Time (Celebrating 9 Years of DIY!)”
Congratulations!
Re: Command Strips in the picture hanging kit – Do you have any problem getting the strip to release from the wall. My building DISCOURAGES their use . The painter hate repairing the damage caused when they pull off the paper from the drywall. (He prefers nail holes LOL)And we had the same problem. When my DH died in hospice, we pulled the poster off the wall when we cleared his room and it also did horrible damage to the drywall.
Command strips won’t damage the wall if you remove them as instructed: pull the tab straight down, not away from the wall.
Megan, congrats on nine years! I’ve been reading for a few, and I’ve noticed how your blog just keeps getting more and more professional.
Thanks so much, Chris! It’s definitely been an interesting journey, and there is so much I’ve gotten or done wrong over the years, but it’s nice to (finally) feel like I’m in a place where I always wanted it to be! Thanks for all your support!
Megan
P.S. How strange about the Command Strips! Like you, I’ve never really had an issue as long as I removed it right. The fishing line trick DOES work really well though!
Hi Linda!
Nope, I haven’t had a single issue! The key is to removing the Command Strips property: you have to pull the strip down the wall…really far…in order for the entire thing to release cleanly. I’ve not once had a Command Strip peel up paint or drywall.
That said, in my experience, if you use NON-Command Strip brand adhesive products (knock offs) OR you don’t remove them properly, yes, you can damage the walls.
I now rely on Command Strips far more than holes in the wall! And we’ve used them on both textured and smooth walls alike!
Hope that helps!Megan
Well, I eat my words. I just tried to remove a Command hook that had been there awhile. The strip broke off below the hook, even though I was pulling straight down, and there was nothing left to pull on. I tried using a razor blade around all the edges, but it didn’t reach to the middle and I wound up with some damage. I wish I had remembered a trick I’ve used before to cut off the old adhesive squares that predated Command strips: use a piece of dental floss as a saw. That might have worked.