Renter-Friendly Walls: Fabric Feature Wall Installation
Happy Wednesday, friends! Before I dive into today’s post, a quick apology for my erradic posting schedule this week and last. As I briefly mentioned a few posts ago, we have a few jam-packed weeks on our family calendar, and I’m doing all I can to keep up! On a few occasions this past week, sleep and my sanity won out over a new blog post. I am (mostly!) back on schedule so (hopefully!) there won’t be any more pauses in my usual posting schedule! Thanks for hanging in there with me!

I’ve made some fun (and long-awaited!) progress in Henry’s bedroom this past weekend with a new fabric feature wall, and I am super excited to share it with you today as my next installment of the Renter-Friendly Walls series!
This project has been on my mind and my to-do list pretty much since we moved in, and I am so excited to finally have it done. It wasn’t hard or all that time-consuming, it just had to make its way to the top of the list. And gosh, I am just so excited about how it turned out!
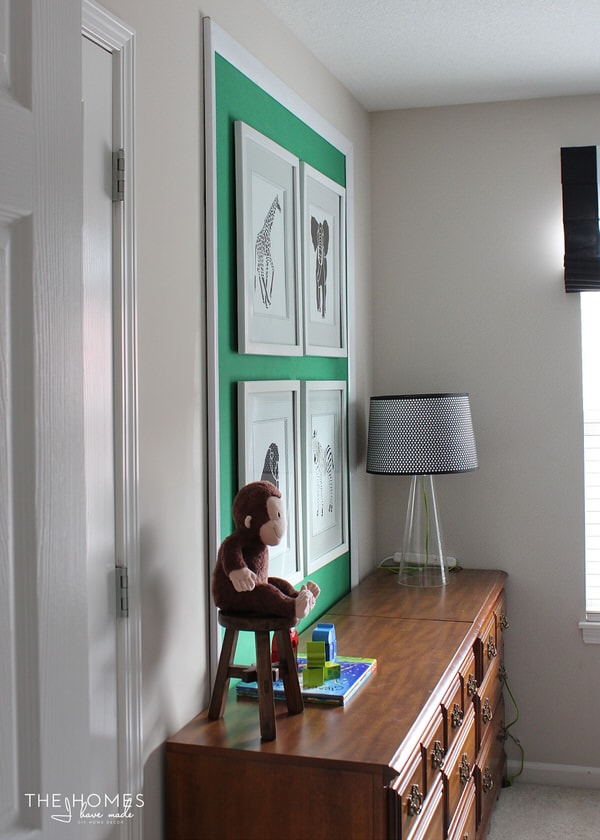
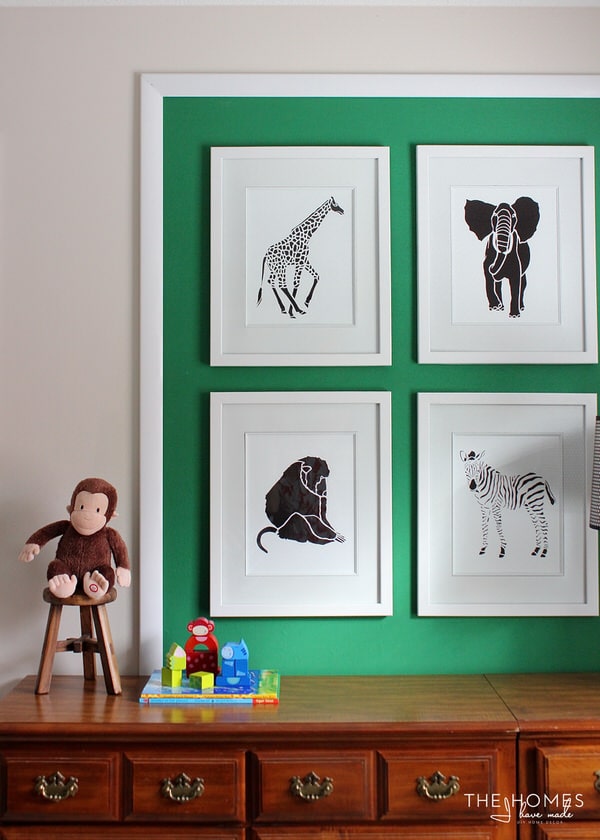
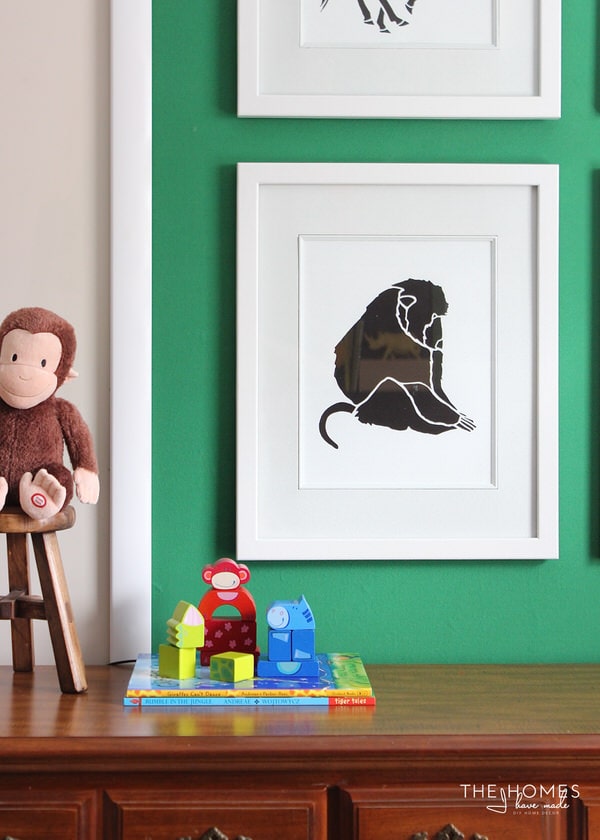
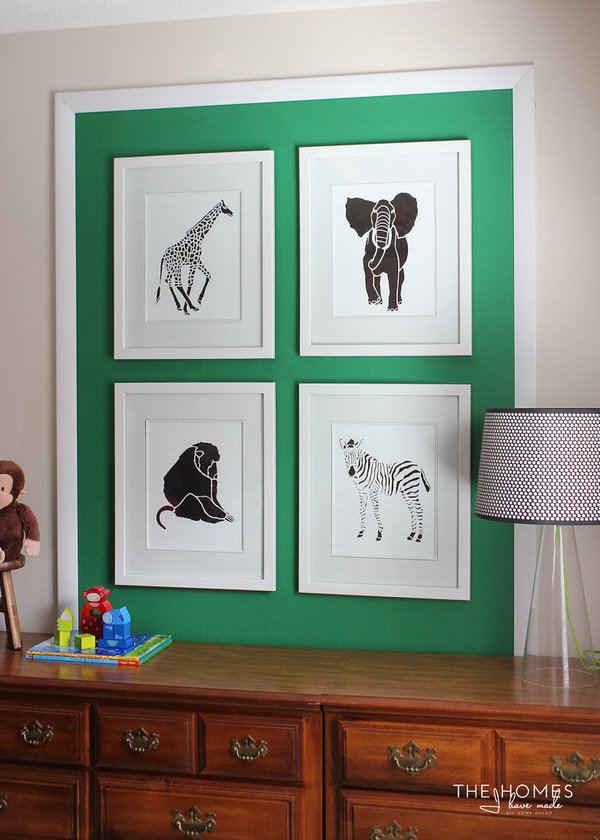
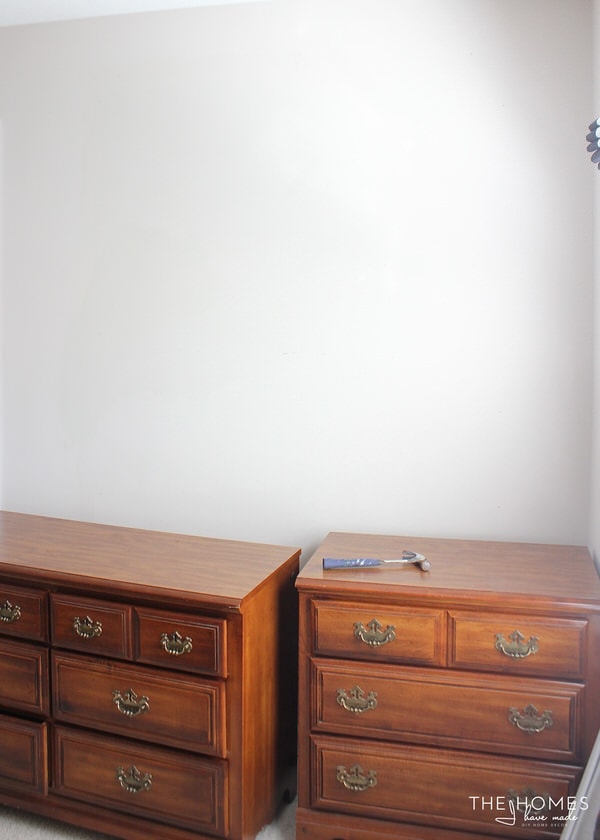
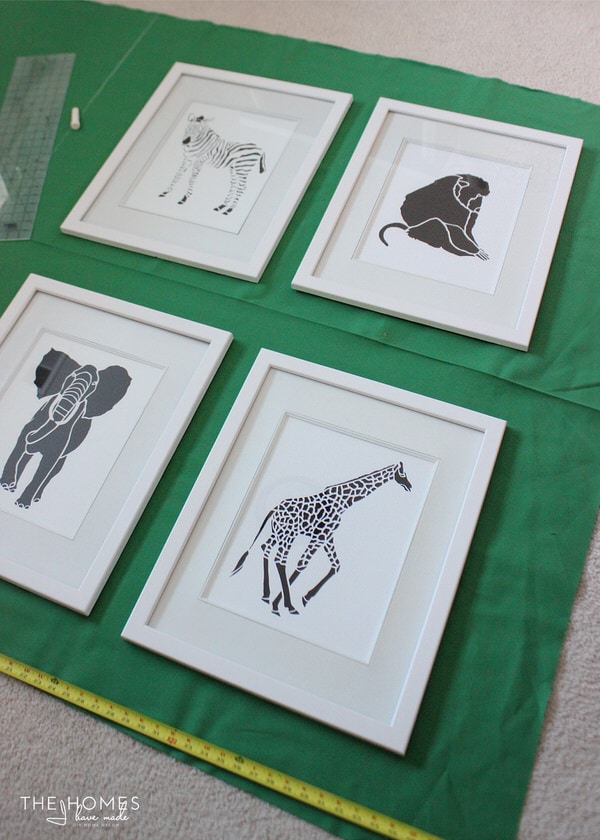
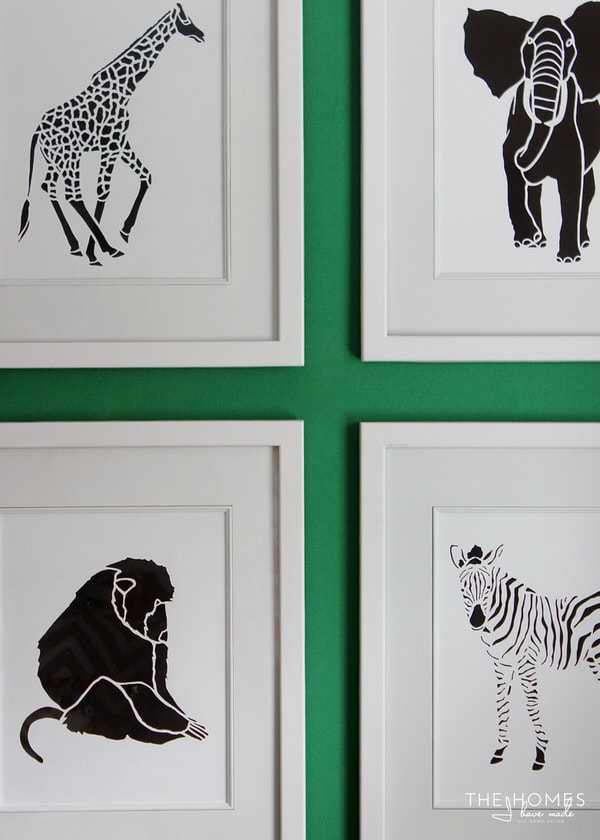
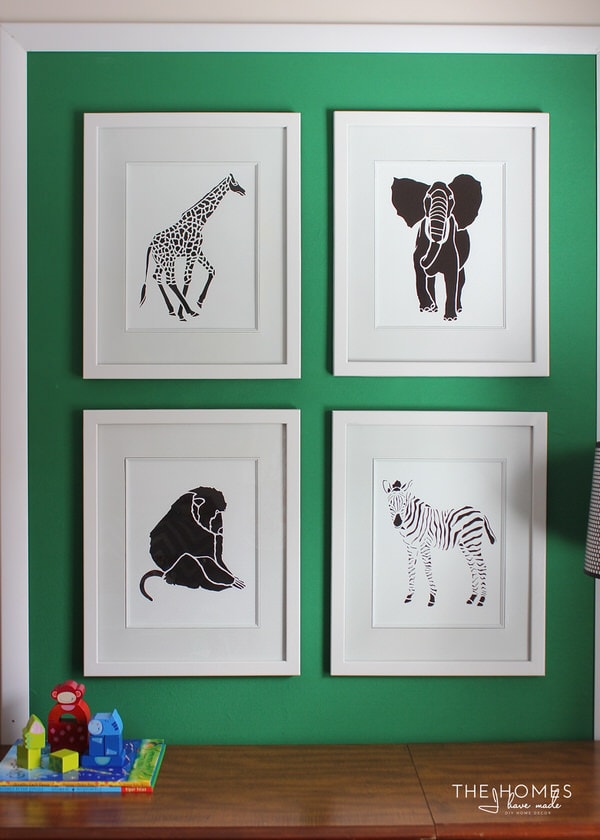
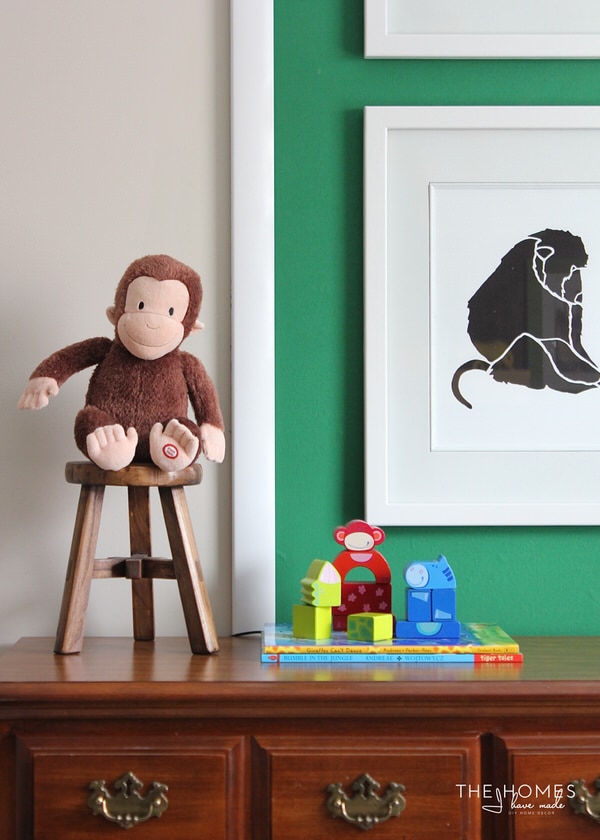
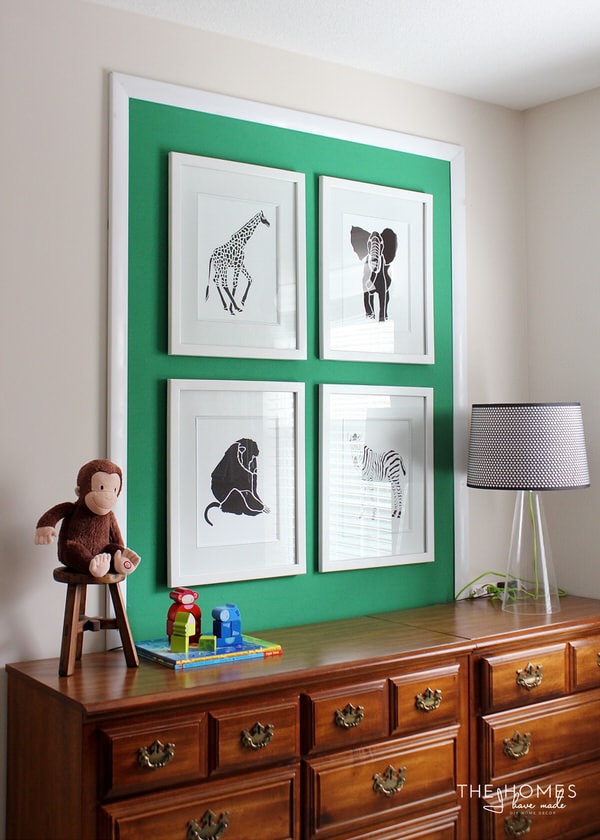
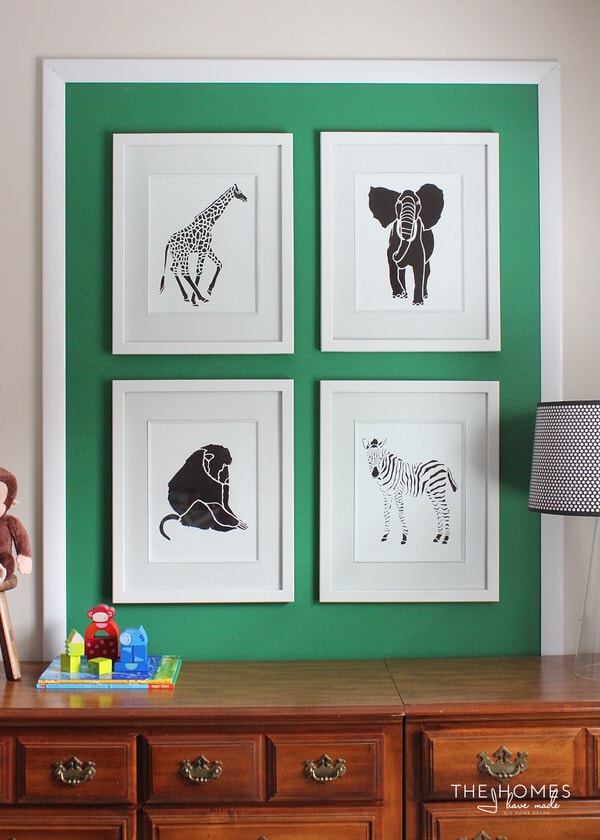
These four animal prints from Henry’s last bedroom have been sitting in his closet since we unpacked over the summer. I knew I wanted to hang them over his stretch of dressers in the same arrangement as last time, but I was really struggling with the all white and bright frames on our beige-ish-pinky rental walls.
Early on, I came up with the idea of adding a block of color behind the frames. Not only would this help the white frames work a little better in the space, but it would also add a major and much-needed pop of color on the other side of the room. However, when I took a friendly bet to not paint any walls this year, I was left searching for an alternative method for adding a big dose of colors to the wall.
I have been wanting to try the “hang fabric as wallpaper” project for ages, and considering my dimensions and the look I was going for, I knew it was the perfect solution for this mini feature wall!
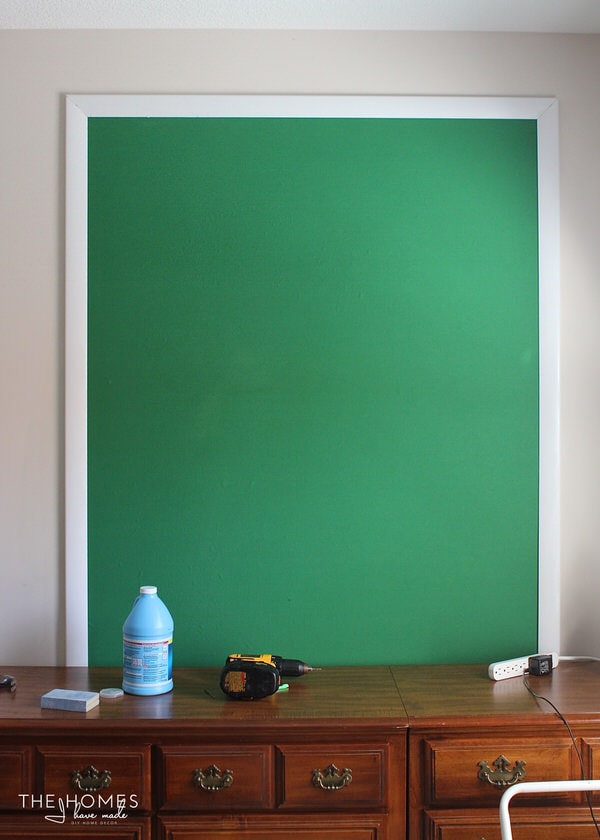
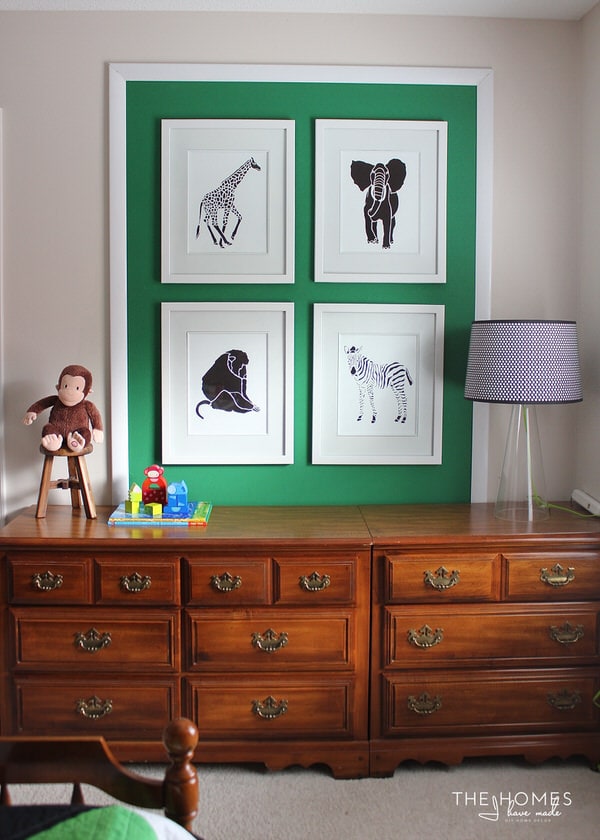
So…yep…that big square of green on Henry’s bedroom wall is not paint, it is fabric! Bright kelly green, 60″ wide duck cloth to be exact!
Although I had a few hiccups along the way (more about that in a minute), I was so pleasantly surprised how quick and easy this project was. This project was quick, simple, inexpensive, and added a major wow factor to Henry’s bedroom…all in a way that is completely removable and can come down when we move out!
A quick note about my “renter-friendly” attribution. The fabric installation on the wall is 100% renter-friendly and won’t damage your walls at all upon removable. However, I decided to trim out my fabric wall panel with wood trim and nails as well as hang my art using nails, all of which put holes in the wall. To me, filling/sanding/re-painting holes is not a big deal, but if you are in a home where no nails are allowed, you may want to consider alternative methods for trimming out your fabric!
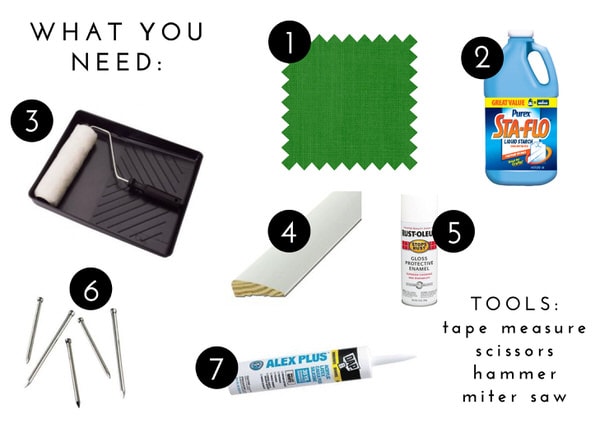
Okay! Disclaimer done, let me show you how easy this is! To do this project as pictured, you will need:
- Fabric in the size, color and pattern of your choosing (I used ~1.5 yards of 60″ wide duck cloth, purchased on sale and using a coupon from Joann Fabrics.) ($7)
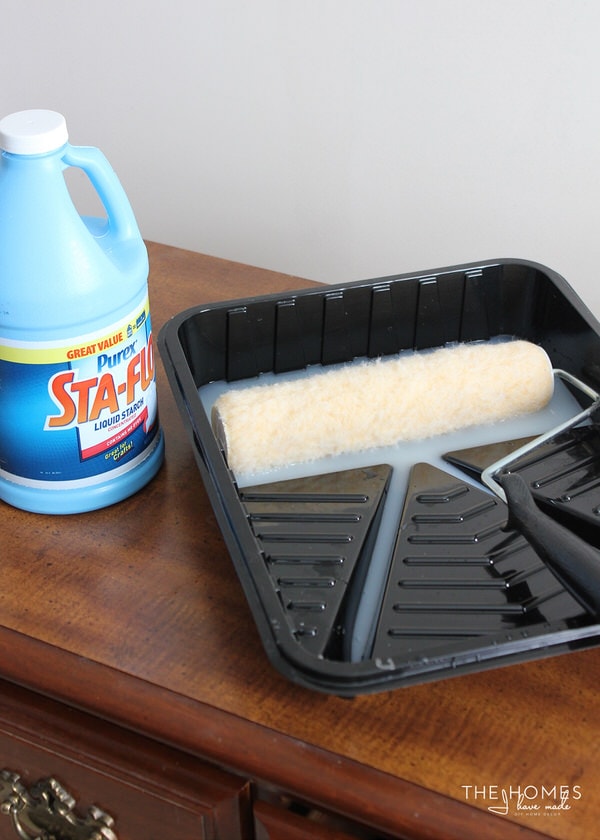
- Liquid Starch
(I find the liquid is easier to work with than the spray) (had on hand)
- Paint tray and roller
(Doesn’t really matter the size or quality) (had on hand)
- Wood trim (Or plastic, in whatever thickness/design you prefer. Be sure to get enough to fully trim out your fabric panel.) ($12)
- Spray paint (To paint the wood trim) ($3)
- Finish nails
(For securing the wood trim) (had on hand)
- White, paintable caulk
(For filling holes and seams, as necessary) (had on hand)
- Tools: tape measure
, scissors, hammer, miter box, and level (not pictured)
Total cost for this project (excluding the framed artwork, which I already had) was about $25.
Start by selecting your wall and determining how big a fabric panel you want. You can cover an entire wall or just make a “feature” panel as I did. These measurements will determine how much fabric you need, and how to cut it down.
Next, cut down your fabric to your desired/required dimensions. Since I knew I would be hanging our animal prints over the green fabric, I found it helpful to lay them out on the fabric to determine placement and dimensions.
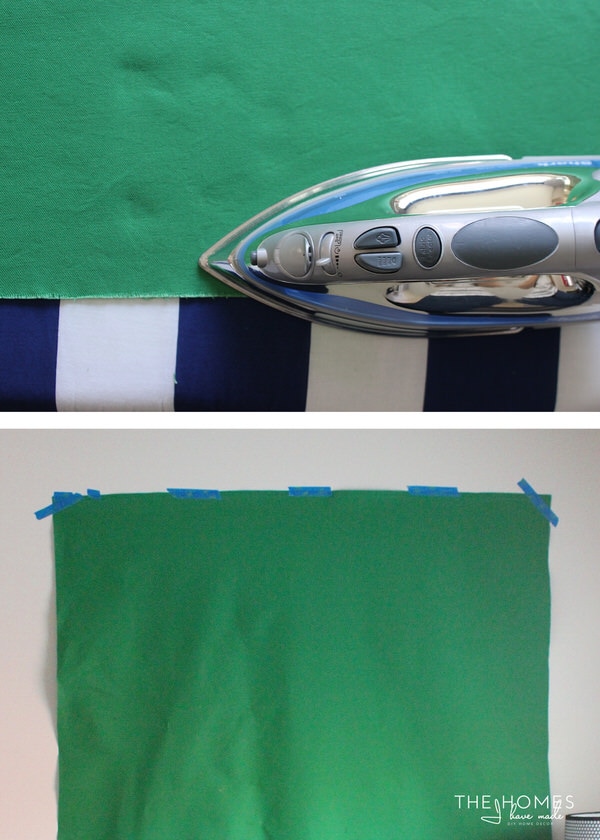
Although the starch takes care of a lot of the wrinkles, I found it helpful to use a very hot iron to get out tough creases. Once your fabric is cut and ironed, use a level and measuring tape to determine the fabric’s placement on the wall.
After a bit of experimentation, here is the easiest way to hang the fabric:
Once you’ve determined it’s placement in the step before, use a pencil to lightly mark where the fabric should hang. Then take the fabric down. Pour some liquid starch into a paint tray and wet the roller completely. Be sure to remove as much excess starch as you can since it does drip!
Using the roller, apply liquid starch to the wall, within the light pencil perimeter you just drew. Be sure to catch drips and fill out the entire section of wall. Don’t worry if you go over your pencil lines, the liquid starch dries clear!
Then, working quickly so the starch doesn’t dry, place the fabric right on the wall on your pencil lines, and begin smoothing it down with your hand…working down the center and then out toward the sides. Fabric stretches and is very forgiving, so you should be able to easily get all the bubbles and wrinkles out!
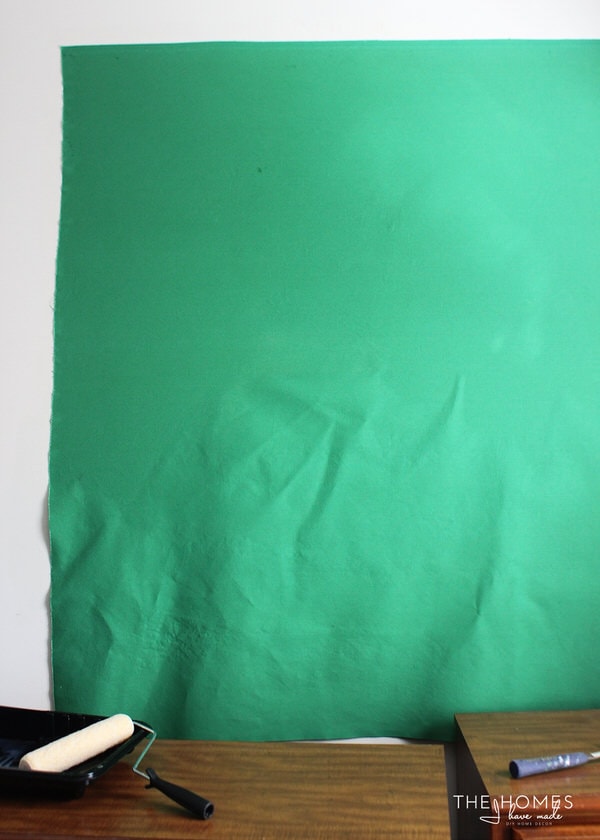
In the picture below, you can see I used thumb tacks to hold up my fabric while I smoothed it down (which is what I did the first time around). However, the tacks weren’t necessary…so I say just go ahead and smooth on your fabric once the wall is wet! As you can see in the picture below, some of the “wetness” is showing through the fabric. That’s okay, and I really should have just left it, walked away and let it dry.
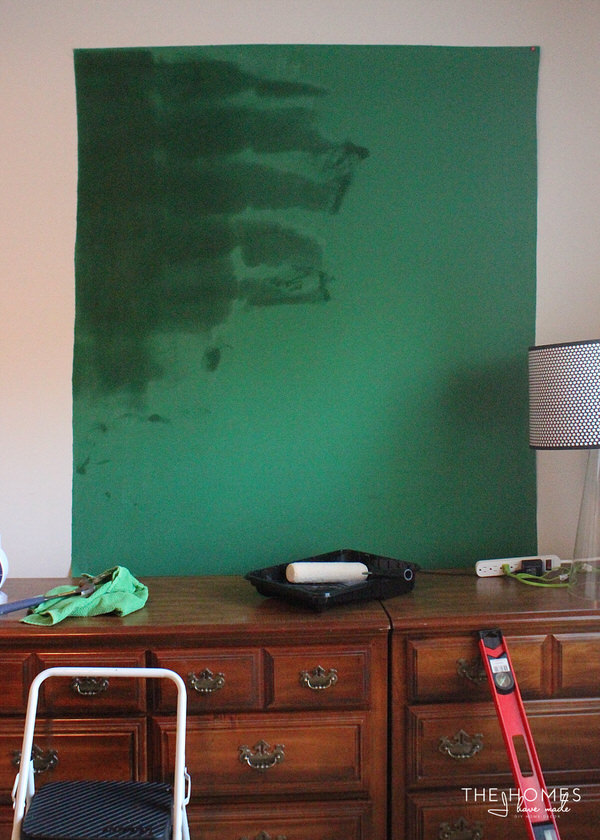
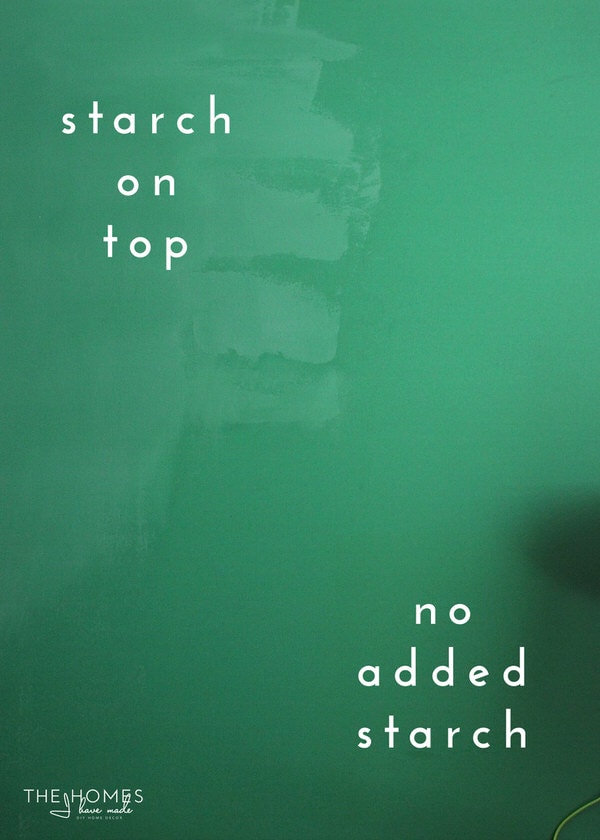
However, I was worried that the starch from UNDER the fabric would make the fabric look splotchy, so I decided to apply more starch to the TOP of the fabric. I had seen other tutorials do this, and I thought it would even everything out, but as you can see, getting the starch to go on uniformly was not so easy and was using up a lot of starch. I decided to let the starch dry on this section and see how it looked in the morning.
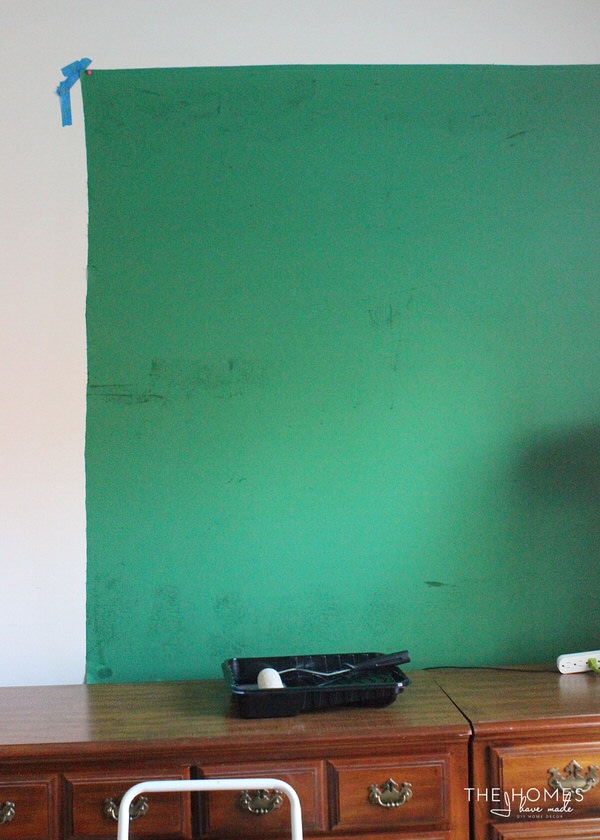
Yikes. Not good. The starch UNDER the fabric did not discolor the fabric at all, but the starch on TOP of the fabric most certainly did. If you are going to try this, I really don’t think adding starch on top of the fabric is necessary. Duck is pretty heavy, and it didn’t budge or slip at all with a single (light) layer of starch underneath. However, if you have a patterned or light-colored fabric, adding starch on top will not be as noticeable as it was on this solid green fabric. I didn’t like the haziness left by the starch, so I knew what I needed to do…
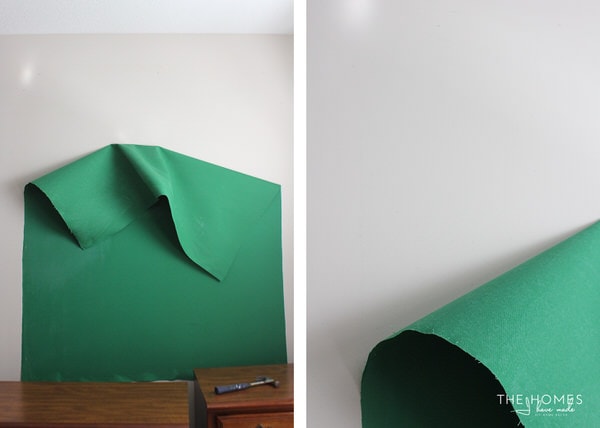
Start over! Ug, I know. But I couldn’t live with it partly cloudy, so it had to be re-done. The benefit is that I can show you guys really how quickly and how well the fabric comes down! In seconds (seriously, seconds), the fabric panel was pulled right down…
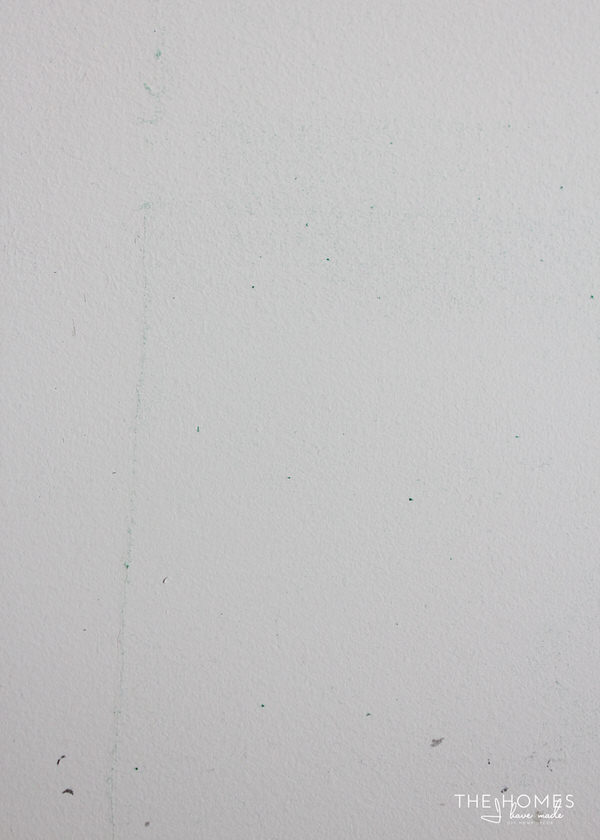
I did want to be very clear about what you will have left on the wall after the fabric is pulled down. As you can see in the photo below, some fabric pills will be left behind (pre-washing your fabric might help!). However, I found that a warm, soapy sponge cleaned the walls right up without much hassle! So if you give this a try, be mentally prepared to wash down your walls before moving out!
Once my fabric panel was down, I through it in the washer to remove all the liquid starch and then started fresh using the method I outlined above. Once my panel was on the wall using just starch UNDER the fabric, I moved on to adding the trim border.
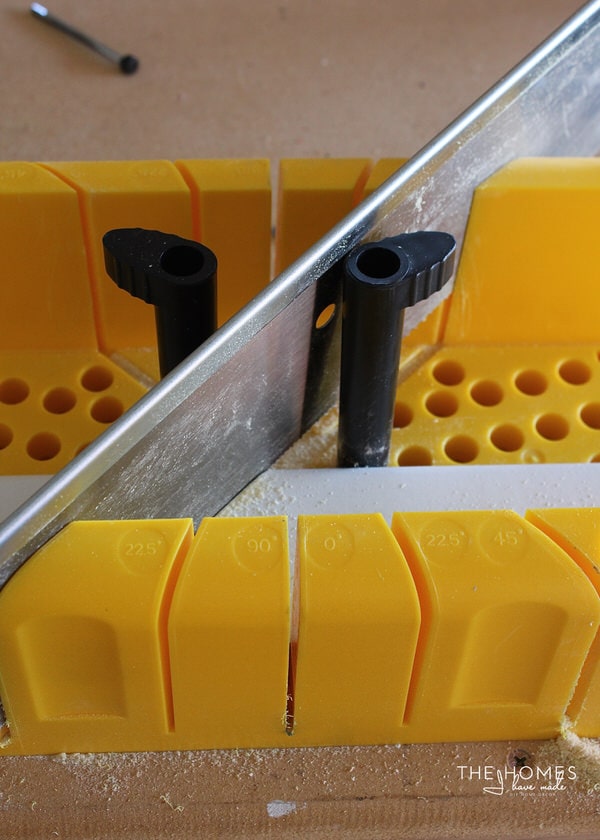
Using pre-made trim from the hardware store is the easiest way to add a border to your fabric panel. I bought 3 lengths of 7′ pre-primed wood trim for about $4/each at our local Home Depot and then used a miter box to cut each length at a 45 degree angle so they would fit together in a frame. Once you have your lengths measured and cut, spray or paint them to your desired color. I sprayed mine with the same high-gloss white that the frames were painted with!
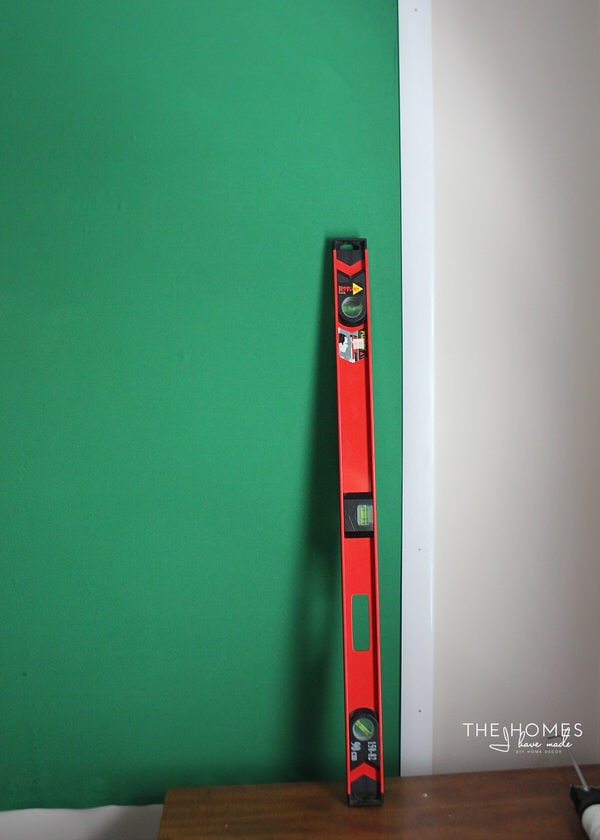
Then, using a level and finish nails, secure the trim to the wall. Wide trim will help conceal ragged fabric borders a bit better, but just be sure you catch the fabric edge under the trim all the way around.
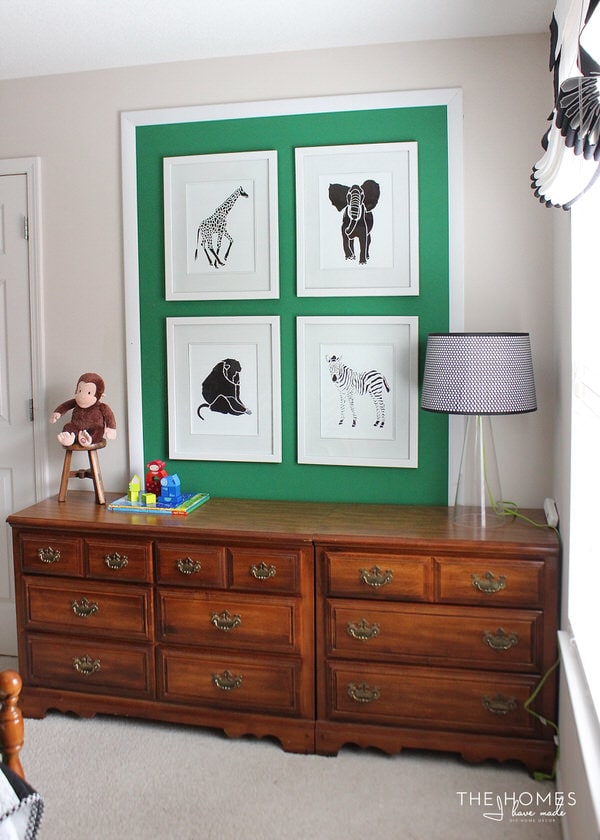
I chose to only trim out the panel on three of the four sides so that it looked like an extension of the dresser. Once your trim is up, fill the holes and seams with wood filler or paintable caulk.
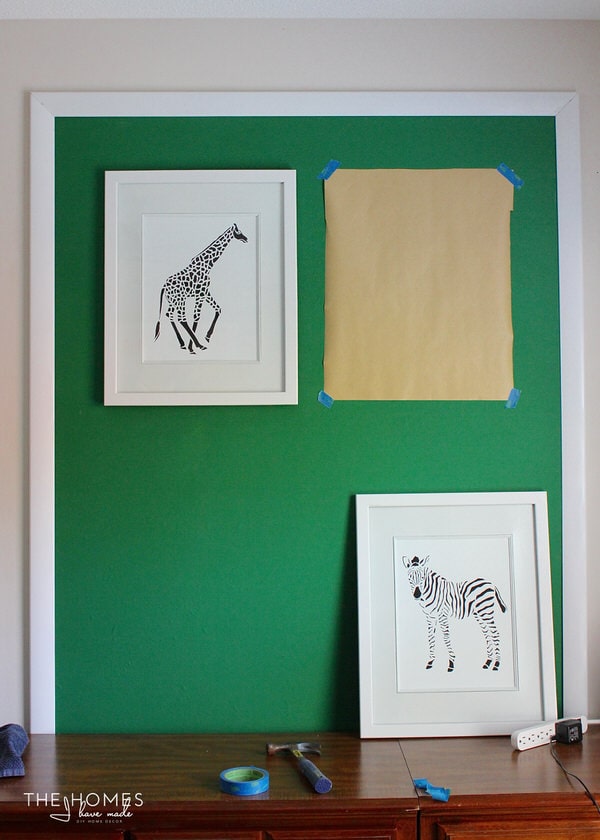
If you simply want to make some decorative panels to add some color and pattern to a room, you can stop here! You’re all done! I wanted to hang art within my feature panel, so I determined my placement using some craft paper cut to the right dimensions…
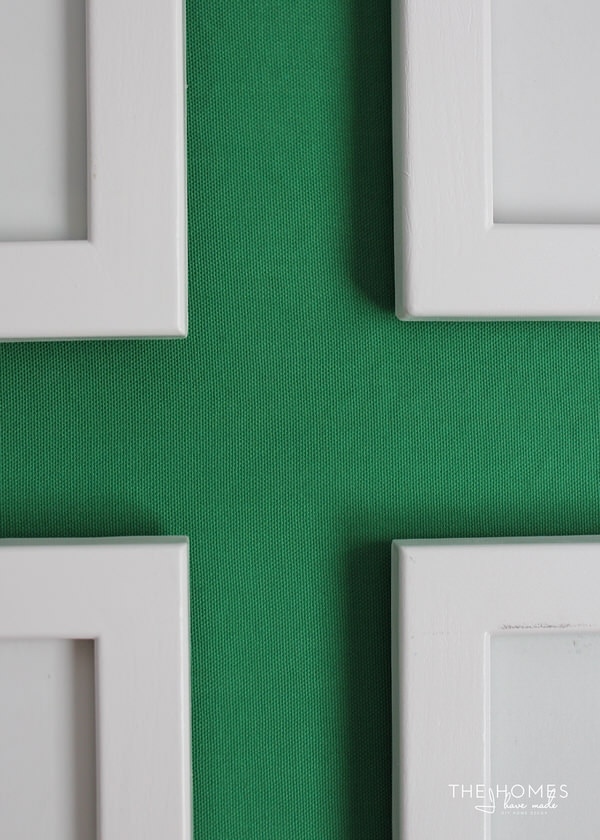
Measuring and leveling really are not my forte, so using paper templates makes things pretty fool proof…almost! Thankfully, this set of four turned out pretty lined up!
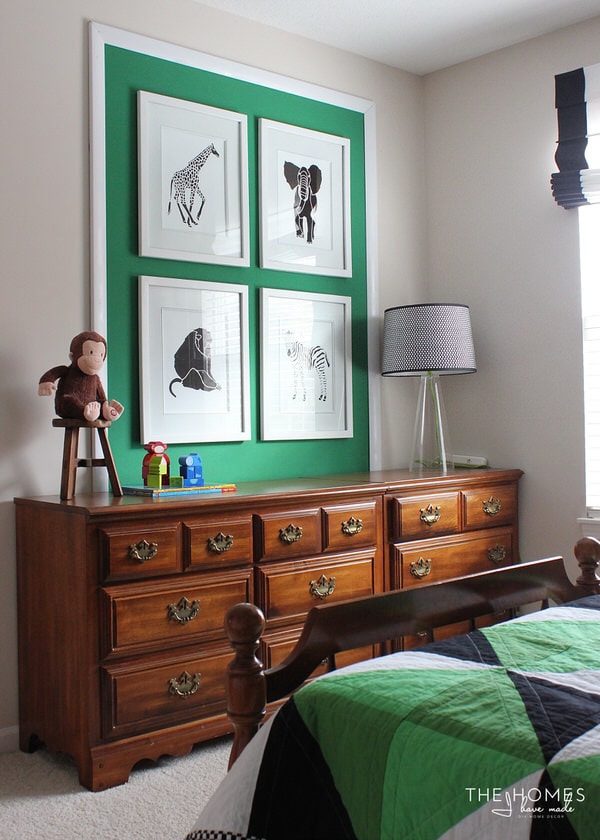
I am just so thrilled with how this turned out! I often head into a project with a general vision, but you never know how it will look in the end. This worked and looks so much better than I expected!
Not only do I love that these frames are finally out of Henry’s closet and up on the wall, but the bright color on this side of the room has really finished off the entire space!
This feature wall was the last project on my to-do list for Henry’s bedroom…so I dare say this project/post marks my first complete room in this new house. However, I learned my lesson in our last few homes that I always add and tweak things here and there as the months go on, so I’m not going to do a “final” room tour until we get closer to moving out in the Spring!
If you’d like to catch up on the other projects in this space, use the links below!
Adding fabric to the walls is quite easy and completely removable! Even better, fabric is often cheaper than wallpaper and more durable than wrapping paper. As you can imagine, my head is spinning with possibilities. If you want to do an entire wall or several large panels, be sure to keep your eye out for sales and coupons to get fabric really cheap. And if you use a pattern, don’t forget to account for extra fabric to match up patterns on a larger installation.
I’d love to know what you all think of this latest renter-friendly walls project! Have you ever applied fabric to your walls? What method did you use? Who knew Liquid Starch was the rental decorator’s best friend!
I hope you all are having a great week! See you back here Friday!
Megan




8 Comments on “Renter-Friendly Walls: Fabric Feature Wall Installation”
Ok. This is awesome. And it makes such a statement. I was just thinking that if you can’t put holes in the wall with nails, just cut a small hole in the fabric for a command strip/command hook. How easy and how awesome. What a fantastic idea. And thanks for the tip of not needing the starch on the “outside” of the fabric. Have a great Wednesday!
I’m so glad you love this one too! I am so thrilled with how it turned out.
So I was wracking my brain trying to come up with a way to add the trim with Velcro or Command strips and not needing nails, and worried it would peel the fabric off the wall (from the weight) or sit too high on the wall and not look flush. Cutting through the fabric is a GREAT idea! Good thing for my situation, is that there is always next time 😉
Megan
Love it.
Thanks, Jane!
Hope you’re doing well. I was just home visiting Dad and Kat for a very quick 48 hours in Fairfax.
I’m participating in our local Block of the Month. We’re two blocks in so far, and I love it. (https://instagram.com/explore/tags/meganmakesaquilt/) I’m busy doing other things, so I love that it forces me to sit down at my machine and quilt/sew each month! I guess that’s the whole point, right?
Thanks for commenting!
Megan
Hi Megan
What a lovely project, you had the idea and it’s better than you could imagine it so it must be great !
I do love the color, this green is amazing and gives warm to the wall. We have many white walls in our home and it gives me great ideas to color them without too much work. Henry is lucky to have such a lovely room for such a short time. Have a nice week full of good things. Michèle
Thank you so much, Michèle!!
I do love how this room is coming together, and I’m so glad you guys love it too! Fabric on the walls is such a great solution, if you can find it cheap. You do need a lot to cover a wall though, so this feature panel is a great alliterative!
Megan
Love this! I am a renter with pale gray walls in every room. I don’t mind it in the sunny kitchen and dining area but we have this dark TV den which needs SOMETHING and I think that fabric on the walls may just do the trick.
After I try a test patch, I have a few ideas inspired by your great article! A fabric frame similar to your idea, cover the whole wall, or – one step further – cover the wall in a pattern created by different fabrics. See what happens when we inspire each other. Thank you.
I love this idea of using fabric for wallpaper, Megan… perfect for rental homes, apartments, and even dorms! I’m featuring this post on my blog today, and I just may use this option in my own rental home soon! Pinned!