Faux Bedroom Built-In (With Bookcases)
One of my favorite aspects of moving is the blank slate that each new home brings. And more so, the opportunity to make all of our “old” things feel new and fresh. Even if I didn’t thrive on changing things around, the fact of the matter is that rooms from house to house are different sizes, windows and doorways are in different places, and the needs of the family evolve. Therefor, what items go in which rooms and the layout and flow of the new spaces all need to be re-figured out each time around. I’ve mentioned it a couple times here and there…but I refer to the this process as “puzzling” our home back together. I LOVE figuring out which pieces will function their absolute best in new and different configurations…and it’s this simple task of finding new places for our old things that makes everything feel updated even if the decor stays the same! Today’s post is all about how two bookcases from our old dining room found a new home in Henry’s bedroom, giving them AND the room a totally different feel!
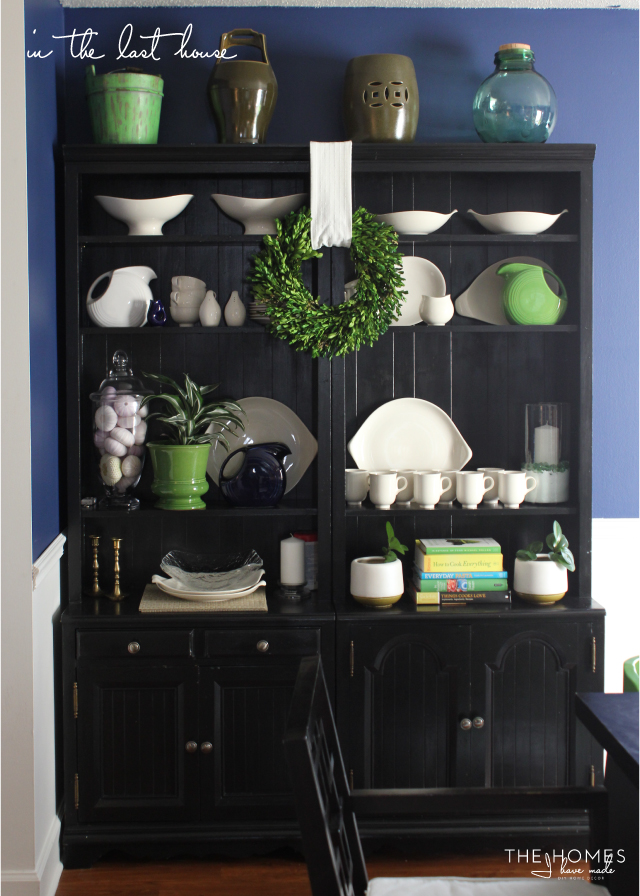
Even before moving in, I knew from the pictures and floorplan of our new Kansas house that we would have no wall for the black bookcases that we previously used as a china hutch in our dining room. One of the best things about our 18+hour drive from North Carolina to Kansas was that I had A LOT of time to brainstorm, daydream, and plan…and it was on that drive that it occurred to me that just maybe, the bookcases could work in Henry’s bedroom. It was, after all, the only other room that had a good bit of black in it.
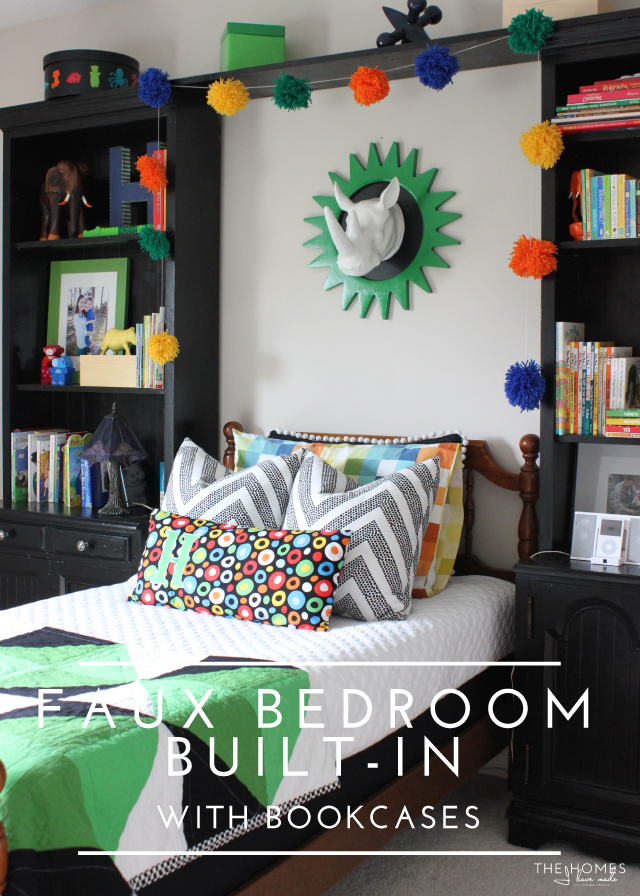
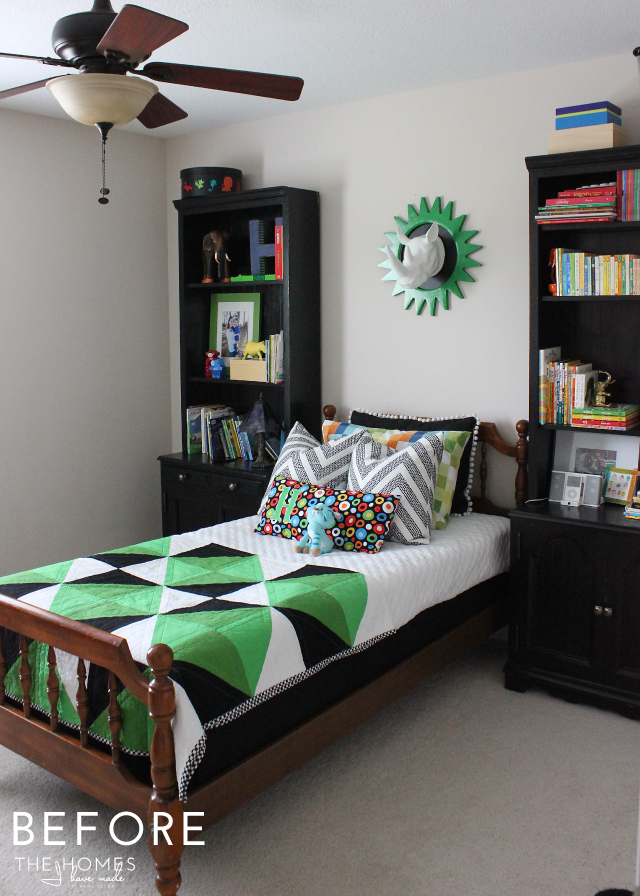
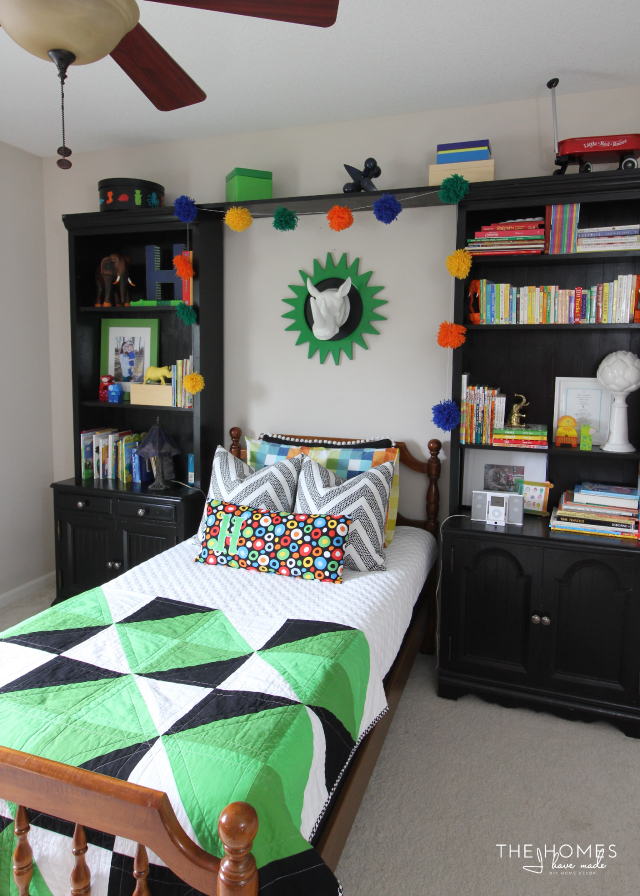
My brainstorming paid off, because we indeed had no room for the bookcases in the dining room, and the they worked great flanking Henry’s bed. I loved that they acted as side tables and allowed his bed to float in the center of the room without feeling awkward. The extra shelves were perfect for his ever-growing book stash, and also allowed for some concealed storage underneath. We had a winning solution!
Even though they arrangement was just fine as above, I felt as though the addition of a simple and inexpensive length of wood across the top would not only help the units look more cohesive, but would also give the illusion of a built-in bed. I’m all about adding in some impact and interest in a rental space!!! Greg was on board, so I measured the distance between the outside edges of the two bookcases, as well as the depth of the top and set off for the hardware store to pick up:
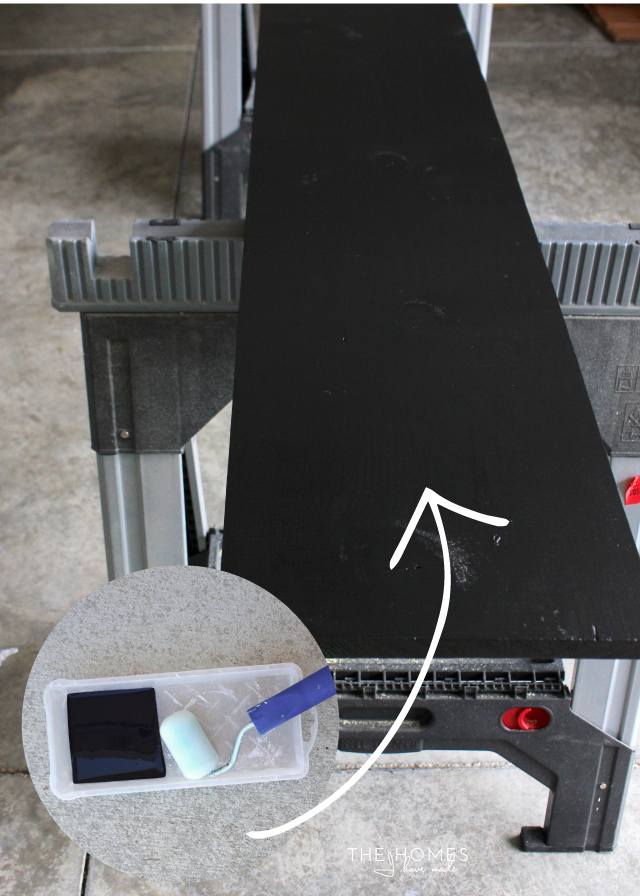
- 1x12x10′ pine board
- 1.25″ wood screws
- Mini can of high gloss black paint
- I already had on hand: sanding blocks, mini roller and paint tray
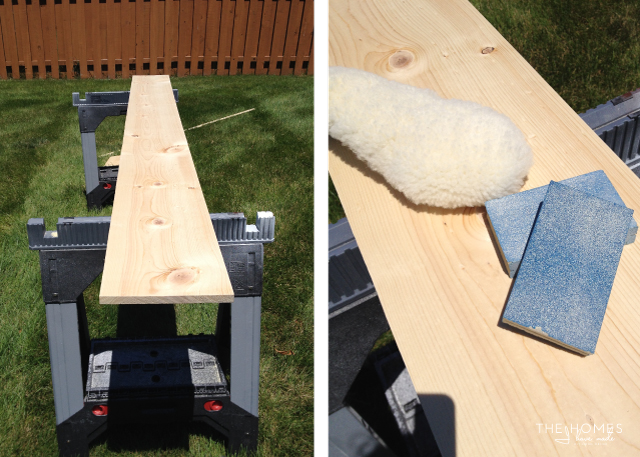
We started by trimming down both the length and the depth of the wood with a circular saw and sanded everything smooth.
After wiping the board clean of dust, I gave each side and all the edges 2-3 good coats of paint, allowing dry time between coats.
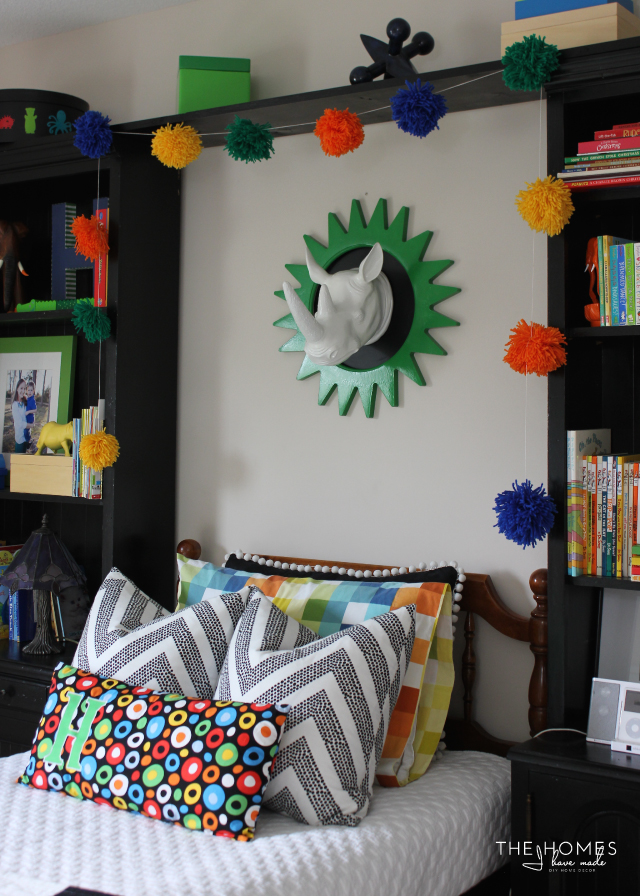
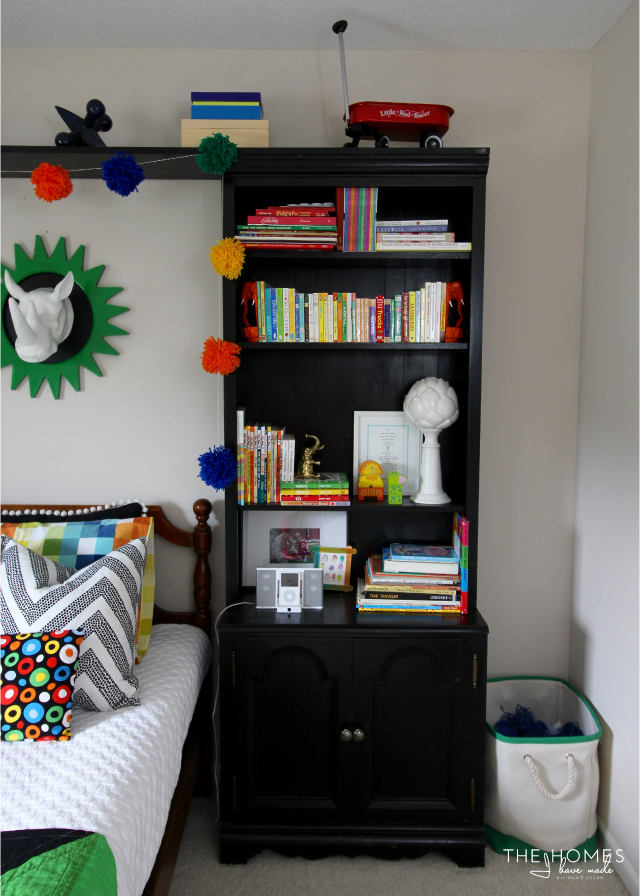
Once fully dry, Greg and I worked together to screw the board into to the tops of both bookcases, essentially creating one shelf across the top! While I knew I’d love the look of having the units joined, it didn’t occur to me that I’d gain some great display spots for fun accessories as well as the pom-pom garland from his last room!
If we wanted to take this project a step further, we could certainly have added trim or moulding to bulk up the 1×12. But realizing this was likely a temporary solution for just this year (who knows what will work in the next house!), I didn’t want to invest too much time or money! For about $15 and an hour or so of time, we added major visual interest to this bland bedroom!
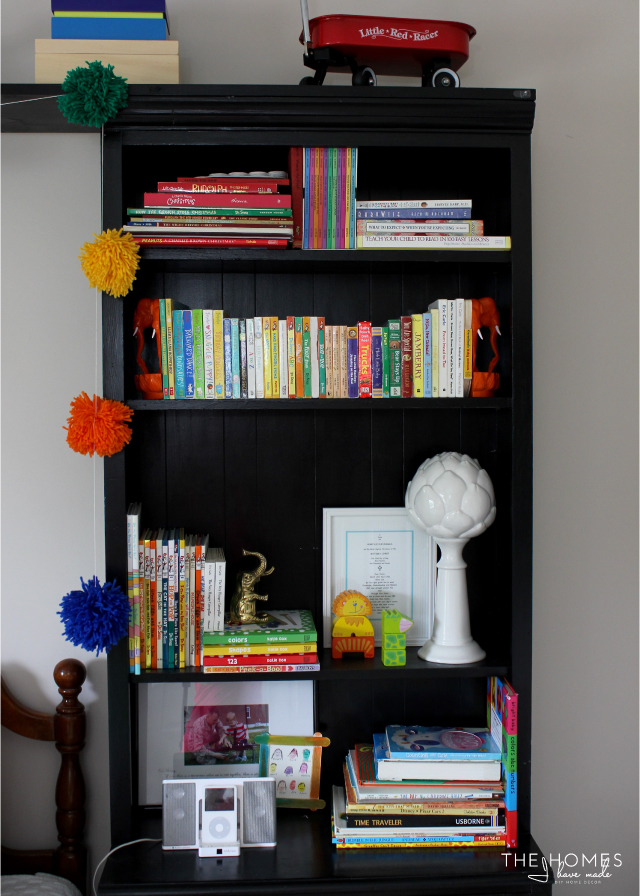
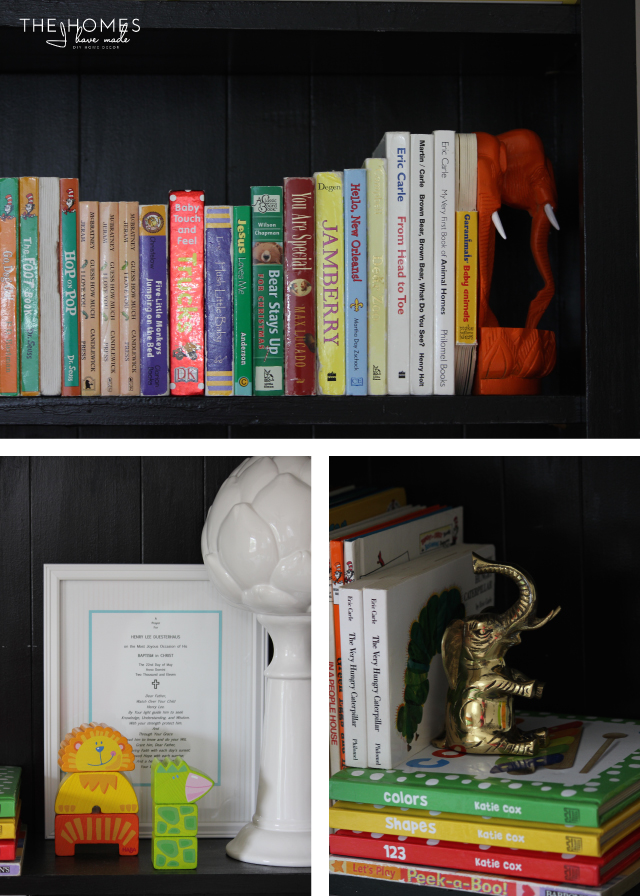
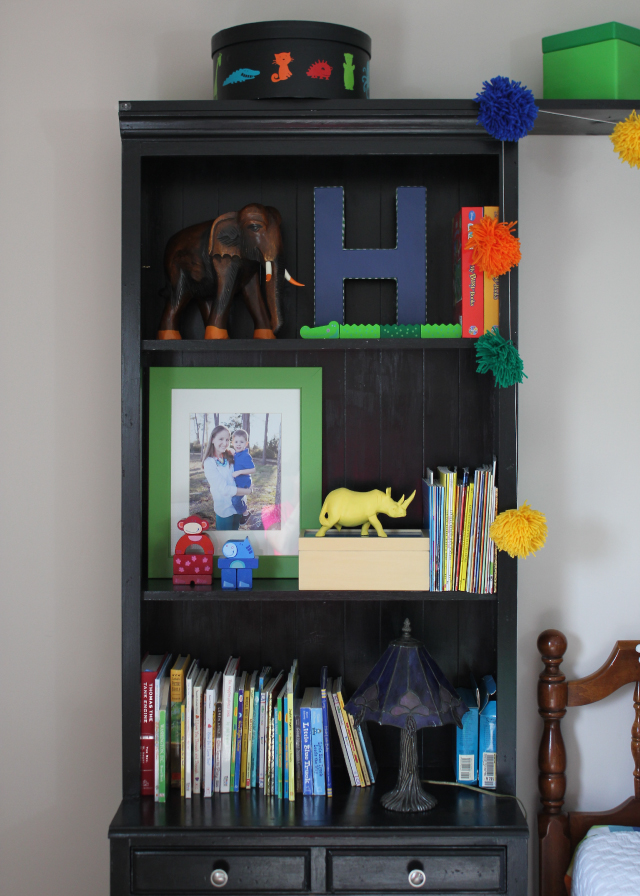
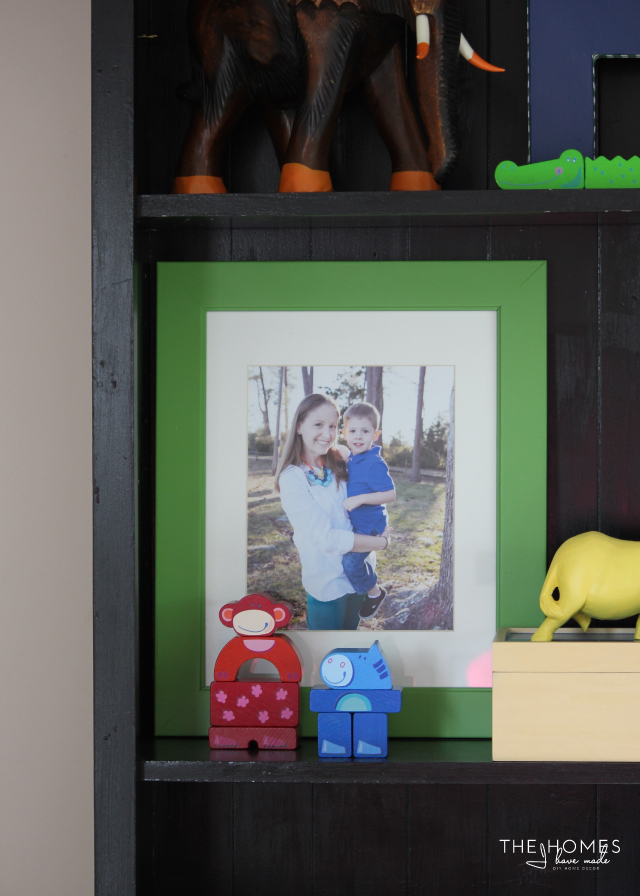
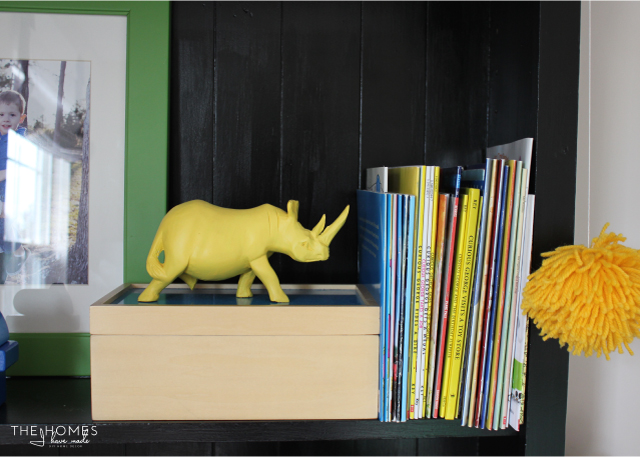
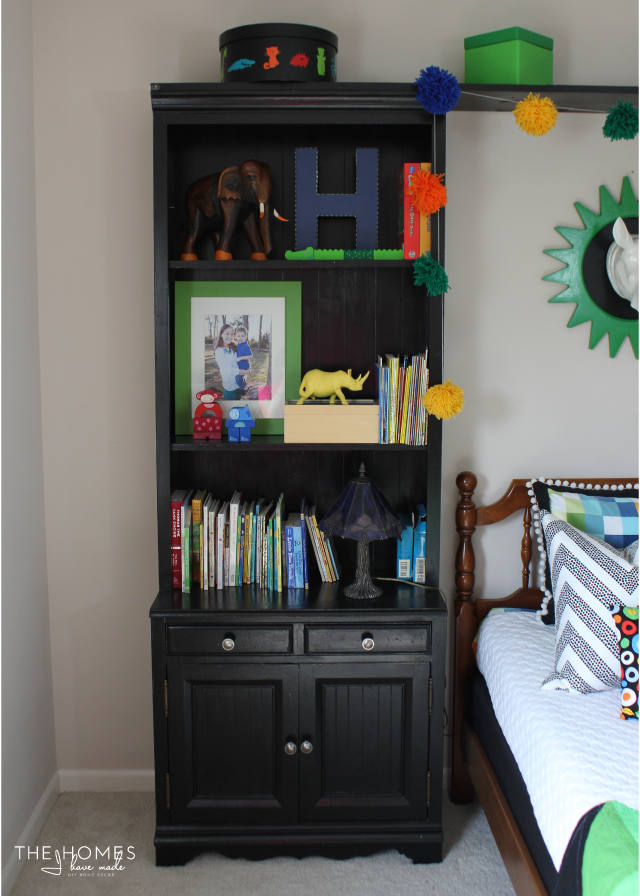
While we’re on the topic of this “built in,” why don’t I go ahead and show you the shelves! I had so much fun styling these shelves, and did so pretty much as soon as everything was unpacked. With so many extra shelves, I had plenty of space to unify his entire book collection (rather than having it spread all over the house), and added in fun animal/jungle-themed accessories for fun and color!
Nothing on these shelves is new. All of the items are either from his old room, his toy collection, or other items I had hoarded away!
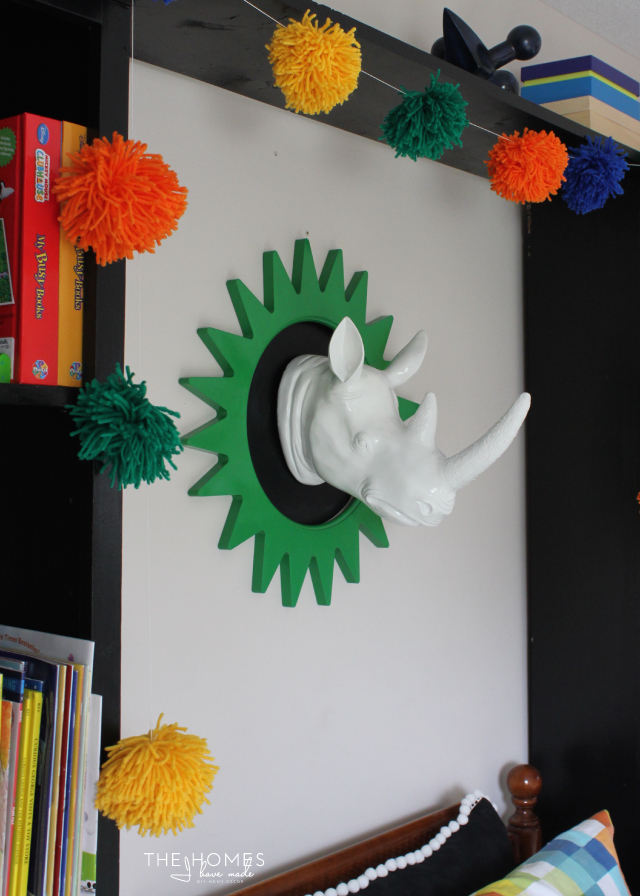
I’m still so smitten with that rhino head above his bed, framed out in the green starburst frame. The black is just a circle cut from vinyl and stuck right to the wall. Of course, as I was editing these pictures, I could’t help but feel that some sort of wrapping paper/wallpaper treatment between the bookcases (under the rhino/starburst) might really complete the whole display. We’ll see!
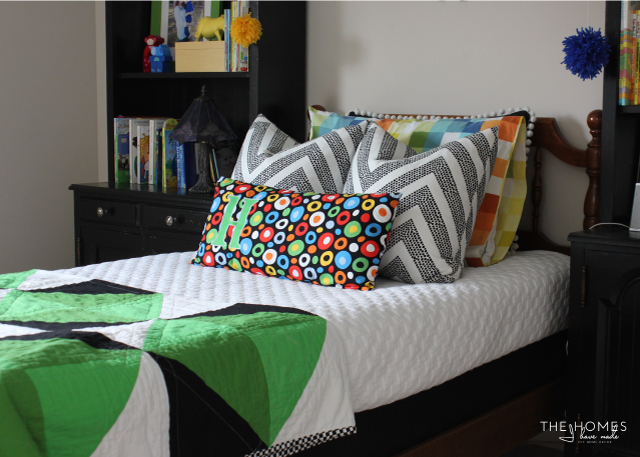
The light bedding and colorful pillows are a great contrast to the dark bookcases. And you’d think I’d be hankering to paint that “vintage” wood bed, but for some reason, it really works for me, so it will stay as is!
Nothing in this space is new. Everything has been brought from Henry’s last bedroom (or elsewhere around the house!). But just by moving things around and adding in a simple DIY, it really feels like a fresh space to me. And talk about killing two birds with one stone: not only did Henry’s room get a re-fresh, but we found a great home for two bookcases that would have possibly been banished to the garage! I love moving! #didijustsaythat?
Re-arranging is nothing new, but don’t hesitate to give your pieces new homes within your house and new looks within your space. Bookcases are the perfect piece to customize to just what you need. Don’t restrict them to just office or work room…think out side the box and you can create some pretty unique spaces within your home using what you already have!
With vacation behind me, I should be back to my normal Monday, Wednesday, Friday posting schedule now. Coming up next: a look at a few of my favorite spaces I’ve created in this new house so far and how they make it feel like home already!
See you back here Friday!
Megan



4 Comments on “Faux Bedroom Built-In (With Bookcases)”
I love it! That extra shelf on top really does pull it together. Now, I'm going to be looking for a couple of these units for our guest room!
Nicely done! I look forward to the next project.
Debby in Kansas
Love it – going to do this in my daughter's room! Where are the shelves from?
This looks like it ended up being very nicely put together! You probably wouldn’t be able to tell that it was originally 2 separate pieces of furniture and it’s going to make removals and moving around a lot easier too since it was put together simply! As the kid grows up, he’s going to be able to adjust the 2 shelves around the room just as he likes!
Every time we move, these shelves end up in a different room for a different purpose, so who knows where or how they will be next! But we sure lovely their flexibility and great storage!
Thanks for leaving such a nice comment!
Megan