The Quickest, Easiest and Cheapest Throw Pillows You’ll Ever Make!
So…I promised a furniture reveal for you today, if and only if the weather cooperated this week. Well, with the return of yet another Polar Vortex, I couldn’t get my final paint coat on the piece, so that reveal will have to wait until next week. Boo. BUT, I’m pretty excited to show you this fun little project so read on!
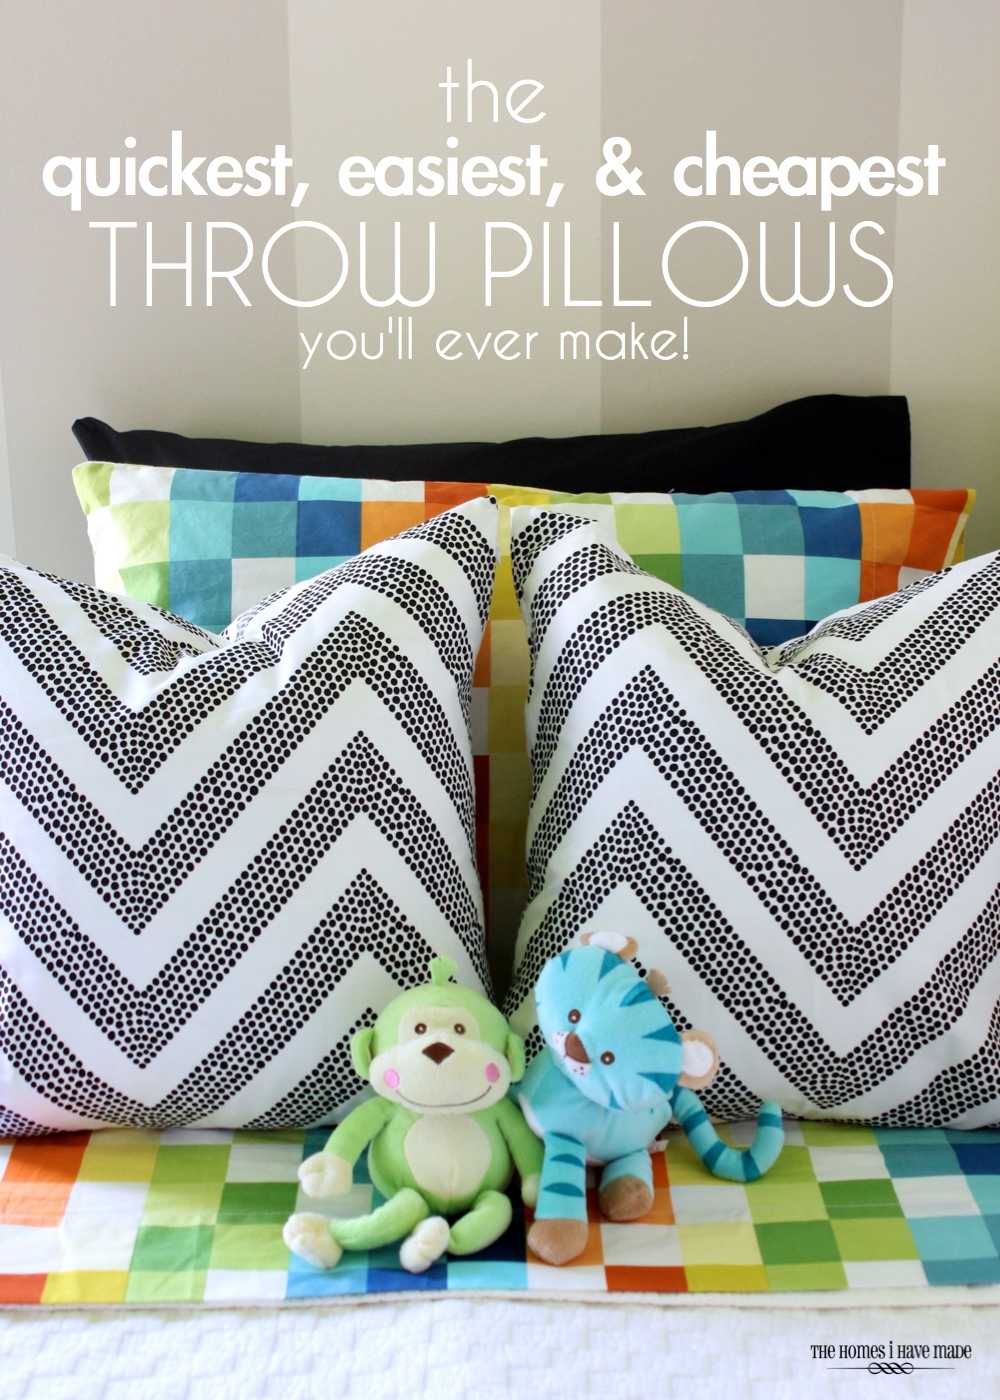
As I mentioned on Wednesday, I am roaring and ready to get started on my son’s bedroom makeover; and since the colder weather kept me inside the last few days, I was able to knock out the first little project. Let me show you how you too can make the Quickest, Easiest and Cheapest Throw Pillows EVER!
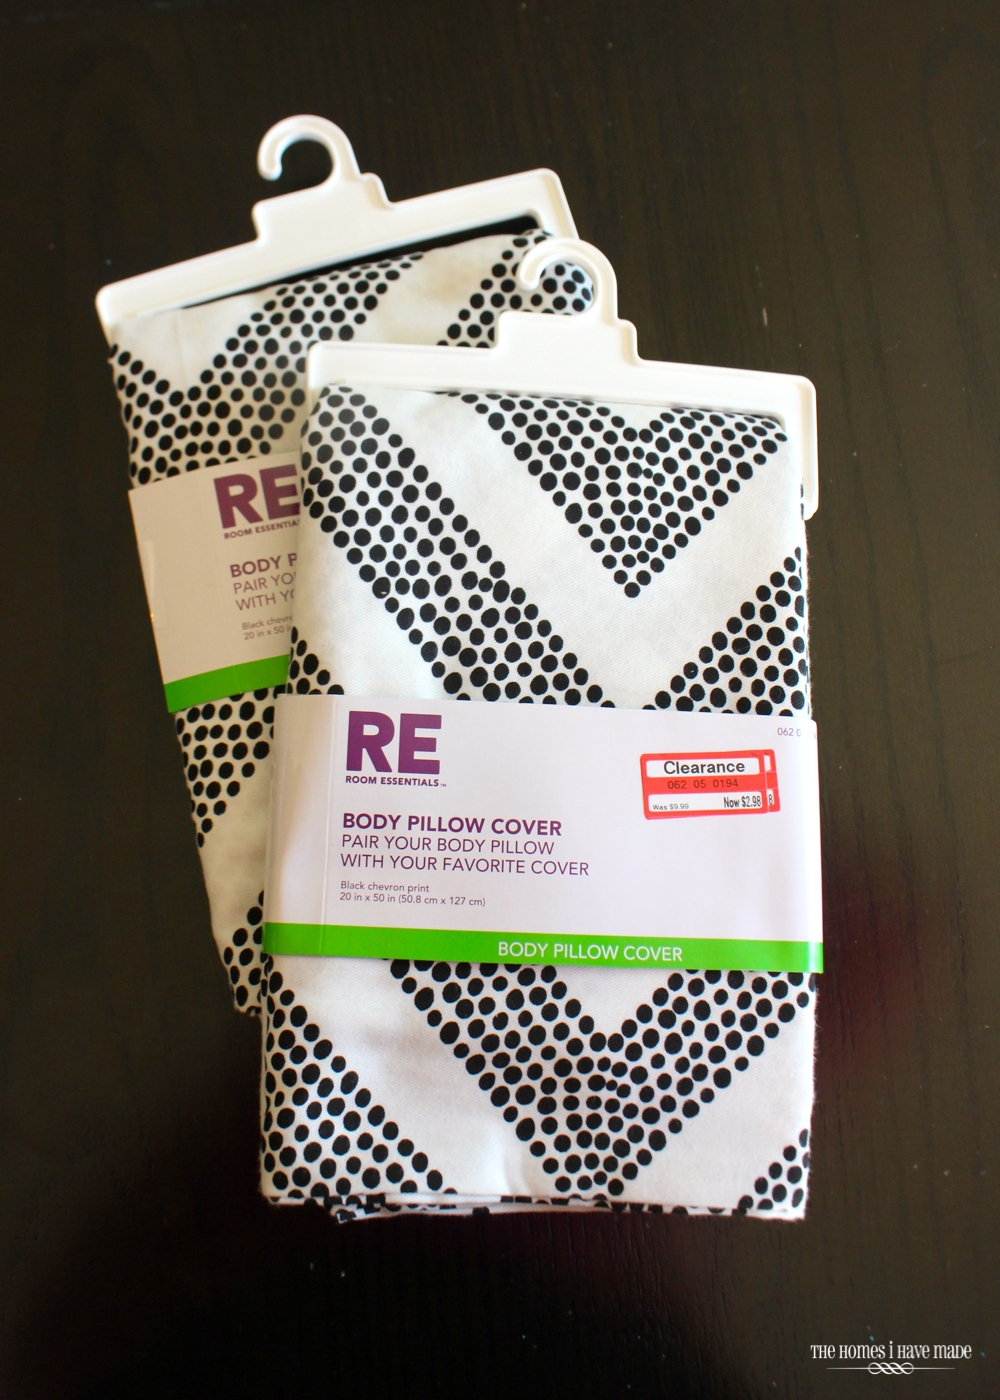
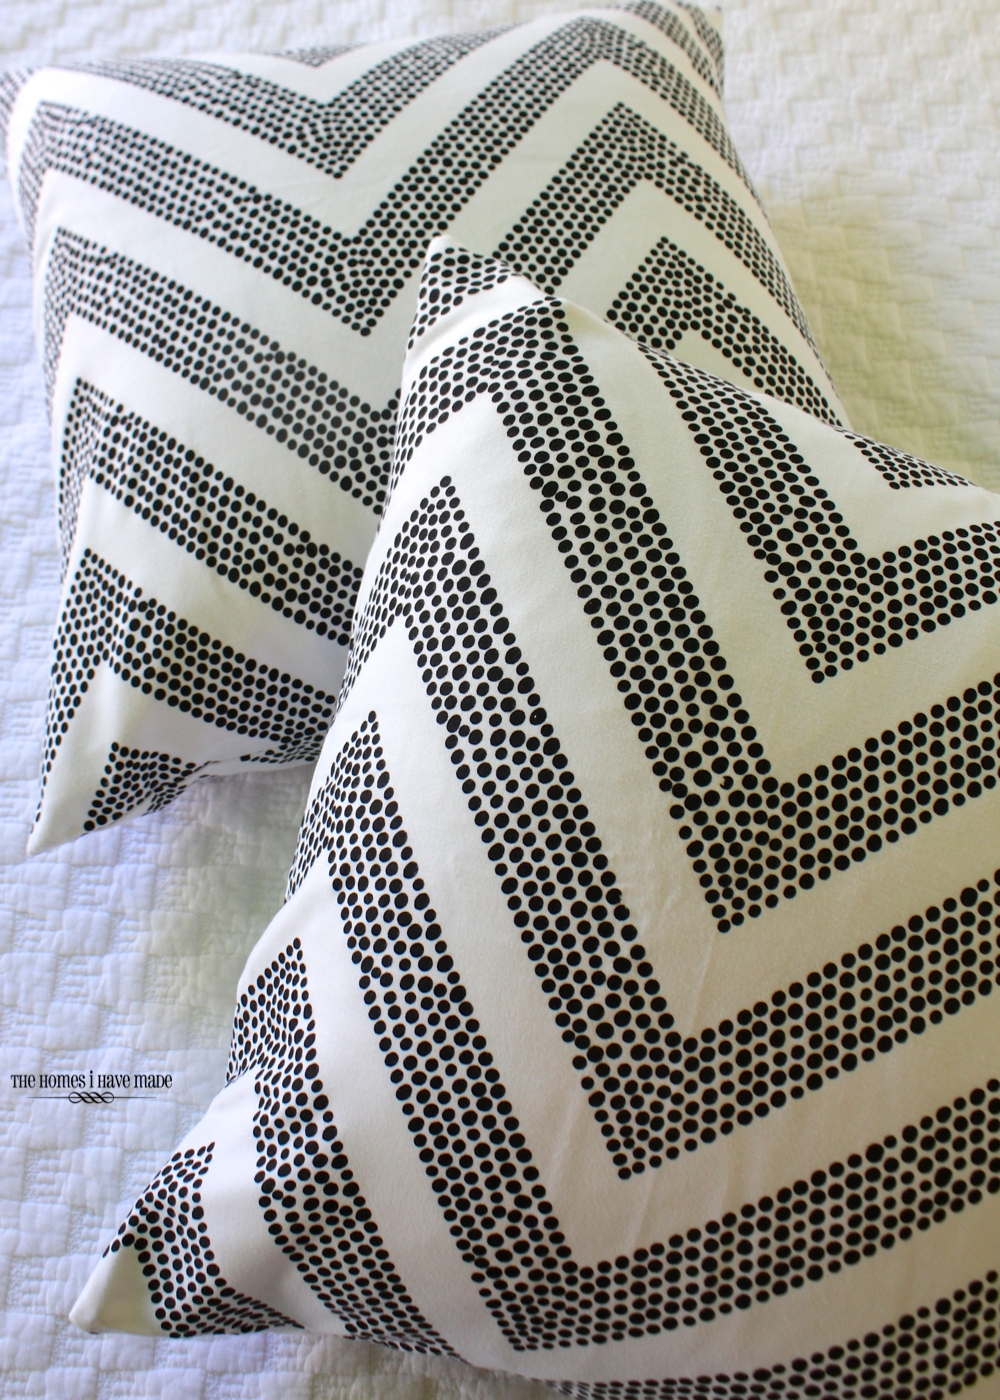
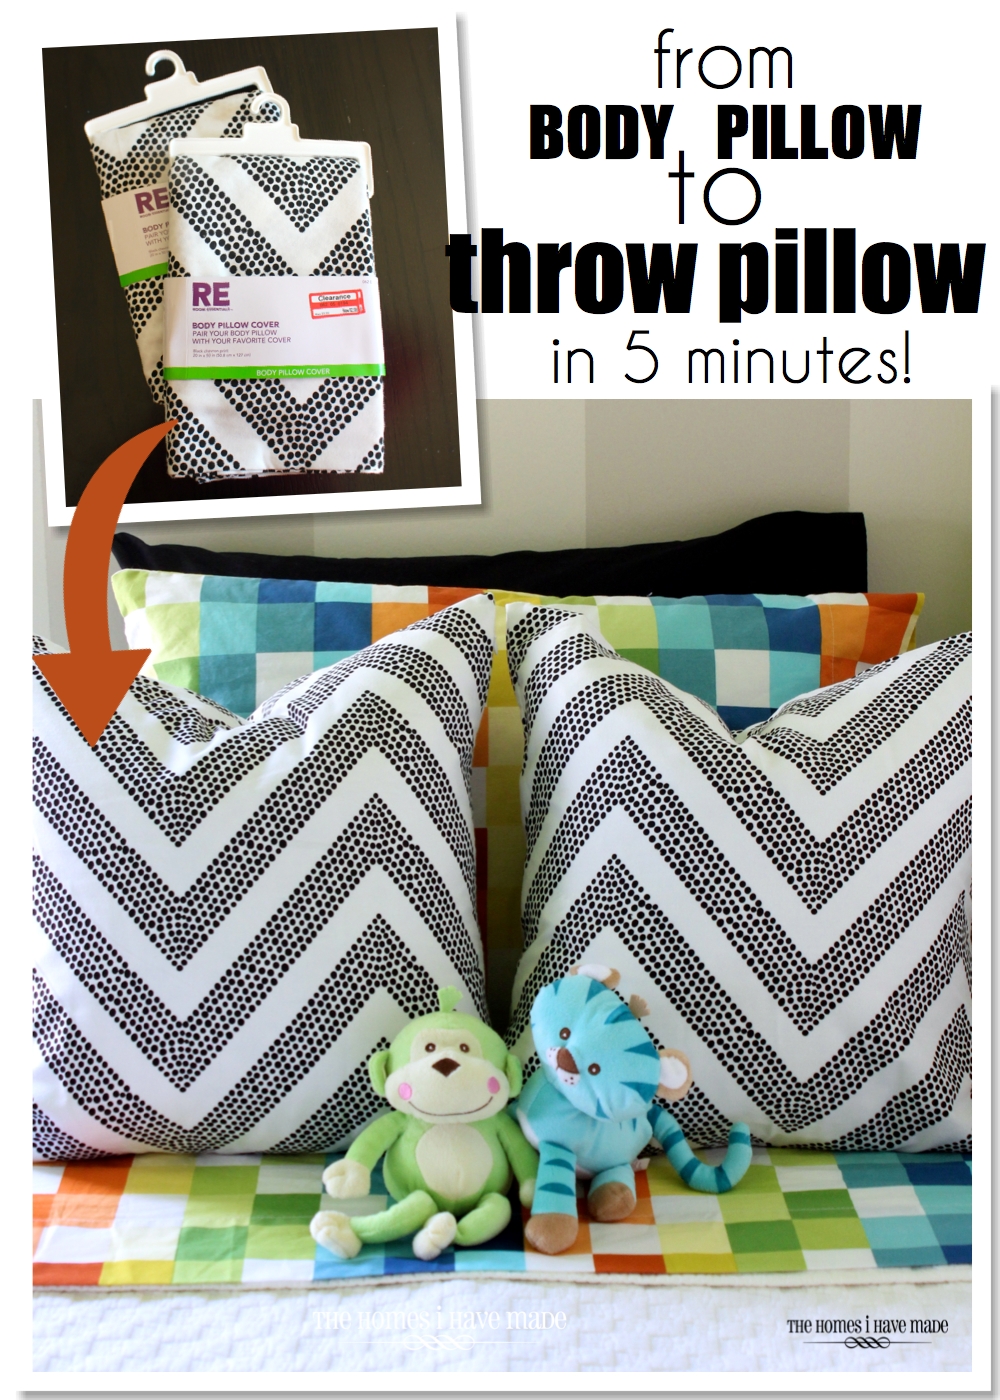
The funky dotted chevron pillows started with a great score at Target. Oh Target, how I love your End Caps, filled with goodies marked down to cheaper than cheap! For a few weeks in a row, I stared at these body pillow covers with the neat graphic chevron pattern and contemplated how I could incorporate them into our house. I mean, such a cool pattern, a zipper, and a great price – it was so hard to pass up. Yet I did…week after week after week.
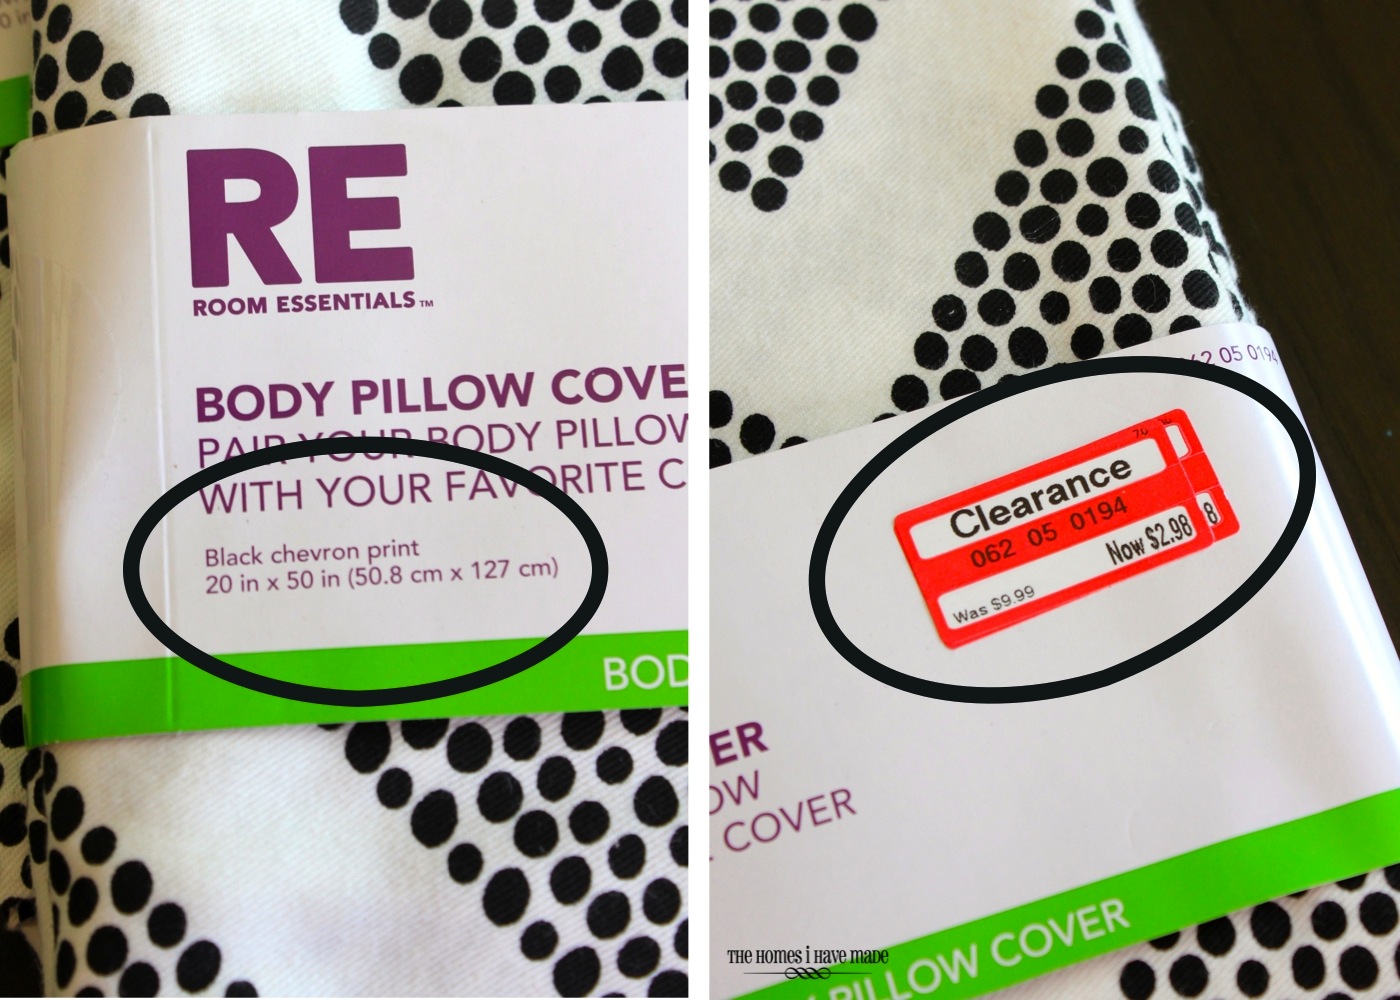
Then on my most recent Target trip, I noticed two things that caused me to (finally!) toss two of these babies into my cart. The first was the dimensions: 20″x50″. Math is certainly not my strong suit, but instantly I saw throw pillow dimensions (20″x20″) and pillowcase dimensions (20″x30″) in my head. The other tipping point? These were now marked down again from $6 to $3. A throw pillow cover and a pillow case for $3? Yes please!
I promise, these little throw pillow covers will take you mere minutes. Each one took me about 8ish minutes, only because I was stopping to snap photos AND I had a toddler barking up my leg.
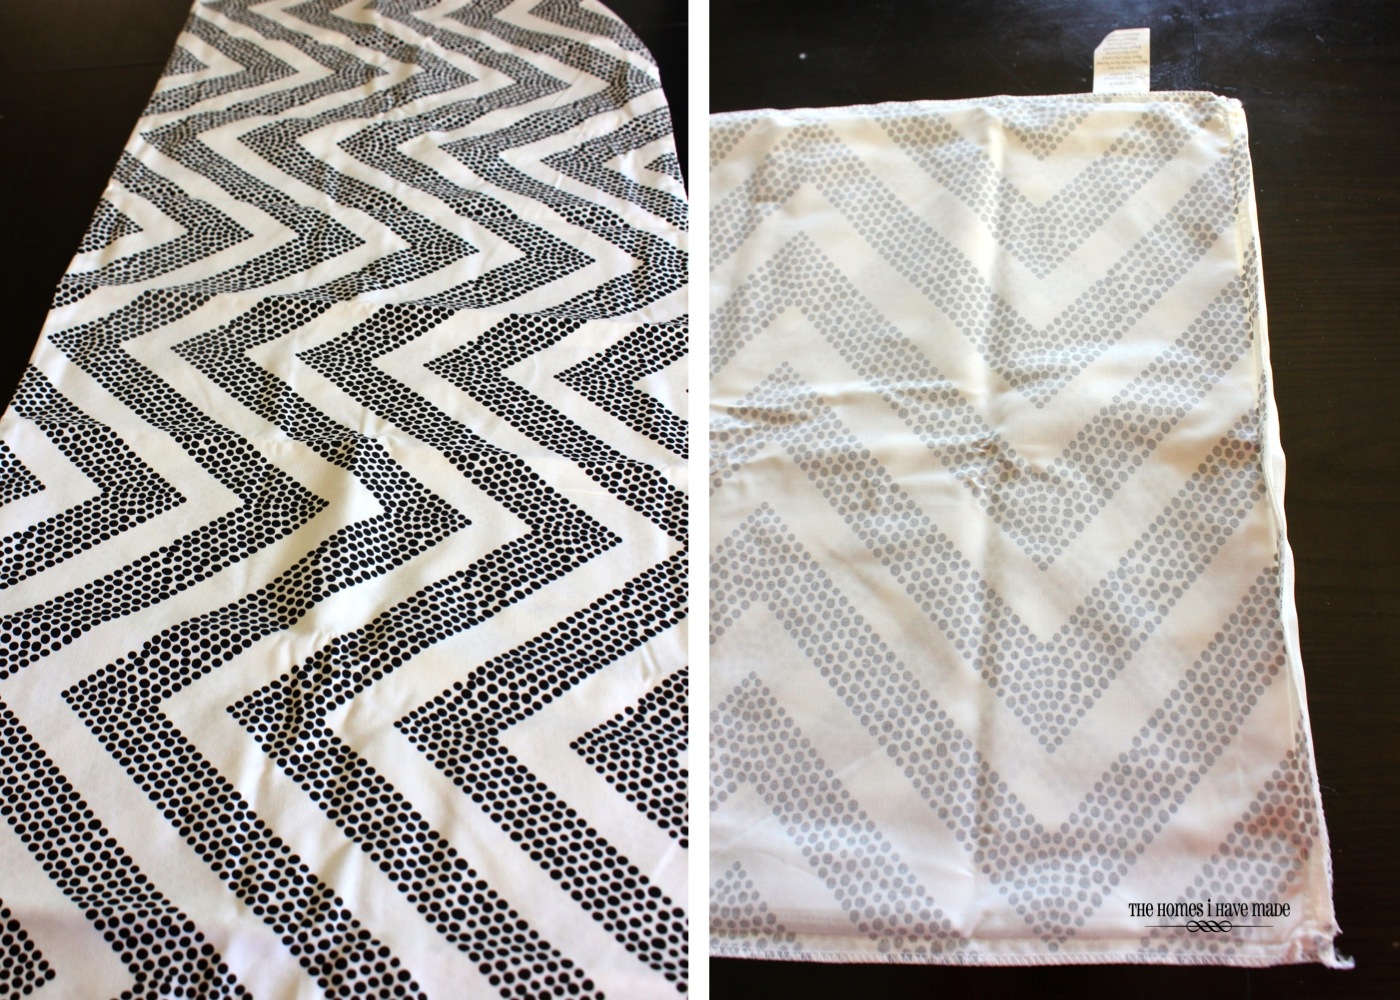
Start by unwrapping the pillow cover and identifying the end with the built-in invisible zipper. For the throw pillow, this is the end you want to use! Next, flip the entire body pillow case inside out and smooth flat. Keep the zipper open!
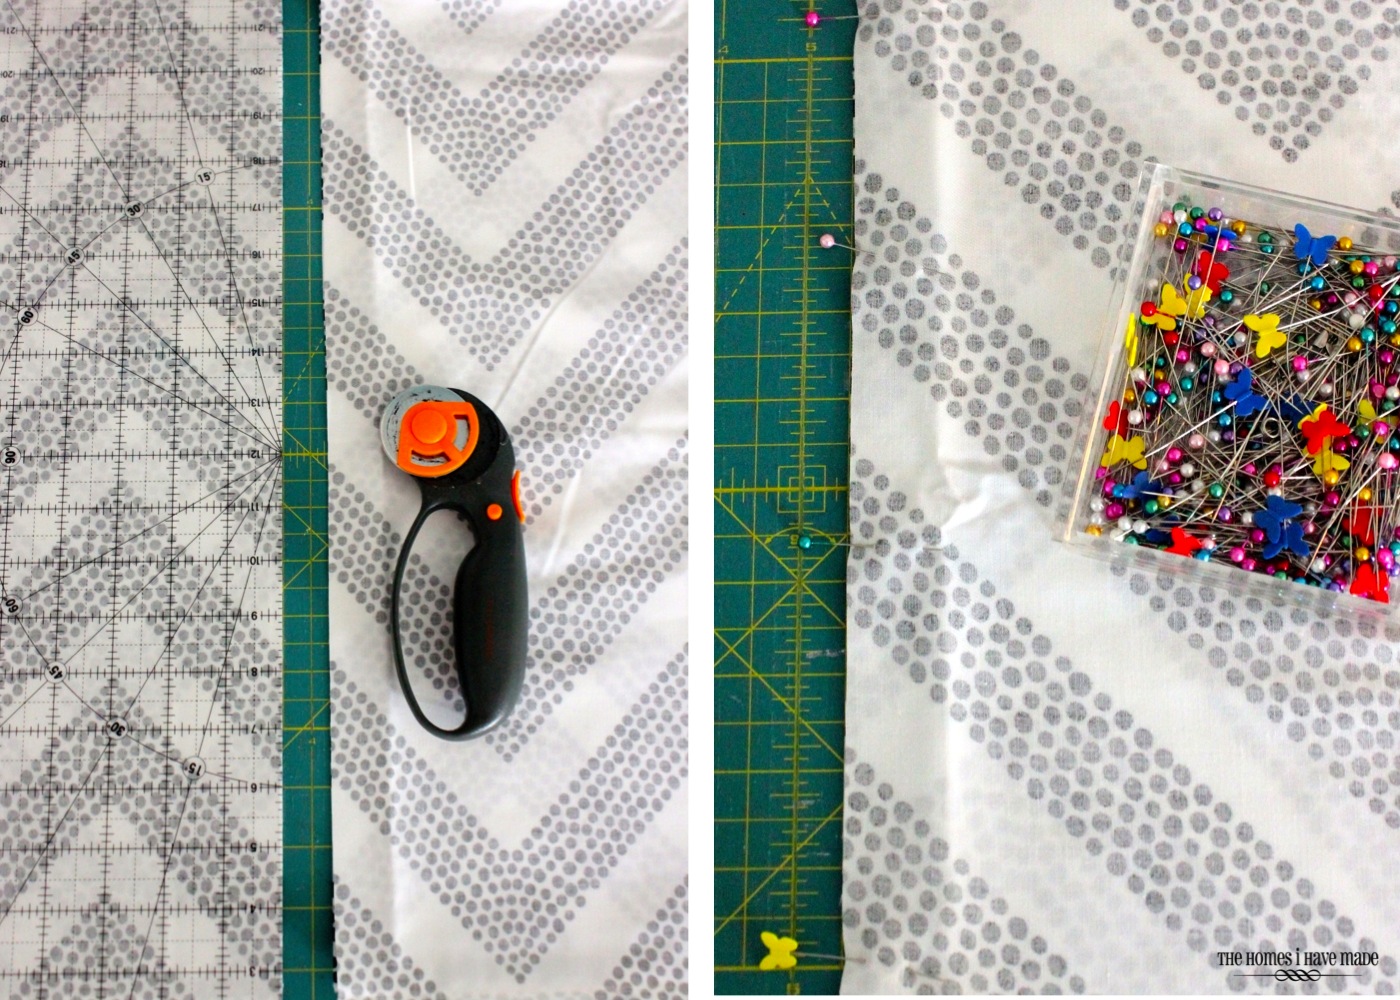
The body pillow measures 20″ tall when sewn and flipped right-side-out, but it actually has a 1/2″ seam allowance on each side (totaling 21″). To make the pillow a perfect square, I used my ruler and rotary cutter to cut my body pillow length down from 50″ to 21″. At this point you should have 1) a zipper side, 2) two sewn seams (top and bottom), and 3) an open seam (that you just cut). You don’t necessarily need to, but I pinned up the opening side I just cut with straight pins.
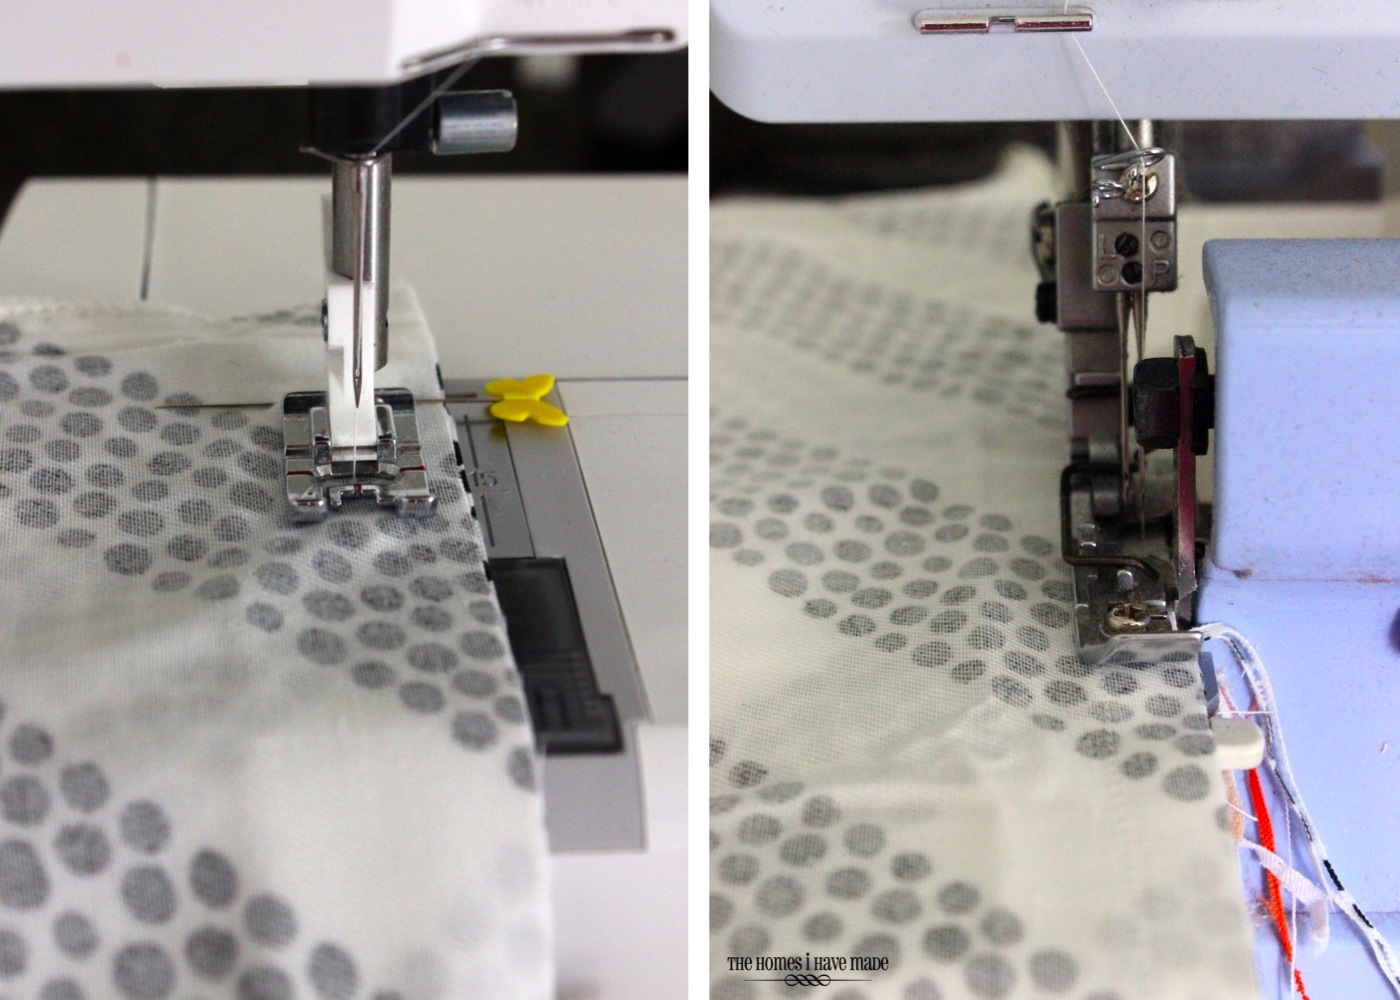
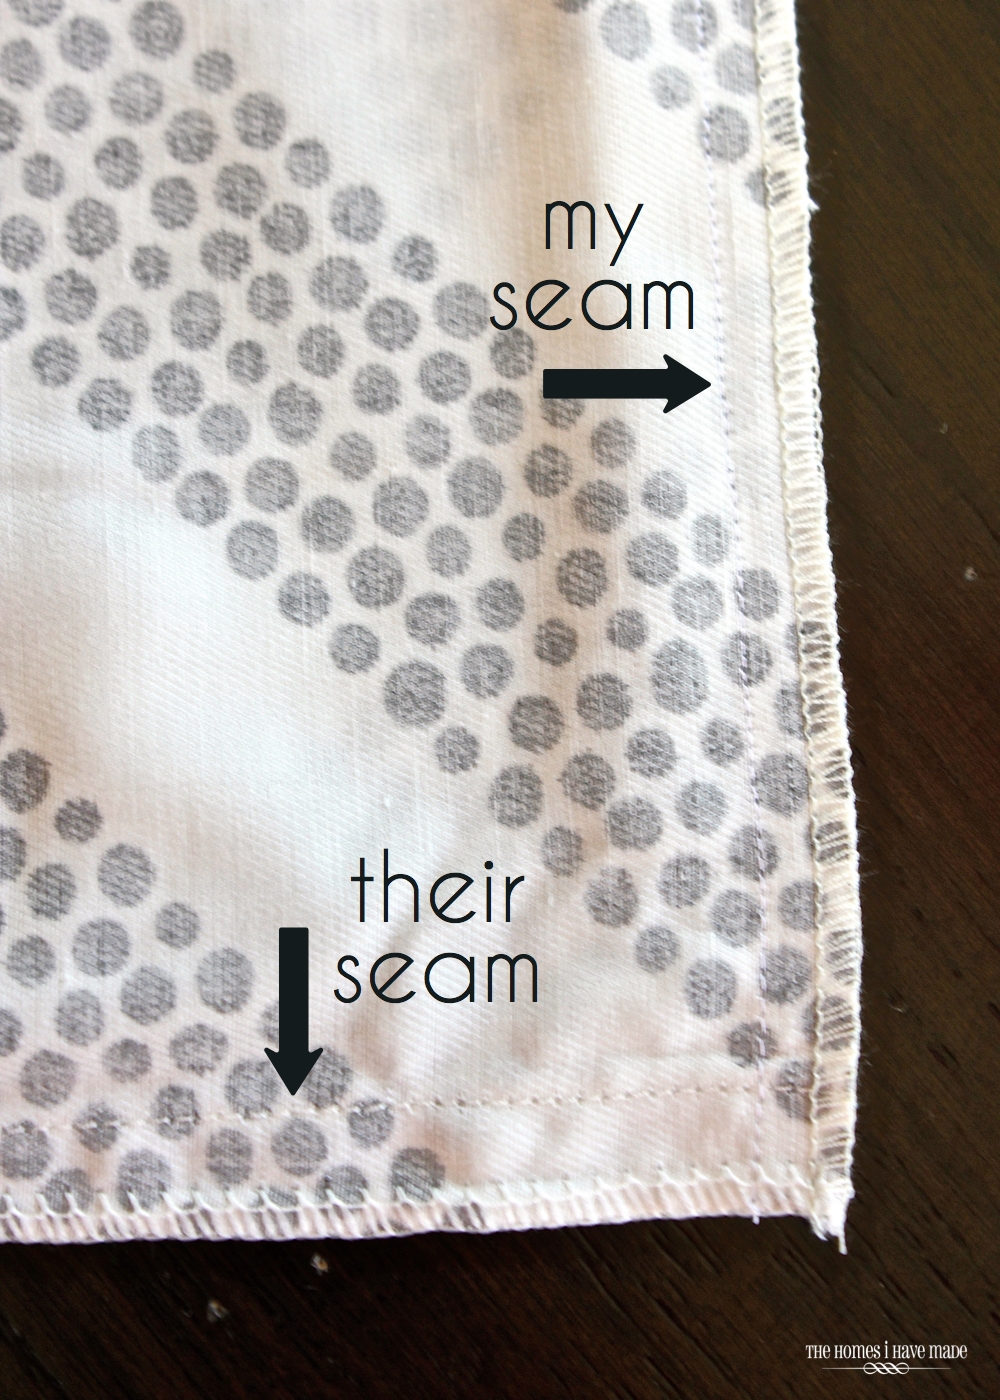
Then, to mimic the seam on the other edges, I first sewed a seam with my sewing machine at a 1/2″ seam allowance. I then followed up and cleaned up the raw edge with my serger.
Here you can see how I mimicked the seams already in place on the body pillow cover.
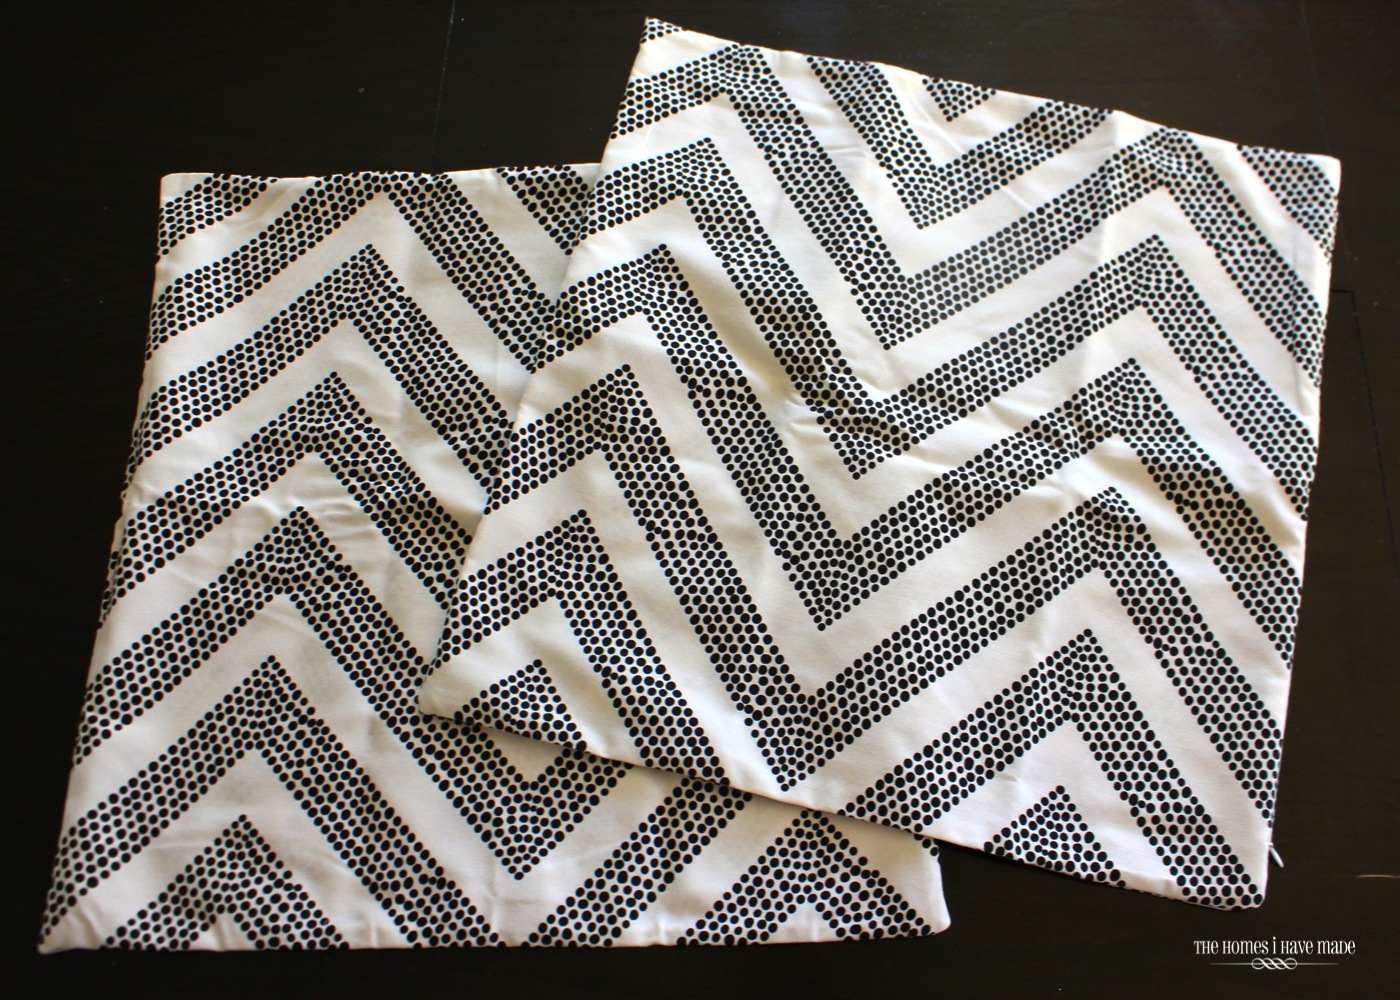
Flip your square right-side-out through the zipper, and you’re done! Yup, you read that right. One cut, one seam, flip and you’re done! (Note – the two throw pillows you see in the photos below were made using the zipper side of TWO separate body pillows).
Oh wait, one more step! Insert pillow forms, zip up, and fluff!
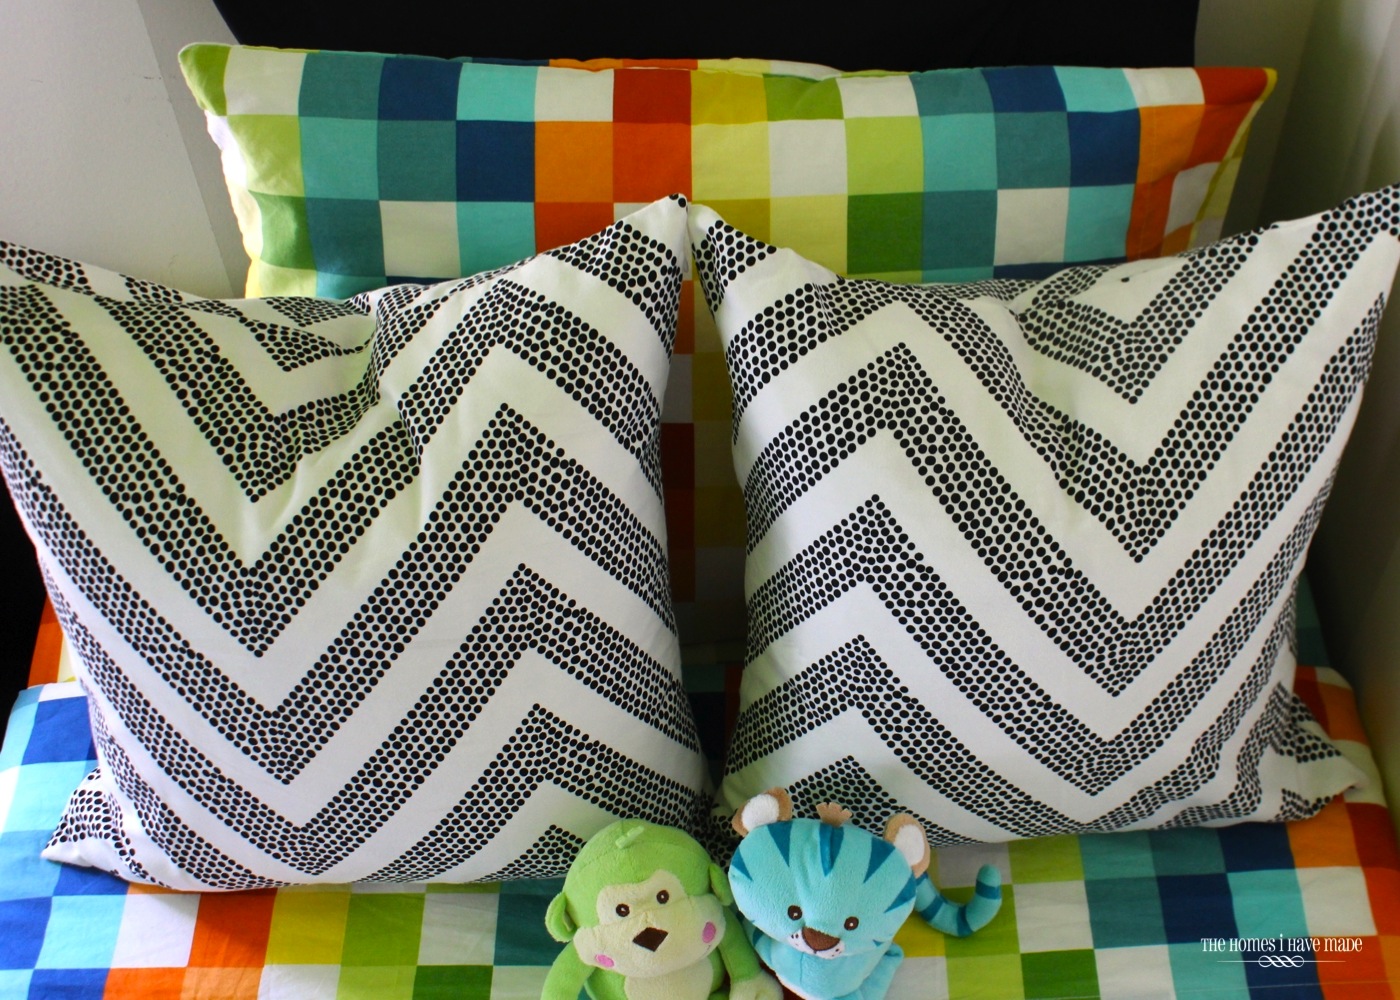
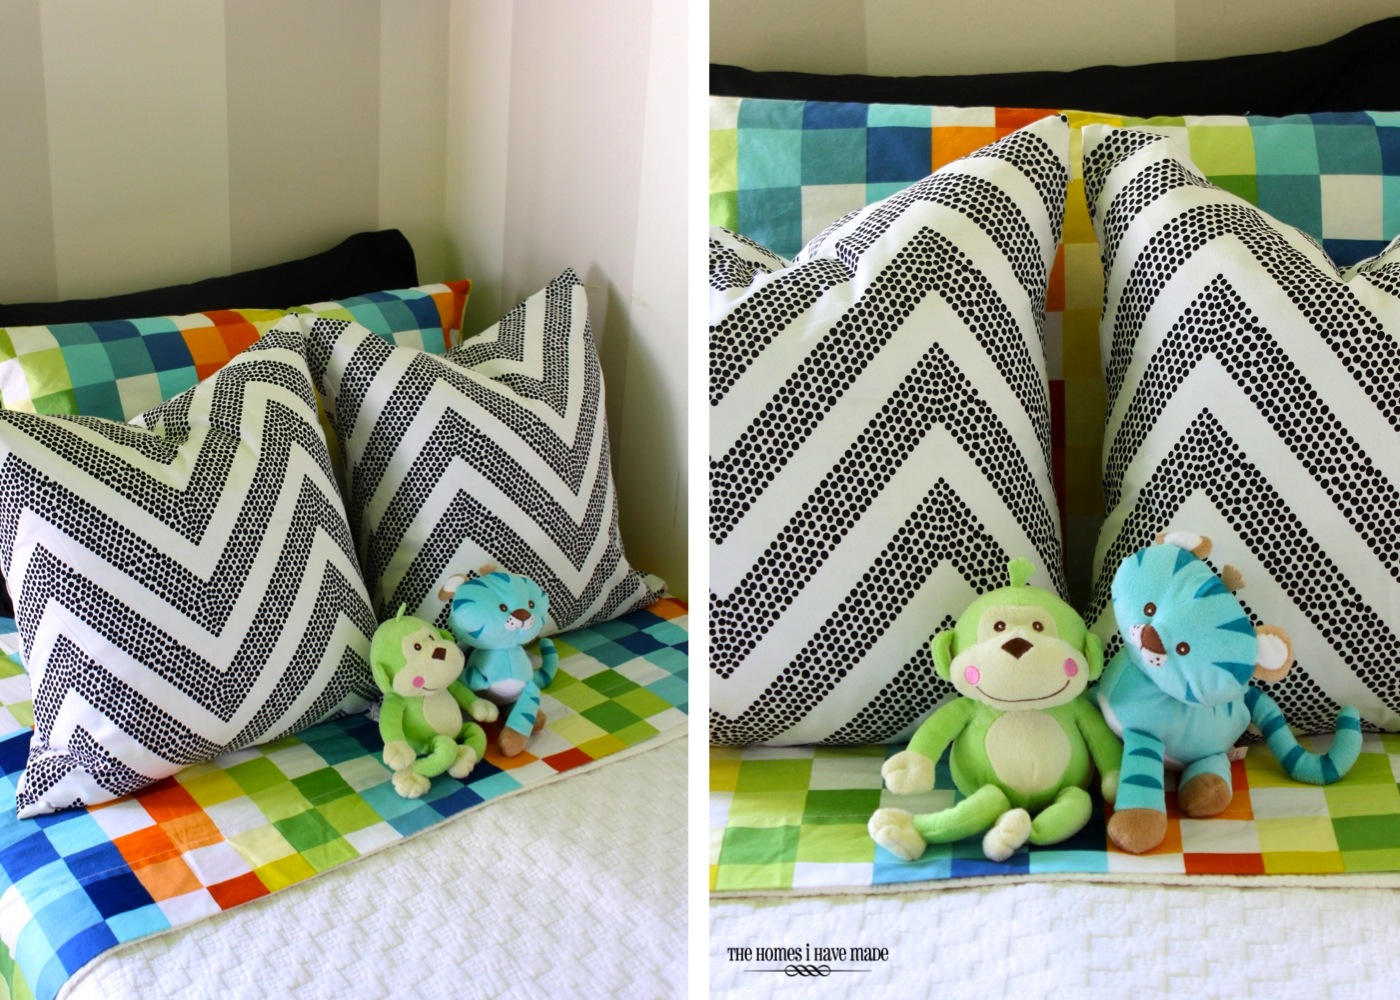
I have a super long way to go in this room, but I did drag the mattress and box spring down from the attic to start getting the little guy comfortable with it. With some fun sheets and a few cuddly friends, these pillows bring major impact to the room already…for only just a few dollars!
Not sure what makes me more happy…the graphic punch or the super sweet price tag?
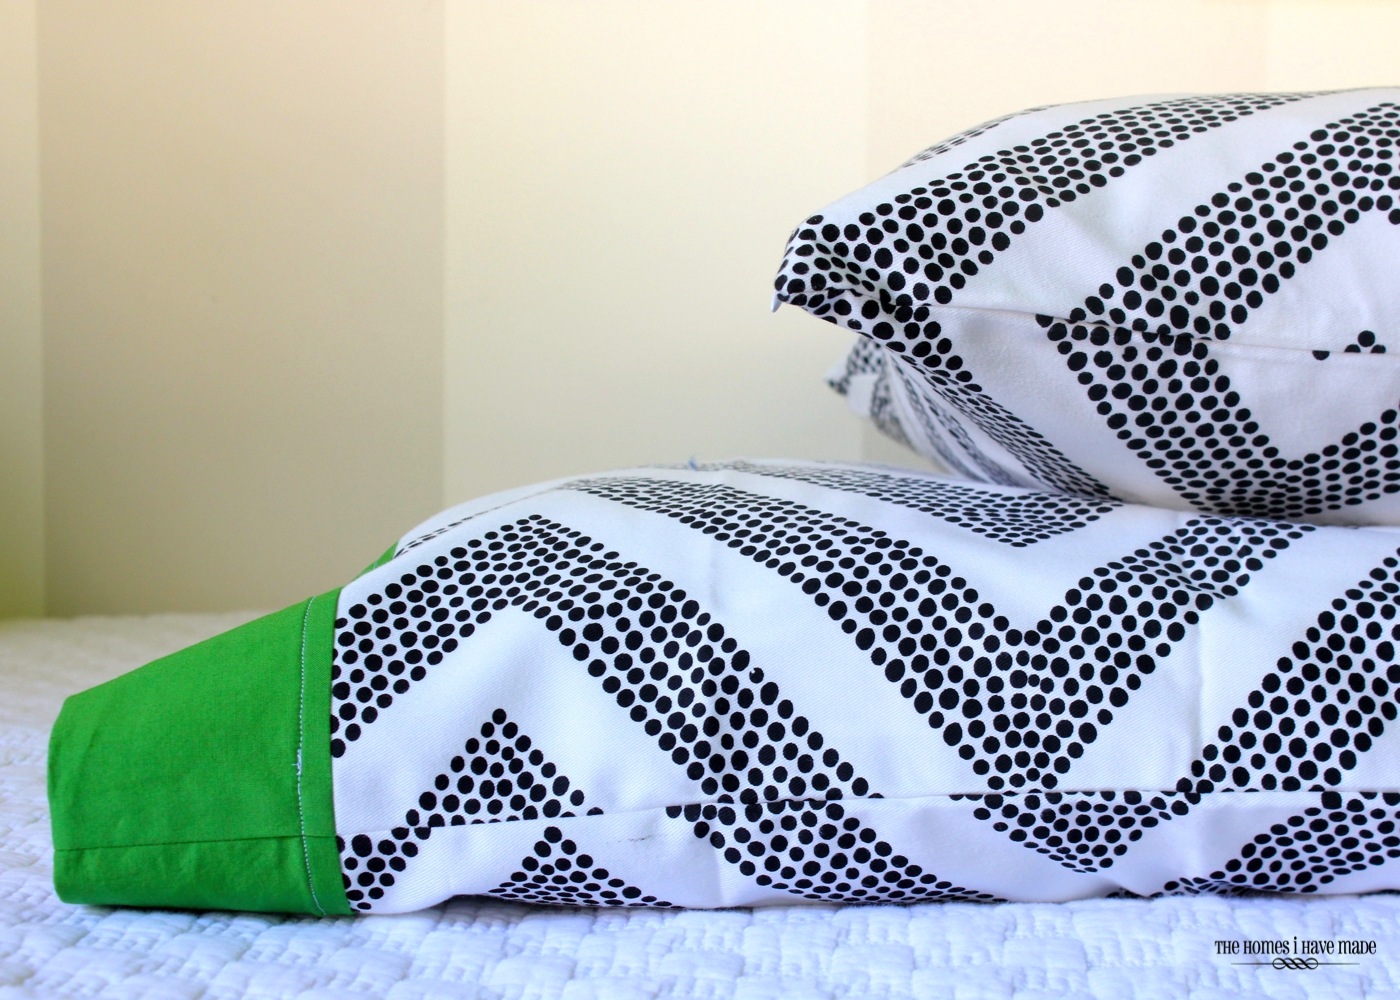
Okay, if you’ve been paying close attention, I used the zippered ends of two different body pillow covers to make two throw pillows. This left me with two 20X30″ sections of dotted chevron fabric. I put those to good use too. Here’s a peek!
I’ll show you how I made the coordinating pillow cases next week. Their pretty easy too, but have a few more steps! 🙂 For now, maybe take a new look at the body pillow covers you have around the house…or go check out the ones at Target – they have some neat ones on clearance right now! (PS – this is not a sponsored post for Target, I just love me a good deal and a good project!)
I hope you all have a great weekend. I’ll be at my sewing machine for much of mine, and I can’t wait!
Megan





9 Comments on “The Quickest, Easiest and Cheapest Throw Pillows You’ll Ever Make!”
Love your vision for this room. Wonderful use of body pillow covers! Never would have thought to combine the sheets with black and white print, but the combo is just divine! Where did you find the sheets? Lucky little boy!
Thank you so much! I LOVE these sheets, there were part of my jumping off point for the whole room. You can find them at Target! (Circo Boys Bedding).
I love projects with clever fabric sources like this. What a great price, (and super quick) for such cute results!!
What a great DIY! I had seen those marked-down body pillow covers too and was really attracted to the fabric- but I didn’t know what I would do with them, so I left them on the shelf- maybe I’ll go see if there are any left… this reminds me a little of a “Target-end-cap” makeover I did with a Watermelon dishtowel (http://bexbeltran.com/2013/10/09/dishtowel-makeover-watermelon-treat-bags/)
Love these! What a great idea to use the body pillows like that. I have a question about your serger…I've been sewing for forty years (even professionally) but have never used a serger. I don't mind investing in one and learning to use it but have no idea what to look for. Any suggestions on what to look for, brands/models, etc.? If I ask at the store, they have a bit of a bias or agenda, so I'm not sure I'm getting an objective suggestion! 🙂
Super cute!! How easy. Thanks for the tutorial and great idea!
These pillows look great, Megan! Those shower curtains were such a lucky find! 🙂
Great idea! I love the pattern!
Pingback: 23 DIY Sewing Projects for Beginners – Family-Friendly Sewing Ideas