Glam Blue & Gold Nightstand
Heelllooo, everyone! I hope you’re having a fabulous start to your week. Thanks so much to all of you who left nice comments on my simple pillow project last Friday. I love simple little projects like that one, and it makes me so happy to see it so well received! Anyway, as promised last week, I am back today with a furniture reveal. It’s been a while since I’ve done one of these, so let’s get to it!
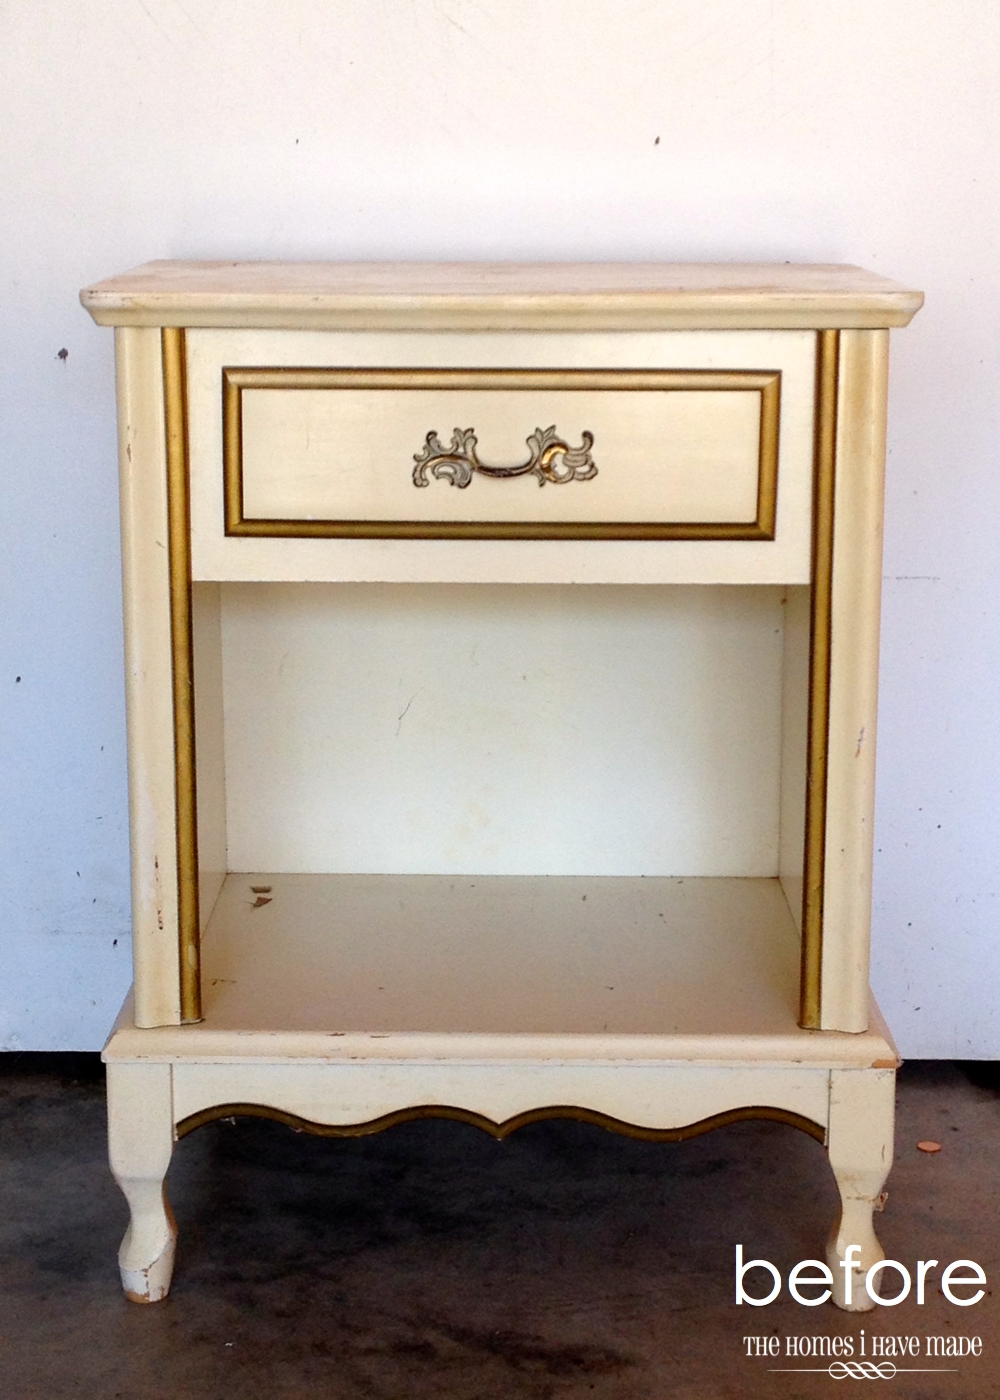
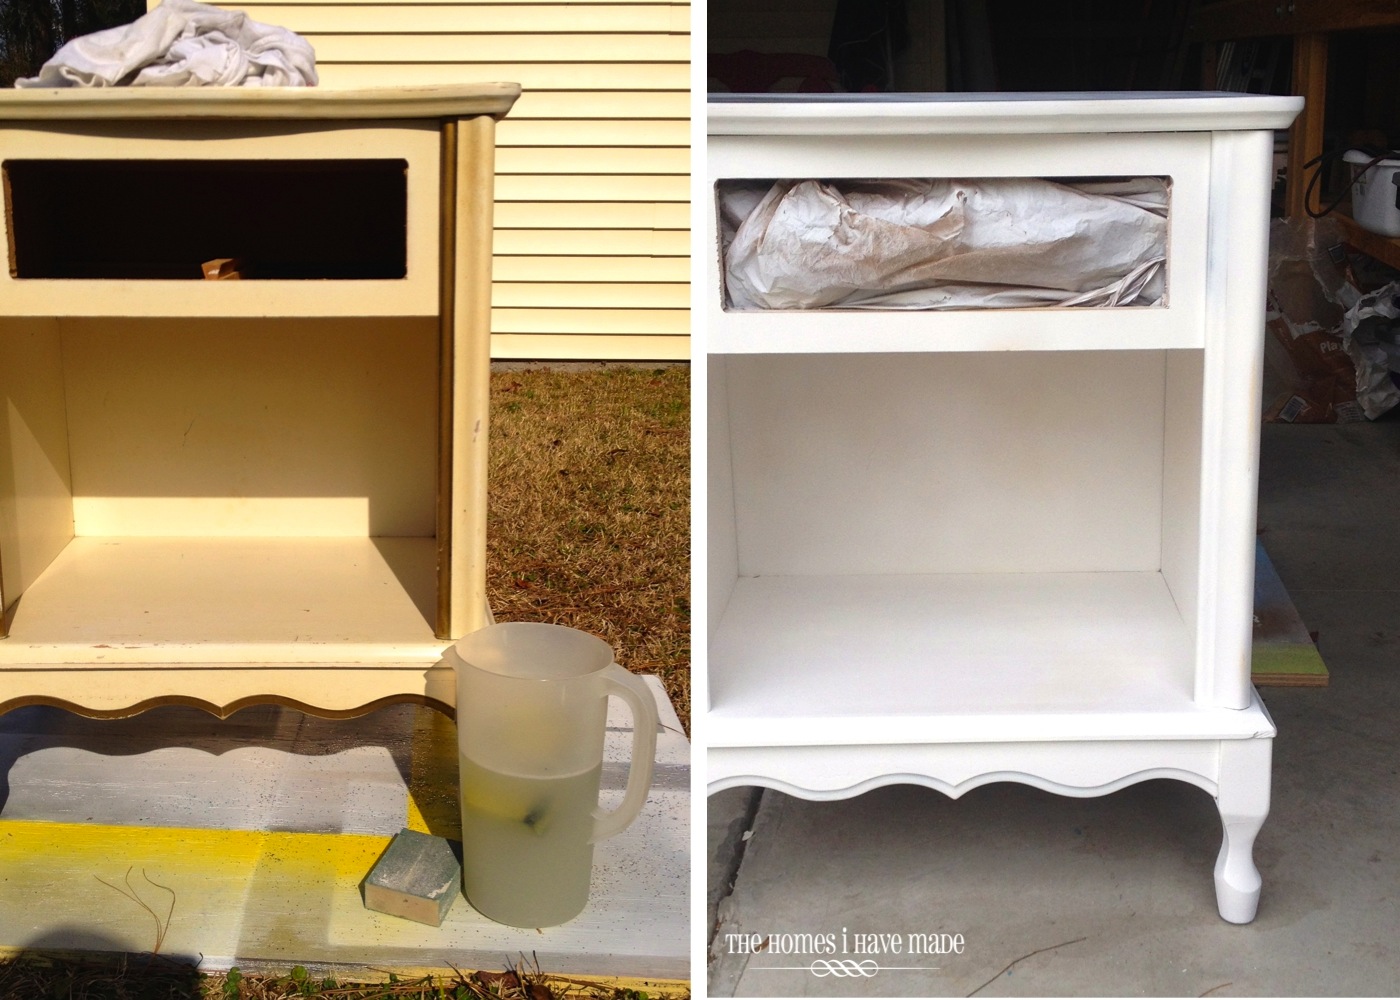
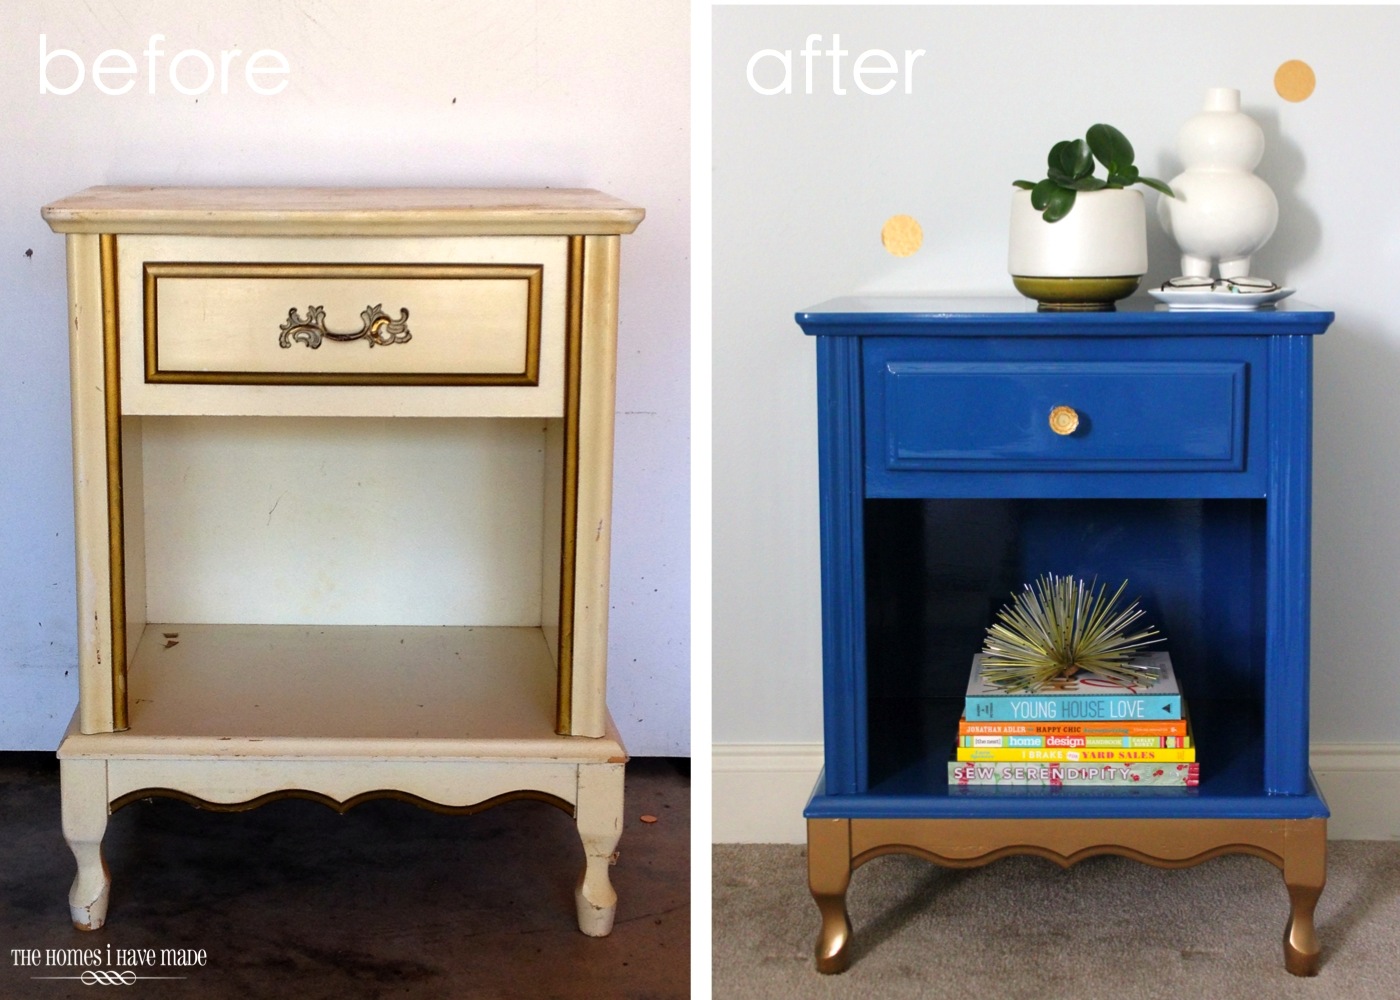
When I craft/DIY, I get specific “urges.” For example, “I really really want to sew,” so I find a project and some fabric and put in some time at the sewing machine. And then after a while, that urge is satisfied, and I move on to a new one. Well, for the past few weeks, I have been so darn antsy to find my way back out to the garage to paint some furniture. Not sure why, but I was hankering to hold a paintbrush in my hand and work on a great transformation. Well, the weather finally cooperated over the last week or so, and I was able to breath some new life into a piece that has been sitting in my garage for over a year. Take a look at her before I got started!
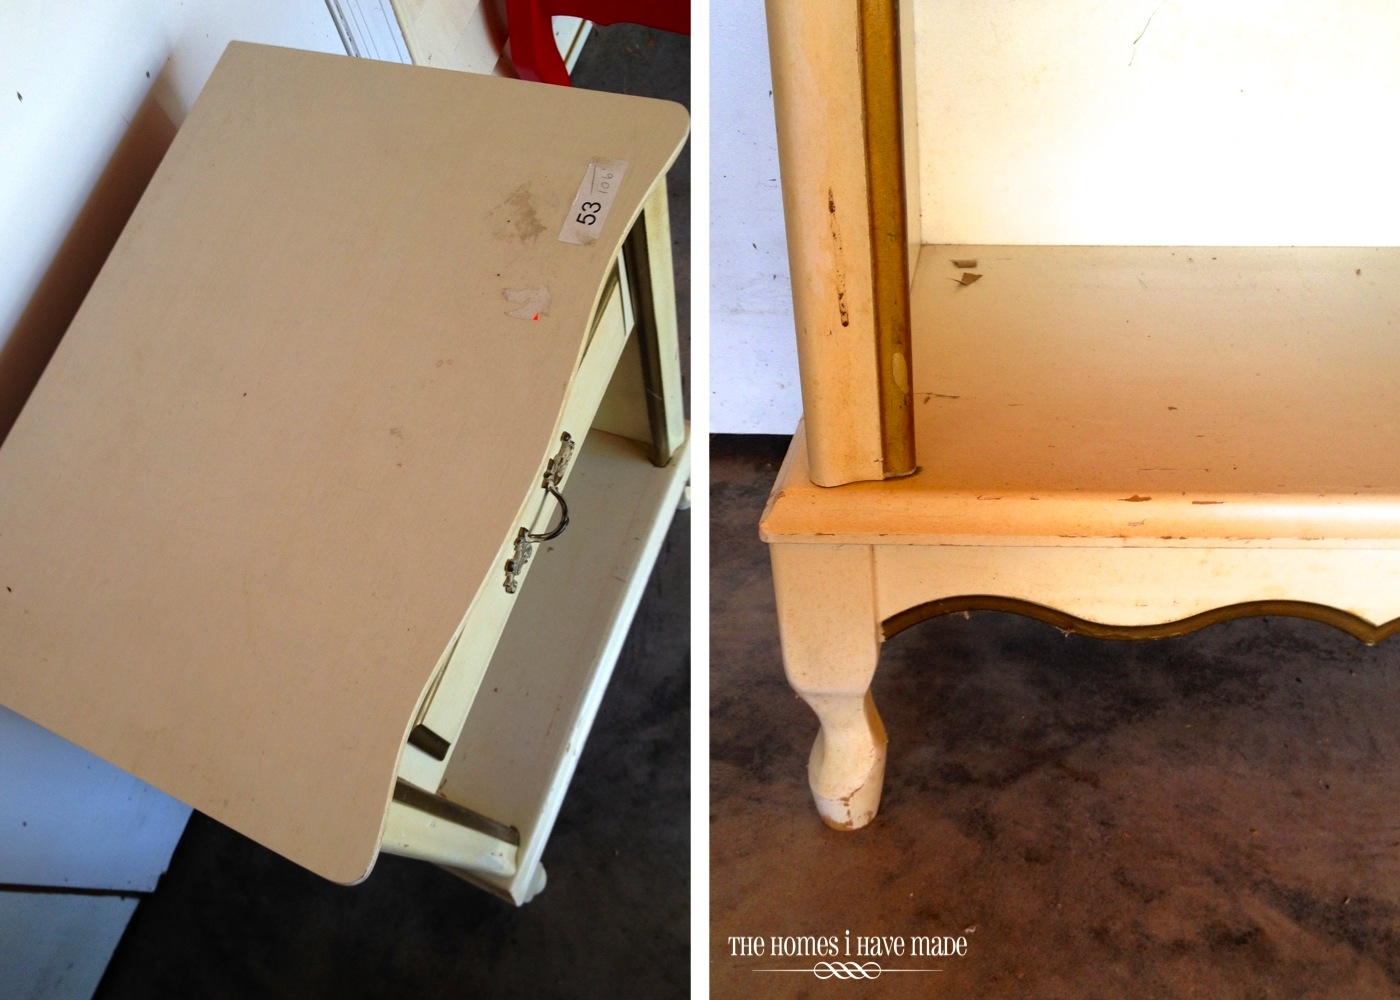
Yikes, right? So let me tell you about this lonely little nightstand. I bought her when I bought our small French Provincial dresser, thinking they would work together as side tables in our Master Bedroom. As I detailed in this post, I quickly realized they couldn’t play nice in the same room; and since I really didn’t care for this piece anyway, it got sent out to time out the garage. I think I paid about $50 for her (way too much, I know!) and she was in such bad shape. As time went on, I realized I really had no love for her in my heart, so I very recently moved her to the garage sale pile.
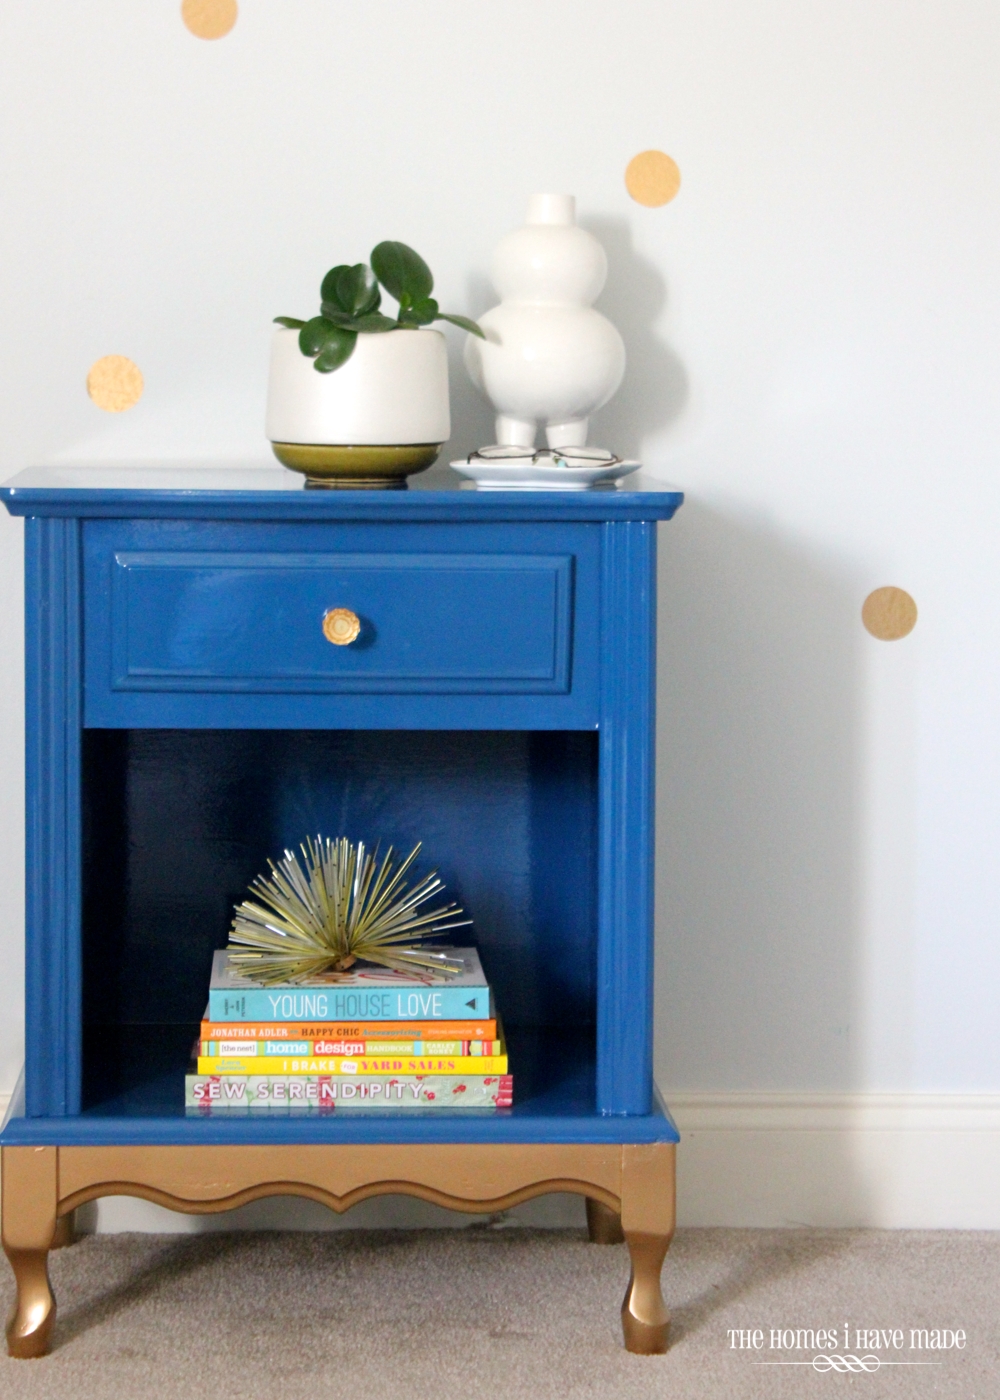
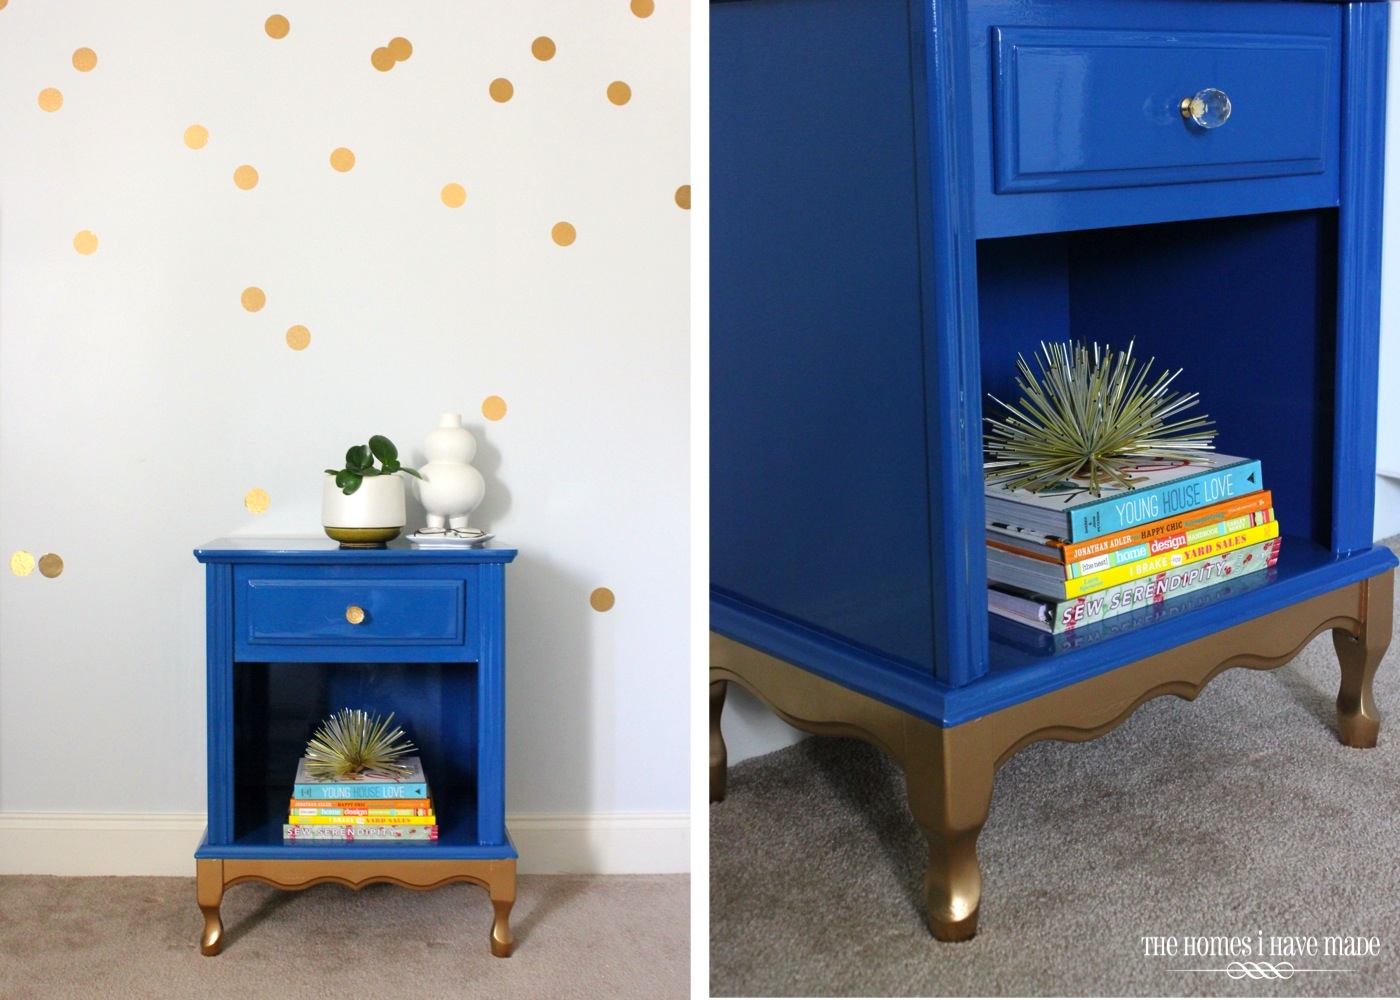
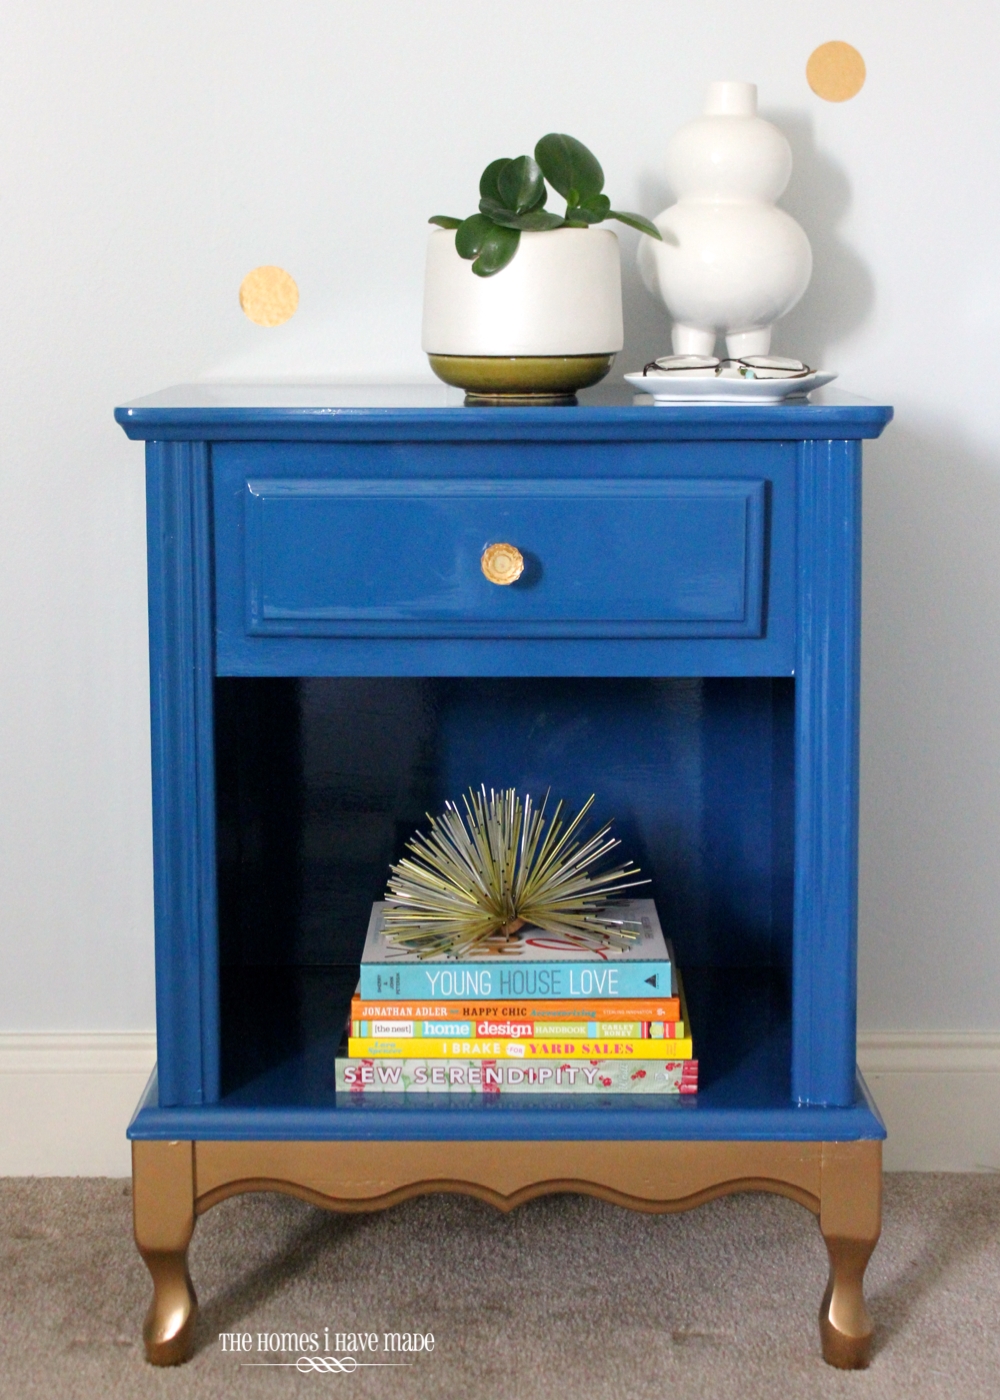
Then the paint scratch started to itch…and since most of the furniture inside my house is done, I looked through the garage and saw her sitting in the corner, all ugly and alone. One thing I have been really wanting to try is oil-based paint, and this seemed like the perfect candidate. I’ve never worked with oil-based paint before, so if it was a train-wreck, she’d go back in the garage sale pile. Well, I’m pretty sure she’s not a train wreck! Take a look….
Oooo la la, right? She turned out so glam and snazzy, if I do say so myself. I kinda want to keep her. Too bad I don’t have a single place to put her in our house. Ho hum.
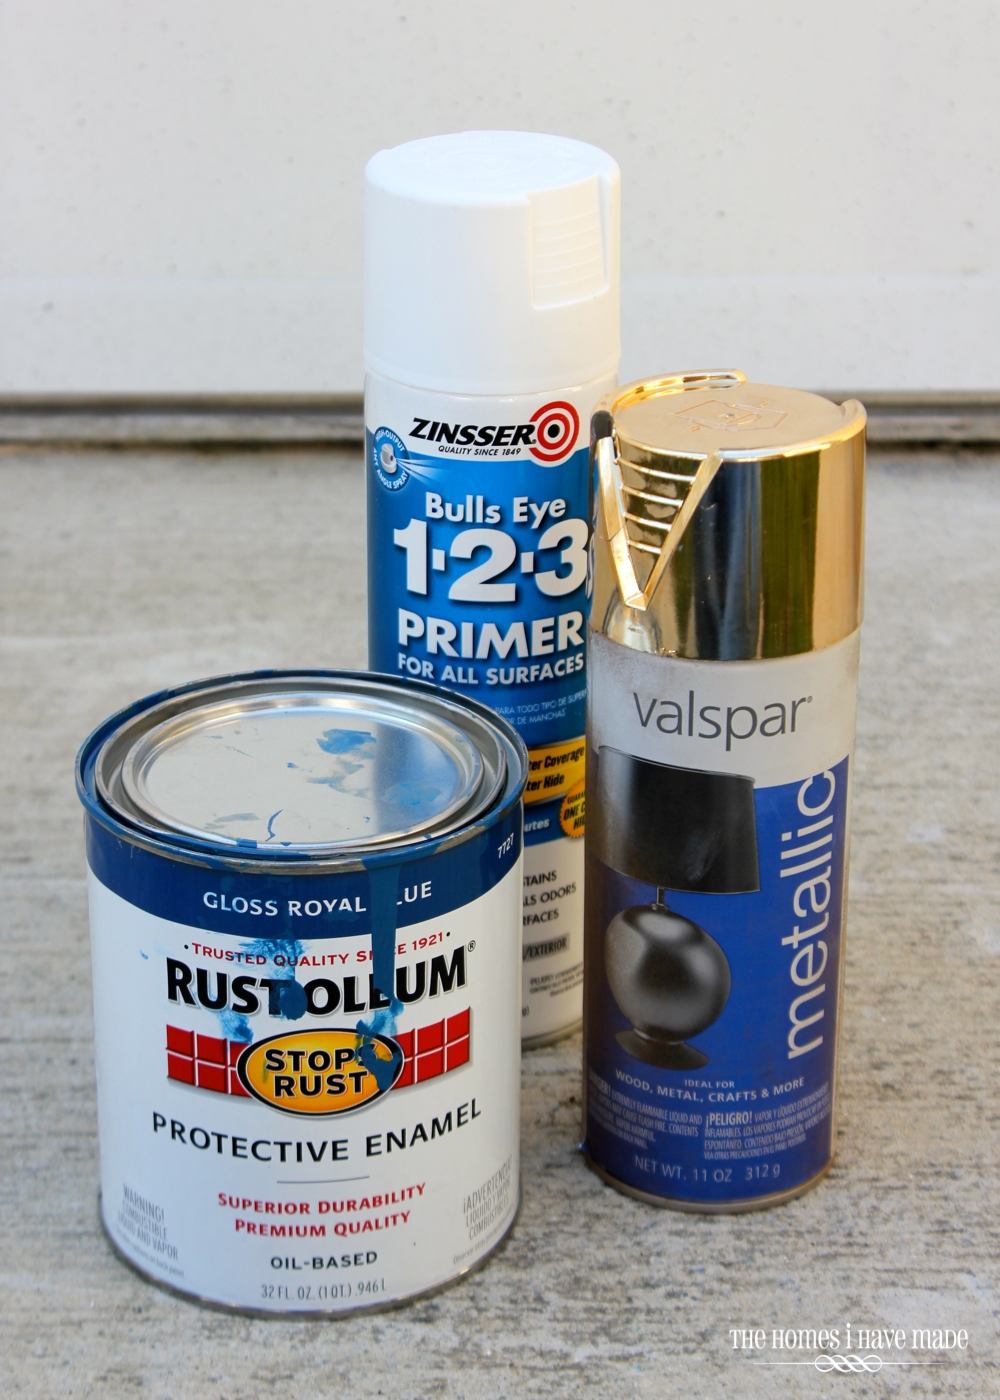
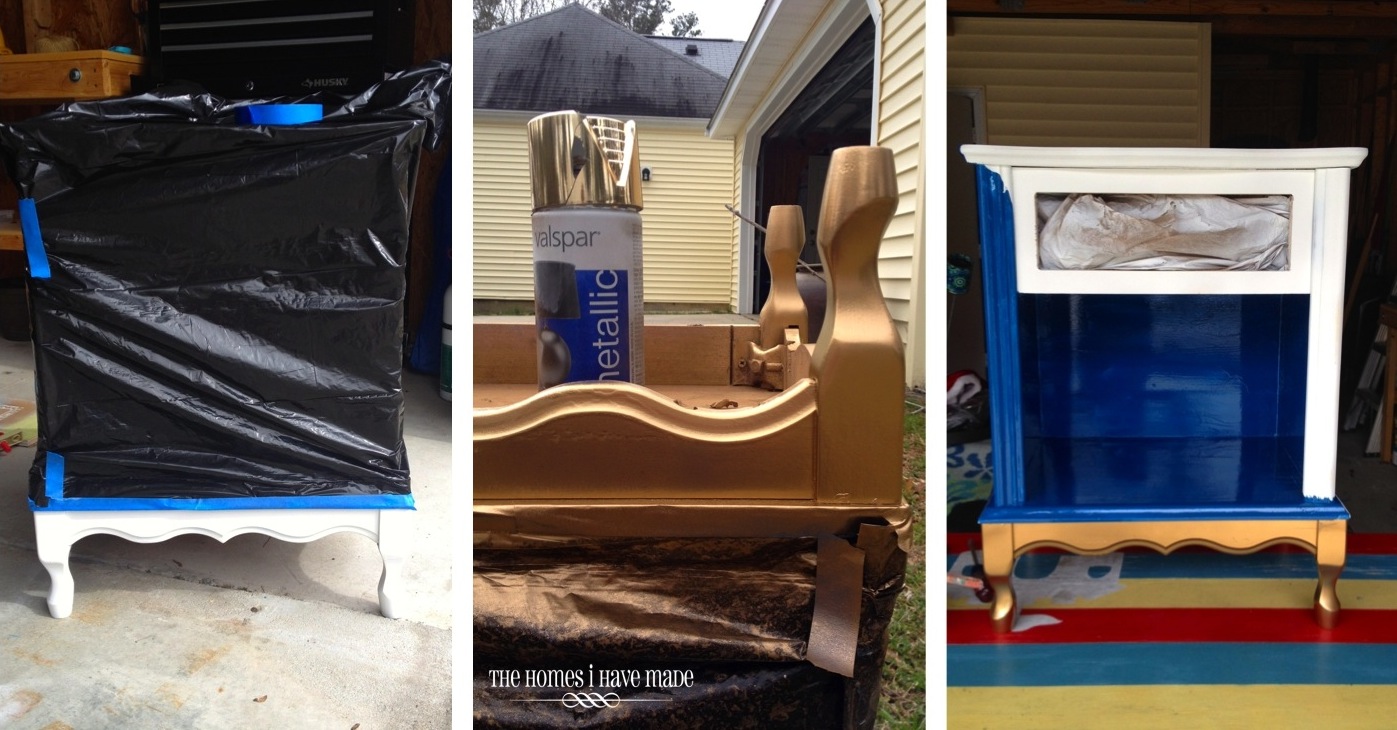
My three weapons of choice this time around were Zinnser 123 Spray Primer, Vaslpar Metallic Gold Spray Paint, and Rustoleum Glossy Royal Blue Oil-Based Enamel.
I started by giving the entire nightstand a good scrub down with soap and water. This thing was yucky, so it took some good scrubbing, as well as a few treatments with Gu-Gone to get her all clean. Next, I primed the entire nightstand and drawer with spray primer. Since I was using spray paint, I wanted to tackle the feet first. I covered the entire nightstand (except for the feet) with black trash bags and taped around the edge. I then flipped the nightstand over and gave it two good coats of the gold spray paint, with adequate dry time in between. Lastly, I gave the nightstand 3 coats of the oil-based blue paint, with over 24 hours of dry time in between.
Working with an oil-based paint was such a different experience than water-based paint. Besides the clean up (which, by using mineral spirits, didn’t really bother me) and the stink (well, the stink is pretty bad!), issues like really long dry time, dripping – oh the drips!, magnified imperfections (thank you high gloss paint!), and dust (akkk!) were real challenges I wasn’t anticipating. While you look at some pretty end-result pictures, I’ll share a bit of what I learned!
I didn’t do much research before I got started (I’m much more of a experiential learner!), so I was really surprised at how long the oil-based paint took to dry. After applying a coat, don’t even expect to touch this piece for a good 6-8 hours and you can’t re-coat for about another 24. This alone made my 2-day project a 5-day project! So much for a quick makeover!
What this does mean, though, is that this paint levels really, really nicely, leaving you with a nice, thick, level coat of paint that seems lacquer-like. If you don’t over brush when you apply it (like I did, unfortunately, in certain areas), you won’t have any brush strokes but instead a beautiful, clean, hard finish. I am so in love with the high-gloss smooth look, but man, it seemed very temperamental (that’s probably just my inexperience with the paint!). Because of the slow dry time, drips, dust, bugs (yes, flies!), and other things can land in the paint ruining your perfectly smooth finish. One great benefit, the paint sanded right off very easily, allowing me to fix the bumpy/dirty/buggy finish without too much trouble!
Another thing is that a high-gloss paint or finish will amplify any imperfection in the furniture – so all those dings and dents I chose not to fill are super obvious now. Bummer. Since this was pretty much a practice/hobby piece, I’m not too bothered by it – but now I know for next time to really spend time filling cracks and sanding imperfections so that my final result is flawless! I do really love that the high-gloss finish is so durable that I don’t need to add a final protective coat. With only one day of cure time, the finish already feels and seems pretty indestructible; and I’m pretty sure with a few more days, this beauty will probably never have chipped paint. I’ll keep you posted!
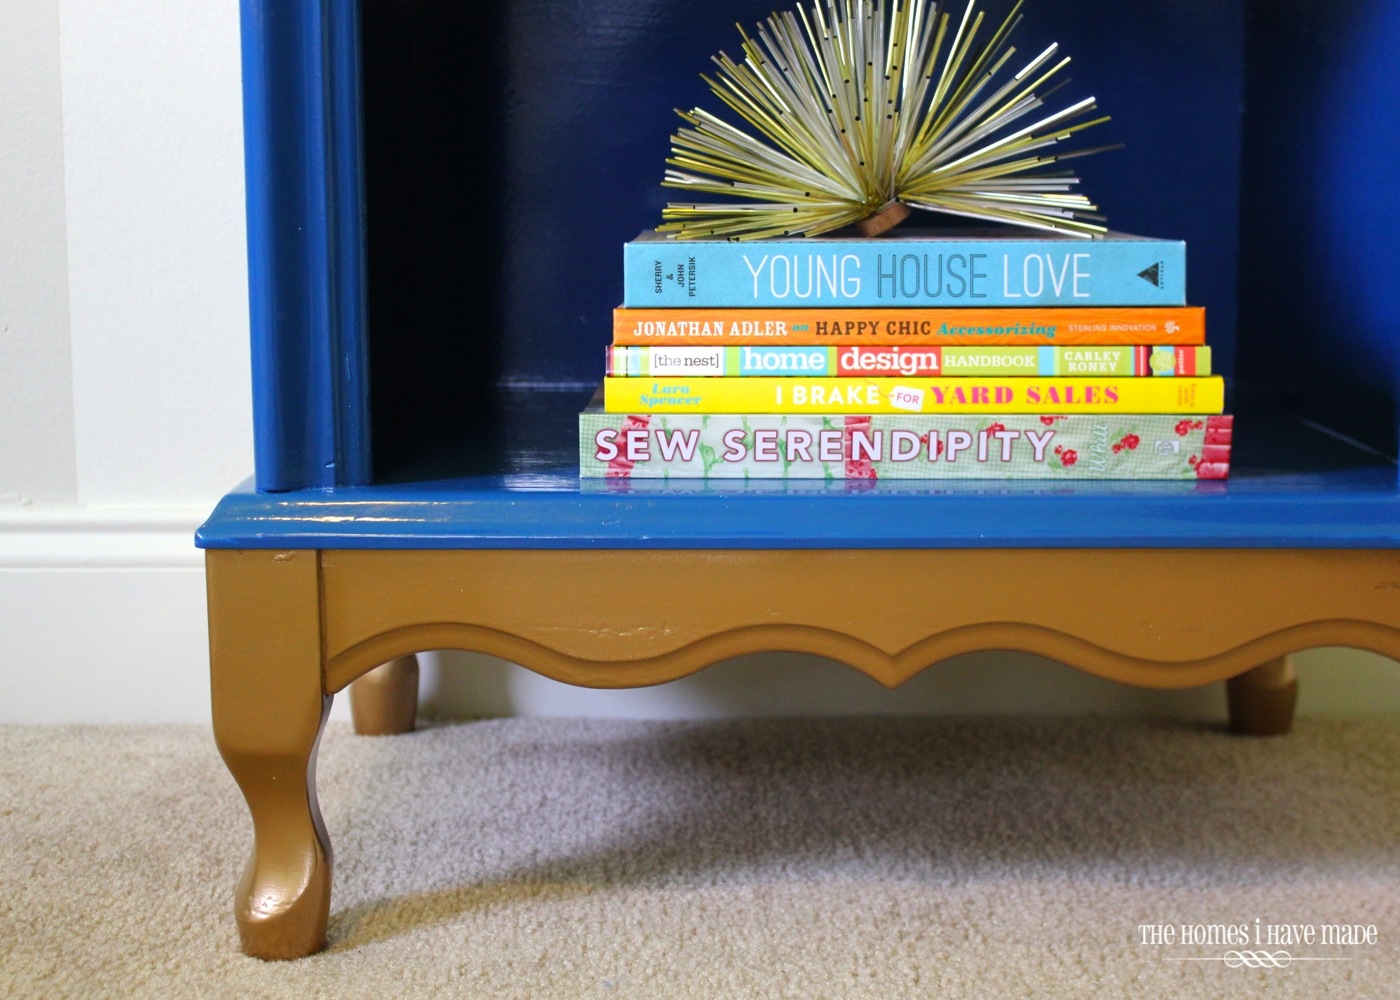
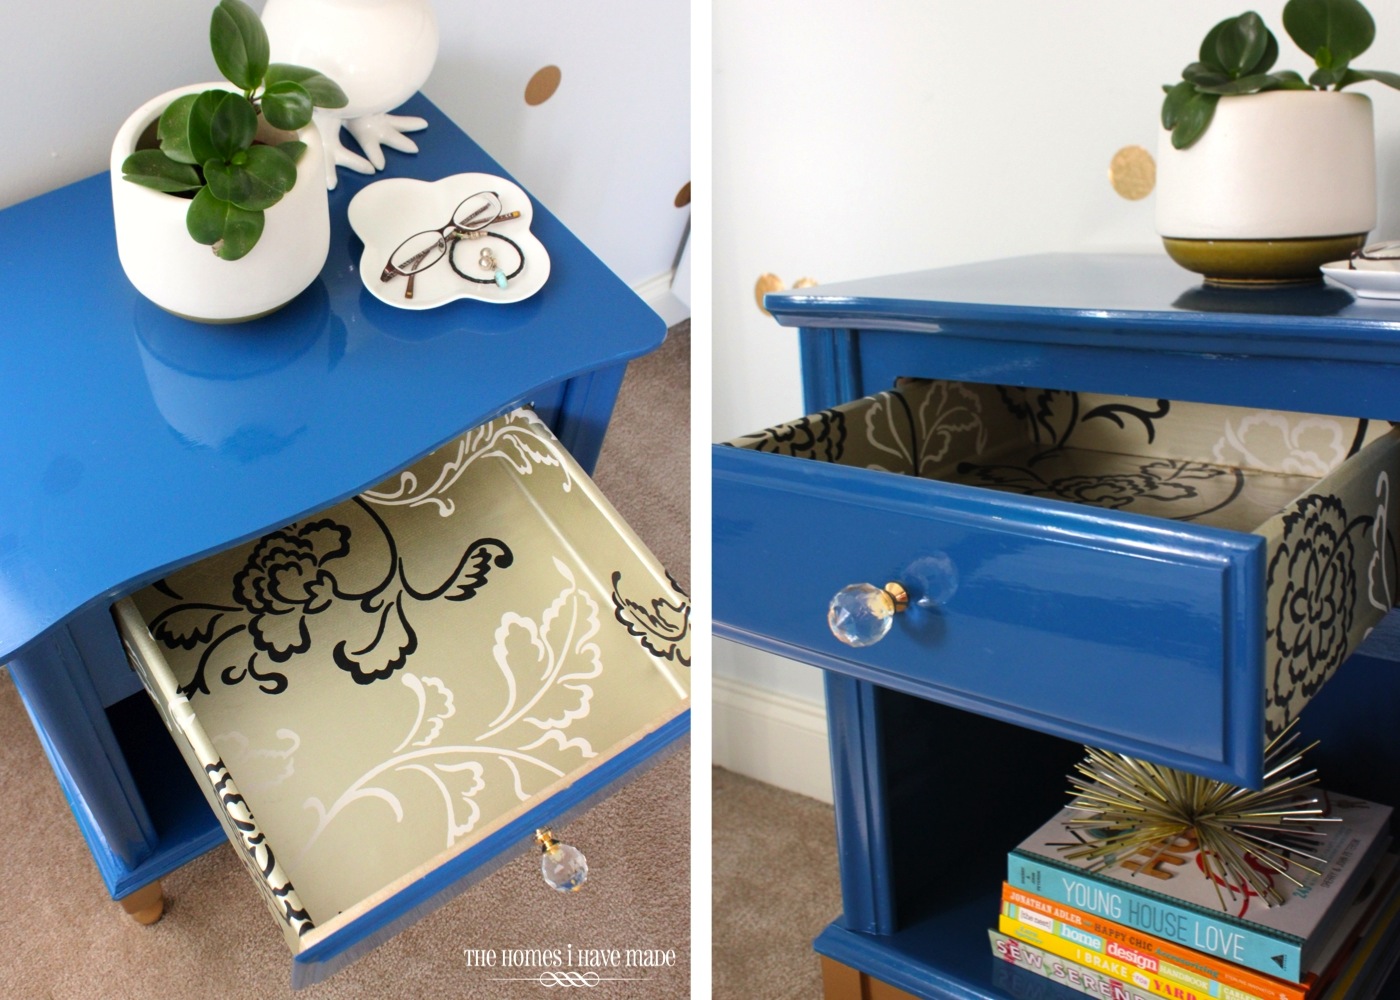
There are so many details about this little lady that I love…I love the high-gloss finish, I love the dipped based, and I love the sparkly little gold and crystal pull. But one final detail really captured my heart, making me really want to keep her…it’s the inside of the drawer…
You all know I love me some unexpected pattern, and this gold/white/black floral wallpaper on the inside of this drawer totally made this little nightstand for me. She’s just too darn sweet – why oh why do I have no where to put her?!?!?!
I’m not sure I have a well thought-out final conclusion on my first experiment with oil-based paint. It’s very different to work with than latex paint; and in some ways, very unpredictable and infuriating. But the final result is so striking, that I am kinda hankering to keep practicing with it to see if I can get the hang of it. I will say on an itty bitty piece like this one, spray paint probably would have been an easier and quicker choice. But for big pieces that just can’t be spray painted, oil-based paint might be what gives me that long-lasting, chic look I’ve been waiting for!
I’ve got a couple more ugly duckings sitting out in the garage to help me hone my skills; for now though, I’m pretty proud and excited how this little lady turned out…
Now to find her a good home!
I’ll be back later this week with Part II of my thrifty pillow project! See you then!
Megan





2 Comments on “Glam Blue & Gold Nightstand”
Oh she's gorgeous!!! Good job.
Love it! The details–gold feet, the knob, the inside surprise–really make it! I've been wanting to try oil-based paint and love all the info and pointers you gave.