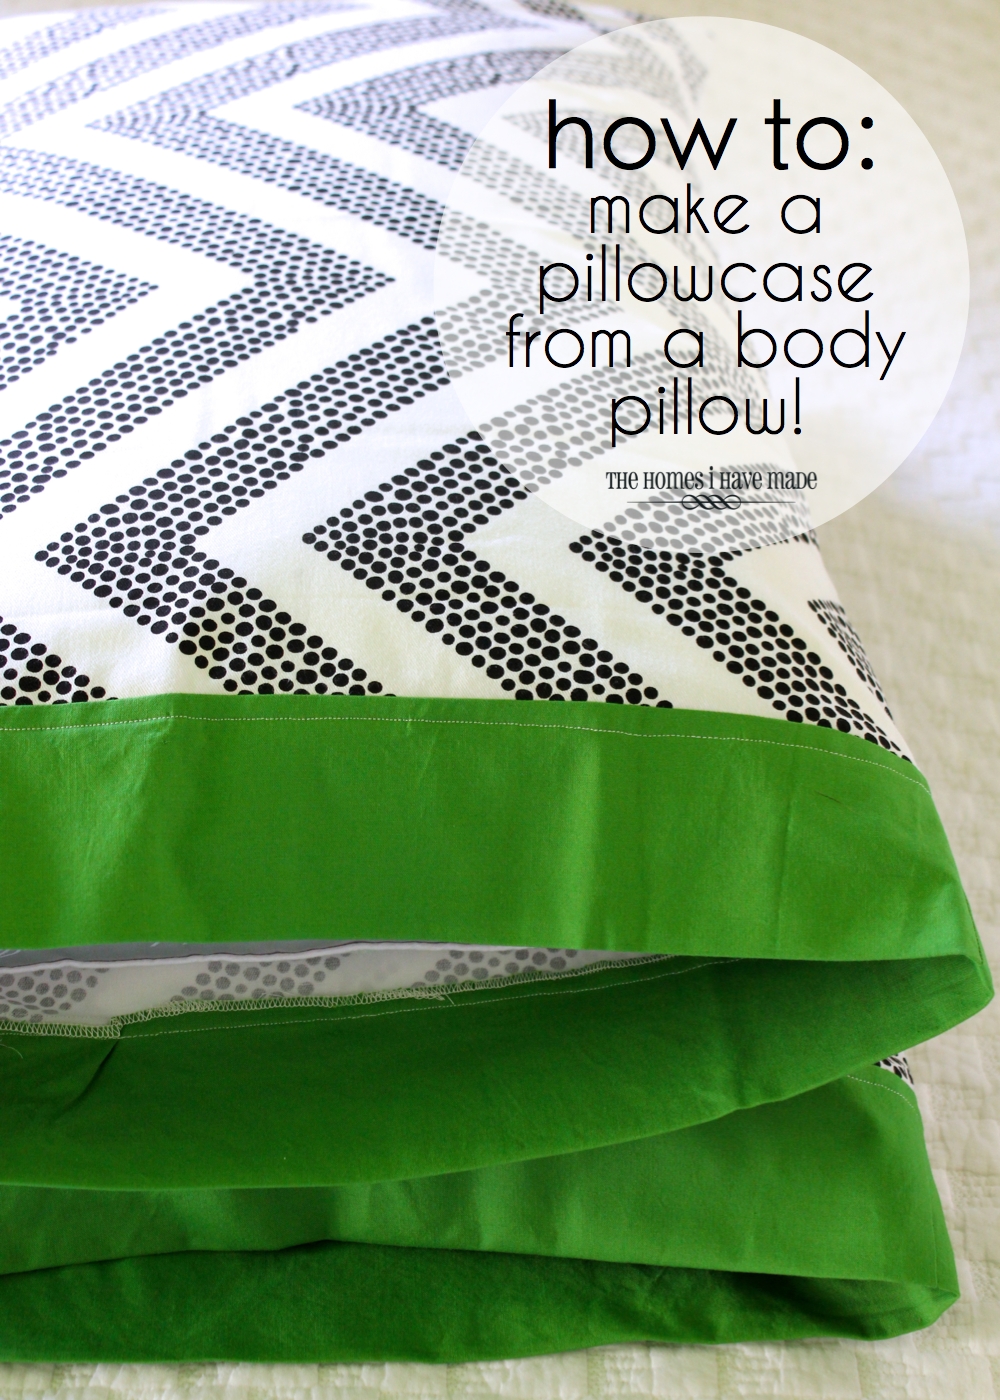
How To Make a Pillowcase from a Body Pillow
Last Friday, I showed you a pretty nifty and thrifty trick for making some easy and inexpensive throw pillows; and today, I’m going to show you the second half of the project…how to make matching pillowcases!
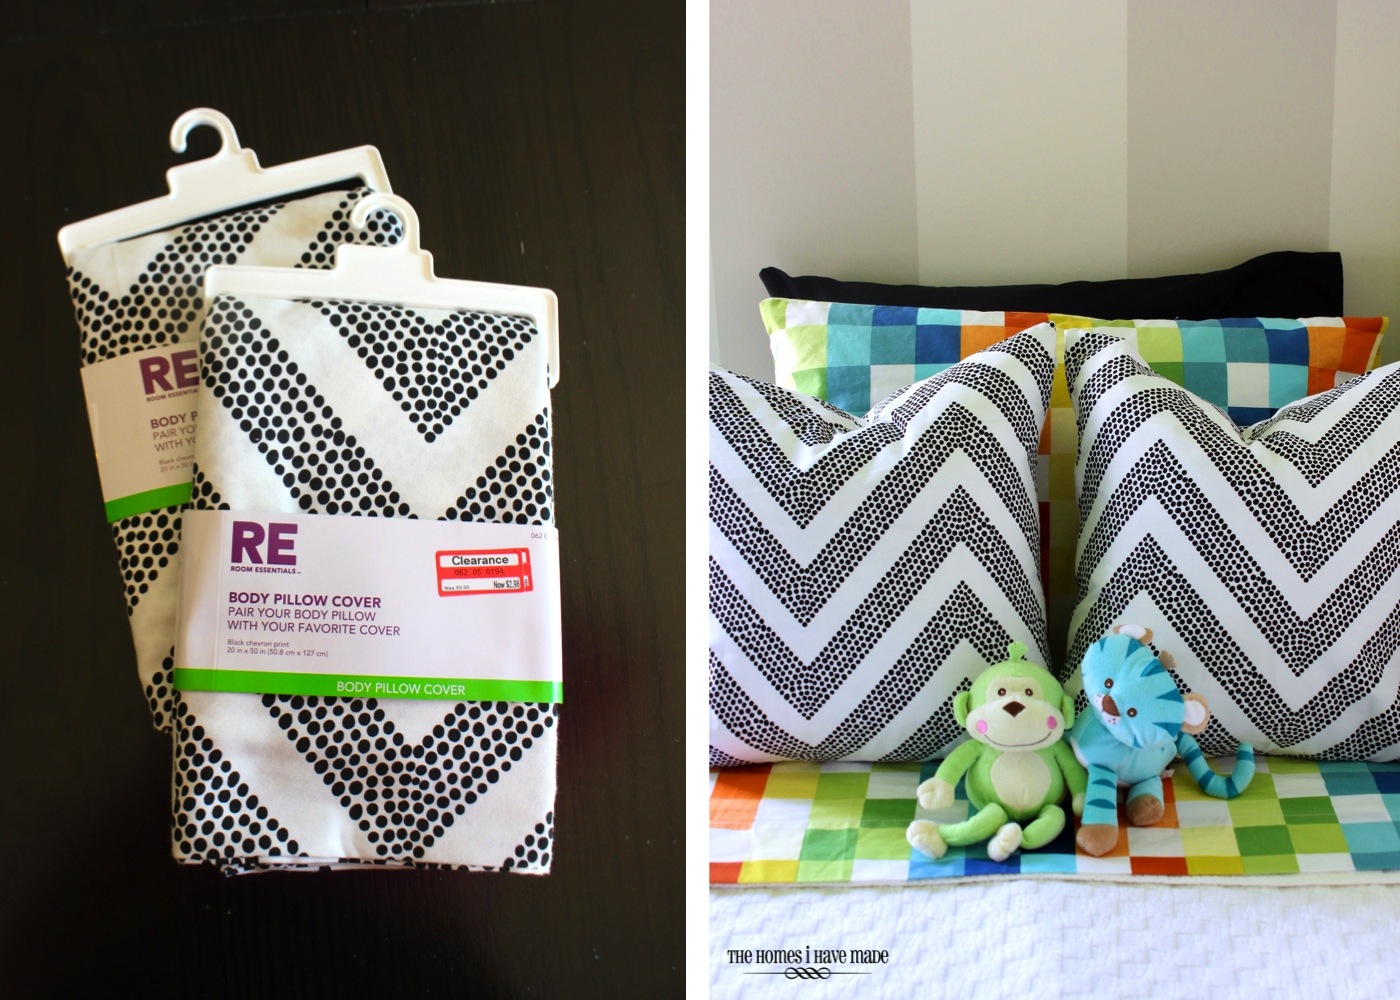
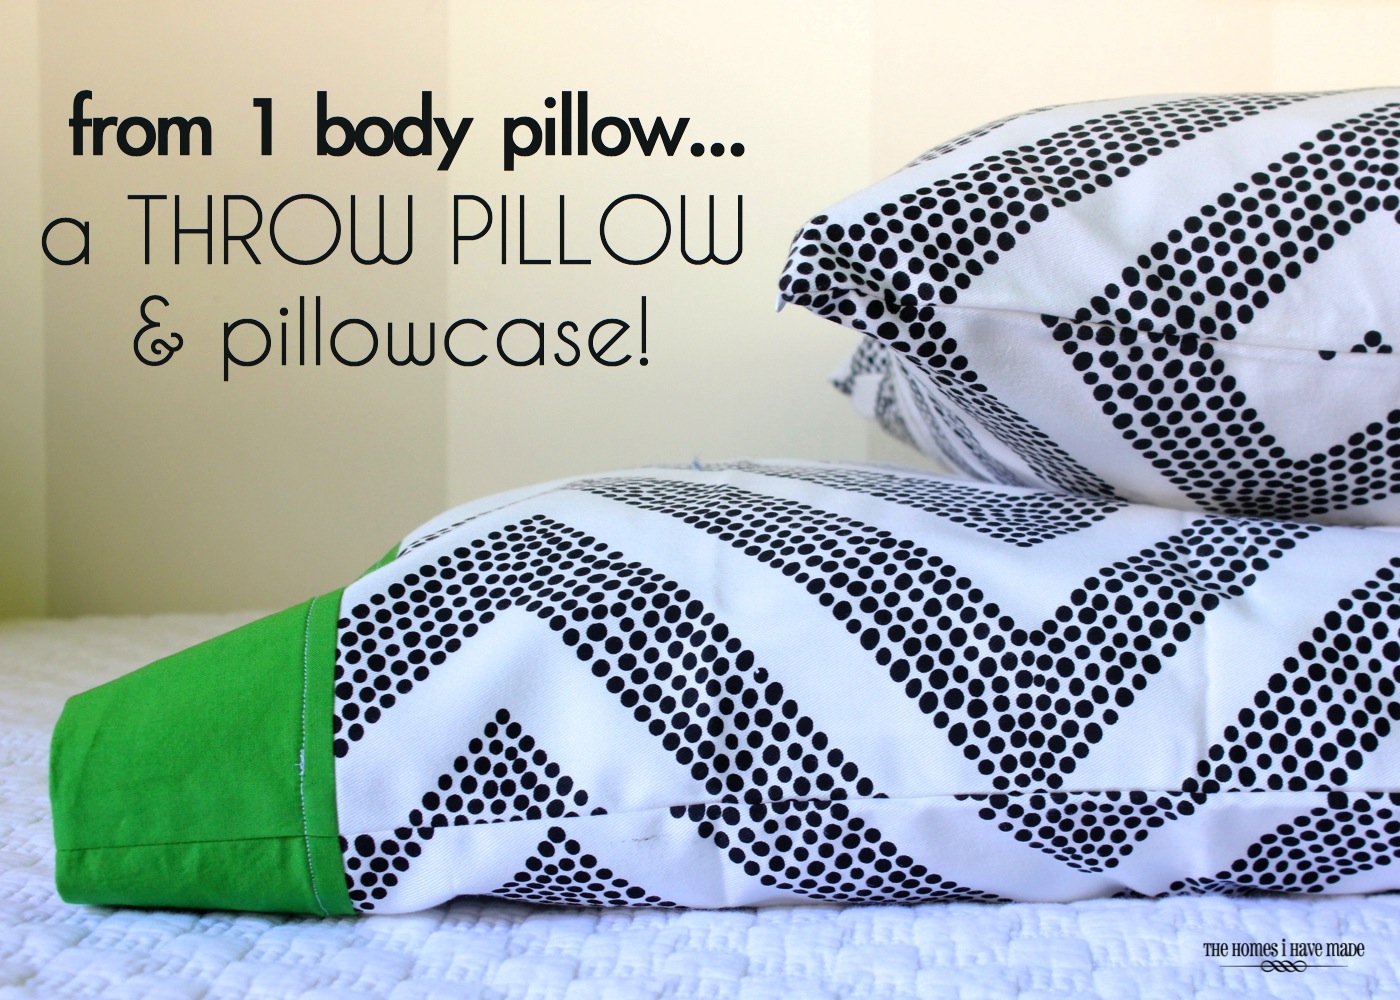
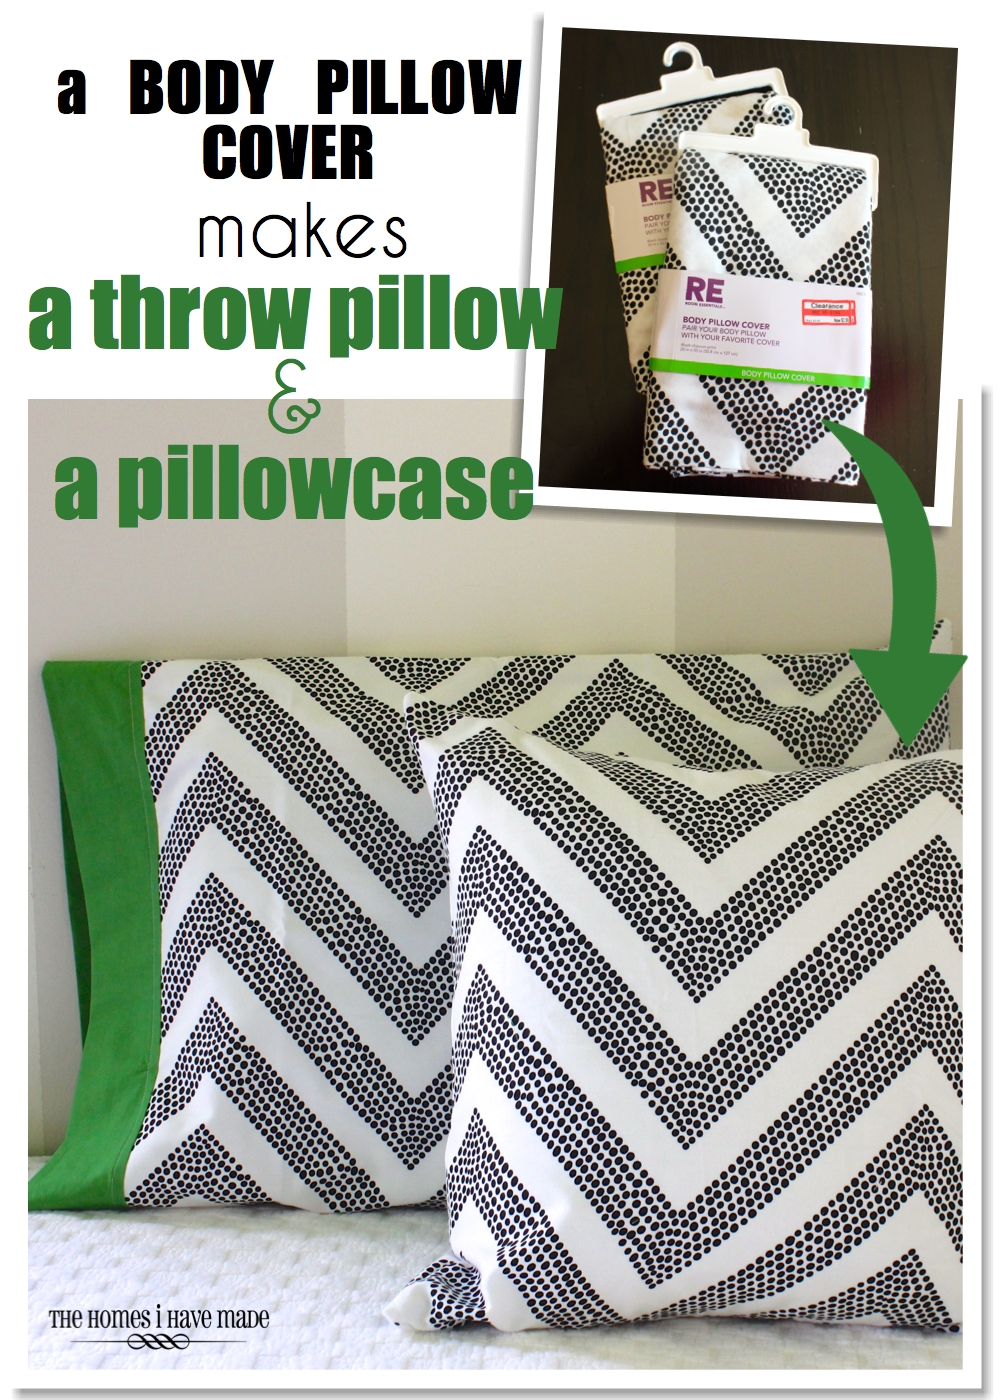
Just to recap in case you missed the original post, I found these cool chevron body pillow covers on the end caps at Target, marked down to just under $3 each! I used the zippered end of each body cover to make square throw pillows for my son’s new bedroom. You can get the quick and easy tutorial HERE.
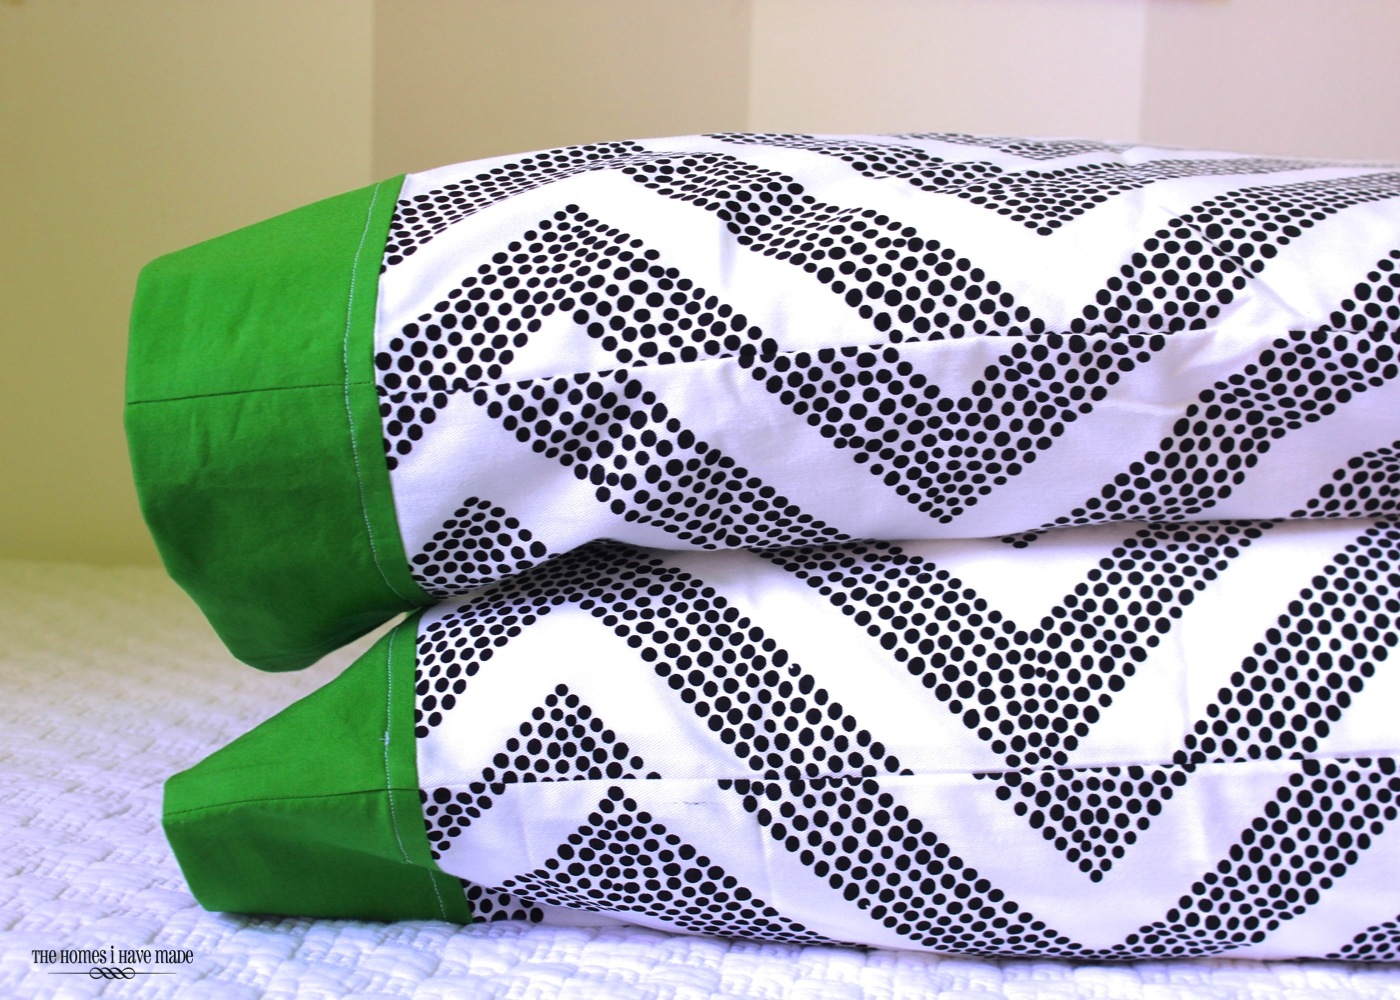
The square throw pillows only used 20″ of my 50″ long body pillow cover, so I used the rest of each body cover to make two pretty snazzy pillow cases to coordinate with his room!
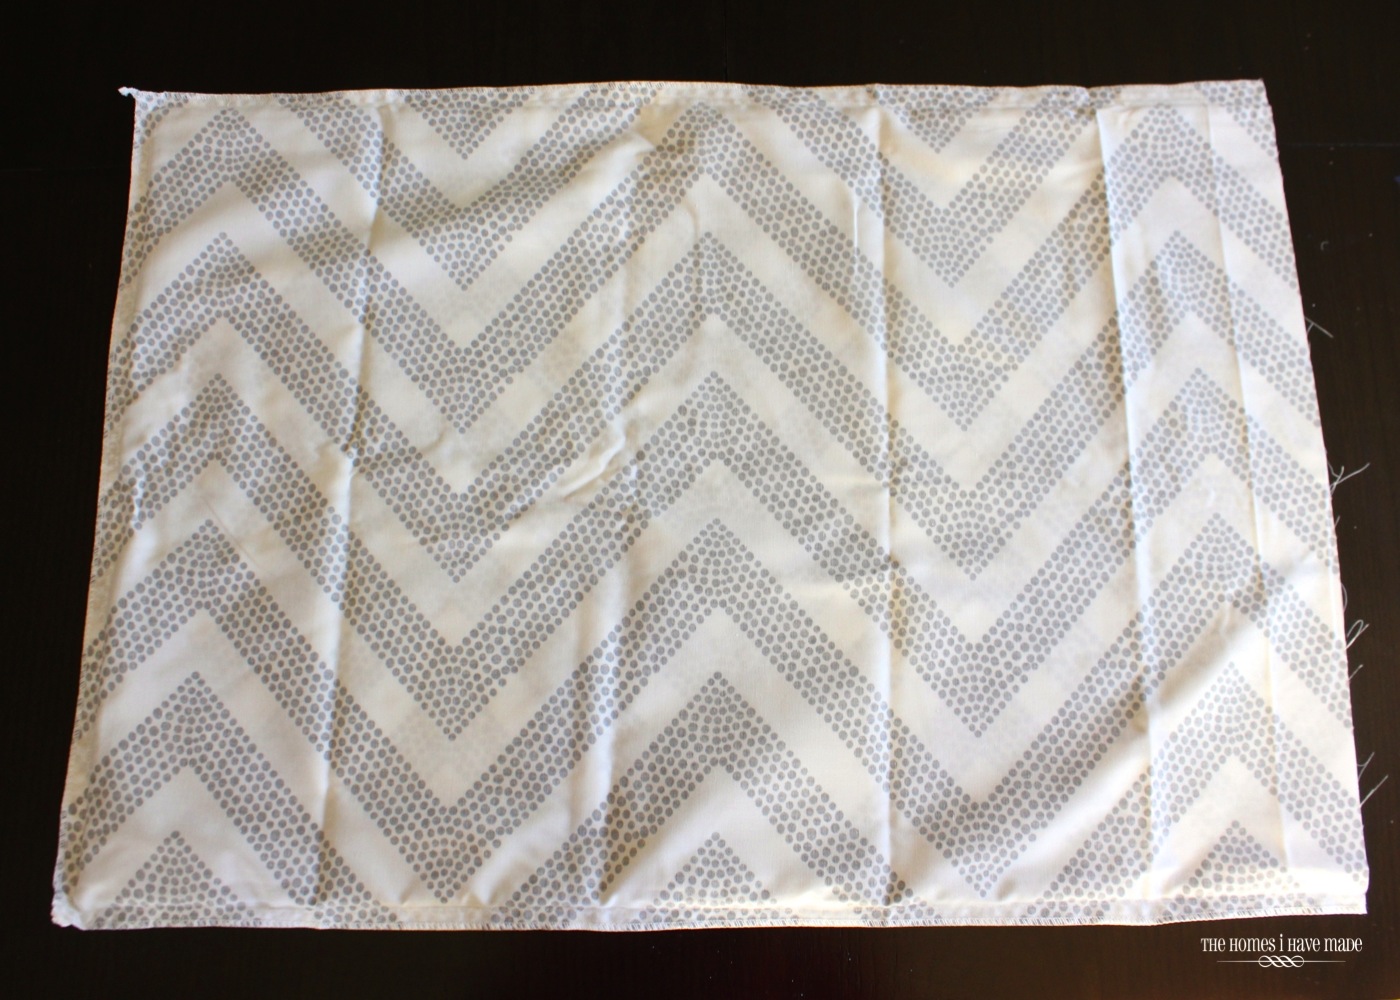
Here’s the remaining 30″ of the body pillow cover once I made the throw pillow covers from the zippered end. This measures just at 30,” so the easiest route to a pillowcase would have been just to fold over and hem the raw edges. That would have left my pillow case a tad on the short end, AND I wanted to add a block of color for fun. You know, because I am me.
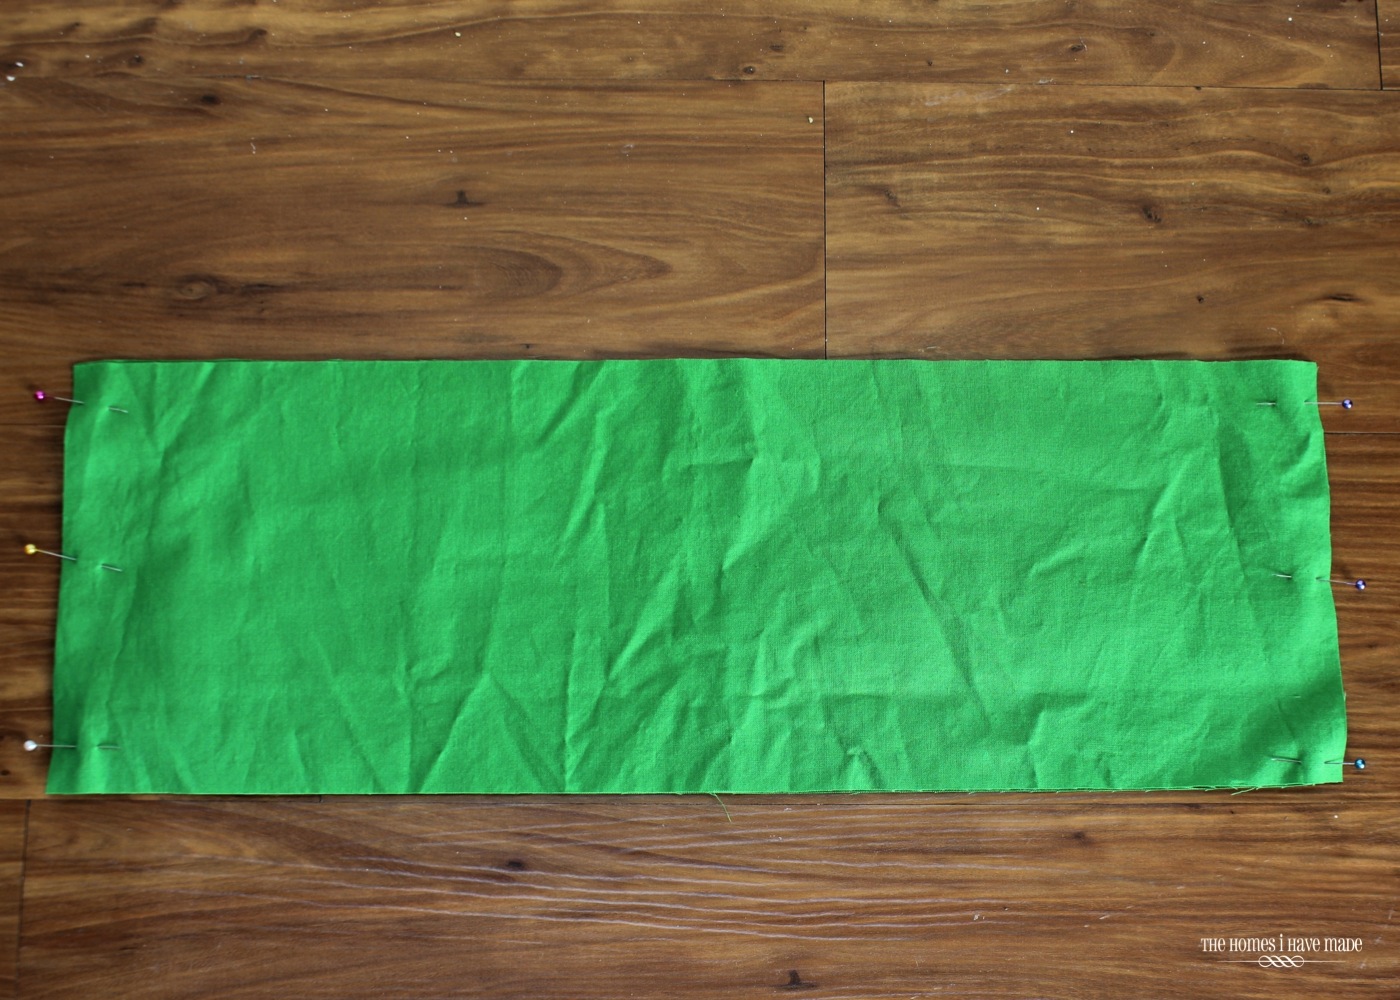
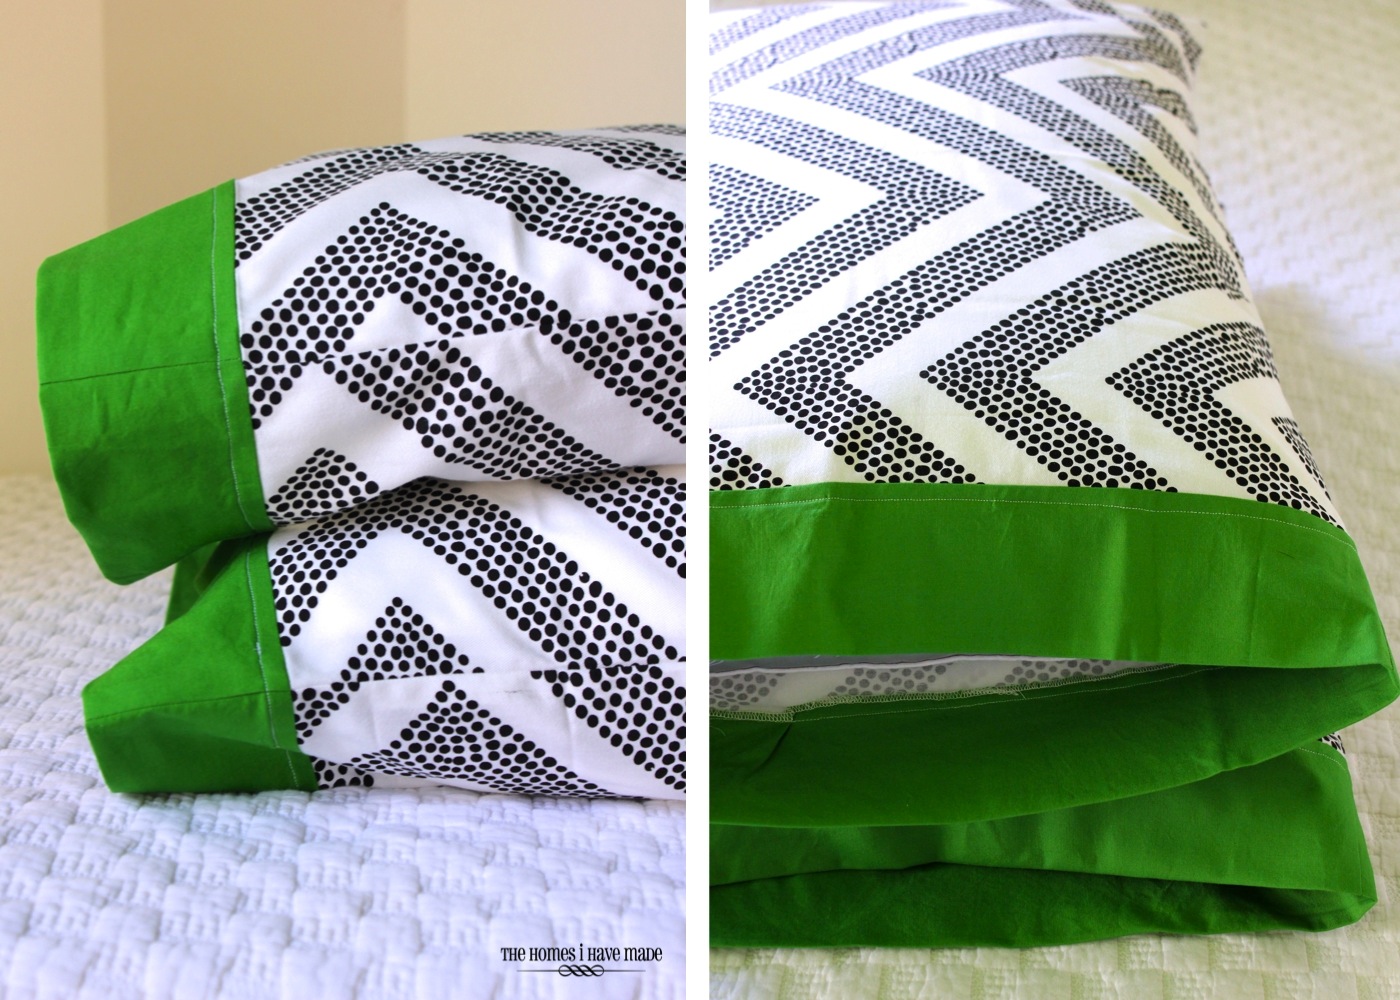
To start, I took some green Kona cotton (that I purchased to use on some other projects in the room) and cut it to measure the exact height of my pillow opening, in this case 20.5″. I wanted final green band of about 3″, so I doubled that (because it will be doubled over…you’ll see in a minute) and added an inch for seam allowances, making my green strips 20.5″ x 7″. Cut two, place right sides together and pin down both short sides.
Sew the green band down each side with a 1/2″ seam allowance; and if desired, serge the edges clean. Next, flip the green band right side out. Once your green band is sewn, if you measured right, it should fit perfectly inside the pillowcase (which should still be inside out). Matching up your seams and with right sides together, align the raw edges of the pillowcase and green band and pin all the way around.
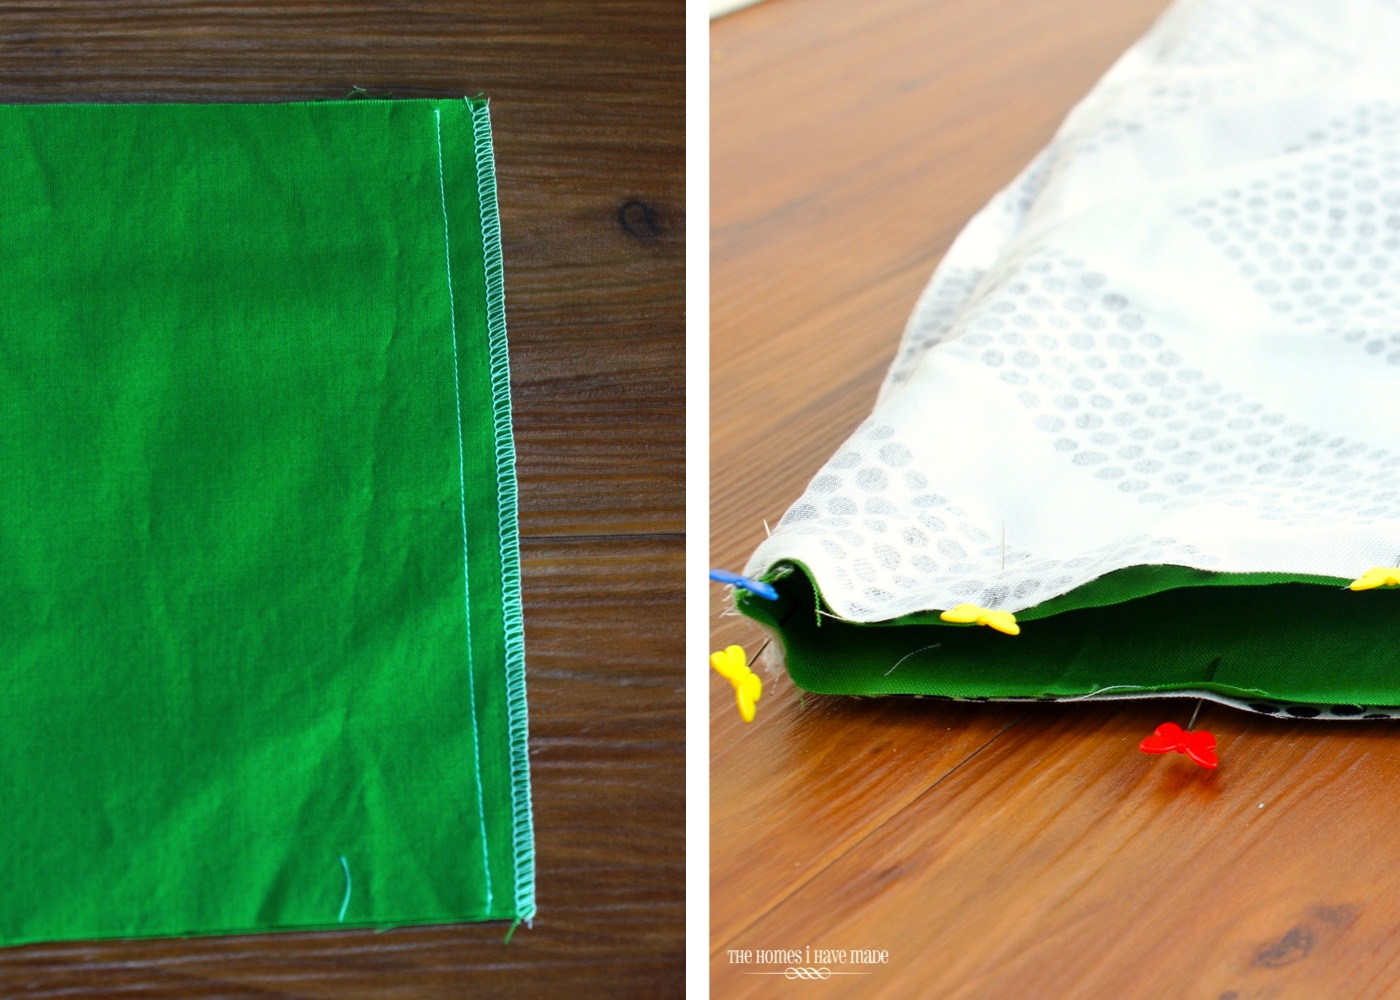
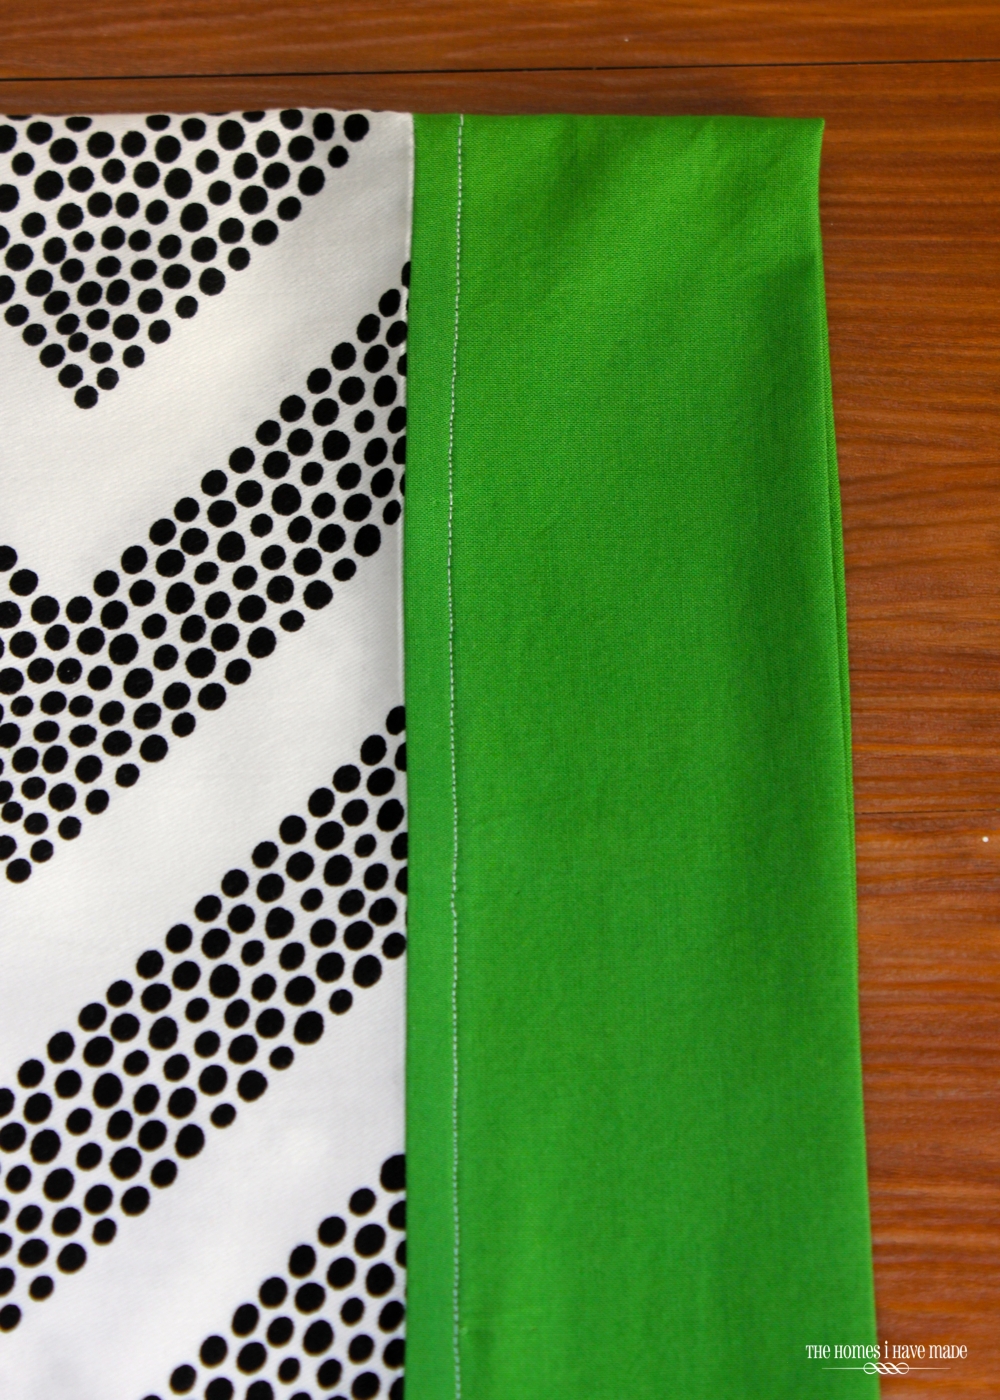
Machine stitch a 1/2″ seam allowance all the way around the pillowcase opening, attaching the green band to the pillowcase fabric. If desired, serge the edges clean. Now flip your entire pillowcase right-side-out. It should look like the bottom right photo.
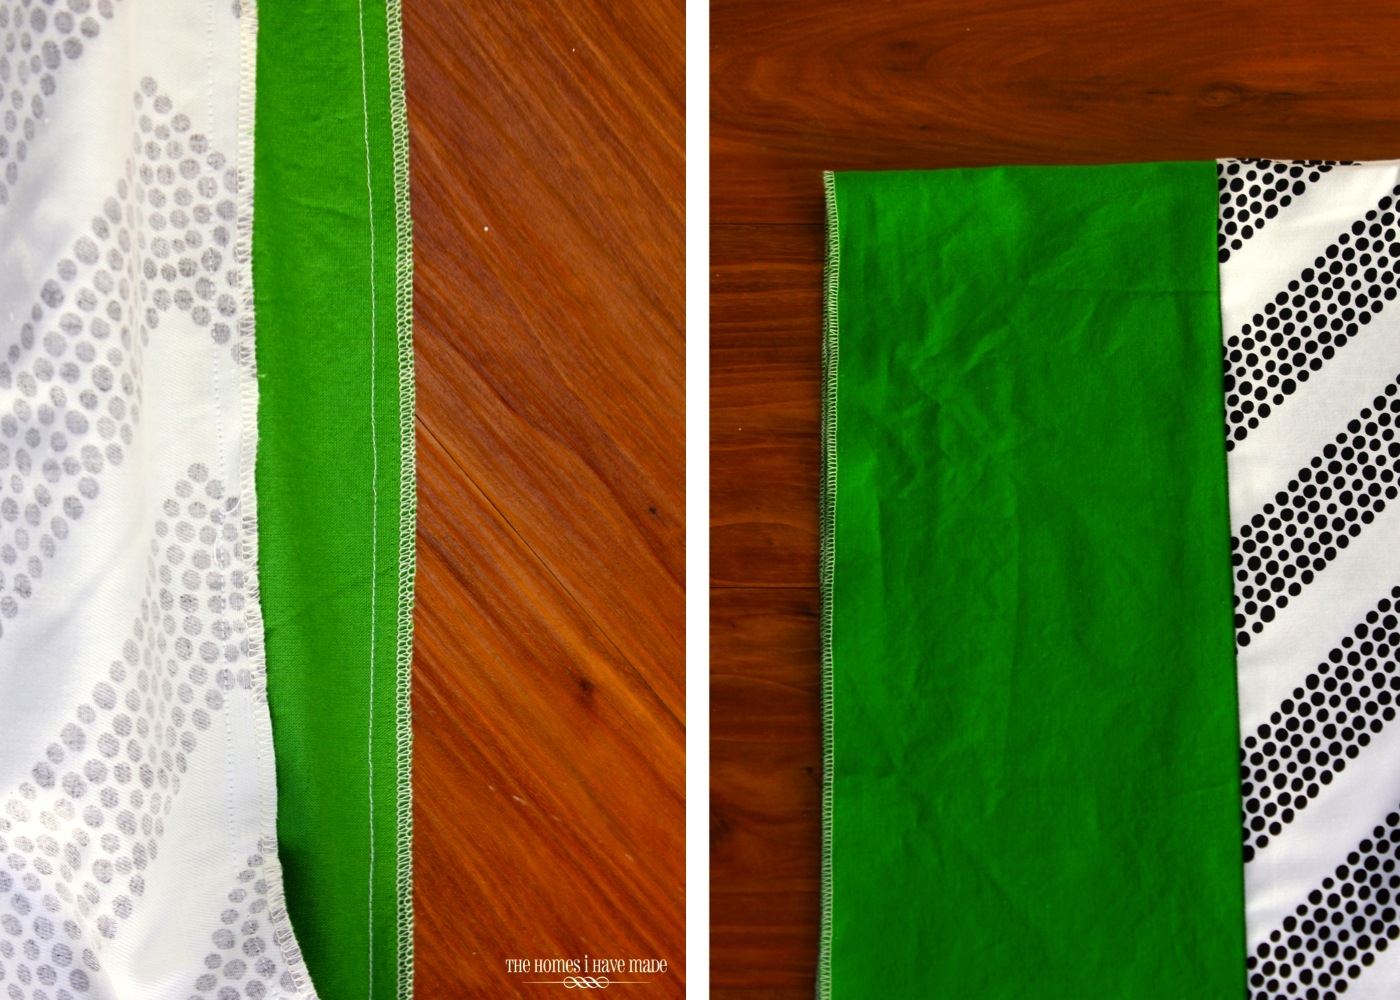
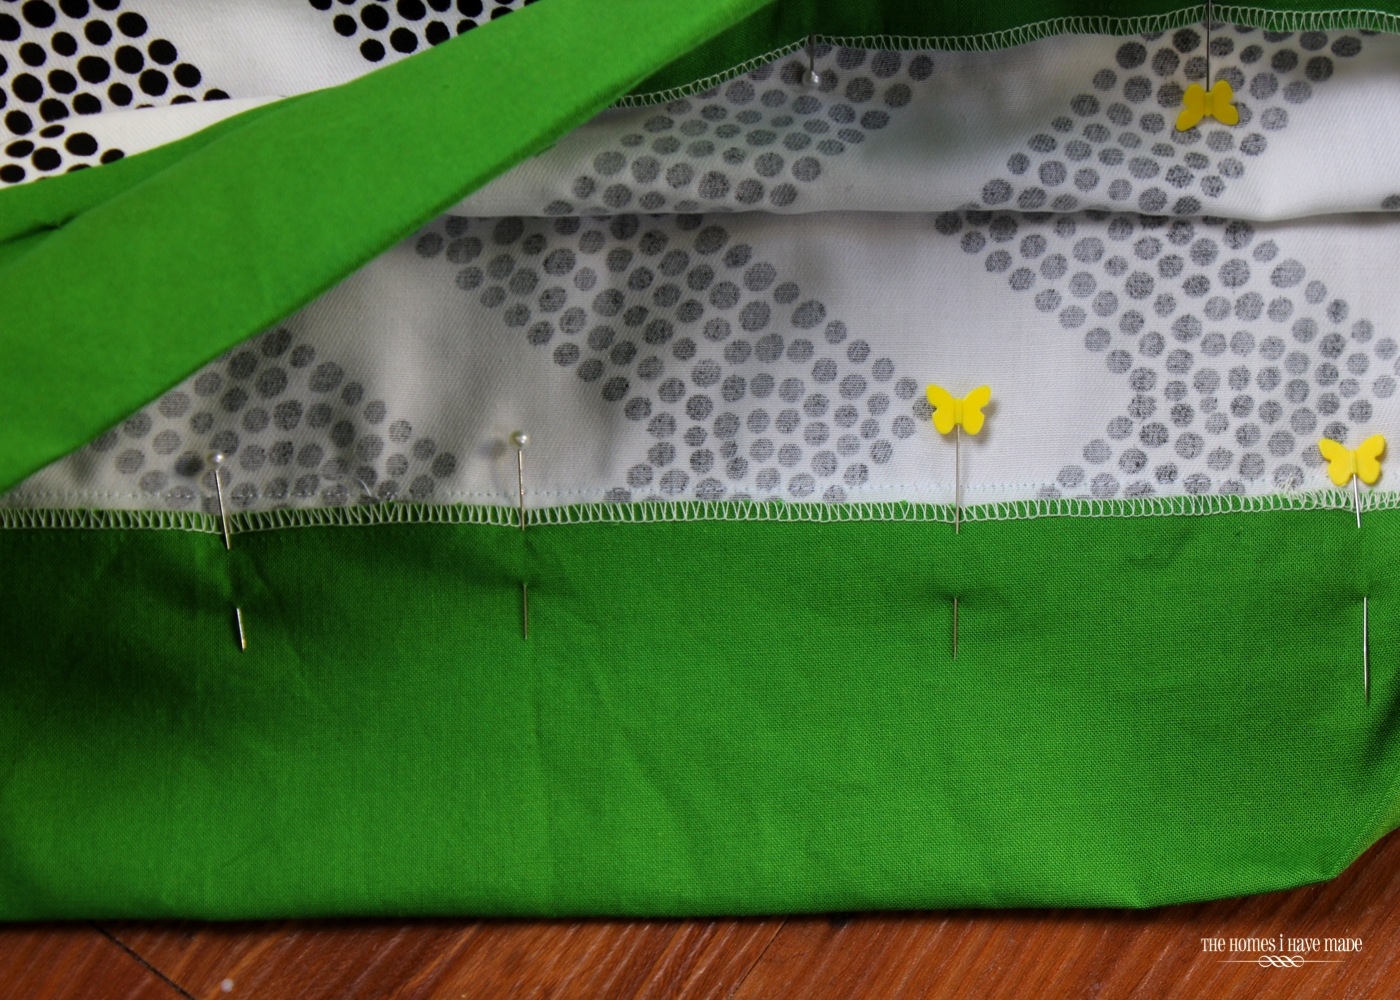
Next, you either need to serge or fold under the green raw edge (just a 1/2″ or so) to that it is clean and tidy on the inside of the pillowcase. Then fold the green band in half toward the INSIDE of the pillow case, wrong sides together. Fold so that the serged/hemmed edge of the green band meets up with the seem you sewed in the previous step (the seam attaching the green band to the pillow case). Pin the edge of the green band to the inside seam, over the seam allowance of the pillowcase.
Want to save this post?
Top stitch about a 1/2″ out from the seam between the pillowcase and band fabrics to ensure you catch the folded over green band on the inside. I like the look of a contrasting thread, so I chose white for my final stitching.
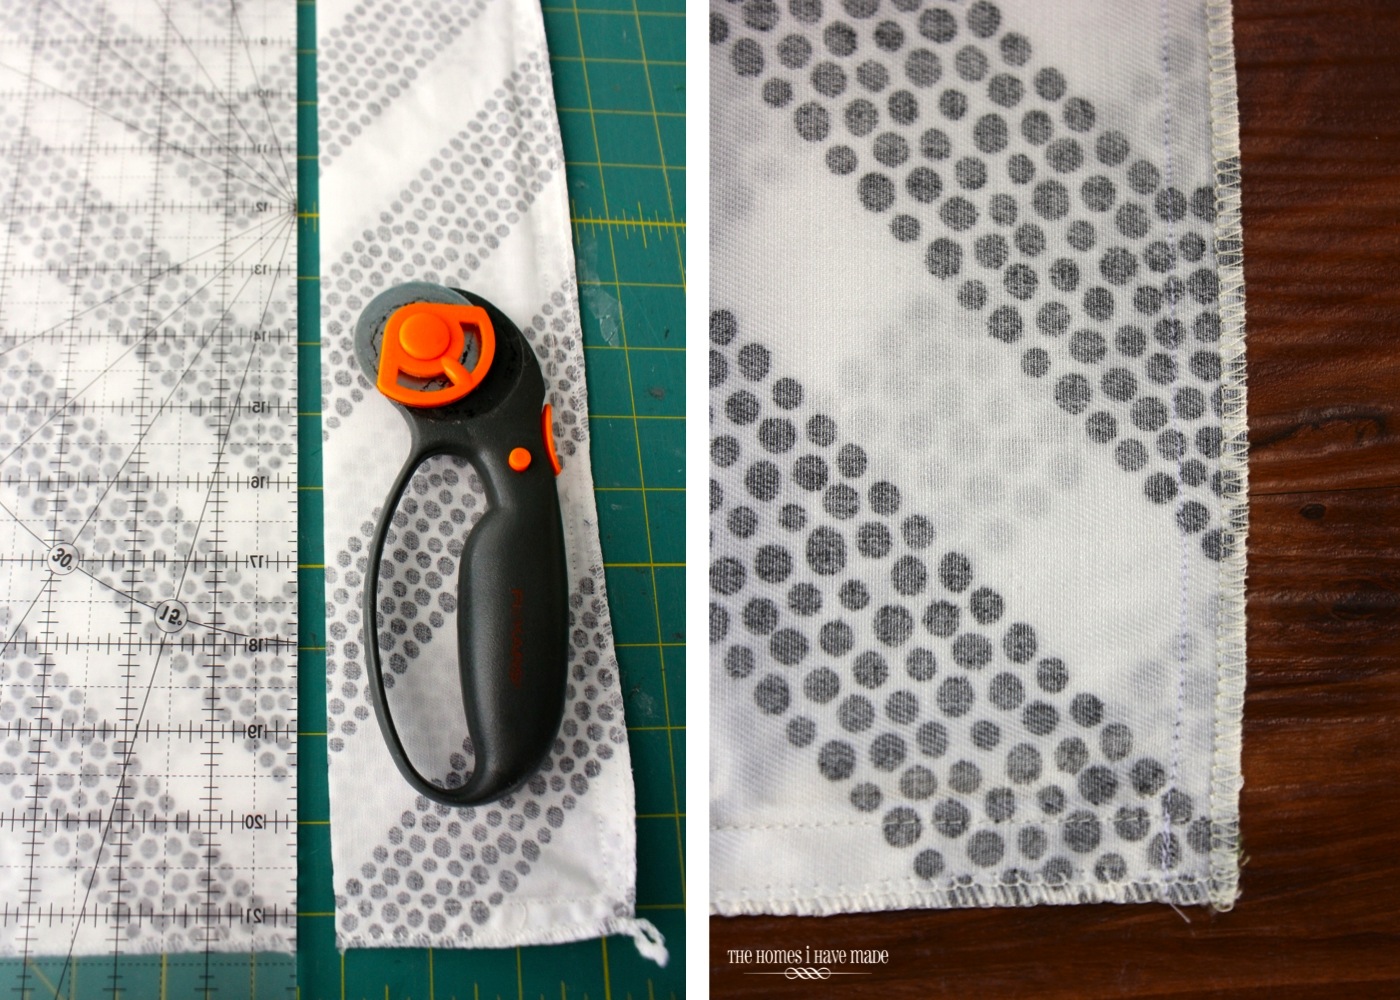
Since I added about 3″ of fabric by attaching the green band, now my pillowcase was a bit too long. To remedy the problem, flip the pillowcase back inside out and smooth it flat. Cut off 3″ from the other end of the pillowcase (the side with no green edge). Pin it back shut, sew a 1/2″ seam down the edge, and serge the edges clean if you wish.
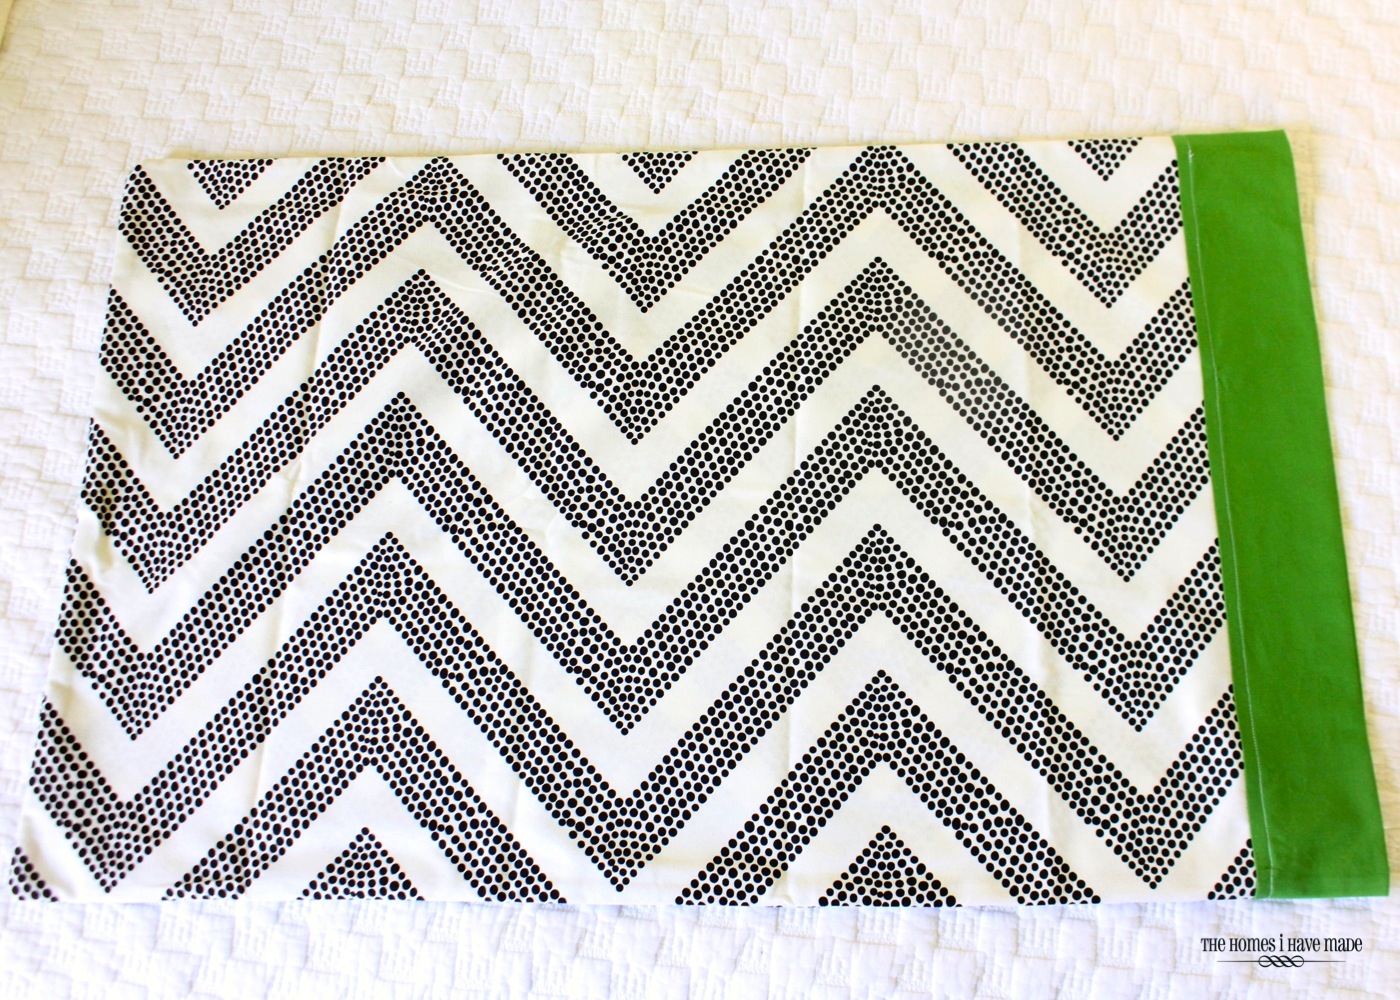
Flip the whole thing right side out and press flat! You’re done!!
Again, because I bought two body pillow cases, I was able to make two matching standard-sized pillowcases. The green band is a simple and funky little update; and really, can you ever have too many pillowcases?
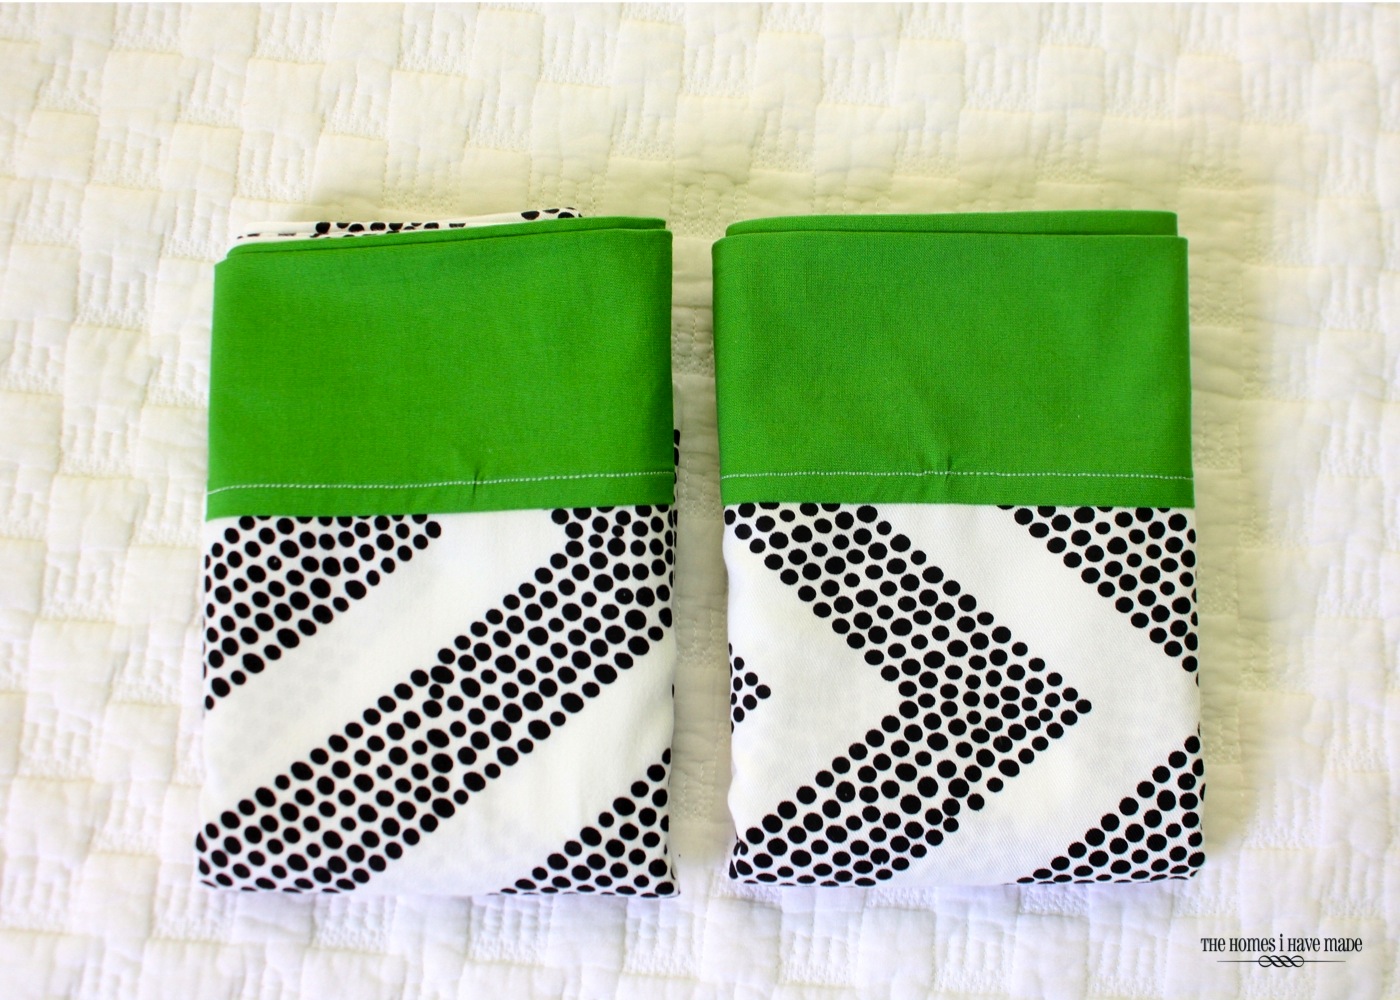
So, if you are keeping track, I made four pillows from 2 body pillow covers that I purchased for $3 each. That means for just under $6, I have two somewhat custom and oh-so-simple throw pillows and 2 coordinating pillowcases for the little guy’s new room. What a score!
These pillows were really fun to put together; and at such a great price tag, I’m a little addicted. I was at Target the other day looking at the other body pillow covers trying to figure out ways to work the patterns into other areas of my home. I walked away, because honestly, my couch already has enough pillows and patterns going on 🙂 Still, next time I see a body pillow cover I love – I know just what to do with it!
I’m knee deep into some little boy room projects AND some major clutter clean out this week/weekend. It might be a few days until you see me again, but I’m promise I’ll be back with some goodies!

Megan
2 Comments on “How To Make a Pillowcase from a Body Pillow”
Love the green with the black polka dots. It's super cute!! Thanks for the tutorial 🙂
I had to pick up the orange chevron print cover after seeing your tutorials! Thanks for the ideas – I had been eyeing them for weeks and couldn't figure out what I would do with them.