A Rockin’ Makeover
Hey Everyone! I hope you’re having a great week! Over the past month or so, I have been working hard to finish up Henry’s “Big Boy Room” makeover. We’re most likely here for just another year or so, so I really wanted to get it done instead of dragging it out. The room is now done, but I have some major catching up to do here on the blog. I want to show you each new element piece by piece before I show you how everything has come together. Next up on the project list: my latest (and greatest?) furniture makeover!!!
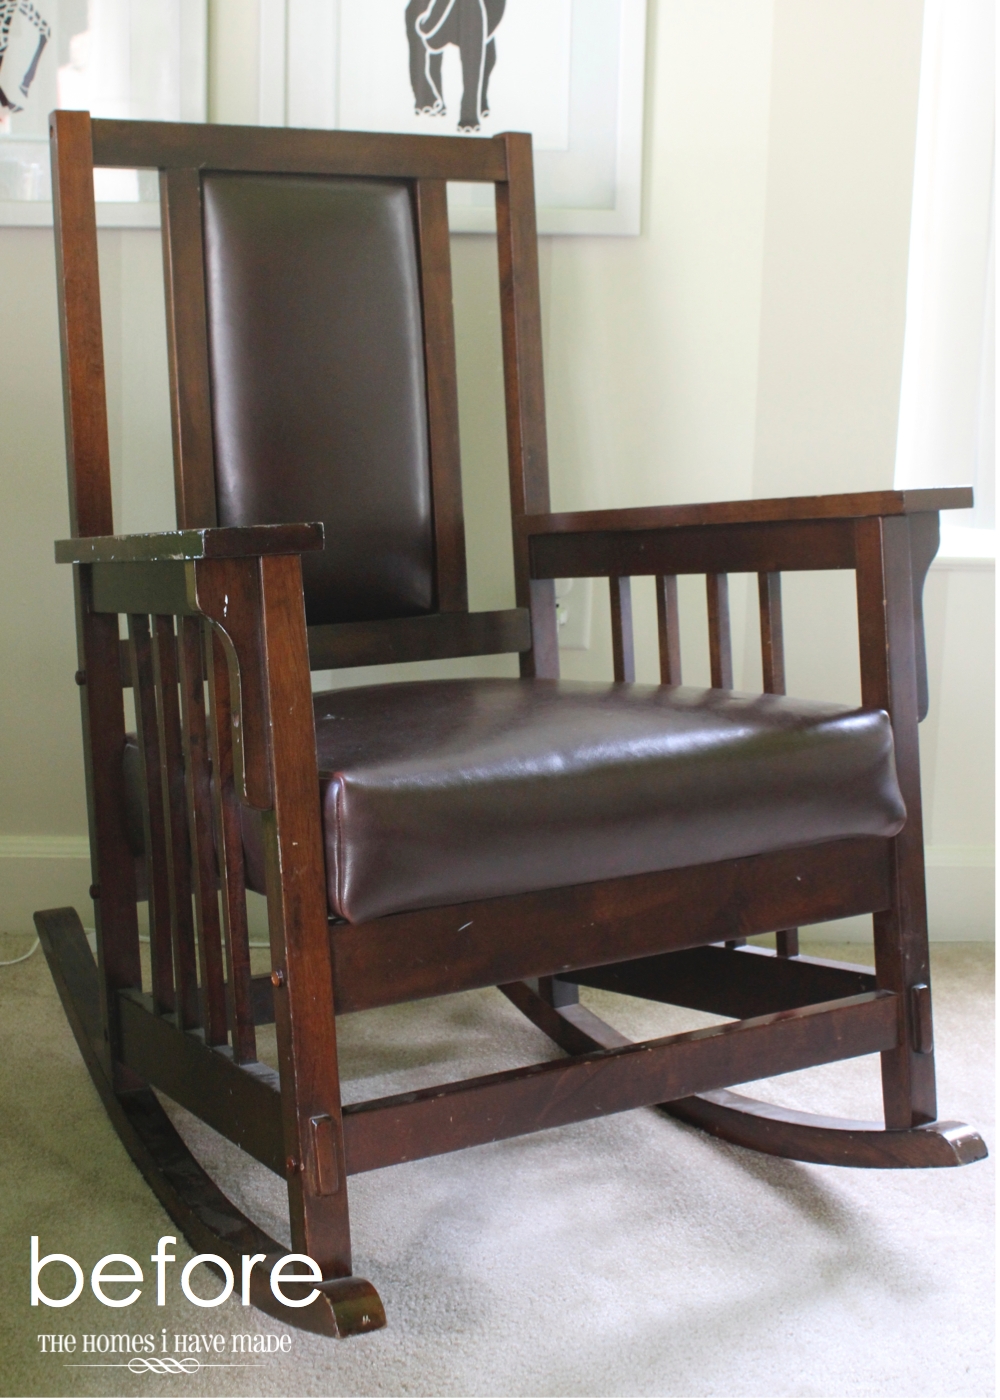
I really didn’t like the chair we had in Henry’s room the past three years. You can see it in pictures HERE; it was an ugly wing-backed chair that we picked up somewhere along the way. It was a chair none of us loved but fit the bill for nursing and reading when Henry was born. I wasn’t quite sure how I was going to make the very traditional chair work in his new modern room, when I came across this solid wood (but kinda beat up and ugly!) rocking chair at a yard sale. The gal was asking $20 for it. Within minutes, I handed over my $20 and was loading it into my car!
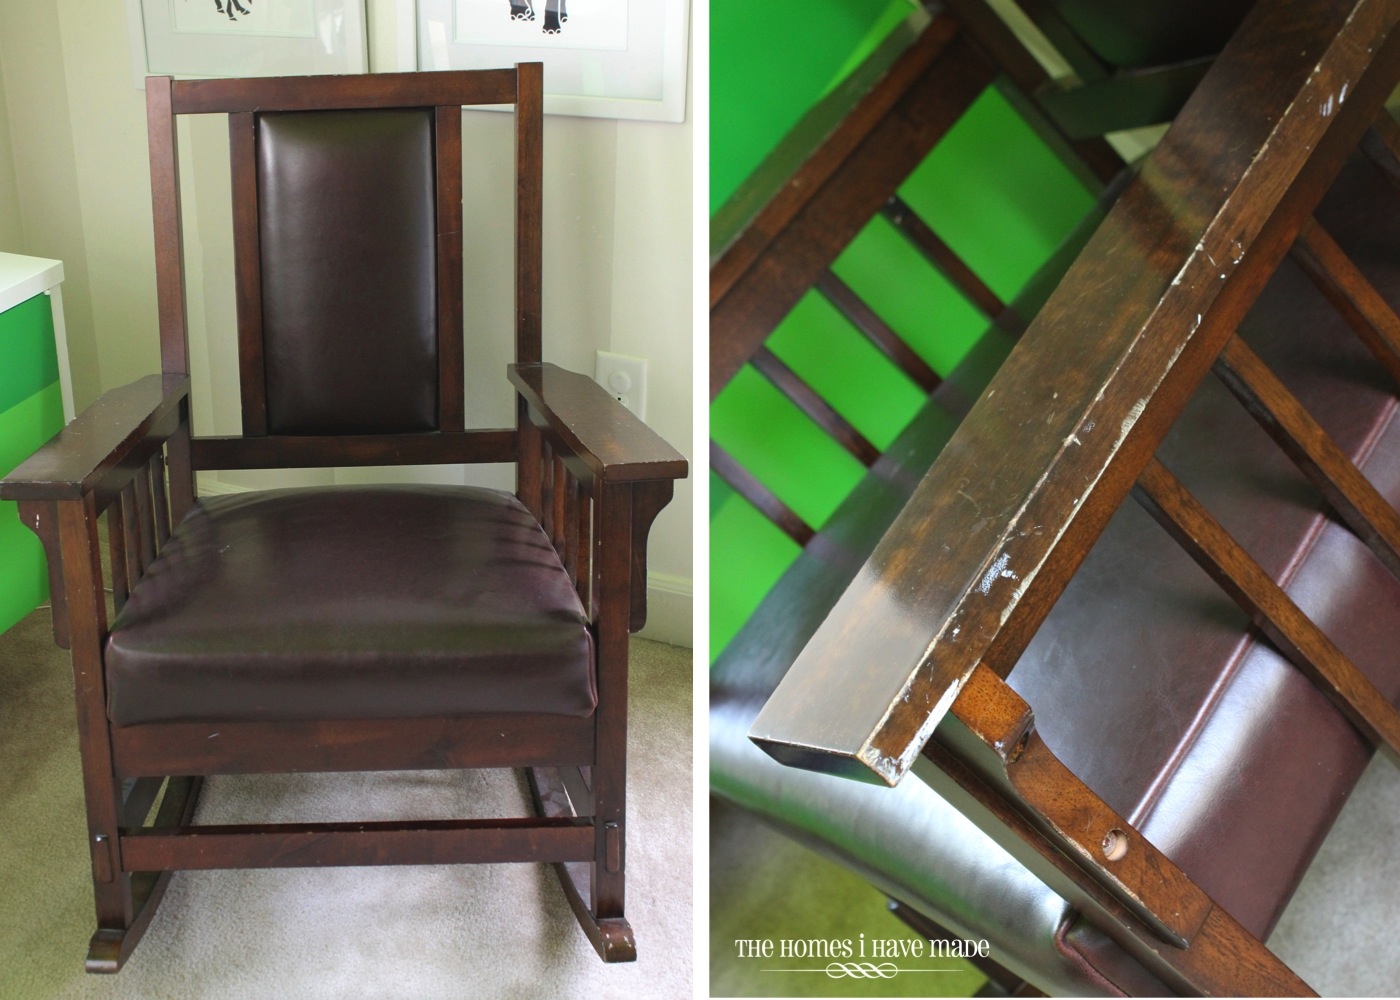
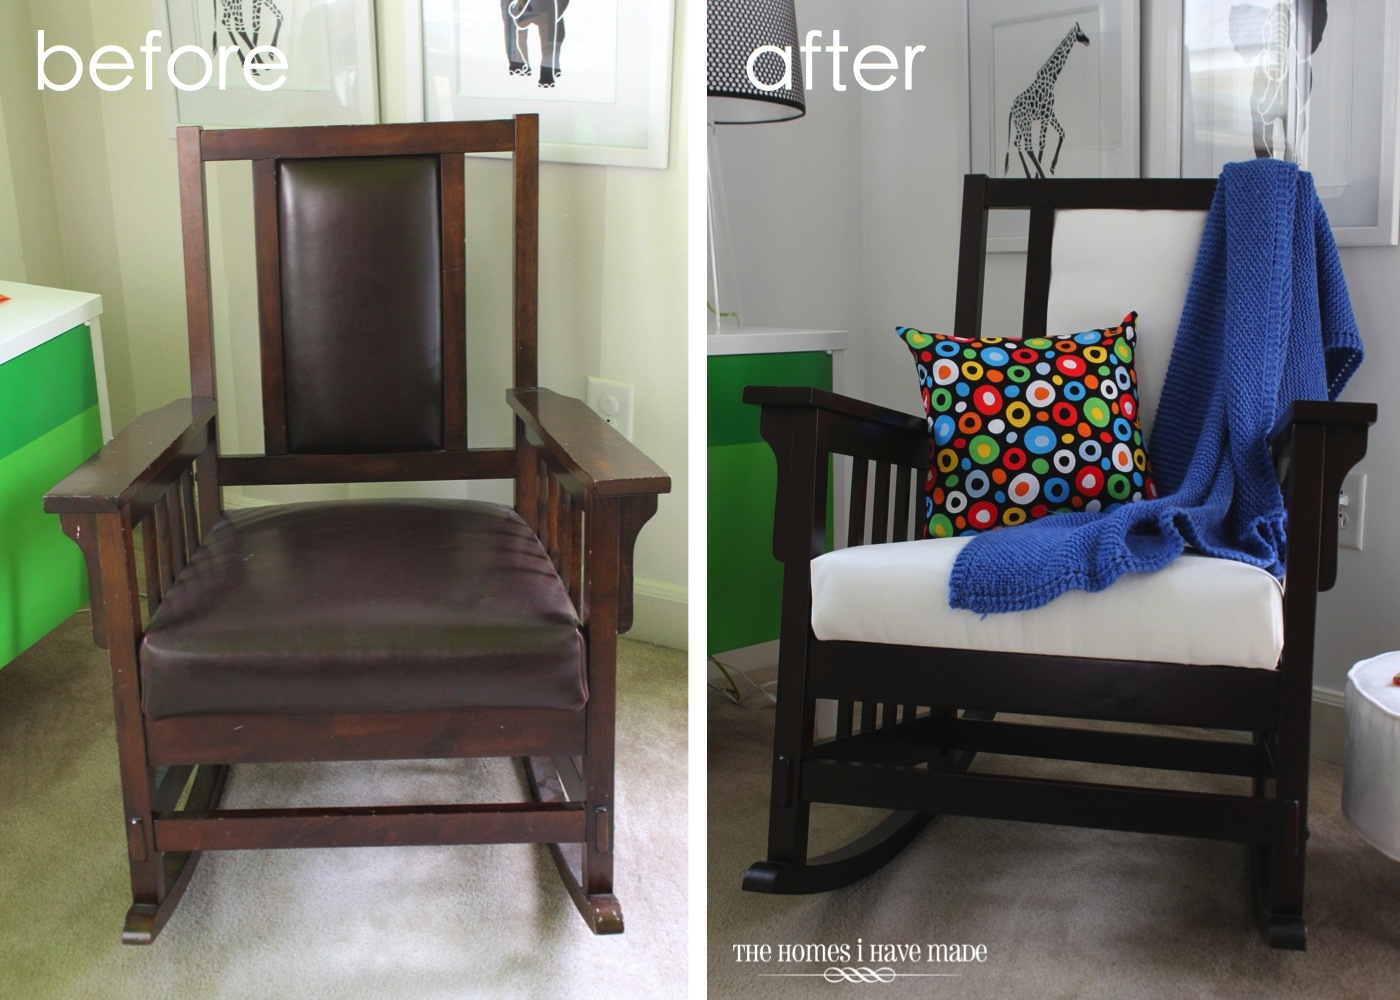
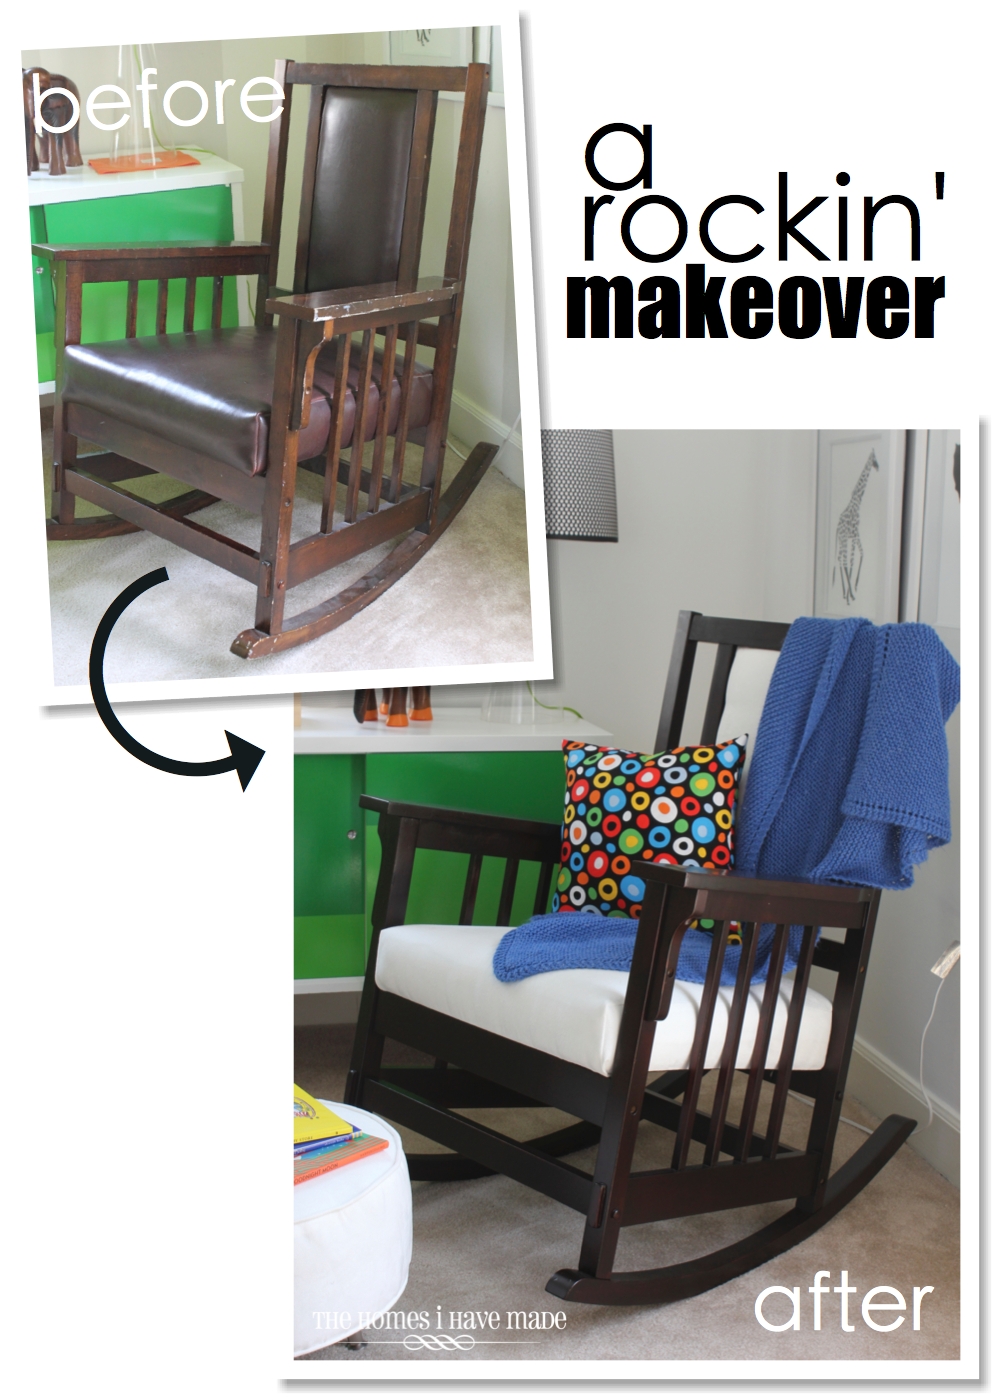
The chair was in pretty rough shape. Not only did I loathe the brown leather, but the wood was pretty scratched up. Still, I had a feeling this chair could really turn out spectacular with some DIY love!
Sometimes I take on a project and have a gut feeling how it’s going to turn out. Oh friends, I honestly had no idea that this cheap ugly-ducking of a chair would turn out so beautiful, and this project would be such a pleasant success story! Take a look!!!!
As much furniture as I have re-finished in recent years, this one was a new adventure for me in two ways. First, I chose to “re-stain” the wood rather than paint it AND this was my first official re-upholstery project. This was a good easy upholstery job to tackle, and now I am super motivated to try my hand at a more complex job!
I know each piece of furniture goes together differently and requires a different process for making it over. However, I snapped photos of my whole process to give you a sense for how simple it was, so let me show you what all I did!
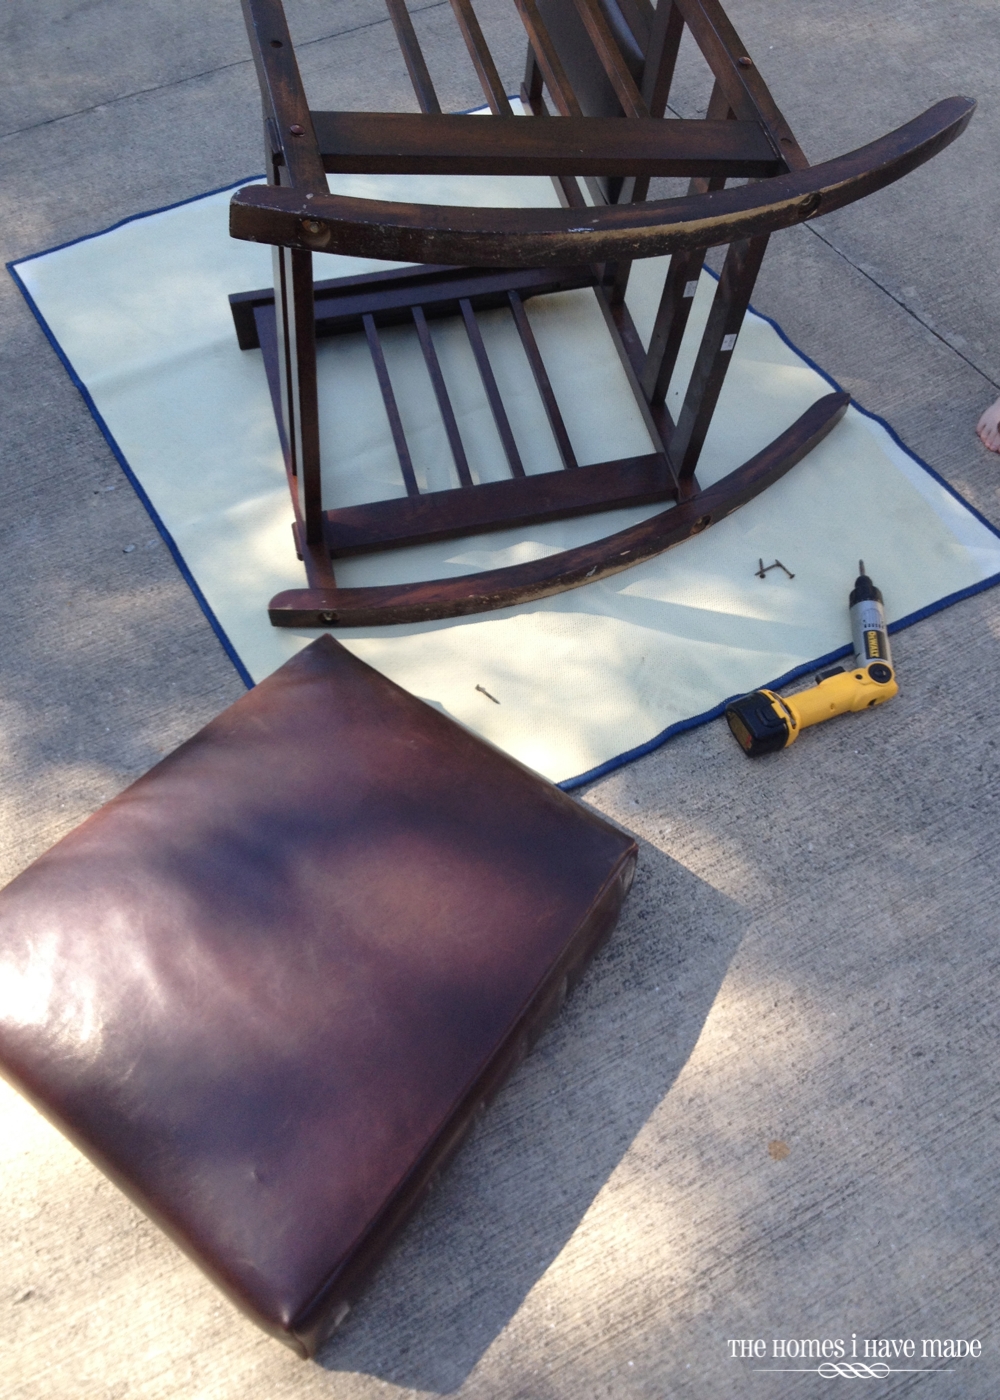
Part of the reason I snagged this chair up so quickly was that the cushion and the back of the chair were easily removable. I could see on the spot how re-upholstering would play out! I started by removing the cushion screws and popping it out of place.
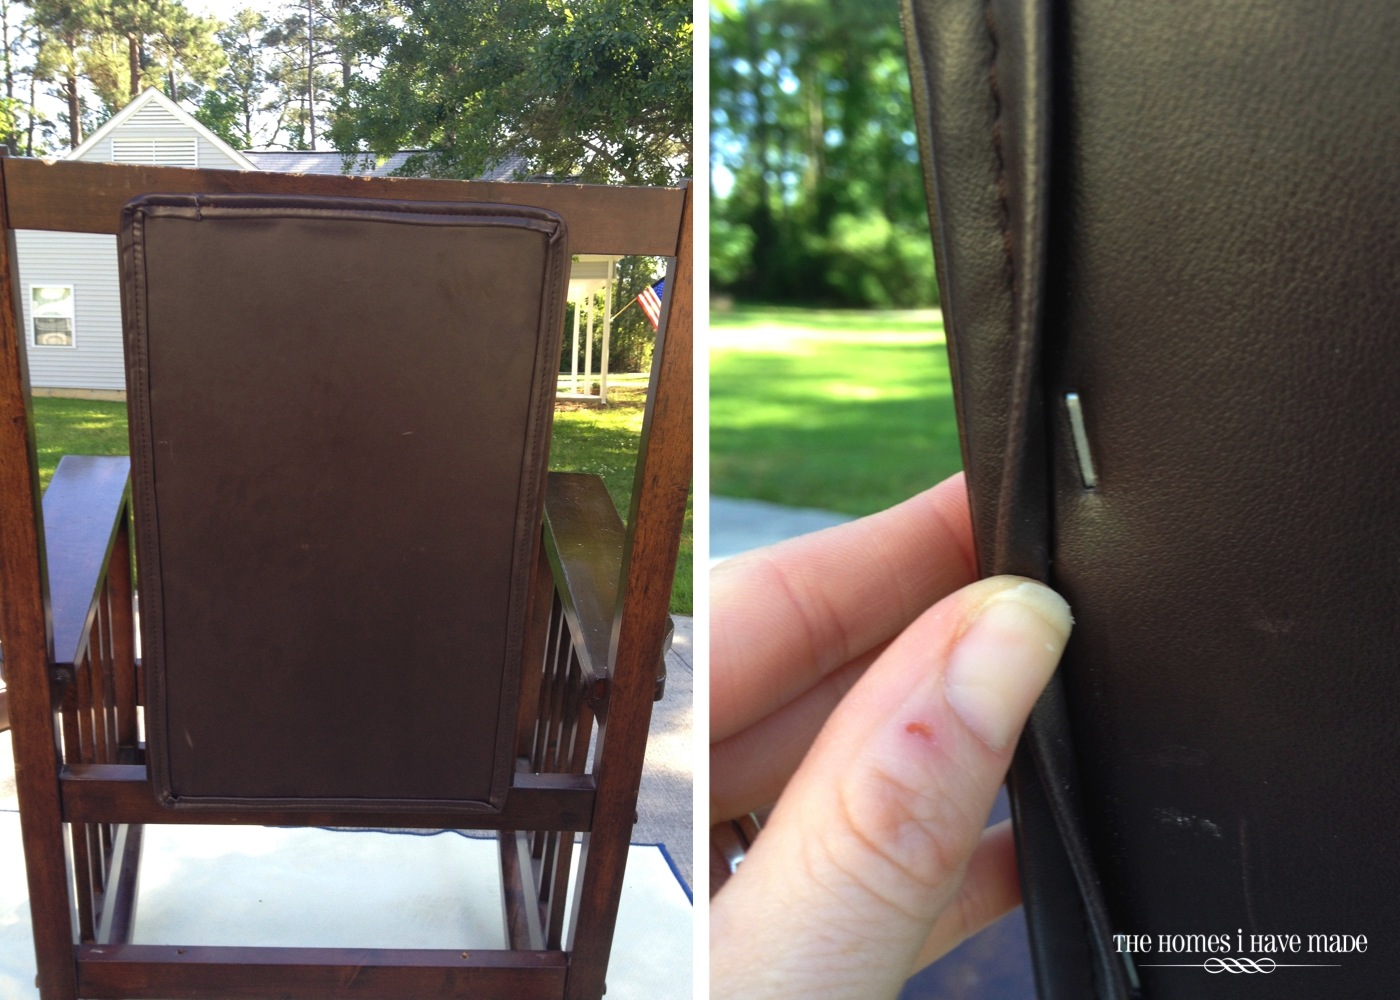
At first, I wasn’t quite sure how I was going to get the back panel out. But upon further inspection, I discovered that staples were holding on the back panel, and then I was off and running!
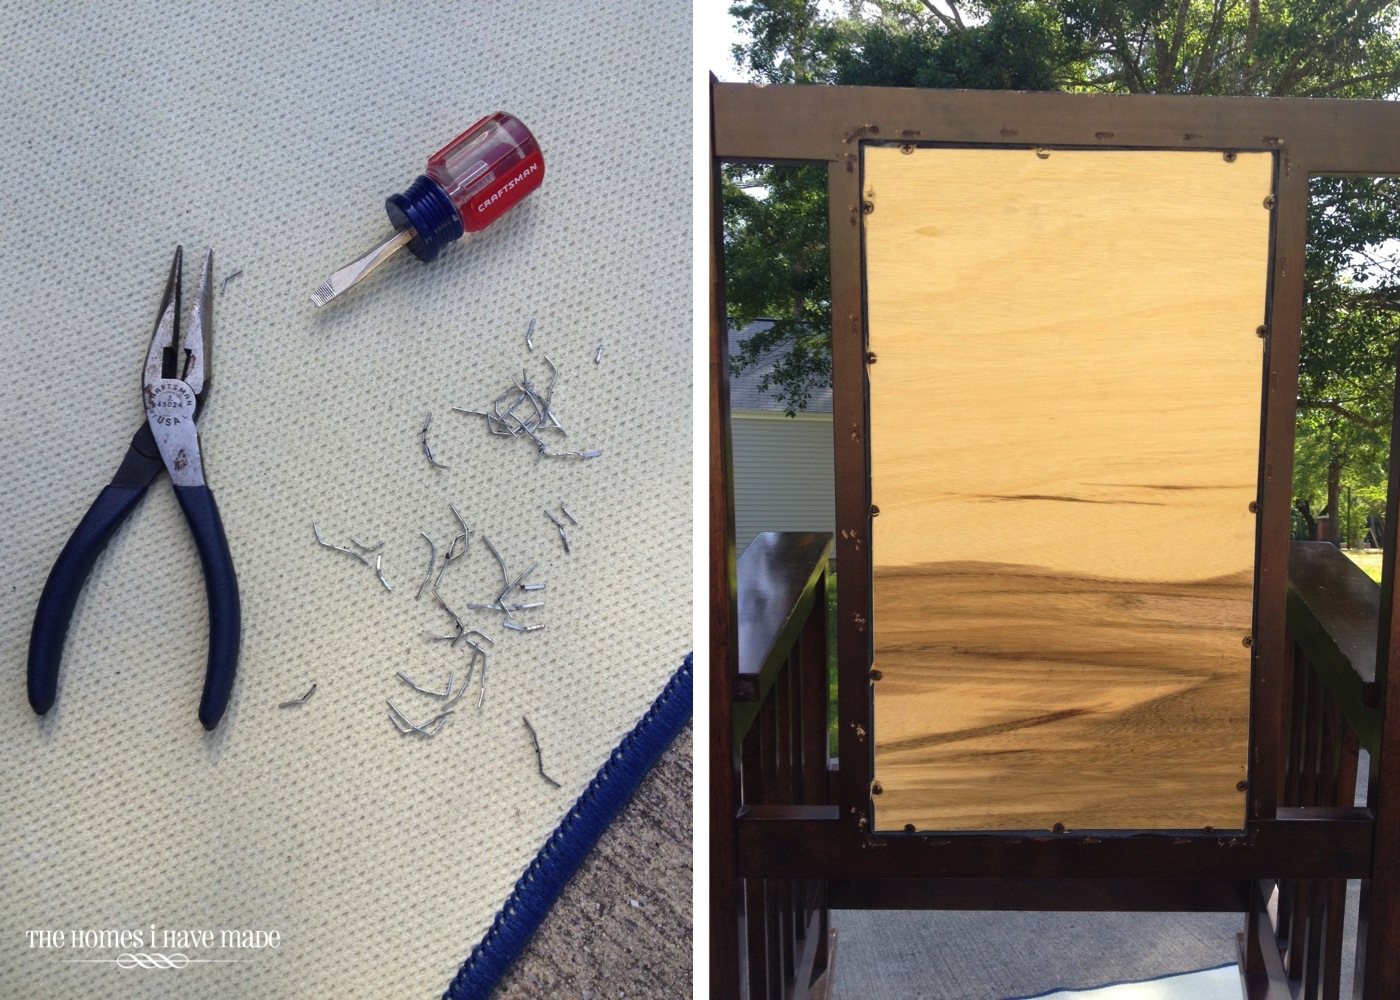
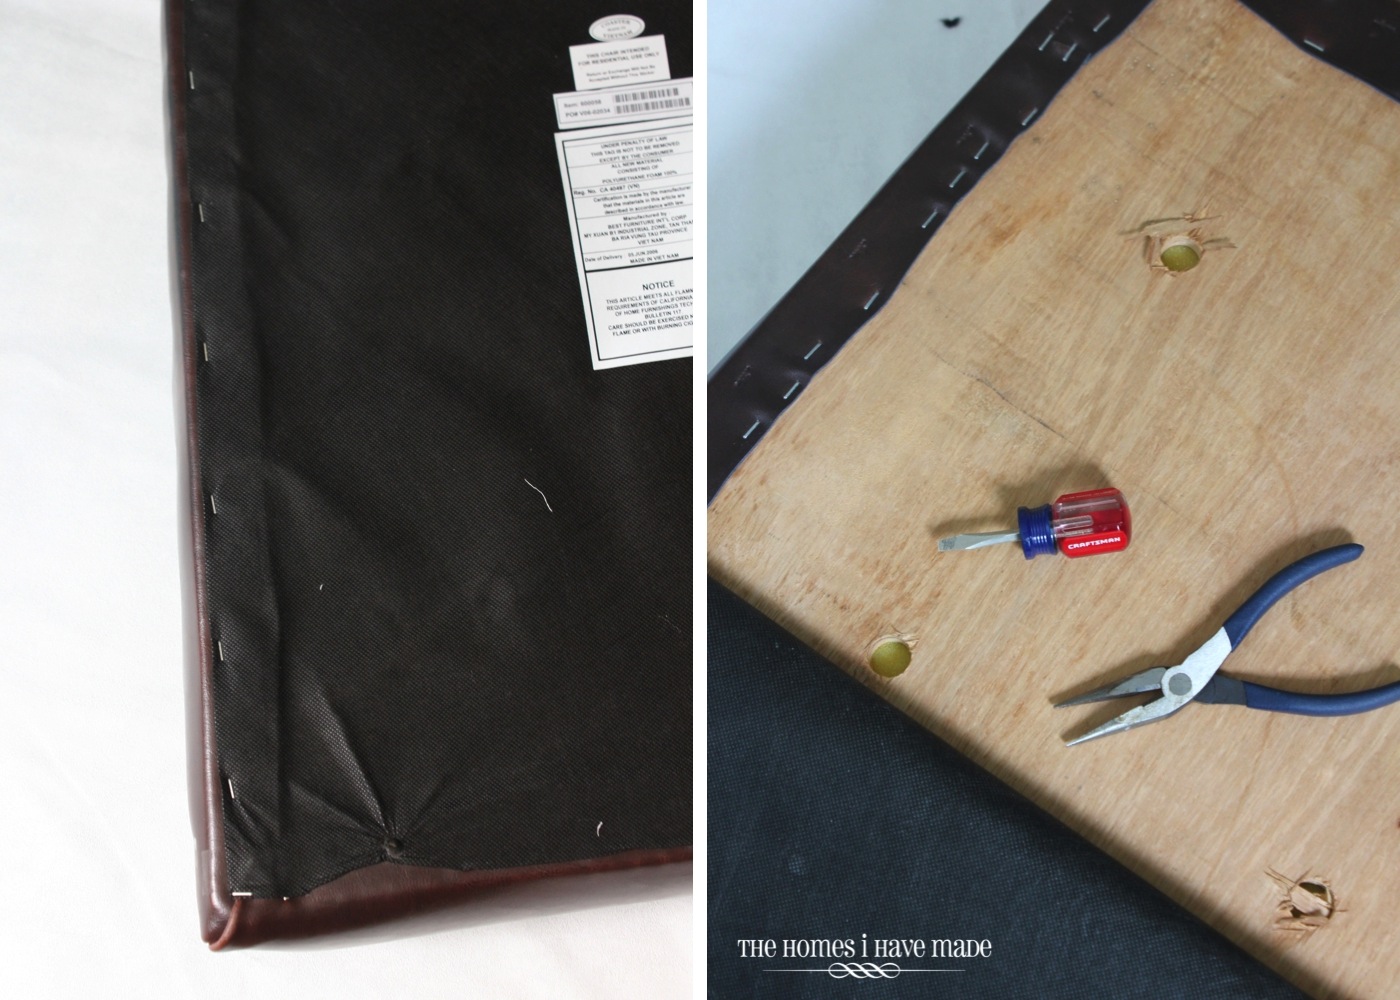
A small flathead screwdriver (smaller is better for great leverage!) and a needle-nose plyers were my best friends for getting all the staples out. Once the fabric panel was removed, the wood was just held in with screws!
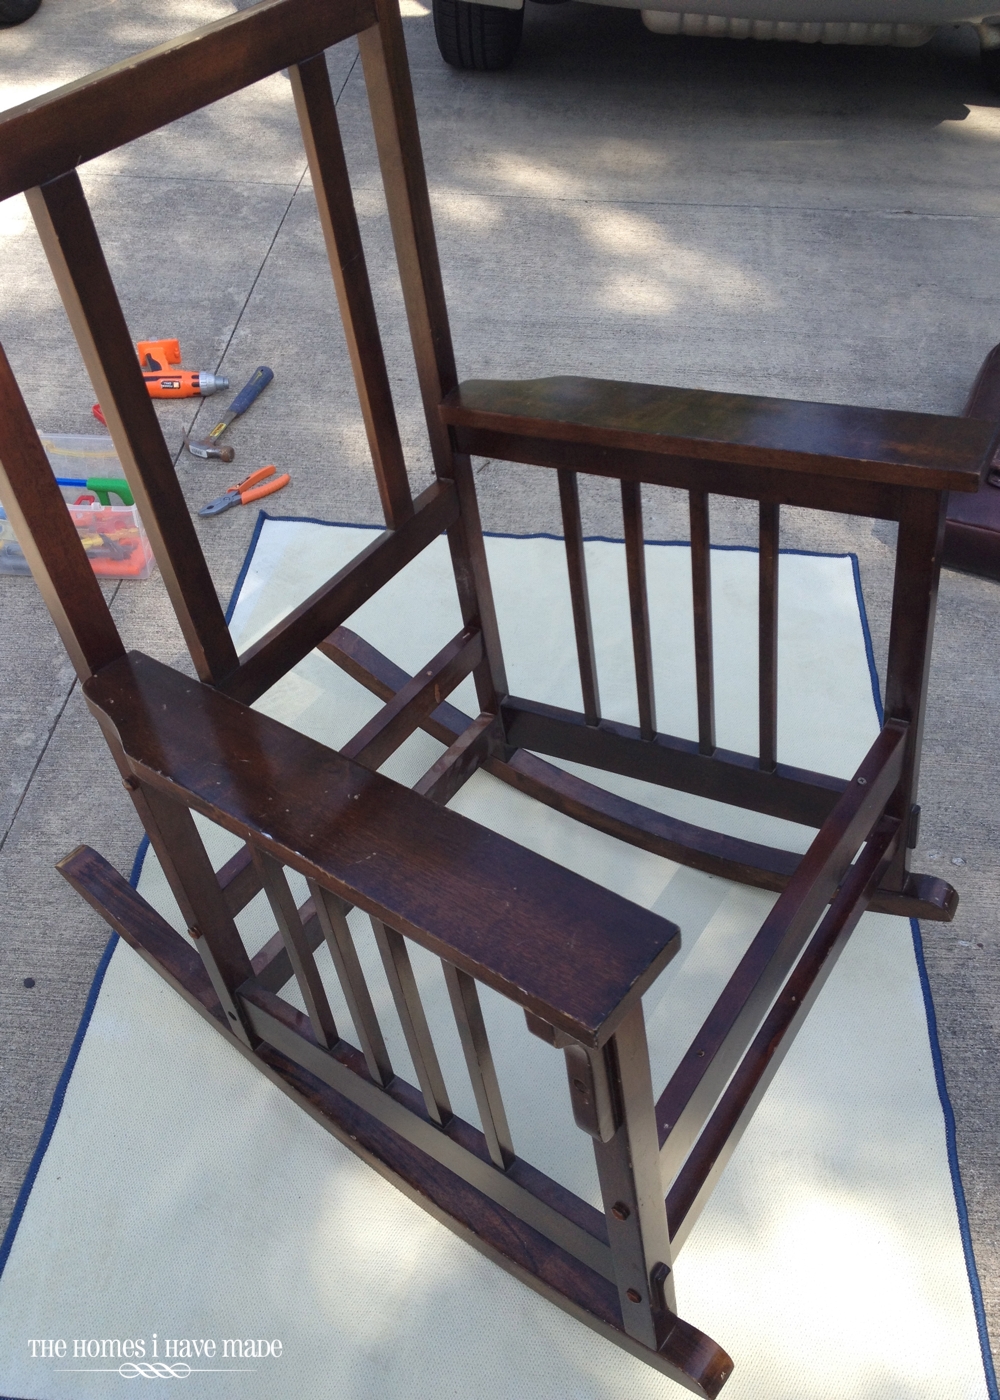
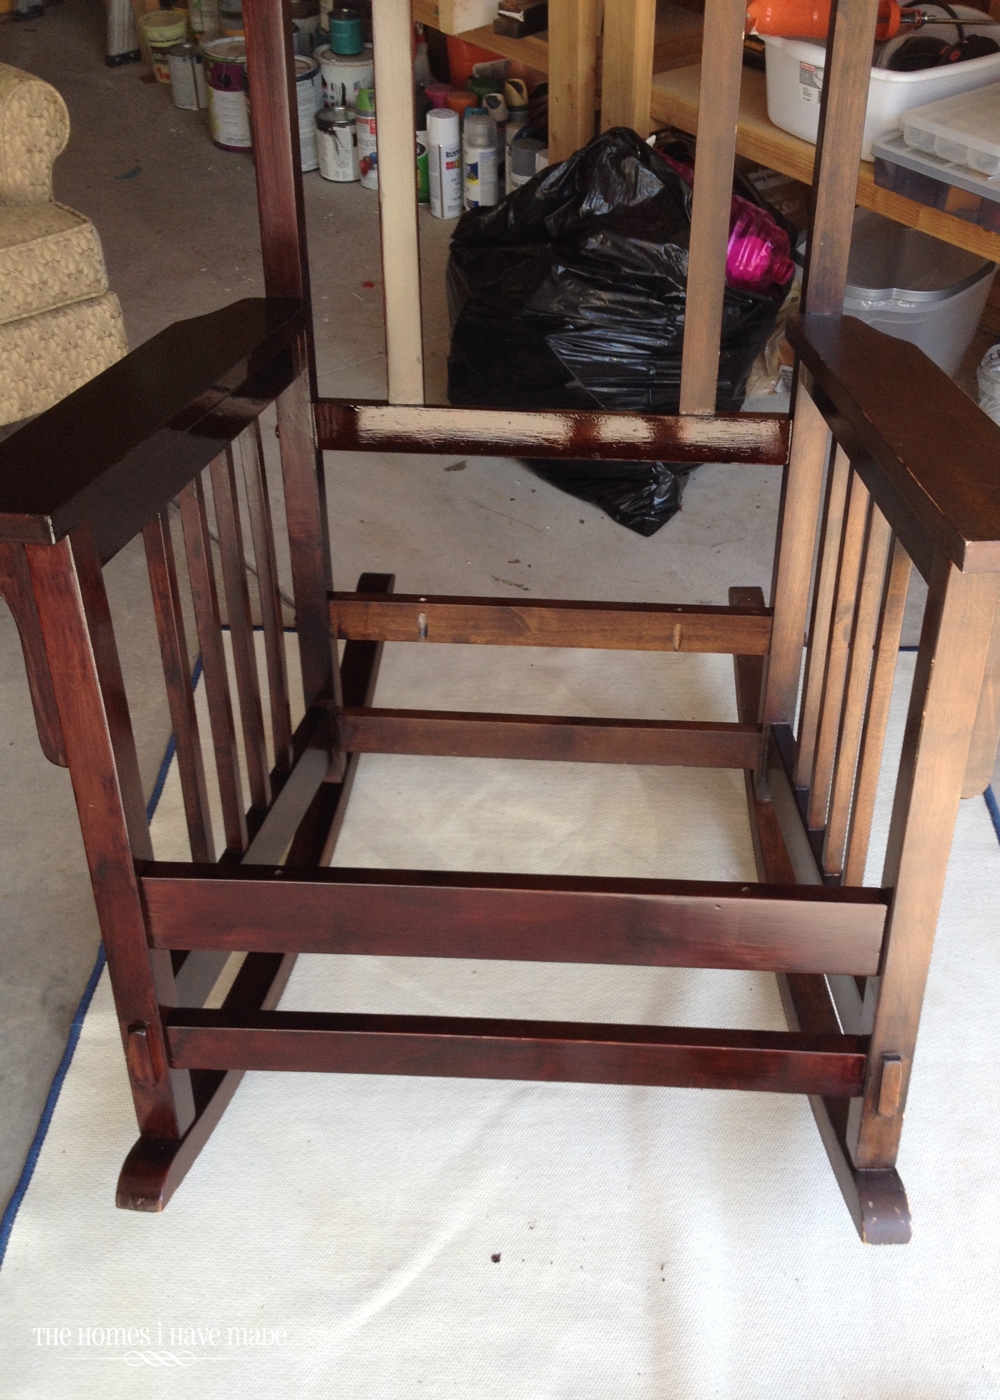
Here’s my chair with the fabric sections removed, ready for cleaning and stain!
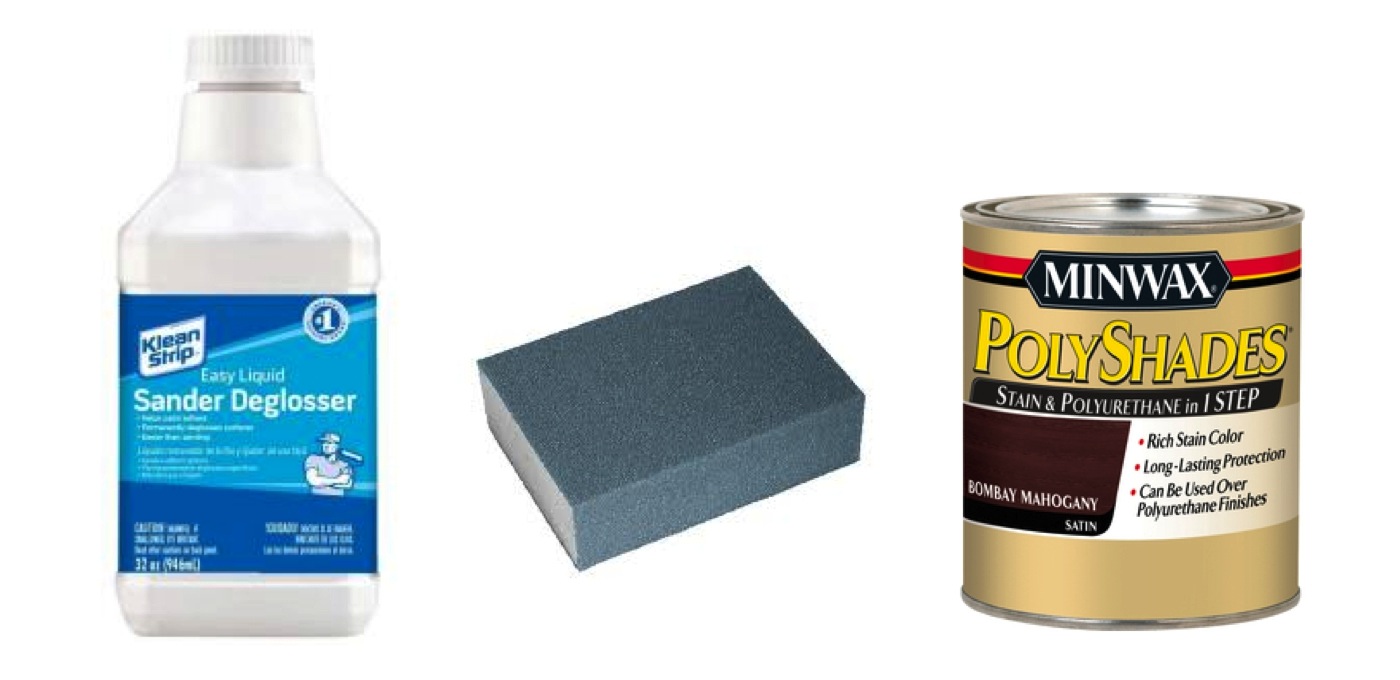
I was super antsy to try Minwax’s PolyShades product. I’ve read about it all over the web, and I was super allured by the idea of re-staining without a complete sand. Since I was going darker to match Henry’s existing furniture, I just followed some basic tips I had read here and there. I wiped down the entire chair with liquid deglosser twice and then ran a sanding block down the flat surfaces, just to remove the poly coating already on the chair and smooth out some of the dings and dents. I then applied two coats of the Polyshades in Bombay Mahogany with a 2″ angled brush, sanding with steel wool in between coats.
Because of the time of day I was working, it was hard to get some good photos. Below, the left side and front of the chair had one coat of the stain and the right side hadn’t yet been touched. This product is really interesting to work with – it’s like a paintable stain. I kind of have a love/hate relationship with it. It’s a little finicky to work with but the end results are pretty great. I might do a full post to share my thoughts about working with it, so stay tuned!
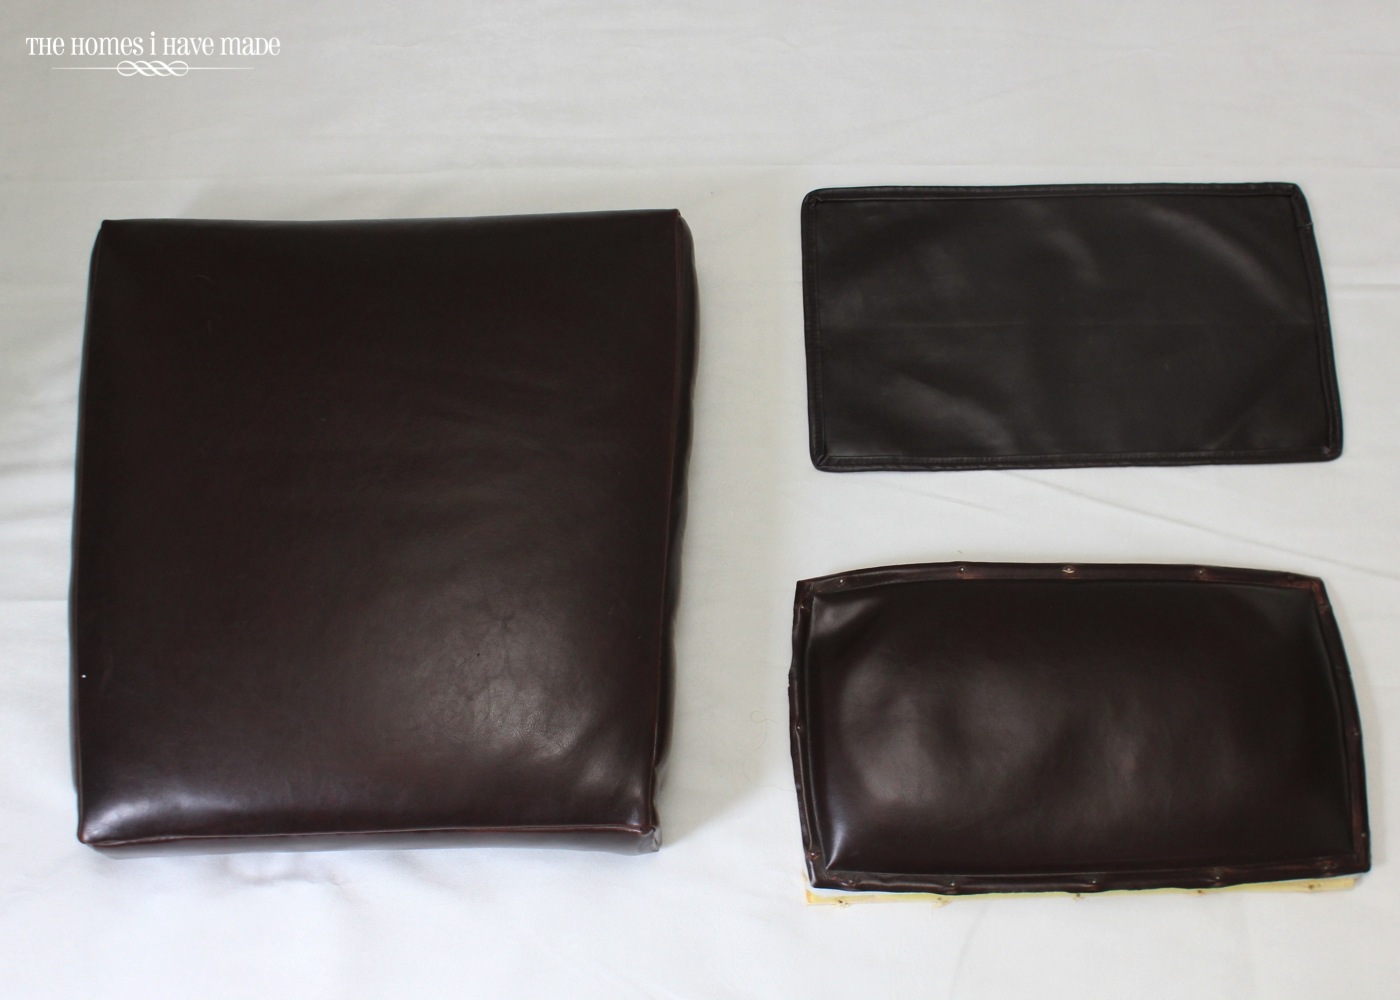
While the chair was drying, I turned my attention to the fabric portions of the chair. I had to re-do the cushion, the inset back panel, and the outside back panel, which all total required about a yard of 54″ fabric.
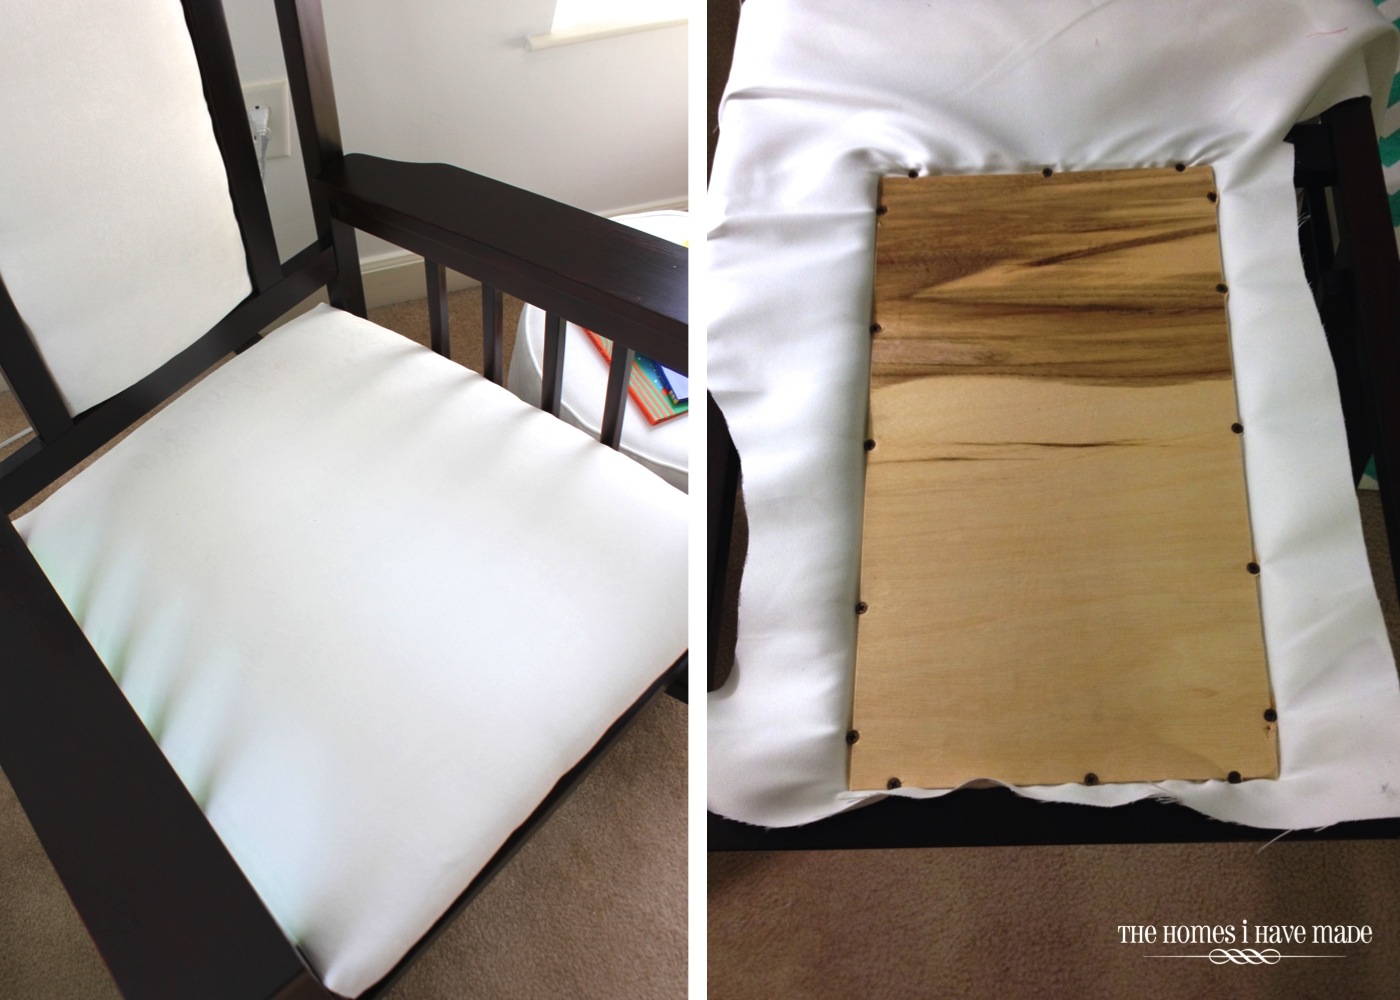
I started by deconstructing everything, including pulling out a million more staples (I might be exaggerating a bit 🙂 With the bottom portion removed, it revealed a plywood base and foam cushion underneath the leather cover.
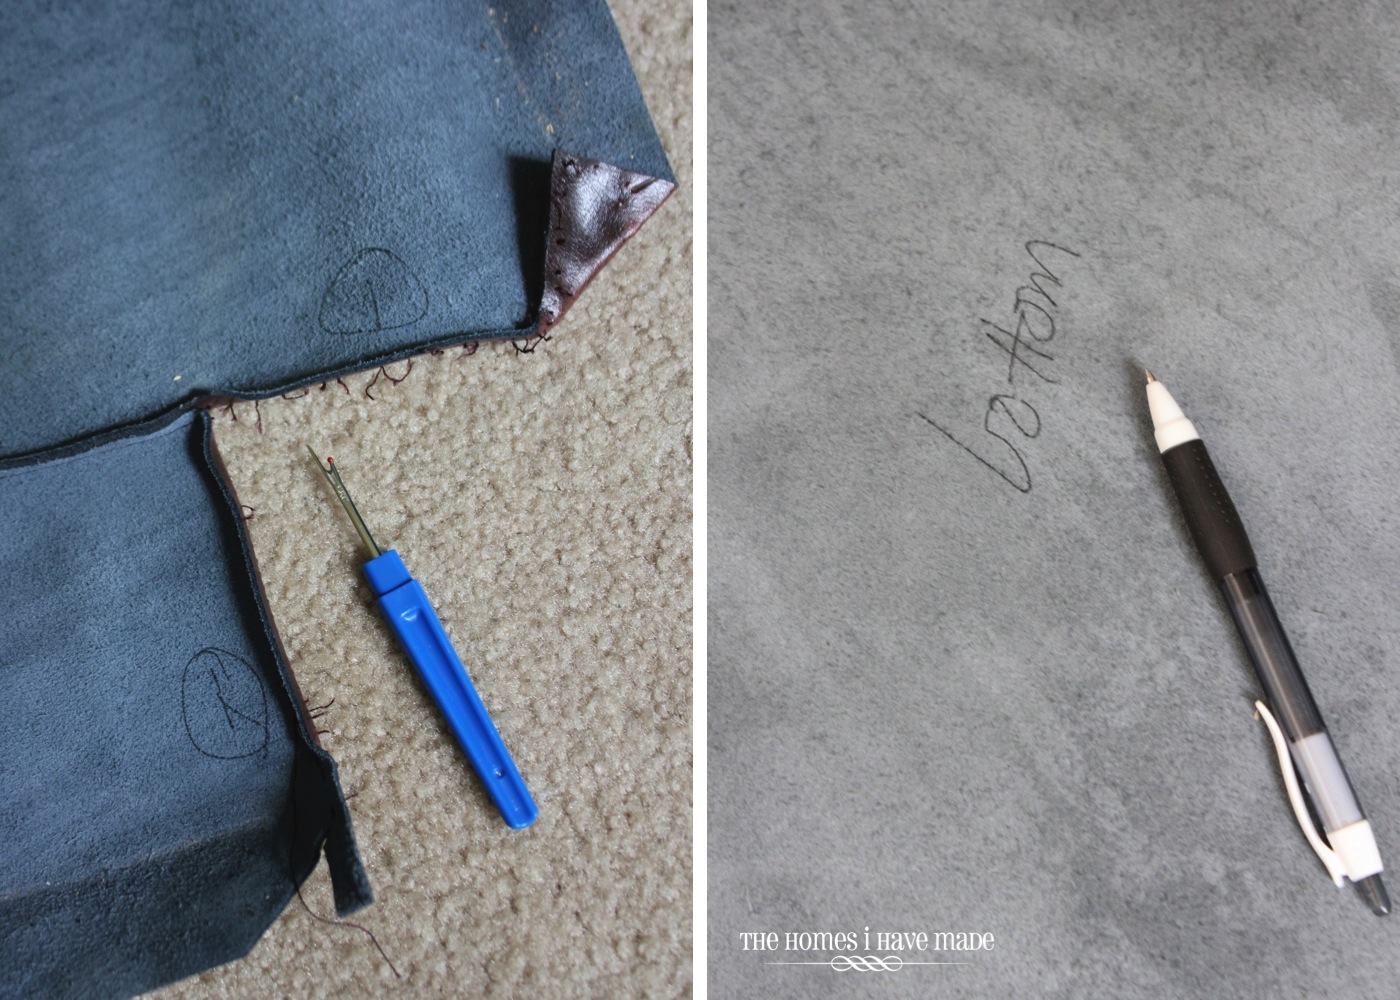
Next, I picked apart the entire leather cover, notating and marking every section as I went. One of my biggest tips is to mark everything, even if you think you’ll remember how it will go back together. Mark seams, sides, tops, bottoms…any little mark that will help you put it back together just right. I used a system of numbers and symbols so I knew exactly what pieces matched up where.
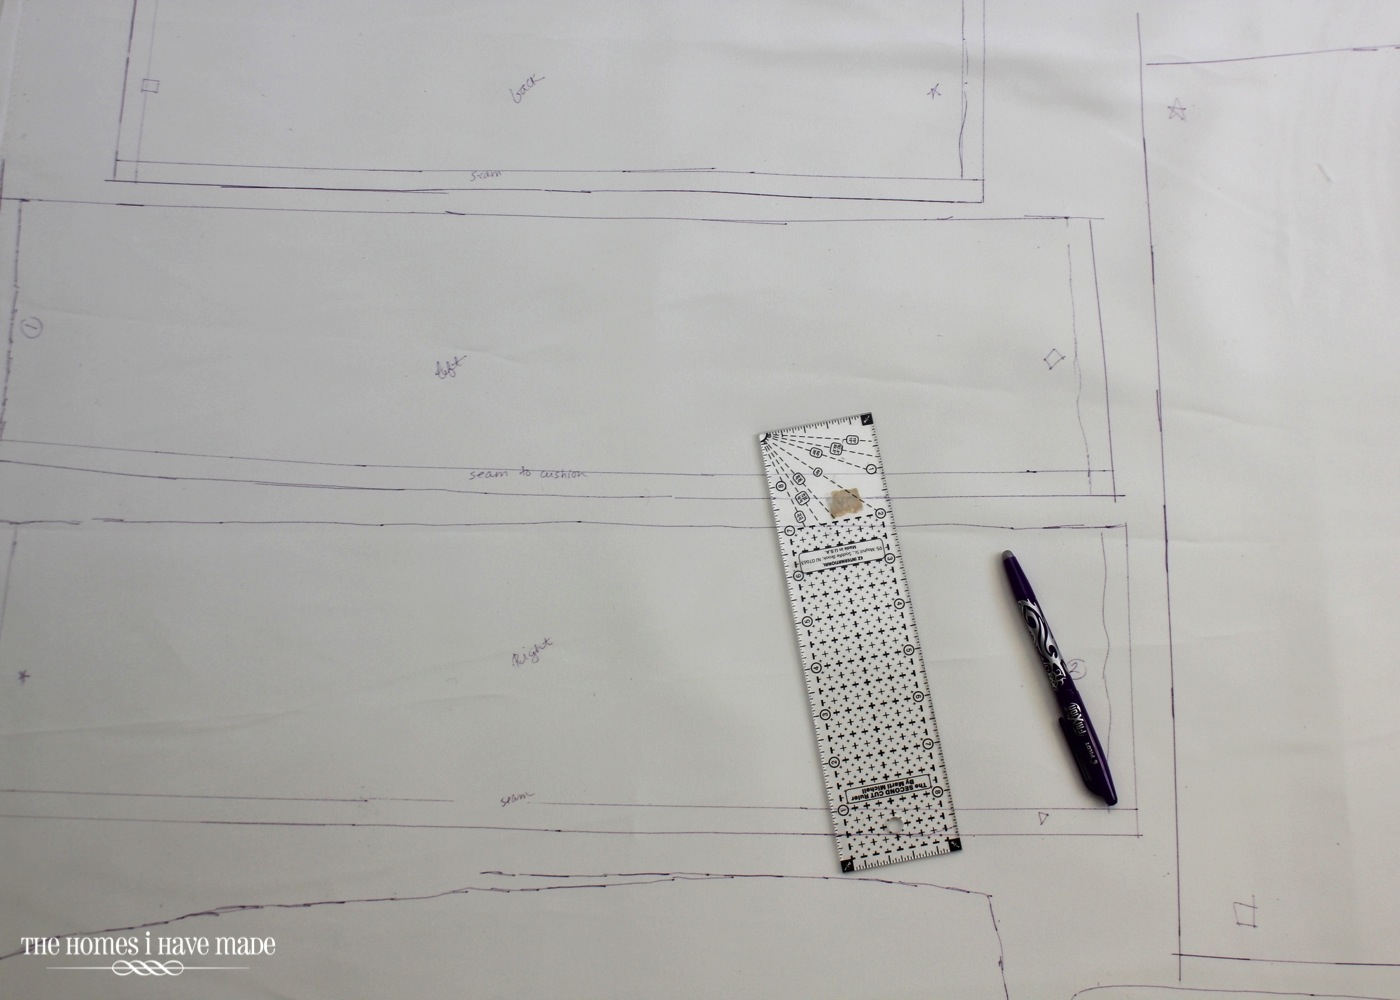
I then transferred all of my pattern pieces (including ALL of the notations and symbols) to the wrong side of some white micro-suede fabric. I used a disappearing pen to do all the transferring.
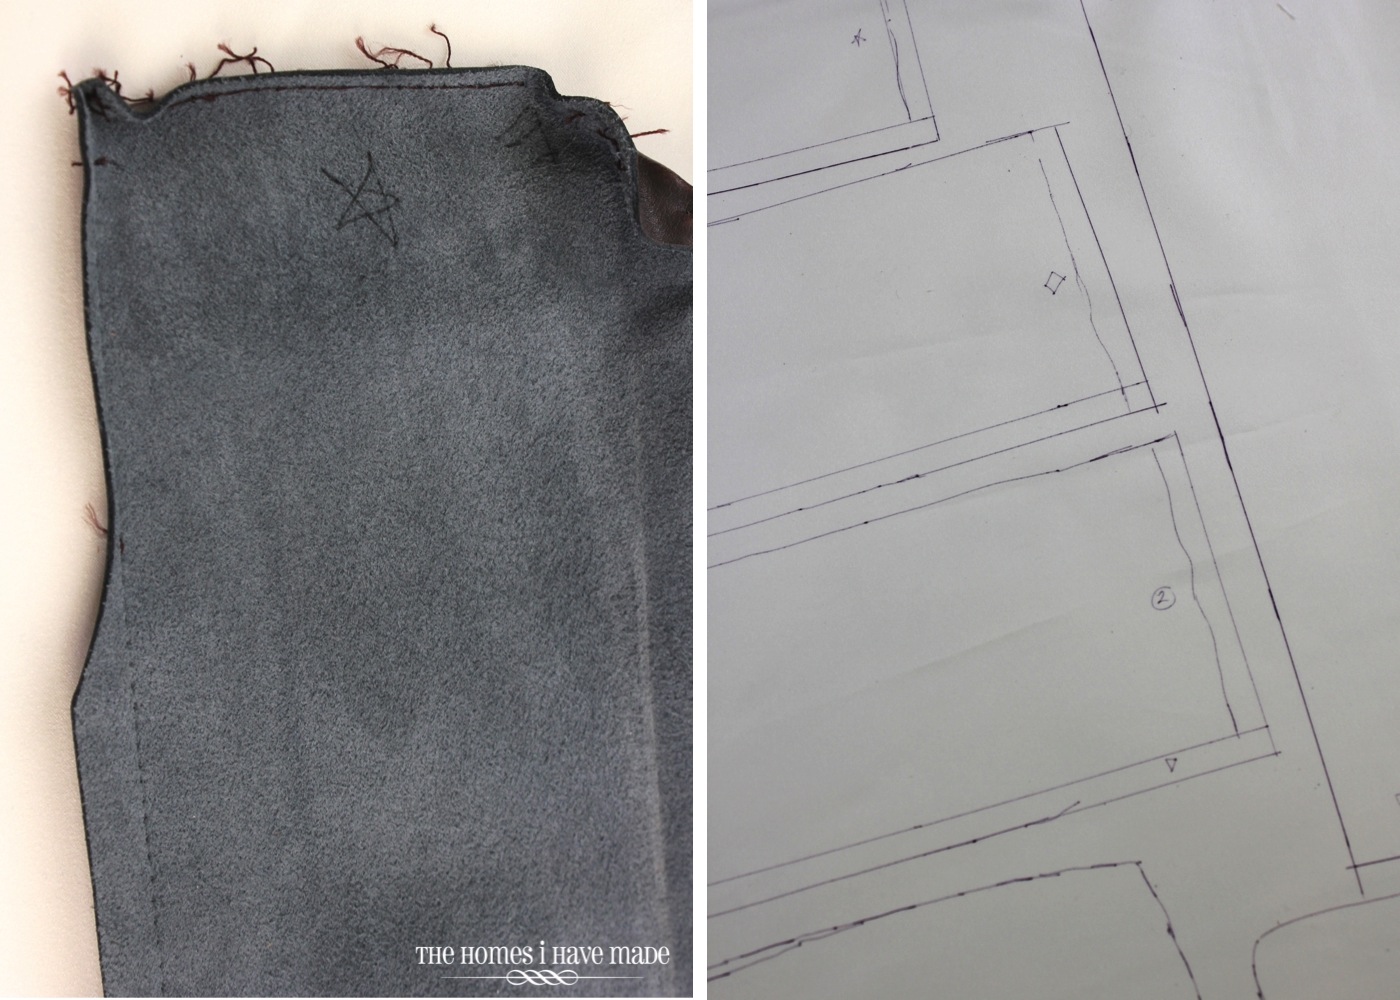
One thing to keep in mind is to be sure to add the right amount of seam allowances so you can sew it back together properly. Often, once something is sewn together, an upholsterer or seamstress will trim down excess seam allowances to reduce bulk. Notice in the photo below left that the seam had been trimmed down. I used a ruler to add that seam allowance back onto my pattern piece so that I could sew it together properly. Once my cover was sewn together, I mimicked the trims from the original cover to reduce bulk as well.
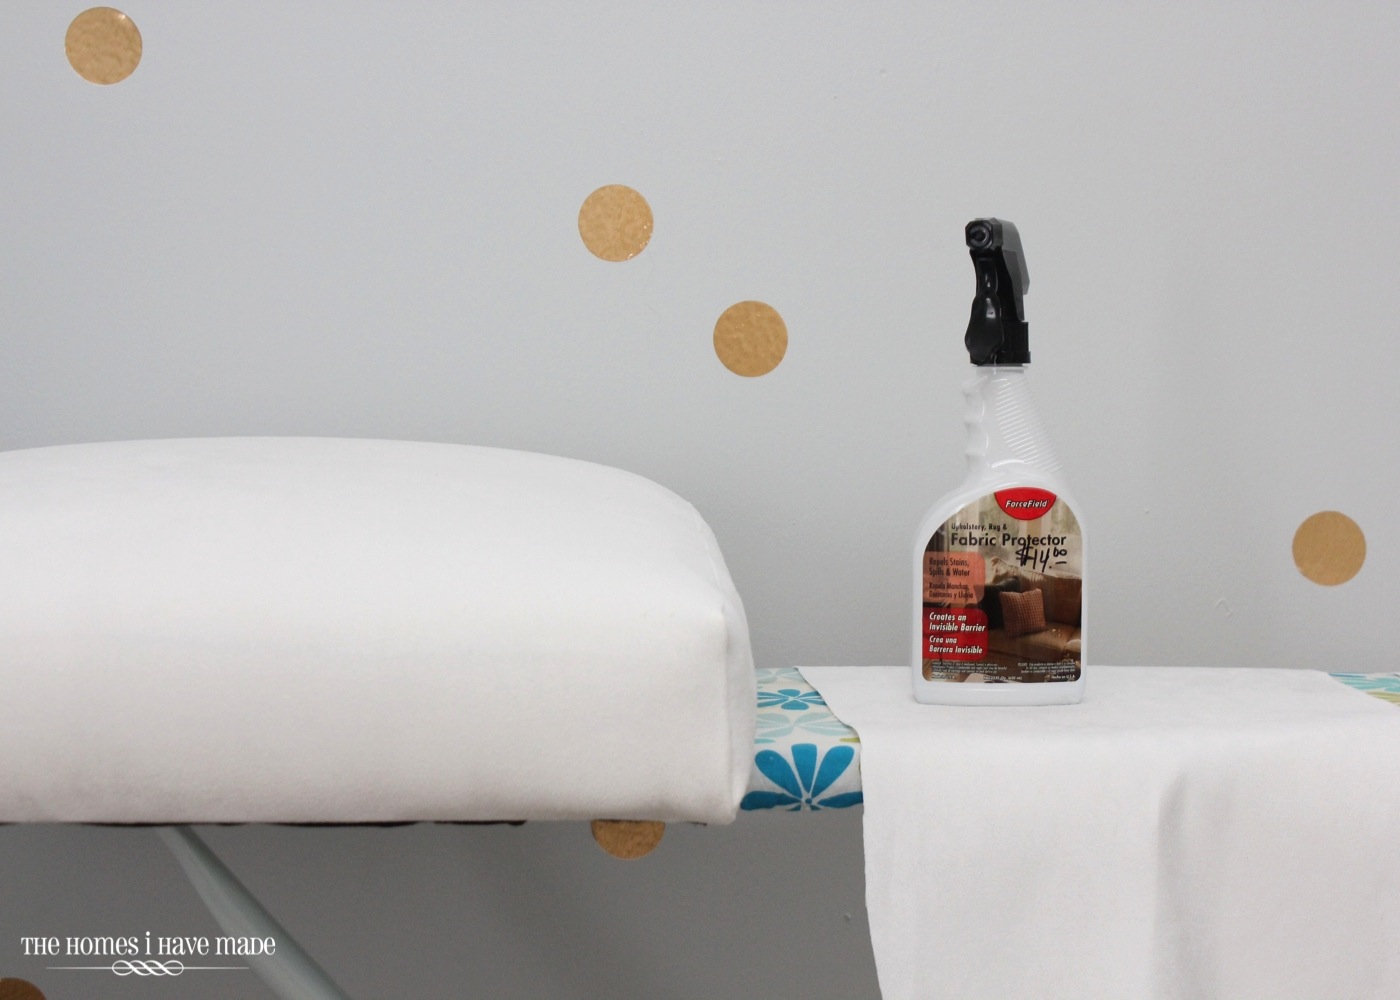
Now who out there is wondering why on earth I would cover something for a kid’s room in WHITE micro-suede? Well, first, this room doesn’t get a ton of food or dirt – it’s pretty much a sleeping, changing, and reading bedroom only. Second, we’ve had pretty good luck with micro-suede in the past – I love its durability, softness, and ease to work with. Finally, the gal at the fabric store RAVED about this Force Field fabric spray. Per the directions, I sprayed down my fabric pieces (after they were assembled and before they went back on the chair) and let them dry for 24 hours. Sure enough, the few times I’ve had to wipe away smudges, it wipes clean with a wet paper towel!
With my chair stained and my fabric sections re-created and ready to go, it was time to re-assemble the chair in the exact reverse order as I had disassembled it! The cushion was easily screwed back in. For the back inset panel, I left a bunch of excess fabric so that I could pull it tight and not worry about it slipping through to the front. Once the back wood panel was screwed back into place, I trimmed down the white fabric before replacing the final back covering.
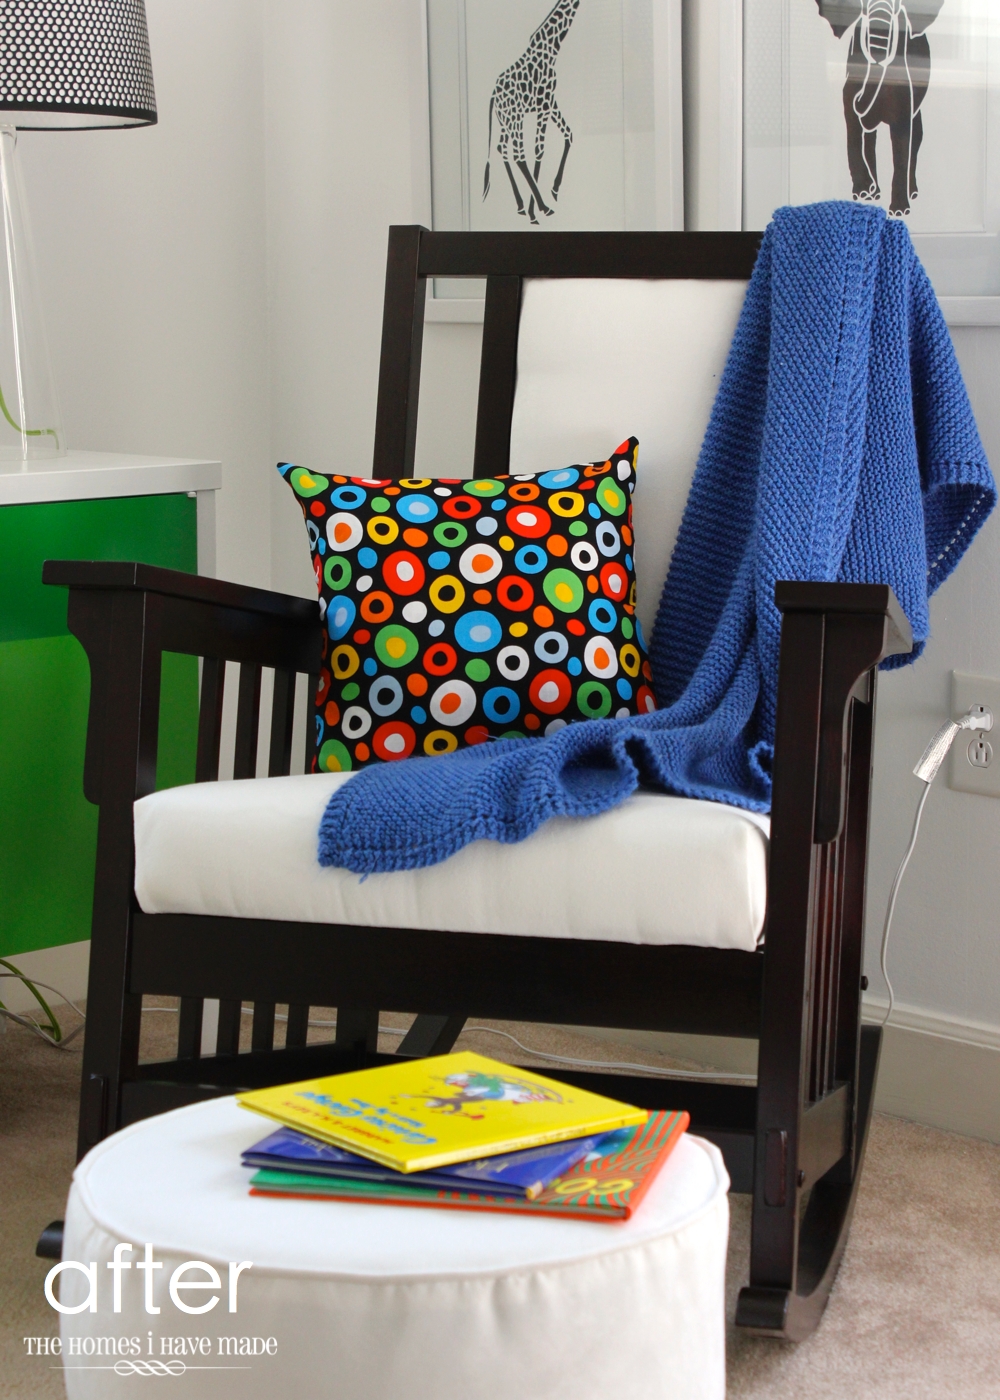
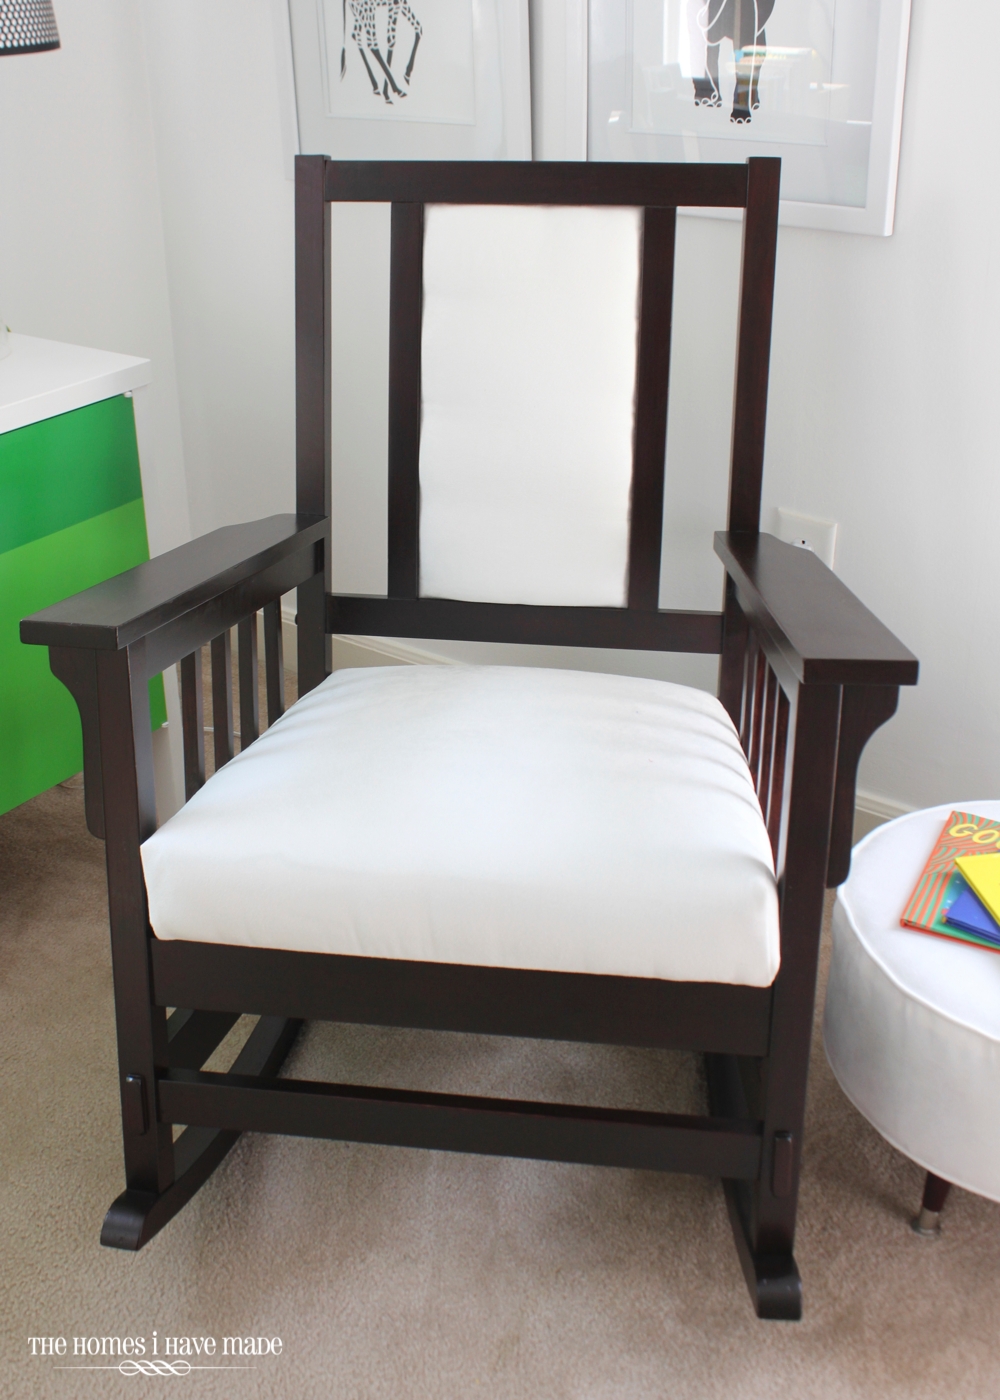
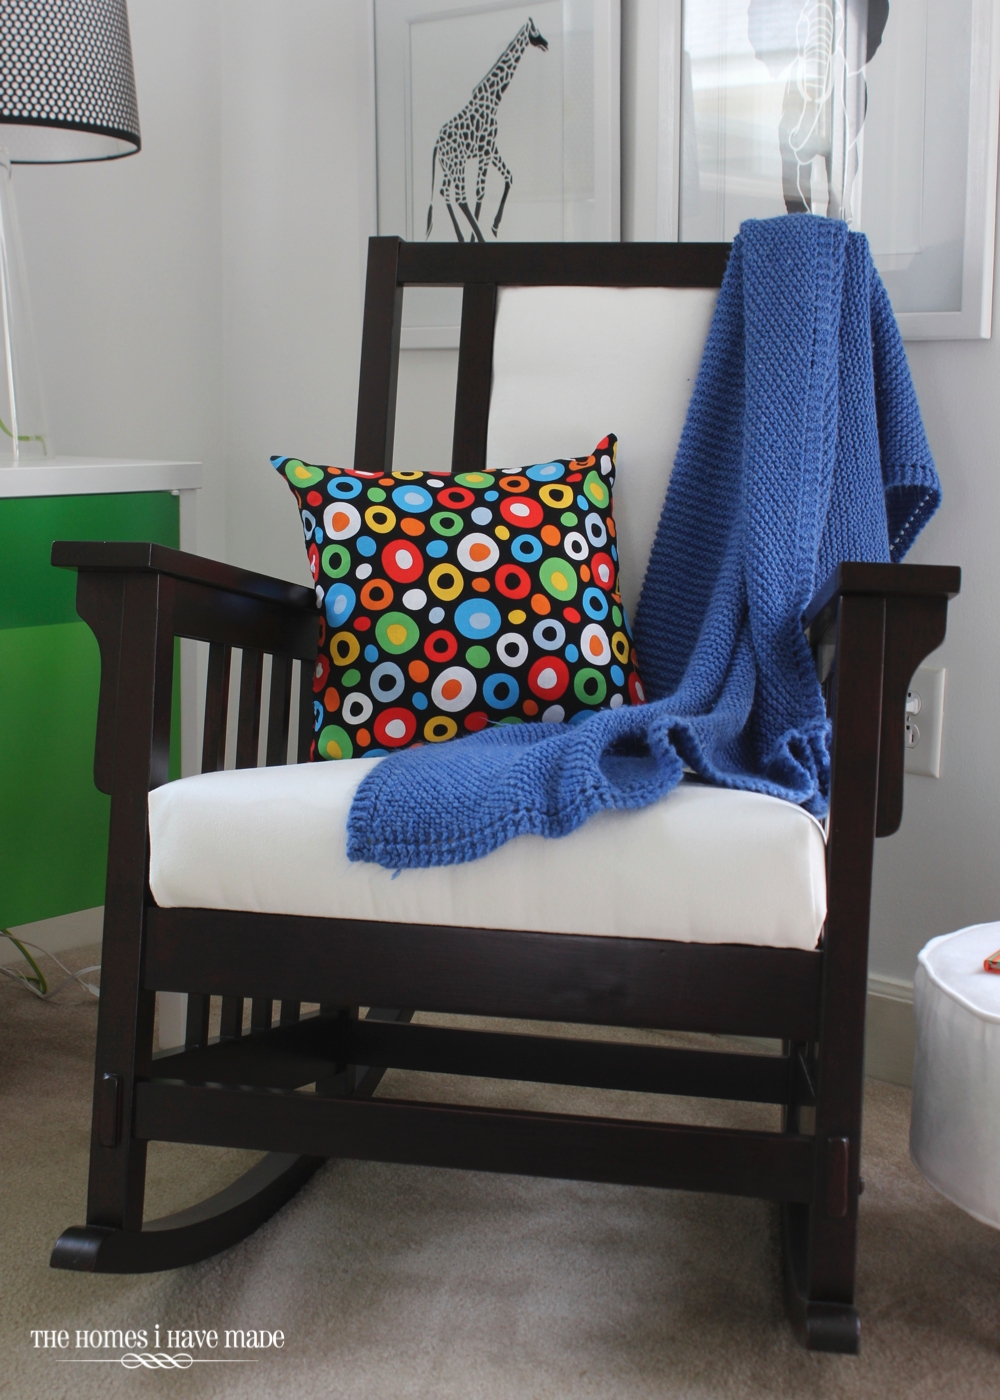
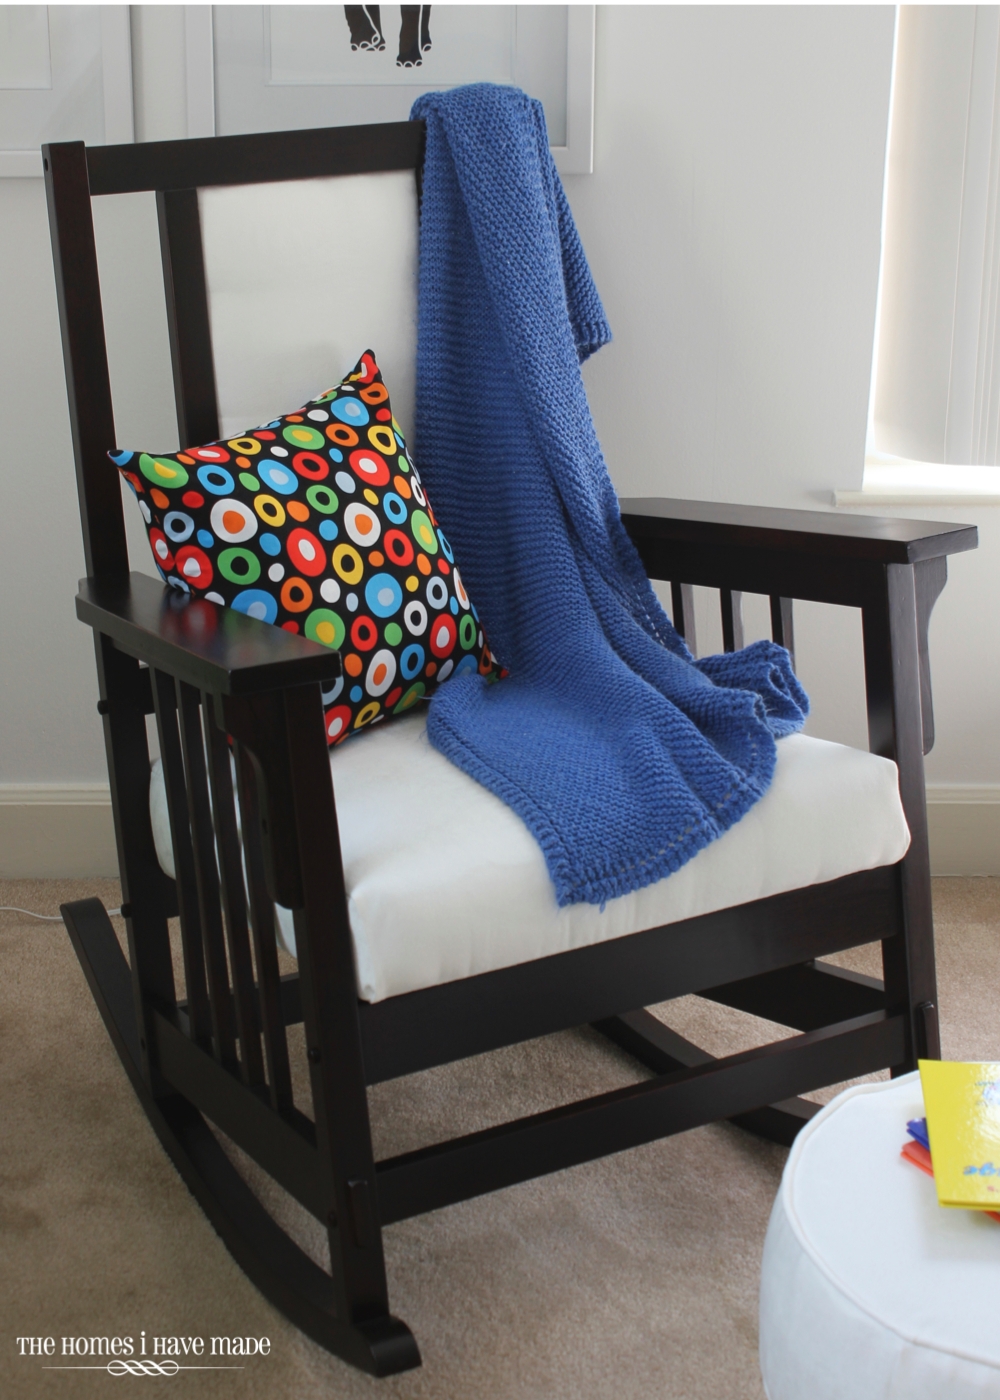
When all was said and done, I just could not believe how stunning this chair turned out. This was one of those rare “it worked perfectly and easily” projects. No hiccups, nothing had to be re-thought-out or re-done. All the steps were simple and went according to plan! Yay!
Like I said before, I’ll try and do a follow-up post about the stain, how it works, and what the final result is like. But below you can see that the color is consistent and still looks and feels like wood!
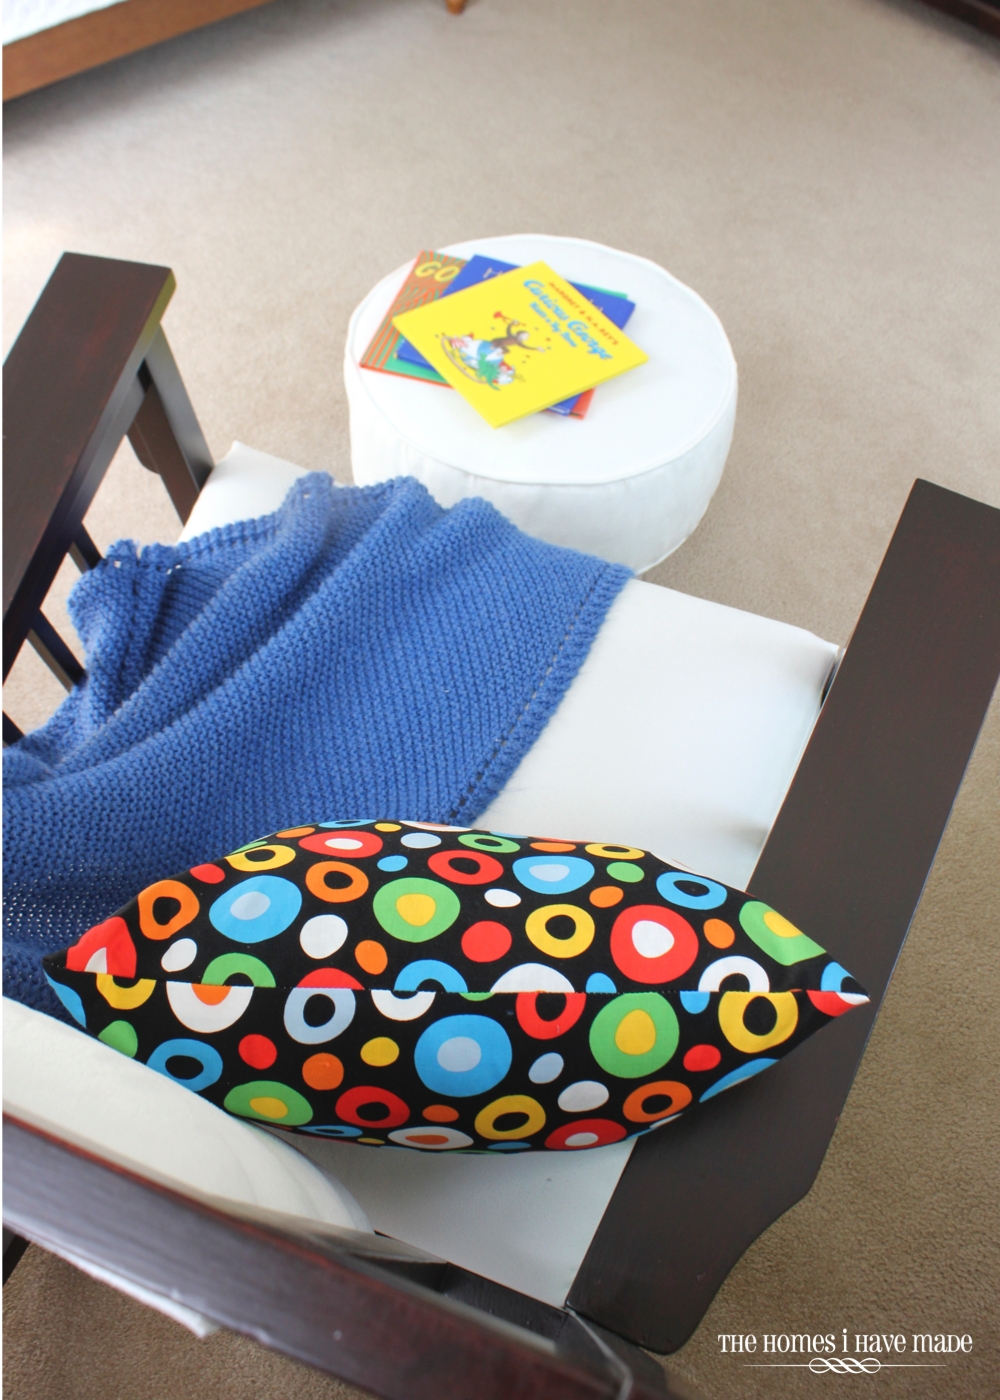
This has been such a wonderful addition to Henry’s big boy room. Farewell uncomfortable and ugly wing-back chair…hello lovely and cozy rocker!
I know you can see some other fun details/projects lurking around these pictures. I promise to get to every detail in the coming weeks! Until then, one more before and after!
This chair cost me about $40 total ($20 for the chair, $10 for the fabric, and $10ish for the stain and deglosser) and a few days of my time. This project was so so so satisfying to do – and now we have a perfect addition to Henry’s room!
Hope you all have a great rest of the week! I’ll be back next week to share a fun summer-time craft!
Megan




One Comment on “A Rockin’ Makeover”
It turned out so beautiful! The stain is gorgeous!! I tried staining once….and only once since it didn't turn out 🙁 Oh well. The rocking chair is beautiful! Great job!!