My No-Fail Formula for Cute and Easy Parties Anywhere
This week, I am starting to pull together ideas and projects for Henry’s 7th birthday party; and I am pretty excited about it! Of all the crafts and projects I do, I have to admit that party planning is one of my very favorites. I love the entire process of picking out a theme, settling on colors, shopping for supplies, and using cute and clever crafts to bring an entire party to life. For Henry’s first birthday, I spent weeks (weeks!) preparing, and even dedicated 7 different blog posts to all the various projects from his party. While I don’t regret a minute of it, let’s just say life has changed and mama ain’t got time for that anymore. But just because I’m busy, it doesn’t mean my desire to throw cute parties for my kiddos is any less. Well…”necessity is the mother of invention” so they say; and in recent years, I’ve settled in on a “formula” of sorts that allows me to pull together a super cute, festive and themed party in a matter of hours. Case in point, Sam’s Super Hero Birthday party (which are the photos I’m sharing today) was pulled together in about 3 hours (including the shopping!). Consider these easy and budget-friendly party ideas as my “must haves” for any party; and I promise they will give you the look of a Pinterest-style party without the weeks of preparation!
Stop-and-Drop Party Decorating
In addition to a super-easy, time-saving, and budget-friendly approach to party planning, the steps I’m about to outline is also really great for what I call “stop and drop” parties. For Henry’s first few birthday parties, I wanted them at home so I could control everything – the setup, the decor, the colors, the lighting. Being at home allowed me to have my styled table with my awesome backdrop and perfect lighting to photograph it all. I wasn’t up against a certain time window so I could take my time getting every detail just right.
In recent years, we’ve shifted to having parties at venues because…friends…it’s just so much easier. Whether it’s the park, bowling ally, trampoline park etc, there is a wonderful convenience in having things setup for you, your kids entertained and supervised, and your house not completely destroyed. But when you have a party at a venue, you are usually given a pretty strict timeframe and you are at the mercy of what is provided in terms of tables, lighting, and supplies. But just because you can’t control every detail of your setup, you can still have a really cute, themed party everyone will enjoy and appreciate.
My party formula can work in any party venue…at home or away…and for any occasion! Let me walk you through it!
Step 1: PICK A COLOR AND THEME
This is admittedly my favorite step in any party-planning process. In order to have a “cute and coordinated” party no matter where it is, it is helpful to have a theme. A theme could be a character, a style, a song/move title, an era, or even a color. It doesn’t have to be super complex or specific (although if you are doing a kid party, they can probably chose a theme fairly quickly!); it’s just really helpful to have something guiding a lot of your choices.
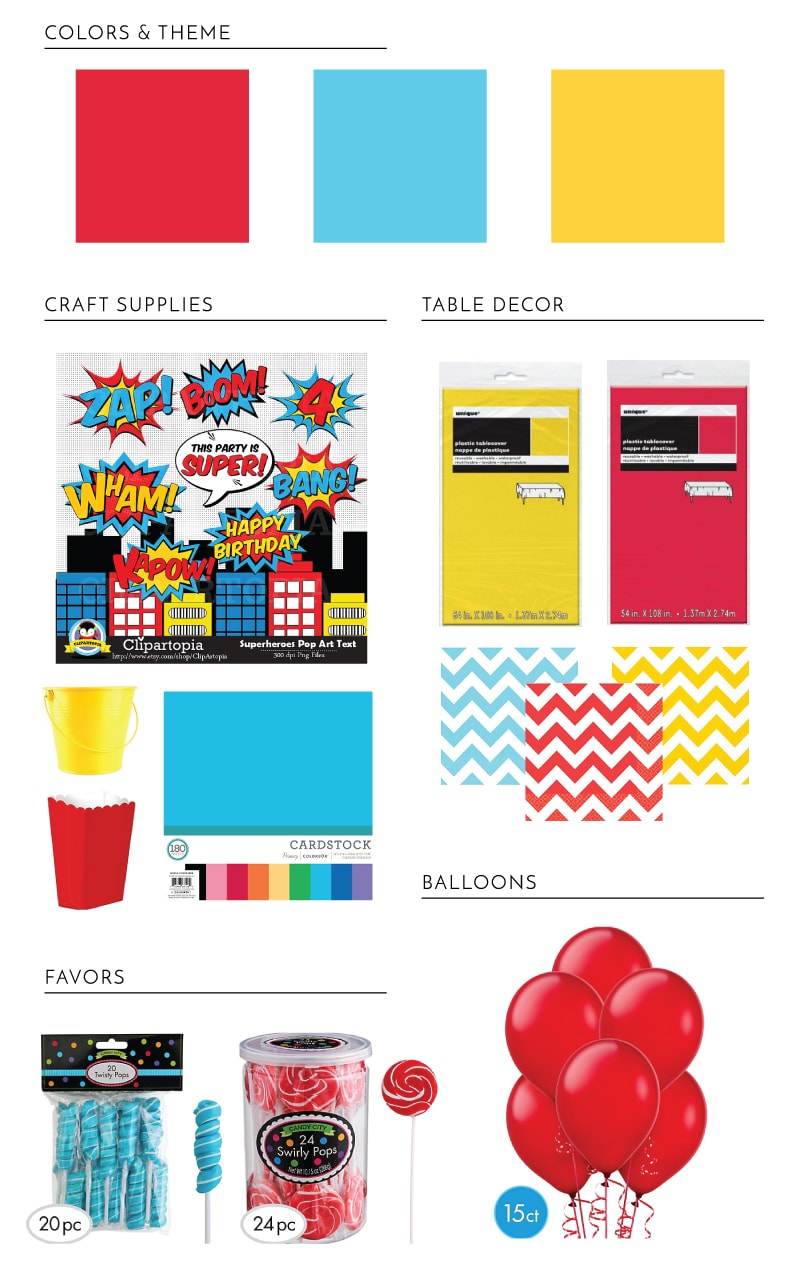
Once you have a theme, nail down a color palette that will bring that theme to life. I recommend 2-3 colors max in order to create a really consistent-looking venue! For really special parties, it may help to coordinate your color scheme to your venue (or rather, pick a venue that works with your theme), but for simple birthday parties, don’t even stress about it!
For Sam’s party, we settled on the “Super Sam” theme fairly quickly. Once I found this adorable clipart set on Etsy, the color scheme of turquoise, red and yellow popped out immediately. With a theme and color scheme nailed down, it was very easy to shop and craft items to bring it all to life!
Step 2: Send Out Real Invitations
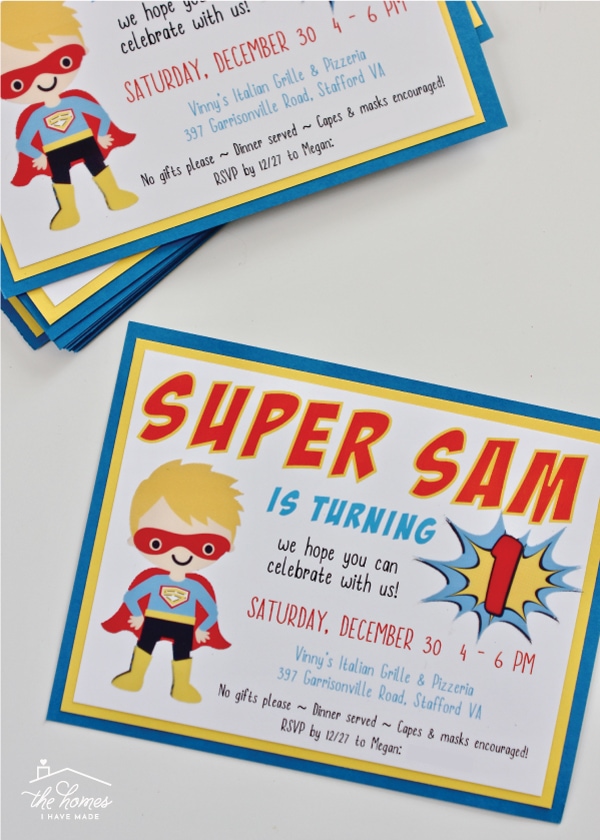
Call me old-school, but I still like to give out real paper invitations for our parties. The main reason is because I think invitations really help set the stage for the rest of the party…not just for the guests but also for myself. I find that the process of putting together the party invitation helps me settle in on graphics, fonts, colors and ideas that can then be strung throughout the rest of the party.
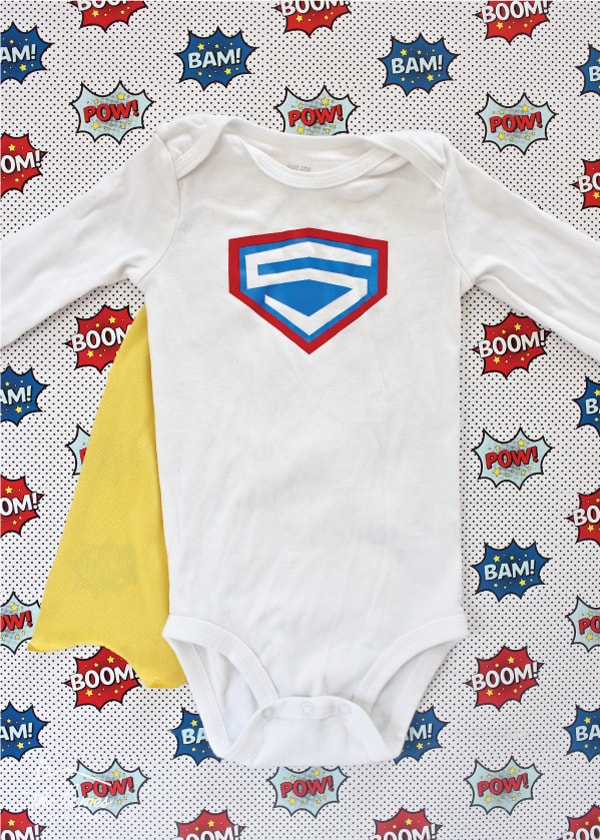
For example, the little Super Hero I used for Sam’s invitations (above) was found in the Cricut Design Space library. I then used that same little guy on the banner, and I plucked out the “S” design on the hero’s shirt to make a matching emblem for Sam’s onesie. I found and bought the clipart set for the “1” graphic but then ended up using various images from that kit on all the decor. Whether you buy invitations or create them yourself, they can really be a valuable first step in pulling your party together!
Step 3: Dress the Tables
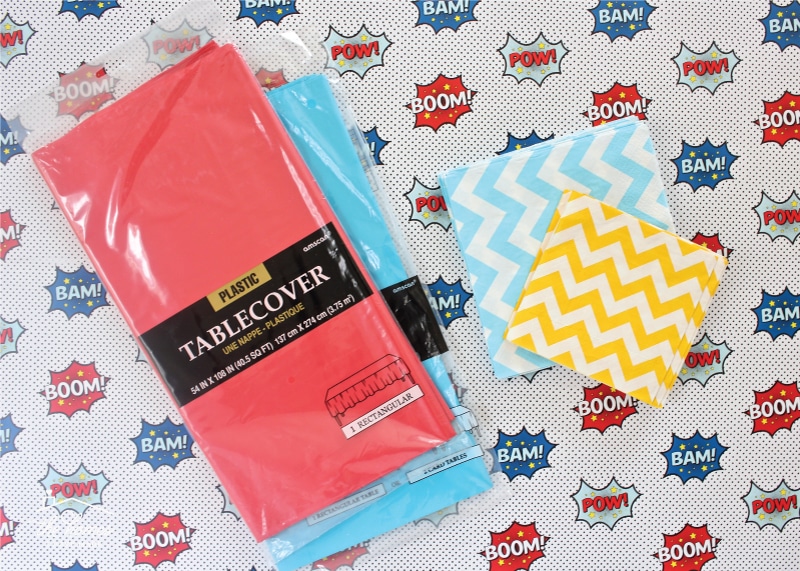
Because I’ve really whittled down the amount I create (and bring) to a party venue, I like to focus on things that give me a lot of decor “bang for my buck.” And one of the main places I focus on is the tables. Whether it’s in my own home or at a venue, tables are a large and visibly-prominent part of a room, so they are the perfect real-estate to convey your theme. Disposable table cloths, napkins, and even decorative papers (such as the “Super” wrapping paper we used as easy-down table runners) all in your party’s colors can dress tables and transform a room in a flash. Two quick tips for you: 1) Make sure you call ahead to find out if tables are round or square, and 2) Buy extras and keep the receipts – you never know where you might be able to use the tablecloths (e.g., photo backdrop, cover unsightly equipment, etc).
Funny Story: I learned this lesson the hard way at a bowling ally birthday party for Henry. The staff promised me they had an array of colors for table coverings, many of which would have worked for Henry’s Ninjago birthday party. By the time our event rolled around on a busy party weekend, all they had left was the pizzeria-style red-and-white checked cloths. Doesn’t exactly scream “Ninjas,” does it?
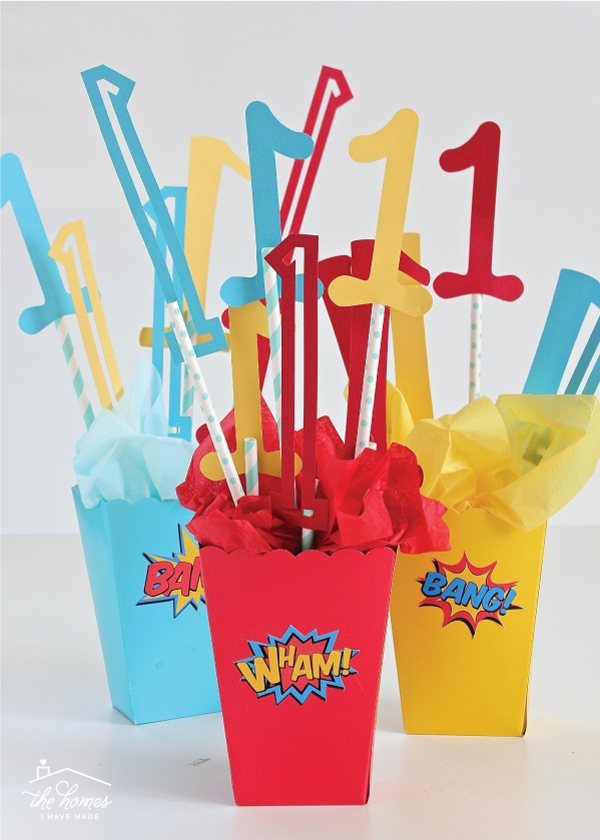
On top of colored table cloths, I like to place simple and easy centerpieces that quite specifically convey the party theme. These always involve paper numbers (for whatever age birthday it is), as well as stickers, vinyl cut-outs or other images that match the theme. I’ve already shared exactly how to make these fail-proof centerpieces, so check out that tutorial here!
With colored tablecloths and centerpieces in place, sprinkle some candy or small silly toys (again, in color and/or theme) down the table to finish it off!
Step 4: Hang a Banner
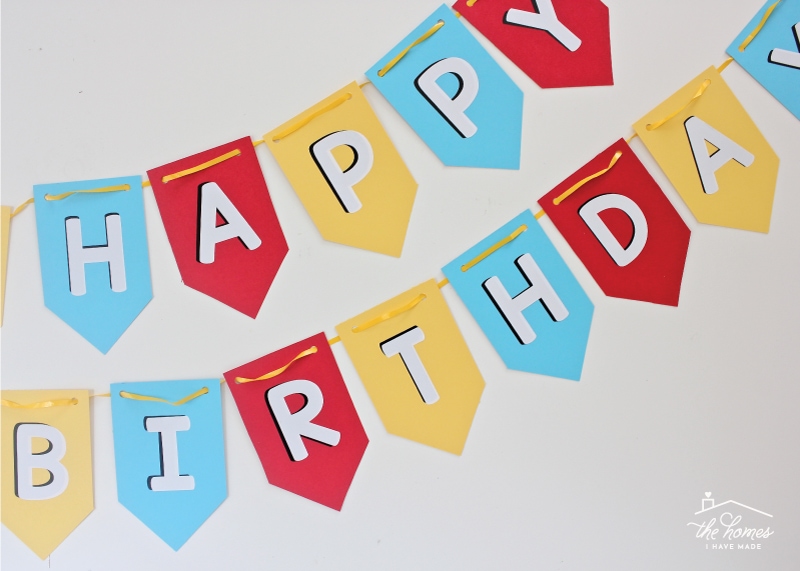
I’ve cut my party projects way down over the years, but most times, I still take the time to create some sort of paper banner. Not only is this another way to bring more of your party’s theme or colors into the space, but it’s the perfect item to create a focal spot for the entrance, cake, favors, birthday child’s seat, or food.
My tips on banners include: 1) Make it bigger than you think you want it; large spaces can swallow dinky banners. 2) String words onto their own strings, so you can arrange it however you need to; 3) Bring your own tape and scissors if you’re not at home! Waiting for staff to find you tape can slow you down on a tight timeline! and 4) Keep your banners – they come in very handy for impromptu celebrations!
Step 5: Every Party Needs Balloons
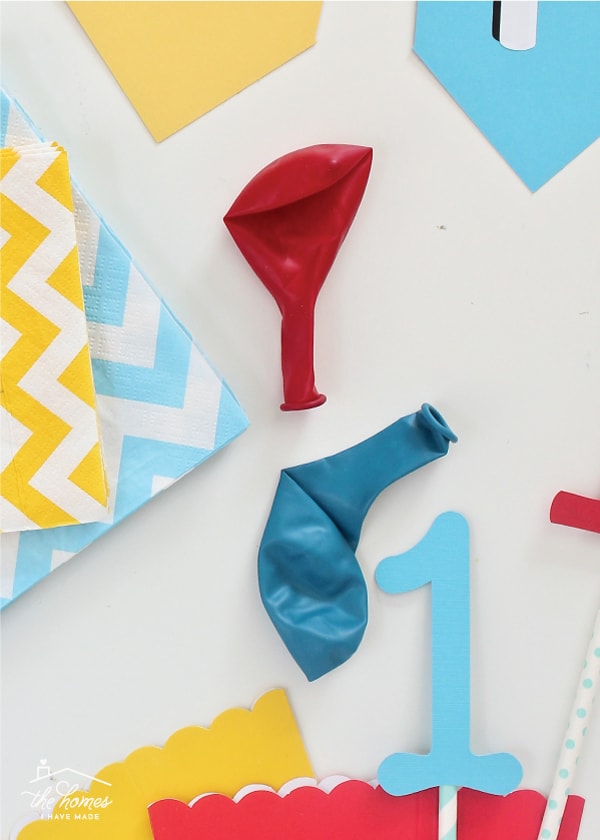
When you’re busy getting a party setup, going to get balloons (or sending someone to get them) can be a bit of a nuisance. BUT! I find they are always worth the trouble. Balloons bring a festivity that nothing else really can; and again, when you’re not creating much, they go a loooong way in making any room feel decorated.
I like to get 5-6 in each of my main colors. I usually tie them to the table centerpieces, at the entrance, and on the birthday/guest of honor’s chair!
Step 6: Say It With Cake
The cake is another great opportunity to flex your crafty muscle and bring your party theme to life. If making cakes is fun for you, Pinterest is overflowing with ideas. While I do enjoy making cakes, I’ve taken to ordering cupcakes with icing in our party’s colors from our local grocery store. I then dress them up with either wrappers, toppers or both! Not only are cupcakes logistically a little easier for both the host and guests, but I find them easier to dress up and match to the party’s decor!
Step 7: Dress the Part-y
Another fun and easy way to bring your theme to life with minimum hassle is to dress your guest-of-honor (and maybe even the guests!) in the party’s theme. This is obviously most appropriate for kids and babies, but handing out masks, corsages, t-shirts, necklaces, wands/swords and other accessories is both fun and appropriate for all ages!
I cut the “Super S” from heat-transfer vinyl to transform a plain white onesie into a Super Hero costume for Sam to wear at his party (If you’ve never worked with iron-on vinyls, you can see my tutorial here.) Guests were also asked to come in Super Hero attire which added another element to the party without me having to do any of the work! (Pssst – the baby cape tutorial is coming soon!).
Step 8: Finish With Favors
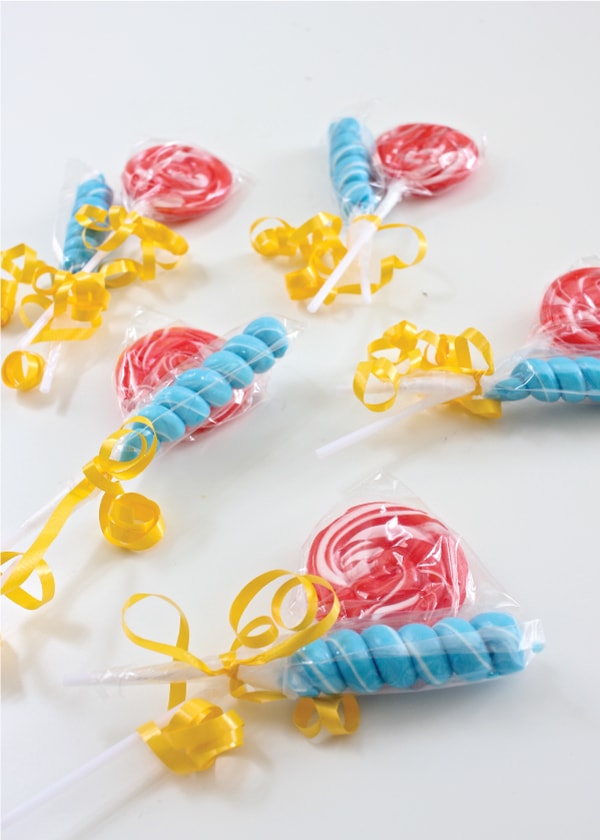
The final element I like to include is a fun and themed party favor. Both Amazon and Etsy are treasure troves for favors in a variety of themes, so you can likely find something to send home with your guests that feels cute, coordinated, and intentional. Even silly, random gifts can look on-theme when placed in coordinated gift boxes or bags. If you’re really strapped for time or can’t find anything, cute candies and pops in your party’s color scheme work perfectly!
Sam’s Party At-a-Glance
As I stated in the beginning, it took my sister and I around 3+ hours…from start-to-finish…to pull together Sam’s adorable Super Hero Birthday party. Sure, we’re both super crafty and have certain supplies (such as a Cricut) on hand, but here is generally how we pulled it off::
- 1 Hour: Went to Party City, Michaels and The Dollar Tree to to pickup tablecloths, napkins, balloons, centerpiece supplies (popcorn pails, tissue paper, straws, foam) and cardstock. We also stopped at the grocery store to order cupcakes. Having a color scheme already decided and basic projects hashed out ahead of time helped this go super fast!
- 1 Hour: Came home and used the Cricut to create the banner, as well as the “1s” and the stickers for the centerpieces.
- 20 Minutes: Assembled centerpieces.
- 20 Minutes: Cut iron-on vinyl and applied to Sam’s onesie (the cape was already made from Halloween).
- 10 Minutes: Tied ribbons around party favor candy.
- On the way to the party venue, picked up the blown-up balloons and the cupcakes.
- 10 Minutes: Once arrived at the pizza place, family members helped put down table cloths and centerpieces, tie balloons around room, and hang the banner. And with that, we were ready for guests!
See…stop…drop…party!
I truly, truly love throwing cute parties; but the reality is that Pinterest-style events require lots of time, supplies, and a fantastic venue. But whether you’re throwing your next party at home or at the local playground, the combination of these 8 steps will help you create that cute and coordinated party you’re craving, without all the hassle (and cost!) of spending weeks in party prep mode! Henry’s 7th birthday party is going to be Pokemon-themed, so I’m already brainstorming cute invite, centerpiece, cake, banner and favor ideas!
I really hope you enjoyed this look at my party planning process! I’d love to hear if you always do something that works super well for your parties! Feel free to share in the comments, and I’ll plan to see you back here next week!
Megan



2 Comments on “My No-Fail Formula for Cute and Easy Parties Anywhere”
So timely! Your son and my son must have nearly the same birthday (except one year apart). I am terrible at parties and get overwhelmed by Pinterest panic so I end up with a mish-mash that is both expensive and disappointing. Your timeline helps me narrow down where I should focus my efforts, how I can cut down my time and seems do-able. I like a formula!
I’m TERRIBLE with party planning. When I think of everything that is required, I get overwhelmed and give up. Thank you for this “formula,” which I find do-able and it gives me a starting point!