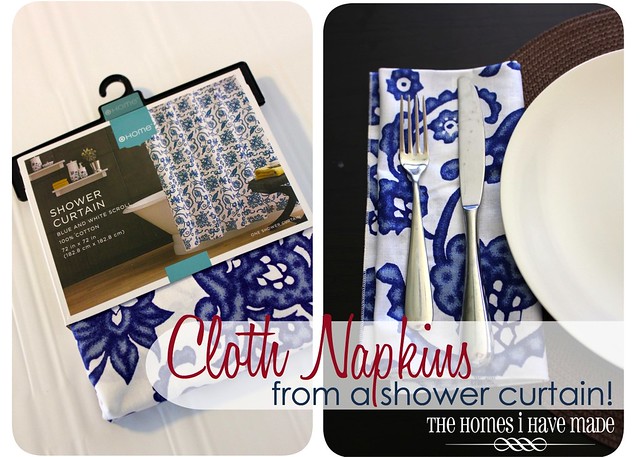
Cloth Napkins from a Shower Curtain!
This project took me less than an hour…let me show you how I did it!
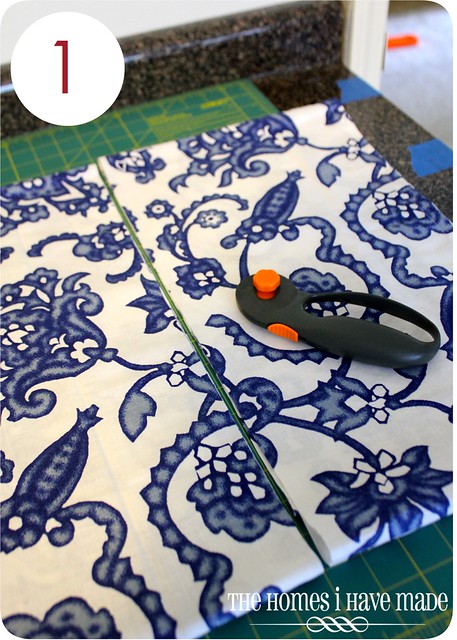
1. Cut 20″ strips from the shower curtain. I wanted my cloth napkins to measure 20″x20″; therefor, I folded up the shower curtain length-wise (just to make it more manageable), and using my rotary cutter, I cut 20″ strips down the length of my curtain. Since the curtain is 72″ long, I was able to get 3 20″ strips out of it.
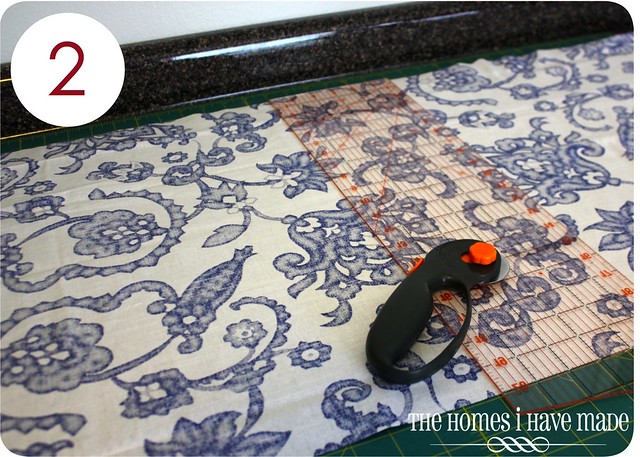
2. Cut 20″ squares from the 20″ strips. Unfold one of the 20″ strips you just cut and place it on your cutting surface. Again, using a ruler and rotary cutter, cut 20″ widths down each 20″ strip, to result in 20″ squares. From each strip measuring 20″x72″, I was able to cut 3 20″ squares.
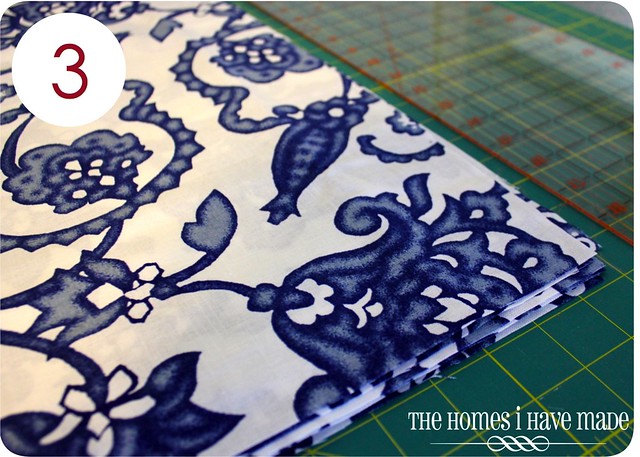
3. Cut remaining strips. Repeat using the other two 20″x72″ strips. You should end up with 9 20″ squares.
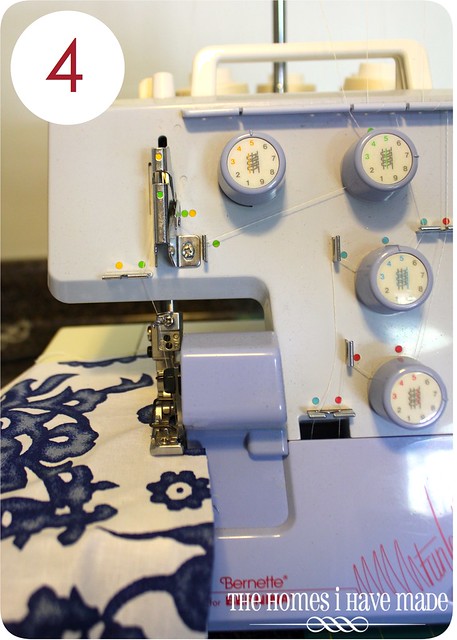
4. Finish each napkin’s edge with a rolled hem. On your surger, change your settings and adjust the tension for a rolled hem. Then, surge around each of the four edges on every napkin!
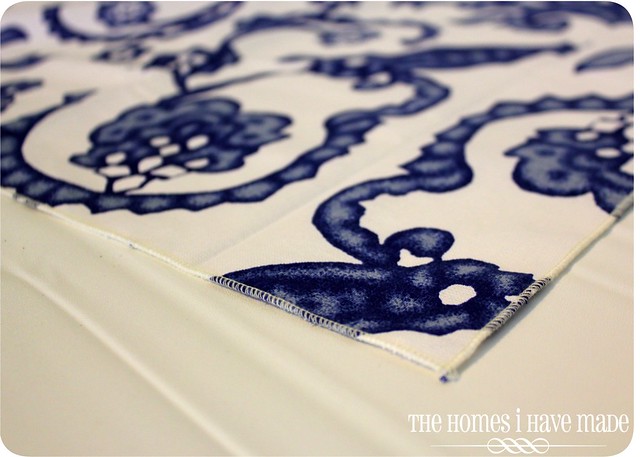
See…nice, pretty, finished edges!
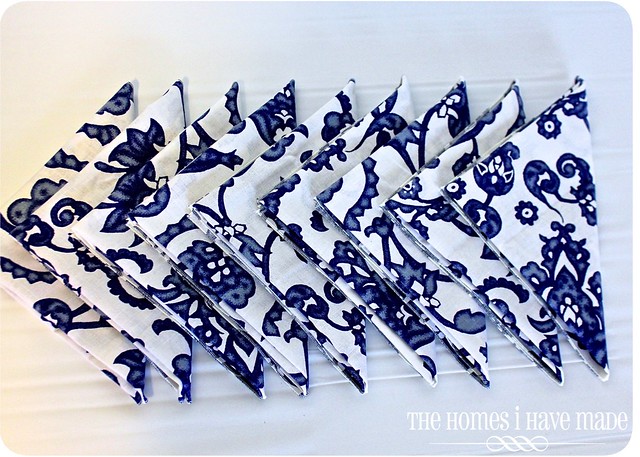
One 72″ square shower curtain produced 9 20″ square napkins; and I have leftover fabric to add the pattern in some other places!
I am thrilled with how these turned out. I’ve washed them several times already, and they come out of the dryer perfect! Now I feel like my table has a coordinated sophistication, even on boring weeknights! I really do love the way this pattern fits into my decor scheme, so I am hoping to find some ways to add it in…maybe as trim on throw pillows, perhaps??
That’s all I’ve got for this week! Phew…it’s been a good one though! It’s been nice to finally get my posting caught up with my real-time crafting! I’ve been hard at work on a few other things recently, so be sure to check back next week to see what else I’ve been up to! Have a great weekend!!!
Megan




4 Comments on “Cloth Napkins from a Shower Curtain!”
Oh! That is how that type of hem is done. I have used shower curtains for bedroom closet doors but didn't think of using the fabric. I get so many great ideas from you. As so as I can, I'm getting a new sewing machine. 🙂
You must do the same thing I do when I walk through Target's home section. Many times before I have seen those very same curtains wondering what I could make out of them. I never thought of napkins. Love this idea. Thanks for sharing how you made them.
I love this idea, but I don’t have a serger. If I find a shower curtain that I. Must. Have. then I’ll have to turn the hem under. But what a great idea!
Thanks so much, Nikki!
I have a love/hate relationship with my serger. If it’s threaded, I’m okay, but Lord help me if it becomes un-threaded. Then it gets put away and never comes out again! I’m taking a serger class soon so I’m hoping to conquer it soon!