This is one of those projects that became much larger and longer than intended! What was supposed to be a quick in-a-weekend makeover, turned into three weeks of blood, sweat, and tears. Okay, maybe I’m being a little dramatic…but there was a A LOT of sweat involved, and just maybe a few tears!
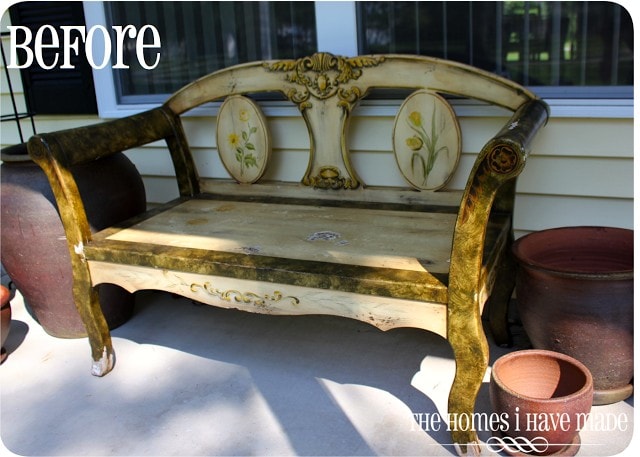
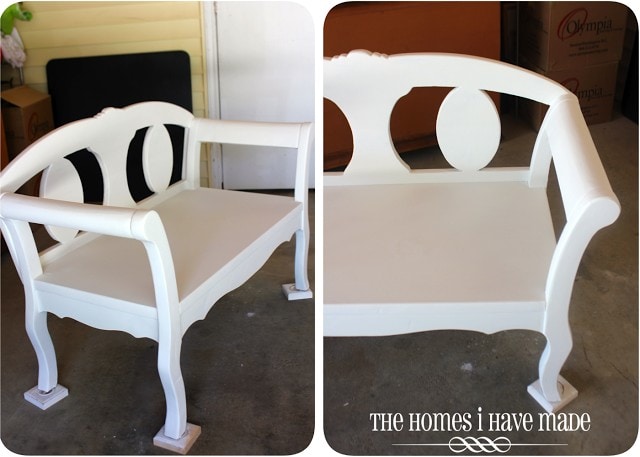
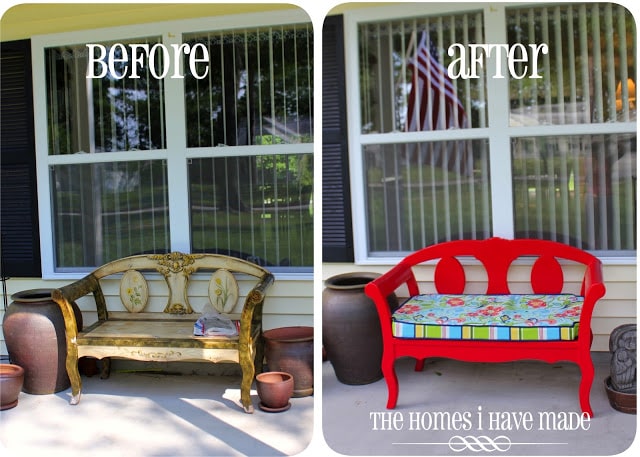
You see, we started here…with this sad little bench. We bought her in
Okinawa, where we used her as an indoor garden bench. We then moved her to
San Diego where she became an outdoor garden bench, for which she was NOT intended! She got pretty beaten up and started to look very sad. We moved her to
Virginia, where she sat, ugly and unloved for a whole year on our front porch. When we placed her outside our “new” house in North Carolina, she became even more of an eye sore, and I wanted her fixed up ASAP!
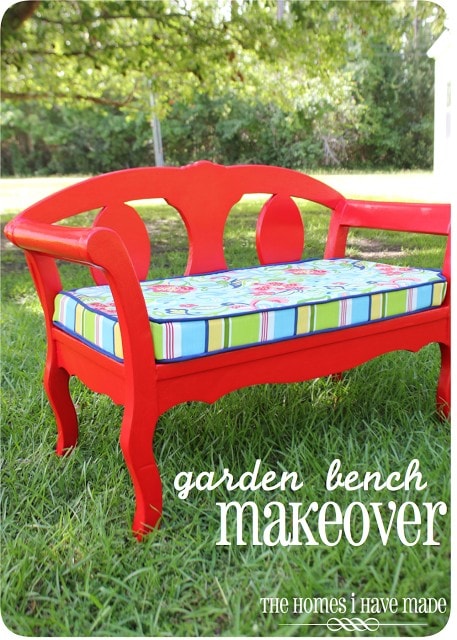
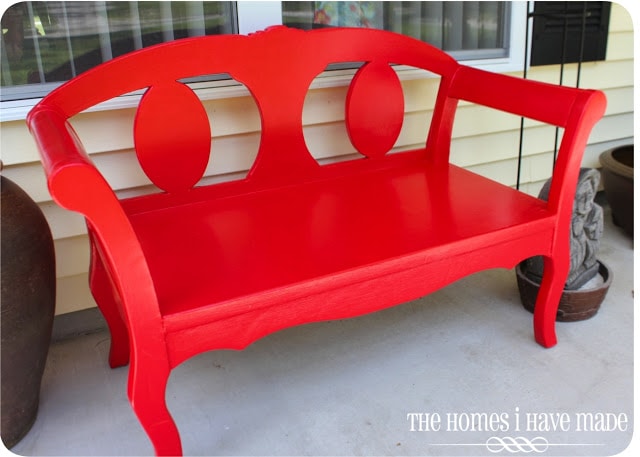
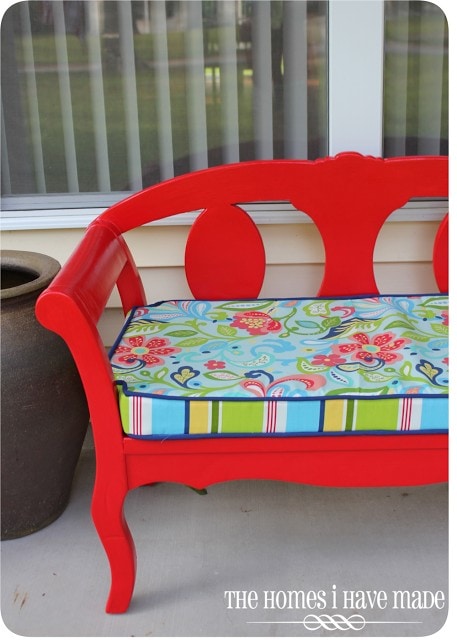
Three weeks later, she looked like this!
You can read her story and see how I did it after the jump!
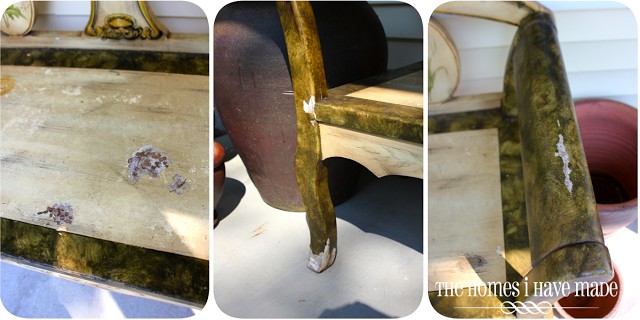
Here was the main problem (other than that that bench was ugly): chipping and cracking paint. Because we left her outside in San Diego, the paint job in several areas had chipped away all the way down to the bare surface! As such, we really had no choice but to strip the entire thing!
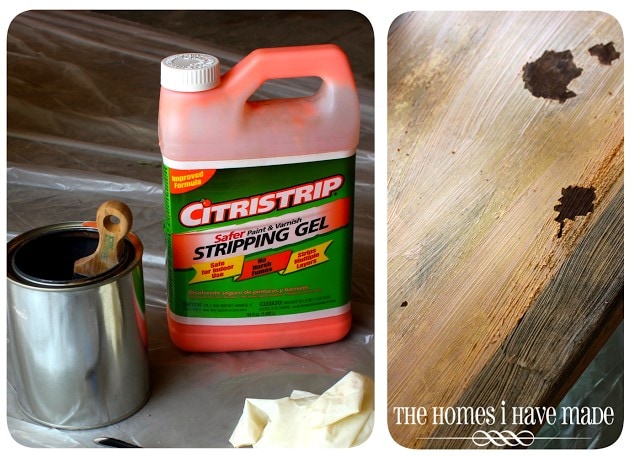
Having never stripped a piece of furniture before, I thought this would be a piece of cake. Ha. I used this stripping gel according to package directions. I lathered on a coat, waited 30+ minutes and went to scrape off all my paint…only to find that the top surface was about one of (at least) 4 coats. Arg. Friends, there is nothing like stripping off a coat of paint to reveal an entirely different design on the next layer down. While fascinating for a minute, I knew I had to change my plan for getting this baby down to her bare wood.
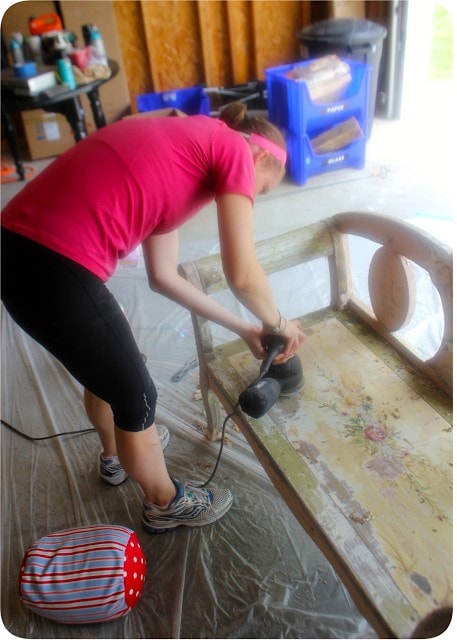
The stripping gel was messy, somewhat ineffective, and did I mention messy? I was NOT game for using the stripping gel on every layer of paint. We set off for the hardware store for some 60 grit sanding discs…and this is what I did EVERY DAY for two straight weeks…I sanded….and sanded…and…you get the picture!
(By the way, this is where the few tears came in! Again, I thought this was going to be a quick paint project. When I realized how much work had to be done, I had a little moment of pure frustration, then forced myself to move on. I couldn’t leave the bench as it was. I committed to sanding at least one hour a day, most days I did at least 2. In 13 days, it was done!)
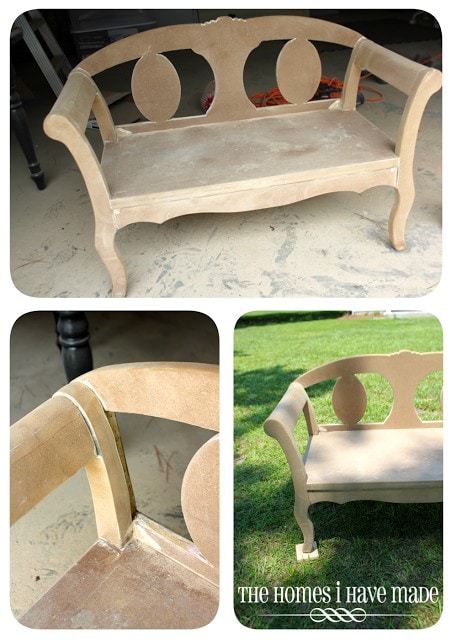
About 20 hours of sanding (and an inch of dust all over my garage) later, I had her as bare as the day she was born…um…made 😉
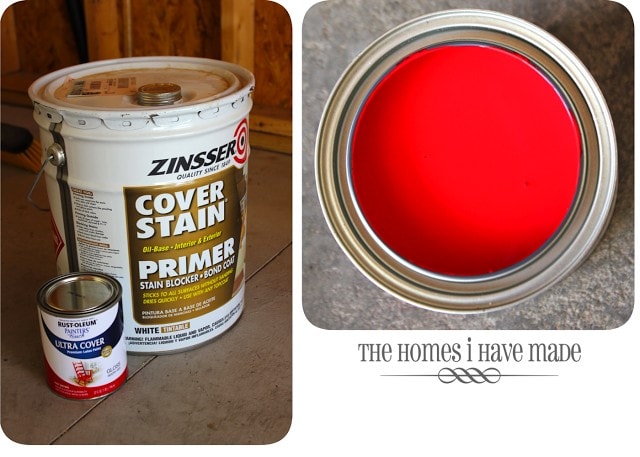
Not 5 minutes after I finished sanding her down, I had the paint cans open, ready to roll! (There’s nothing like plopping paint right on to something you spent 2 weeks sanding…the irony was not lost on me). These are the paints I used to get her done…isn’t that red fantastic?!?
2 coats of primer, painted on with a brush…sanded with a 200 grit sanding sponge between coats…
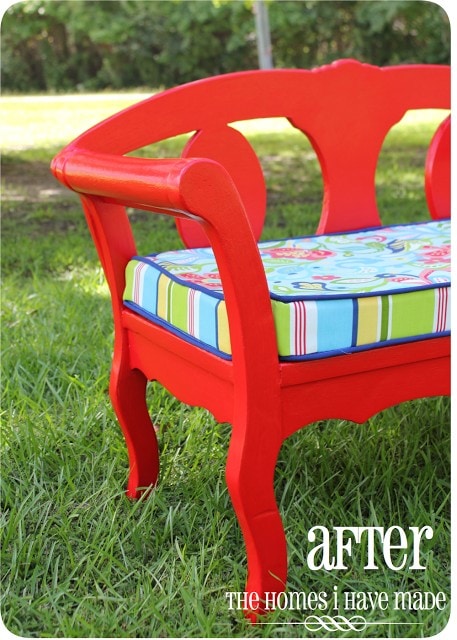
And three coats of red paint later, she was nice and red and shiny! (and most importantly…protected for outdoor life!)
I really had my heart set on making a cushion for this bench. After putting so much work into it, I wanted it to be used and to look fabulous.
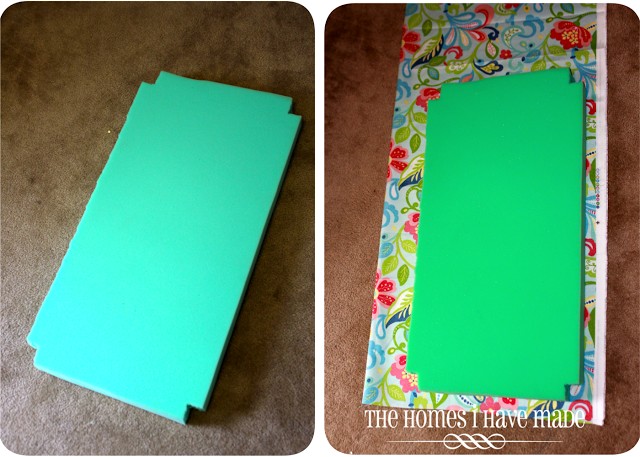
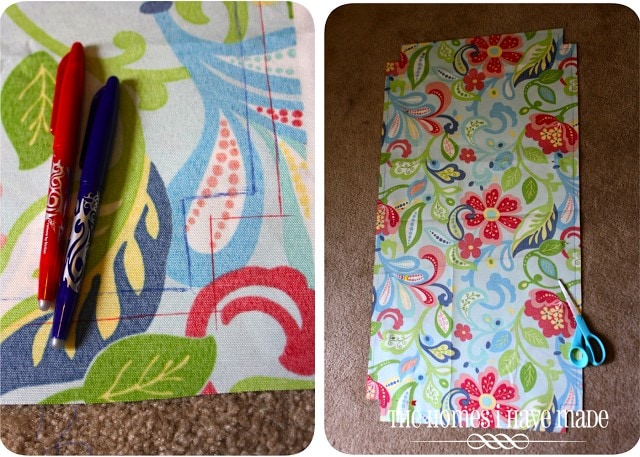
I bought a cushion at JoAnns (using a 40% off coupon!) and notched it at the corners to fit into my bench. I then traced the cushion onto my outdoor fabric.
Here is one of my little tricks for making custom covers: trace your cushion with one color (in my case I used blue)…then, using a ruler, go around your entire line and add a 1/2″ (or whatever your seem allowance is) in another color (in my case red). Then cut the adjusted (red) line!
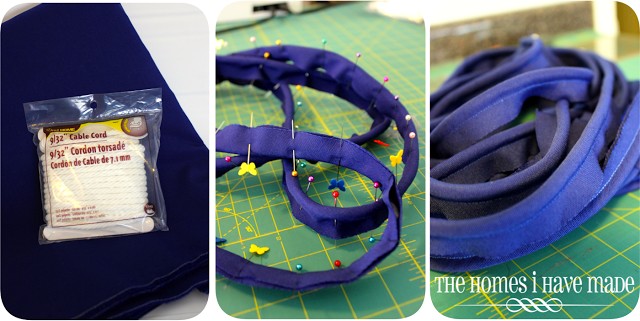
I also decided to go ahead and making coordinating piping for my cushion. I find piping to be monotonous and a pain to make…but the effect on the final product is always worth it! I made 10 yards of piping…I only used about 7 so I have extra for a few other projects!
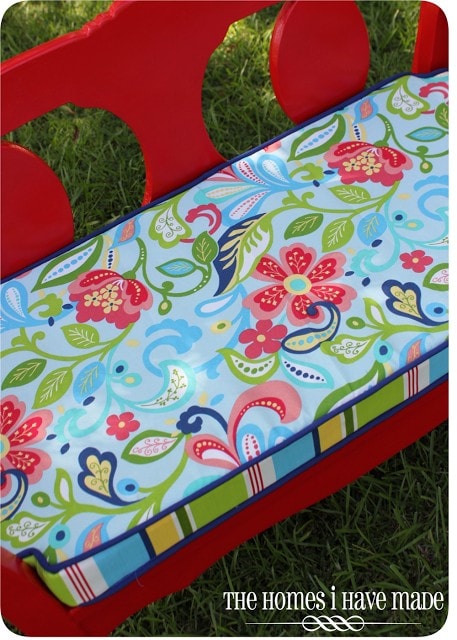
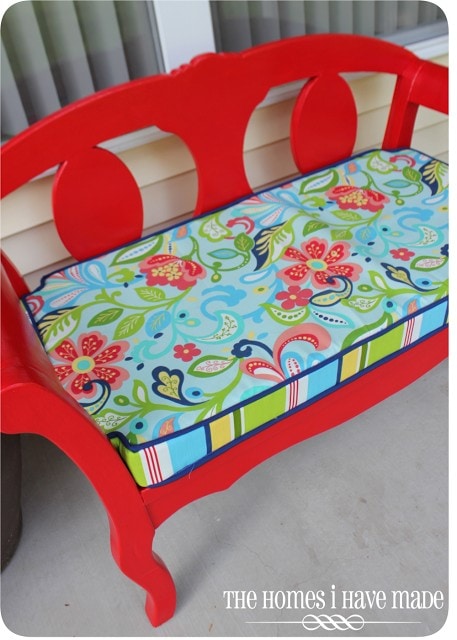
I used a coordinating stripe for the vertical panel on the cushion. Sewing around those notched corners (with the piping!) was totally difficult and a huge pain…but I think my cushion ended up adorable!
It fits right in, and because it’s notched, there is no need to attach the cushion with ties or velcro…it doesn’t budge!
We toyed around with the idea of removing the circle inlays along the back. We kept them for the time being, but I’m still not sure. With that thick cushion, I think they might need to come out!
What a HUGE difference on our front porch. Even though we haven’t gotten to any landscaping or other projects for the porch yet, the huge pop of color makes it a much more inviting place to hang out! Now it’s time to get the rest of the space on par with this vibrant bench!
This bench makeover is the first in a long line of furniture projects to come. It was a good “warm-up” piece…I learned a lot and feel more confident taking on some of our nicer items! Although she took a lot longer than anticipated…it was well worth it!
See You Soon!
Megan



6 Comments on “It Was Supposed to Be a Weekend Project – the Garden Bench Makeover”
This bench turned out beautiful! You are def a woman after my own heart. If we "knew" each other we would be best friends. LOL!
I love the cushion, though I know the foam was probably very expensive. I don't think you should take out the ovals, otherwise…where would people know where to sit? Hehe.
Keep up the good work.
Visiting from http://lipstickandsawdust.blogspot.com/
Kristen
I like the ovals too. I'm impressed that you sanded 13 layers of paint. My mom had my brother's dresser restored. It was navy blue and she had gotten it from a yard sale. Now it shows gorgeous wood and this polished and protected. She uses it as her dresser in her Master Bedroom. It's a beauty!!!
What a beauty! You did an awesome job! Red is my favorite color and your cushion is beautiful! I'd love for you to share this at my blog party, Twirl & Take a Bow at http://www.houseontheway.com. It would be a great addition! It's every Tuesday through Sunday. Hope to see you there!
Leslie
The bench looks great! I love the paint color you chose and the fabric is awesome, too! My father refinished furniture as a side business, and he charges extra for painted furniture, but you NEVER know what's under the paint. Anyhoo, you did a great job!
Love it! I am so impressed that you stuck with it through all that work 🙂
And I think you should leave the circles – love them!
Lindsay
http://www.craftyladylindsay.blogspot.com
wow Megan…your bench turned out beautiful!! Love your cushion – and how you notched out the corners. It's a lovely addition to your home. 🙂