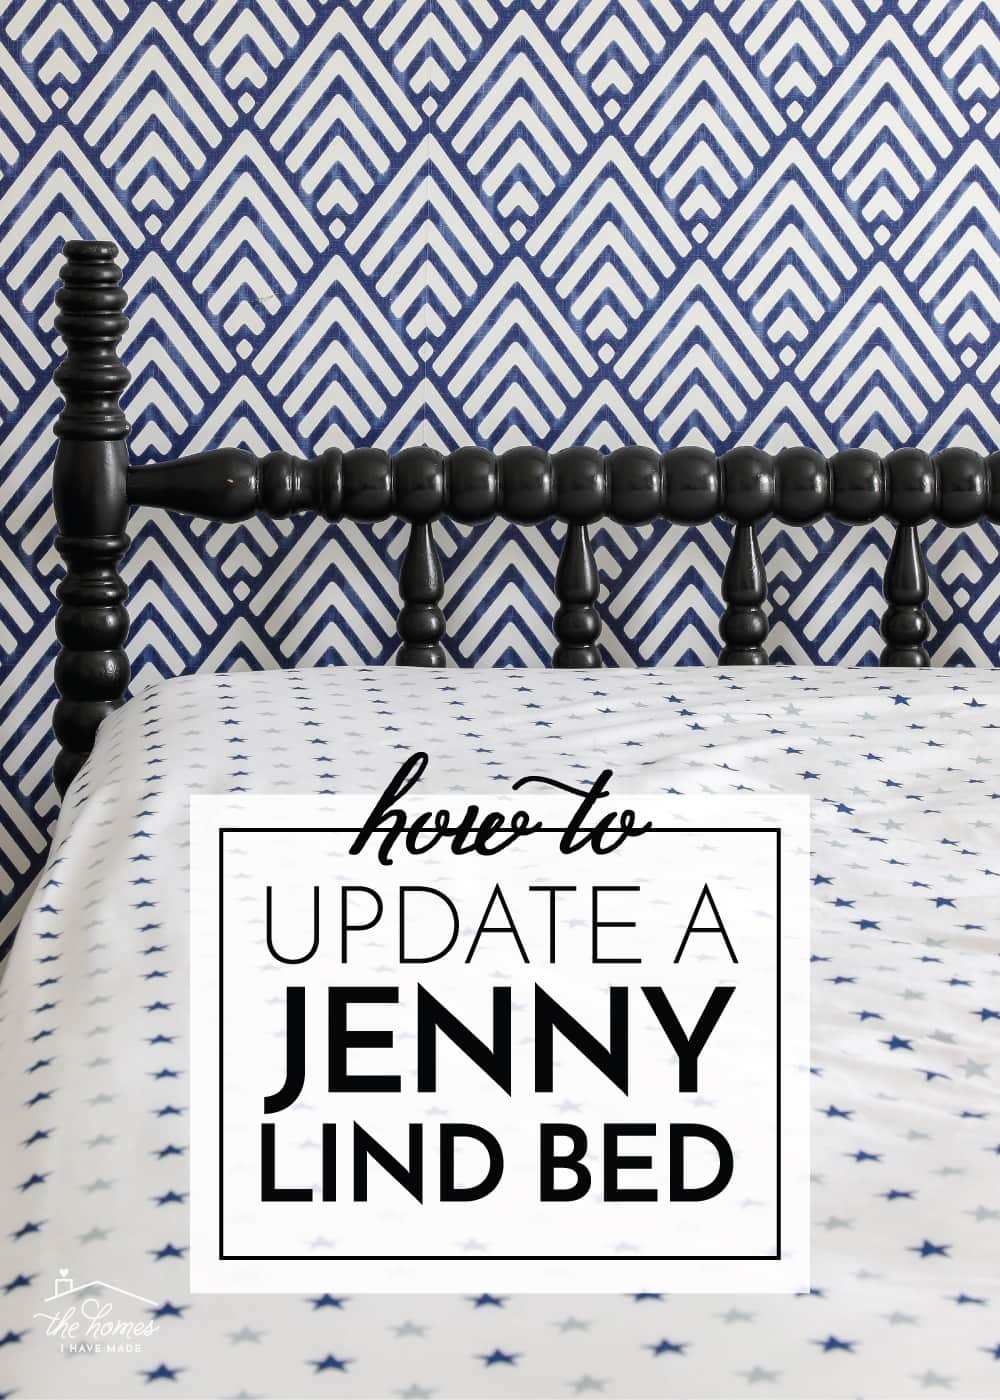
How to Update a Jenny Lind Bed
Last summer (when we first moved into this house), I shared my plans for transitioning Sam’s “Super Hero Nursery” into a “Super Hero Big Boy Room” (see the design plan here). We hustled hard to get a majority of the room done before Jack was born, and the biggest (and most important) project was restoring an antique Jenny Lind bed we’ve been hoarding saving for years. Giving this bed a fresh new look has been on my project list for ages, and the sleek result is as stunning as I envisioned. But beyond just paint, we also had to make this old bed functional and sturdy for a rambunctious 3-year-old. Thankfully, the fix was smart and simple, and I wanted to share how to update a Jenny Lind bed should you want a modern version of this classic in your home too!

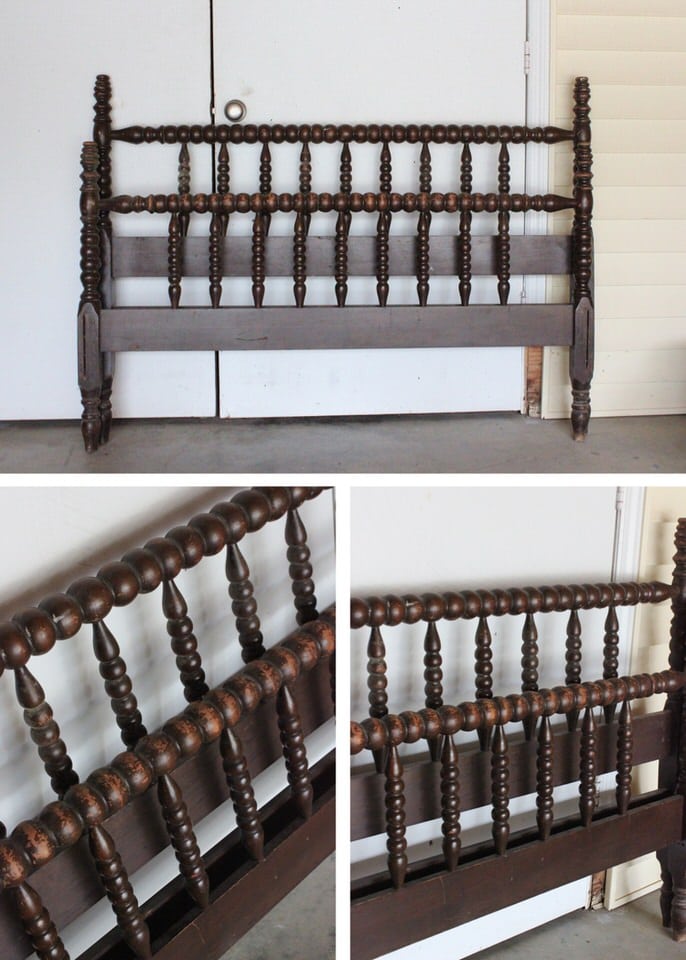
I have long loved the look of Jenny Lind beds. The turned details make for such an interesting aesthetic that is both classic and playful. I can’t get enough of them re-done in glossy paint in bright, cheery colors, and have saved gorgeous, modern versions to my Pin boards over and over throughout the years. So when I happened upon this antique version in the depths of a scary antique shop 5+ years ago, you better bet I snagged it when the owner asked a measly $10 for it!
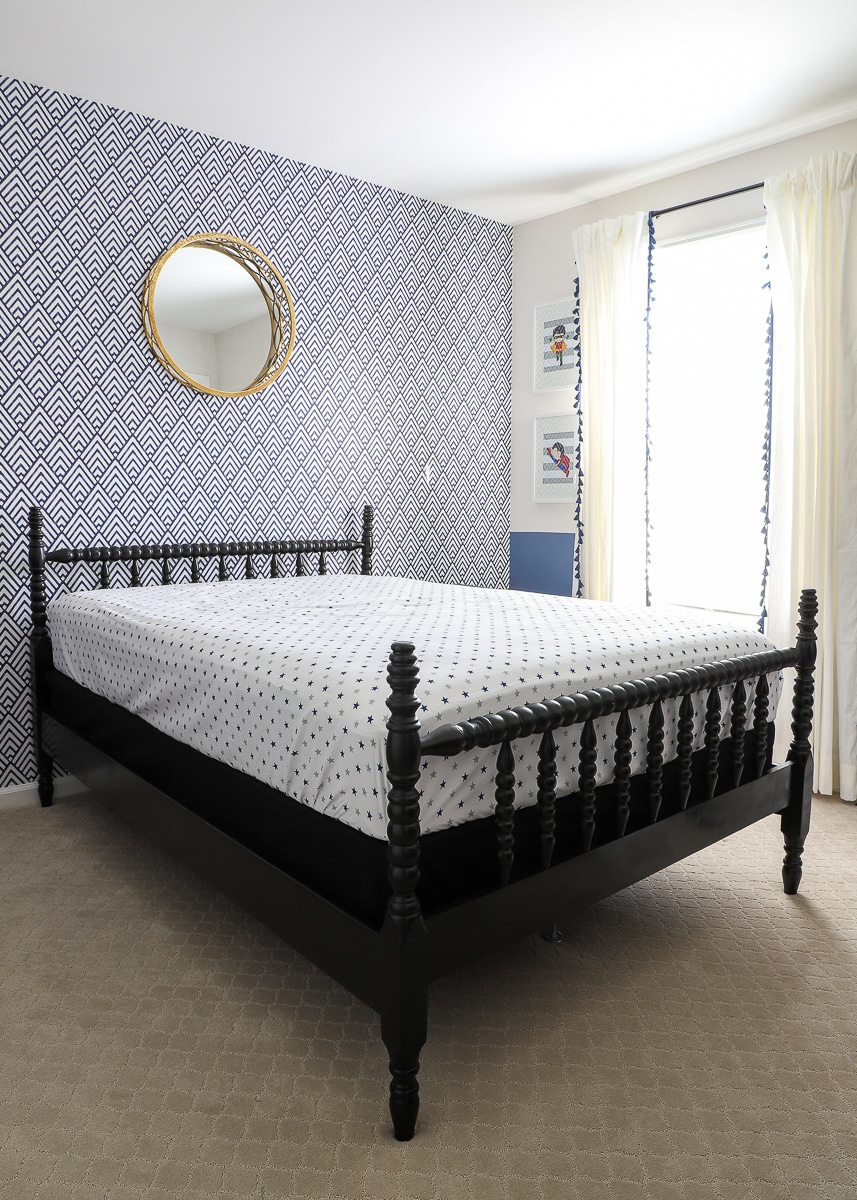
Since we’d be welcoming Baby Jack shortly after moving into this home, we figured it was the perfect time to transition Sam out of the crib and into a bed. Instead of buying a new bed frame though, I designed the entire room around that Jenny Lind bed we’d been lugging around, move after move. As much as I love a bright-colored wooden bed, I knew classic, glossy black would not only look amazing for this room design but would also be better-suited for our long-term needs.
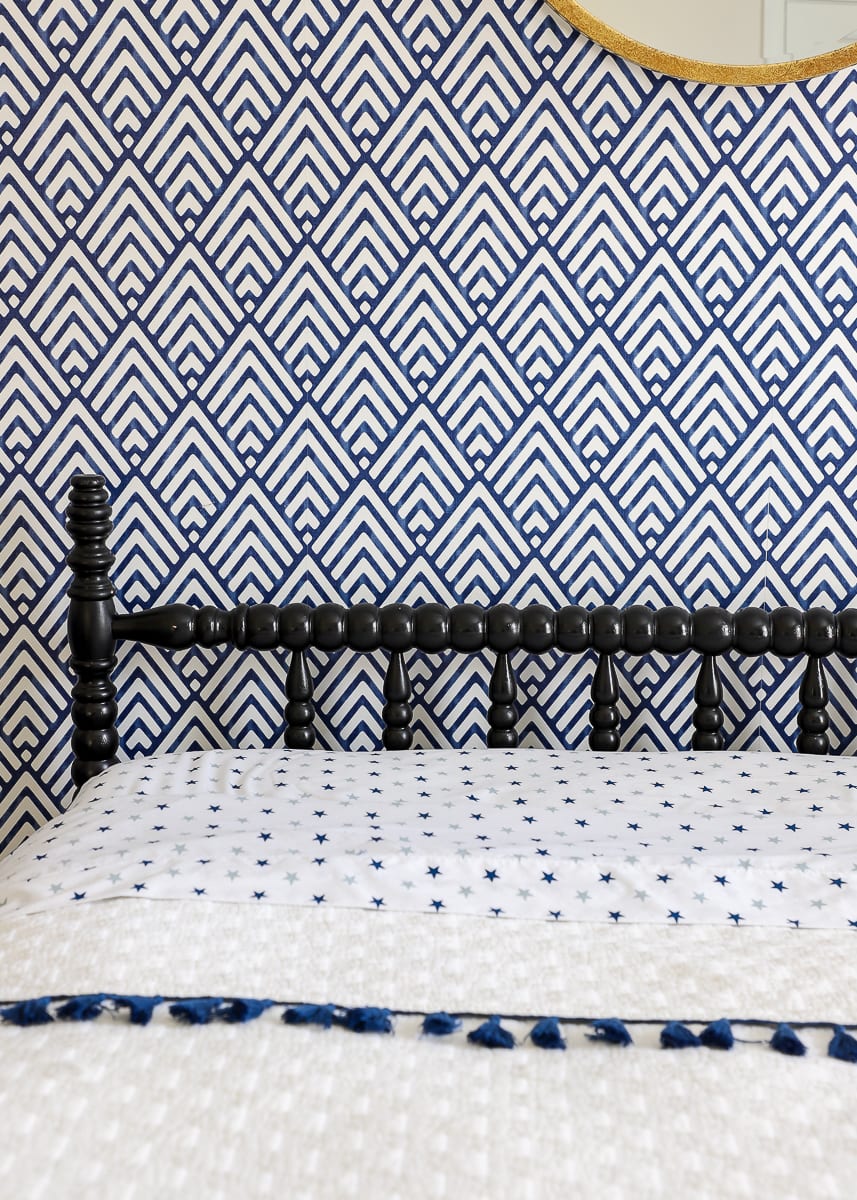
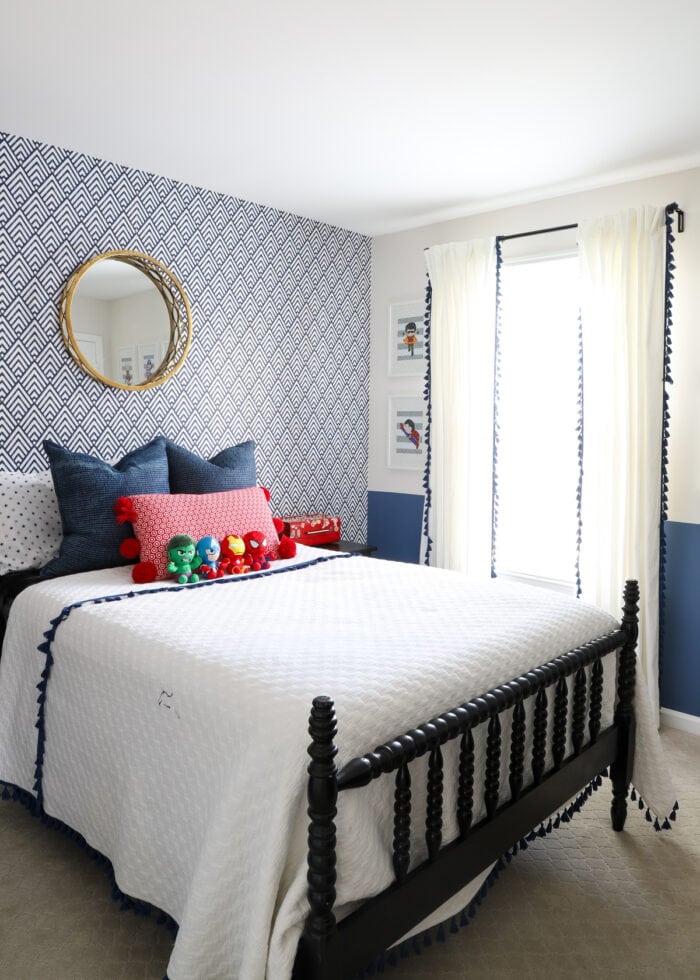
After both an aesthetic makeover and a functional upgrade (plus a brand-new mattress), this is now one of the prettiest and comfiest spots in the house! Let me break down exactly what we did!
How to Paint a Jenny Lind Bed
When we first bought the bed frame, it was in rough shape…at least visually. The spindles and posts were all nice and sturdy, but the wood finish was significantly scuffed and worn. It’s a good thing I really wanted the painted look for this bed, because sanding it down to re-stain it would have been a very long and tedious job.
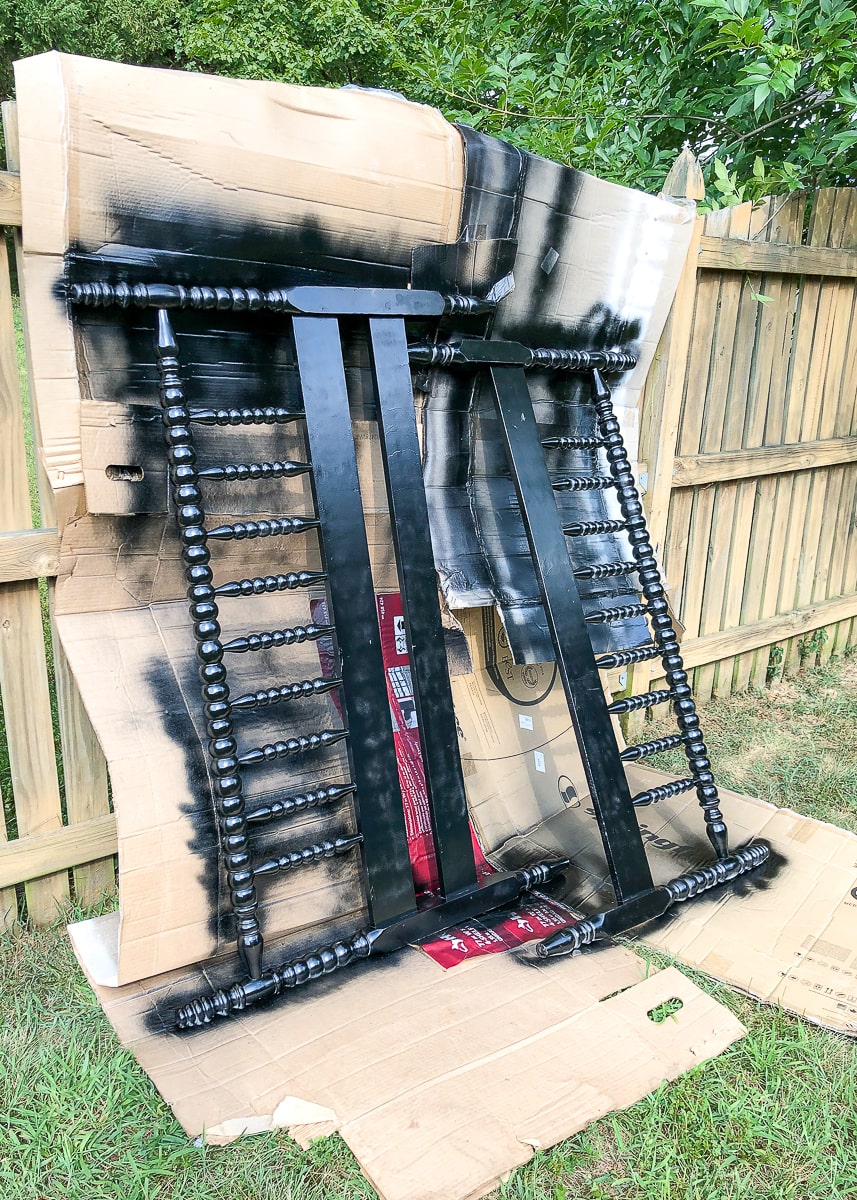
I love to paint furniture with a brush, but I knew this style bed called for spray paint. Not only can you get a much more durable finish with spray paint (ideal for a kid’s room!), but all those crevices and details would have been really hard (and time consuming) to thoroughly coat with a brush. And…did I mention I painted this bed in the heat of the summer? Fast-drying spray paint significantly lessened the chances of countless drips (that I certainly would have gotten with a brush!)
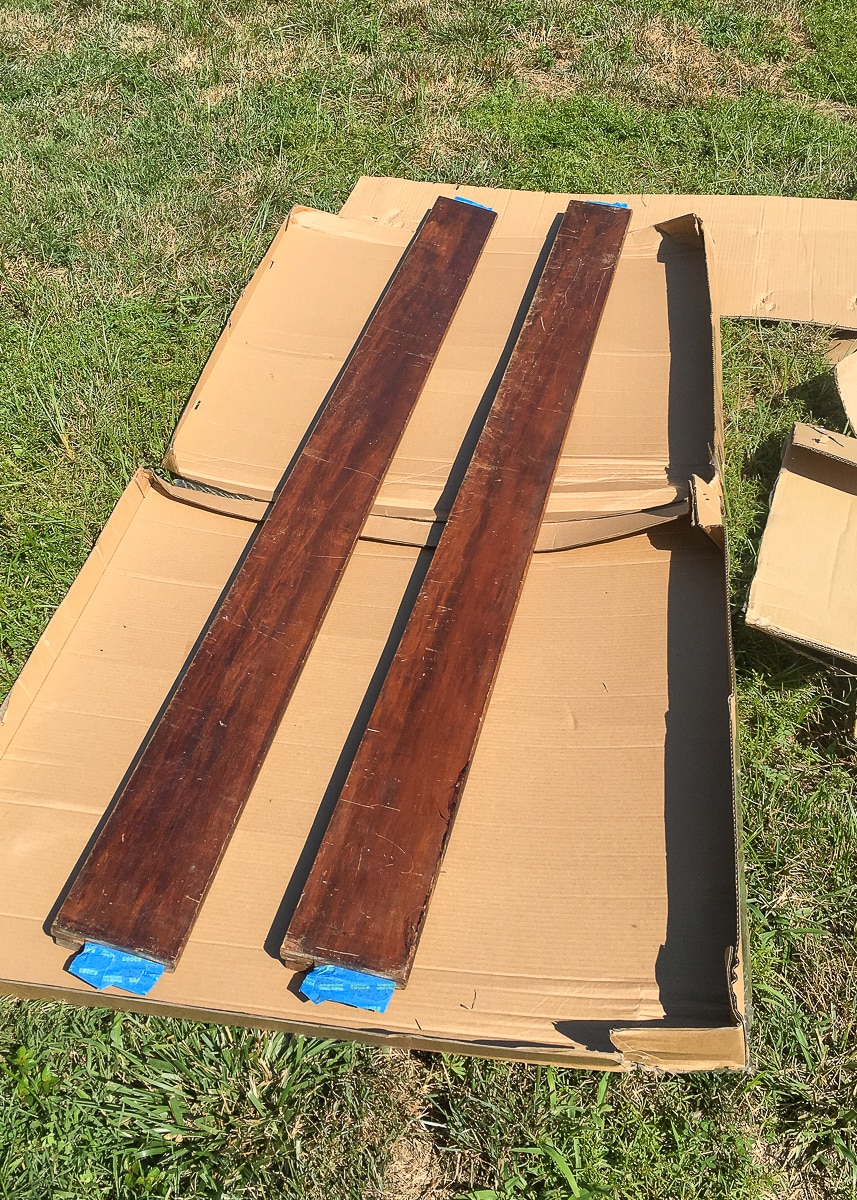
In my hurry to get this project done, I didn’t snap a picture of the first three steps, but they were the same I use on all my furniture makeovers: 1) wipe it clean; 2) spray primer (this is the one I like); and 3) light sanding to remove all the primer grit. The spray primer/light sanding step not only allowed the spray paint to (eventually) bond to the wood, but also provided a smooth, clean surface to apply the paint. So while we didn’t spend a lot of time smoothing out every nick and bump, the primer/sanding step gave the bed a great foundation for an ultimately clean finish.
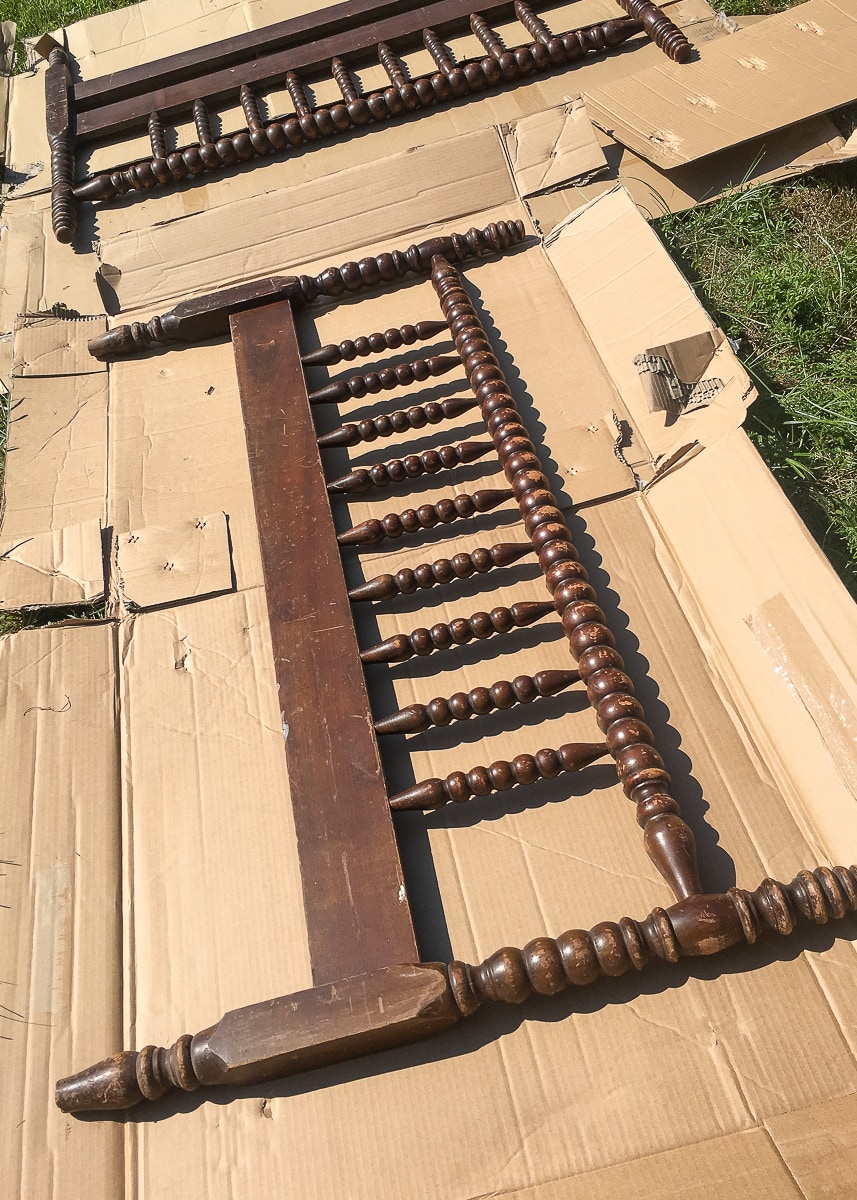
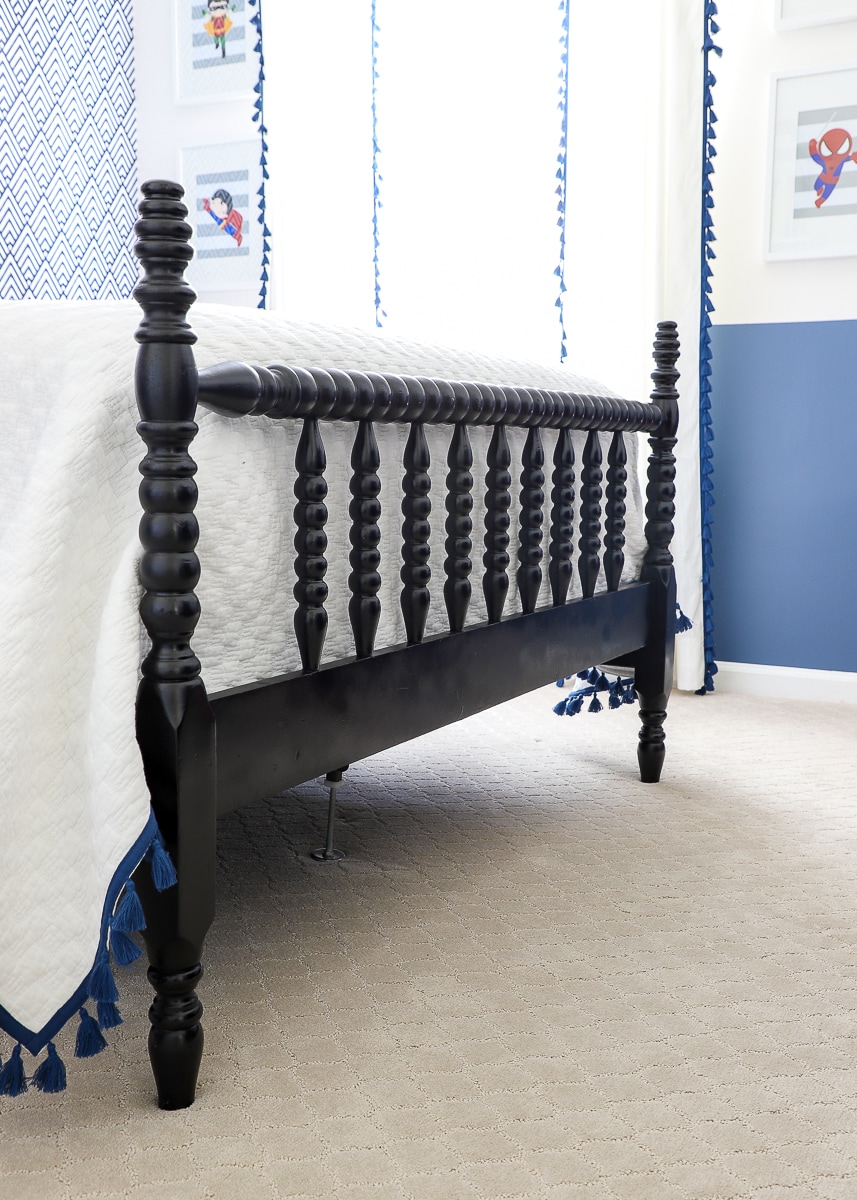
Once primed, sanded and cleaned up, we applied many light coats of high-gloss black spray paint to all sides of the headboard, footboard and rails. Because of the heat, it was really important that I not saturate the bed; but because of all the crevices, it meant I had to go over it again and again and again to ensure all the primer was covered up consistently. We kind of treated the pieces like they were on a rotisserie: we’d spray a light coat, let it dry for half a day, flip, spray a light coat, let it dry for half a day, flip, etc. Having it propped up on the fence (shown below) allowed us to coat as many angles as possible with each pass.
After several days of flipping and spraying and flipping and spraying some more, we then gave the bed a few days to cure in the air-cooled basement.

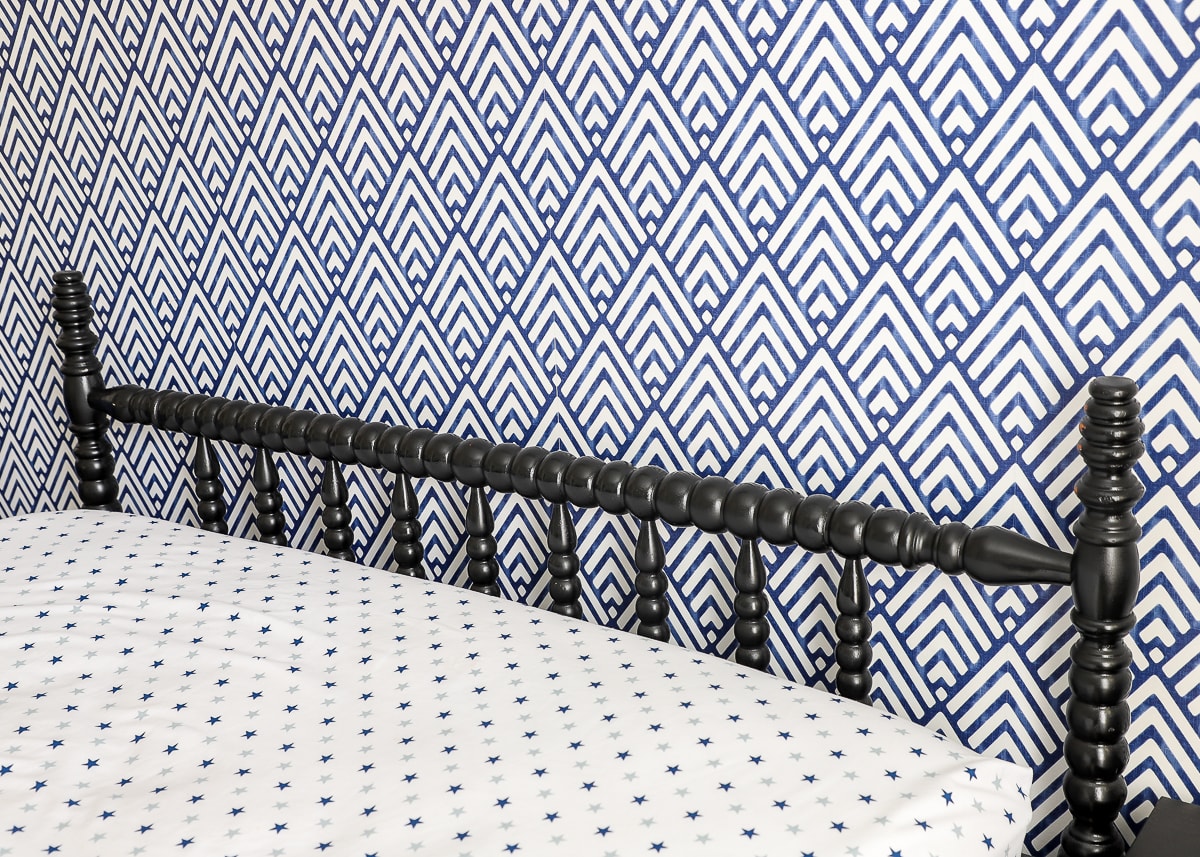
By the time we brought the various pieces up to Sam’s room to assemble it, you’d hardly recognize it as the $10 dud that had been sitting in the back of our garages for years!
How to Stabilize an Antique Jenny Lind Bed
When I first bought this bed and was going on and on about my awesome find, my sister-in-law (who has bought/refinished a lot of furniture) casually asked “Are you sure the bed isn’t a 3/4-width bed?” To which I replied “Huh?” It didn’t even occur to me that an older bed might not accommodate current mattress sizes. My sister-in-law went on to suggest that while I got the bed for a steal, I might spend a fortune getting a custom mattress for it. Whomp. Before all the wind completely left my sales, I hustled out to the garage (this was back in North Caroline by the way, three houses ago!), assembled the bed frame and measured it. Phew – the frame held a standard full-sized mattress!
Still, when we were planning to use this bed for Sam, I wanted to be double sure. So once in Virginia, we re-assembled the bed again, re-measured it, and re-confirmed that yes…the bed would hold a standard full-sized mattress.
Want to save this post?

9-months pregnant and trying to get a million other things done at the time, I sent Greg off to buy a mattress. The whole time he was gone, I was silently praying the mattress would fit the bed frame we just meticulously painted. When he got home and wrestled the new (and very heavy) box spring and mattress upstairs, we placed it on the assembled frame and I breathed a sigh of relief when it slid perfectly between the bed rails.
And then as we sat on the bed to celebrate another project off our To Do List…slam…the box spring/mattress fell OFF one of the side rails to the floor. Seriously. After years….YEARS…of worrying about a standard mattress being too big for this antique frame, it turned out the box spring was (just barely) too narrow and would slide off one side, then the other, each time we tried to re-position it.
In our desperation to find a quick fix, we rummaged through our hardware bin and found some really sturdy L-brackets. We thought by giving another 2″ on either side of the frame, the box spring/mattress wouldn’t slip through as easily.
While the L-brackets technically worked, we worried about the bed sagging in the middle…especially since the bed was intended for our very active 3-year-old (as well as guests). It finally occurred to us why we likely got such a great deal on the bed after all: there were no slats to support the box spring/mattress.
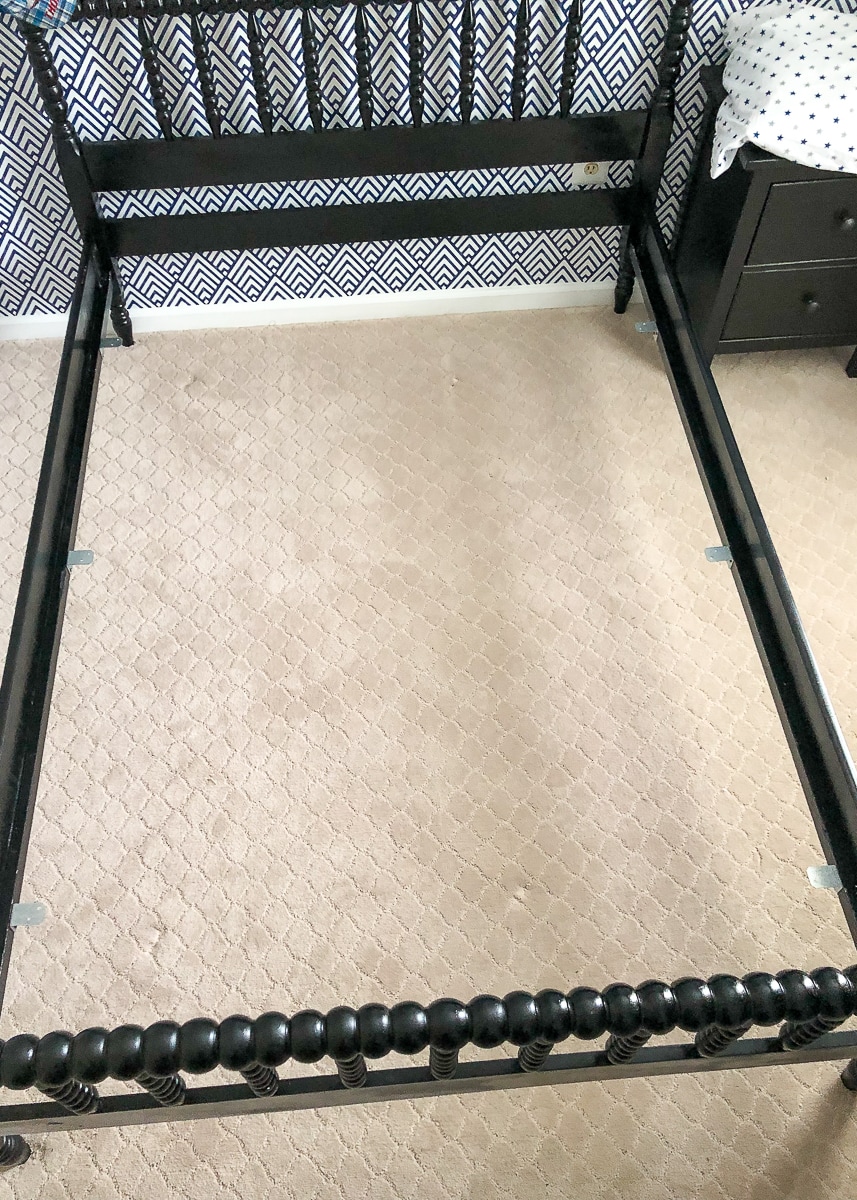
We brainstormed all sorts of options: buying slats, making our own slats, using a few stacks of books along the middle to hold up the mattress (kidding). Then, we finally turned to our good friend Amazon and discovered an amazingly easy and affordable solution:
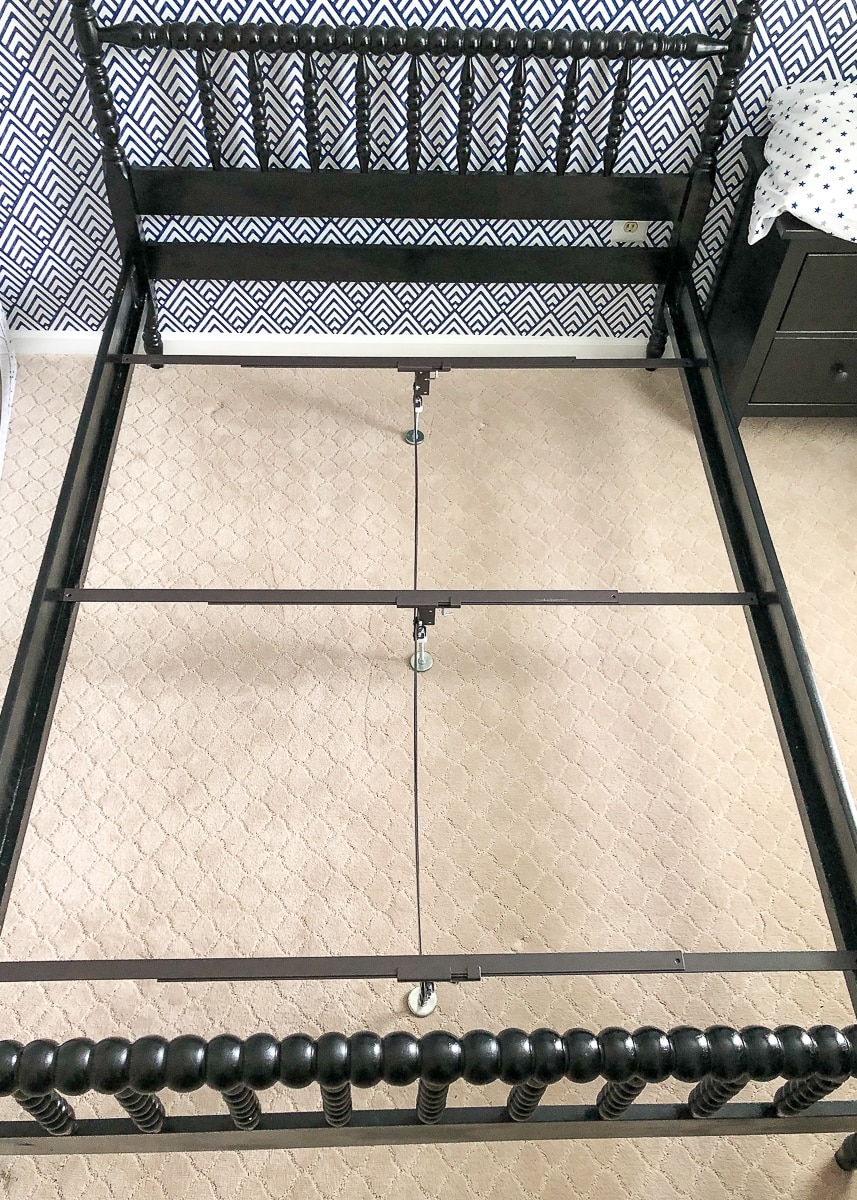
The Glideaway X-Support Bed Frame Support System is essentially designed for situations such as these…when you just need a stronger base of support for wider beds (Full, Queen, King) that don’t have rails. After reading the stellar reviews, we determined it was worth the $65 to salvage my beloved antique Jenny Lind bed!
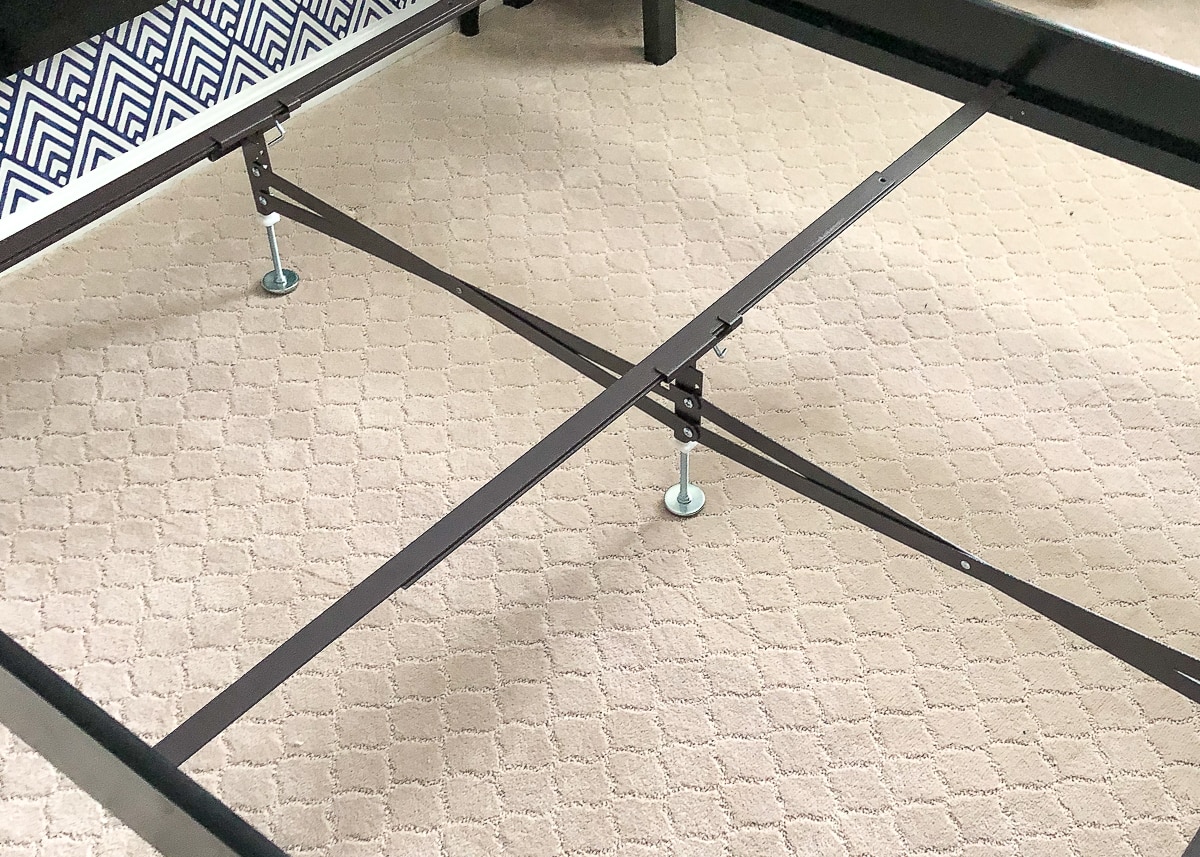
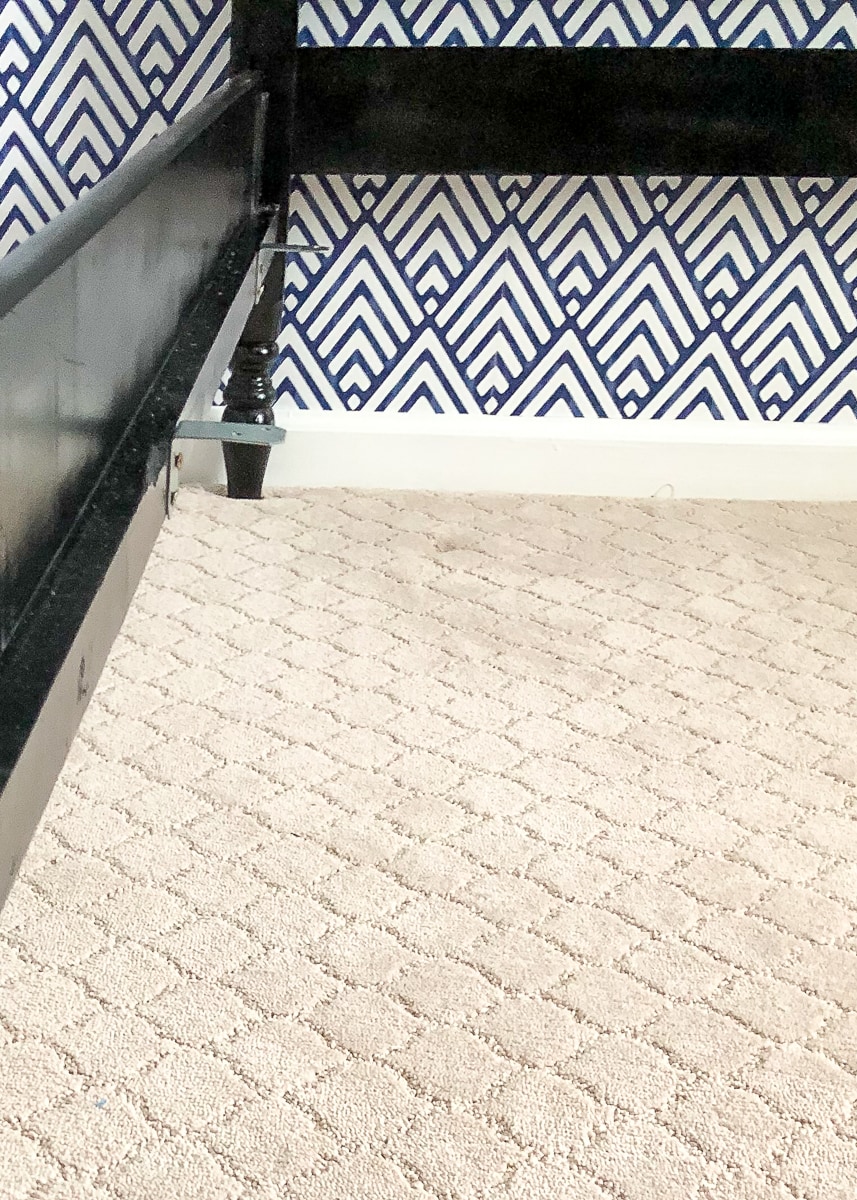
This product couldn’t have worked more beautifully for our needs. Not only was it super easy to install (Greg had it done in 15 minutes), but it provides the exact stability we needed. While we were very excited about the additional supports down the middle of the bed, we didn’t quite anticipate that the horizontal rails would “square up” the entire frame as well.
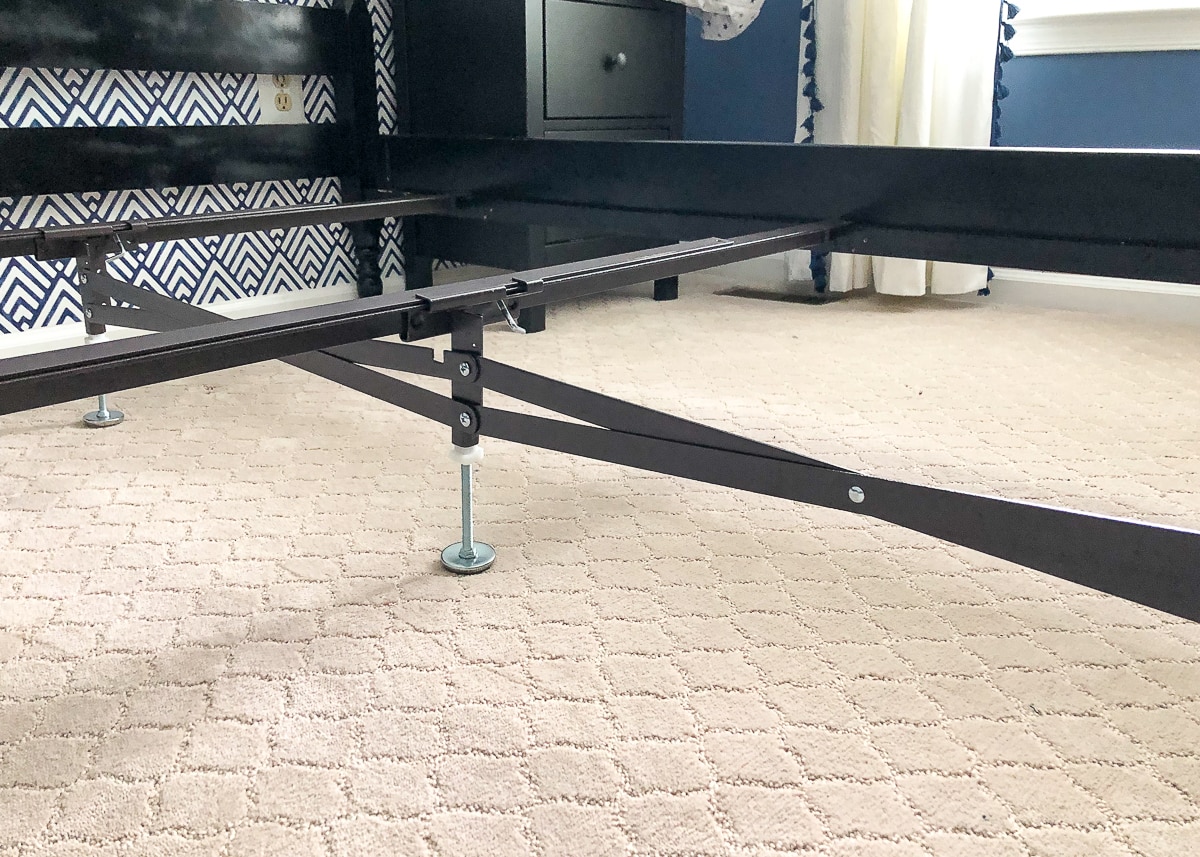
Admittedly, it was also very important to me that the solution we used to stabilize the bed not be ugly or really obvious. Although you can see the supports when you’re down on the floor; overall, they are completely unobtrusive!
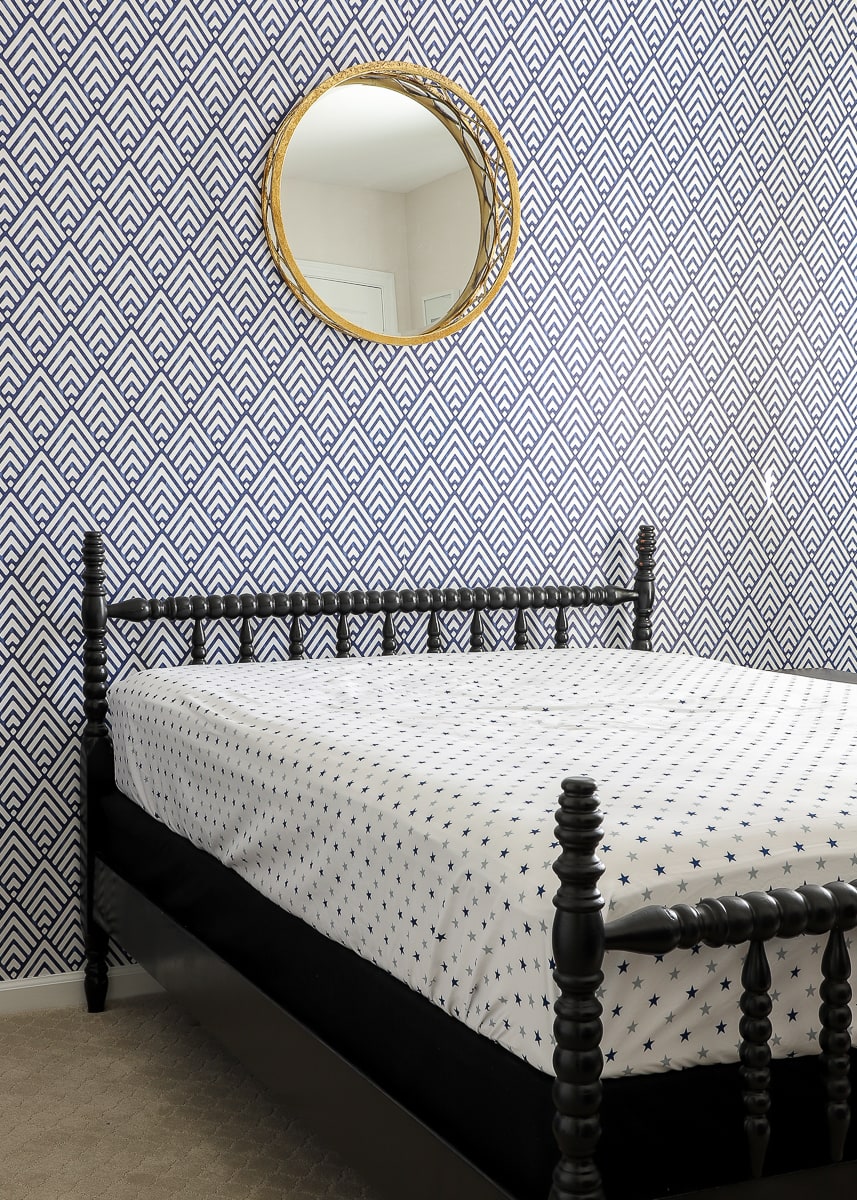
This bed is now as solid as a rock. Sam jumps his little heart out on this bed, we all pile on every night for evening prayers, and we don’t hesitate to host guests on this bed either. At the end of the day, I got my gorgeous, glossy Jenny Lind bed, and it’s just as sturdy as any other bed in our home! Hurray!
Getting the bed painted and stabilized was only the first half of the “Big Boy Bed” project…the other half was getting Sam to sleep in it, ha! While it took a few days (and one major regression after Jack was born), I can now say that Sam loooooooves his bed and sleeps in it without issue. It makes me so happy to finally have it out of the basement/garage, cleaned up, and into service!
Sneak Peek
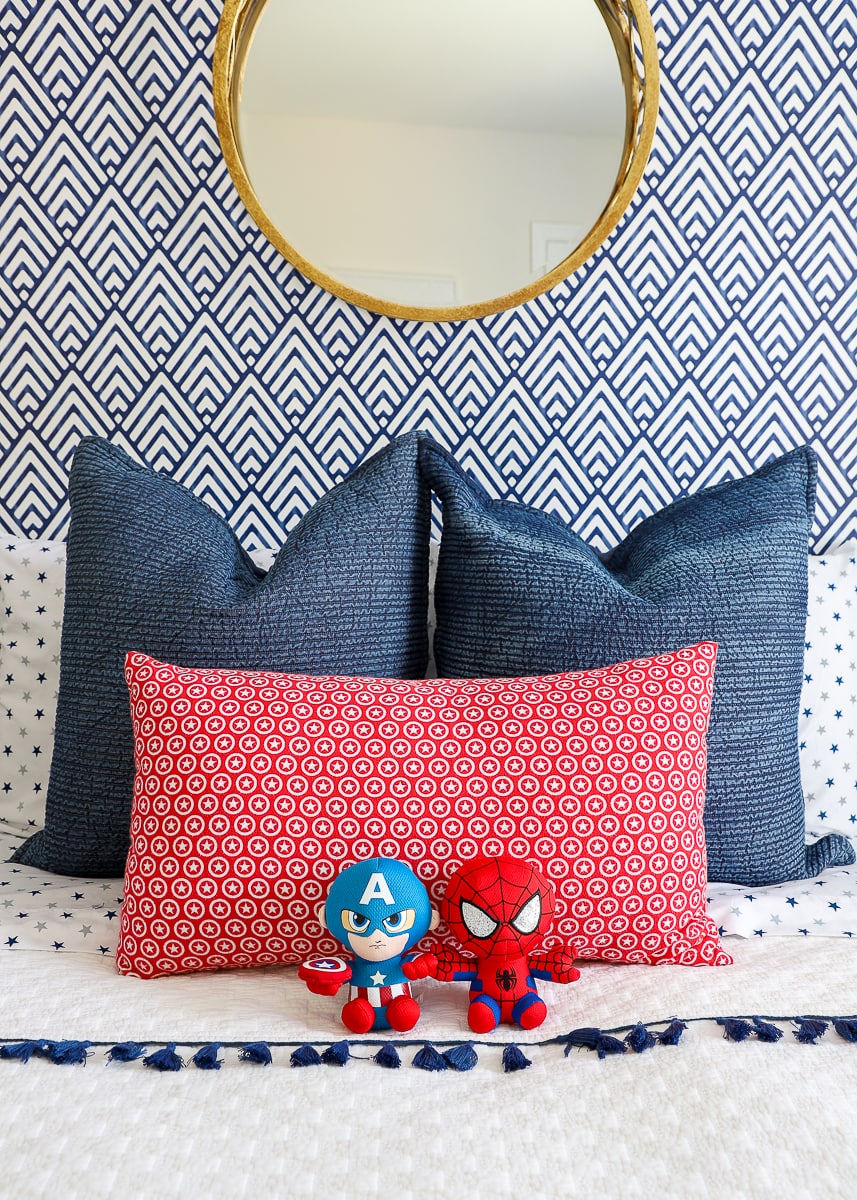
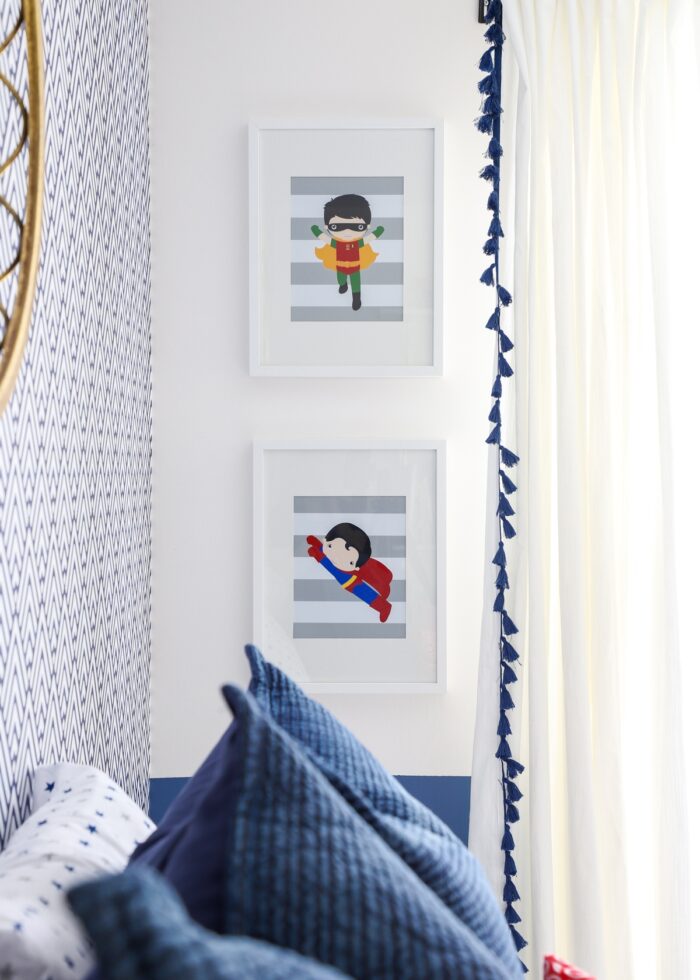
While the bed was finished just in time for Jack’s arrival last summer, it was only recently that I finally knocked out all the sweet finishing details (throw pillows, comforter, etc). I can’t even tell you how much I love this room, and I am so excited to share the whole thing with you here: An Adorable Superhero-Themed Bedroom Reveal!
Other Great Furniture Makeovers!
Breathing fresh life into this poor, old, battered bed frame definitely re-lit the spark I used to have for re-finishing/paining furniture. It’s been way too long, and once life starts to get back to “normal,” I’d love to do more of it again. If you want to check out some of my other furniture updates, below are some of my favorites:
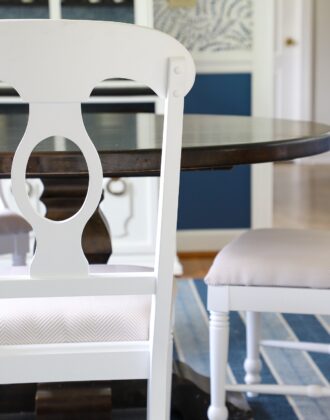
- How to Paint Dining Chairs (& Get Professional Results!)
- How to Refresh Furniture Without Paint
- A Modern French Provincial!
- How to Update Furniture With Wallpaper
- Upholstery – What I Learned From Hiring It Out
Hope you’re having a great week so far. Back here on Friday, I’m sharing our newly organized Front Hall Closet! See you then!
Megan


21 Comments on “How to Update a Jenny Lind Bed”
You did a beautiful job! Love antique beds — I bought the same support system on Amazon! I recommend the low profile boxsprings on Amazon, too, in the event you want to show off more of the spindles down the road. You just have to put rubber rug grip tape on the rails if you get a metal low profile “bunky board,” which I did for a pair of antique twin beds that were super high with a traditional boxspring. Looking forward to more updates!
Thanks for the tip! I actually forgot to chat about the height of the boxspring in my post!
Truth be told, it didn’t even occur to me to look for a shorter boxspring. Once it was all set up my heart sank a tiny bit. But Greg did such a good job handling the whole mattress situation, that I didn’t really have the heart to fix or dwell on it. Thanks so much for the tip though…we will be buying another Full bed when Jack transitions out of the crib so I might be able to play switcheroo then!
Thanks,Have a great week!Megan
gorgeous bed! what type of paint and what type of sprayer did you use? I’m looking to paint a Jenny Lind bed with a urethane enamel, but am early in my investigations:)
Thank you this is very helpful and it looks great! I have a 3/4 Jenny Lind that my grandmother, my mom and then I grew up with as our bed. It has been in our garage for a few years and now that we are moving into a new home, I want to make it into a double or even a queen if I could find a woodworker who could help me. The support system you mention takes care of one issue. Fortunately I do have the slats if I keep it as a 3/4. And maybe I need to measure as there is a chance a double mattress could fit in it and I never realized it. I know it wouldn’t be likely to make more spindles, but thought maybe a craftsman could make horizontal rods either wood or metal in the center of both the headboard and footboard to expand it? But reading your experience, I realize I still would have to deal with a longer queen mattress not just wider. Frustrating because I love the bed but hard to ask guests to sleep in a 3/4 bed lol. Any suggestions?
We also have a Jenny Lind bed that has been in my husband’s family for 3 generations. It is in great shape. What we’re having problems with is finding a cover that will accent the beautiful workmanship of the bed itself. Is your cover considered a quilt or bedspread? I found that there is limited space between the headboard/footboard and the mattress, and a comforter is just too thick for a good fit. By the way, your bed and bedroom look great!!
HI Cathy!
Thanks so much for your comment!
I would consider our bedspread a “Coverlet” but I’m not sure that’s a correct term. I pick up lightweight white “quilts” at HomeGoods/TJMaxx/Marshalls for all of our beds, and that’s what you see in the pictures (I just added the blue tassel trim myself).
I hope that helps a bit!Megan
Your guidelines are very informative and this help me real time in my life. Thanks for share this such as content through your blogs.
Wow. I have two of this exact bed, except in twin. You can remove the finials from the headboards to expose a bolt, then put the headboards on one bed and the footboards on the other, and stack them to make bunk beds. Only a couple of the bolts and finials have gone missing in my parents’ house, and I’m afraid someone tossed them.
I’m so glad to have found your page — I’ll probably paint mine at some point too, because after a couple of generations of use, they’re pretty banged up. Storage in the basement didn’t do them any favors either.
Hi Megan😃. I had that exact same bed growing up in NC. I painted it cream and when my daughter “Sam” turned two it became her big-girl bed. After a few years my husband built her a loft bed and the bed went into storage. Fast forward and she is now 21, living on her own and low and behold the bed re-appeared. It is now navy blue and still looking great! Enjoyed your post!
I have this exact bed and need to paint it! It’s for my daughters updated ten-yr-old room and I’m loving the dark aqua, but the black is really pretty too! Thank you for sharing all your tips !
You’re welcome! Good luck with your bed!
~Megan
I have a set of these twin beds did Jimmy Lynn beds that are featured here What are these beds worth
Hi William,
I’m not sure what they are worth – I bought mine for $10. If they are in great shape and matching, you can probably get some money for them – just not sure what the going rate is!
Sorry I can’t be of more help!
Megan
Hi Megan!
Would you please share the brand/color/finish of spray paint you used? I love it! Thank you!
I am currently redoing a twin Jenny Limd bed from when my Mother was a child. We do not have the side rails, anyone have any insight in where we can find them or an idea where to find a replacement.
Could you please share the brand/model box spring and mattress you got? I have this same bed but am nervous to order a mattress set and it not fit!
Hi Alyssa,
I don’t have the brand/model on hand, but I can tell you that we literally just went to a mattress store and picked from whatever they had. So…a “standard” Full fit our frame just fine.
Sorry I can’t be of more help here!
Megan
Hi! I am getting ready to spray a full size Jenny Lind bed that is currently brown to an off white. How many cans of primer and how many cans of spray do you think you went through?! Thank you! The room is adorable!
Looks great! Can you speak to the side rail assembly? We’re missing the bolts, so may have to do some trial and error to finish assembly. Any tips are appreciated. Thanks!
About how many cans (each) of primer and paint did you use? Can you details on how you sanded and how much time you took? Thank you.
where do I find a 3/4 mattress for my Jenny Lind bed?