DIY Coloring Books
Between my older son being home and “bored” all summer long and my younger son being dragged along to swim lessons, sports practices and more on a daily basis, I suddenly found myself constantly reaching for scraps of paper for them to draw and write on. After having Sam scribble on the collection envelope in the church pew for the hundredth time last week, I finally sat down and knocked out a whole set of super quick and easy DIY coloring books. These little notebooks are perfect for tucking into drawers and desks at home for spur-of-the-moment comic book creations, as well as into the diaper bag, swim bag, purse and more for on-the-go entertainment. All you need are some basic supplies from around the house and about 5 minutes. Seriously. Let me show you!
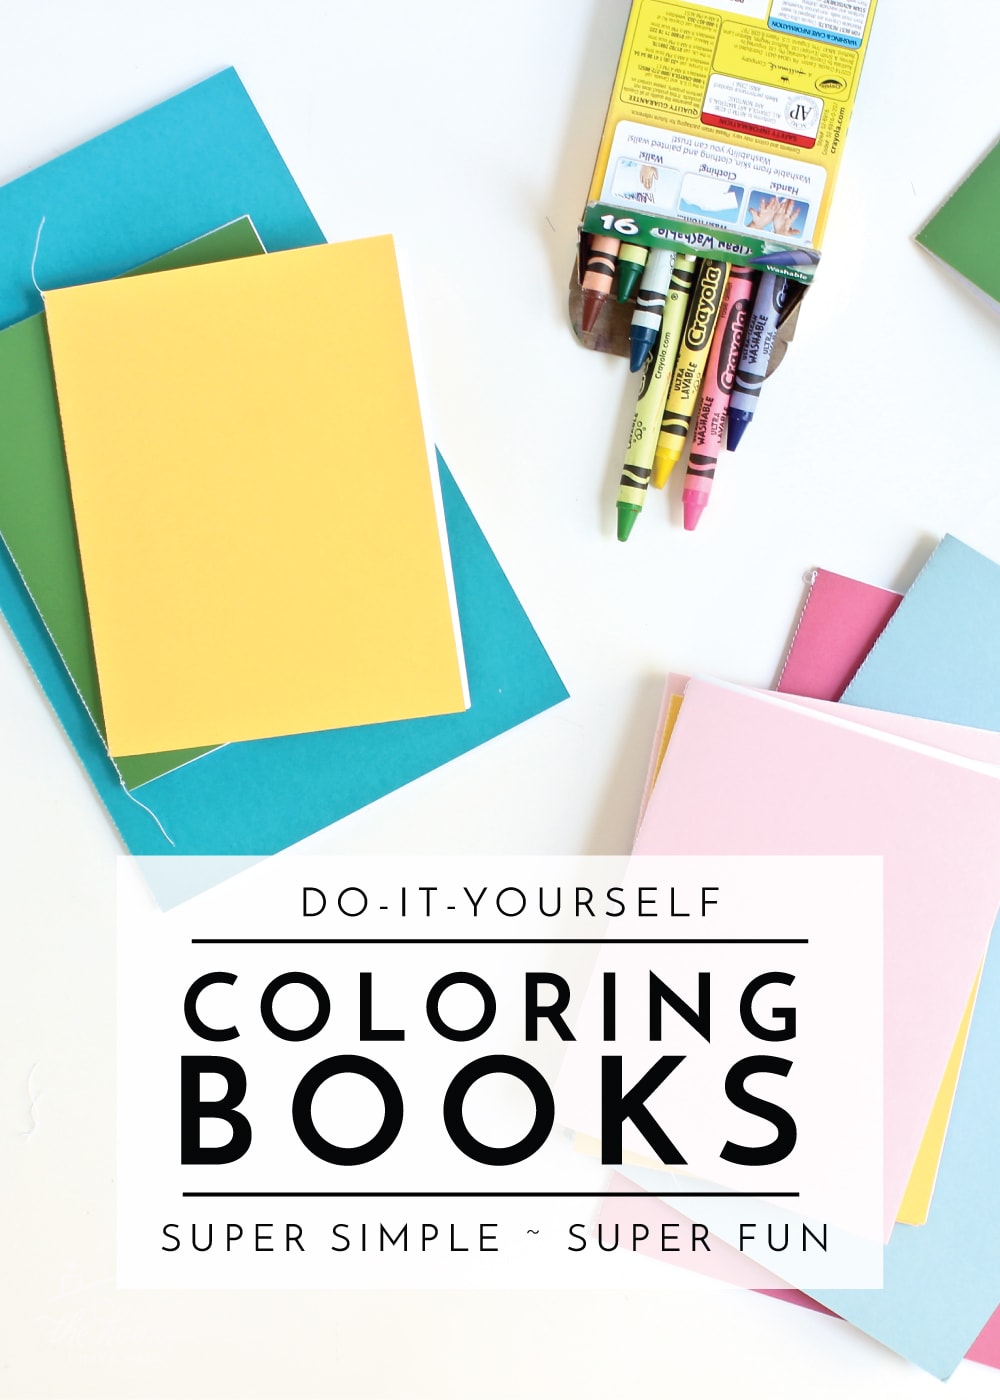
I have a habit for showing you guys some tedious and over-thought craft projects, but today’s project is anything but! With just a stack of paper and a straight line of sewing, you can make a (pretty!) stack of DIY Coloring books that can keep your kiddos (or you!) busy whenever needed! No fancy cutting machine, no tedious techniques. Just a whole lot of possibilities!
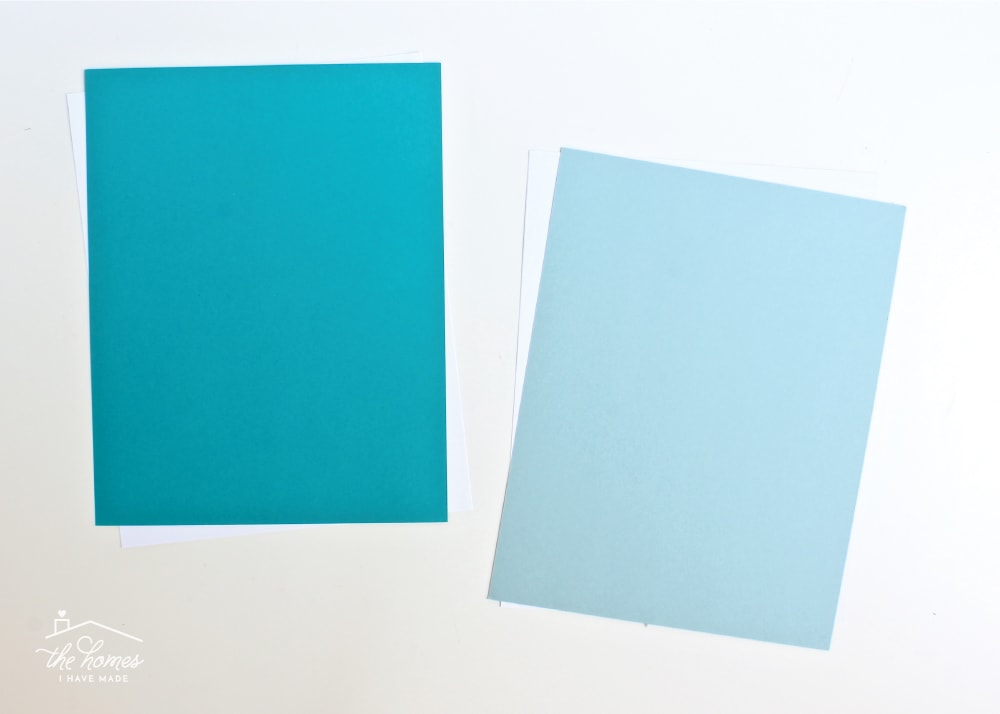
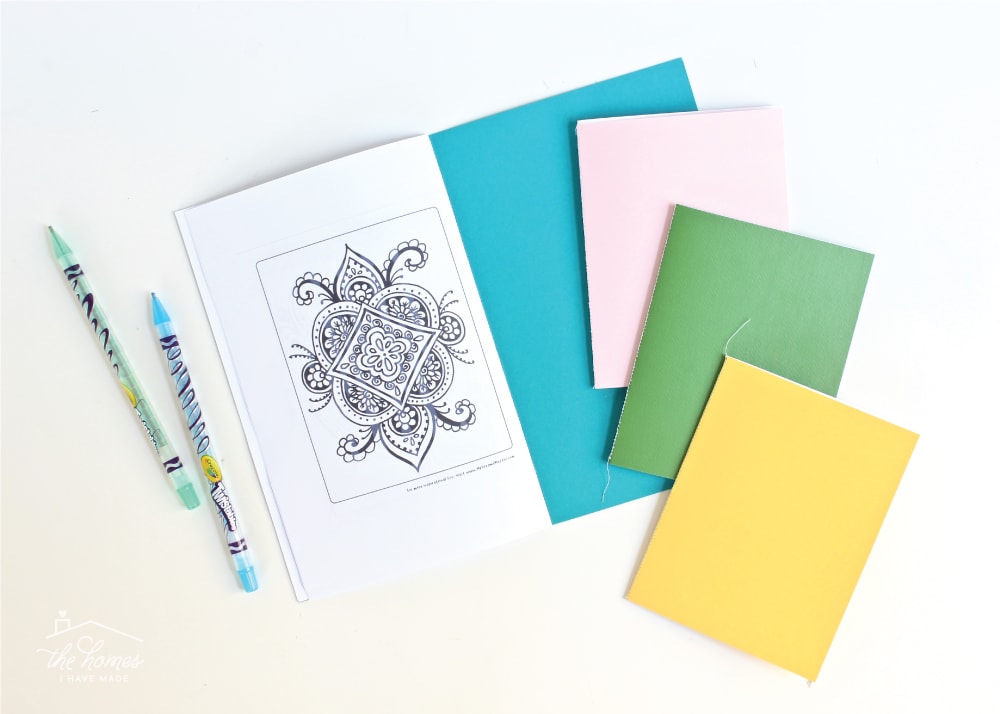
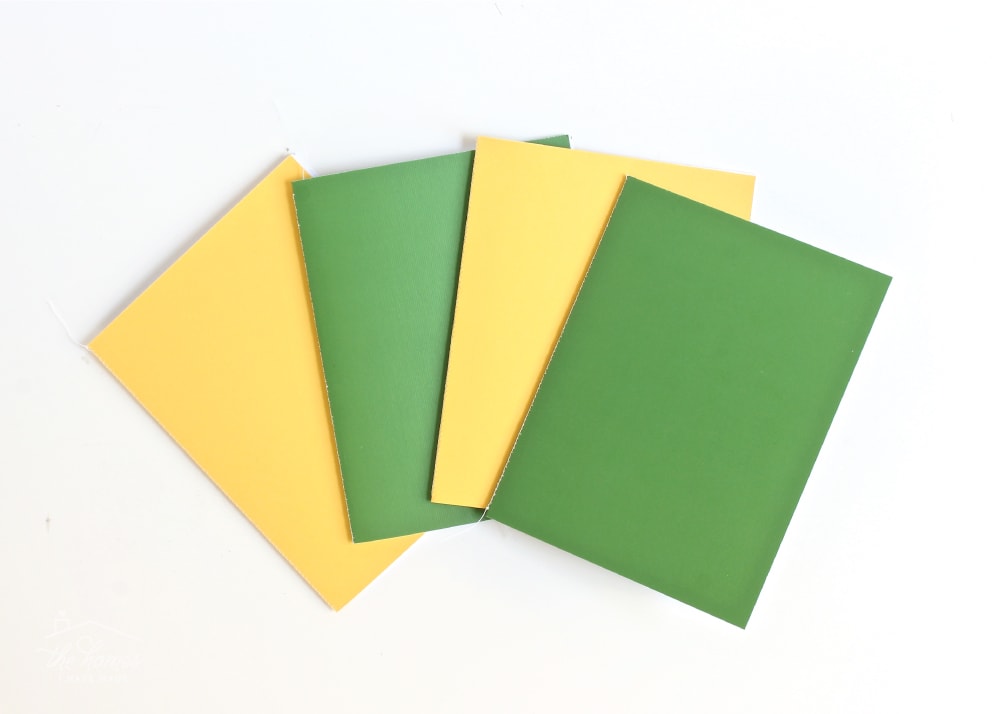
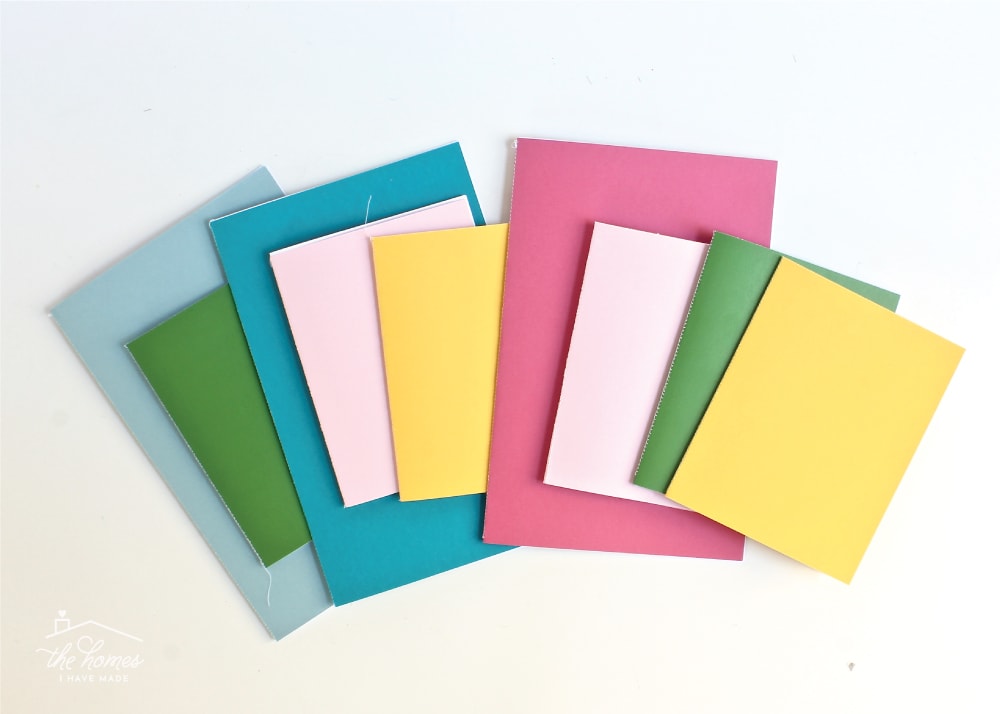
You probably already have everything you need to make a bunch of these notebooks! For our notebooks, I like to use a single sheet of 8.5×11″ cardstock with 3-4 sheets of printer paper. You can certainly experiment with different sizes and thicknesses, and you can even use patterned cardstock, glitter cardstock, coloring pages, colored printer paper and more to make them as unique and special as you wish!

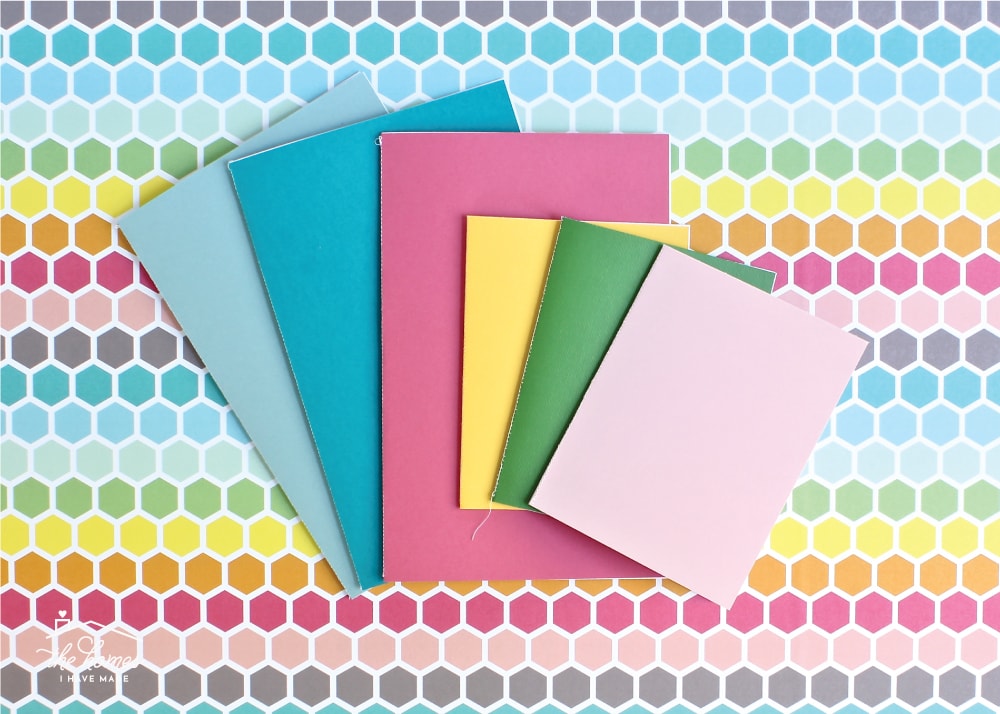
Today, I am going to show you how to make 2 sizes of notebooks using 8.5×11″ paper: a half-sheet size and a quarter-sheet size.
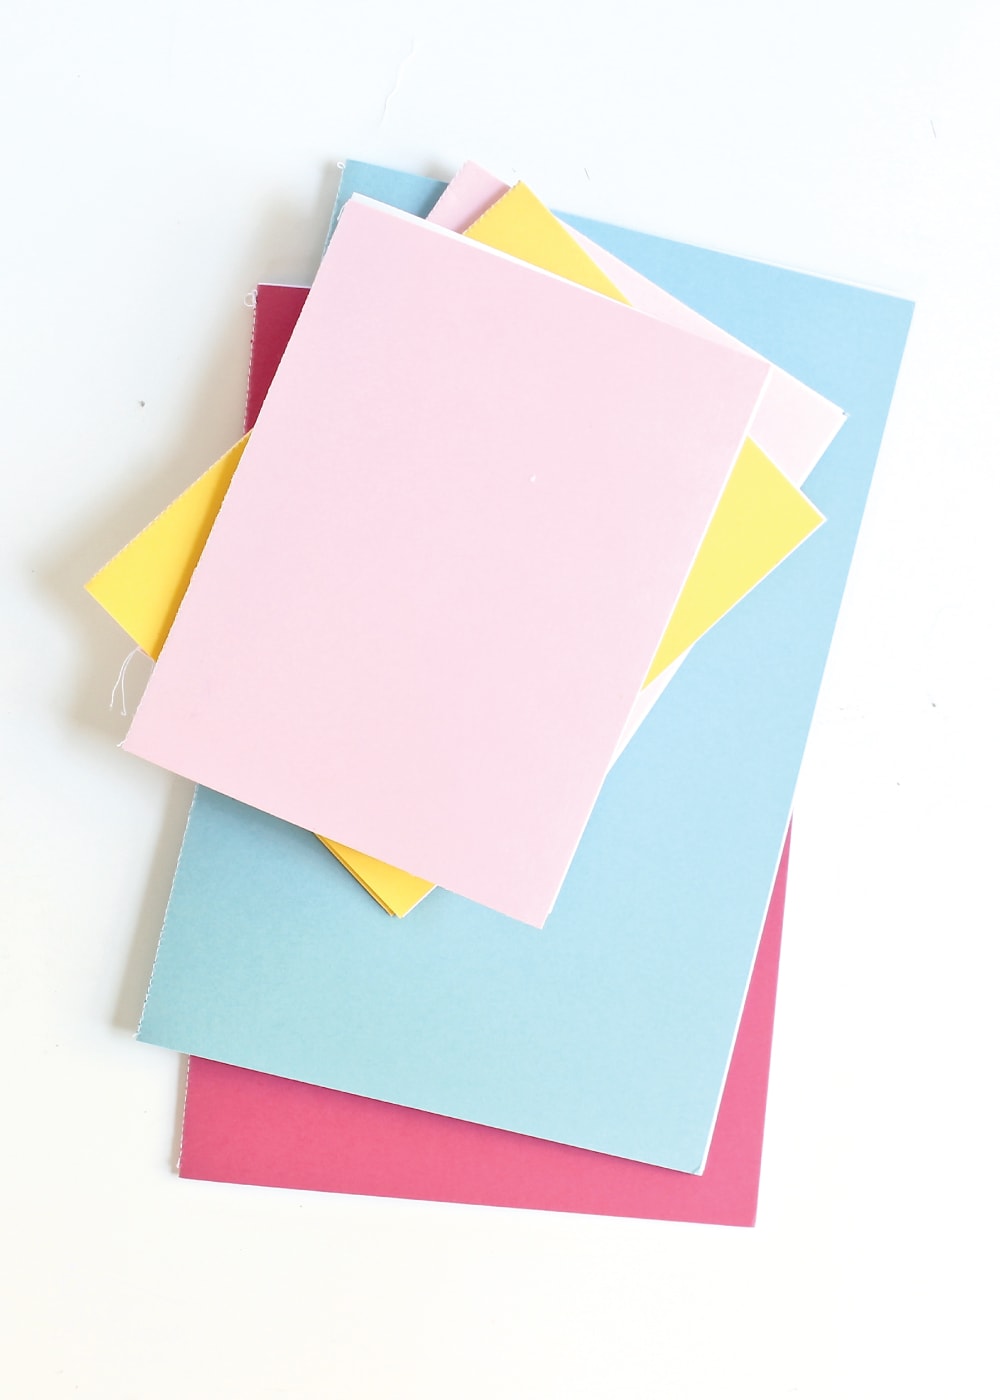
For both sizes, you start the exact same way: place 3-4 sheets of white printer paper and a single sheet of colored cardstock into a stack.
Half-Sheet-Size Notebook
First, let me show you how to transform your stack of paper into a half-sheet-sized notebook!

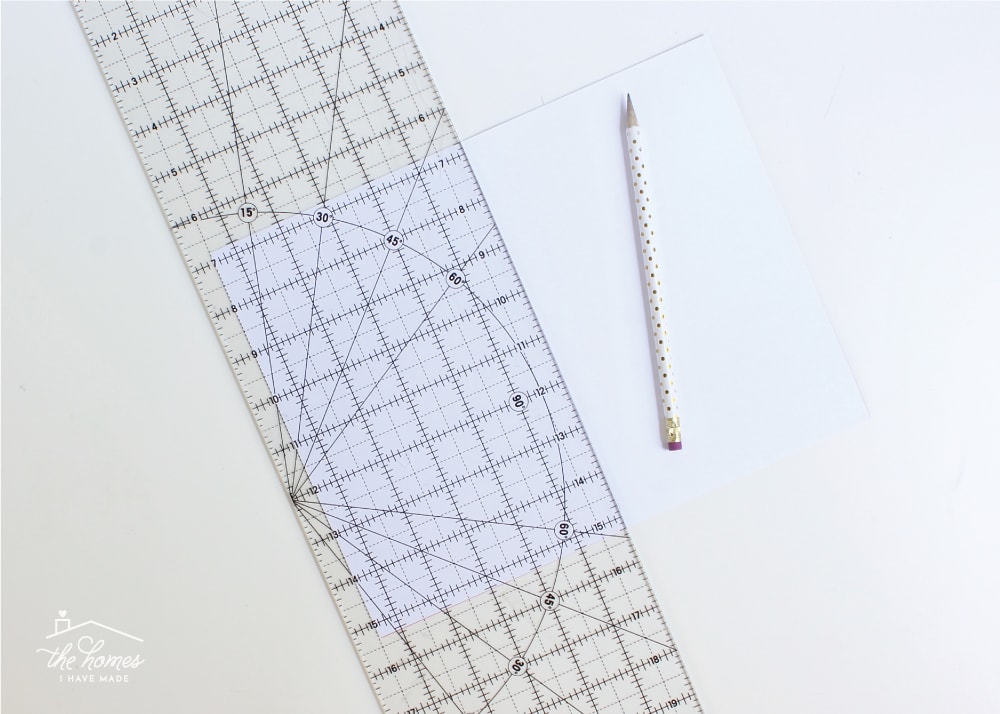
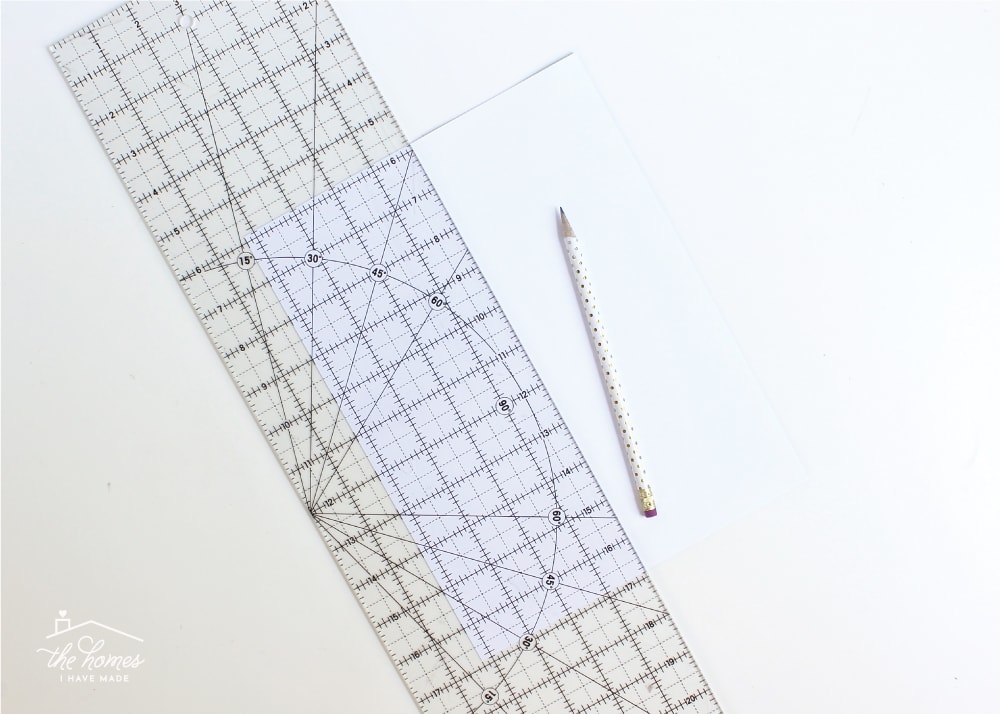
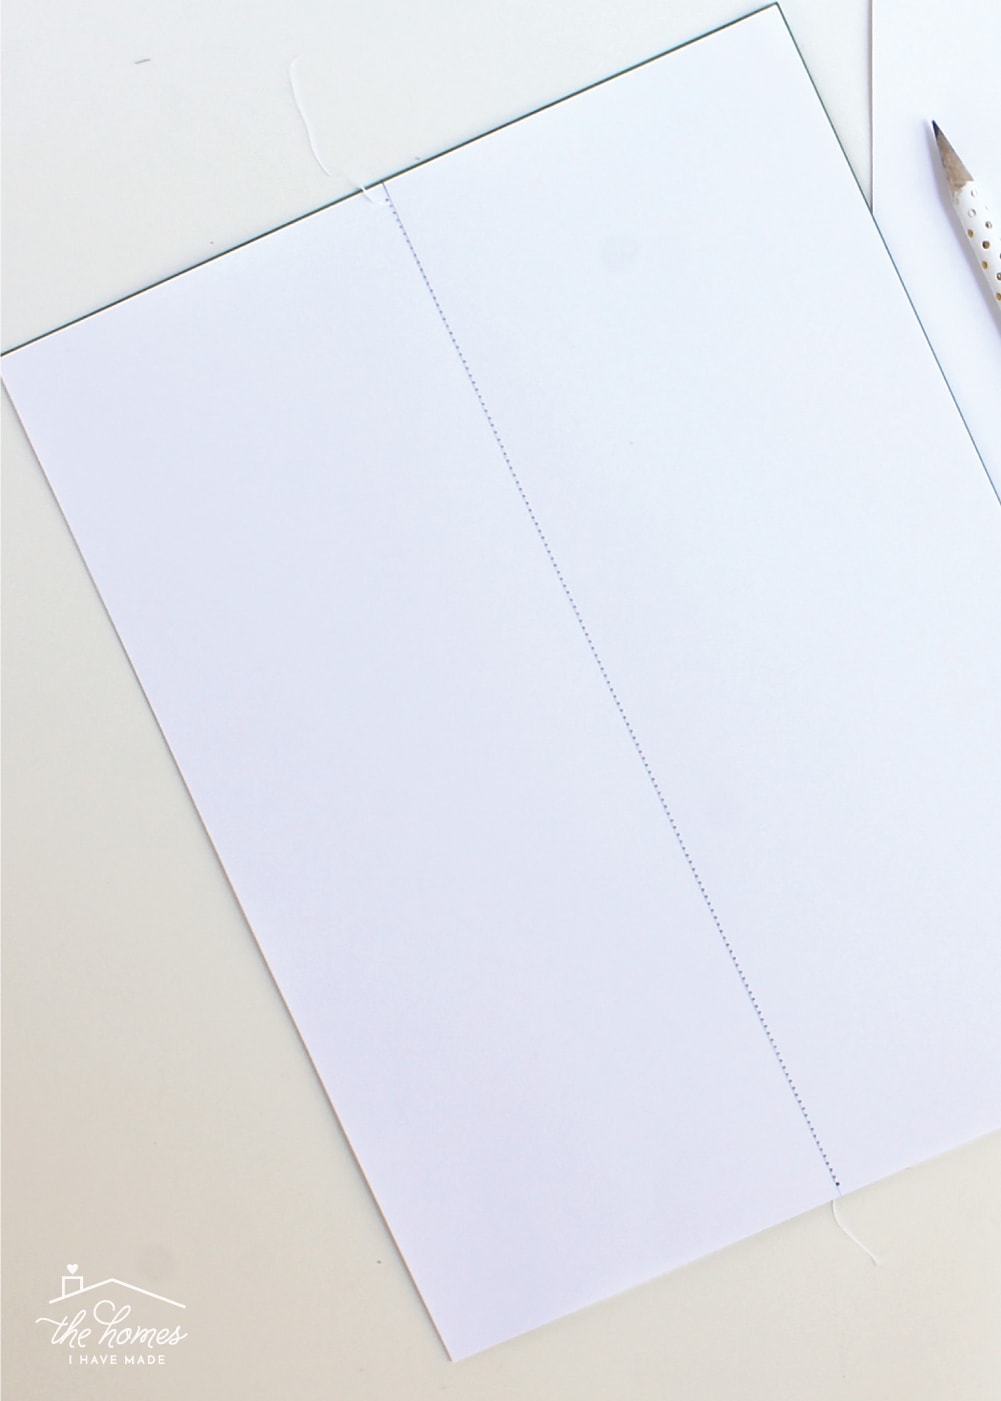
With your papers stacked, place them onto your work surface with the colored cardstock down and the white paper facing up, oriented in a landscape (horizontal) position. Use a ruler to draw a light pencil line down the exact center of the white paper (5.5″ in from the side).
Thread your sewing machine with whatever color thread you prefer (I like to use white). Hold your papers in a neat stack (with all the edges straight and even) and simply run it straight through your sewing machine, using a standard stitch and following your pencil line. Whoa! Sew on the paper? Yep! I promise it will work, and I swear it’s not scary…it just might dull your sewing machine needle quicker than sewing on fabric does. Don’t worry about pins or clips or backstitching, just sew on through!

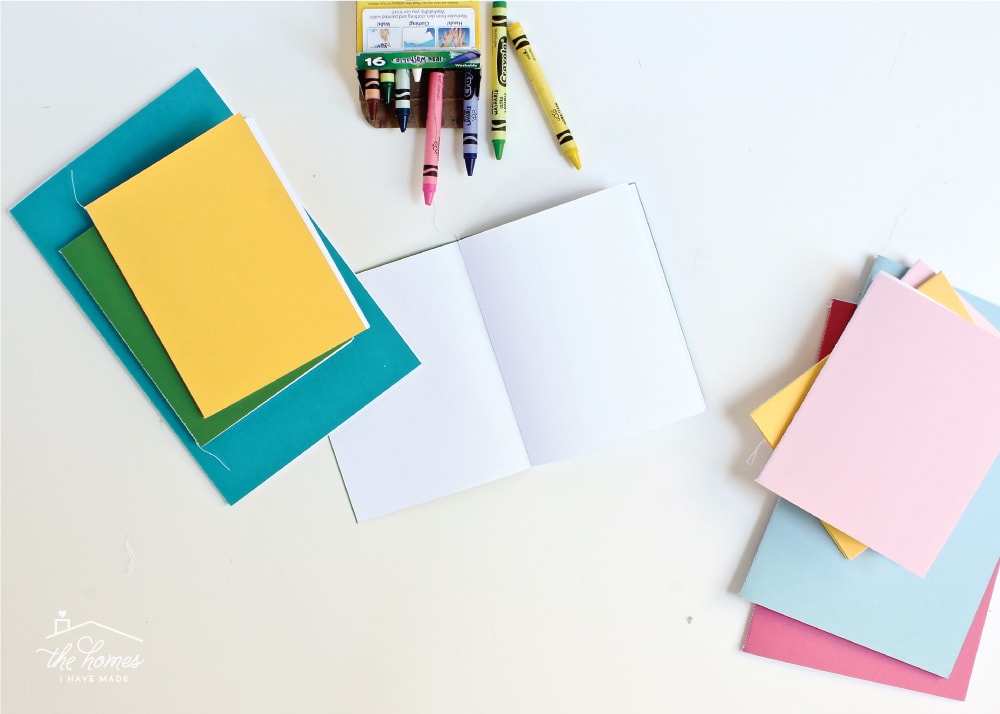
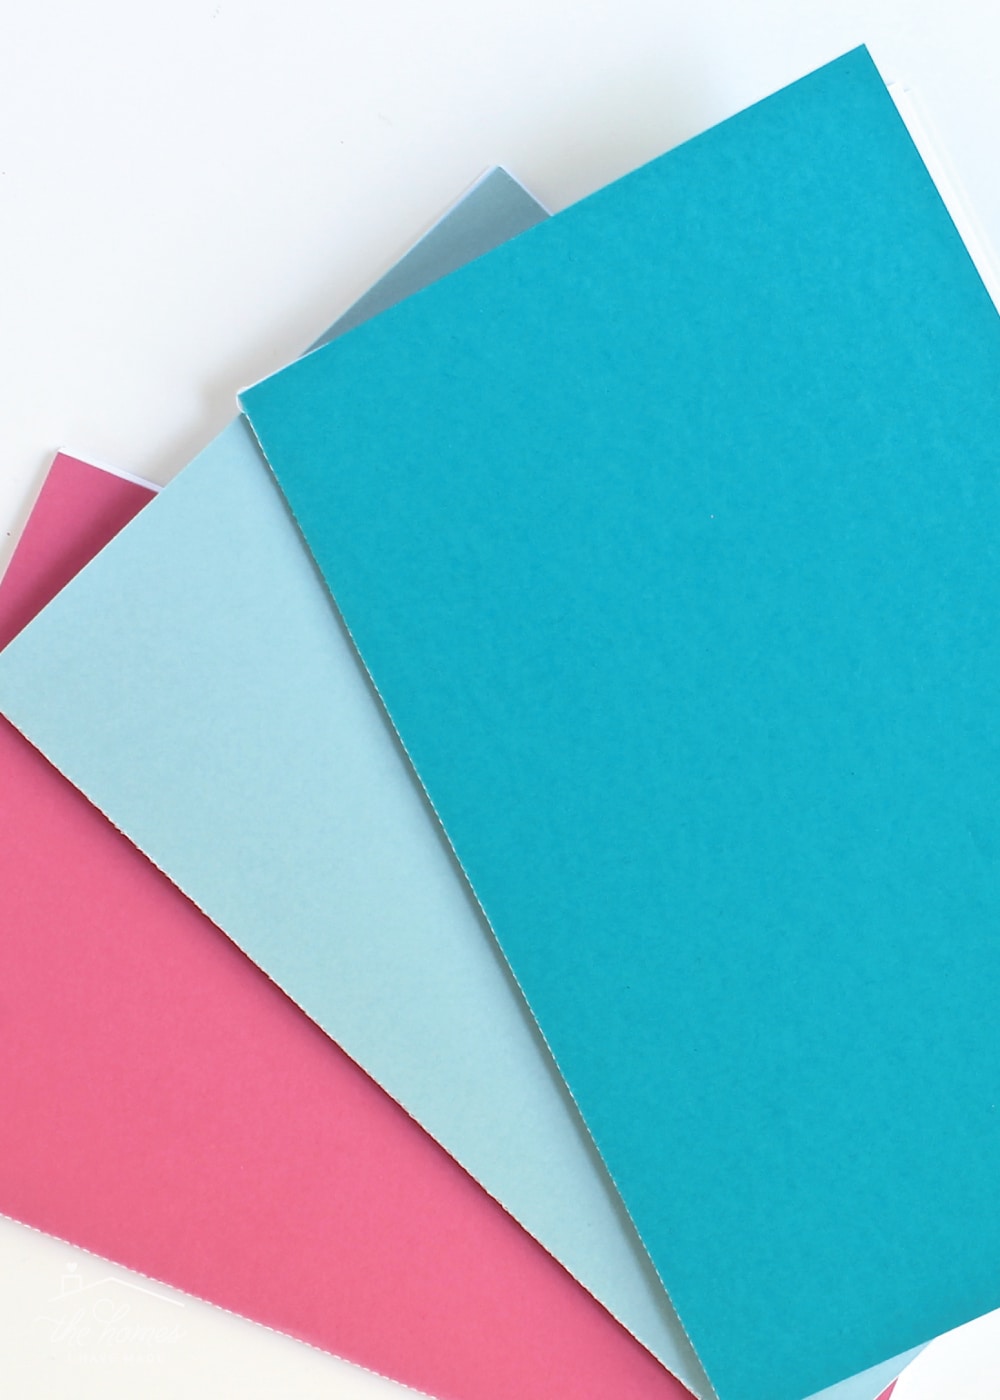
Once you’ve sewn through the center of your stack of paper, all you need to do is fold your notebook over along the stitch line to create your notebook! If you used a lot of paper inside your cardstock, you may need to use a bone folder to smooth down the crease. And that’s it…they are ready for decorating and coloring!
How to Use Coloring Pages
Here’s a fun way to use this same technique to make a true coloring book! These days, there are SO many free coloring pages available on the web. Whether you’re looking for adult coloring pages or outlines of your kids’ favorite characters, a quick Google and/or Pinterest search will yield tons of options! The key to turning the coloring pages into a little notebook is to print the coloring pages 2/page. To do this:
Want to save this post?
- Start with a PDF of multiple coloring pages (preferably an even number). Many free coloring pages are single pages, so you will either need to search around for multiple-page PDFs or use Preview or Adobe Pro to combine various pages into a single file.
- Once you have a PDF with several coloring pages, open the PDF in Adobe Acrobat Reader.
- Select File > Print
- In the Print Menu, select “Multiple,” “Landscape” orientation, and change Pages Per Sheet to “2 by 1”
- If your printer allows it, print the sheets double-sided. If your printer doesn’t allow for double-sided printing, manually print double-sided by re-feeding your paper through the printer to print on the opposite side. By printing double-sided, you will have a coloring page on each half-sheet, both front and back!

These are the free coloring pages I used!
Once you sew them into a booklet as described above, you’ll end up with a collection of coloring pages ready for whenever the creative mood strikes!
Quarter-Sheet-Size Notebooks
The half-sheet size is great for writing books or for kids who like to draw big pictures. But I have to admit, around here, my kids definitely prefer the smaller versions! Making these quarter-sized booklets is just as easy as the half-sheet size, only requiring just one extra step! Plus…you end up with two notebooks for the same amount of paper!
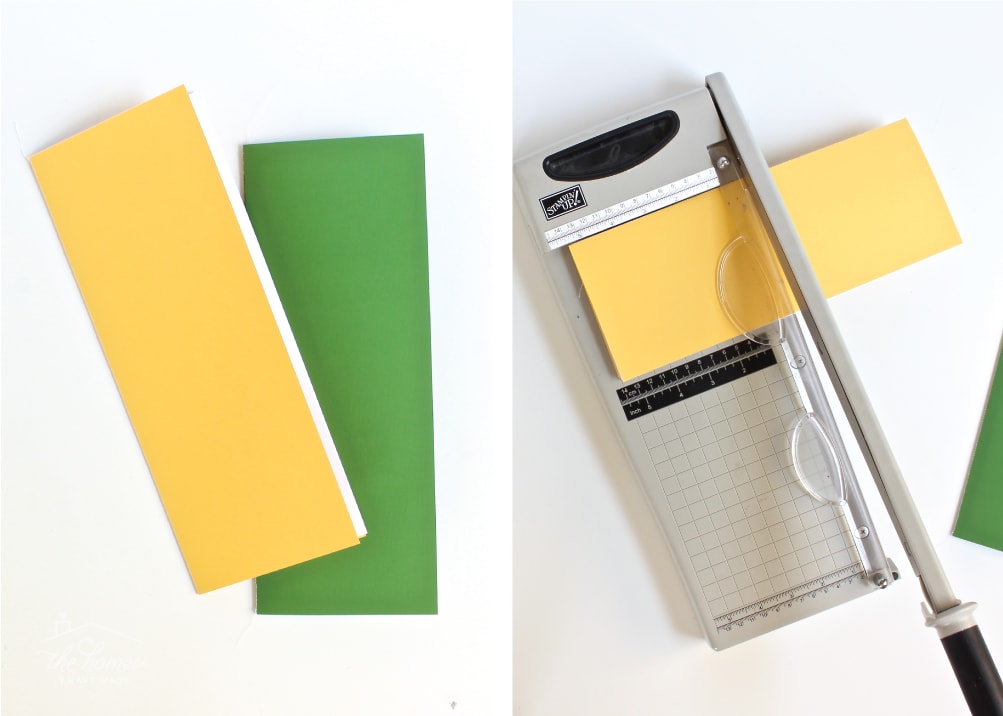
Like before, stack a single sheet of colored cardstock and 3-4 sheets of white printer paper onto your work surface. This time, orient the paper in portrait (vertical) orientation. Use a ruler to draw a light line down the middle of the paper (4.25″ in from one side).
Run your stack of paper through your sewing machine, again using the pencil line as your guide.
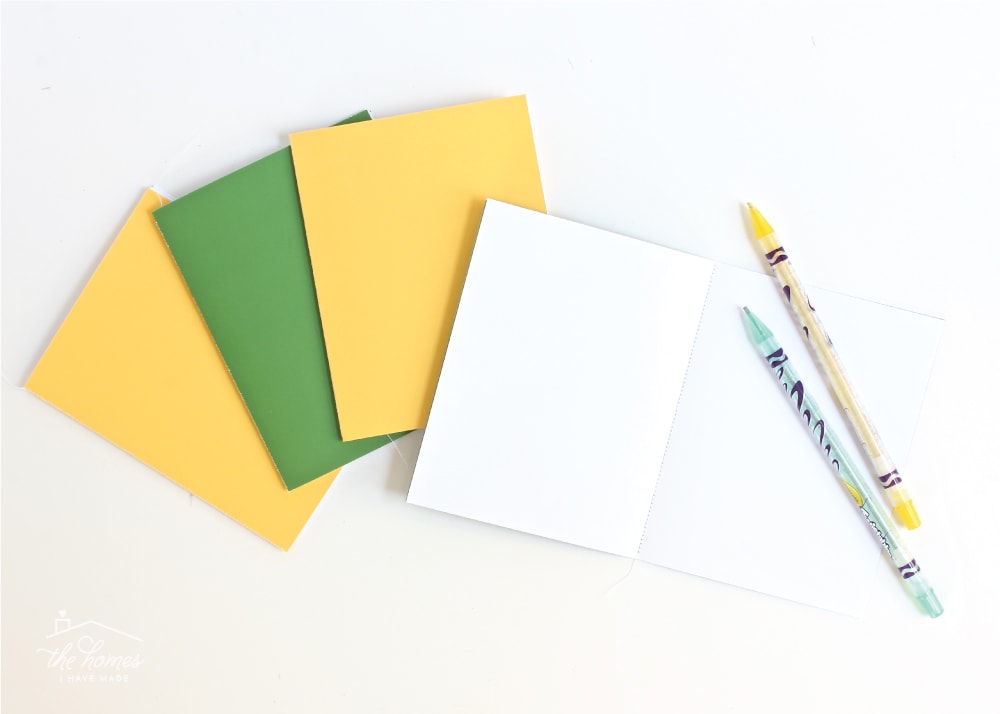
Fold your paper along the stitch line just as before (bottom, left). Then use a paper trimmer or scissors to slice the long rectangle in half again (bottom, right). You will slice through your stitch line at the 5.5″ mark to create two quarter-sized notebooks. Don’t worry about cutting through the stitches…I’ve never had one unravel on me yet!
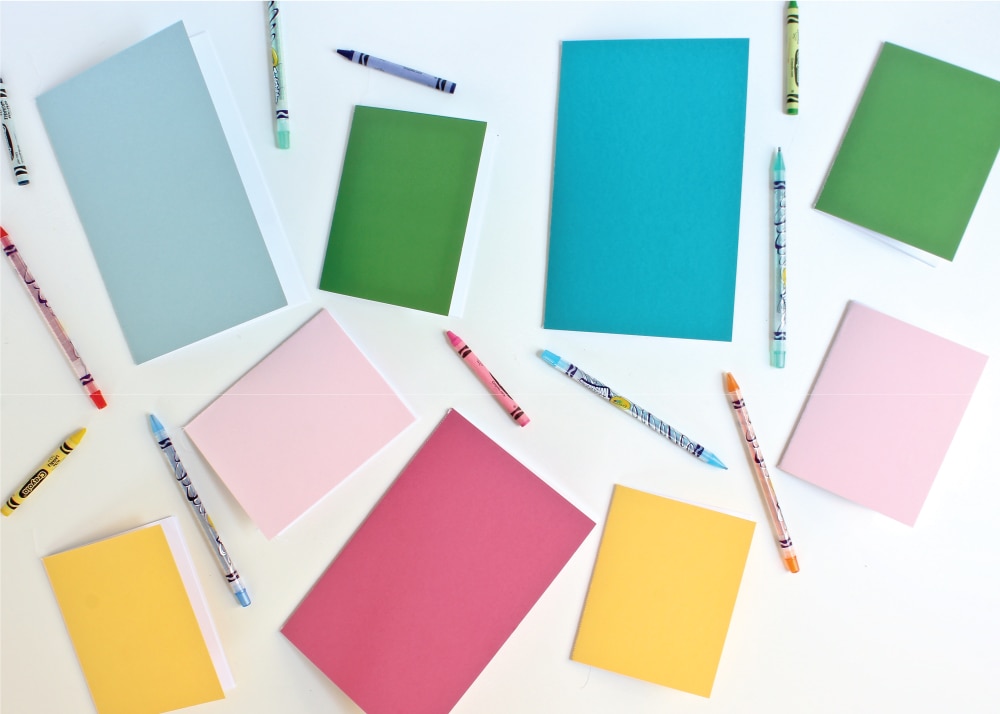
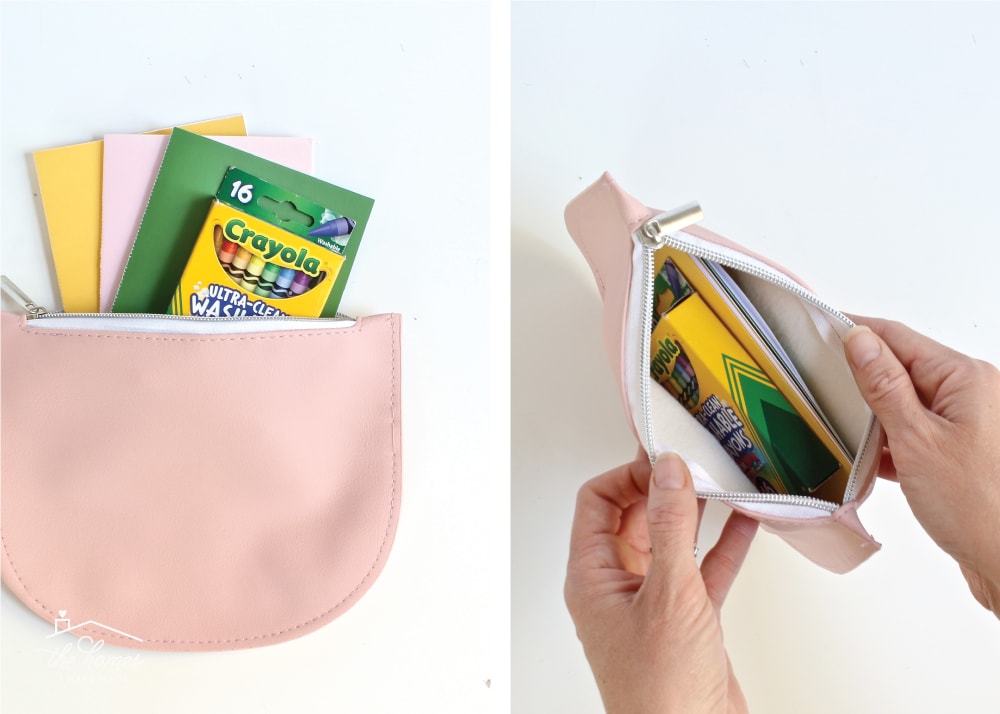
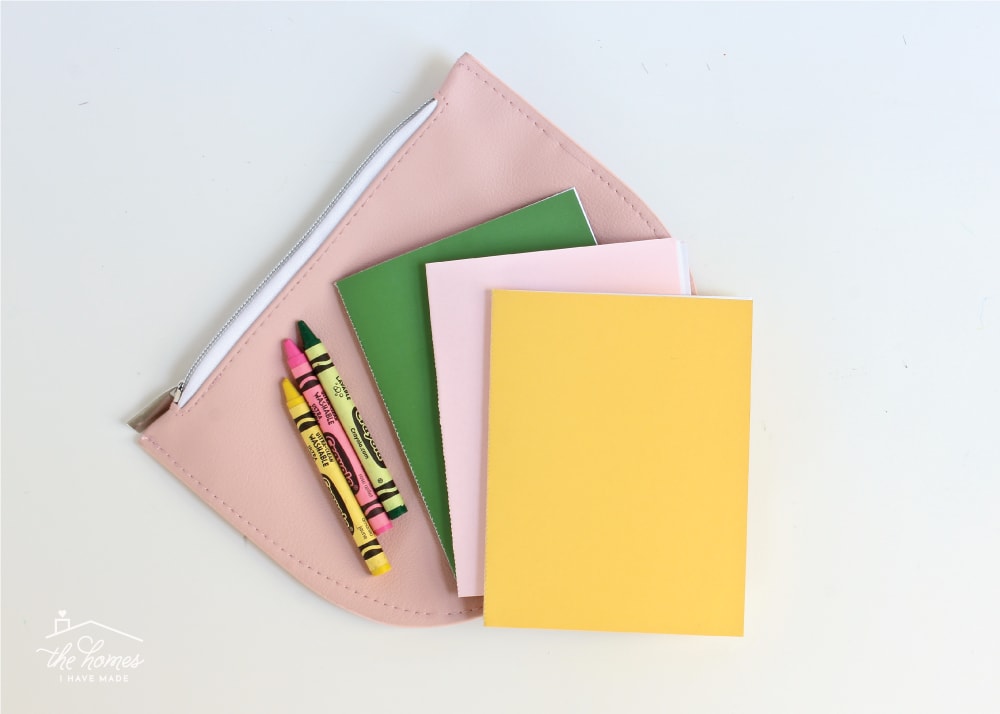
My older son loves to make comic books and is constantly squirreling away these smaller ones (good thing I made a whole stack of them!). I also keep a stack in my diaper bag with a box of crayons. Whether it’s at church, a resturant, or any other errand, I am ready to keep both boys entertained!
Not only have I found that kids like to have little notebooks to color in, but this project may also keep your printer paper stack from diminishing too quickly. Henry use to come in and grab stacks of paper all day long, leaving a trail behind him throughout the house. Now we have a rule that an entire little notebook has to be filled before another one is started! I’m buying less paper and picking up less paper too!
It’s actually been a while since I made a bunch of these DIY coloring books. Now that we’re re-stocked, I can’t help but wish I had done it sooner. This is a fun project for Mom and great for kids’ creativity. Oh, and if you’re running out of ways to keep your kids entertained this summer, try making a bunch and then setting the kids loose with stickers, markers, gel pens and more!

I love being able to pull projects like this together using only the supplies I have on hand; and admittedly, I keep my craft paper stash pretty big precisely for projects like these. Back here on Friday, our How to Organize Paperwork series is taking a turn toward craft papers, and I’m going to show you how I store all my cardstocks, rolls, and more so that I can easily access them whenever an idea strikes! See you then!
Megan
7 Comments on “DIY Coloring Books”
Love it! I can see so many uses for these– they would be so cute in a party favor bag with covers matching the party theme/colors, or as “passports” for a class/Scout/group activity with different stations, or a small journal… etc etc.
I found a site called Printable Paper (printablepaper.net) that has lots of lined and graph papers you can download in PDF. Most come in both portrait and landscape so they can work with either size book. There is a category called “Penmanship Paper” that would be perfect for kids practicing handwriting.
I made some of these with cute papers on the front for my daughters to give with a birthday present. Just add pens, crayons, and a treat. I like these in the cars or for vacations, they make a super simple smash book for the kids to record the fun stuff they see or write stories in. I need to stock up on the printer paper and make a bunch up!
Wow, Megan. these are super.
Hi, i’m looking to make a few of these however i don’t have a sewing machine.
Do you have an alternate binding method I could use besides staples or sewing?
I used to use stapes but typically restricts how far you can open the pages.
Thanks, love this technique!
HI Laren!
My only other thought would be to bind them with yarn/string. Like here or here!
Hope that helps!Megan
Hi,
I can’t wait to try this…looks so fun…we’ve got machine and crafts out already.
I’ve got three grandkids coming today…they are going to love this, because we love any kind of notebook.
Thank you for all your good ideas…I am so impressed with your site
Ninny to 7
Thank you so much!!! Hope you had fun making the notebooks, we need to make a fresh stack around here!
Thanks so much for writing!Megan