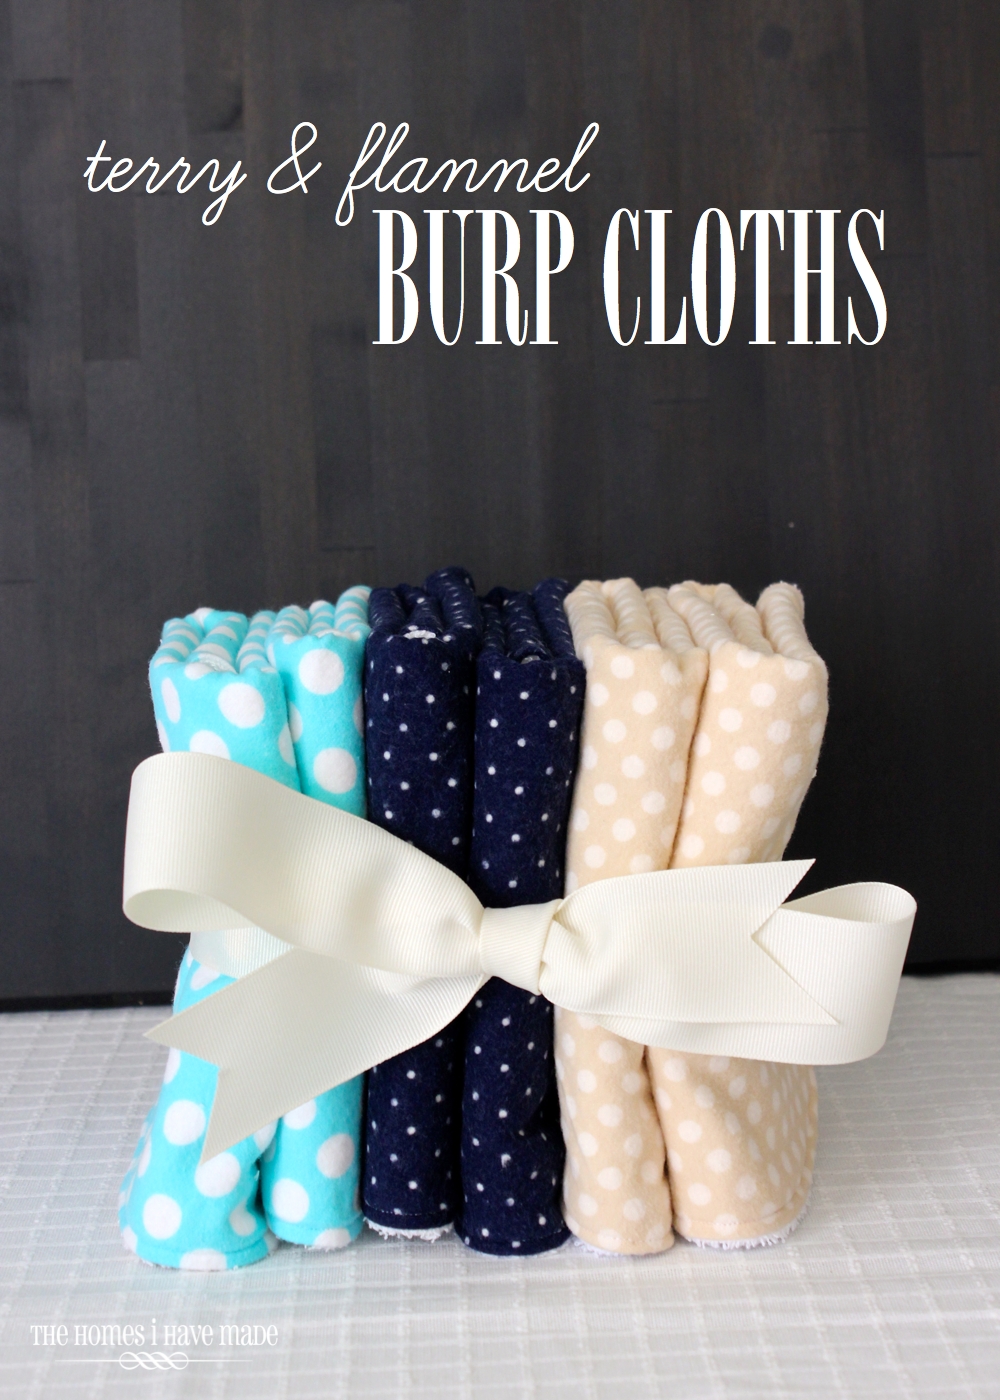
Terry & Flannel Burp Cloths
I’ve mentioned a few times over the last week or so that I have been spending a lot of time at my sewing machine. I don’t know about you, but I go in major fits and spurts with sewing. I won’t sew a thing for weeks/months, and then sit down and knock out a bunch of projects in just a week! I’m certainly not the best sewer in the world – I’m pretty much self-taught with a few tips and lessons from Mom along the way. But I just love that I can take great fabrics and turn them into something original and fantastic. Such as these terry & flannel burp cloths!
Some of my favorite projects to make are baby/kid projects – they are small, simple, and you can use really fun fabrics in small doses. What luck that a good friend is expecting a baby in a few short weeks!! I jumped at the chance to make her some homemade goodies in anticipation of his arrival. Check out these adorable and oh-so-easy burp cloths I whipped up for her shower!
Having now had a baby myself (and road tested a lot of different burp cloth options), I feel like I have a good handle on what makes a “good” burp cloth. For me – it’s all about good absorbency and hassle-free maintenance! I knew exactly what I wanted to make some burp cloths out of: terry and flannel. Both soft, both fun, and both super absorbent!

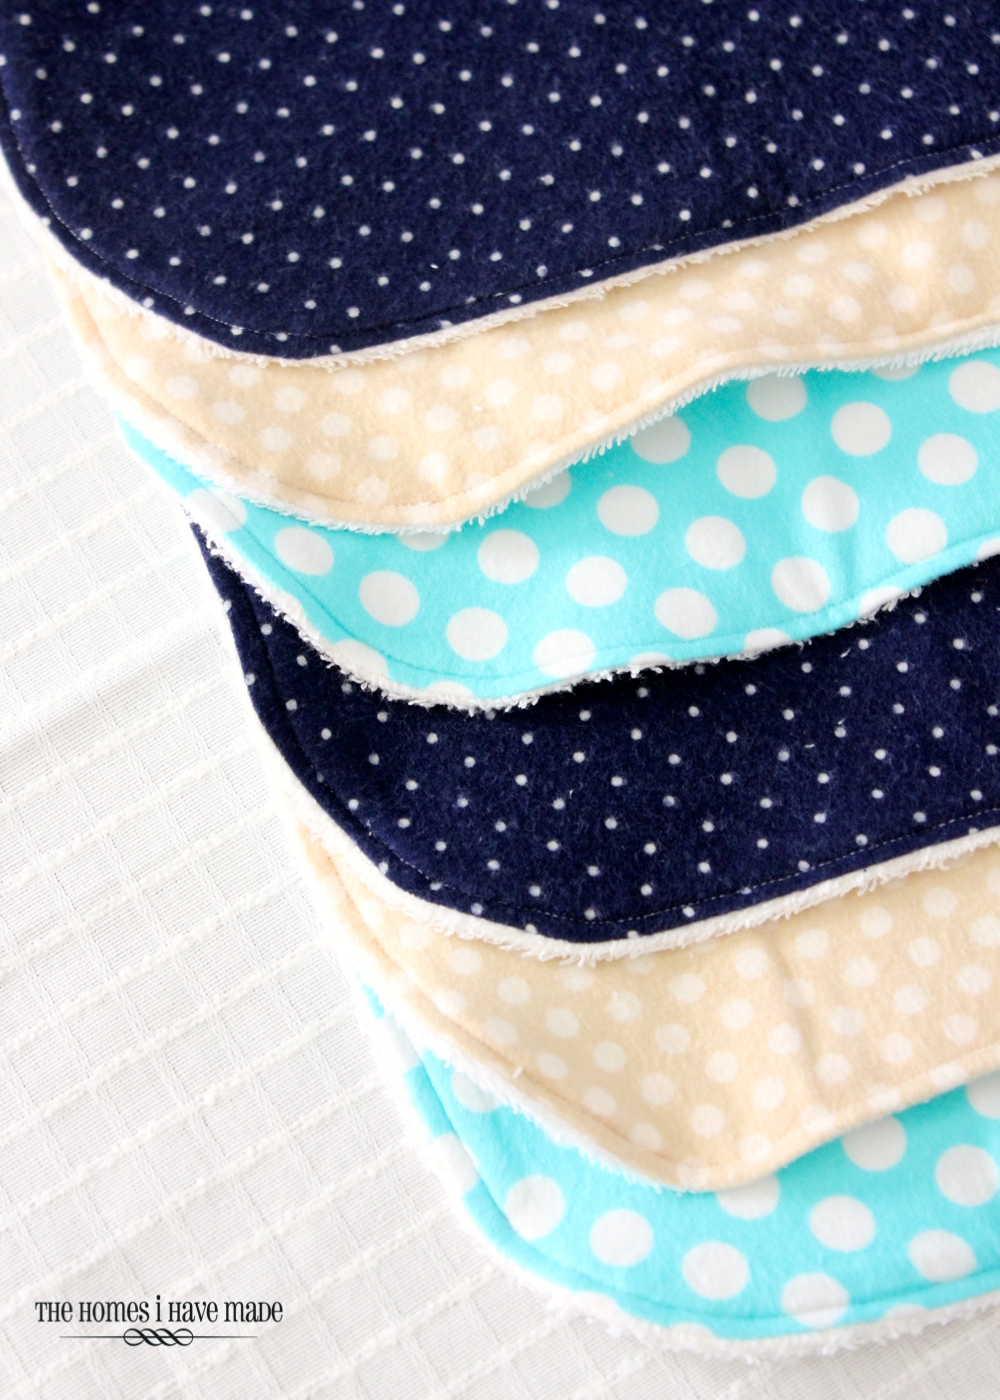
Yup – these burp cloths are reversible! Cute flannel dots on one side and white terry cloth on the other.

I kind of made these up as I went along, but they turned out so darling that I wanted to share! You don’t need a pattern, a ton of sewing skills, or a ton of fabric. In fact, if your fabric stash is anything like mine, you might be able to make a set using what you’ve got around the house!

Here’s what you need!
- Terry cloth – I buy mine off the bolt from JoAnns or Hancocks. I like that it’s wider and lighter weight than using a towel from a store, making it much easier to sew up just the right size! The burp cloths measure 12×15″ when done, so you can get 6 out of one yard!
- Flannel prints – My polka dot prints were left over from sewing for my own baby (um…2.5 years ago!), but you can find a wide range of flannel prints almost anywhere these days! Again, you just need 13×16″ rectangles, so this is a great project to use fat quarters or larger scraps if you have them!
- Notions: ruler and rotary cutter, cutting mat, thread, sewing machine, scissors, iron.
The first step is to cut your terry cloth down to 13×16″ rectangles. This is most easily done with a rotary cutter, ruler and cutting mat. (Pssst…if you sew a lot and don’t have this cutting set – get one! It makes a world of difference cutting projects down fast and right!)

Next, if you want (this step is optional!), round off your corners. I used a saucer from the kitchen as a guide!

Repeat around all four sides.

Want to save this post?
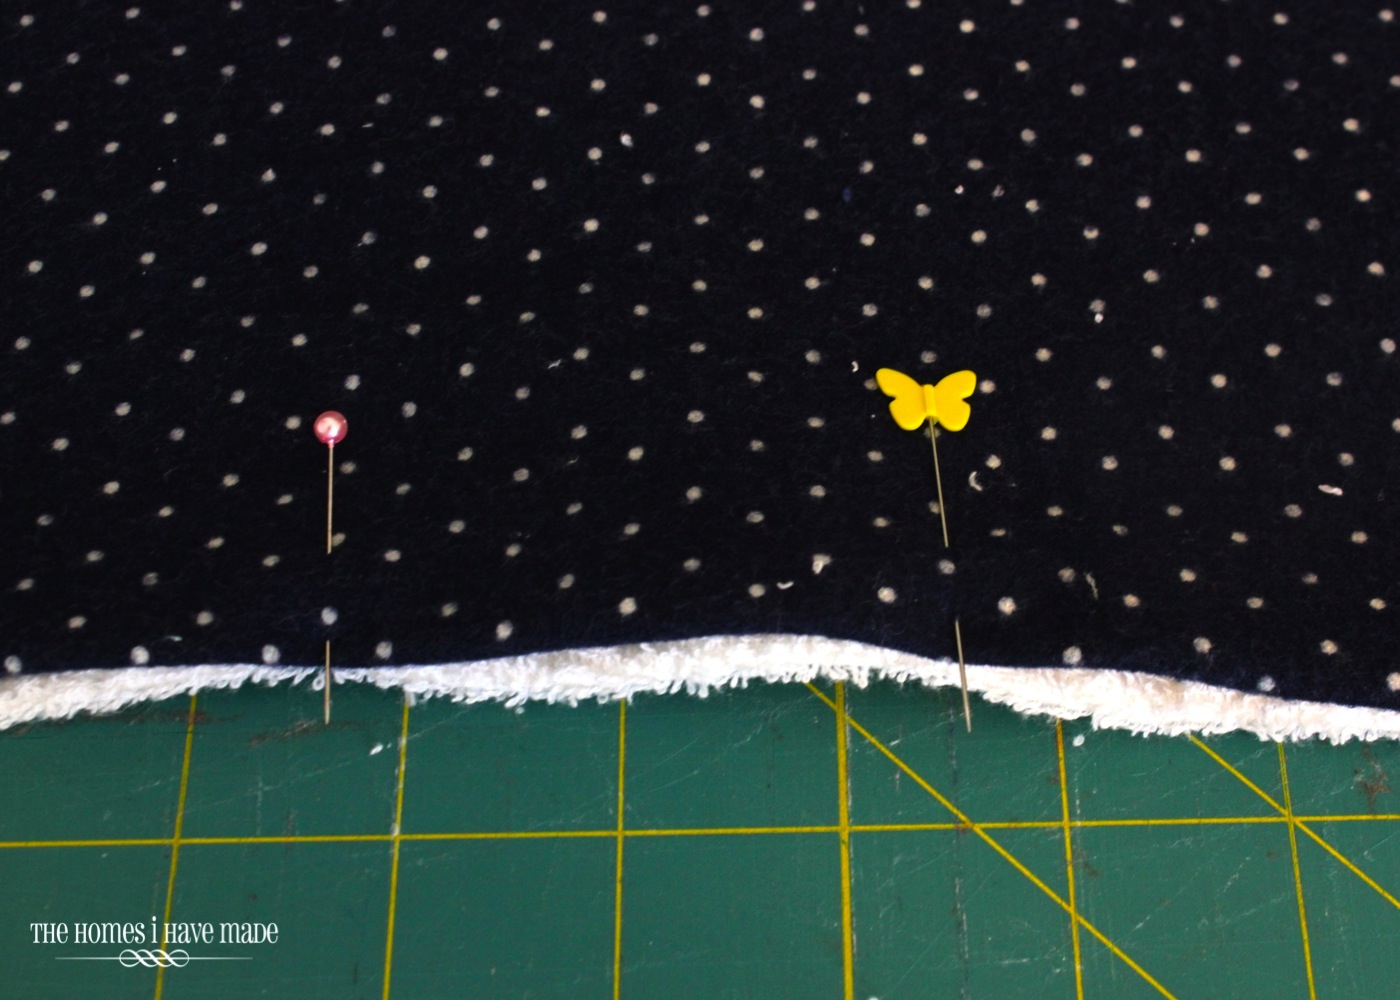
Next, pin your terry right sides together to your flannel. Here’s a trick I learned back while making the Monster Stuffies. You don’t have to spend the time measuring and cutting the second piece of fabric. Once your pieces are sewing together, it’s easy just to trim the excess away! AND your guaranteed to have your pieces line up!

Next, sew all the way around the terry cloth edge with a 1/2″ seem allowance (bottom left). Be sure to leave a 3″ hole open for flipping the cloth right side out. I used my serger to cut and finish the hem for me (bottom right). If you don’t have one or don’t want to use it, just use scissors to trim away the excess fabric.

Flip the burp cloth right side out and press flat. Pin the 3″ opening shut, and then top stitch all the way around the finished cloth.
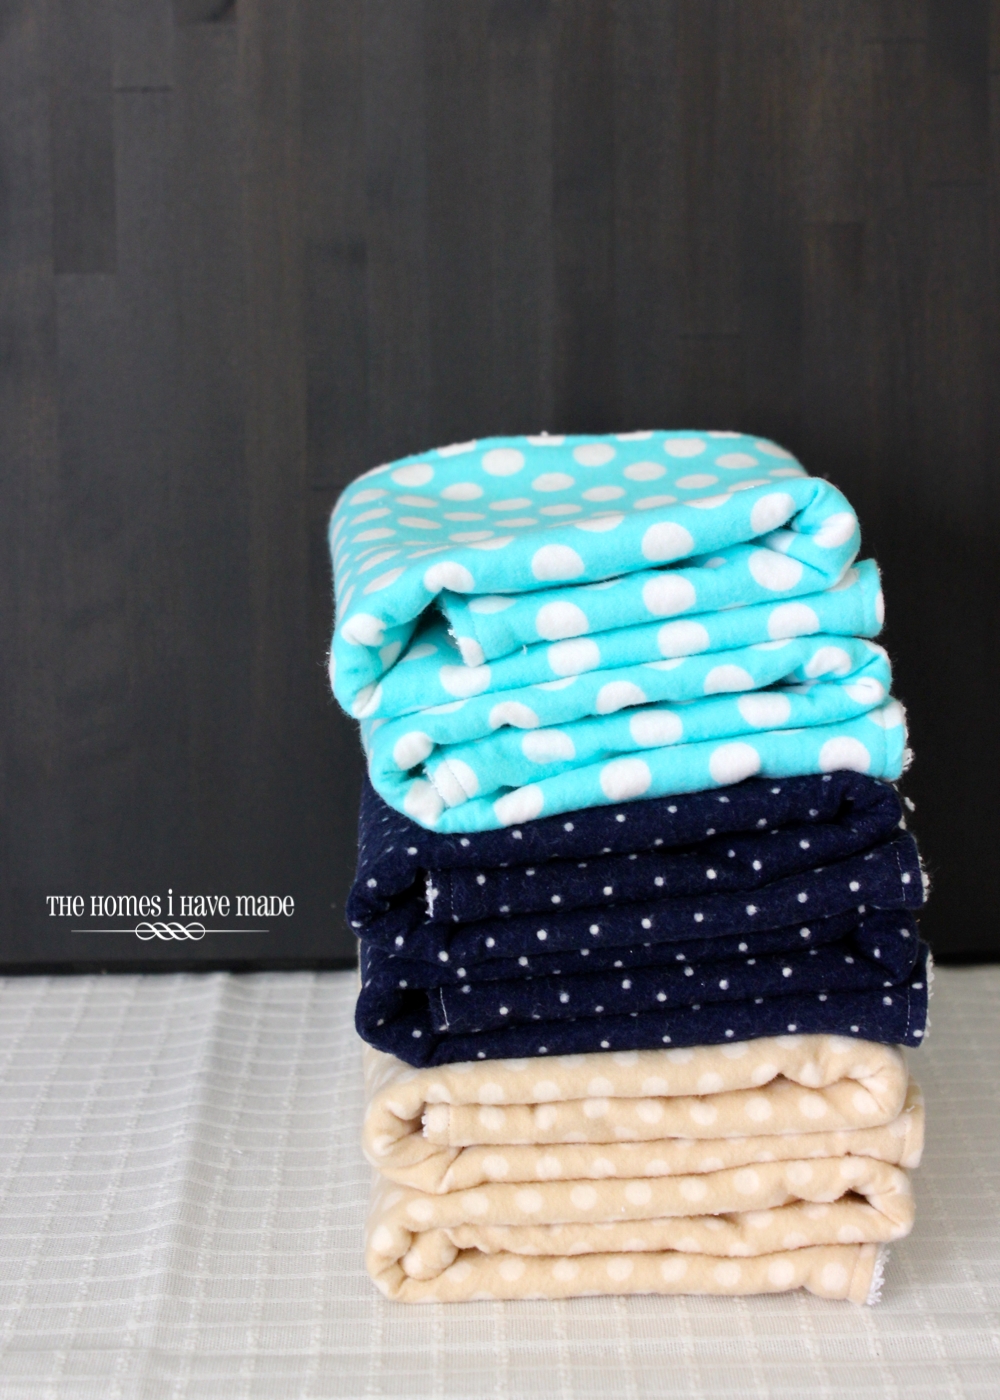
Now make as many as you want or need!
These are really quick and easy to pull together – maybe 10-12 minutes each!

A new baby needs lots of burp cloths, so the more you make, the less laundry for the Mommy!
Now just tie them up with a pretty bow, and they’re ready as a perfect shower or “welcome to the world” baby gift!

Next week, I’ll show you the other half of this baby gift – a coordinating hooded towel. (Told you I’ve been sewing lots!). This weekend, we are transitioning our house from Summer to Fall. I have some really fun plans up in my head, so I’ll have an update for you on that too!
Have a great weekend!
Megan
23 Comments on “Terry & Flannel Burp Cloths”
Super cute!! I love the cute polka dot patterns. Pinning!!
Thanks for the tutorial! We are expecting our first little one in January. AH that seems so close! There is SO much to do. I don't know if I'll actually get around to making these, but I will definitely keep the tutorial in my head! Hopefully the things I'm worried about will get done sooner rather than later and the stressing can stop!
Runt
[email protected]
http://www.runtspickins.wordpress.com
What a great gift idea! I know that the new mom would love these. 🙂 I found your tutorial at the Link Party Palooza. I've pinned this to my sewing board…if I ever learn to sew that would be helpful. 🙂
This looks amazing!! I love it!!
I would love to invite you to link it up at our new party Lovely Ladies Linky where you link up once and get seen on 6 blogs!!
Link up starts Wednesdays!
http://www.lifewiththecrustcutoff.com/lovely-ladies-linky-link-up-2/
Hope to see you there 🙂
Parrish @ Life With The Crust Cut Off
These came out so cute! Agree – burp cloths are all about absorbancy. I was planning on flannel too.
Instead of Terry cloth could I use a dish towel? It's the same material right?
Hi Megan,
I just came across this post and I am super interested in making some of these for an upcoming baby shower.
Did you wash and dry your flannel before sewing?
Thanks!
Quinn
Hi Quinn!
Thanks so much for your comment. Yes – I did wash them beforehand, and then ironed out the flannel to make it easier to work with. Since burp cloths get washed a lot, I wanted to make sure I eliminated any possible shrinkage!
Hope that helps, and good luck!
Megan
I made these and they turned out so awesome!!! Thanks so much ?
Yay! I’m so glad to hear that you made them and love them!!!
Thanks for letting me know!
Megan
Couldn’t you just put the fabrics right side out and serged it all? Just curious, I don’t know much about serging but I am getting one…Same thing can be said for a baby, lol!
Yes, you certainly can! I didn’t have a working serger at the time I made these…and sometimes a serger can leave a rough edge which wouldn’t be ideals for baby’s face. But yes…that would work just great!
Hope you give them a try!
Megan
Beautiful blog with wonderful pictures and great steps by step description. I am definitely going to make few soon. Thank you so much for the blog. Love your ideas
Wow! Thank you for sharing this tutorial! Is it possible to make bibs to match their burp cloths with the same materials? I’m planning to make a set for my friend’s baby girl who’s coming soon late June :)!
Please let me know! Thank you again!
Hi Nicole!
I don’t see why not! My Mom used to make bibs out of hand towels. She’d cut a circle in the middle for the neck and add ribbing (like the neck of a t-shirt) to make it more comfortable. Just like this: https://www.bloglovin.com/blogs/make-it-love-it-2254463/make-a-reversible-baby-bibin-20-minutes-less-5492447193
Hope that helps and good luck!
Megan
Pingback: Top 10 Best Baby Gifts To Sew - Swoodson Says
So once you flip it right side out, do you sew all the way around again?
Yes, maam! Just to give it a nice, clean finish around the cloth!
Good luck!
Megan
Would cotton work okay instead of the flannel, or would it be too rough?
My sister is pregnant and I have a lot of cotton from when our grandma passed away a couple years ago that I’d love to use for a project for baby.
I have made so many of these! They go together so fast. When flannel is on sale and I have coupons for terrycloth I can make thrifty baby shower gifts. The young moms are appreciating hand made items so I enjoy giving them. I usually bundle 8 burpcloths with a double thickness flannel blanket of a coordinating fabric in a crocheted basket. Makes a nice gift.
I made these and they turned out great! I bought a flannel fat quarter bundle (five complimentary patterns) during a sale and was able to reuse the ribbon they were wrapped in to tie the five burp cloths up at the end. I also went for a larger size of 19″ x 13″ which gave me a finished size of 18″ x 12″. Thank you so much!
Oh my gosh Megan I feel the same way about sewing as you what you wrote was the same thing I just said to my friends the other day. Love this burp cloth idea. I’m going to be making some of them this weekend. Thanks for sharing!
Pam
I made some burp cloths out of prefolded cloth diapers. I machine embroidery baby animals and on reverse I used flannel to cover back side and trimmed with ribbon. They were so cute. They have been through 5 grand kids. The 6th is due and I feel some new ones are too!!