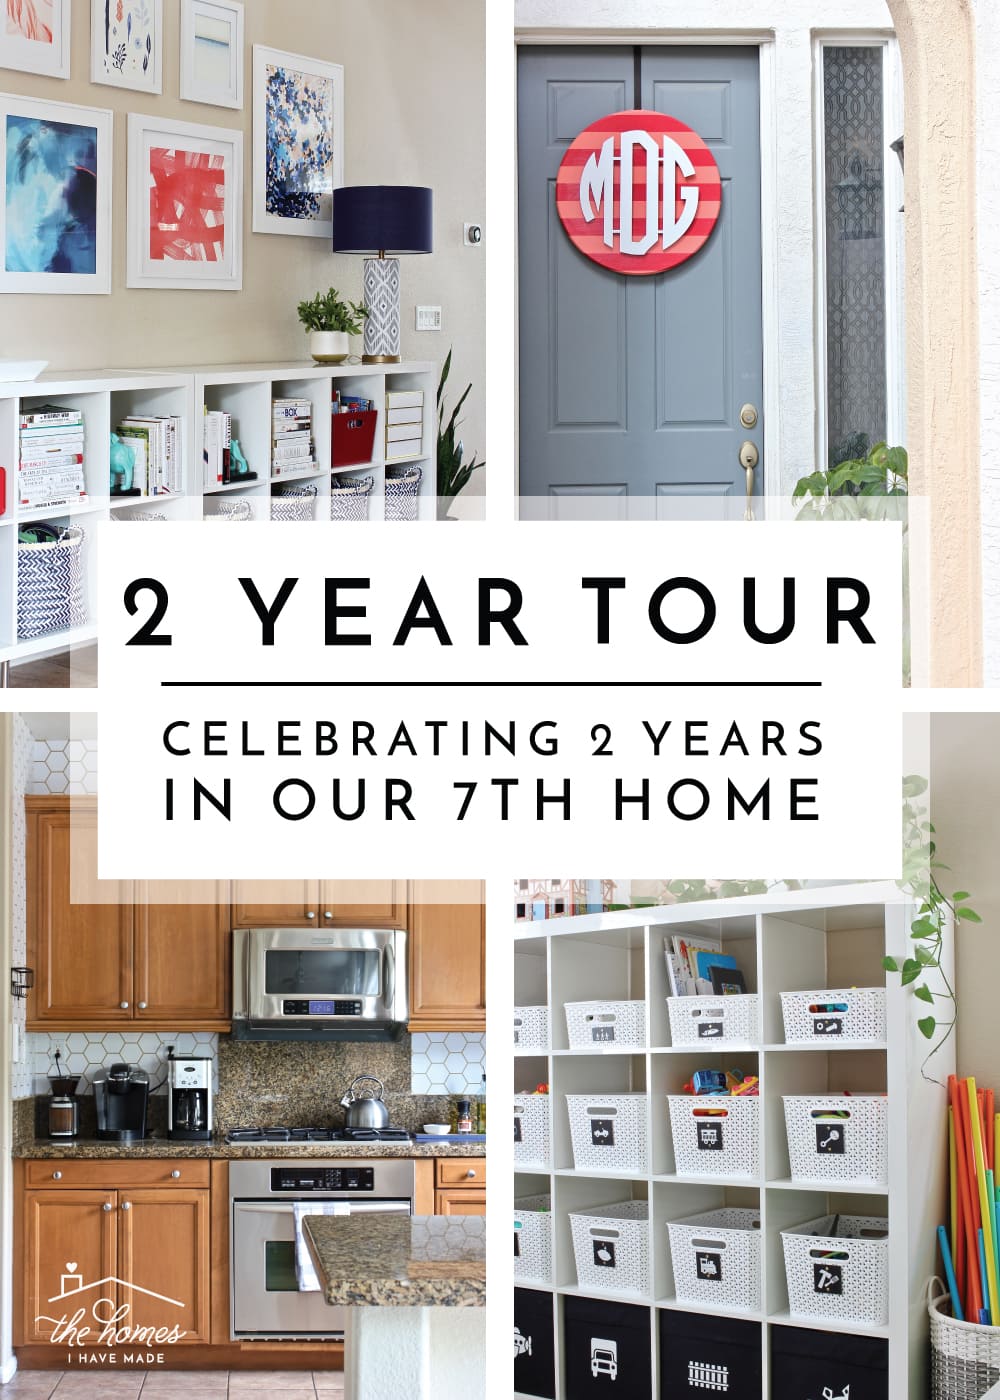
Celebrating 2 Years In Our 7th Home | What We’ve Done & What’s Left to Do!
It’s pretty hard to believe, but this week marks two years of living in our current home here in southern California. Can you believe that? Two years! Man, time flies when you have a baby, launch your signature product, and survive a 9-month deployment. Many of you might remember a year ago at this time, I shared how I was really struggling to make this house feel more like our home. At that time, I didn’t share my usual “One Year Home Tour” because I didn’t feel like I had much progress to celebrate. I instead resolved to mentally “change the tire,” dig in, embrace this home, and really commit to making it ours. As I sat down to assemble this “2 Year Anniversary” post, I found myself hesitant yet again. When I look around, I see nothing but a mile long To Do List, unfinished projects in every room, and far more clutter than I want to have. Feeling like I am no where near where I want to be with this house, I almost chucked this post all-together again. But then as I looked through the most current photos of this home, even I was taken aback about how much progress we’ve truly made here. I tend to focus on the things not done, but today, I’m choosing to celebrate our progress and successes in this home (because they’ve been SO hard won!) Let me give you a virtual tour of our home as it is today, and fill you on the plans I have for each space for our remaining time here!
DISCLAIMER: First, a quick disclaimer. Our house is in shambles right now. Not only is it summer with kiddos running everywhere, but we’ve had a doozy of a few weeks. Last week, we had a flood on our lower level, resulting in about 2 feet of dry wall, trim, doors and carpeting torn out from my office through to the family room. Then this week, I spent an afternoon in the ER with Sam for a bad fever. I really wanted to take new photos to give you all a glimpse of the most current state of the home, but let’s just say…that ain’t happening. So…I pulled photos I’ve already shared here on the blog as a roundup of sorts. And while these photos were taken over the course of the past two years, I can honestly say that each photo is an accurate reflection of the current state of the house (sans the toys and mess of course!).
CATCH UP: Oh! And If you’re interested to see where we started in this home, catch up with these posts below:
- You can see the before photos of this house here.
- You can see my design plans for each space here.
- You can see my reflections on our first year in this house here.
Alright, let’s get started! Come on in through the front door!
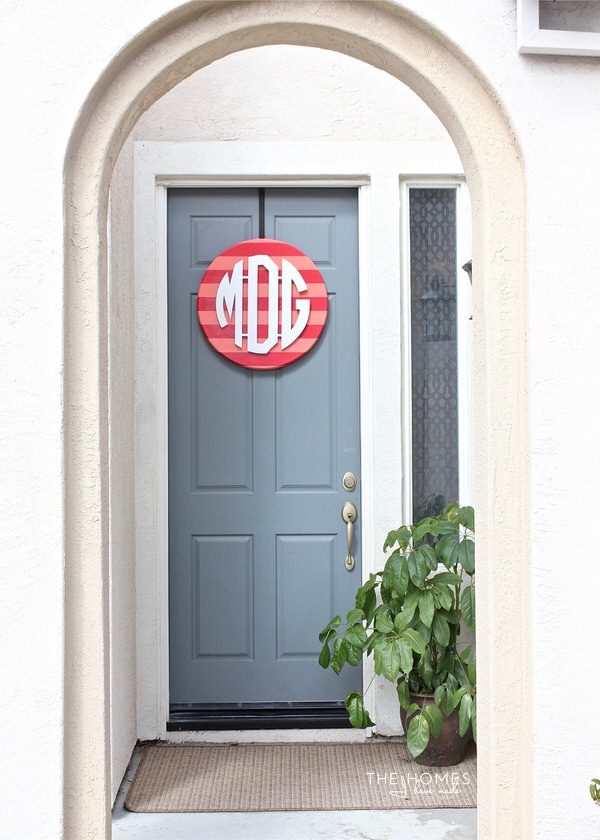
One of my very first projects in this home was to give our entryway some curb appeal; and I did so through a few outdoor accessories and easy DIY projects. This mini makeover turned out to be just the right amount of personalization for our home, and has been easy to maintain throughout the seasons. You can see more details of our porch projects here.
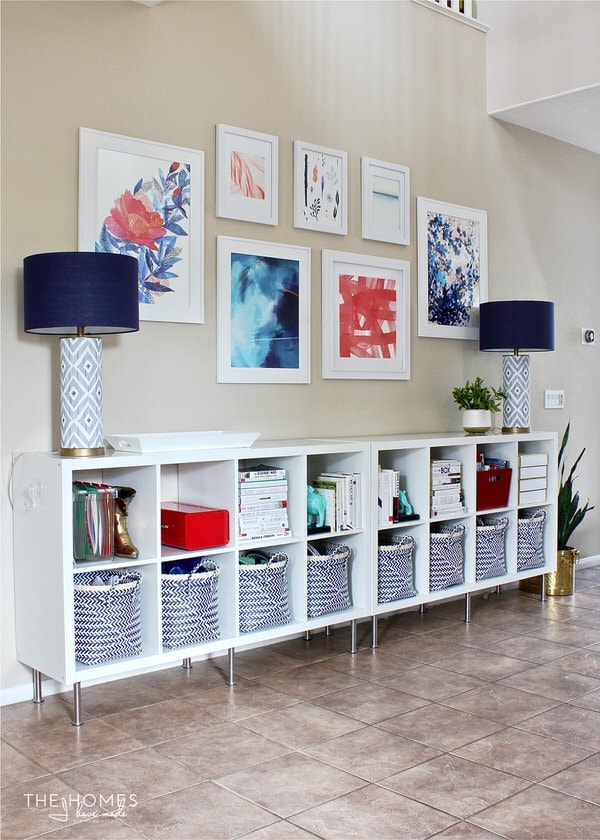
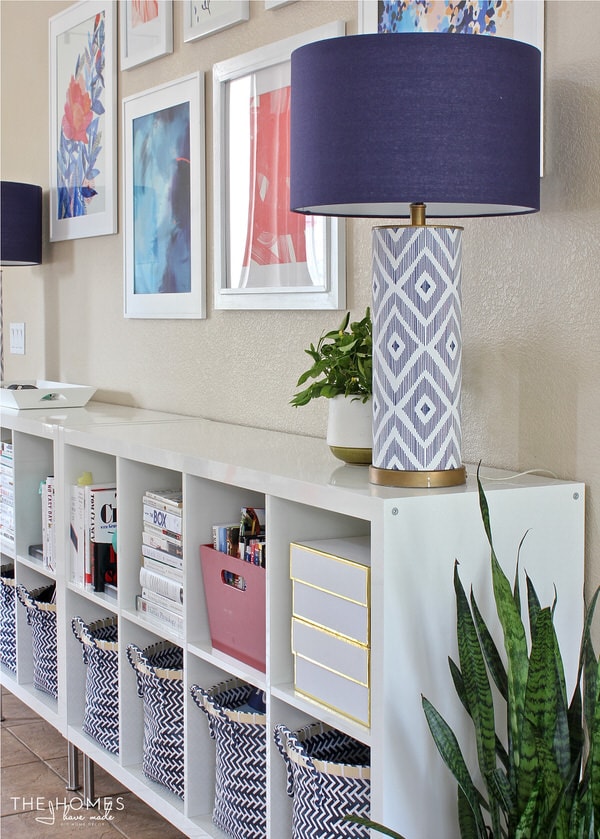
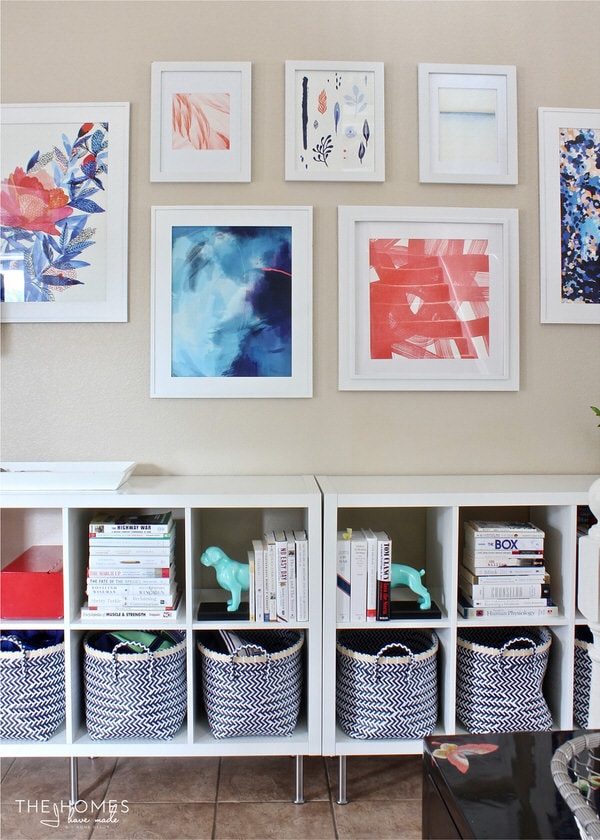
As you come into our massive foyer, you are greeted by an expanse of cube shelves outfitted with lots of storage for shoes, hats, purses, books and more; as well as a vibrant gallery wall filled with eye-catching artwork. At first, this space didn’t charm me much, even as I was pulling it together. But over time, I’ve really really come to love this fresh and functional entrance to our home.
Catch Up on This Space: How to Hang a Gallery Wall with Command Strips | How to Pick Art for a Gallery Wall | Add Storage to Your Entryway | DIY Frame | Full Foyer Reveal
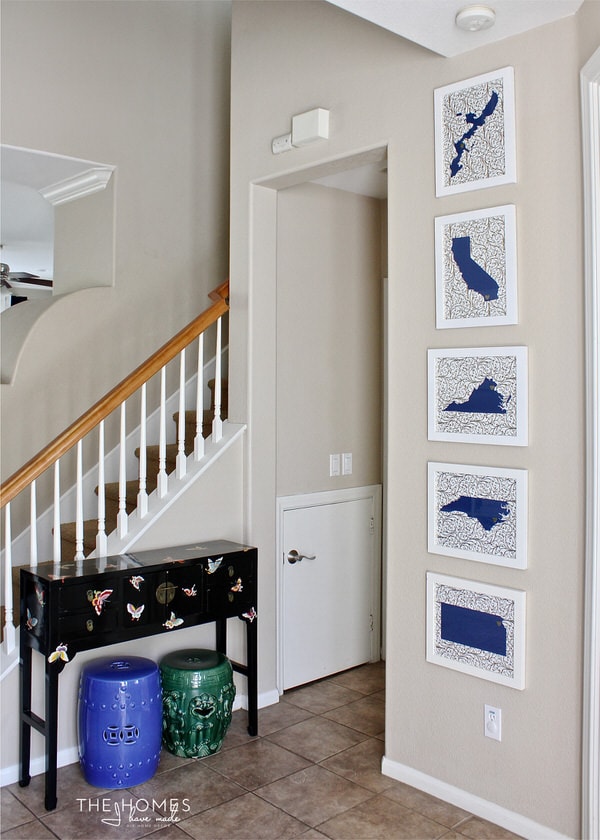
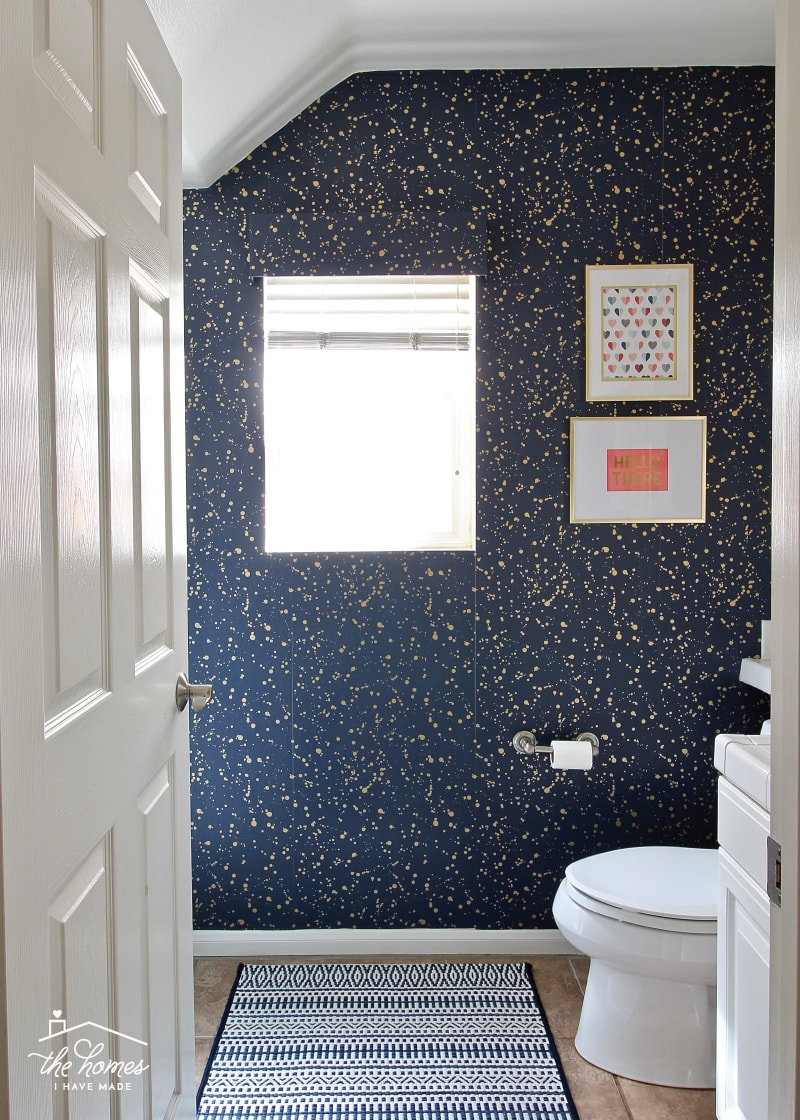
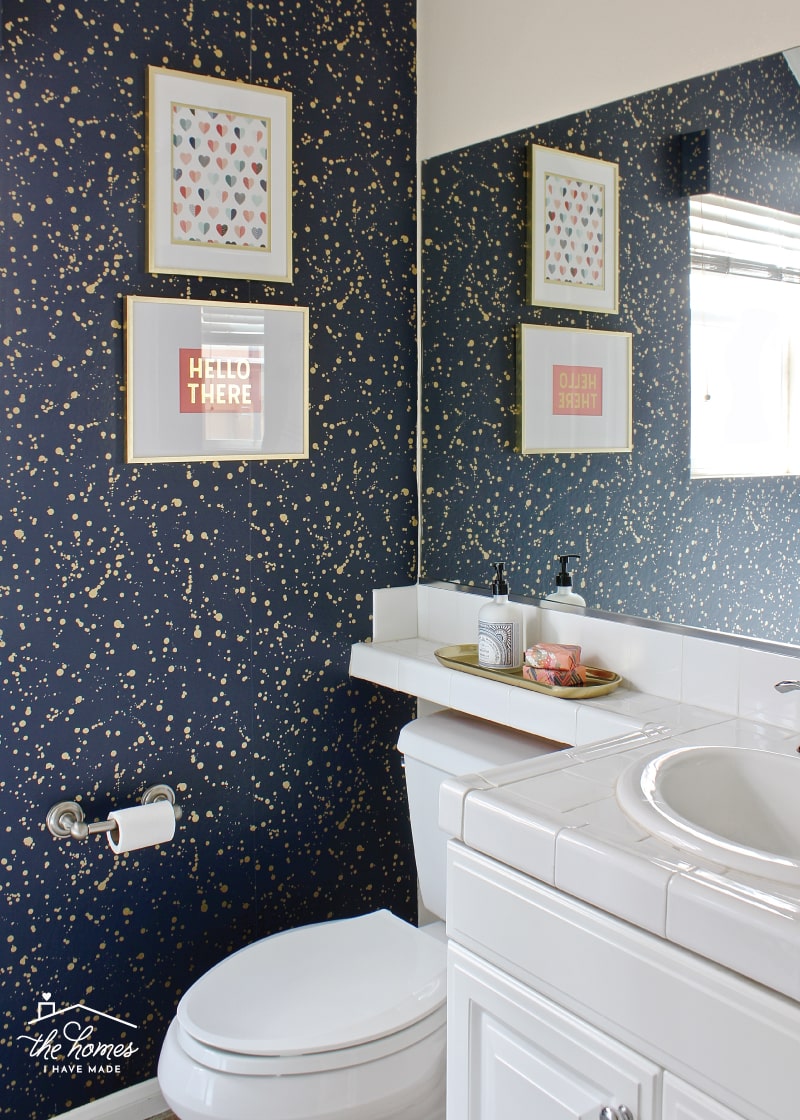
If you were to head down that little hallway next to our framed “Where We’ve Lived” prints, it would lead you to the little jewel that is our downstairs bathroom. Friends, I love love love this little bathroom. Thanks to a wallpapered feature wall, coordinating rug, and a few accessories, this was a quick-and-easy makeover that had some serious bang for its buck. I’ve never really done a “wow” bathroom before, and since this is our primary bathroom during daily use, it’s been totally worth it!
Catch Up on This Space: Quick and Easy Artwork Ideas | Full Bathroom Reveal
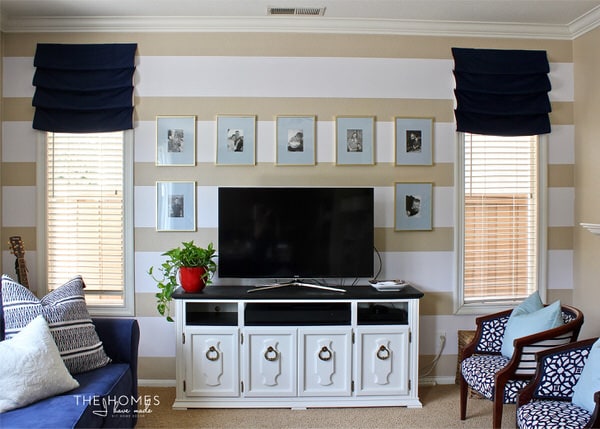
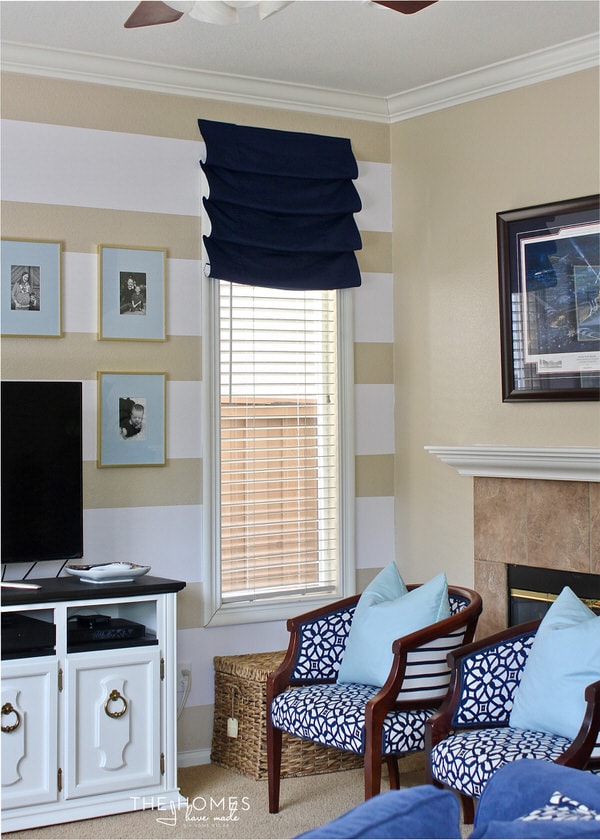
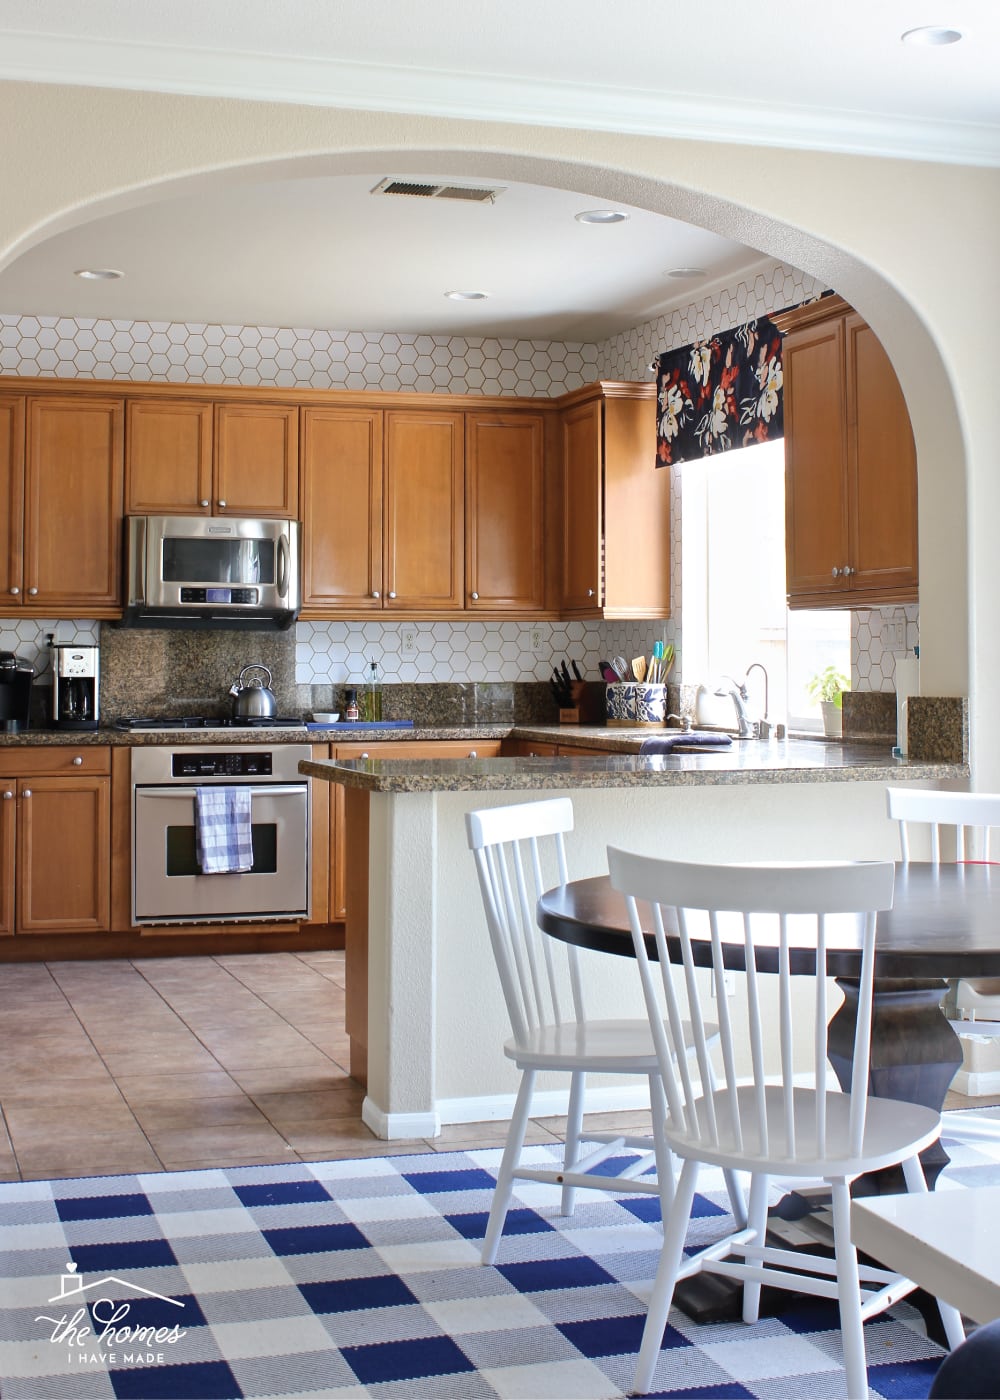
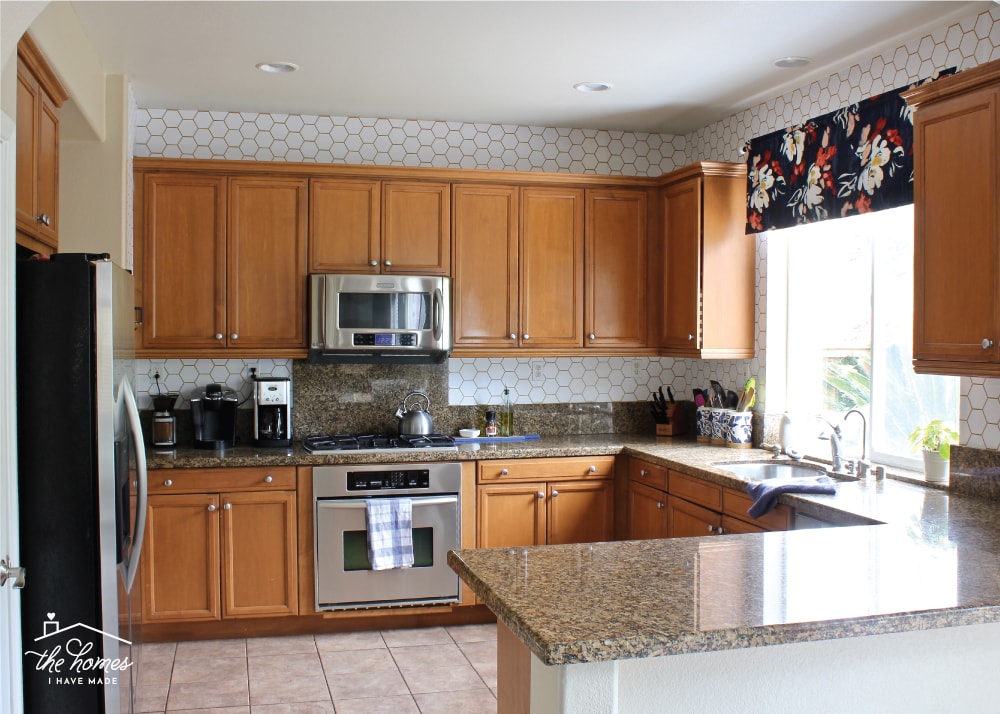
If you were to come out of the bathroom and head back through the foyer, it would lead you to the main eating/dining/entertaining space on the lower level. We have a very open concept family room | dining room | kitchen that has admittedly been difficult for me to pull together. I’ve tried to lighten the space through temporary touches and bright furniture, as well as connect the color palette with that of the adjacent foyer and bathroom. It’s taken me a while to find a combination of textiles that work with all the connecting spaces, but I think I am almost there! I have two pillow covers to finish sewing and then I need to figure out a coffee table solution. With those two projects done, this space will be ready for its final photographs!
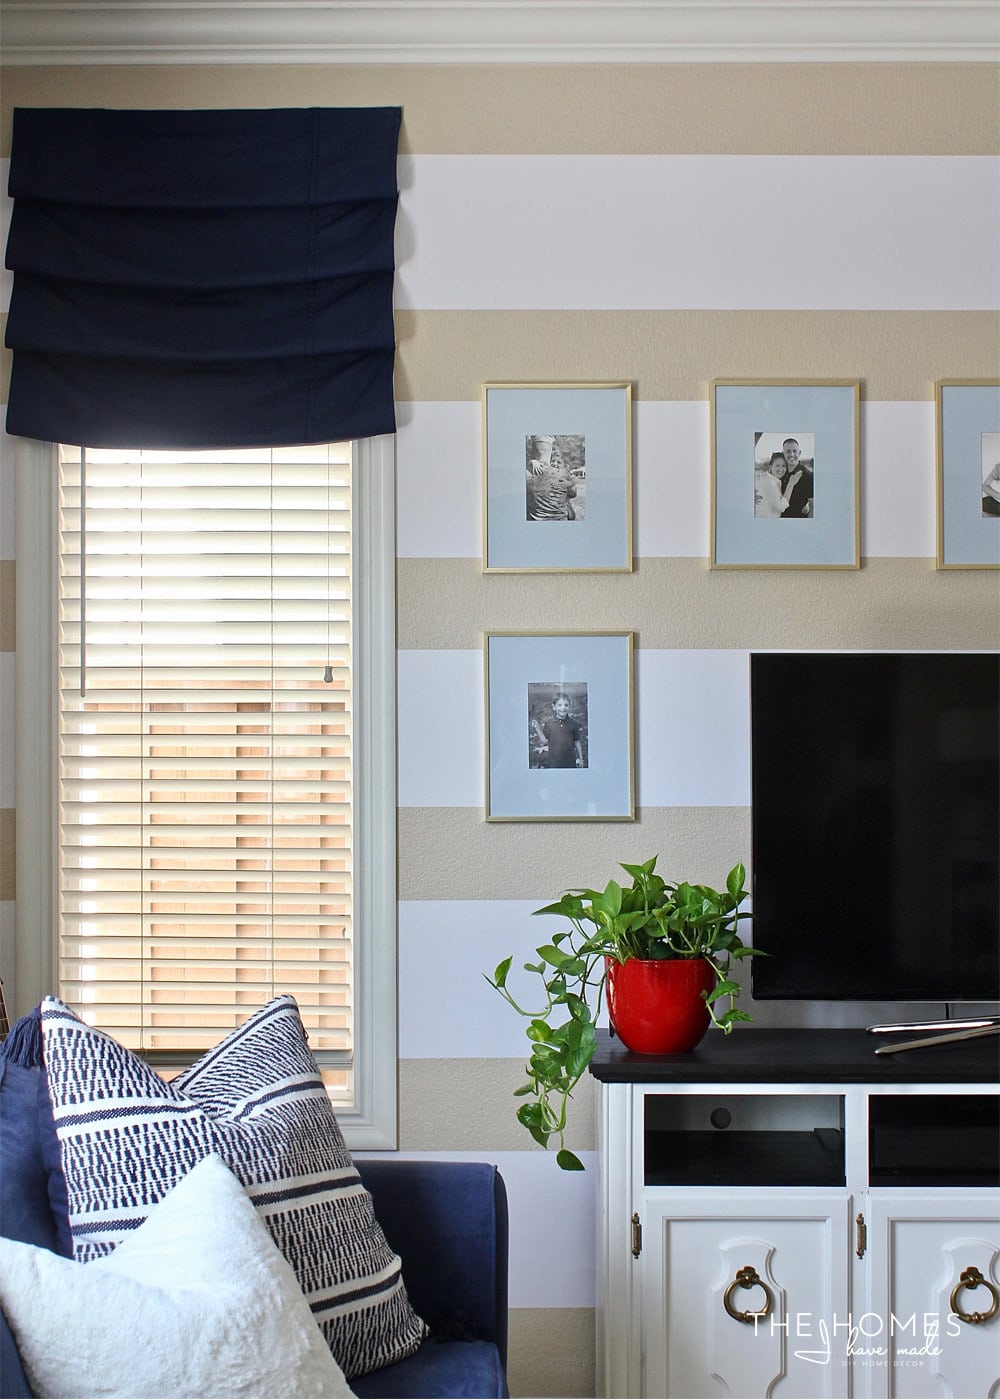
Catch Up on This Space: Installing Vinyl Stripes on a Wall | Faux Roman Shades | DIY Pillows from a Table Runner | Stylish Ways to Display Family Photos
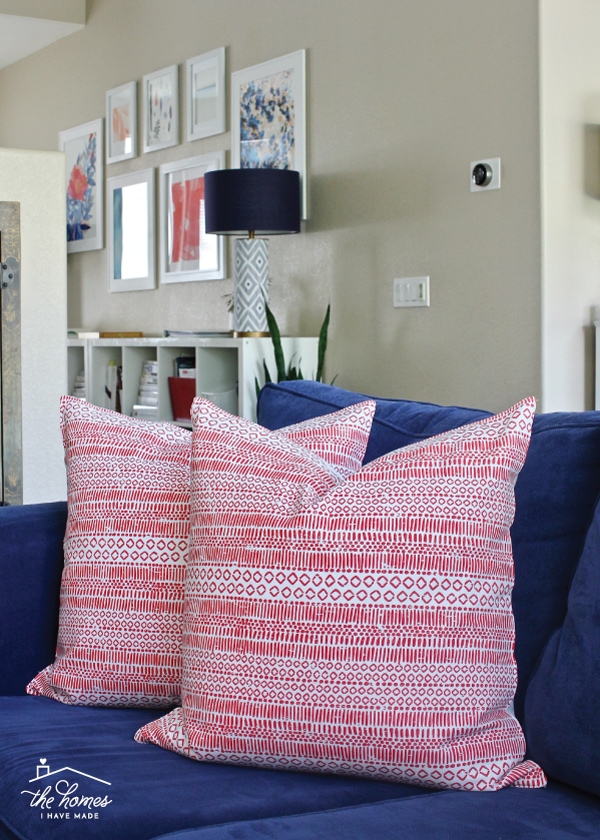
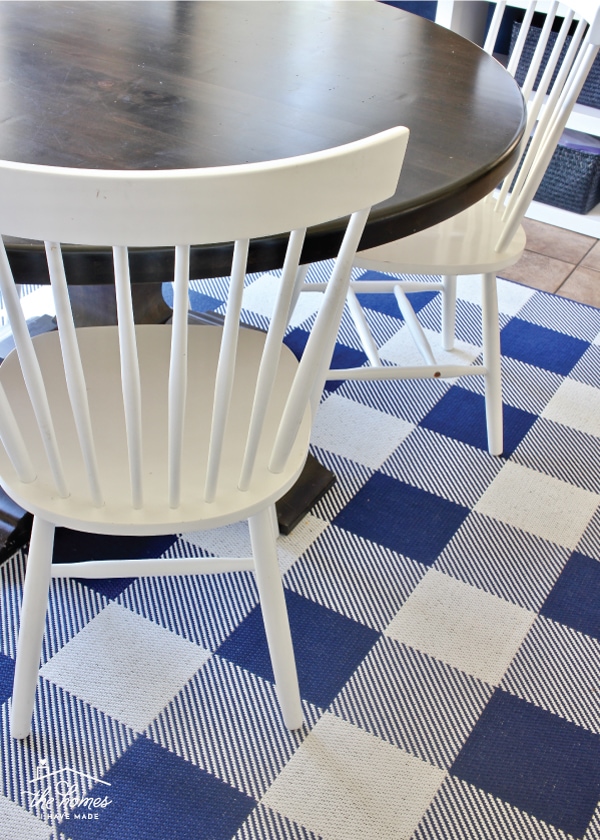
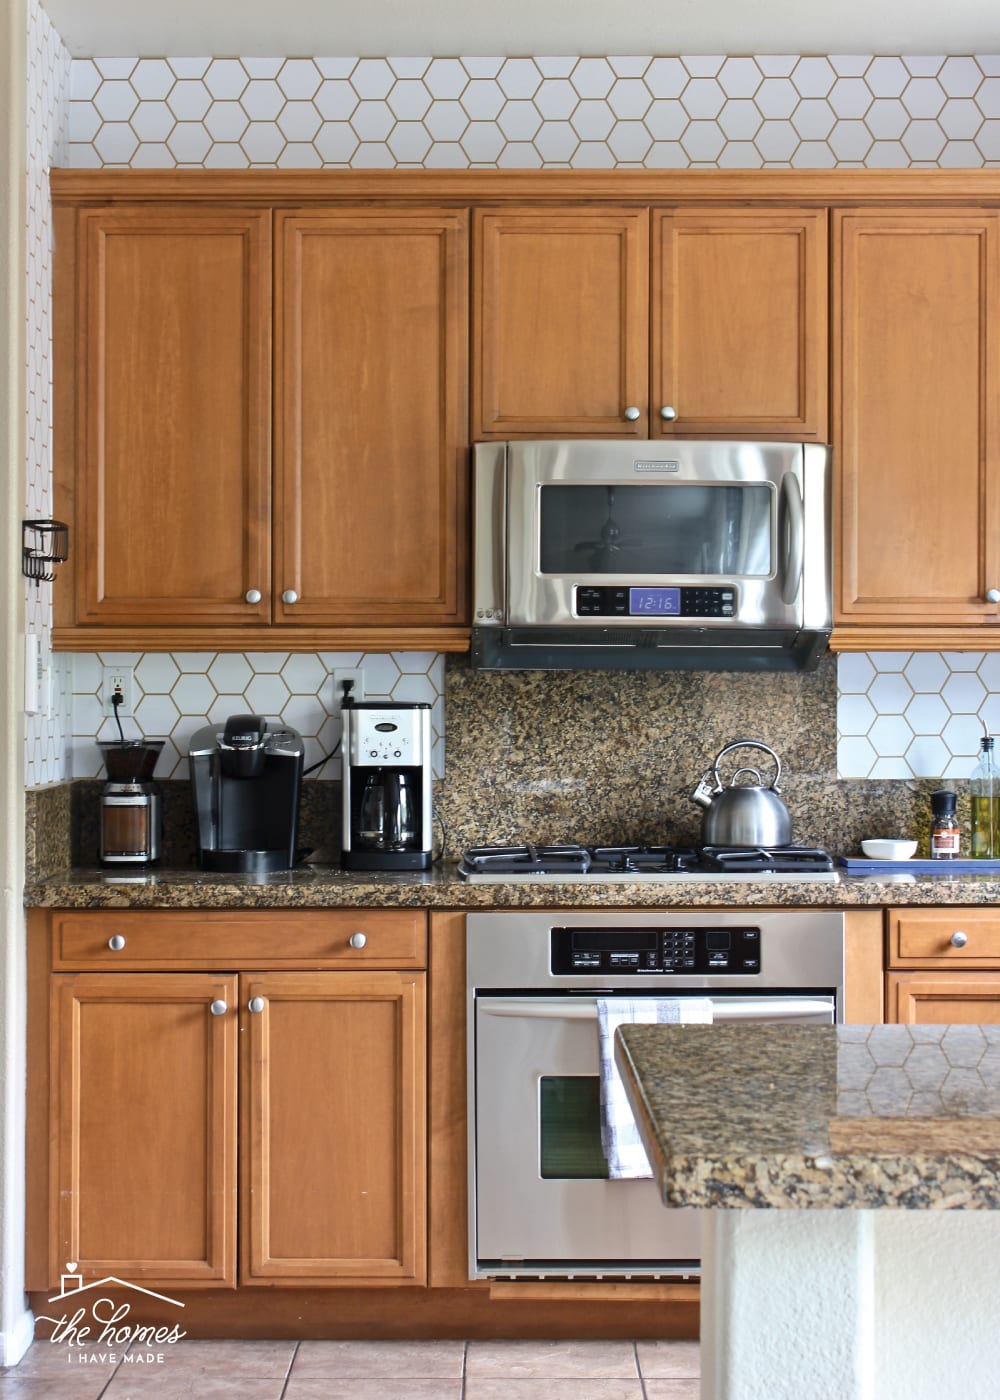
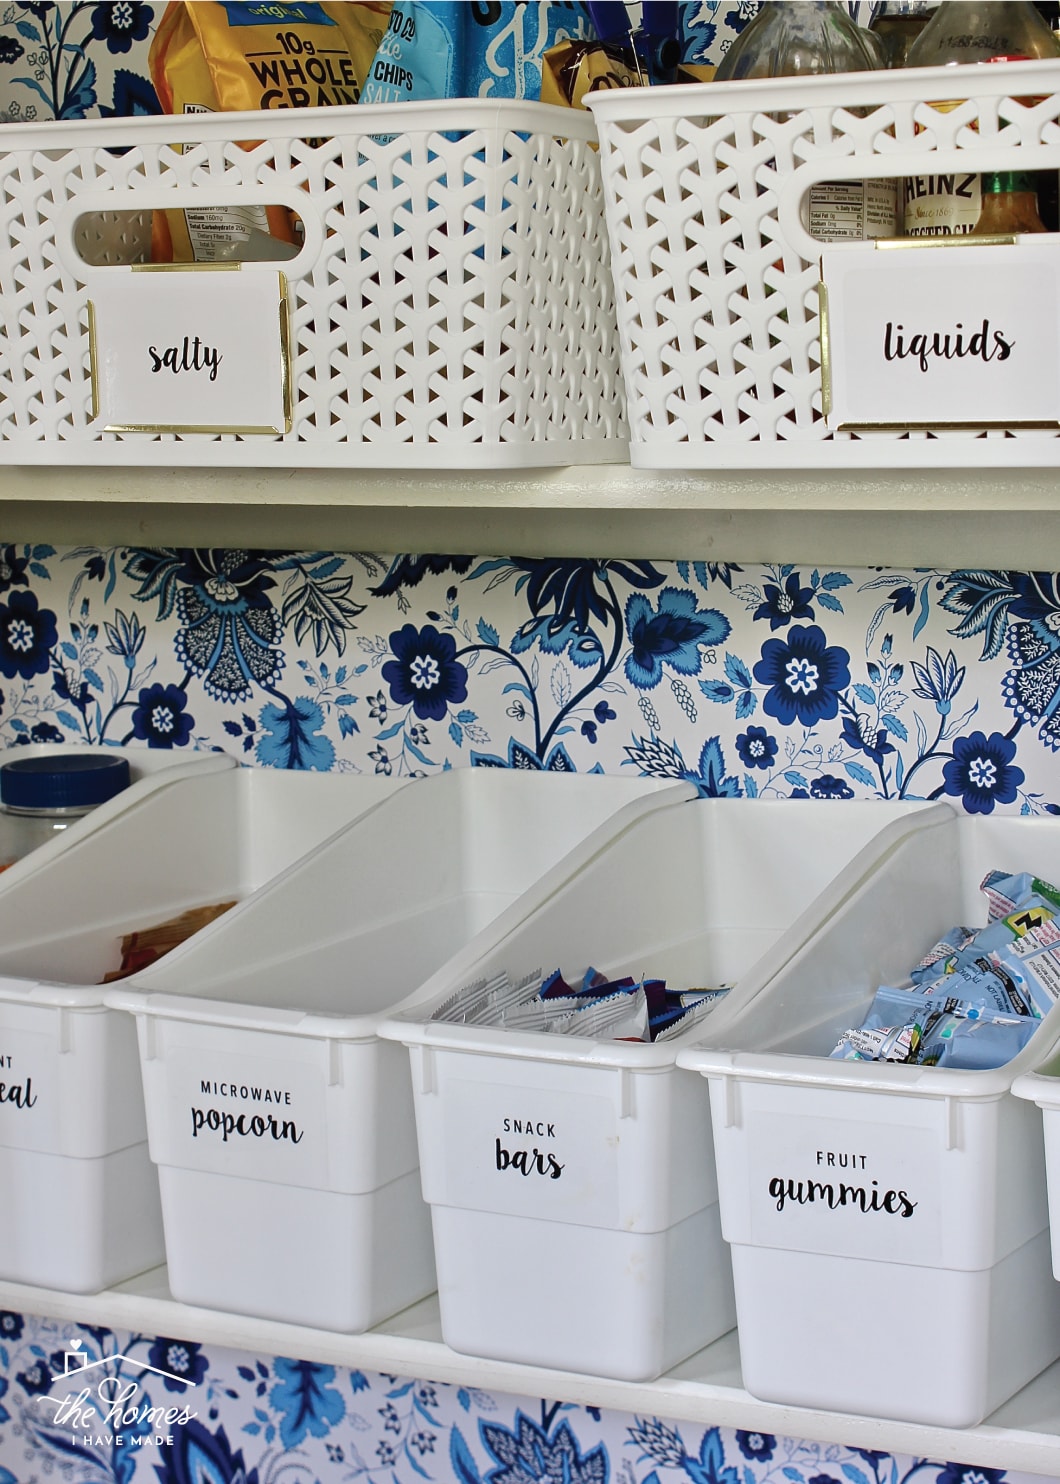
Below is the view of the rest of the downstairs from the family room, so you can likely understand how the entire decor scheme needs to work together from one space to the next. Getting to this point (below) has taken some serious trial-and-error (3 different rugs!) as well as quite a few DIY projects. Little-by-little, I have been able to transform this space in a temporary and budget-friendly way, and the end is in sight! I want to re-address the pantry a bit (since the kitchen’s color scheme evolved after papering the wall in there) and finish one last small DIY before I proclaim this space done!
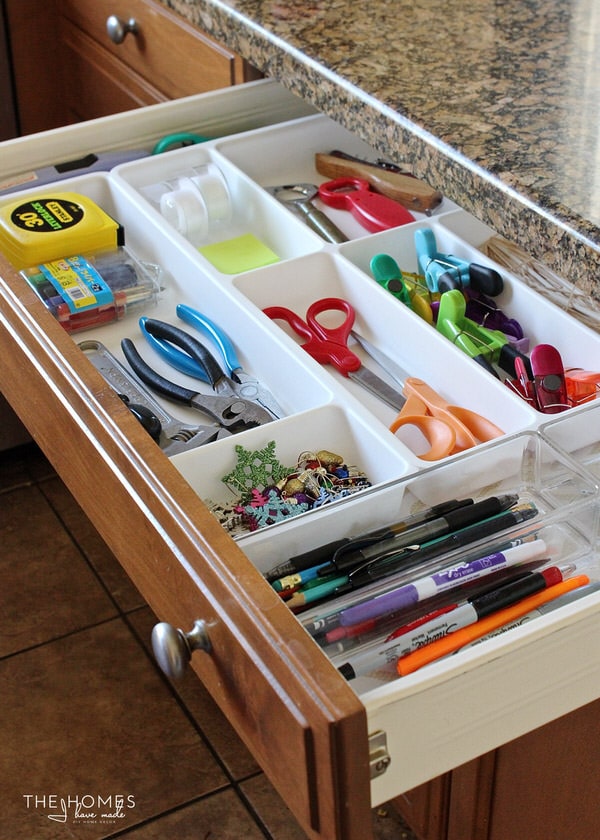
Catch Up on This Space: Choosing a New Dining Room Rug | Tips for Having a Rug Under the Kitchen Table | Kitchen Design Plan | How to Add Pattern to Your Pantry | How to Wallpaper a Backsplash | DIY Window Valence | Perfectly Organized Kitchen Drawers | Customizable Pantry Labels

There are three spaces on the lower level that I’m not showing you today but hope to soon. The backyard received a quick-and-easy makeover for summer, and the garage was fully cleaned out and organized. Once our summer settles down a bit, I hope to be able to photograph those for you. Also, my downstairs office hasn’t received much love since we first moved in and was on the To Do list for this summer until it was affected by the recent downstairs flood. My main goals for my office are to add a window treatment and refine my storage systems…we’ll see if I can still make that happen amidst the renovations that will be happening soon.
Let’s head upstairs!
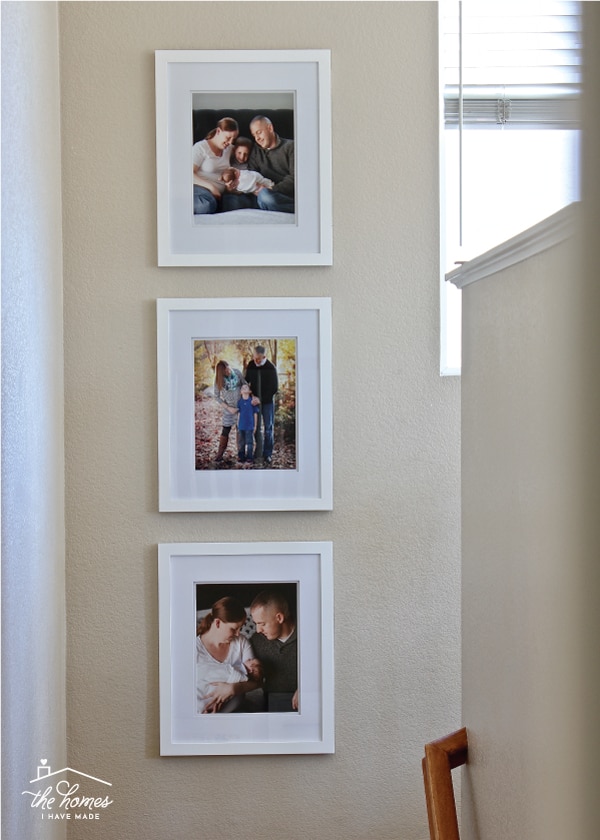
Stylish Ways to Display Family Photos
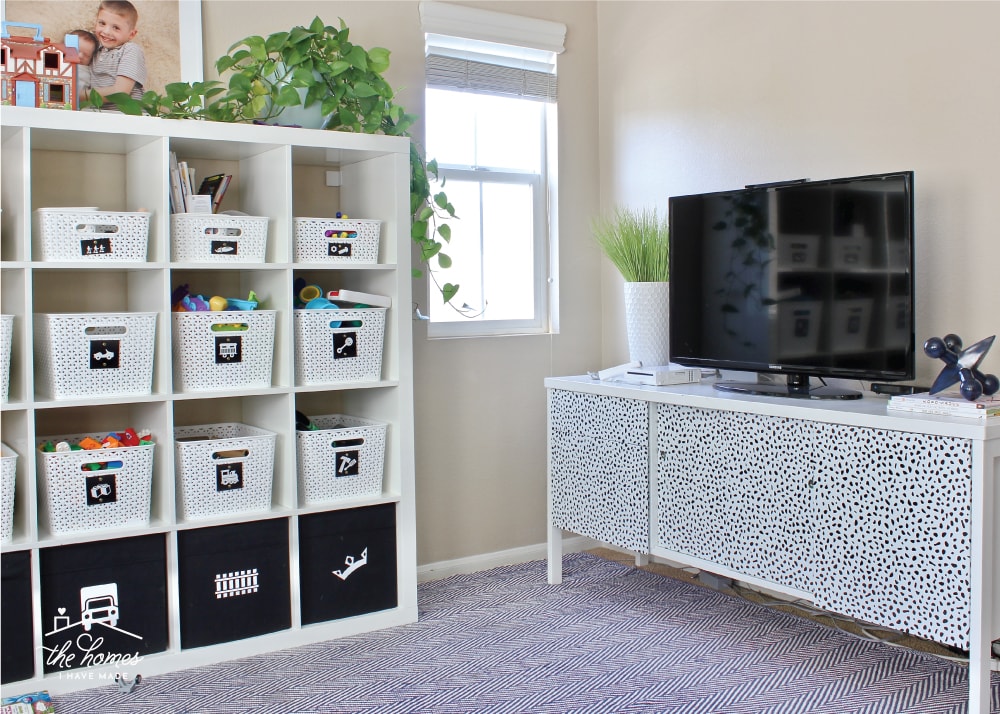
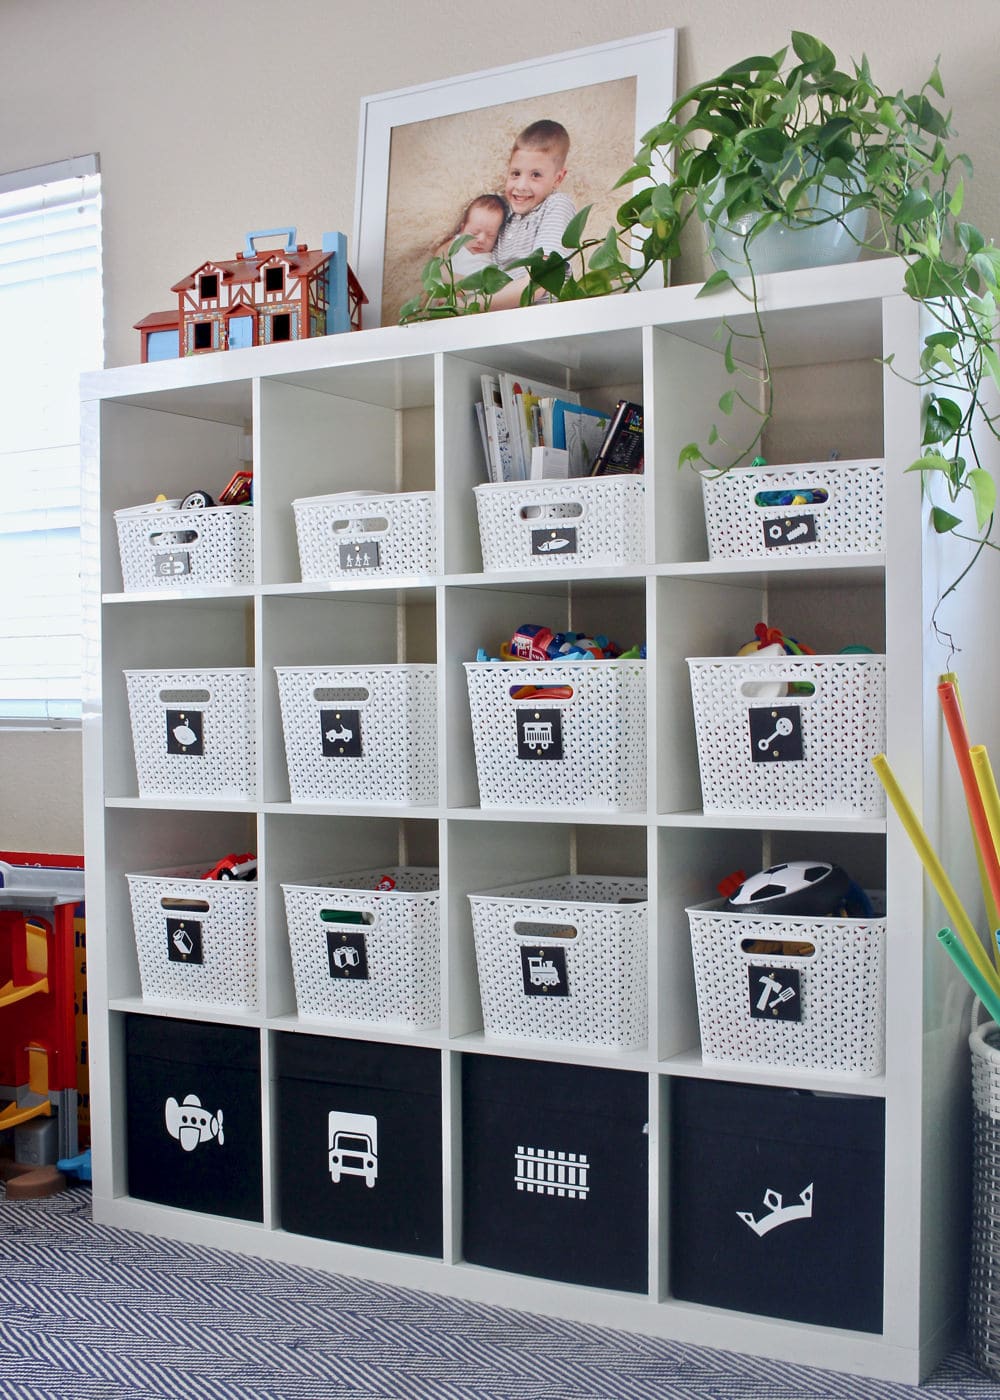
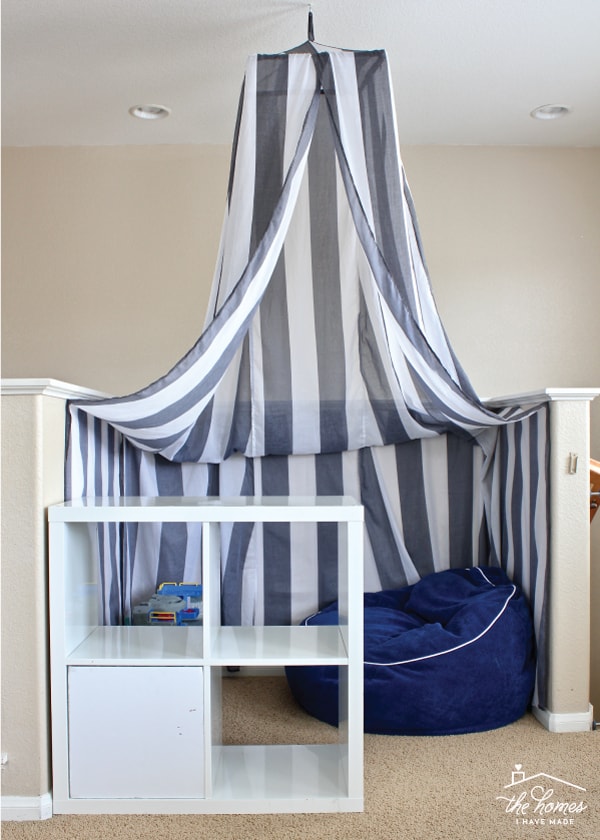
At the very top of the stairs is a sizable landing that we use as our playroom. I’ve spent a lot of time getting the function in this space just right; and it’s working beautifully for both our boys as well as all their friends that come to play regularly. Once we had the toy storage and room layout sorted out, I was able to turn my attention to making this room look good too…and we’re so close! I have a few pillow covers to finish sewing and a coffee table to re-paint (I think?), and then this room will be done too!
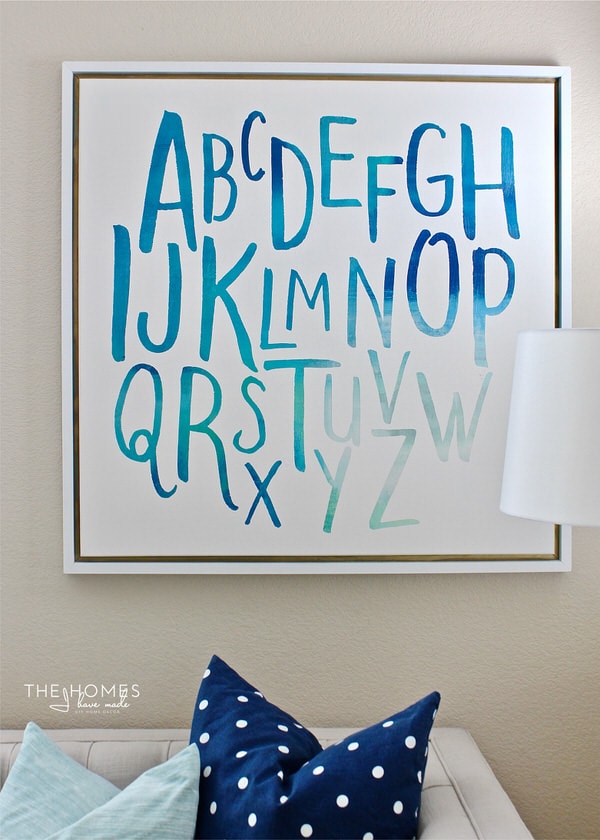
Catch Up on This Space: Turn a Bump Out Into a Reading Nook | What Happened When I Got Rid of Half My Kids Toys | Playroom Storage Solutions | Updating Furniture with Wallpaper | Chalkboard Labels | DIY Alphabet Artwork

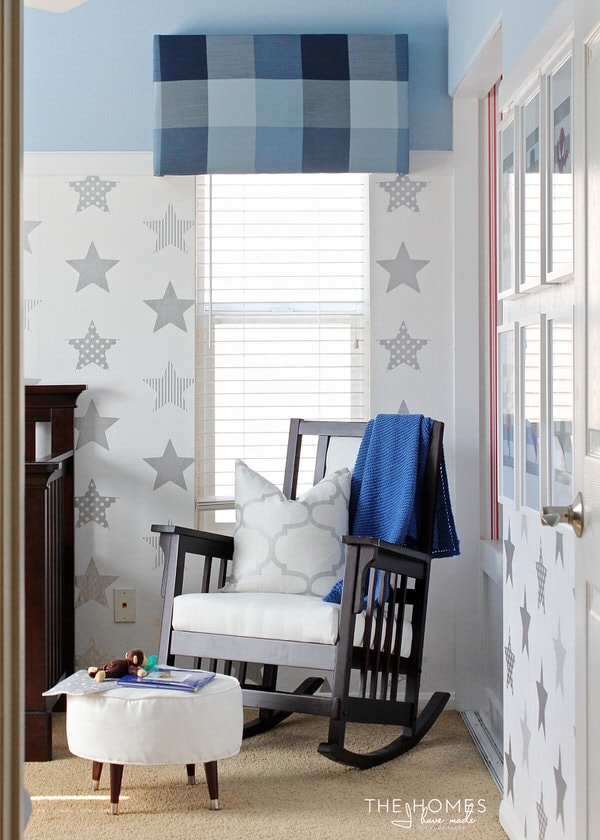
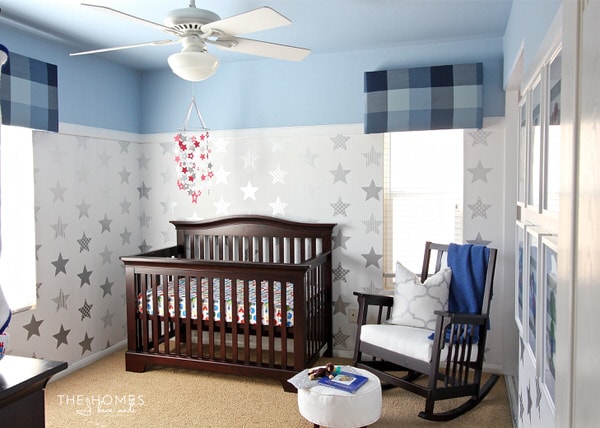
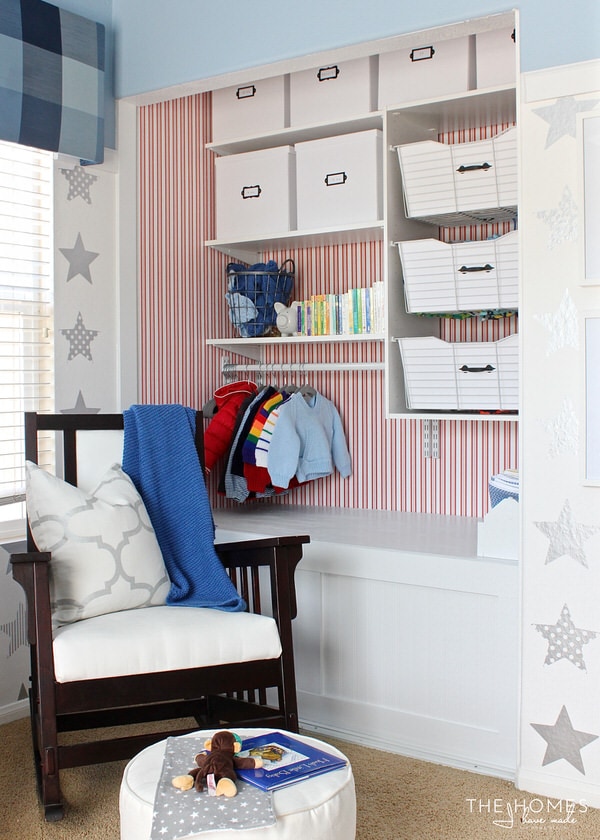
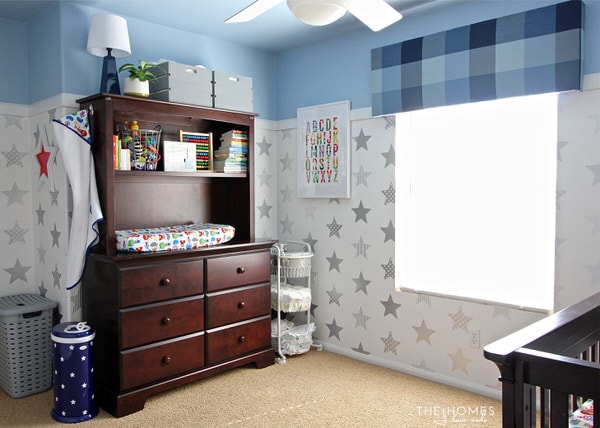
Sam’s room has been and remains the only officially completed space in the whole house (well, I guess besides the foyer and downstairs bathroom). It also happens to be my absolute favorite space in the entire house because of how white, light and bright it is. I completed this room in 6 weeks as part of the One Room Challenge back in the Fall of 2016. And as much as I didn’t enjoy designing and decorating a room on a deadline, clearly some credit has to be given to the whole experience because this room got done, remains done, and hasn’t really changed a bit since I took its final photos. I still love every single detail of this room, and it will likely be one of my favorite spaces I’ve ever designed for a long, long time!
Catch Up on This Space: Week 1 Design Plan | Week 2 Paint and Closet | Week 3 Wallpaper | Week 4 Fabric Projects | Week 5 Organization | Week 6 Final Reveal | Favorite Nursery Organization Solution | Sewing for Baby | Nursery Closet from Start-to-Finish | Wallpapered Dresser Drawers
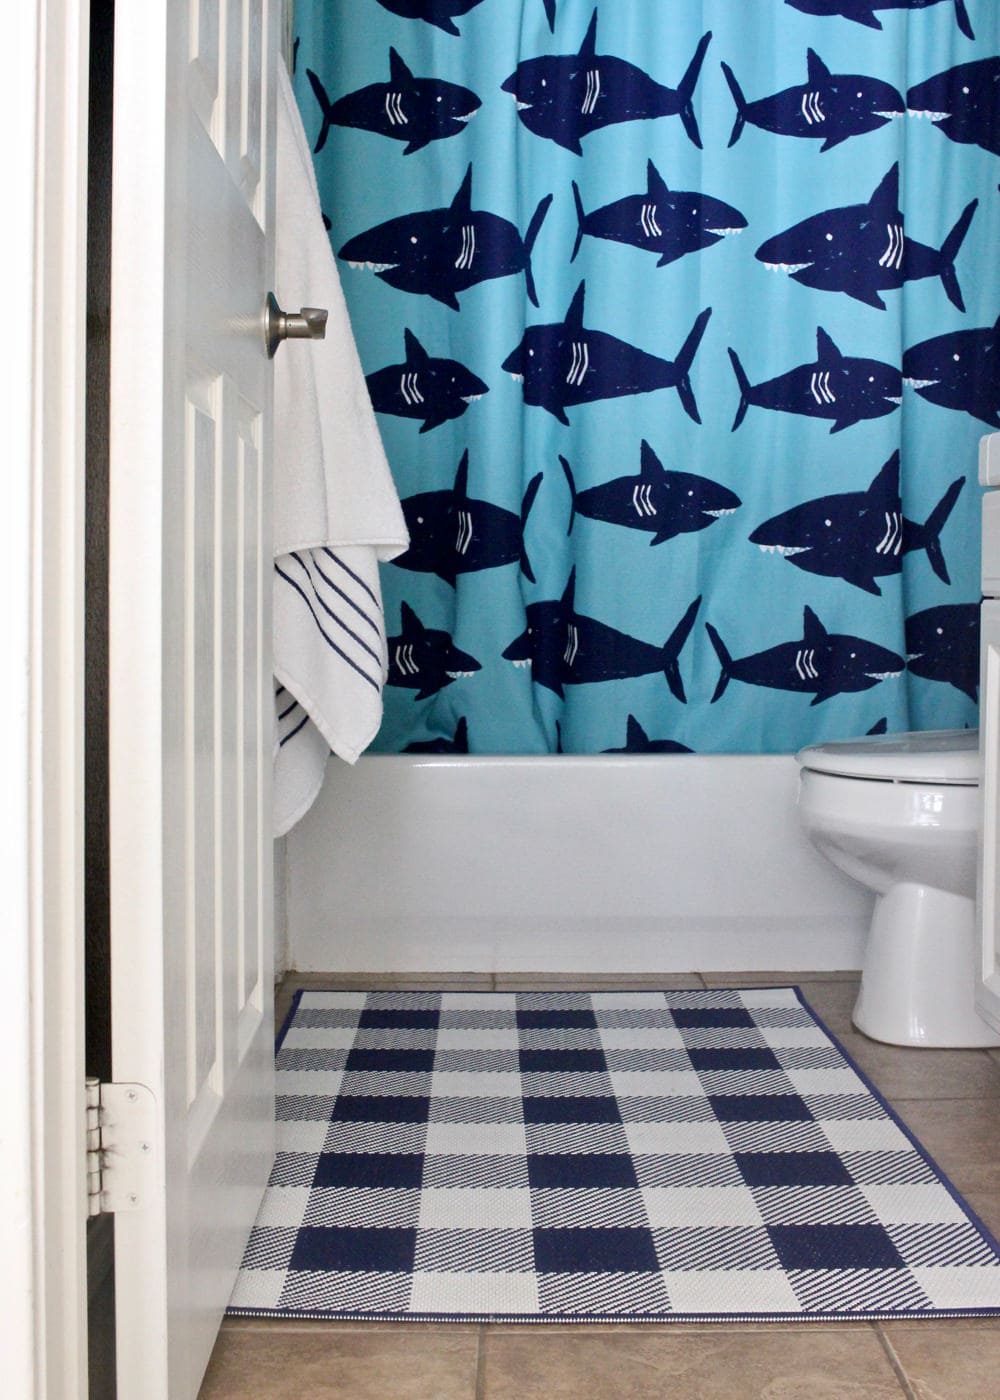
In between the two boys’ bedrooms is a small hall bathroom. The only thing I’ve done in here is outfit it with a cute shower curtain, patterned rug, and classic towels…all from Target. I’d love to see some cute artwork and better storage in this bathroom…but honestly, I don’t know if I will get to it before time runs out! #theclockisticking
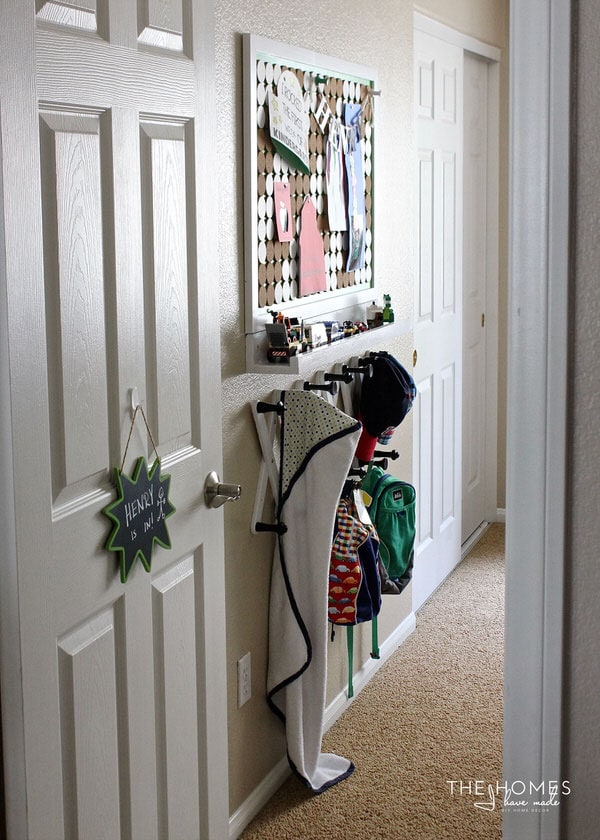
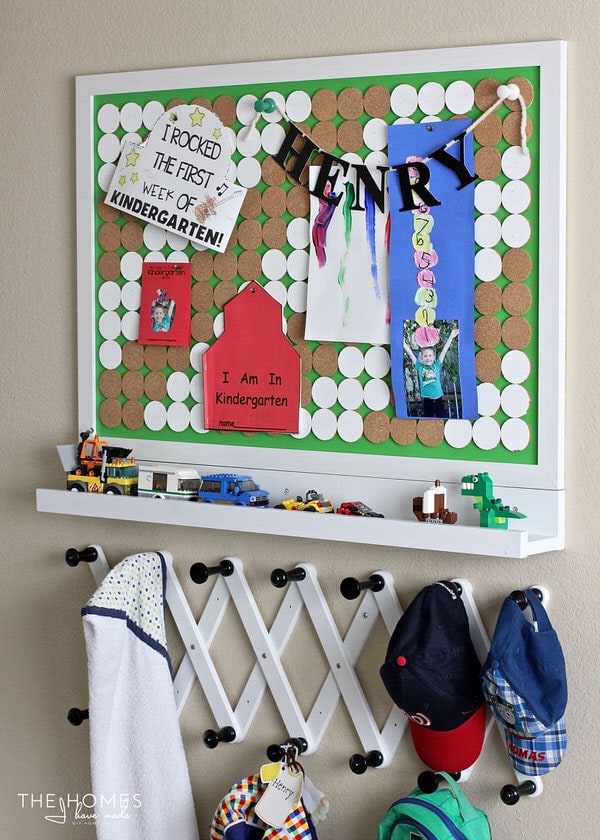
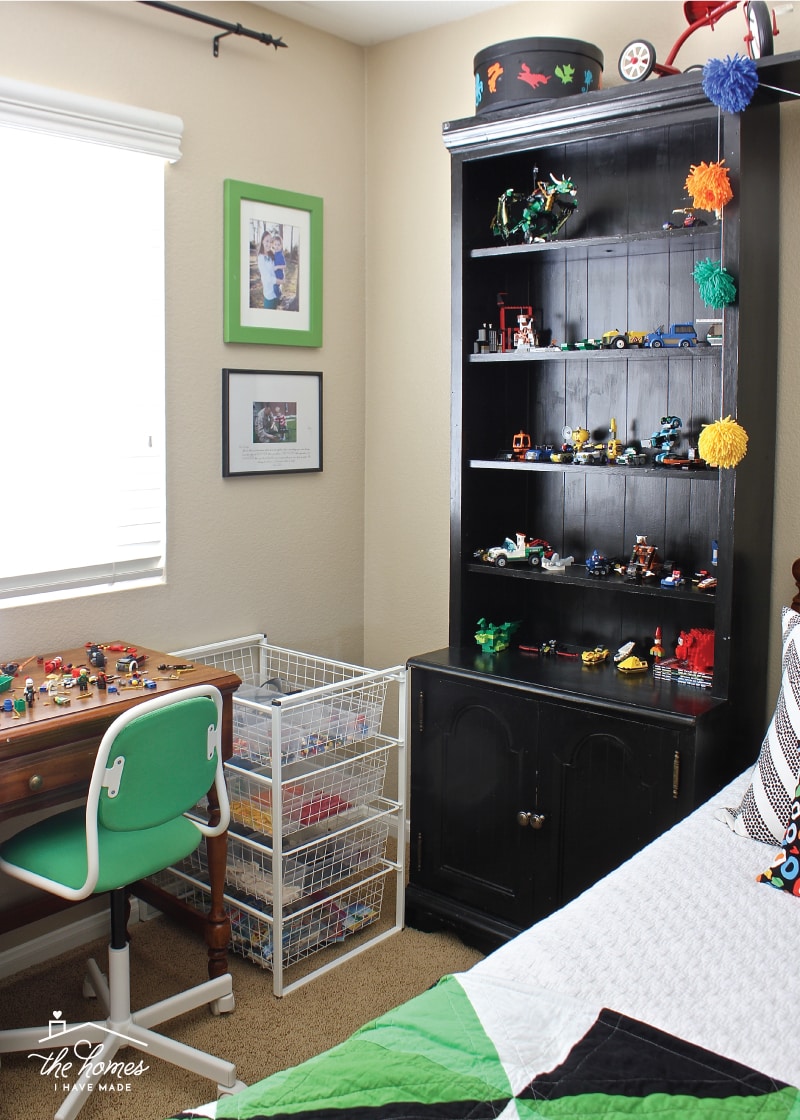
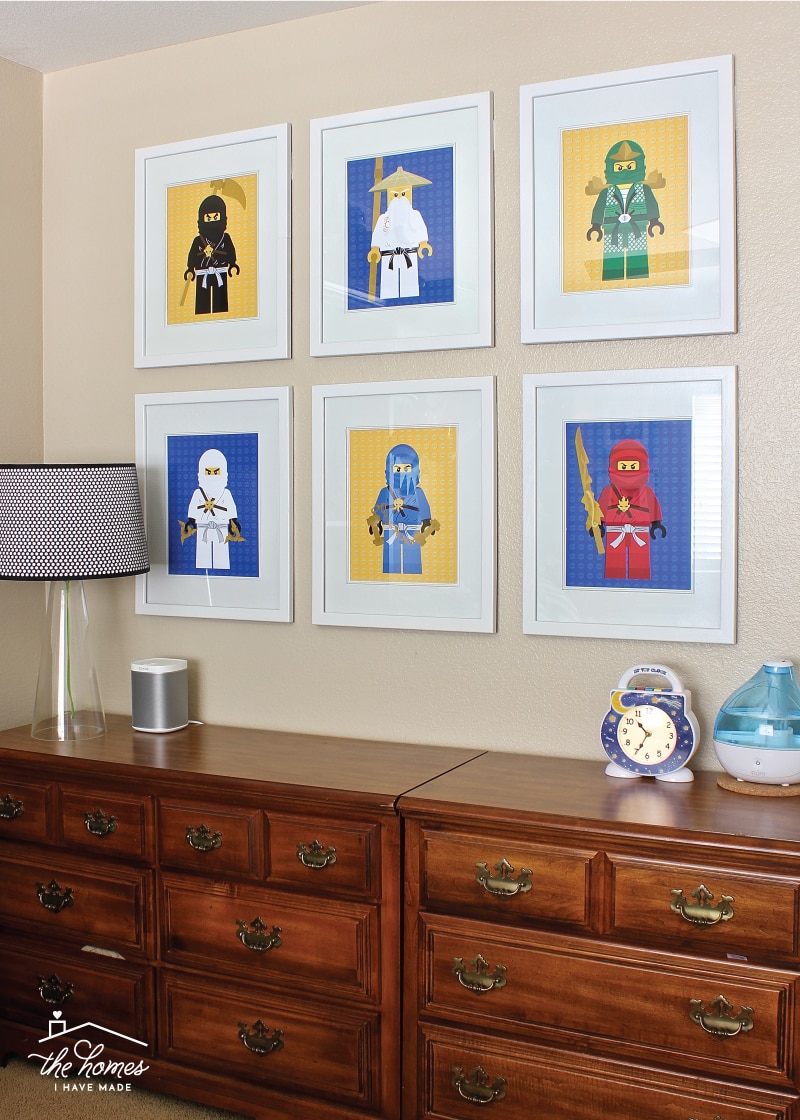
Oh Henry’s room. Oh my. We’ve entered the age of no matter what I do, how much I threaten, or how much I help, his room is a complete and utter disaster. All the time. And it drives me crazy. I used to fight it daily, but I’ve grown weary and now only pull it back together once per month to clean it. Although I would love to shut this door and avoid it for the next year, Henry is also begging for a makeover. I do have some plans to majorly cut the clutter, organize his closet better, transition the animal theme to a Lego theme, and install a fun wall treatment behind the bed. None of it should take that long, I just need to make it a priority. But then I’d have to clean it first 😉
Catch Up on This Space: Kid-Friendly Command Center | Lego Storage By Color | Lego Play & Display Space
Our bedroom is one of the lightest and brightest in the whole house (just ask me at 5am when the light is pouring in!), but for some reason, it is so darn hard to photograph (which is why you haven’t seen much of it here on the blog). I blame those ridiculous windows above the bed. (By the way, please tell me who thought it was a good idea to put teeny tiny windows that are too small to cover with curtains in a bedroom? Who?!?! Why?) We painted this bedroom blue shortly after moving in; and honestly, we haven’t done too much else in here. I do have a curtain installation thiiiiiiis close to being done and a project in the works to cover those ridiculous windows so we can finally sleep past sunrise. Again, with our downstairs now in shambles, my attentions has been shifted to the upstairs, so I’m optimistic they will get done here soon!
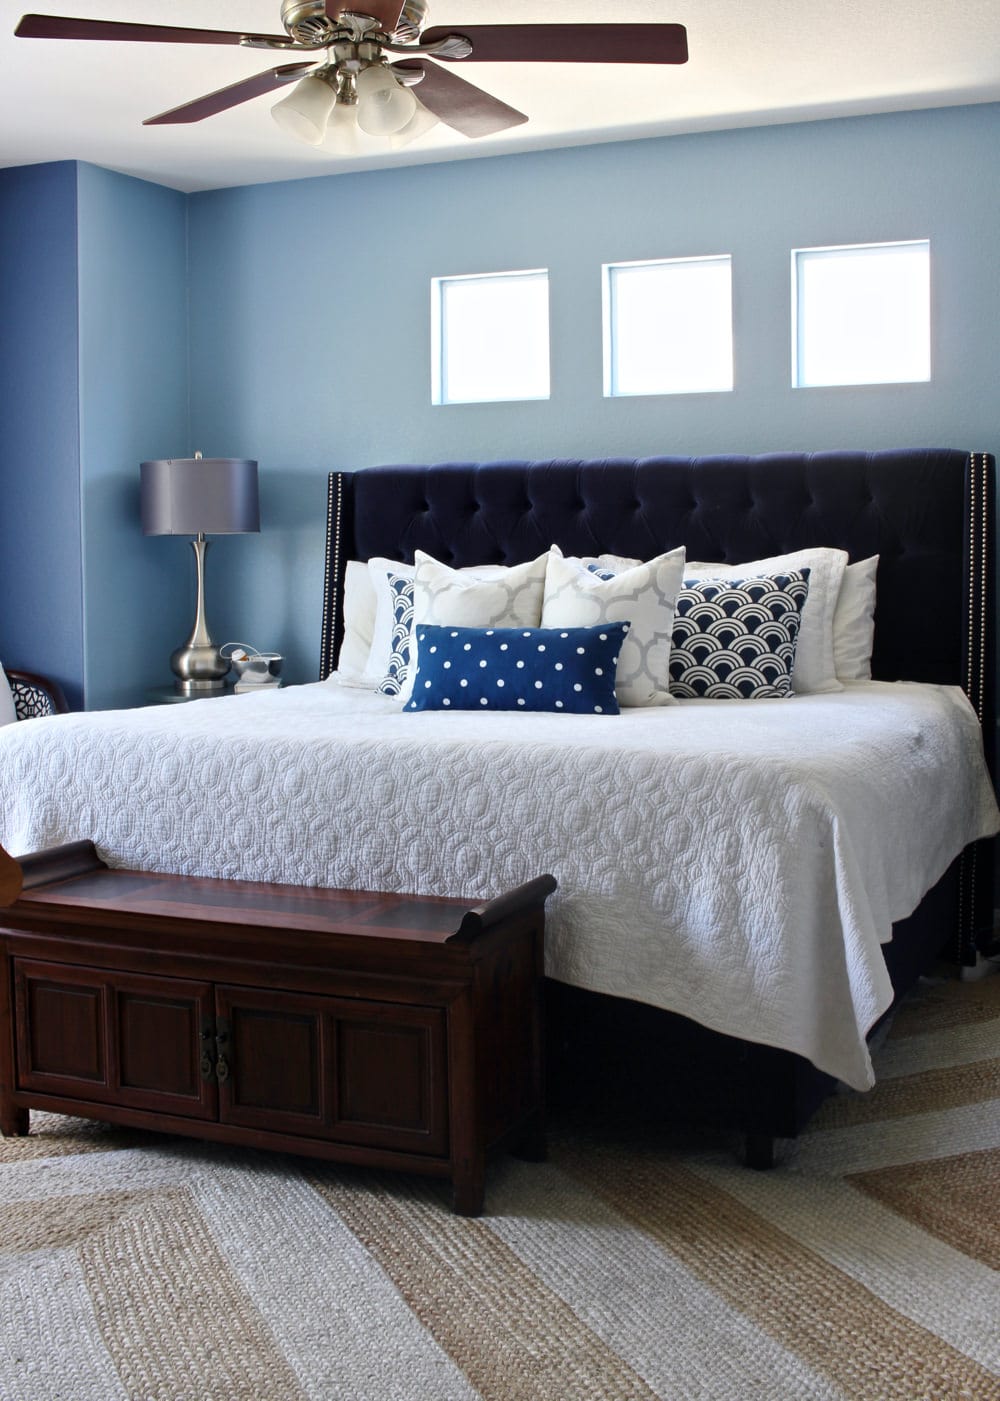
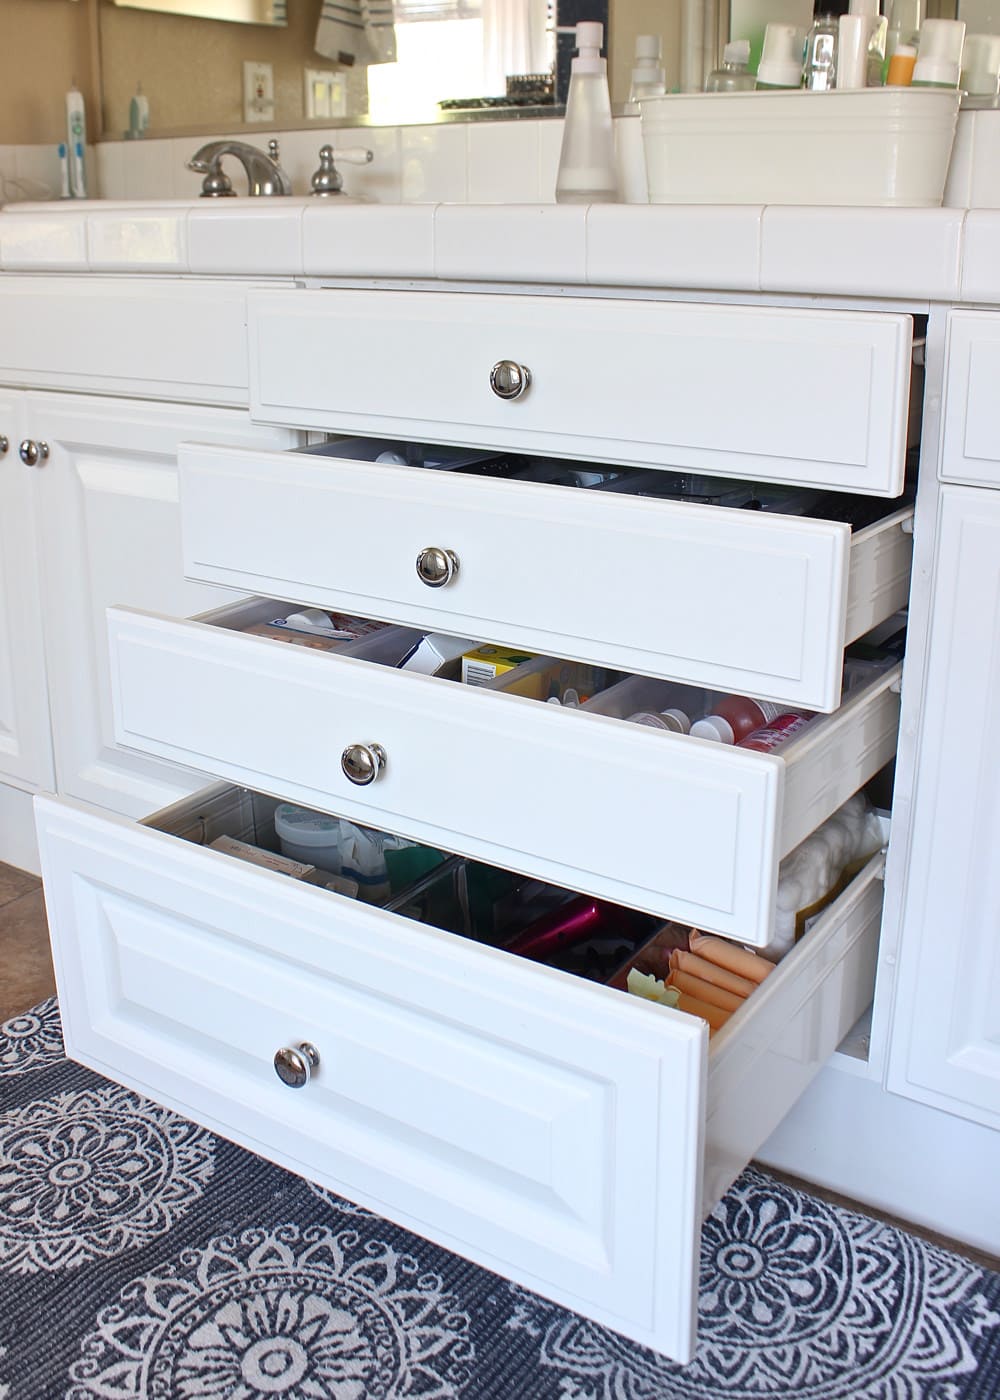
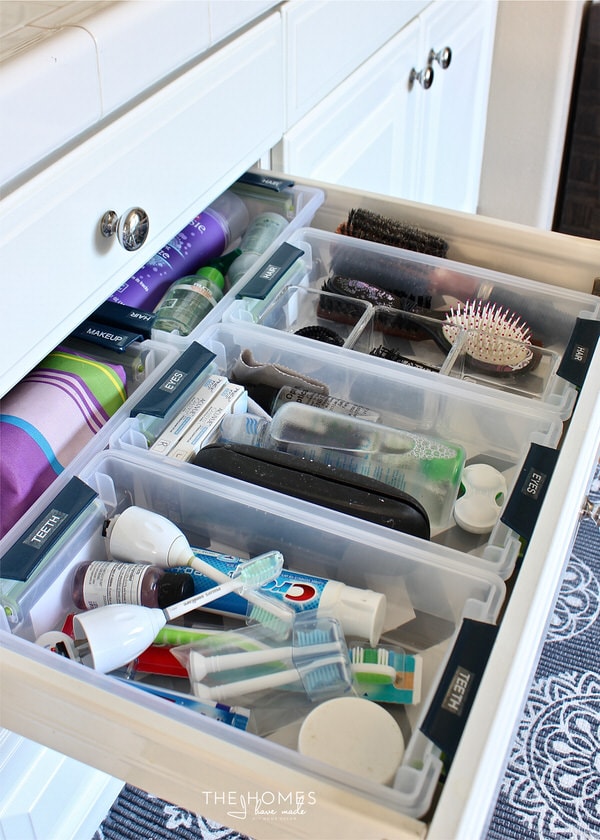
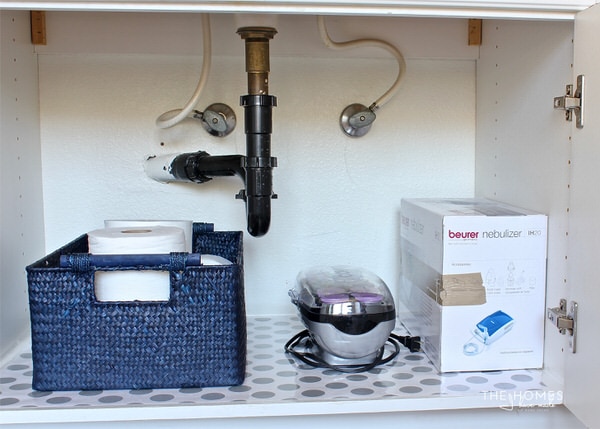
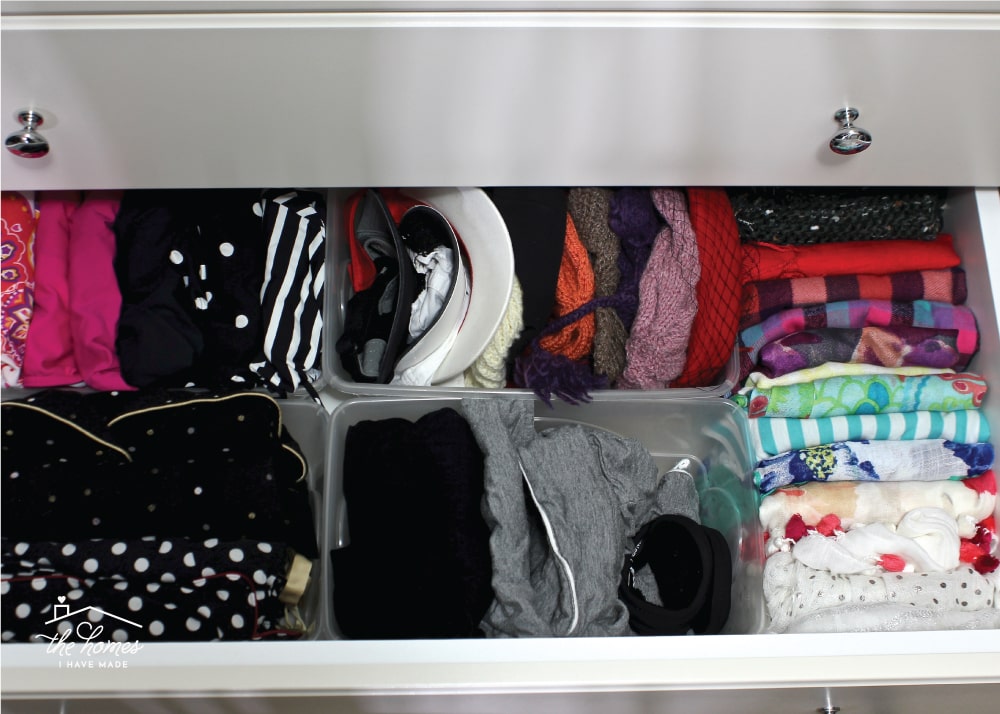
Although I haven’t shared much about our master bedroom, I have shared a few peeks into our master bathroom and conjoining master closet. These spaces are big and luxurious (far more space than we need, to be honest) and I have been able to make some great progress in getting them fully organized for our needs.
Catch Up on This Space: How to Line Drawers Like a Pro | Creative Ways to Organize Bathroom Drawers | My First KonMari Experience with Clothes | The Easiest Way to Organize a Drawer

WOWZA! See what I mean? Clearly I have accomplished a lot of good work in this house…it just took putting all the pictures into one big post for me to see it. Sure, the transformations in this home haven’t been as fast or dramatic as our past homes; but interestingly, they feel more real, genuine, well-thought out and intentional this time around. I think the pace I’ve worked at here and the designs I’ve been able to create is mostly due to the unique “constraints” of this house. Because the colors, the layout, and the style so dramatically conflict with my personal preferences, I’ve had to really think and plan and brainstorm more than past homes in order to make it all work and still really love it. It’s taking time this time…but you guys…I think we’re finally getting somewhere!
As much as I want to see all my hopes, plans and dreams for each space in this home to come to fruition, the “we’re only here for another year” thoughts have already started to creep in. So while I’m optimistic and excited to cross off a few more projects from my list and take those “final room reveal” shots, I also know that I am going to run out of time before I can proclaim each space “done.” And can I be truly honest? I can feel myself wanting to just live in this home…as we have it…instead of racing a clock to “finish it” just in time to break it all down again. I am sure I will land somewhere in the middle. I am not going to get to everything I want to do; and I’m not going to sacrifice my family time or sanity to get to that theoretical finish line. On the other hand, I am who I am…and I know I will never stop working and tweaking and making a home we love until it’s our last day here!
I’m excited to have you all along for the journey ahead! Here’s to one more year!
Megan

3 Comments on “Celebrating 2 Years In Our 7th Home | What We’ve Done & What’s Left to Do!”
It is SO HARD to get anything done with a baby in the house because everything has to be done one-handed. You’ve done amazingly well, just enjoy it. I’m happy to talk paperwork for the next year 😄
Hey, Would love to know where you obtain all of your plastic containers in your cube cubbies and your drawers?
Thanks for your answer in advance. How much would you spend for those said containers?
Lynne
I love how your kitchen looks. You have a skill for mixing prints and it looks so amazing! I wish I had that skill. You can bet that I’ll be attempting to copy your style. Its so awesome.
Thanks for sharing. Your house is beautiful. Enjoy the few moments with the family this summer. They may be few and farther between that we like, but I sure plan to enjoy the moments!