One Room Challenge | Week 2: Paint and Closet Built-In
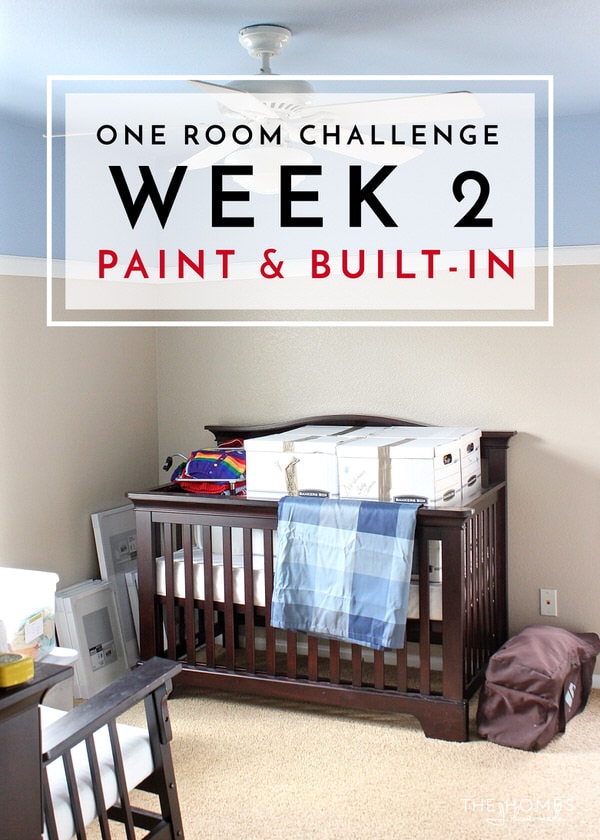
Welcome to Week 2 of the One Room Challenge! Greg and I have been hard at work in Baby Boy’s nursery, and I am having so much fun flexing my atrophied DIY muscles and seeing my vision start to come to life already! If you missed last week or are stopping by for the first time, we are making over our spare upstairs bedroom into a “Super Star”-themed nursery for a baby boy we are expecting at the end of the year. You can see the “Before” photos of this room, as well as the design plan we are executing, HERE! Let’s dive in, and I’ll show you what all we accomplished this last week!
SIDE NOTE: It is SO weird for me to document this room’s progress in real time as we accomplish various, out-of-order tasks. In general, I show you home projects pretty close to when I do them; but I prefer to write post/tutorials that show a project from start to finish rather than a big ol’ update of random elements. But this “real time” perspective is part of this challenge, so I am embracing it…plus I think you all will enjoy seeing how a room comes together in a very non-linear fashion despite how it is presented on the blog!
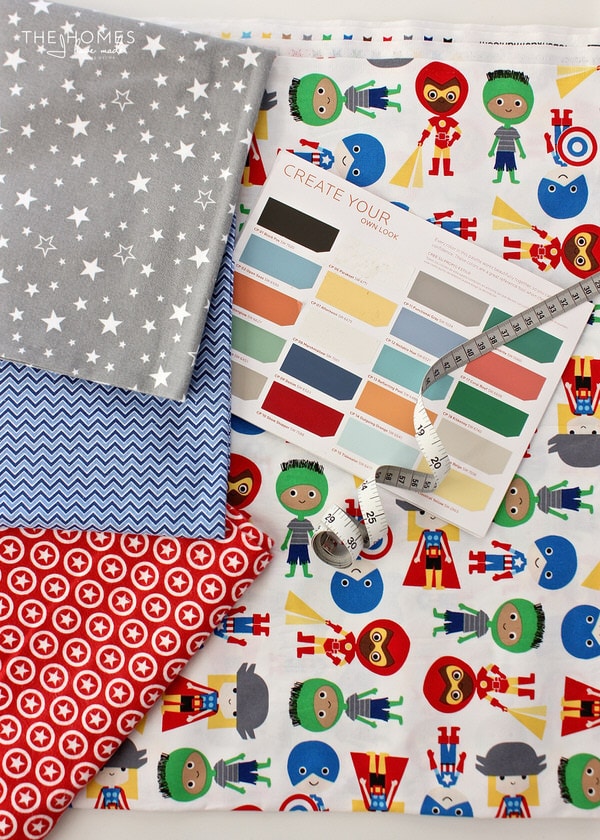
In the last week, a lot of the fabric I ordered came in, and it’s all even cuter and more fun in person than on my computer screen! It’s been soooo long since I’ve bought and played around with fun fabrics, and I can’t wait to start whipping them all into various baby and decor items. Finally seeing the fabrics in person also allowed me to make some final decisions regarding paint for the room.
Picking Paint
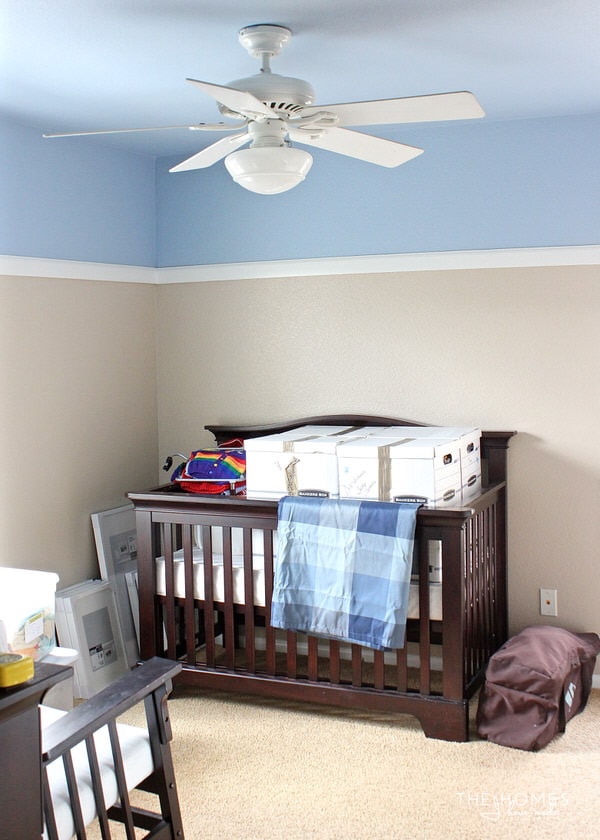
As many of you know, I am really struggling with the beige walls in our house. Although I have a few other tricks up my sleeve for changing up our walls, I really wanted to be able to paint parts of this room to give it a brighter, fresher look. You can only imagine the happy dance I did when we got approval from the owner to paint! As much as I love to change the colors of our walls, I am actually HORRIBLE at picking paint colors. For one, there are so many darn colors available, and I am not well-versed enough to detect minor differences across similar shades. Second, I hate to spend money on the tester pots because a) they aren’t THAT cheap when you are trying to pick between several different shades and b) you end up with tons of these little pots of paint in the wrong colors. Third, I can talk myself in and out of pretty much any color, so testing colors is somewhat of an exasperating exercise for me.
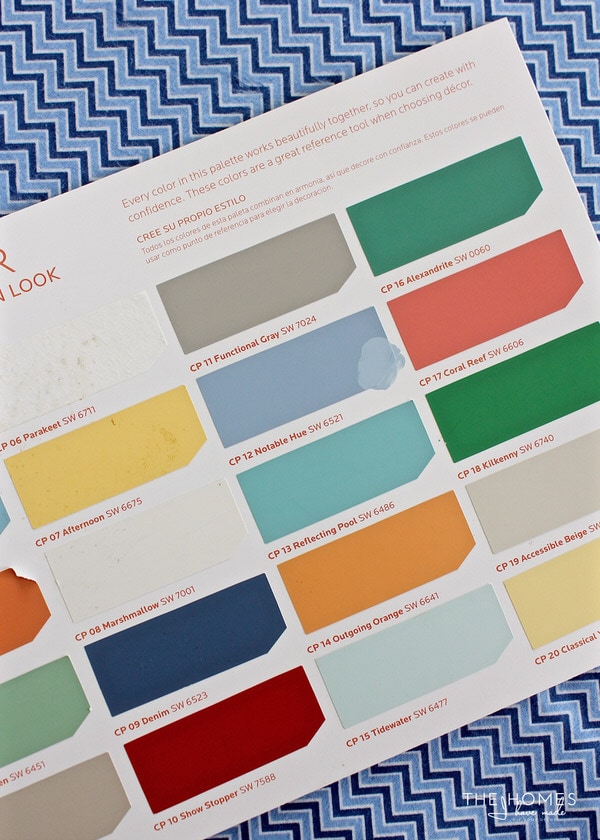
Shortly after we moved into this house, I came across this Sherwin Williams color palette card at Lowes. I was particularly drawn to all the colors because they felt bright and fresh and very “me.” The other clincher? See that “Accessible Beige” in the bottom right of the card? It is almost an exact match to our current walls, so I felt at peace knowing a lot of these fresher colors would ultimately work with our brown walls and still create the cohesive feel I want. I was already planning to use both the Denim and the Notable Hue in our Master Bedroom (more on that soon!), and I was pleasantly surprised to see that it also worked quite well with the fabrics I selected for the nursery. My only concern was that it would be a bit TOO much for the tiny room…especially for where I wanted to put it. I was making myself crazy with paint strips and just needed to make a decision. So without even testing it first, I ordered a gallon of the Notable Hue, but down “one notch” (which means they add 50% more white). You can see the difference between the original color and the adjusted color (the paint dot) below…
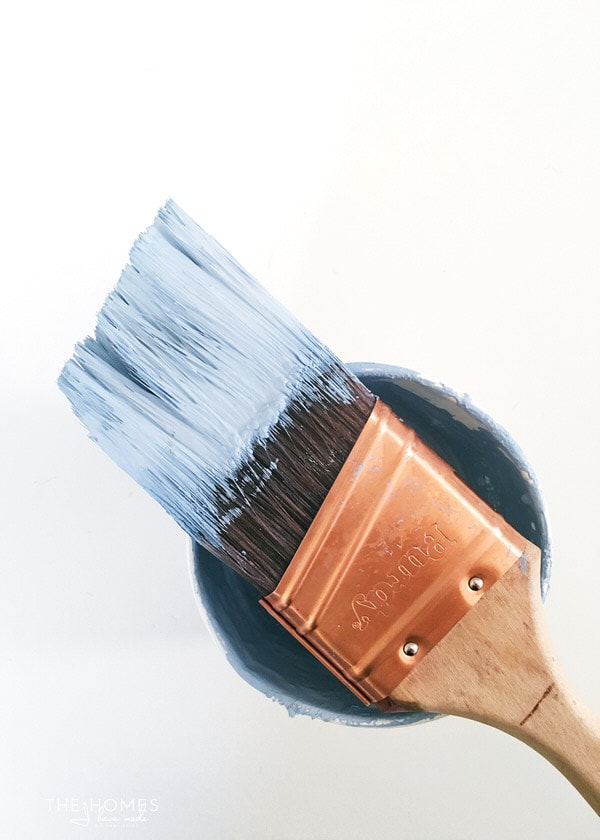
It was somewhat of a gamble because I wasn’t sure if one step down would be light enough, but we went for it anyway! I did all the cutting in and Greg had the hard job of rolling…
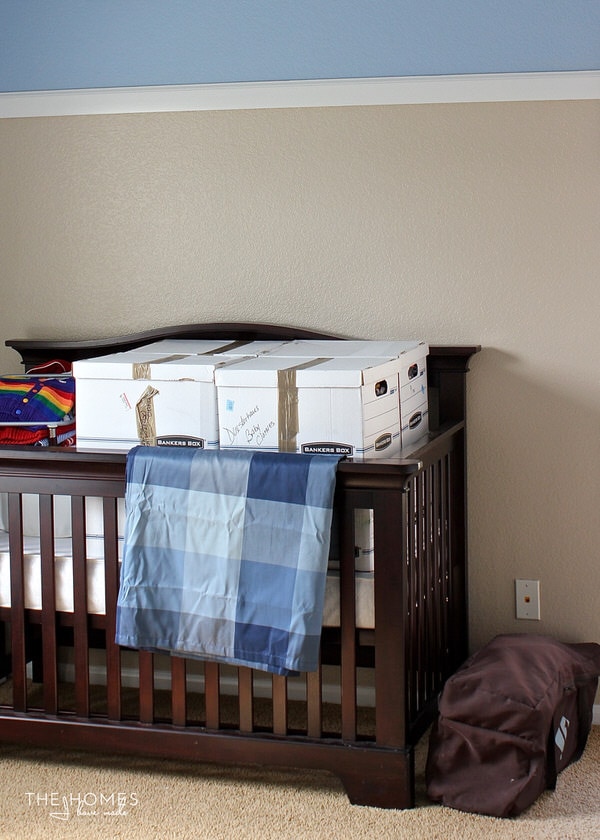
…and what luck! The paint gods were watching over me because we ended up with the most lovely blue ceiling I’ve ever seen! It’s “baby” enough without being too much thanks to a bit of grey in it. The color does change throughout the day, but I have yet to see a shade I don’t love. Every time I walk by, I smile because I couldn’t have picked a better color if I tested 1,000 samples. I don’t recommend not testing paints, but sometimes going with your gut does pay off. Sometimes!
There was another VERY happy accident with the paint color! I had picked a blue check fabric for the window treatments online; but I was unable to order a sample to test it first, so I’ve been holding off ordering it. As I was walking through Lowes (looking for something else), I noticed a set of blue check curtains on display. I didn’t have my paint card with me, so I grabbed one, knowing I could always return it. Not only is the pattern exactly what I wanted, but the color match is SO spot on you’d think I matched the paint to the curtain versus the other way around. Happy accidents like this are what make decorating so fun to me!
Closet Progress
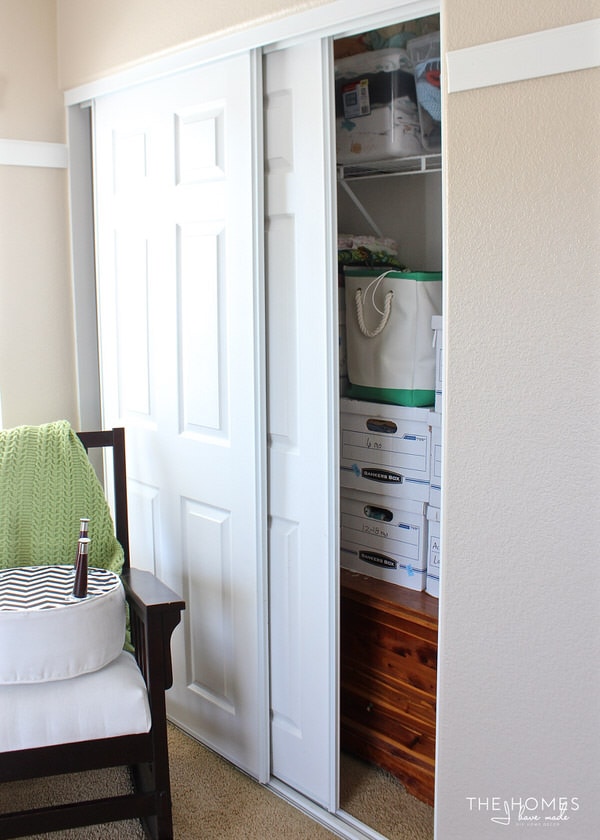
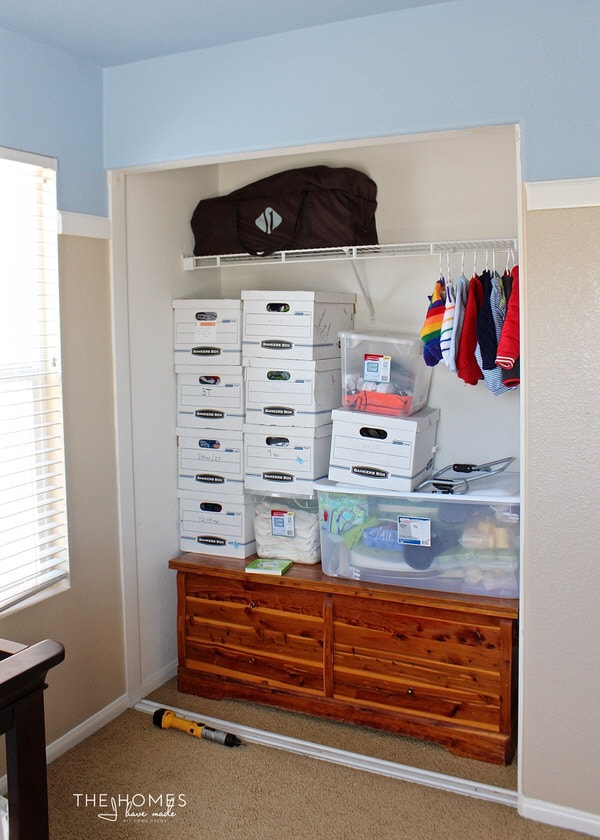
Besides the paint, the other big progress we made this last week was in the closet. Here is a quick “before” photo for reference.
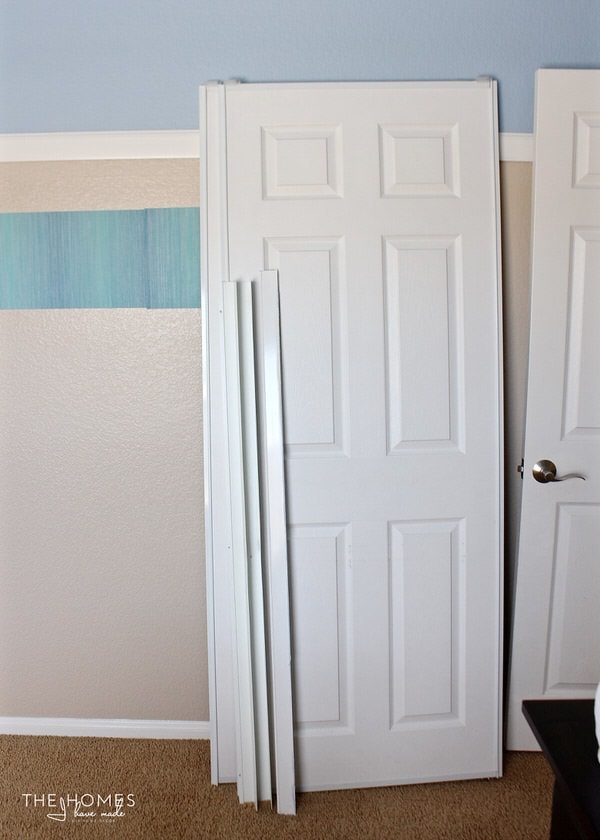
I knew I wanted to take the doors off of this closet for a few reasons. One, they are a bit too big for the size of the closet, making getting anything in and out a bit tricky. Two, the doors never stayed put, so while trying to finagle things out of the closet, the doors were always sliding around. Finally, this room is a bit tight, and I thought taking the doors off would help visually “expand” the room. For anyone in a rental (or a home you own), getting sliding doors out is super simple…and if you have the room to store them, I highly recommend doing it…
…because the second they came down I knew it was the right decision! The closet felt SO much bigger, as did the room; and now we have the space to put in lots more storage. I’m so glad I didn’t over-think this idea because it made such a difference. I’m pretty sure we’re going to take Henry’s out too!
I have some really fun plans for this closet…not all of which I’ll reveal today…but I can at least show you where we’re headed. See that cedar chest up there? It’s from my childhood bedroom and one of my favorite things from my parents’ old house. It’s filled with my old yearbooks and baby clothes, Cabbage Patch kids I can’t let go of, awards, school photos and other random memories. The chest itself is actually in rough shape (it has a broken foot, shelf, and knob) and could use a fresh refinishing job. Even though the chest is not something I access a whole lot (if ever), the nursery closet was really the best place for it (rather than the garage). However, I felt like it was really restricting both my storage and aesthetic vision for the closet and the room.
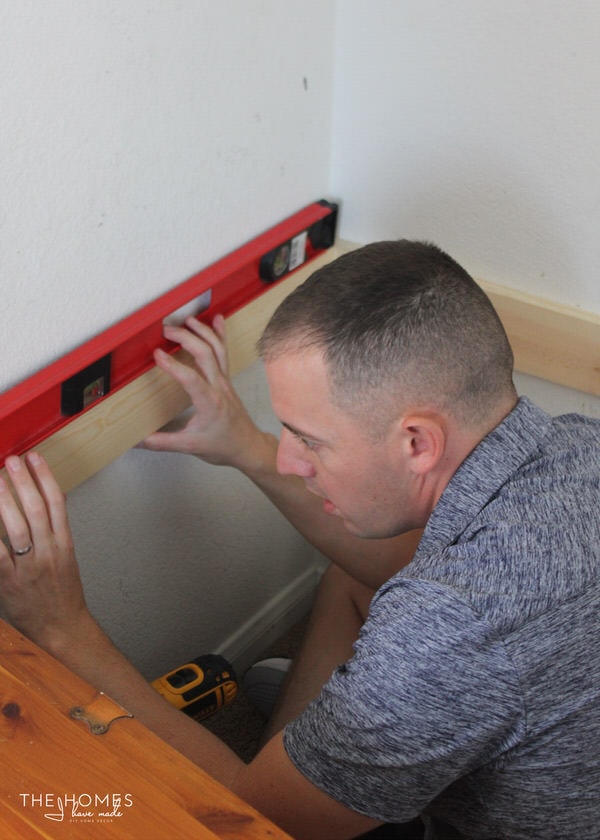
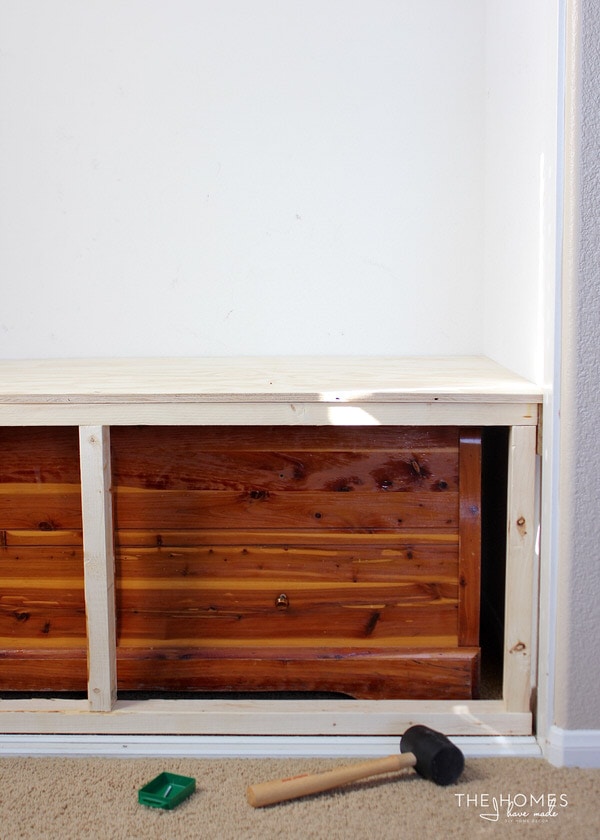
After making sure there was nothing in the chest I needed access to, my loving husband entertained my whacky idea to add a built-in to the closet around the cedar chest…
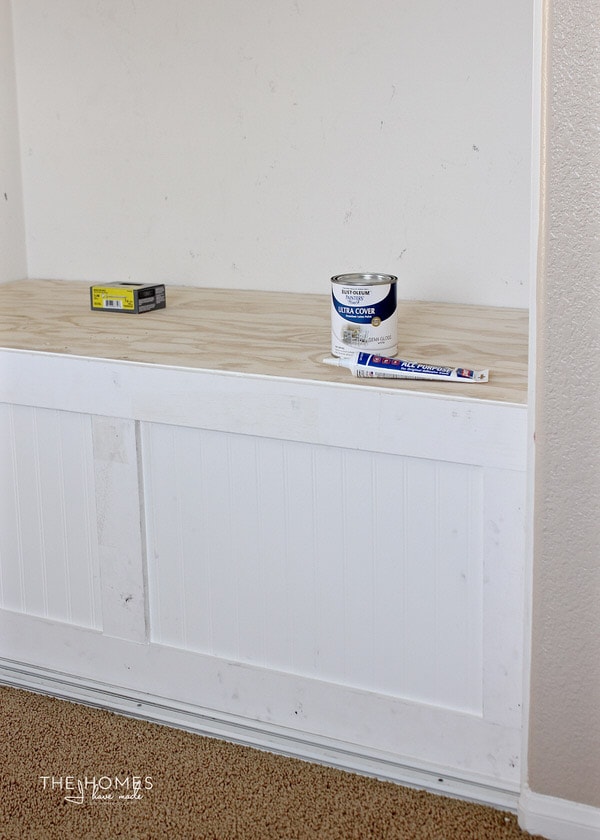
I am going to have a full step-by-step tutorial for this easy built-in project (that even us non-carpenters pulled off with relative ease) down the road, but here is a quick shot of where we stand now. The built-in still needs a few coats of paint, but I am absolutely thrilled with the result. It may seem like a crazy decision to some; but for us, it was a great way to store a piece of furniture we don’t want to get rid of but improve the storage capacity and overall functionality of the closet. Stay tuned to see how this one evolves!
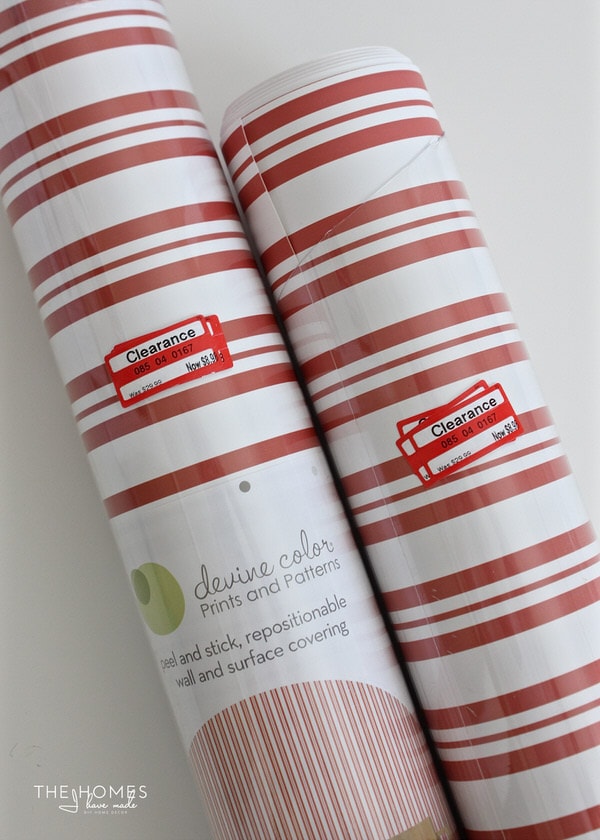
That’s about it for today! This coming week is going to be ALL about wallpaper, including this red-and-white striped version I found on mega-clearance at Target months ago. Be sure to tune into Instagram this weekend to see where it ends up, as well as how that random Lowes curtain gets put to an unexpected use!
I’d love to hear what you think so far? I’m having such a blast putting this room together, I do hope you’re enjoying following along! Don’t forget to check out the progress of all the other participants HERE!
Happy weekend!
Megan




4 Comments on “One Room Challenge | Week 2: Paint and Closet Built-In”
Beautiful color that looks great with the beige (terrific idea to do the ceiling)!
LOVE the buffalo check curtains!
A pelmet up at the ceiling down to the bottom of the blind valence — and wide enough to go over the curtains — would look great to fill the gap above the blinds…and draw the eye up to the blue.
(I did that in our rental and can send a pic if you’d like)
Impressed with your idea to build in the closet — now you’ve got me thinking I should do that, and now I want to make a Target run to check out their repositionable wallpaper on clearance!
Hey Lauren!
We are definitely on the same page on what to do above the blinds…stay tuned 😉
Good luck on the Wallpaper hunt – I think it was a fluke I found it, but I sure snatched it up for that price, lol!
Megan
Hi Megan
I do love the blue ceiling and the top of the wall too in the same color, it doesn’t do what I thought all the contrary for it makes the ceiling higher.
For the closet, I think I haven’t understood all the process, did you really hide the chest or is it still possible to go ans take even seldom the things you put in it ?
Baby boy will be happy and calm in this nursery.
Have a nice week.
Michèle
Hope you don’t forget your chest when you move! : )