DIY Throw Pillow Covers From a Target Table Runner
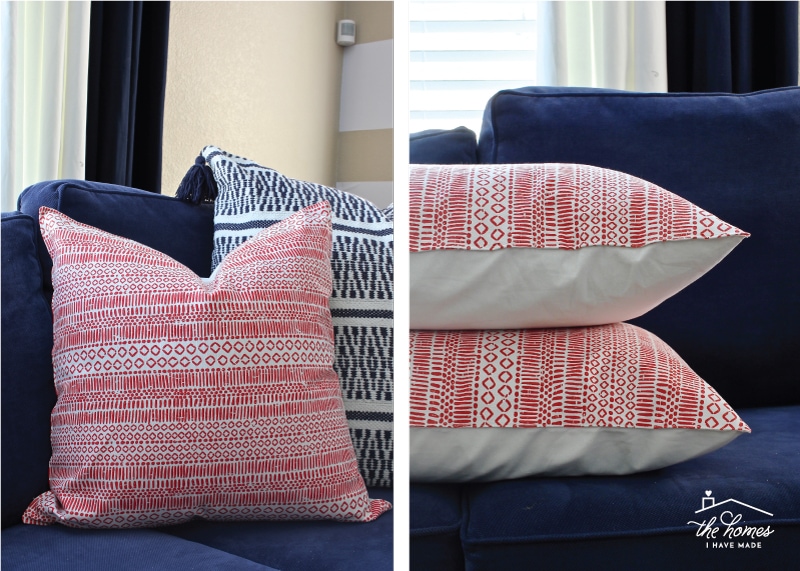
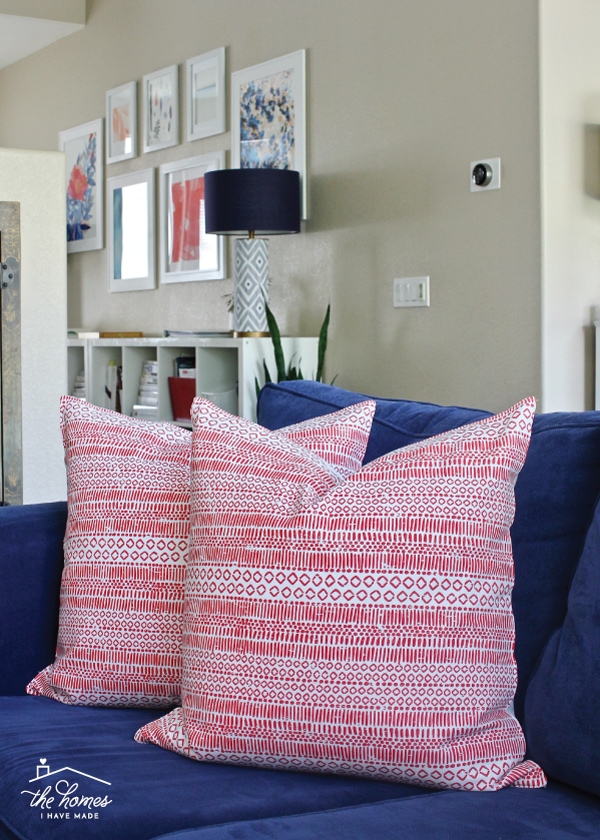
A few weeks ago, I shared with you all the things I can’t seem to stop buying from Target; and one of those things was textiles! From window treatments and pillow cases to tablecloths and shower curtains…it seems like I am constantly finding patterns I love for various spots around our home. About a month ago, I stumbled upon a shower curtain and table runner that together suddenly made all of our various decor elements on our first floor click together. I’m going to show you what I did with the shower curtain here soon; but today, I want to show you how I transformed an off-the-shelf table runner into super simple DIY throw pillows in mere minutes! I know you guys will love this budget-friendly and easy DIY, so let me show you how I did it!
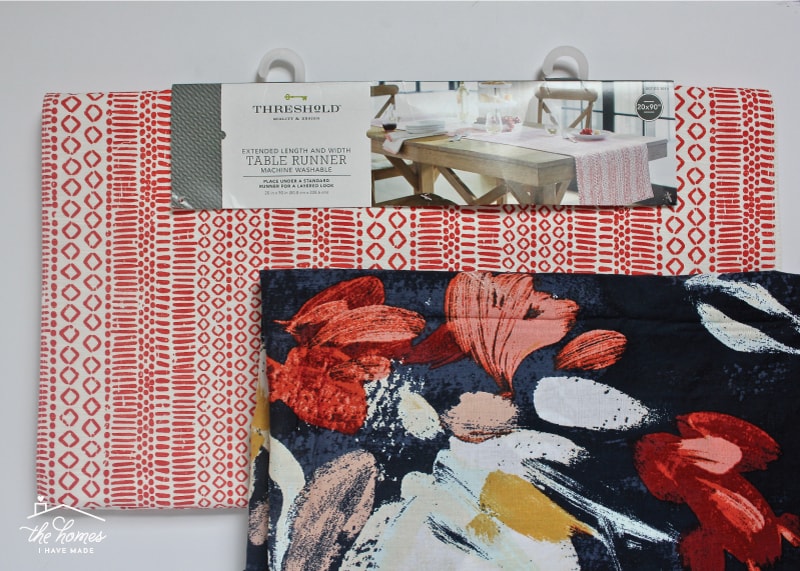
As I mentioned in this post, I have been known to wonder the textile aisles of Target looking for products that inspire me. In addition to fantastic colors and patterns that I can’t seem to find on bolts in the fabric store, I also keep my eye out for great bargains…as in, a good bit of fabric at a great price! On two separate trips to Target recently, I came across both a shower curtain and a table runner that, when paired together, brought so many different elements of our first floor together. I instantly had a plan for how to use each one; and I am positively giddy that our first floor (which I’ve reeeeaaallly struggled to pull together) is finally almost done! Here’s the table runner and shower curtain together…
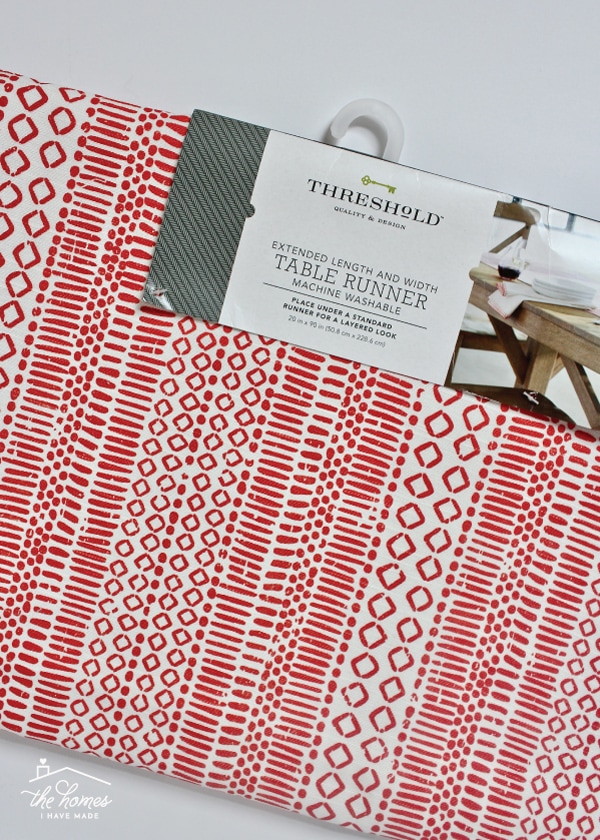
Why did this particular table runner catch my eye? A few reasons. One, the colors worked SO well with the shower curtain I had picked out for another project (more on that soon). I told you, even across department and seasons, Target products tend to coordinate really well! Second, look at the size of this runner. You probably can’t read it so I’ll help you out: 20″x90.” I always take note when something is 20.” Why? Because most of our throw pillows are 20.” So if something is already 20″ wide, it’s a great candidate to turn into throw pillows.
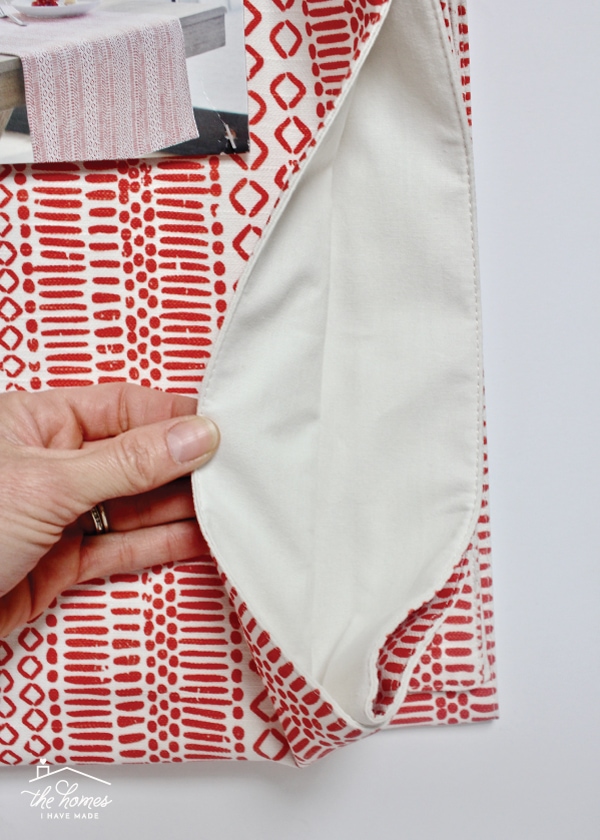
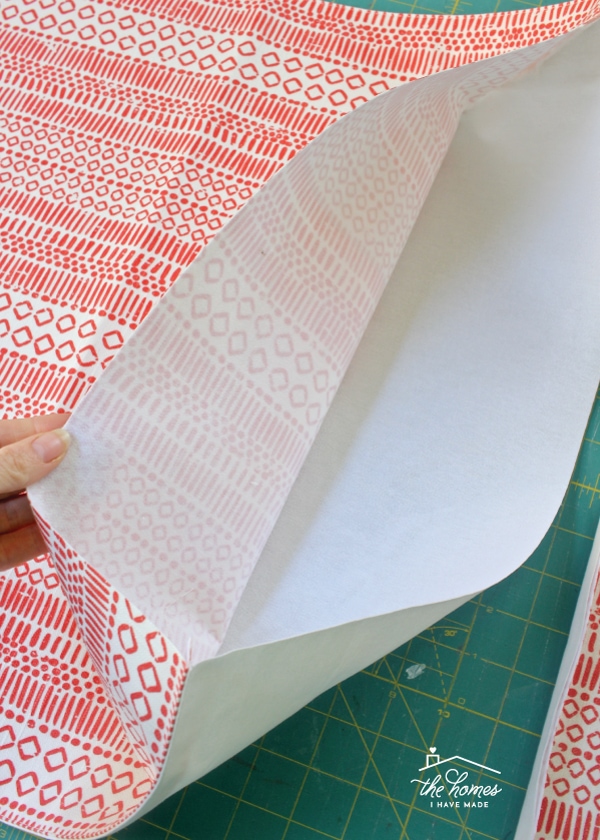
The final thing that caught my eye with this table runner is that it is lined, and lined with good-quality fabric. While any right-sized table runner could be cut into two sides of a pillow cover, the fact that this runner is lined meant that the pillows were essentially already constructed, with the top and bottom already stitched together. All I had to do was cut the runner down into pillow-sized squares, slide a pillow in and sew up the single open seam. At 90″ long, that meant I could get four pillow covers out of 1 table runner. Four! And I bought this runner on sale for $19. Friends, that’s less than $5 a pillow cover and they took me about 15 minutes each. #totalbargain.
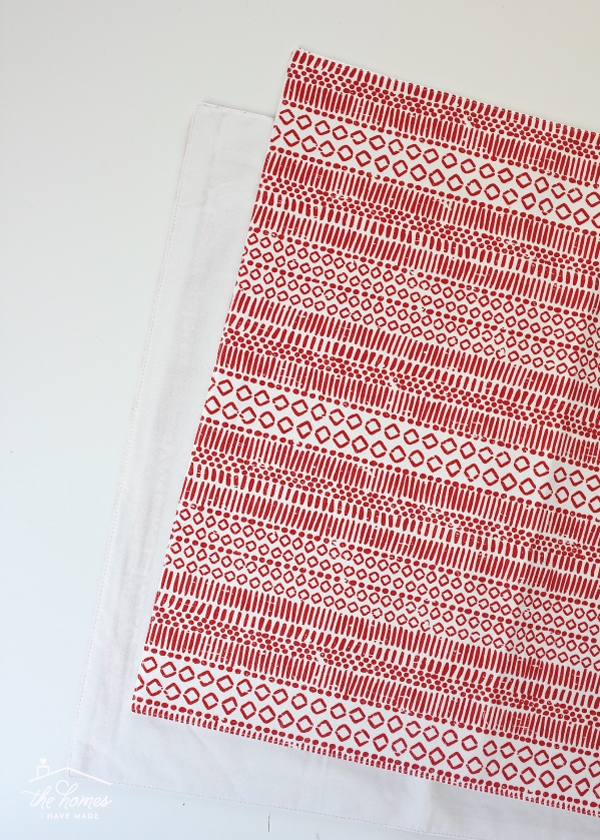
Here is the table runner folded in half length-wise. By cutting a square off of each end, I had two pillow covers with three seams finished and one seam open to insert the pillow. If you were to cut two pillows off of only one end (or cut down the entire runner into squares), the second pillow would be open on both sides, requiring you to sew two seems instead of just one. #ihopethatmakessense?
I only needed two pillows for our couch, so I used each finished end. I still have the center 48″ of runner left to do something else with!
Supplies Needed
You don’t need much for this project! Here’s what you need:
- Table runner at least 20″ wide – I bought this one but this one and this one would also be awesome! Note – I realize most of these are out of stock online, so keep your eyes out in stores or until they re-stock in newer patterns!
- Pillow inserts to fit your runner – my pillow forms are 20″ wide.
- Sewing machine with coordinating thread
- Other tools: scissors or rotary cutter with ruler and mat | iron | ironing board | pins | seam gauge | seam ripper
Cutting Down the Runner
I am going to show you how I constructed pillow covers from this tablecloth. Please note you may need to adapt these instructions to fit other runners or pillow sizes!
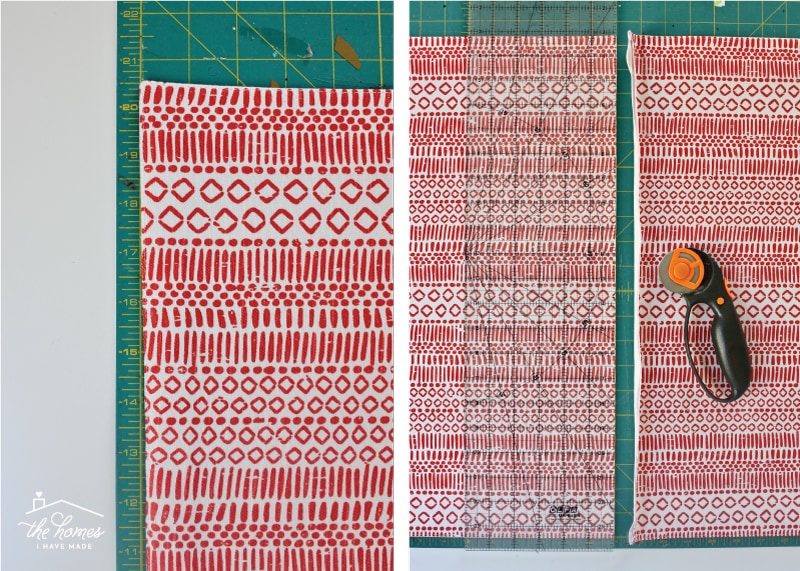
Start by measuring the width of your table runner. To make a perfect square pillow form, you will need to use this measurement + 1/2″ (for seam allowance). My finished table runner measured 20.5″ exactly (below left), so I used my ruler and rotary cutter to cut a 21″-wide piece off the runner (below right).
In the image below, you can already see how this will work. I cut 21″ into the end of the finished table runner. I now have three finished sides and one open side into which I can slide a pillow form. But hold on, we have to work on the corners a bit!
Finishing the Corners
When you make a pillow from scratch, you place two right sides of fabric together, sew around the four sides (leaving a gap to insert your pillow form) and then flip the whole thing right-side out. Part of the reason you do this is so all your corners look nice and tidy when turned right-side out. If you were just to sew your open seam shut, not only would you have unfinished edges but you’d end up with pretty unsightly corners. So let’s fix it!
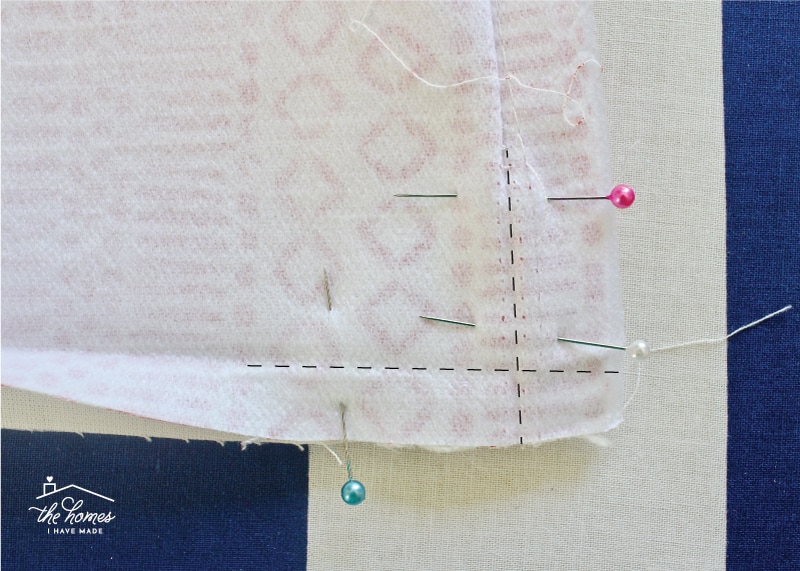
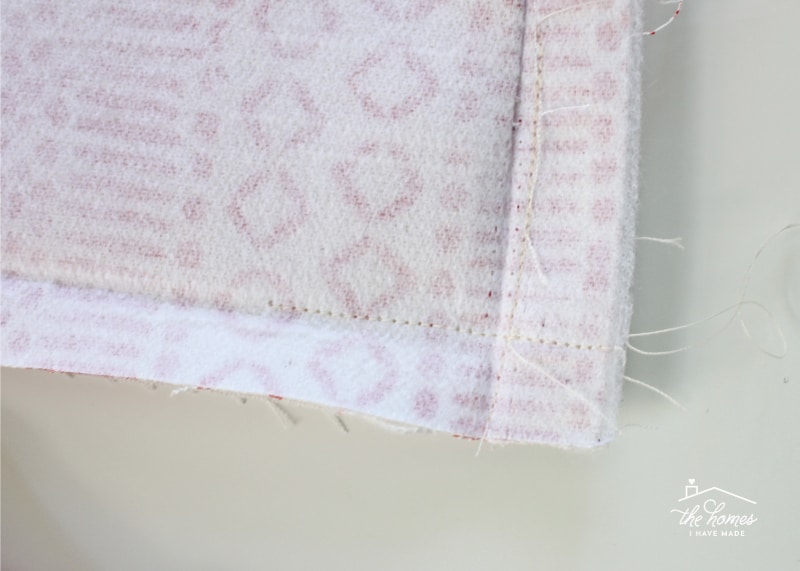
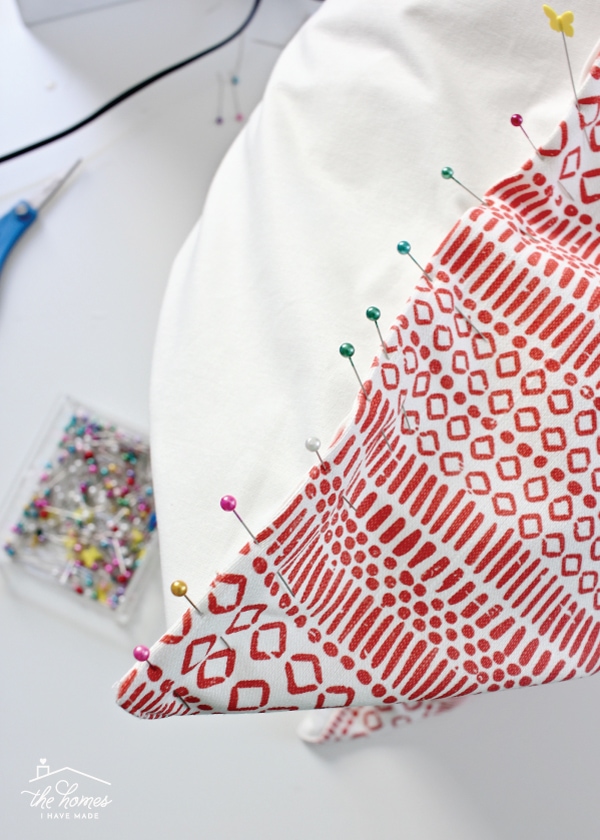
Even though your pillow is sewn and finished on three sides, go ahead and flip it inside-out. Once flipped so that the right-side of the fabric is facing in, match up the unfinished corners (along the raw edge you cut) and pin in place. Using a sewing machine, re-sew 2″ in each direction as shown below:
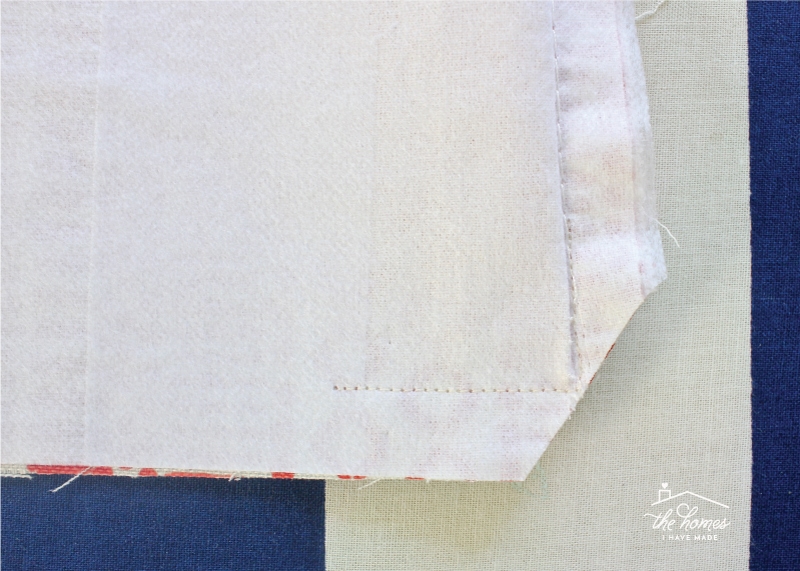
Stitching along the finished side (above, along the right) will help secure stitches that may have gone lose when you cut the runner apart. Stitching two inches along the raw, open edge (above, along the bottom) of the pillow cover will complete your corners. Below is how my unfinished corners looked when all sewn up:
As you would with any pillow project, carefully slice away the corner of fabric along the diagonal, as close to the stitches as possible without actually cutting the stitches. Removing this little section of fabric will reduce bulk and make your corners look so much nicer.
Finishing the Final Pillow Seam
This next step is optional but I always find it makes finishing up the final pillow seam so much easier.
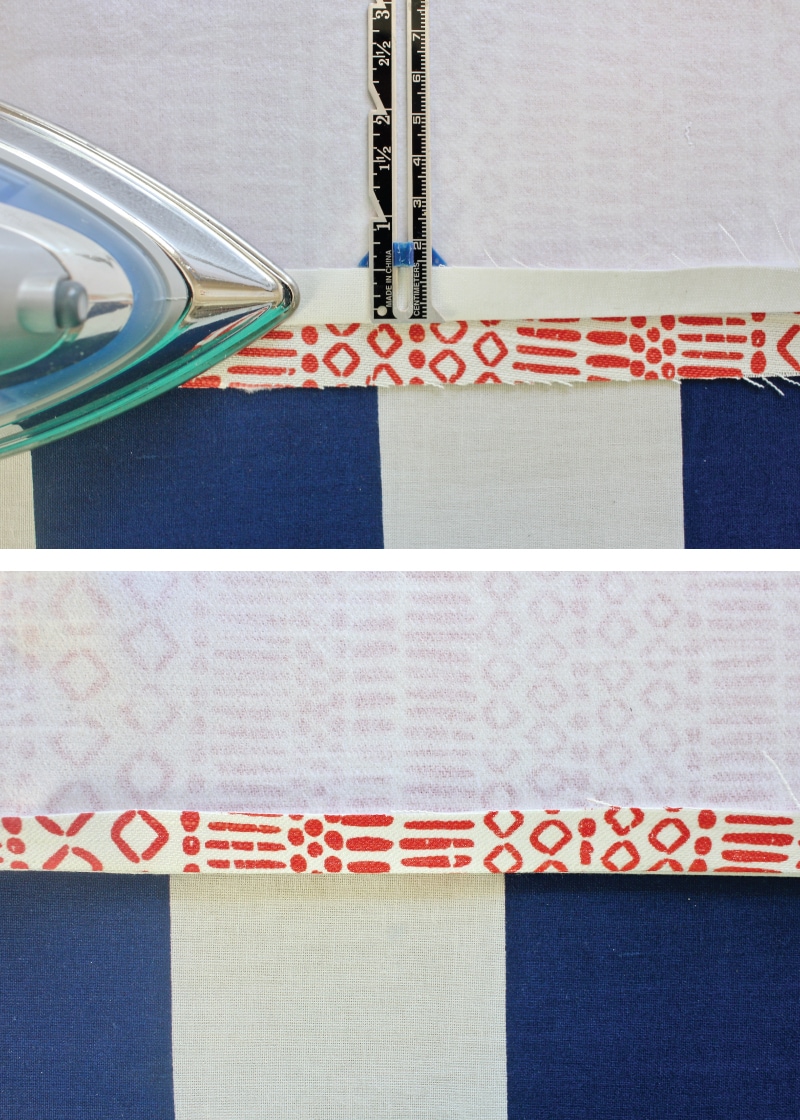
With your pillow still turned inside out, use a hot iron to fold over and crease each side of your open seam (both the patterned fabric and the lining) 1/2″ in toward the pillow. Use a seam gauge to help you if necessary. Below (top) is the lining pressed in; below (bottom) is the pillow flipped over, and the patterned fabric then pressed in toward the pillow.
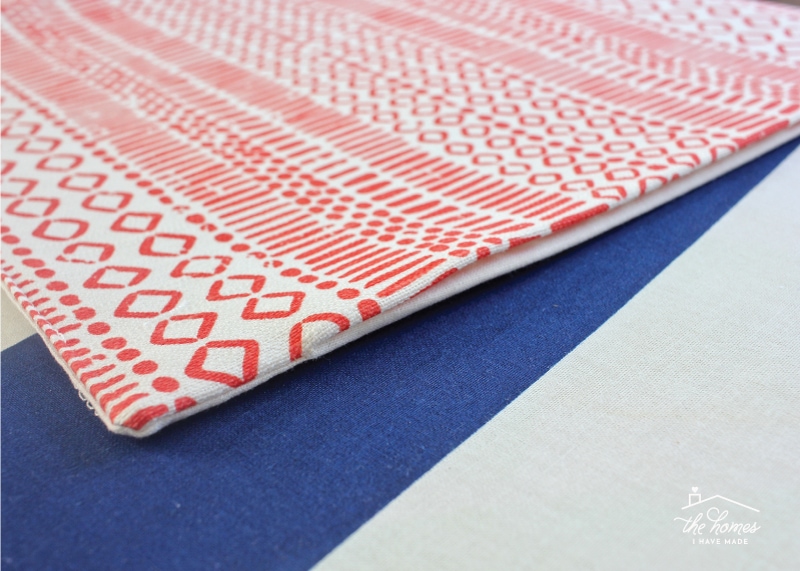
Now when you turn the pillow case right-side-out, not only will you have lovely corners, but your final open seam is tidy, pressed and ready to be sewn shut. Well, after you put the pillow in, of course!
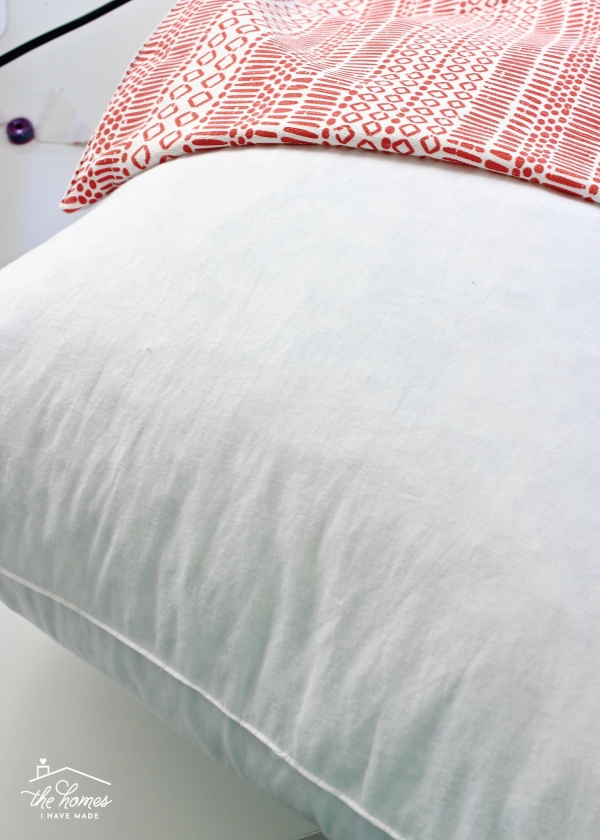
So…the next step is to insert your pillow form! Do it carefully so as not to pop any of the stitches you just sewed.
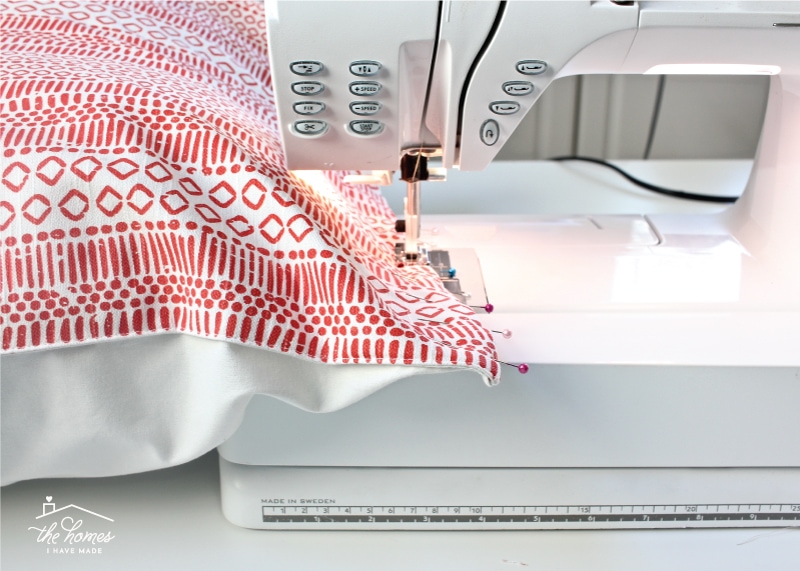
With your pillow form inserted into the case, use pins to bring your two ironed edges together and close up the final open seam.
Alright, I have a bit of a disclaimer to make at this point. Usually, when sewing a pillow shut, you’re supposed to do it by hand with a needle and thread in order to perfectly conceal the stitches. Well…I chose to use my sewing machine to sew up the final seam (sacrilege!!!!), and this is why:
- I wanted this done in a jiffy. #reallife
- This table runner already had an 1/8″ top stitch around the entire perimeter of the pillow. Yes, I could have undone the top stitching so the seams looked like more traditional pillow seams; but again, I wanted this done quickly. So, I chose to follow the top stitching (already on the three sides of the pillow) down the fourth side to close up the pillow cover. This is certainly not the “correct” way to sew a pillow shut, but I decided to choose “quick but still looks great” over “tedious and looks perfect.”
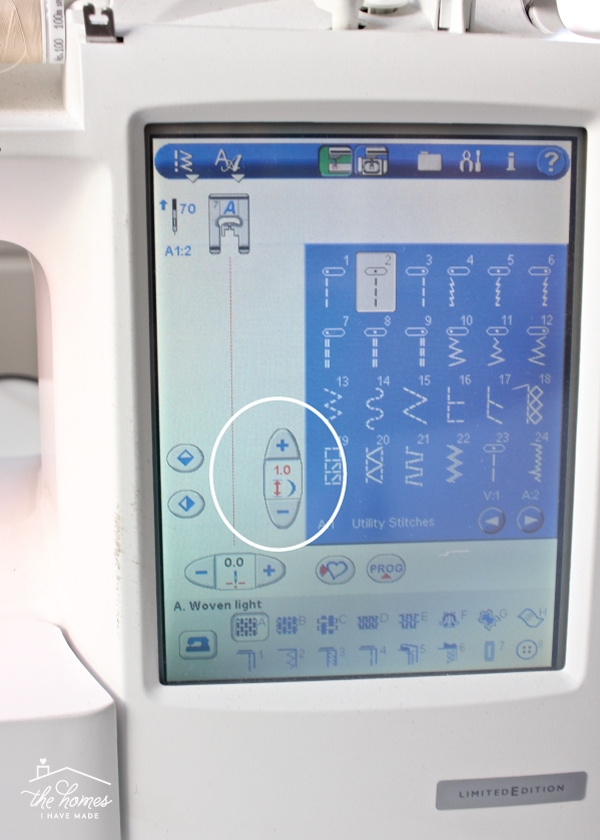
The top stitching around the table runner had pretty tight stitches, so I set my machine to the lowest stitch length possible…
I then sewed my final seam shut, using a 1/8″ seam that matched the other three sides of the pillow.
And with that one simple seam on each cover, the pillows were done and I could throw them right onto the couch!
I hope you guys love this idea as much as I do. If you’ve sewn a pillow cover together a million times, I hope this gives you a new method for using off-the-shelf products to make pillows in a snap. If you’ve never sewn a pillow cover, I hope this super simple version gives you confidence to give it a try (you can handle one seam!!!) And if nothing else, I hope this encourages all of you to look at the items you find in a new way…whether it’s at your favorite store or a garage sale… What can you turn it into? How can it be cut apart? How can it be put back together? With scissors, a sewing machine, and an idea, (almost) anything is possible!
Megan




3 Comments on “DIY Throw Pillow Covers From a Target Table Runner”
Love those red ones! The pattern and color is so great!
I am so lazy that I probably would never sew them by hand. I like quick easy and done projects. The set of pillow covers we have had on our couch….well I’m tired of them. But I put a zipper in them so it makes it easy to wash when my kids get them dirty. And this tutorial would be so easy to add a zipper to. Thanks for sharing that Target is the place to shop!
Wow, Megan, that is awesome, out of the box thinking! You totally rocked this!
Wow! As always, Megan, I’m totally inspired! You make me want to completely redecorate my home! Love this idea. Although I’ve been sewing since I was a teenager (too long ago to think about), and have made many pillows over the years, but this? This is genius! I’m ready to run to Target right this minute and look for table runners! LINED table runners! Thanks for yet another fabulous idea. Love everything you do. Each and every home you’ve decorated has inspired me!