Our Virginia Master | The Ultimate Rental Bedroom Makeover
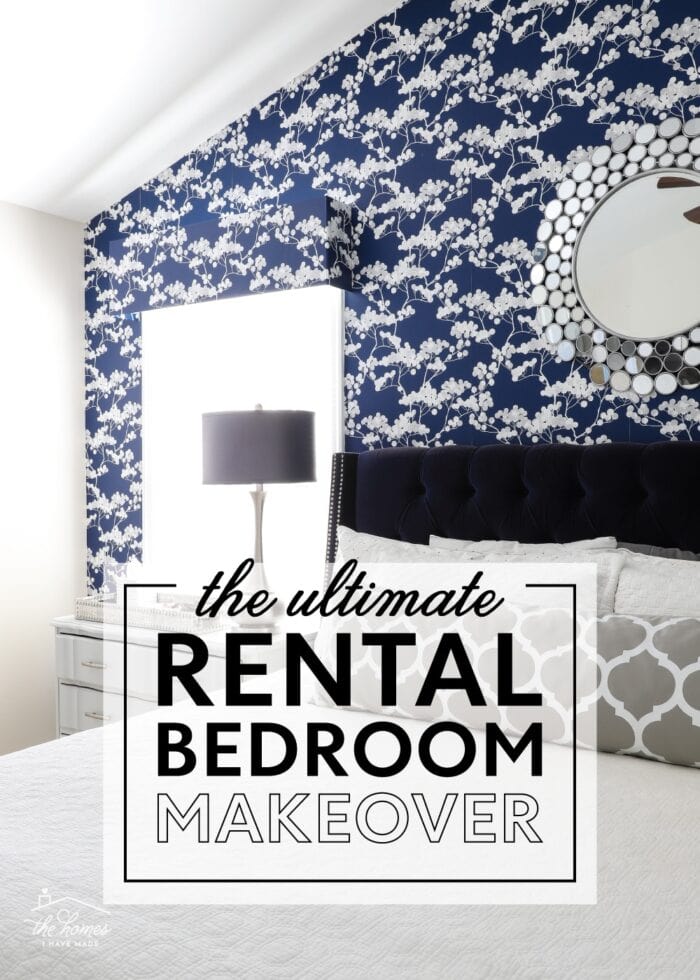
With just about 7 months left in this house, it’s time to start wrapping up spaces and sharing final tours! As most of you know, I’ve been hard at work over the last few months giving our Master Bedroom a complete transformation. Today, I want to walk you through this “officially” finished rental bedroom makeover, and highlight all the totally temporary solutions I implemented to give it some serious style. Whether you own or rent, live in an apartment or a house, I know you’ll find some ideas to apply to your own Master Bedroom!
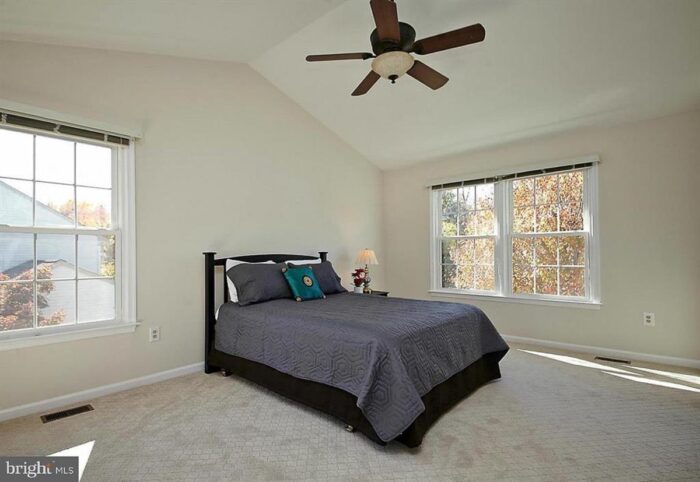
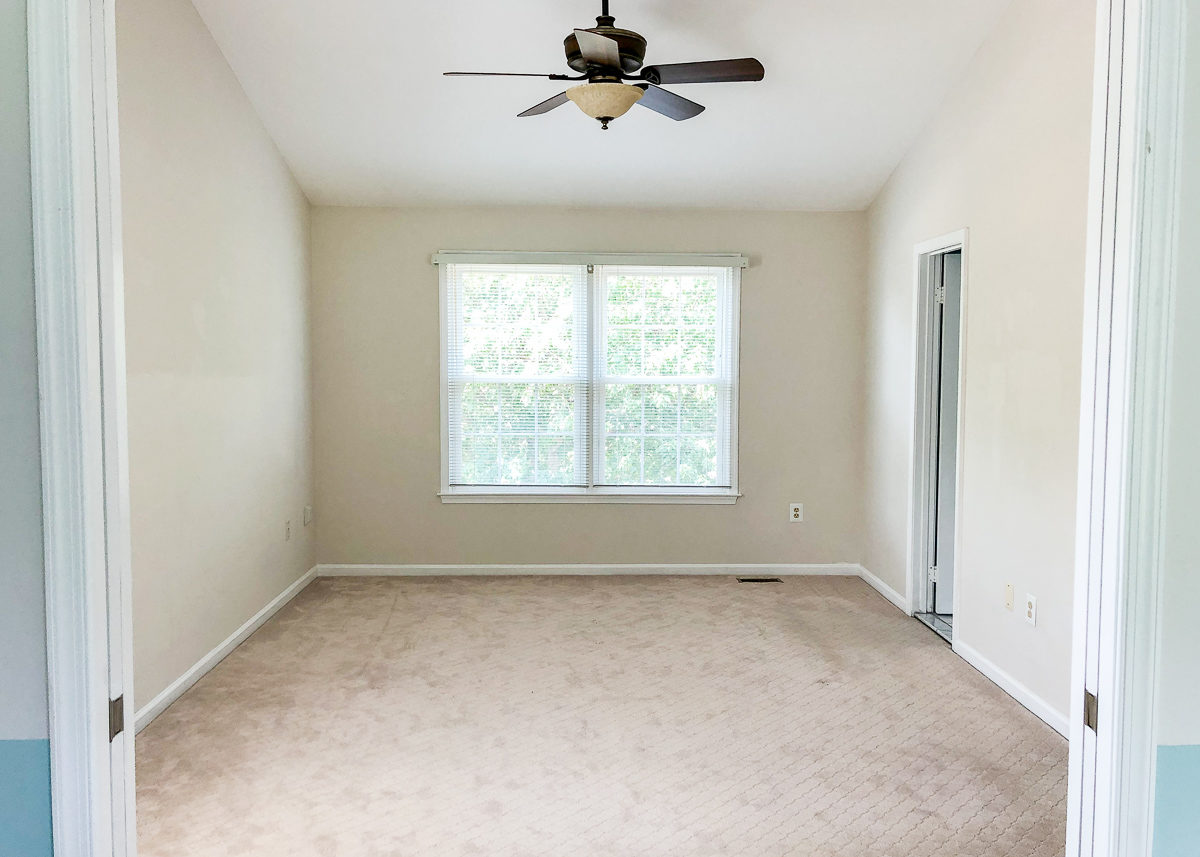
Here is a snapshot of this room straight from the MLS listing:
And as you walk into the room from the hallway…
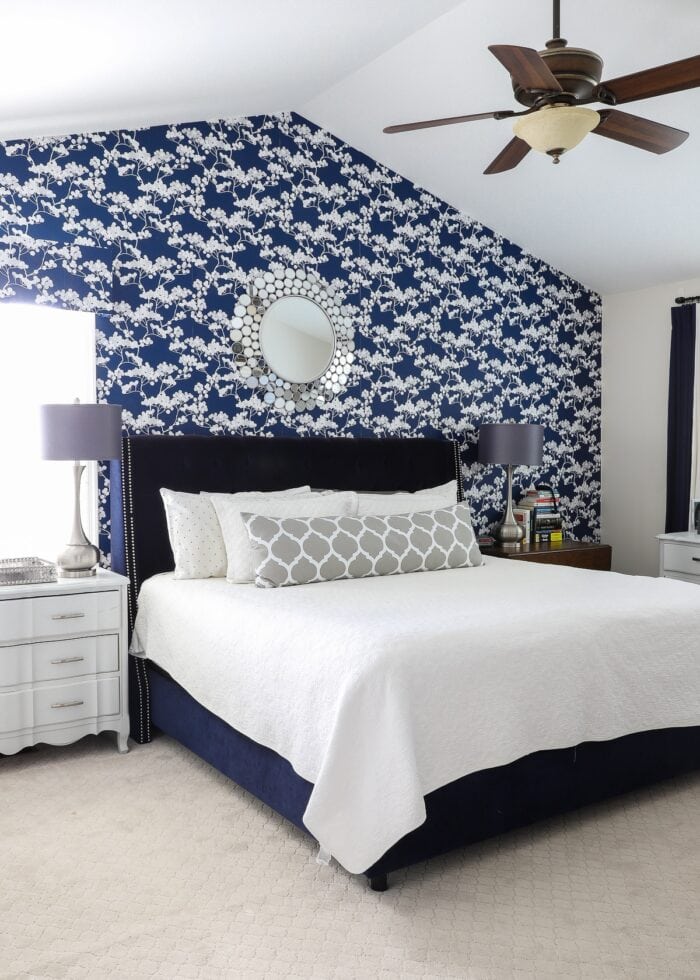
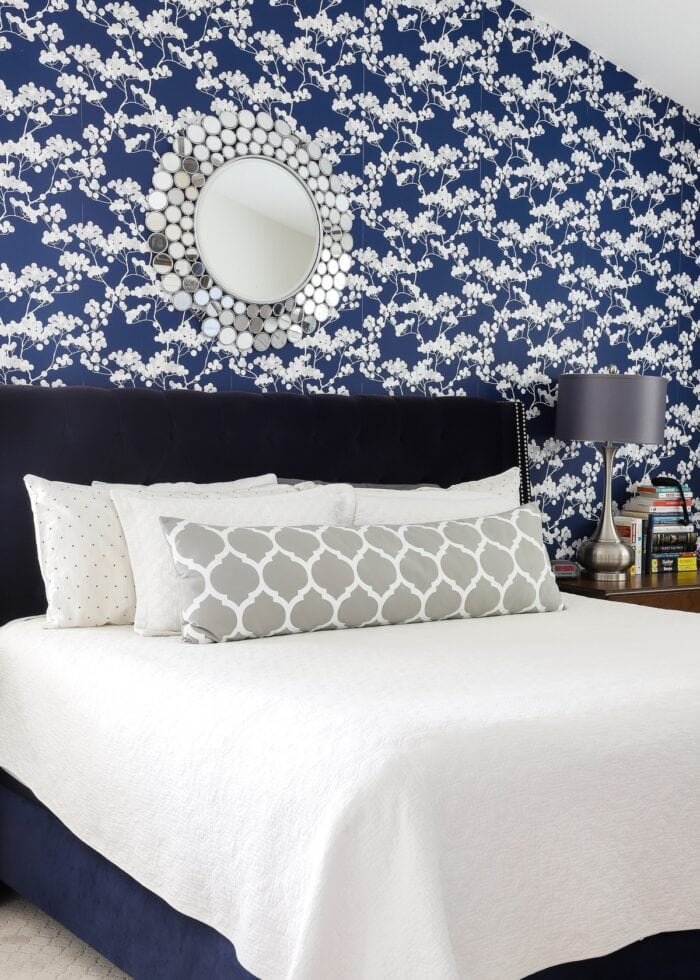
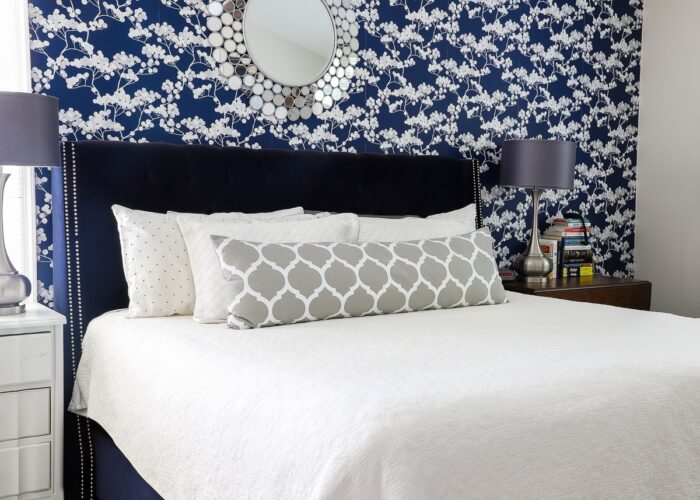
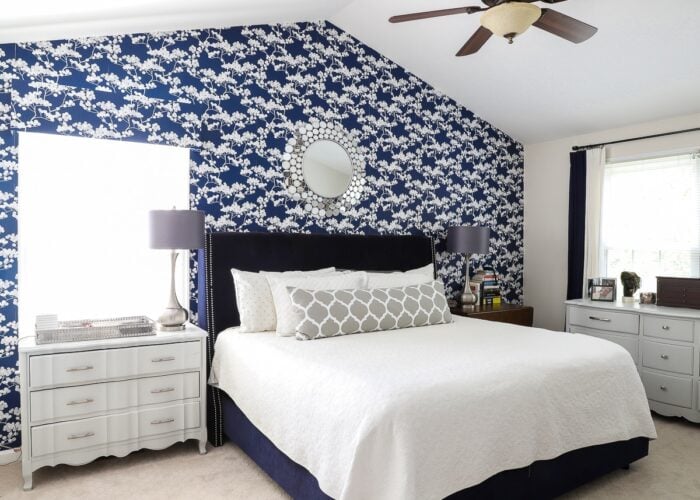
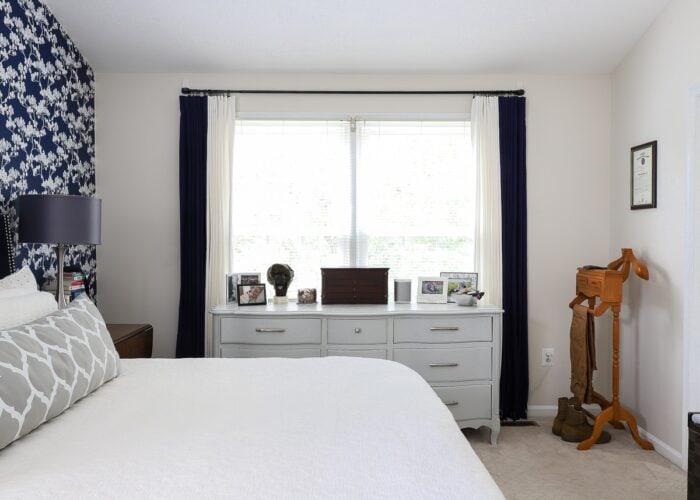
…this is the view that greets you! Quite the transformation, wouldn’t you say?!?
I had to work through some “limitations” in this room (e.g., beige walls, beige carpet, asymmetrical windows, and an apex ceiling). But thanks to a few easy DIY projects and some stunning peel-and-stick wallpaper, this transformation isn’t just eye-popping but affordable as well!
Video Tour
Every inch of this space is detailed in the rest of the post; but if you’d like to take a virtual tour of this room to see how everything works together, watch the short video below!
If the video is not loading for you below, watch it here: Our VA Master | The Ultimate Rental Bedroom Makeover
The Design Plan
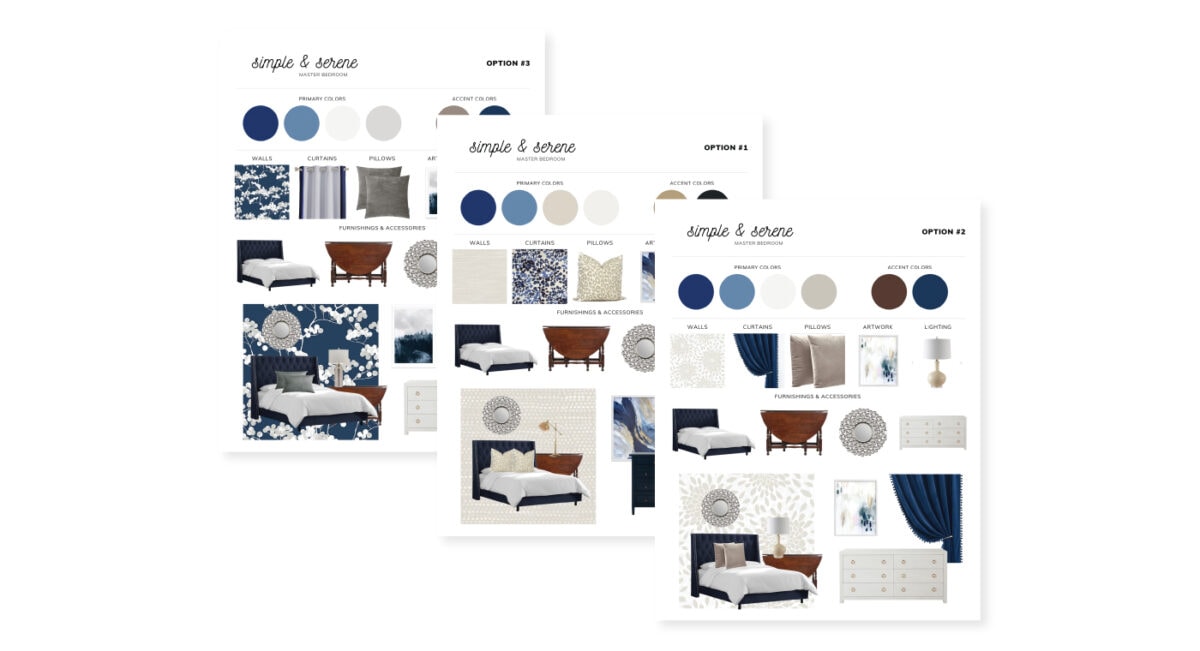
Back in February, I taught you all how to create a design board using Canva; and my sample project was a plan for our Master Bedroom. I presented three different options I was considering for the space:
I will absolutely admit that I was much more drawn to Options 1 and 2, both of which embraced the beige carpets and walls a bit more naturally. However, we already had two grey dressers; and I was not up for re-painting or replacing either of them simply to pull off the “beige vision.”
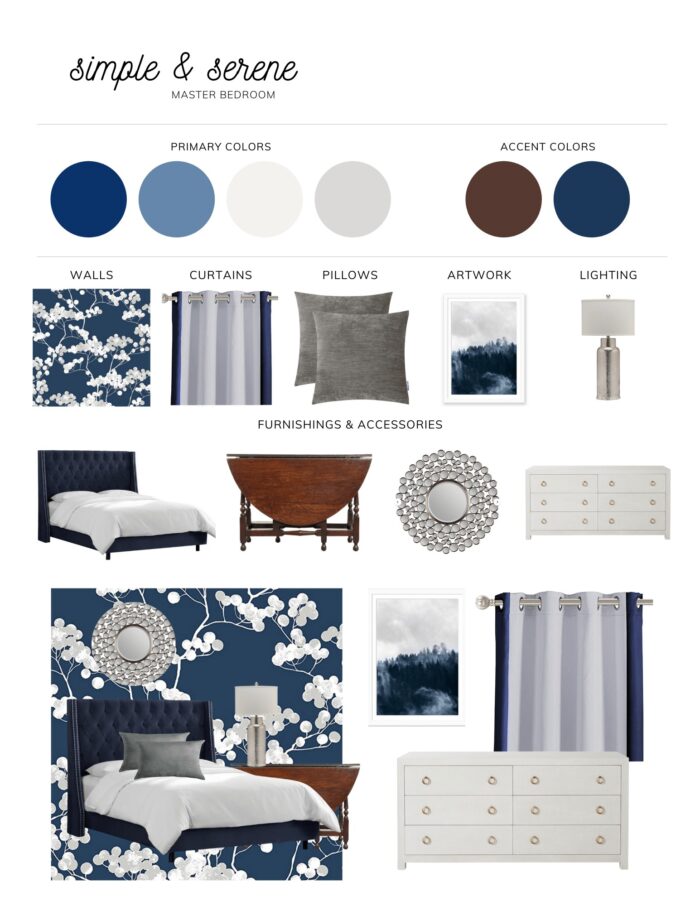
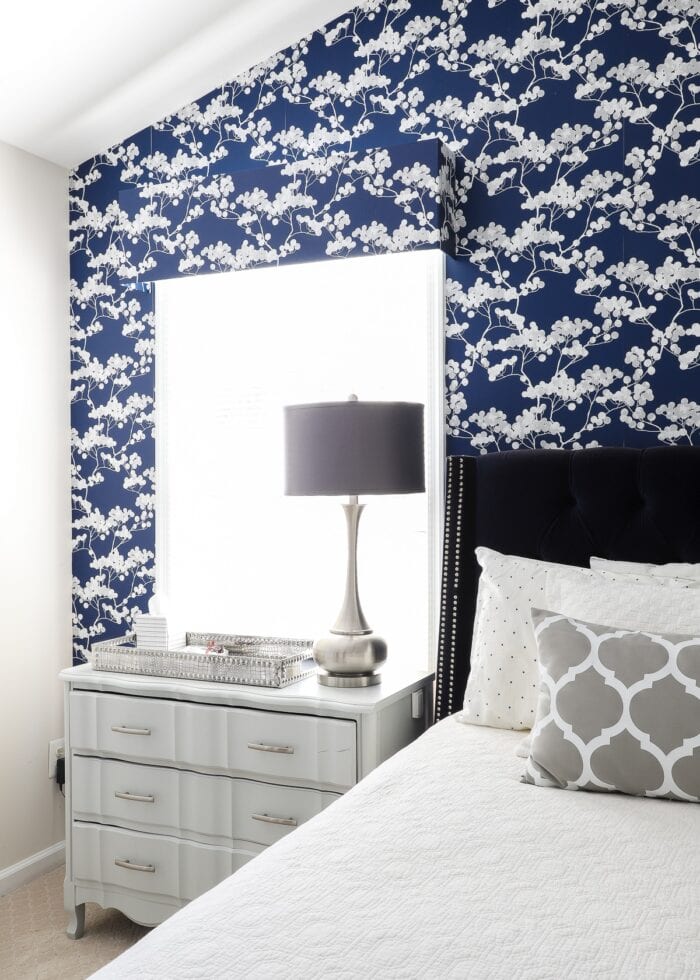
I had to make our grey furniture and accessories work in a beige room; and the design boards helped me see that if I downplayed the beige by hanging a dominant blue+grey floral wallpaper, everything we already owned would actually fall into place. By embracing Option 3, I was able to curb a lot of new purchases, which ultimately kept the cost and overall “production” of this makeover low!
The Walls
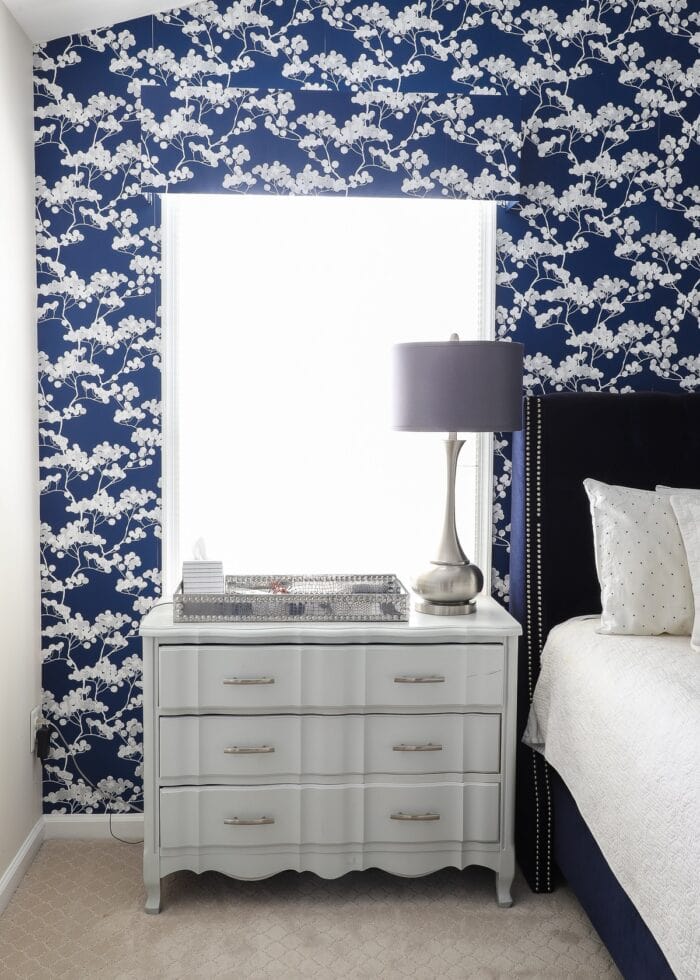
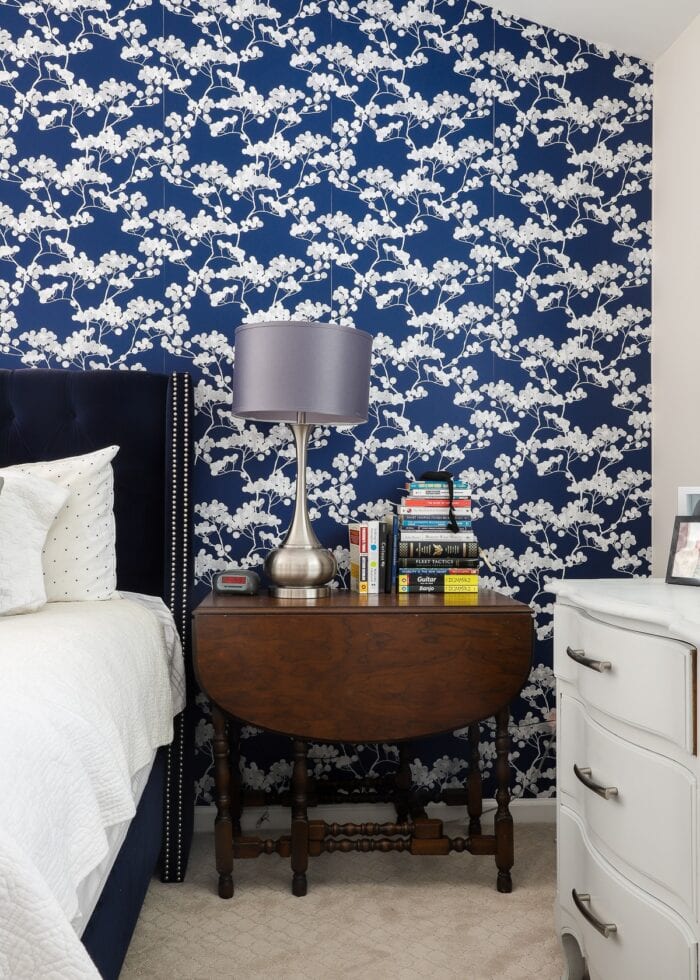
Since the wallpaper installation is easily the #1 thing that created the biggest transformation in this blah rental bedroom makeover, let’s start there!
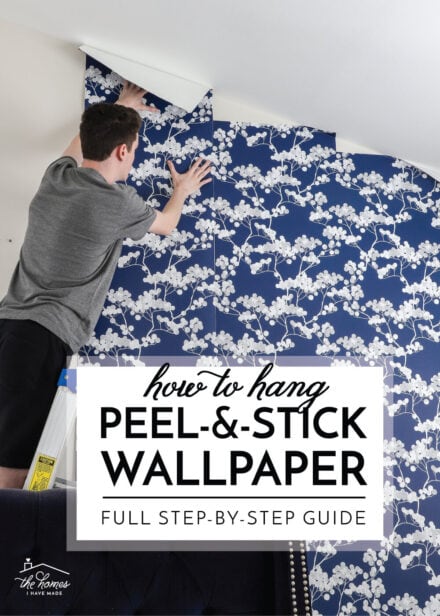
I have said it before, but it’s worth mentioning again: updating your walls will provide the biggest bang for your design buck. And since paint, sticker decals, and removable wallpaper are all easily reversible, changing your walls is one of the most effective ways to appease both your design aesthetic and your landlords!
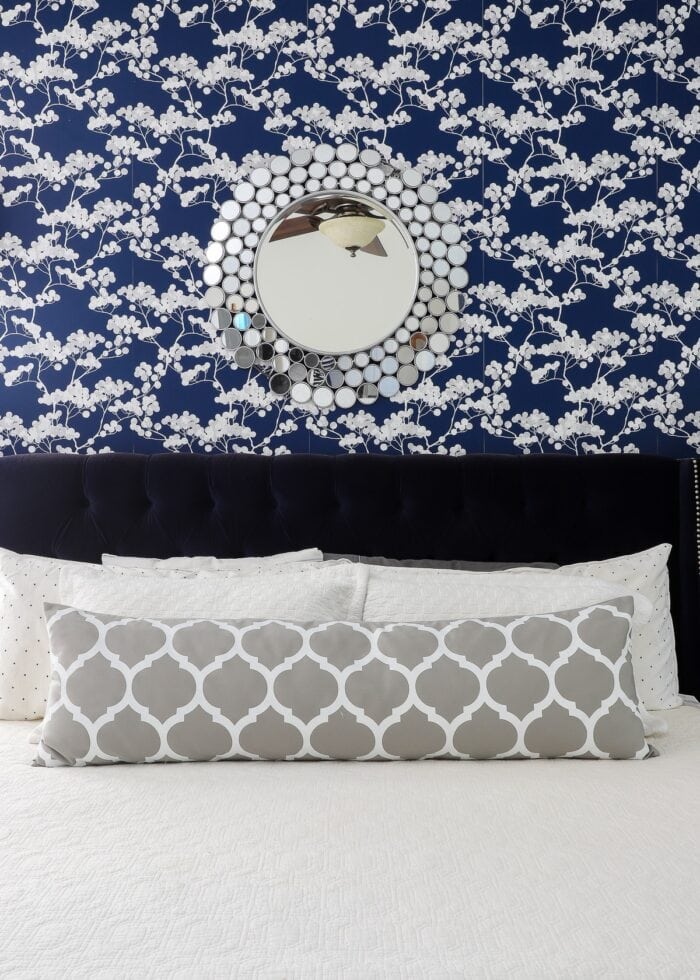
At just under $200 for the single feature wall…this update wasn’t exactly cheap. But it also single-handedly pulled all our mis-matched furniture together and made the room feel instantly cohesive (and quite jaw-dropping!) Yes, I had to swap some pillows and other fabrics throughout the room in order to make it really work, but that was a lot easier than replacing all the furniture, curtains, etc.
I’m fairly certain the “wallpapered accent wall” is considered a “dated” design concept. But when it comes to rental living (especially as a family who relocates every few years), I will take the dramatic and still budget-friendly single wall over a plain beige wall any day!
The Bed
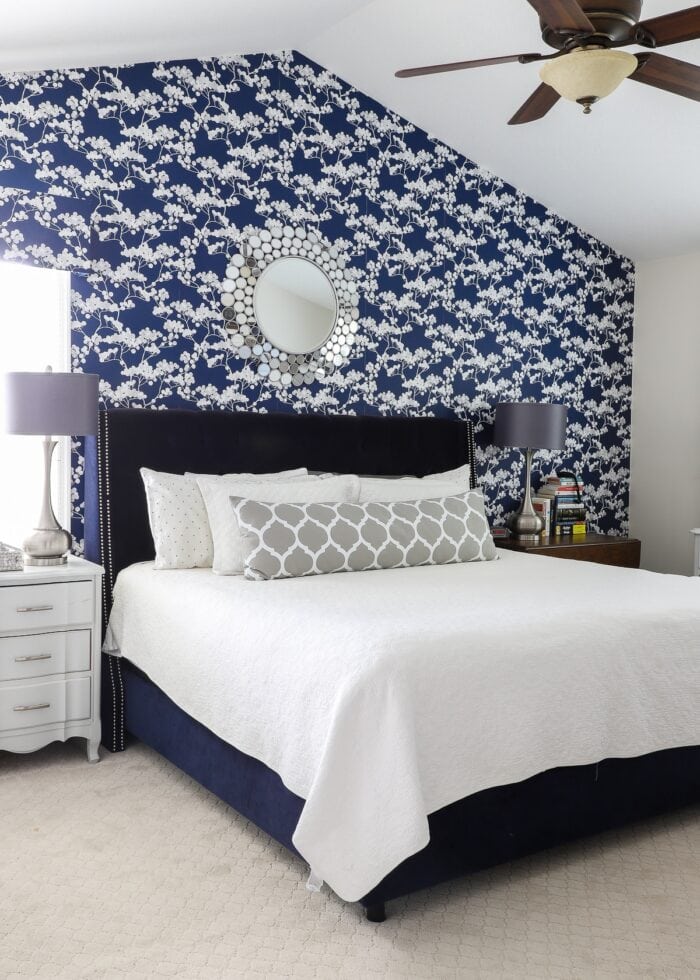
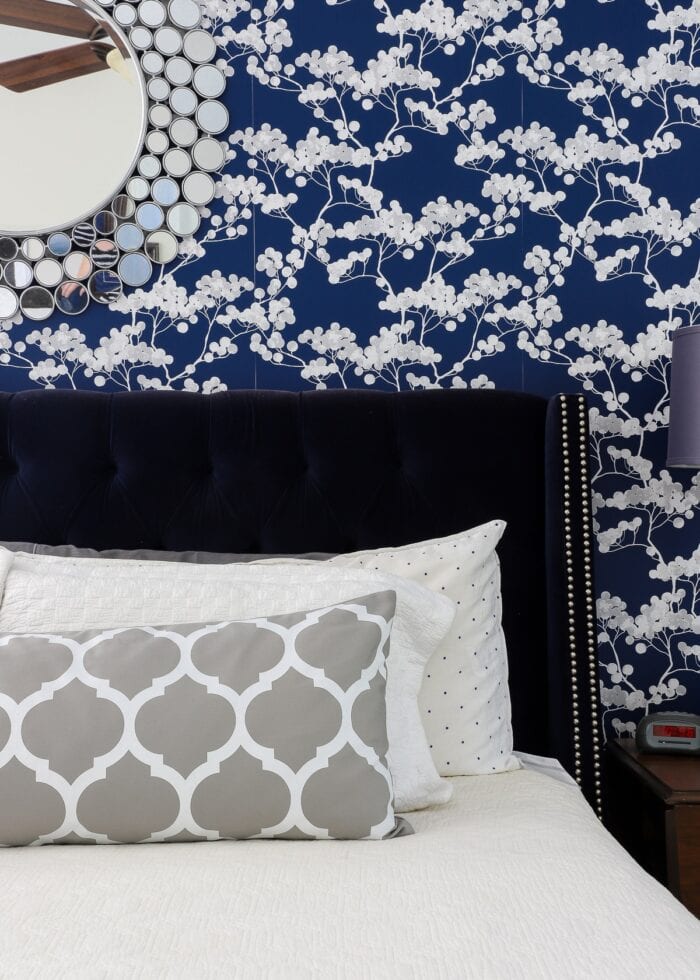
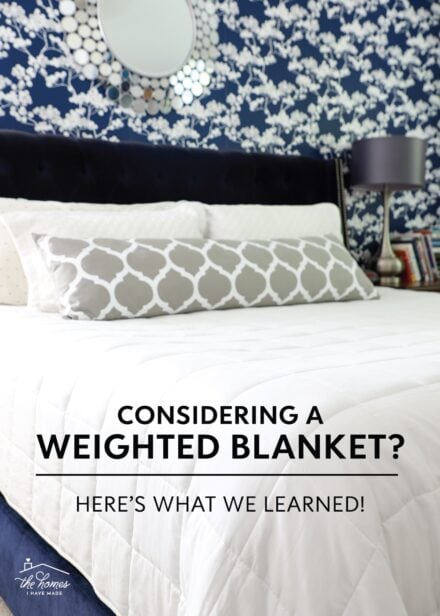
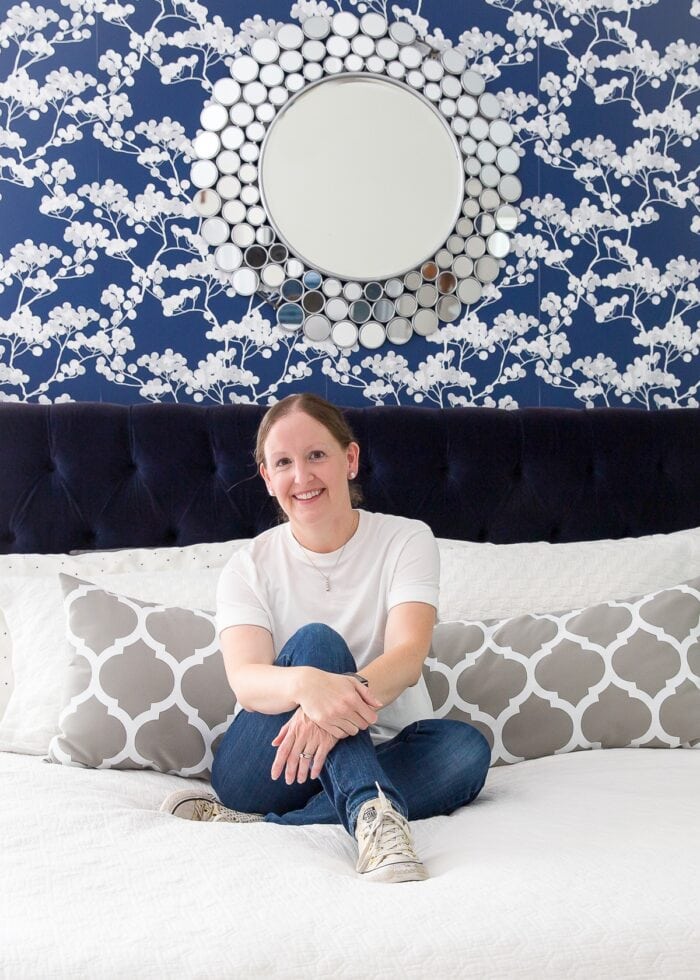
We purchased this navy velvet King-sized bed for our 10th wedding anniversary a few years ago. Although the velvet texture and silver stud trim commit us to a more “glam” style, this bed works as both a neutral and statement piece at the same time.
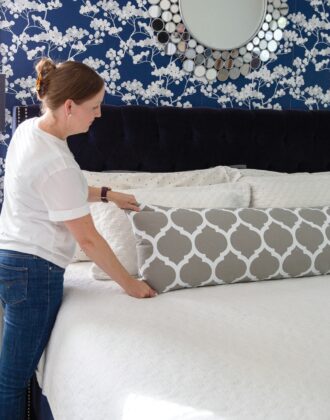
No matter what decor scheme we go with in our bedroom, I always stick with white bed linens (including sheets, shams, and bedspread). This allows me keep the darker bed nice and bright, and makes it easier to layer in different textures and colors with (changeable and less expensive) throw pillows.
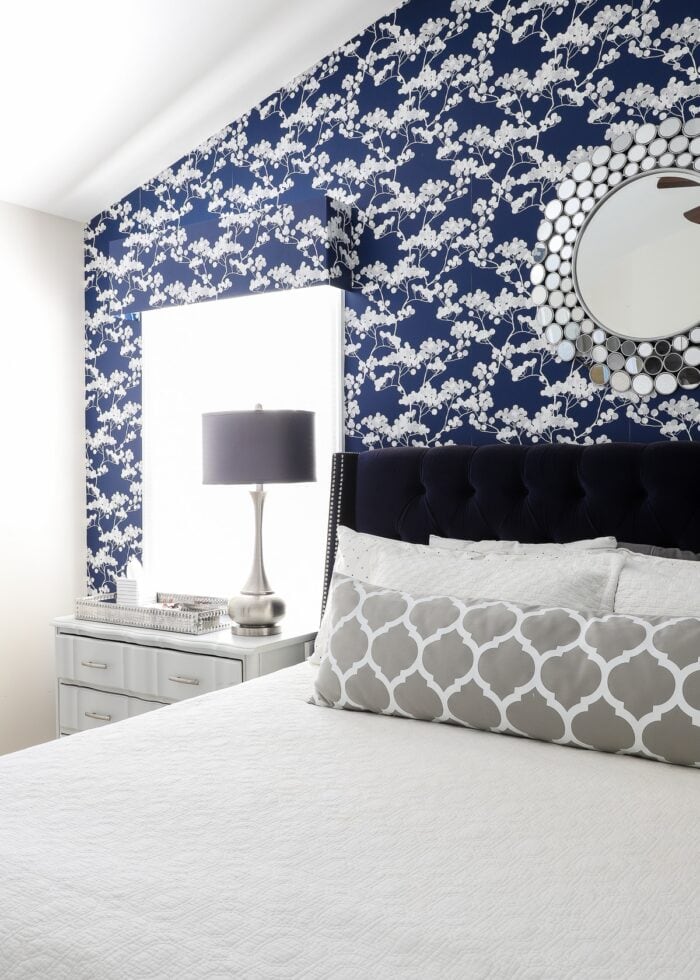
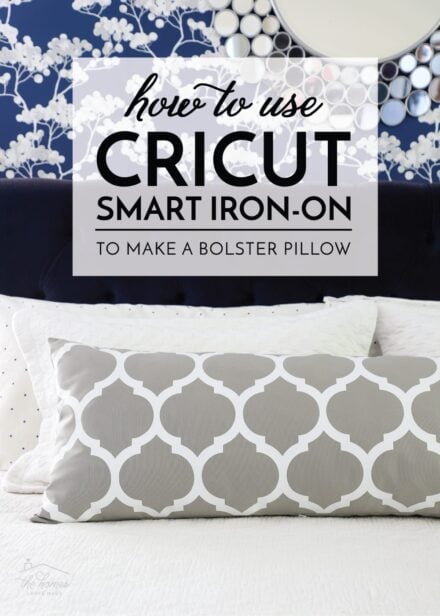
This time around, I swapped our smaller throw pillows for a simple grey DIY Bolster Pillow that I made with my Cricut and iron-on. The navy+white+grey combination layers really nicely; and although patterned, the bolster pillow actually plays nicely off the busy wallpaper.
Not sure how to use several patterns in one space? Check out my “How to Mix-and-Match Patterns” tutorial!
Other Furniture
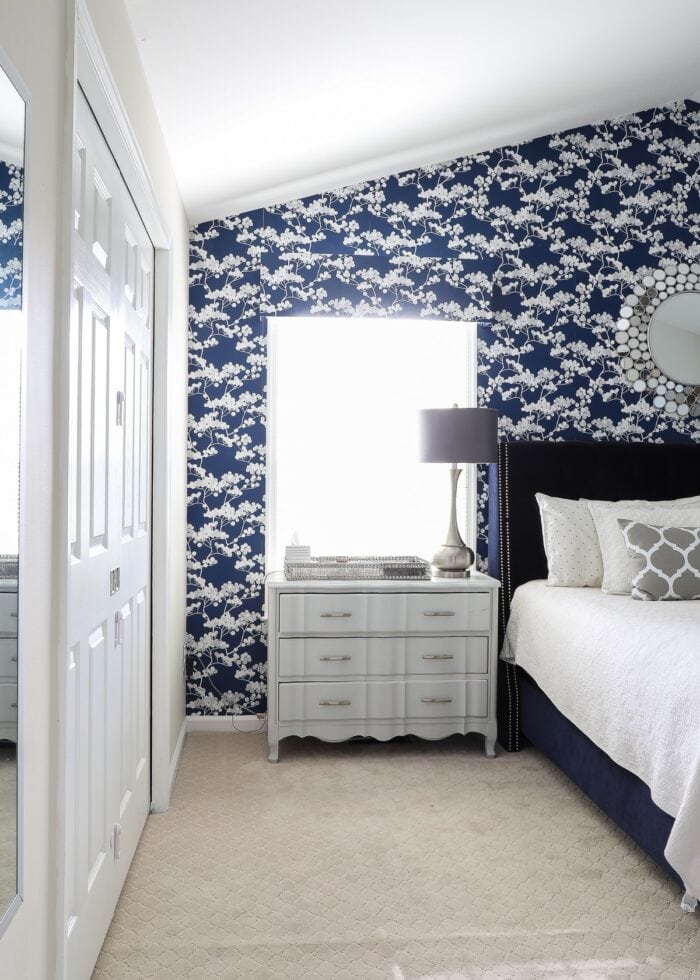
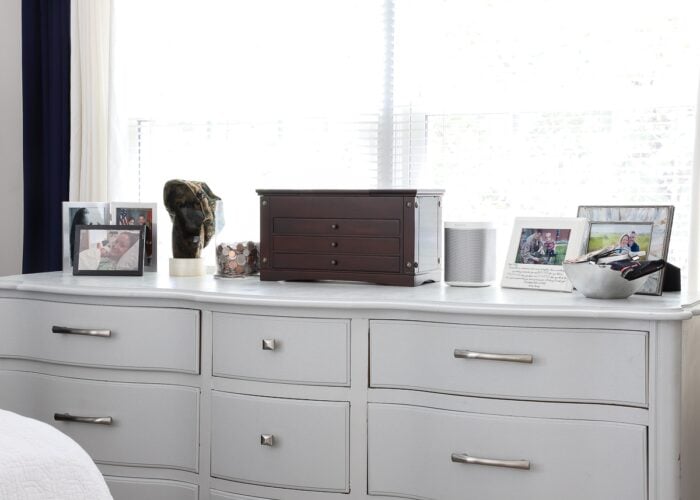
The other furniture items in this room have been with us for many years…since our North Carolina Master Bedroom! When I painted both the small and large French Provincial dressers light grey, it never occurred to me how they would (or wouldn’t work) with more neutral walls (like white or beige). In almost every home since, these dressers have kind of faded into the background.
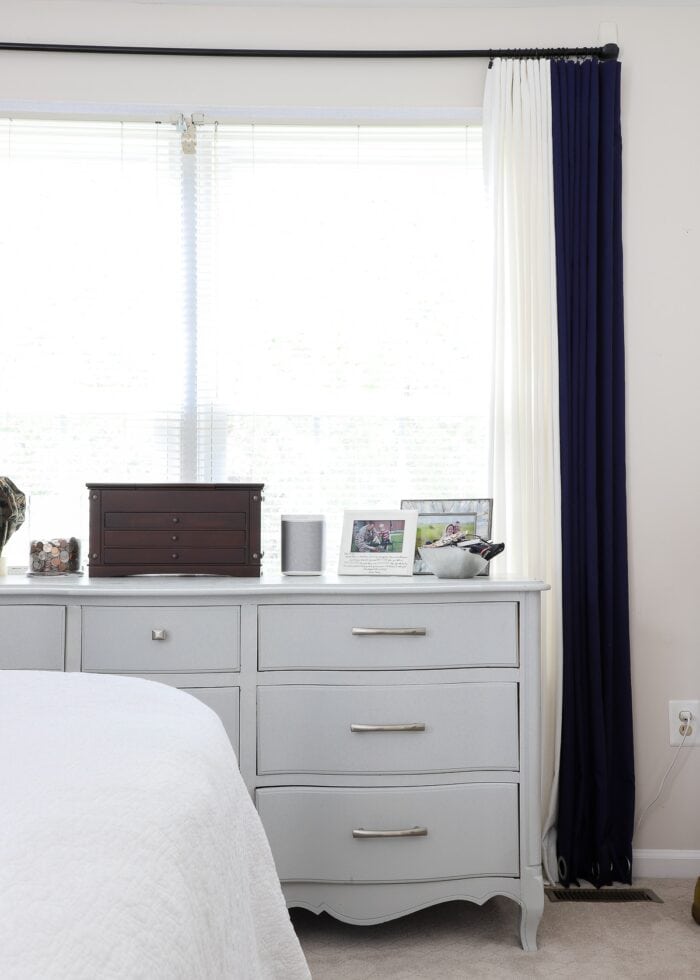
By placing the small dresser in front of the dramatic wallpaper (above) and framing out the big one with curtains (below), the light grey works in the beige space a little easier.
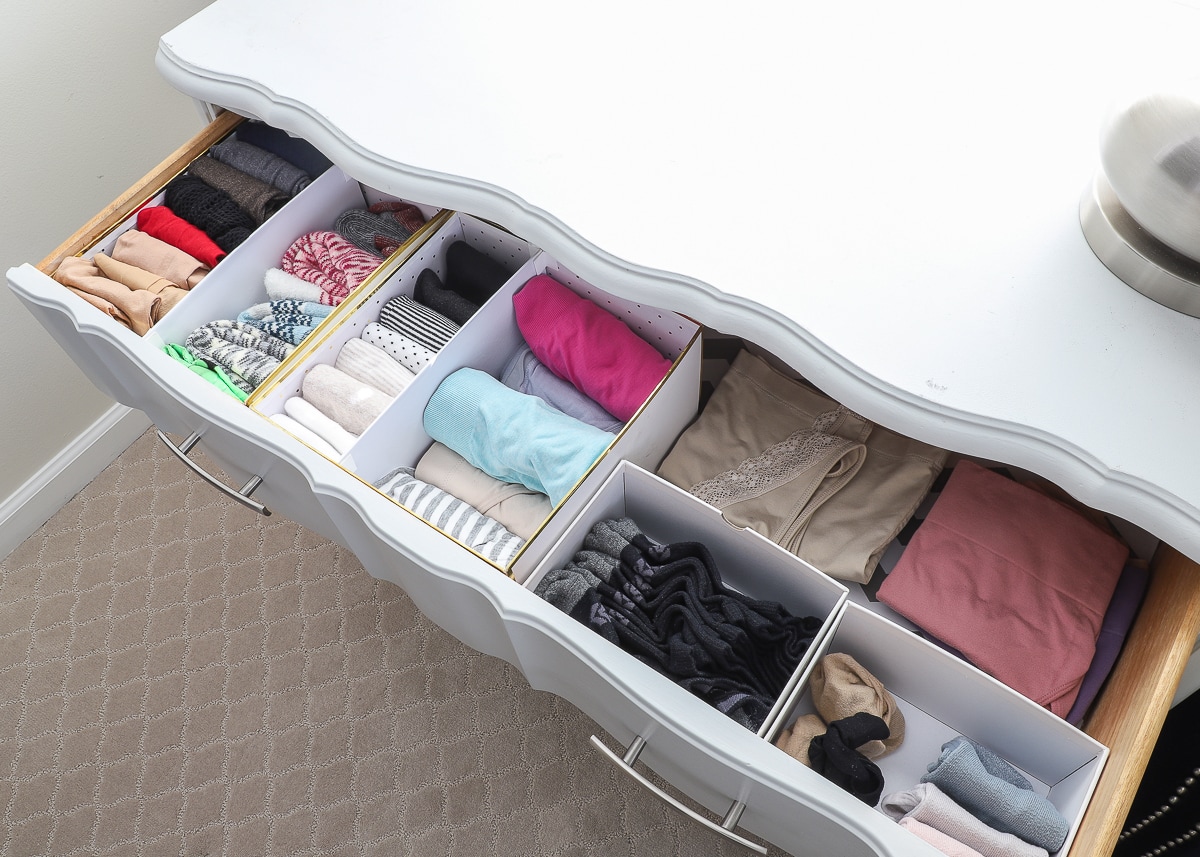
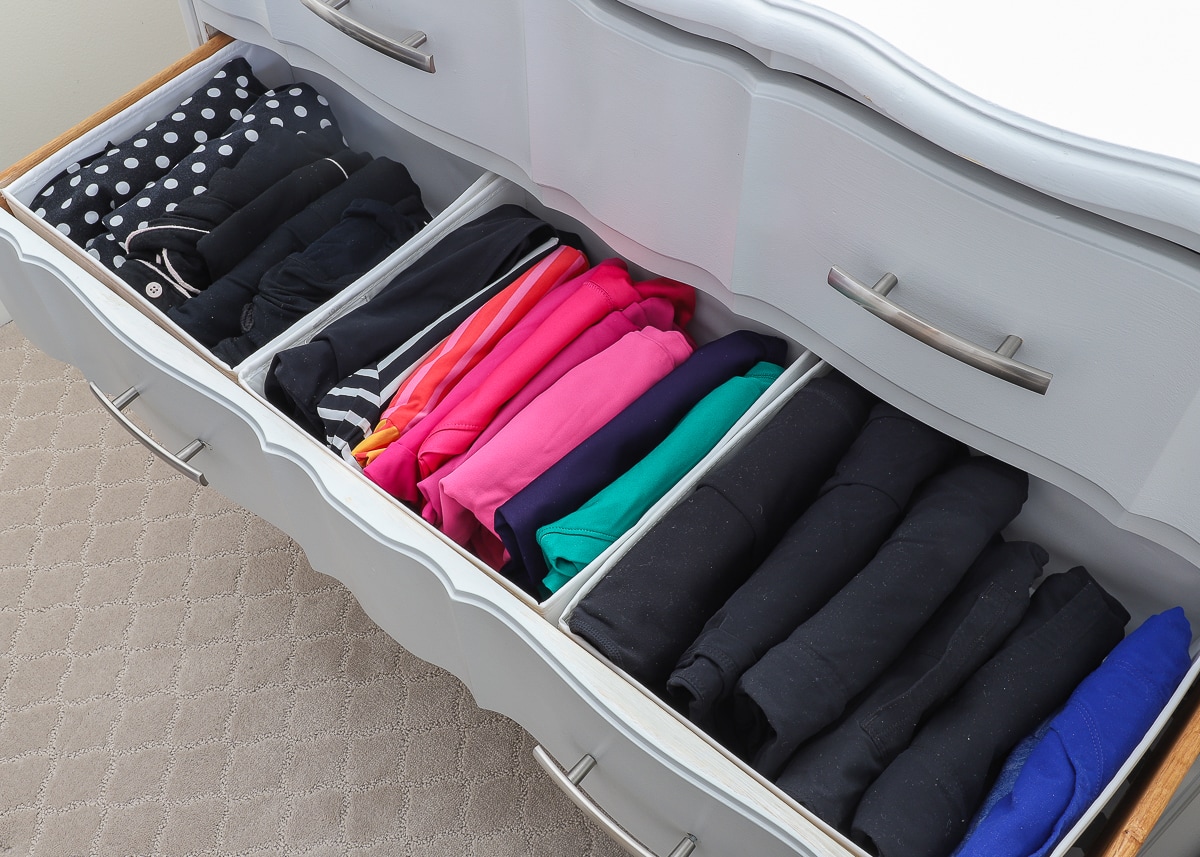
Beyond just a nightstand, the little dresser serves as handy storage space for some of my Capsule Wardrobe (the rest is in the Master Closet, which I show further down).
DIYing my own inexpensive drawer dividers from gift boxes was the perfect solution for transforming this unit (that usually just holds random clutter like books, magazines, and extra bedding) into really valuable storage space for this particular bedroom.
I’ve long struggled with not having a matching dresser for the other side of our bed. But when we determined that my Grandmother’s vintage swing-leg table had the exact same dimensions as the little grey dresser, we gave it a try. It turned out to be a great solution for adding symmetry (and keeping our lamps at the same height!), while also adding some much-needed character and warmth in this really “dressy” space.
Often times, when doing a rental bedroom makeover (or any makeover really!), you sometimes just have to use whatever you own, whether it matches or not. Introducing a dramatically different tone into a room can feel a little uncomfortable, but you can easily make it work by adding that same tone elsewhere via other accents.
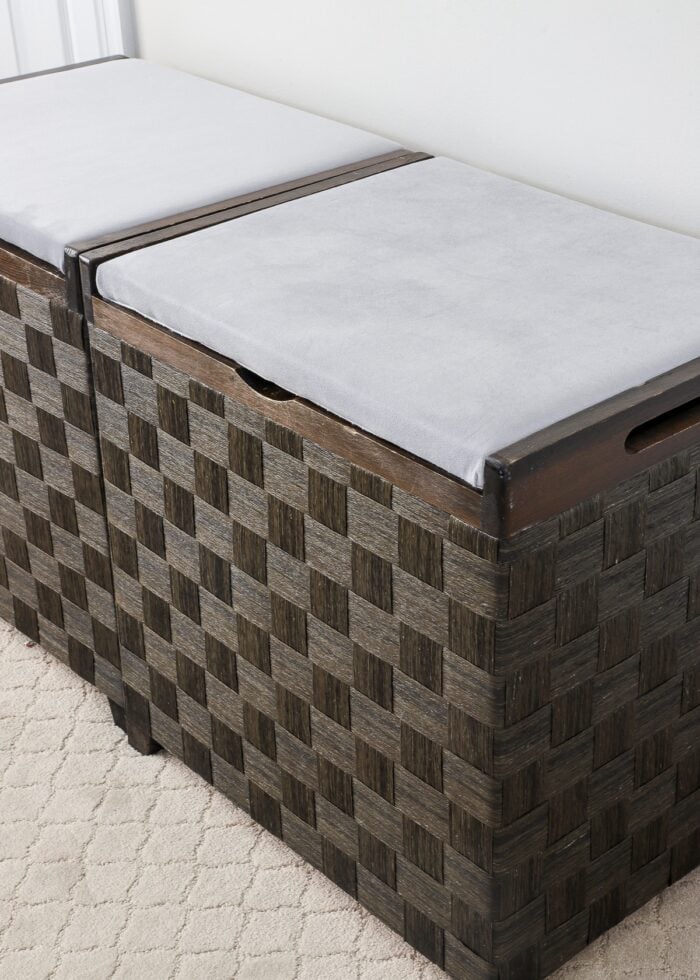
For example, we complemented the wooden side table with our darker laundry baskets, as well as the frames on the wall.
Tying mis-matched items together in this way helps them feel more like an intentional style choice rather than the hodgepodge they started as!
The Window Treatments
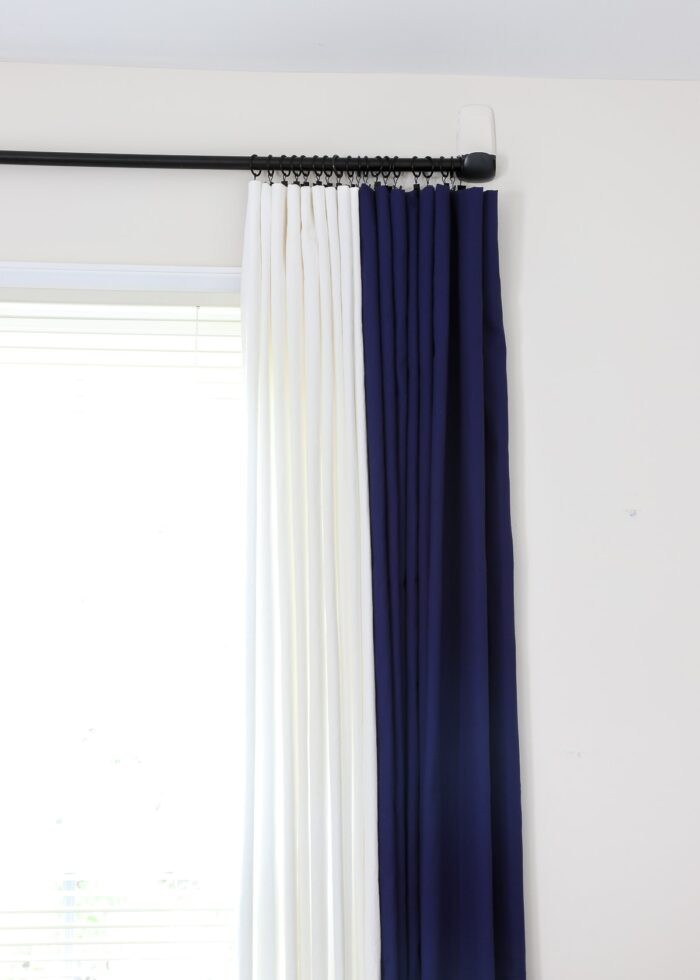
You guys know by now that I am pretty passionate about hanging some sort of window treatments in our rental room makeovers. Not only do they provide an awesome and totally removable opportunity for color, texture, and pattern, but they can also distract from unsightly blinds and/or coverup old/previous hardware that might already be in place.
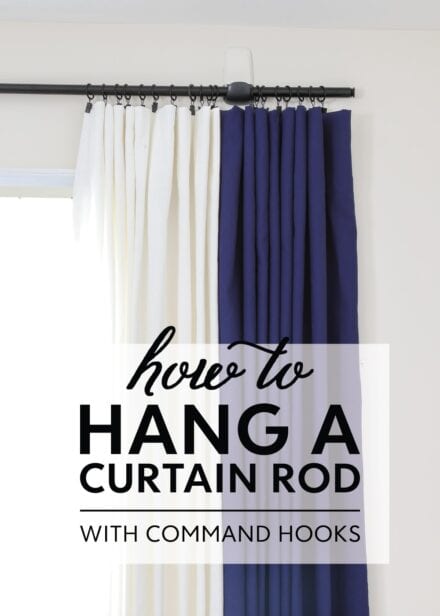
In this rental bedroom makeover, I opted to hang our IKEA curtain rod with Command Hooks (rather than screws and curtain brackets), simply to see if it would work. This trick proved quite successful indeed, and I’m really thankful to have this solution in my “rental decor toolbox” should a future lease prevent us from putting holes in the wall!
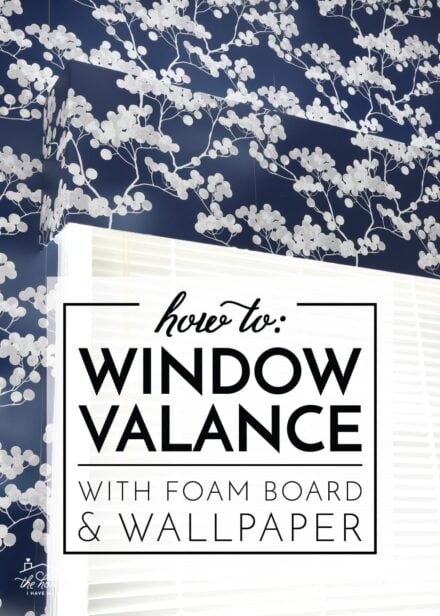
The “asymmetrical window” situation really bothered me visually, so I tried to downplay it as much as possible. Hanging matching curtains to the larger window (which is usually my preference) wasn’t really an option since they’d sit up tight next to the bed. So instead, I made a super inexpensive and subtle window valance with foam board and leftover wallpaper. Not only was it practically free (I used all leftover materials!), but it hid the existing curtain hardware and allows in lots of natural light. Win win win!
The Artwork
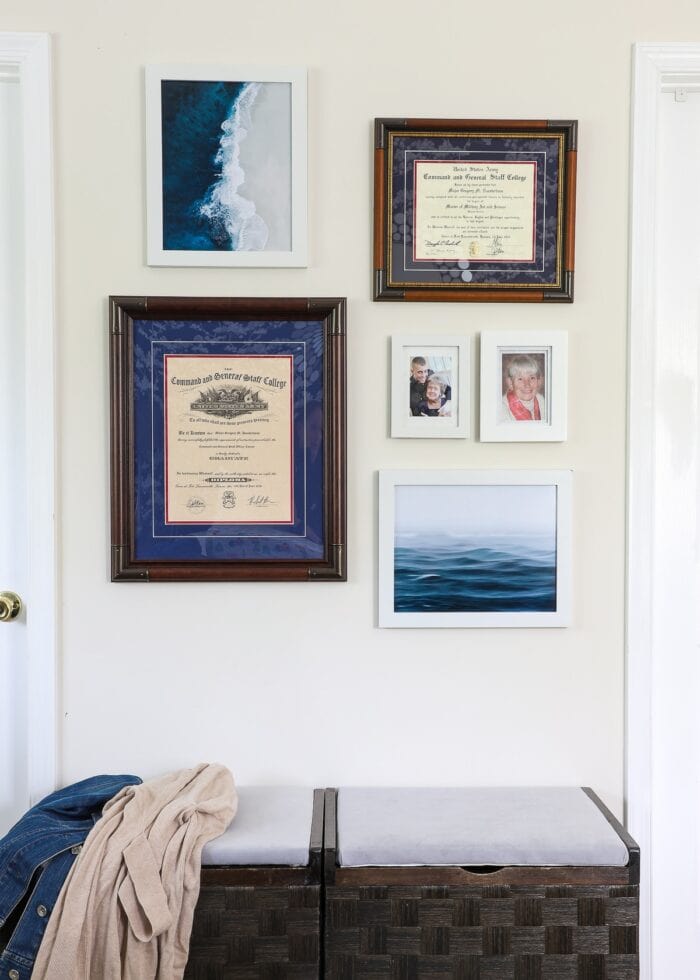
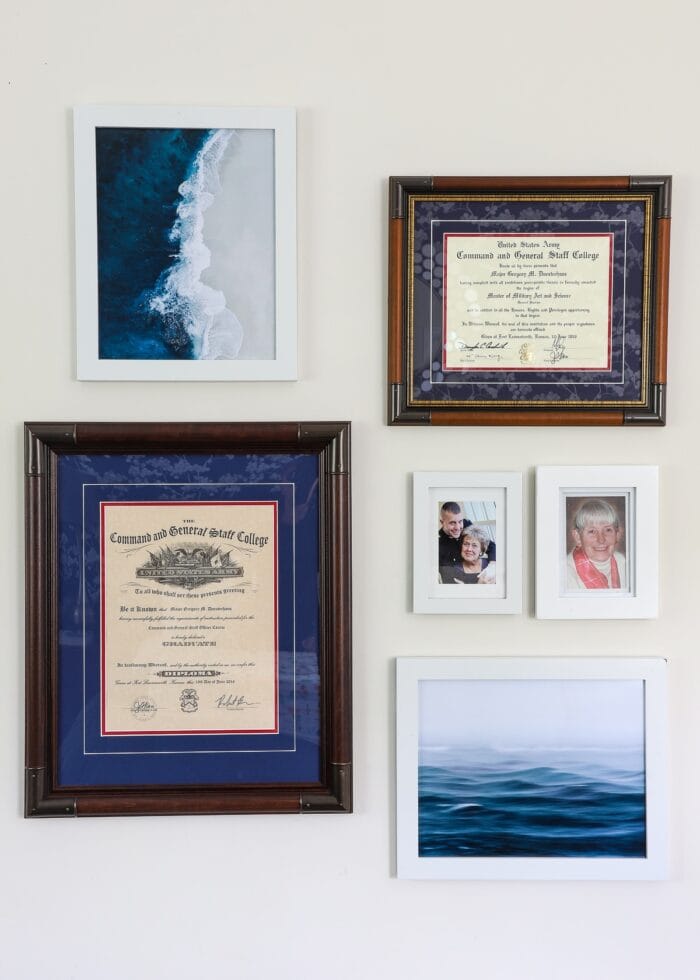
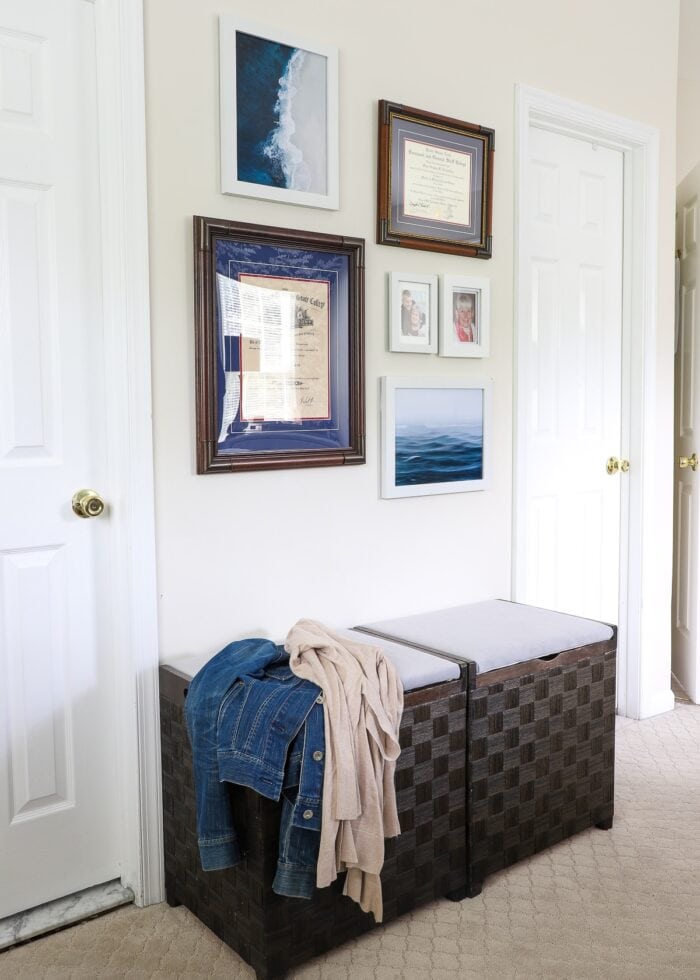
There is a small wall between the Master Bathroom and Master Closet. Since it sits directly across from the strong wallpapered accent wall, leaving it blank caused the whole room to feel really unbalanced.
Creating a mini gallery wall (with a bunch of frames we already had plus some new digital prints from Etsy) was a great way to get some items out of our basement while filling up this awkward spot. For being somewhat of a last-minute “quick-fix,” this area is one of my favorite spots in the whole room!
The Master Closet
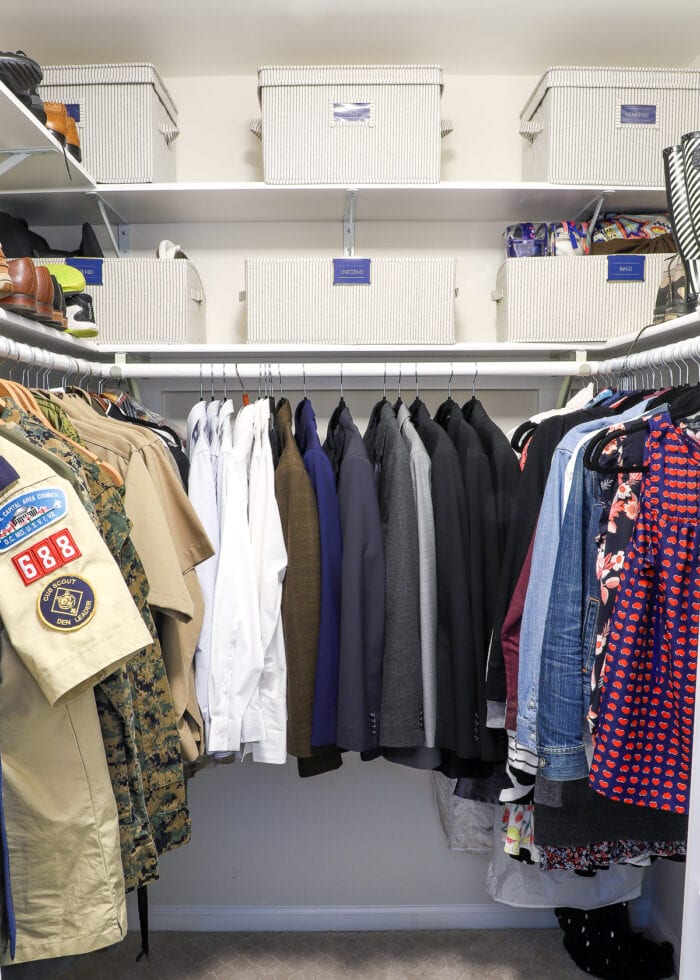
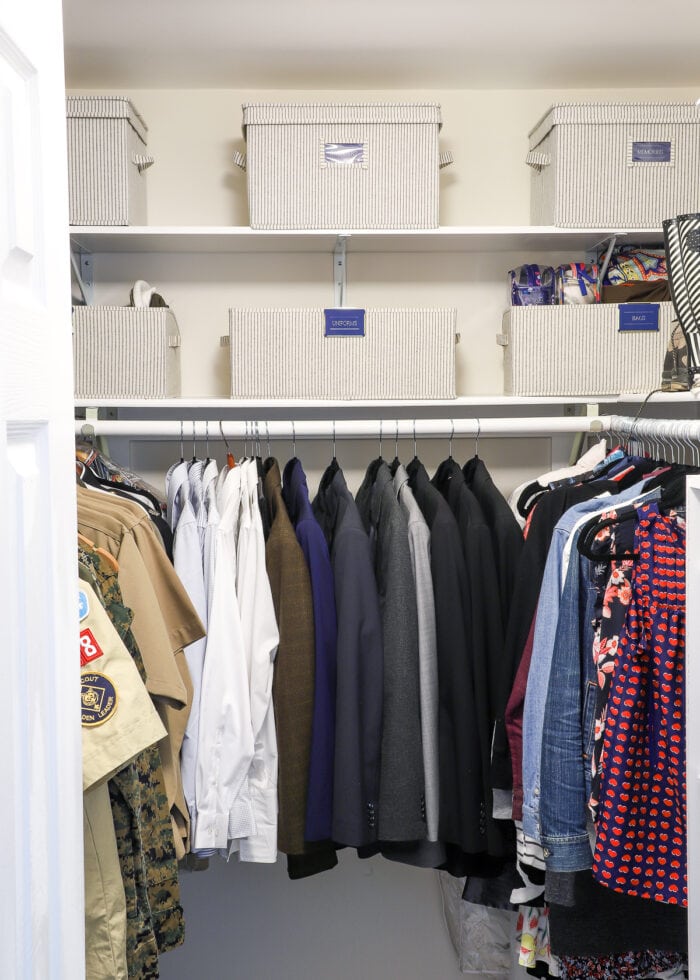
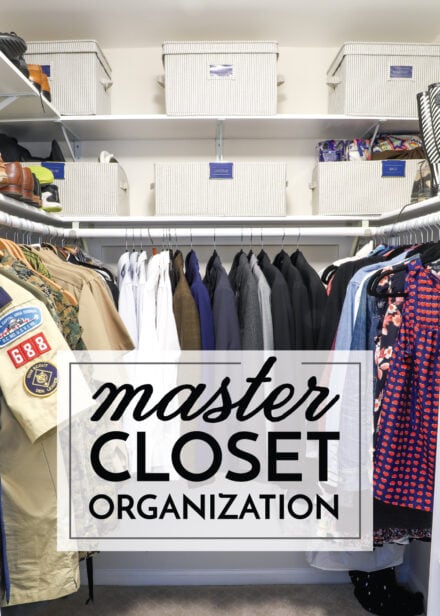
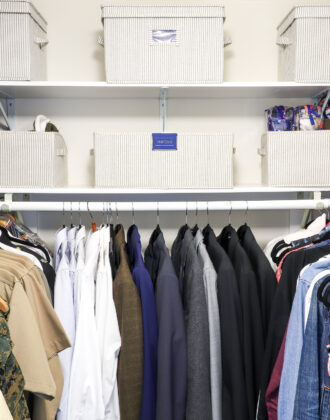
I think one of my favorite projects in this entire house so far has been organizing the Master Closet. I can’t overemphasize what a difference having this space clutter-free and perfectly organized has made not just in the overall look of the space, but how the room feels too. There is just something really restful about tidy clothes!
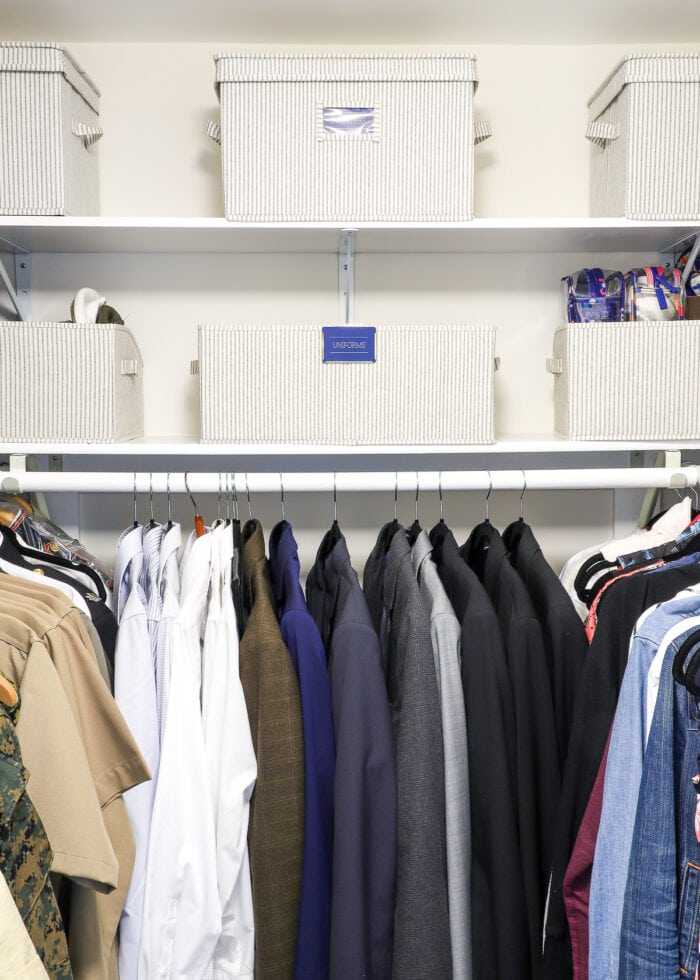
Easily, the smartest renter-friendly update we made in this closet was adding a second shelf halfway between the existing shelf and ceiling. This is one of my favorite closet hacks of all time, and it’s amazing how much storage you can add in this (typically) wide open area.
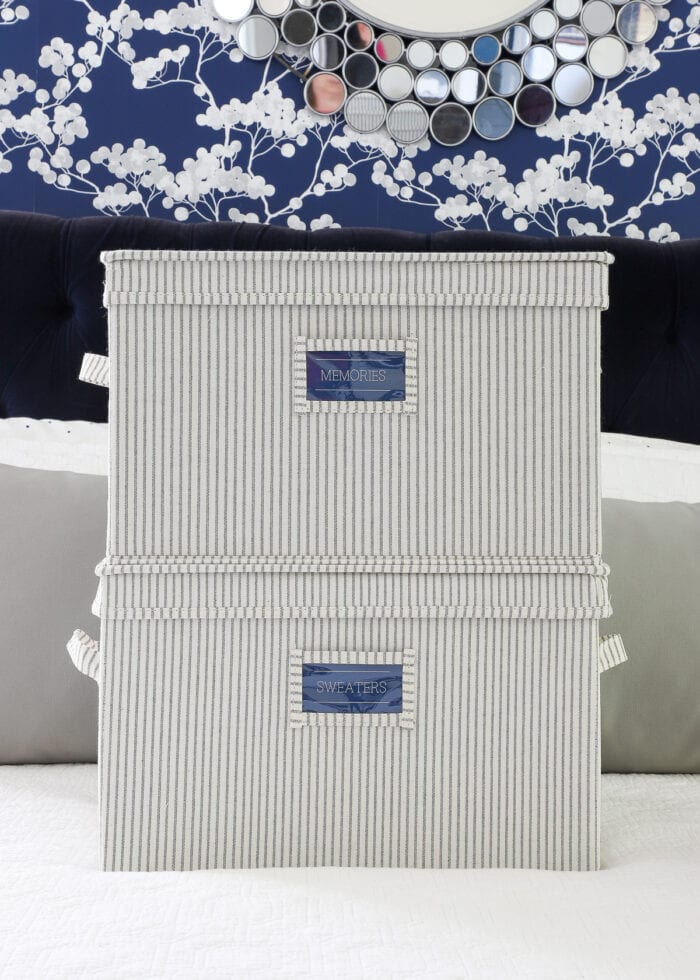
To keep these shelves clutter free, I found these gorgeous bins from Amazon. They are sturdy, stylish, and provide us with a great way to store a bunch of unsightly things in a really pretty way!
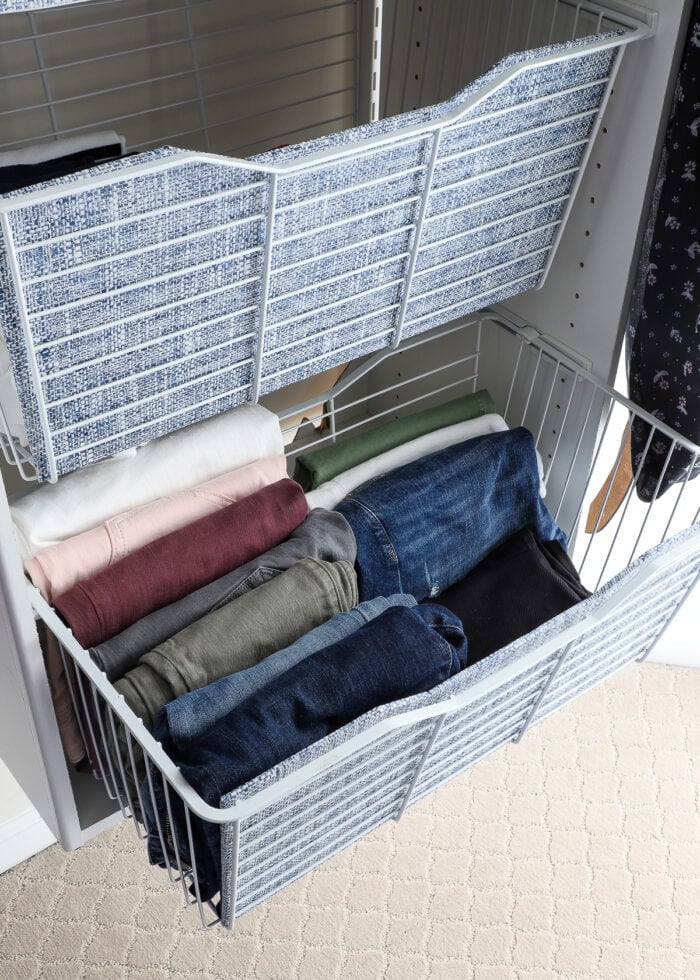
Another way we hide “clutter” and keep things more streamlined is with faux basket fronts. These are just more foam board sheets covered with removable wallpaper, and work wonders for helping the whole closet feel really tidy.
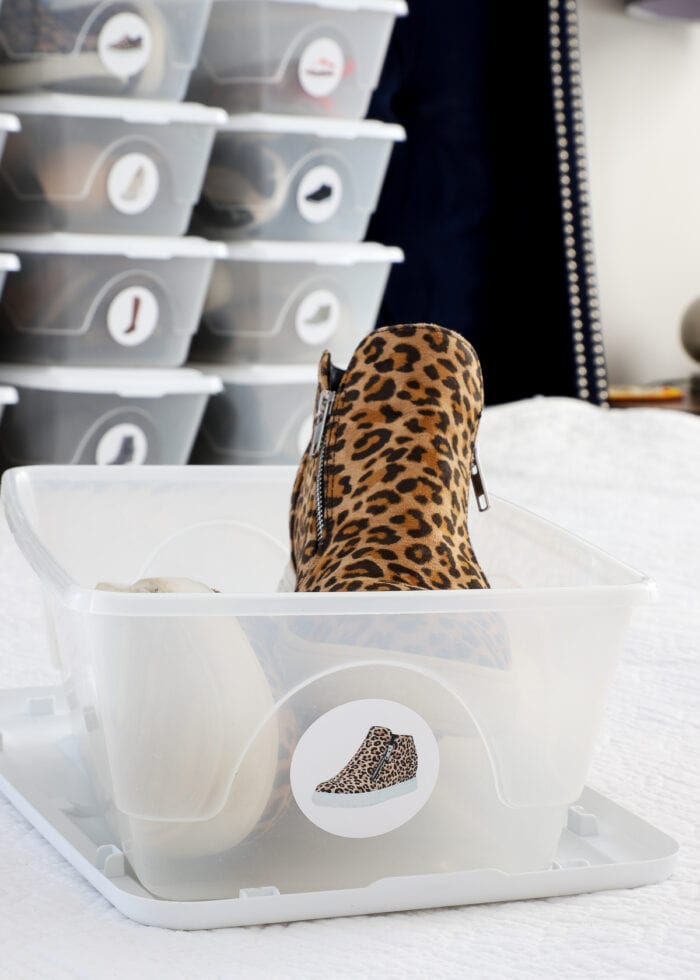
One last labeling project I completed in the closet was for my shoes, which I keep in plastic shoe boxes on the shelf. These labels were so easy to make, and really hold me accountable to putting my shoes away, every time!
This Master Closet combined with my Capsule Wardrobe experience have really taken the stress and frenzy out of getting dressed each day!
Before & Afters
This rental bedroom makeover reveal wouldn’t be complete without a few “Before and After” shots. It’s pretty amazing what a transformation we created with all inexpensive and removable products, don’t you think!?!
Products & Tutorials In This Room
- Wall Color: Sail Cloth by Behr
- Wallpaper: Cyprus Blossom Wallpaper
- Bed: Navy Velvet Bed
- Mirror: Similar (mine is old from Kirklands, but not longer available)
- Ocean Art Prints: Portrait | Landscape
- Curtains:
- Closet Bins: Lidded Box | Trapezoid Bin
I really hope you all enjoy this final look at our Master Bedroom! I’ve got just a few more “finishing touches” to complete in other areas of the house, and then I will start sharing aaaaalllll the room reveals in the coming months!
Megan






7 Comments on “Our Virginia Master | The Ultimate Rental Bedroom Makeover”
It doesn’t even look like the same room! Great job!
Thanks so much, Linda! I agree – it’s hard to believe it’s the same space!
Have a great weekend!
You did a BEAUTIFUL job! Love it all. I also love the super fancy “campaign” degree picture frames which tie in perfect with your antique gateleg table!
The short time in which you make a rental look so polished is really an inspration to those of us former-renters that struggle to finish a room as homeowners!
Thanks so much, Lauren!
In honesty…I think the timeline really forces me to make decisions and just go for it. Knowing we only have a certain amount of months definitely gets me into gear. I’m not entirely sure I’d be so productive if I wasn’t facing a countdown clock from day 1 🤪
Ok, this is gorgeous! My hubby and I have talked about changing the wall color for a while. And it has been put on the back burner for now. But I can’t wait to put a not white or beige color on the walls. But I love the accent wall. And I don’t care if it is current or not in the trends. It looks fantastic! And I love the organization in your closet. Thank you for taking the time to share.
Thanks so much, Kristie!
The wallpaper definitely took some time to get used too…and in the beginning, I worried it was even to much for me (!!!). But I’ve really grown to love it, and when I look back at those before pictures, I am SO glad we went for it!
Keep me posted if you commit to a color in your bedroom!Megan
I too love navy blue. You have inspired my to tackle my biggest nightmare – my master bedroom. I would love and hope that it ends up as nice as the rental master bedroom you have posted here. Thanks!