Our California Rental Kitchen Reveal
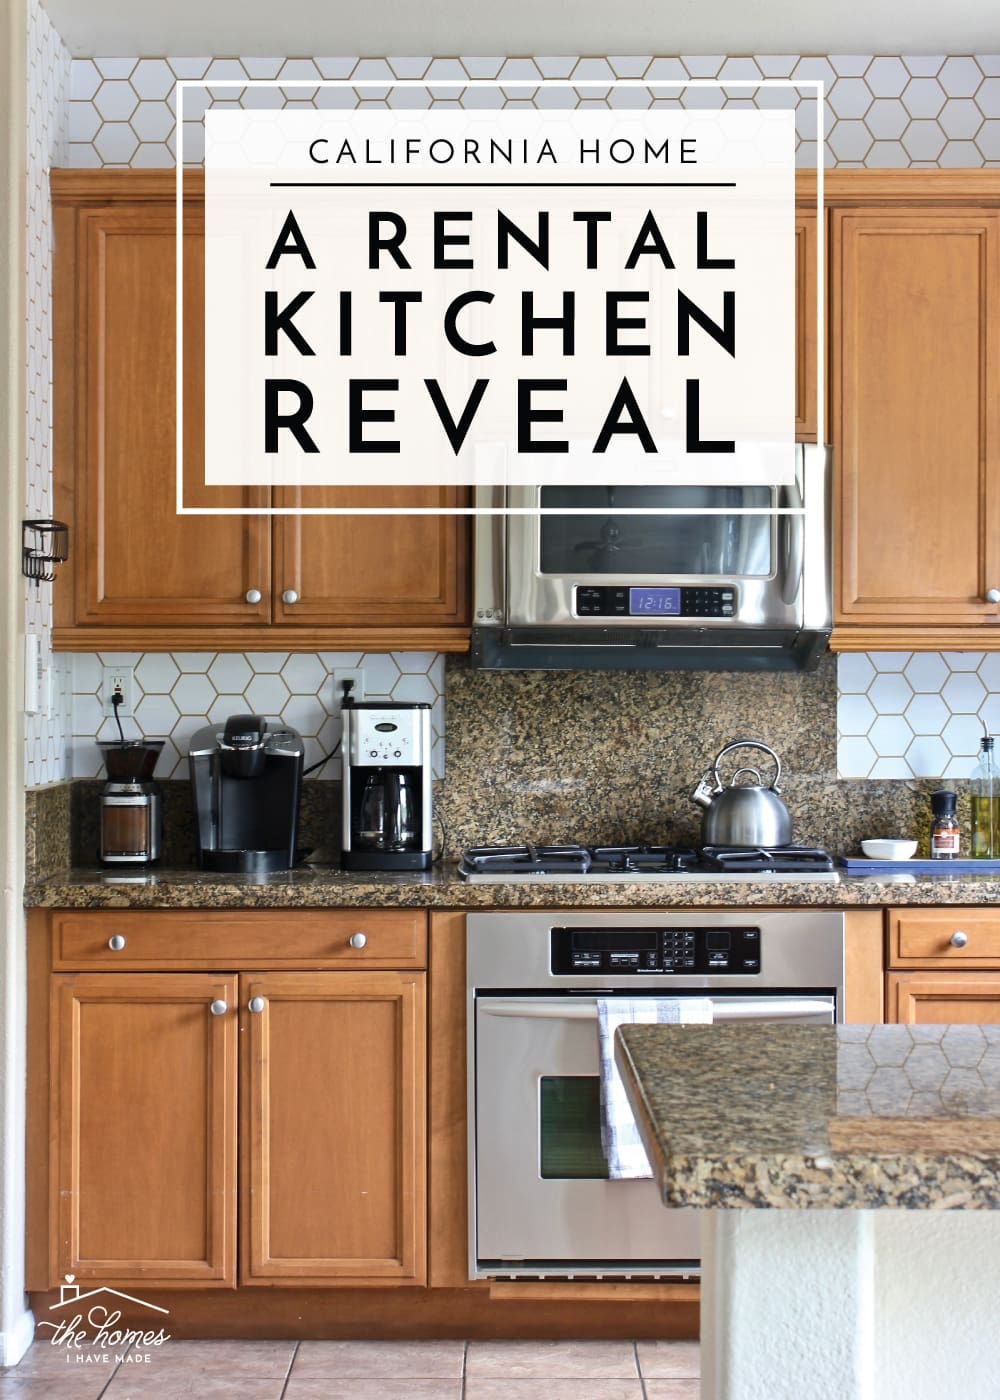
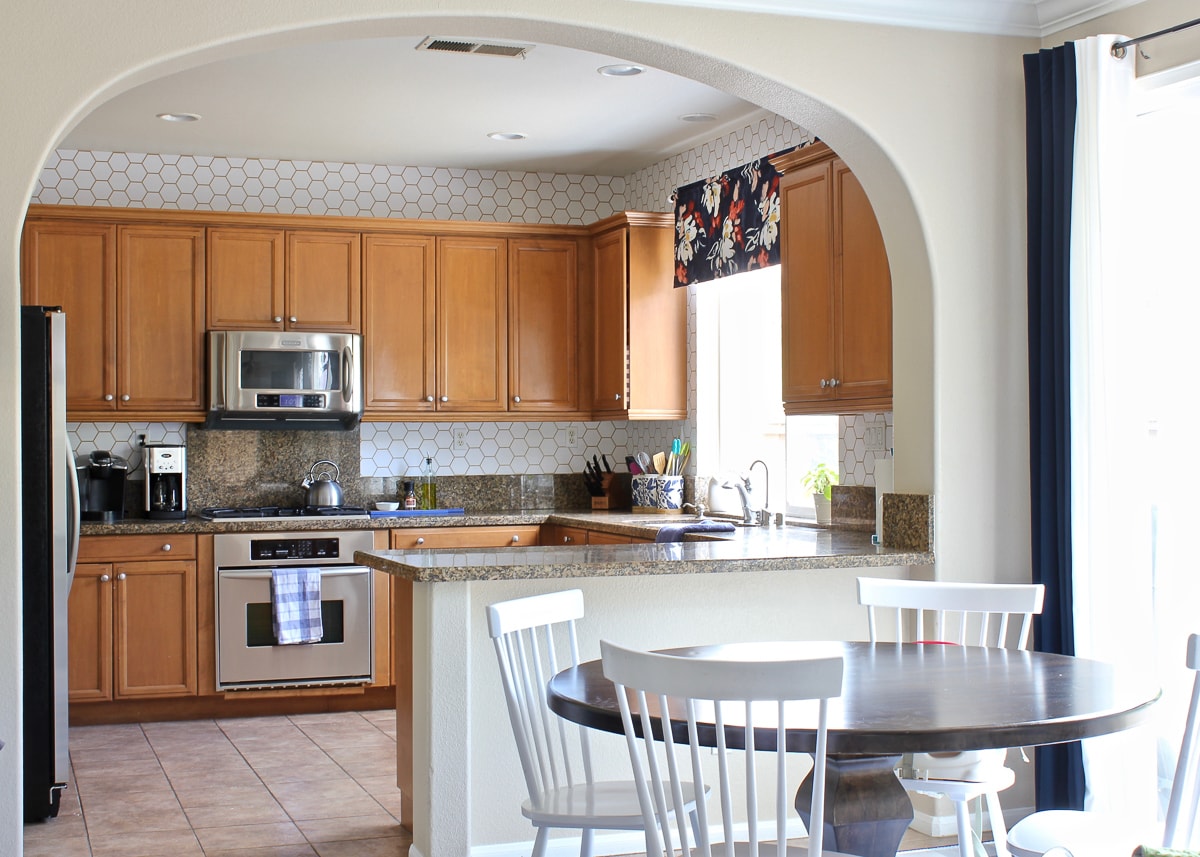
I’ve given you a final and in-depth look at every room in our house except the kitchen…so today I want to dive into all the DIY and organization projects we used in our rental kitchen to dramatically improve both its aesthetics and functionality. Although this space didn’t quite come out as I had planned (you can see my initial design plan here), I was in fact able to implement some temporary, budget-friendly changes that transformed it from a sad and drab space to one that more closely aligned with my personal style. Let me show you how it all came together!
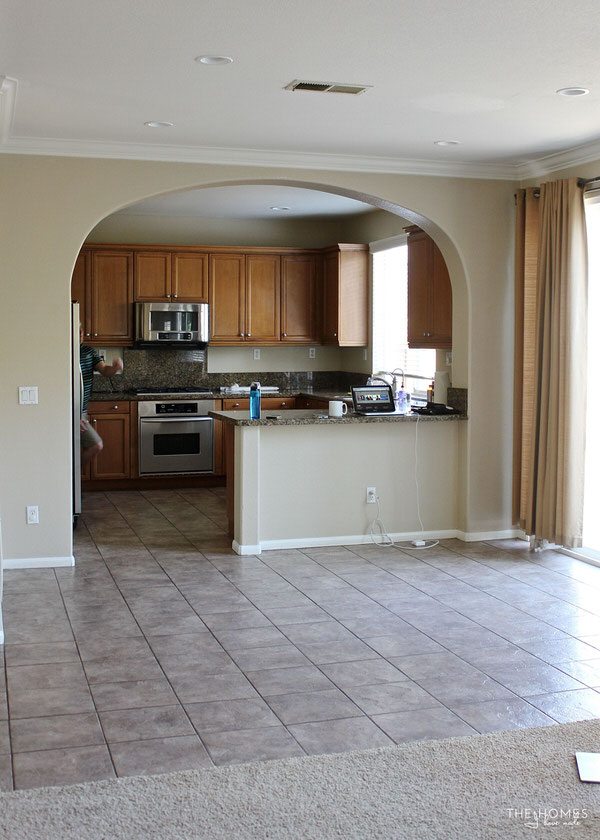
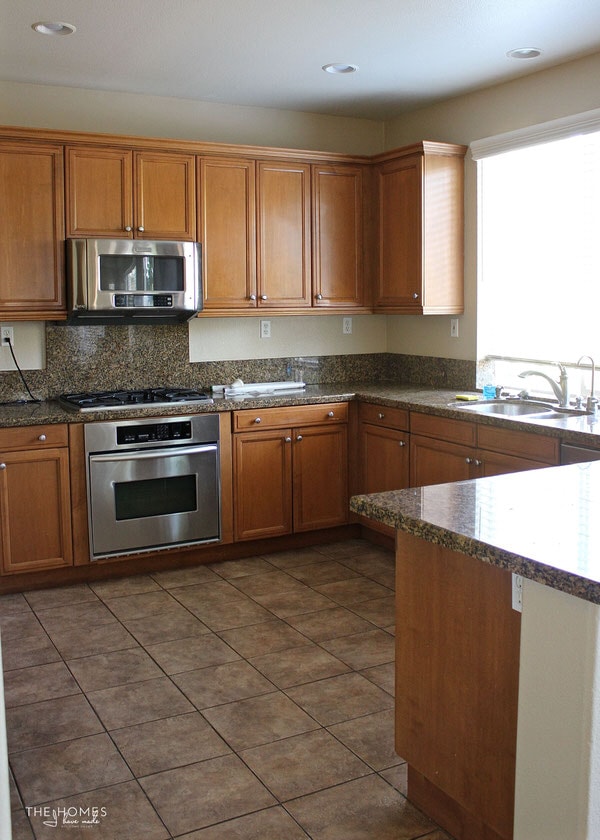
When we first started looking for homes to rent in Southern California, I was adamant about having a white kitchen. Well…the rental market is a tricky one here; and when we found this home that checked pretty much all our other boxes, it became clear I was going to have to give in on the light and bright kitchen I was hoping for.
I don’t want to complain about this rental kitchen too much because I do realize how lucky we are to have such a sizable cooking space with so many cabinets and long stretches of counter. That said, it won’t shock you to hear that the brown cabinets + brown walls + brown counters + brown floors certainly aren’t my favorite. Plus, looks are deceiving in this instance because all the cabinets are super poor quality and the appliances are older models.
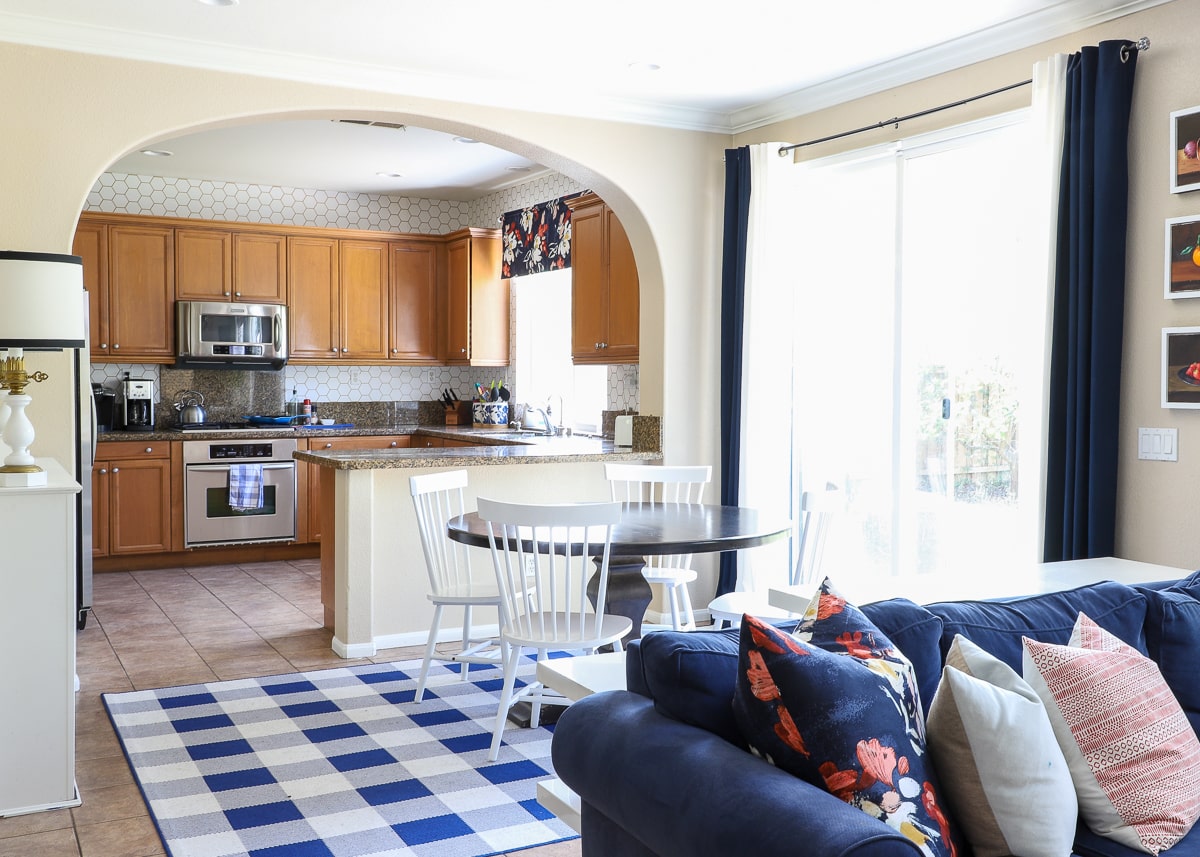
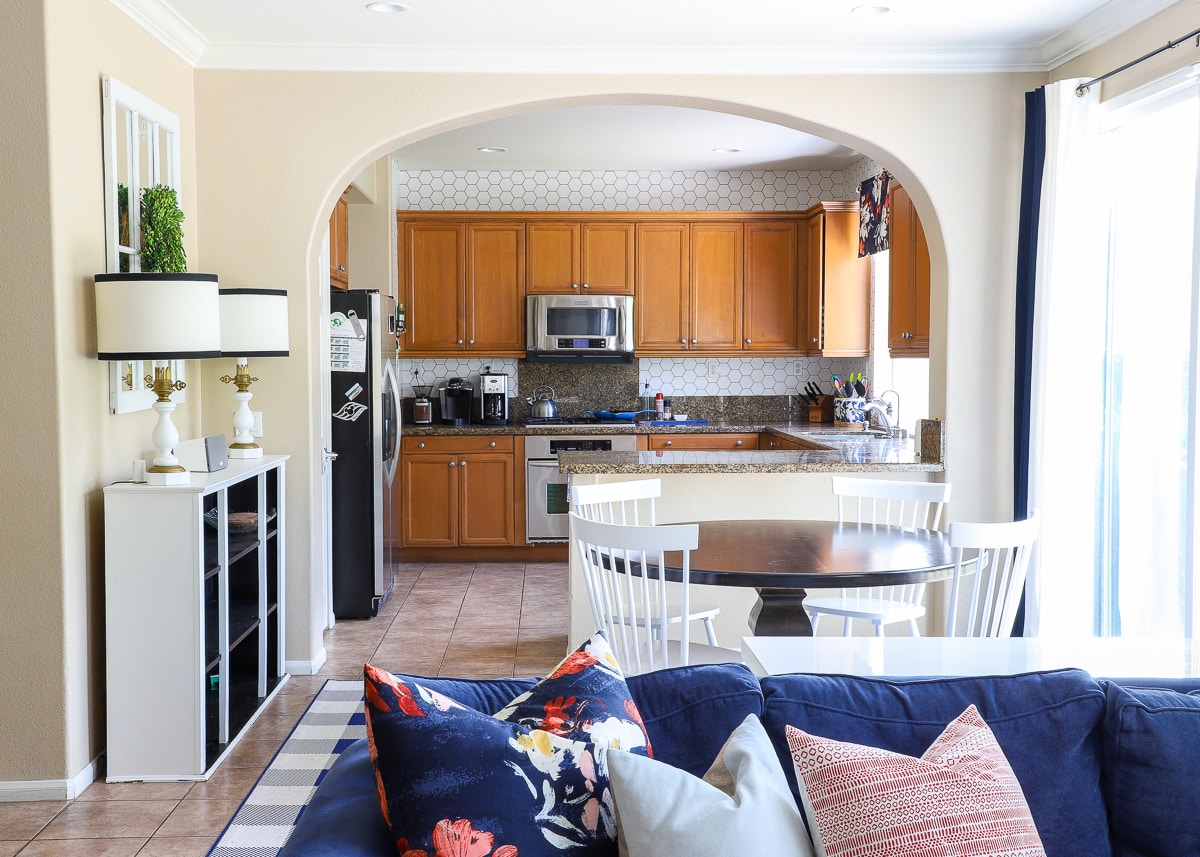
Because cabinetry, counters, and flooring are really pervasive and more-or-less permanent in a rental kitchen, significantly changing its look can be a tall order. I essentially had very little wall space and a single large window to add some color and personality. So I embraced those opportunities, small as they were, and picked patterns that not only lightened up the entire space but also worked with the existing kitchen elements. Despite the brown, even I have to admit the result is one that gives me major heart eyes!
Truth be told, this transformation wasn’t expensive or even time-consuming. Peel-and-stick wallpaper did most of the design “heavy lifting”; simple coordinating accessories added some intentional charm; and a DIY window valance (made from a shower curtain) tied the whole room together.
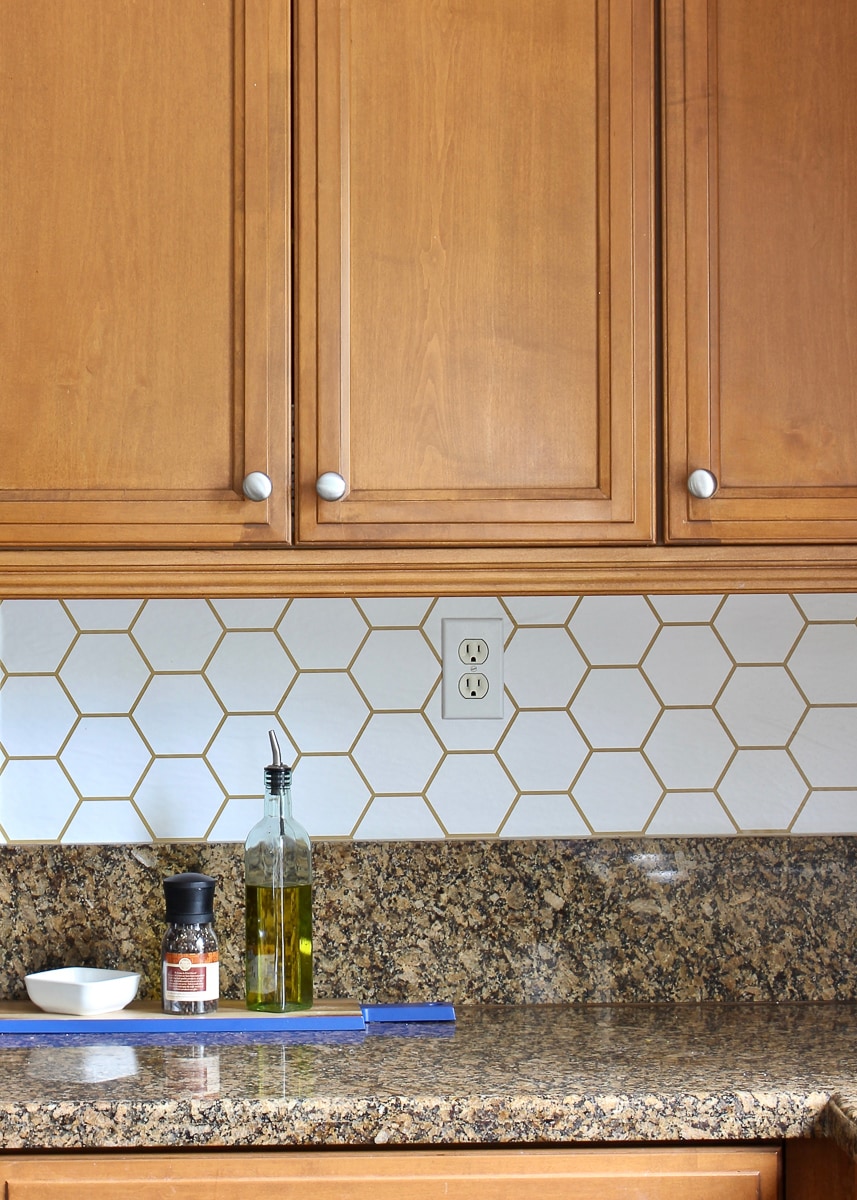
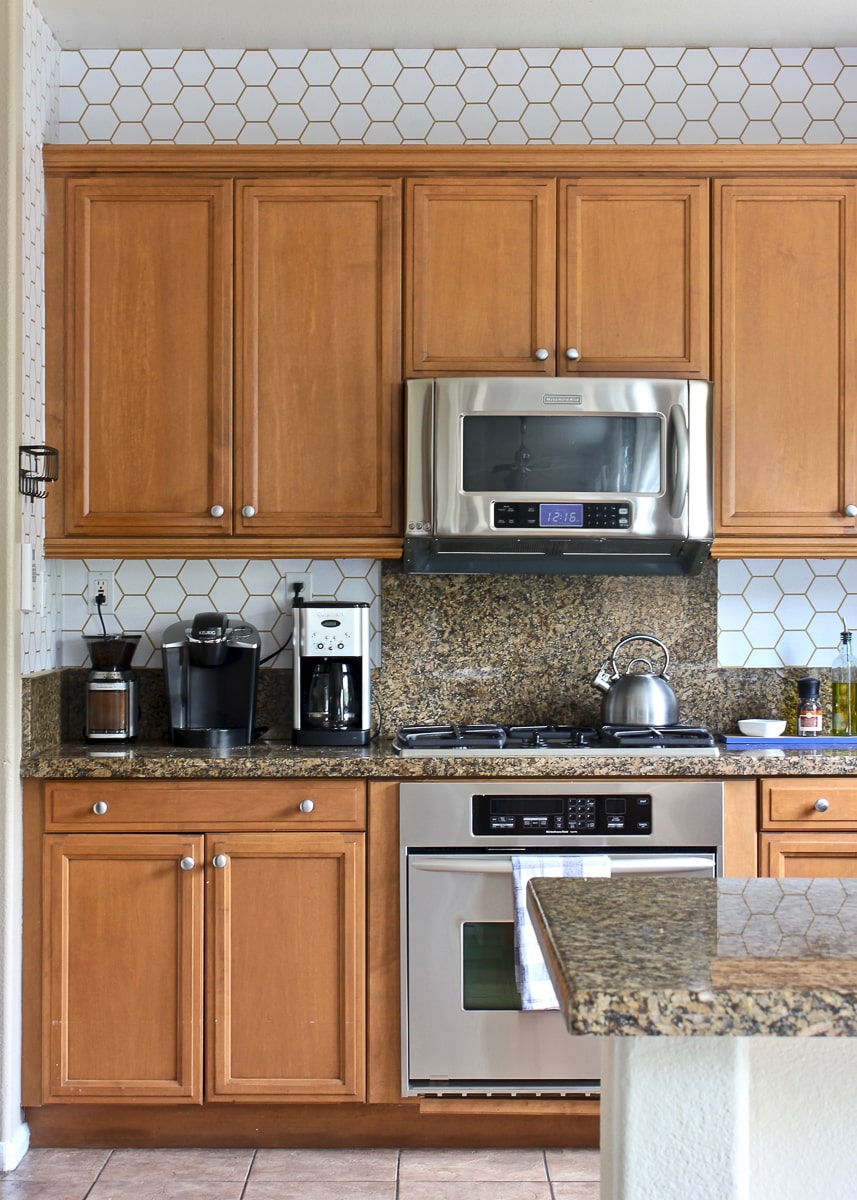
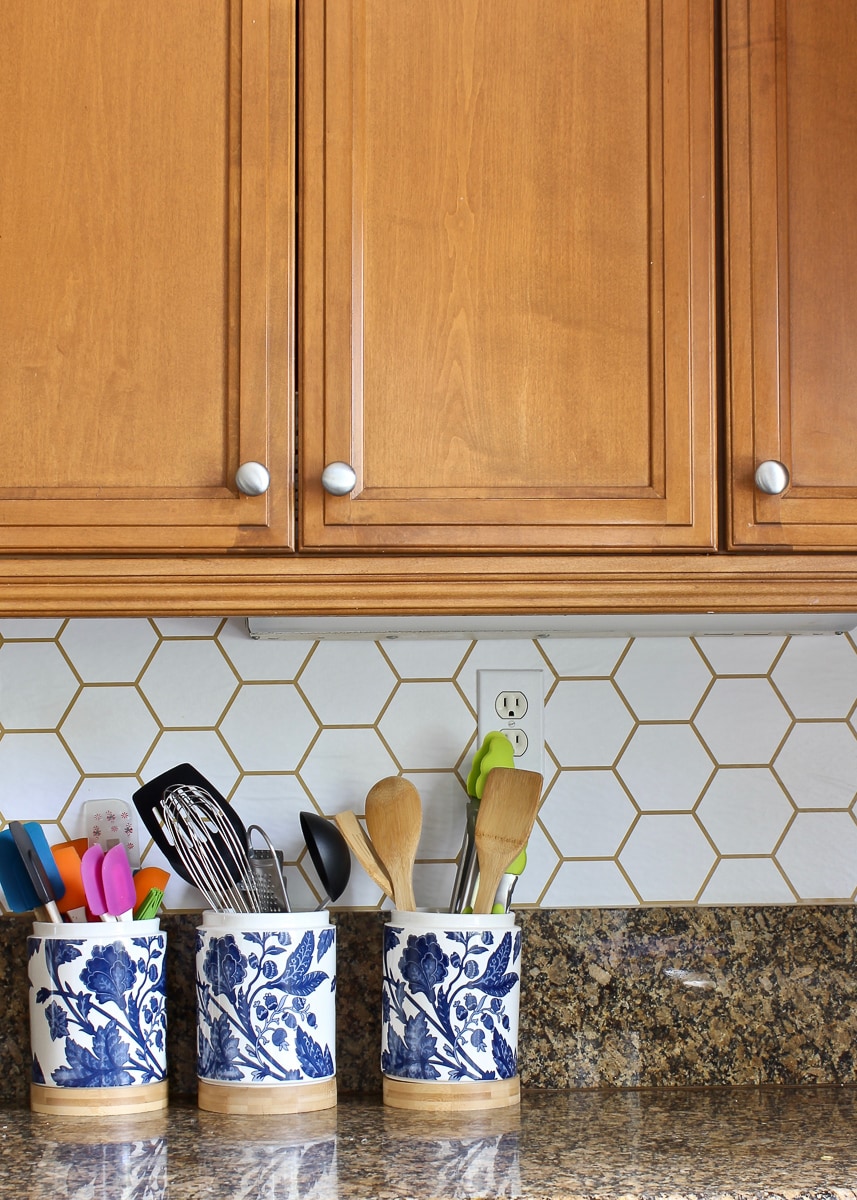
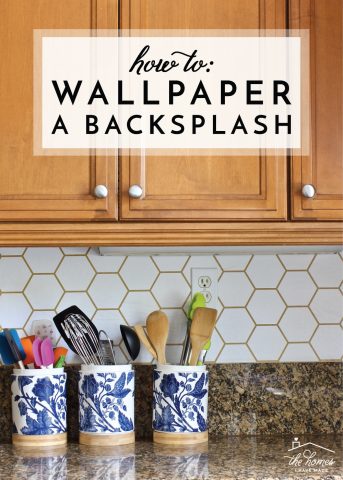
I specifically chose this white + gold hexagon peel-and-stick wallpaper for the backsplash in this rental kitchen. I knew the white would significantly brighten the whole space, but it could have almost been too stark and drastic against all the brown. Thankfully, the “gold” lines were an almost perfect match to the honey-colored cabinets, helping the bright paper make sense in the darker-toned kitchen.
The hex pattern on the paper also gave the impression of tile, making it a perfect choice for a backsplash area! You can see more details on how I did the backsplash here.
My original plan was to keep it simple and only paper the backsplash above the counters. However, the bright white paper felt very random in such a small area. Once I added the paper up the walls (along the sides) and above the cabinets too, it all worked together so much more beautifully! Although hanging peel-and-stick paper horizontally (working from left to right in long strips) is super hard and one of my least favorite DIY tasks ever, it was absolutely worth the time and cost for such a significant transformation!
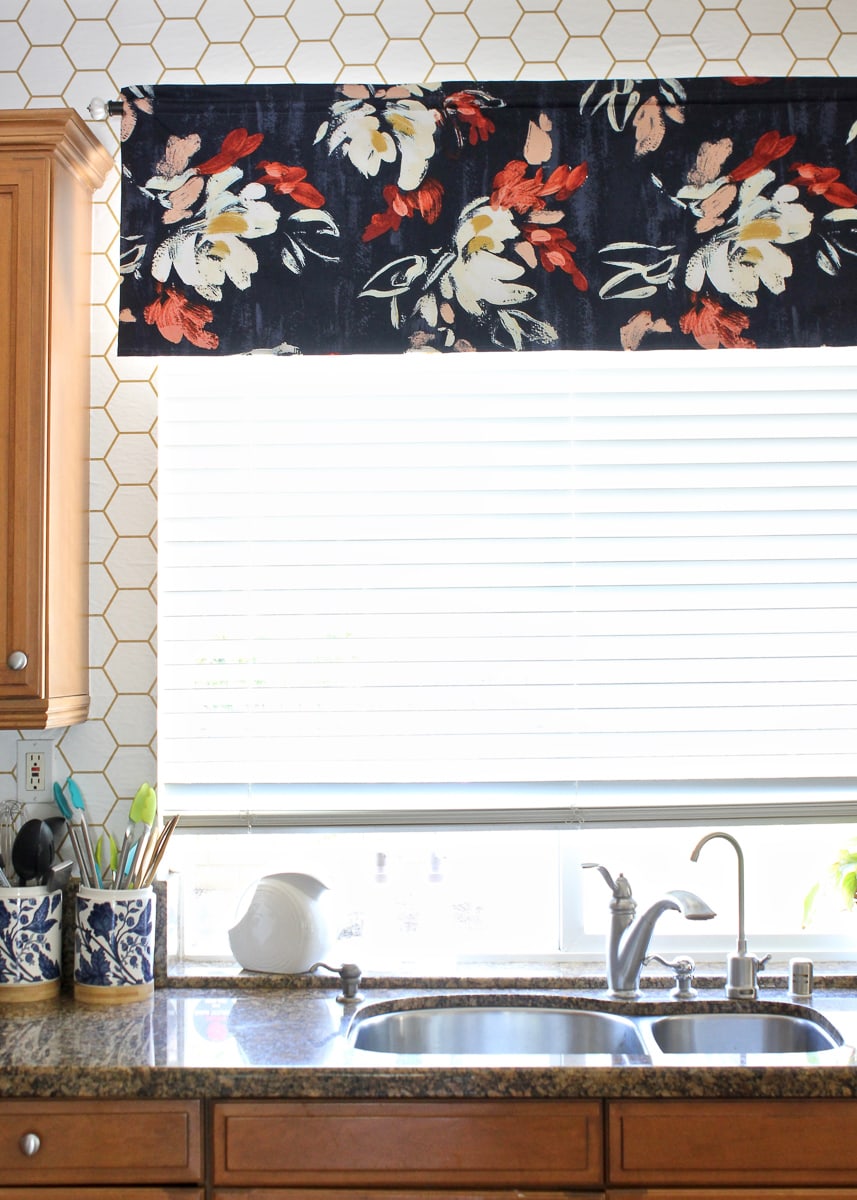
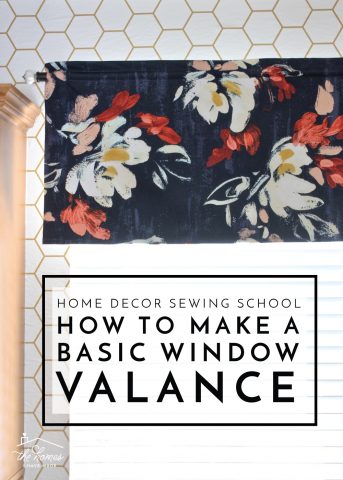
With blinds on the kitchen windows, we certainly didn’t need working window treatments. However, with not a single other spot to add a dose of color (there wasn’t even room for some simple artwork!), the window became the only (and obvious) choice. When I came across this floral shower curtain at Target, it wasn’t exactly what I thought I was looking for (per my design plan). However, it tied so much of our open-concept first floor together, that once I hung it up as a test, I never turned back. I fashioned the single shower curtain into two throw pillows for our couch and a basic valance for this large window, and the kitchen + dining room + living room instantly came together!
Very rarely do I see something in another blogger’s home or feed, stop, and immediately figure out a way to get that product into our home, but such was the story with these utensil jars. I first saw them here, and knew they were the right size and style for our kitchen counter. I immediately hunted them down at Hobby Lobby and I am so glad I did because they are the perfect kitchen counter accessory, especially when we (try to) keep the counters pretty bare and really functional!
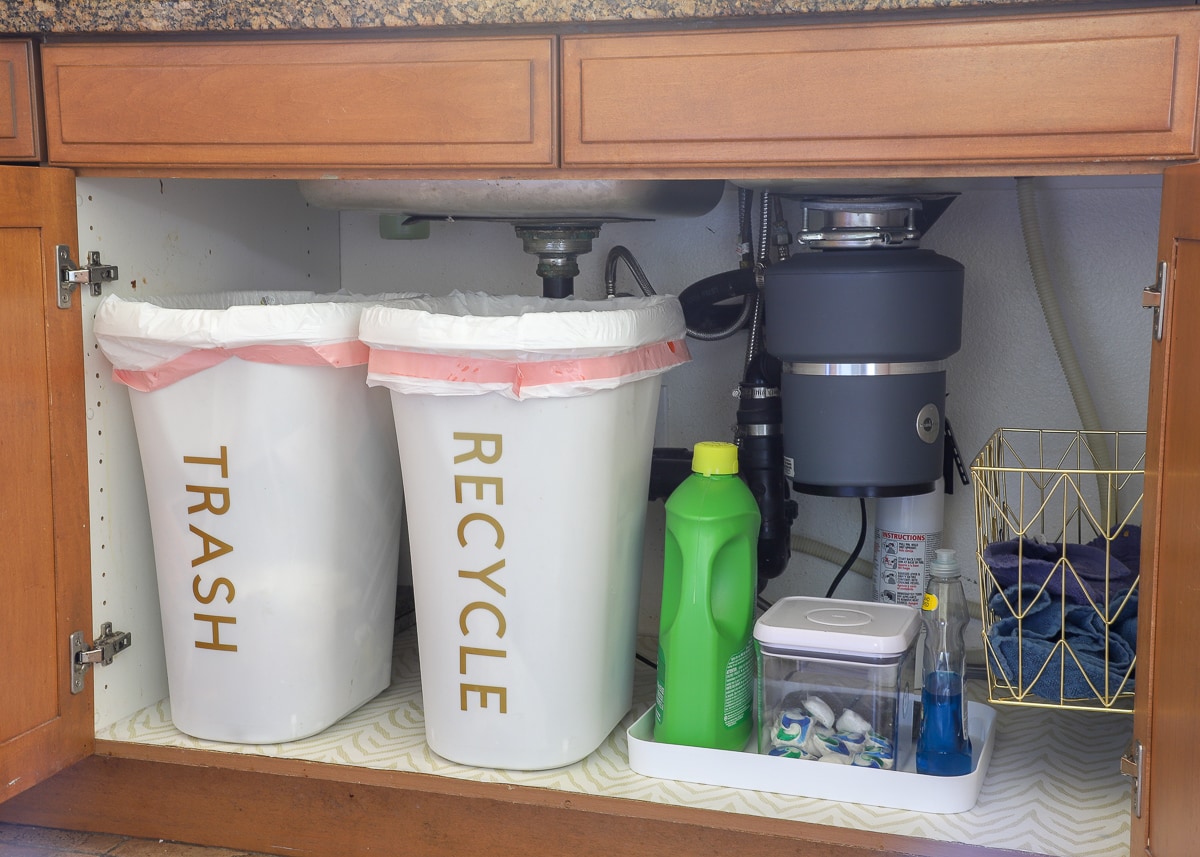
With the walls, counters, and windows fully “decorated,” a majority of my projects in this space went toward making it as functional as I could for our family. All the cabinets and drawers were a very generous size, but sometimes all that space can result in a big ol’ mess if you don’t take the time to outfit it with well-fitting organizers. Bar far, one of the best “quick organization projects” I tackled in this space was under our kitchen sink.
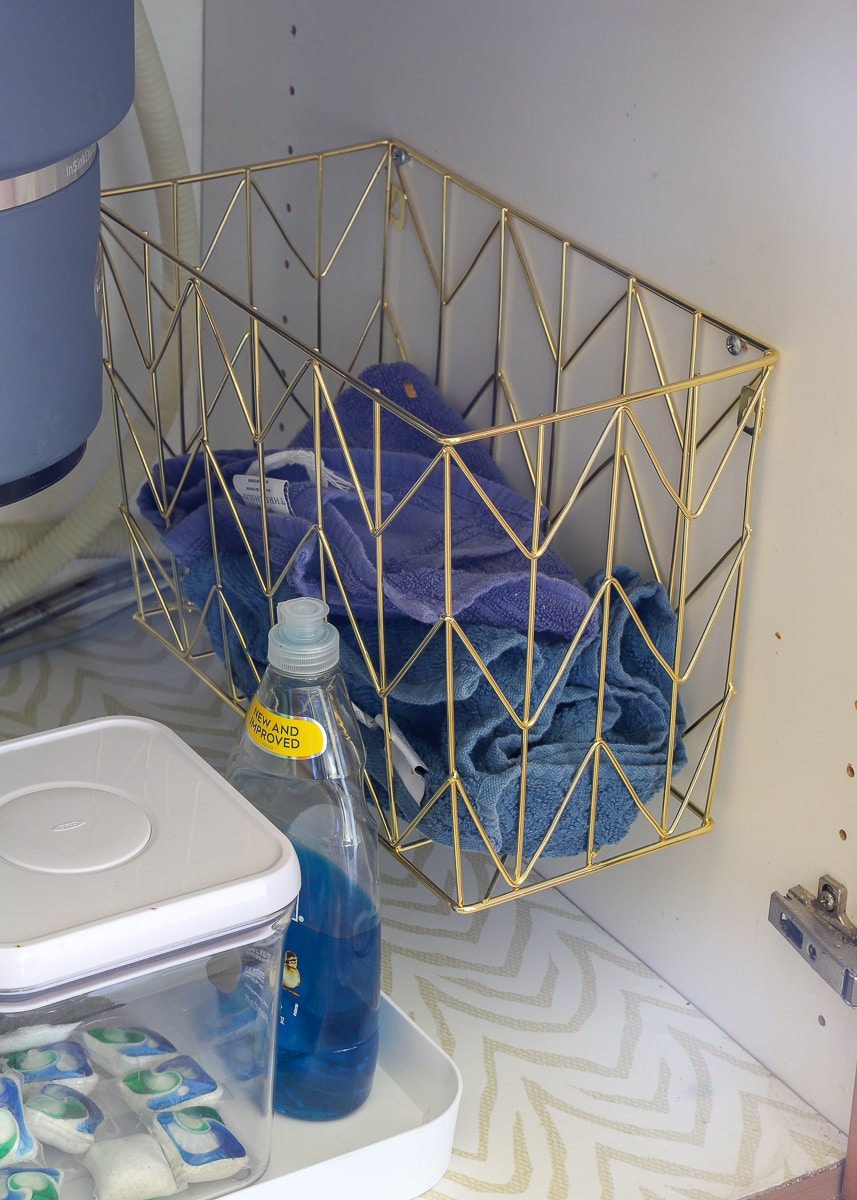
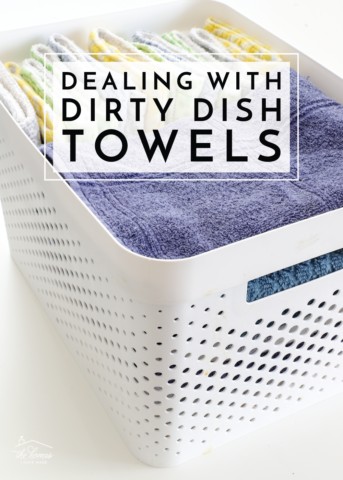
Figuring out a way to deal with our dirty dish towels (and some other unsightly kitchen items) was such a victory for me, and you guys really loved these easy and smart solutions too!
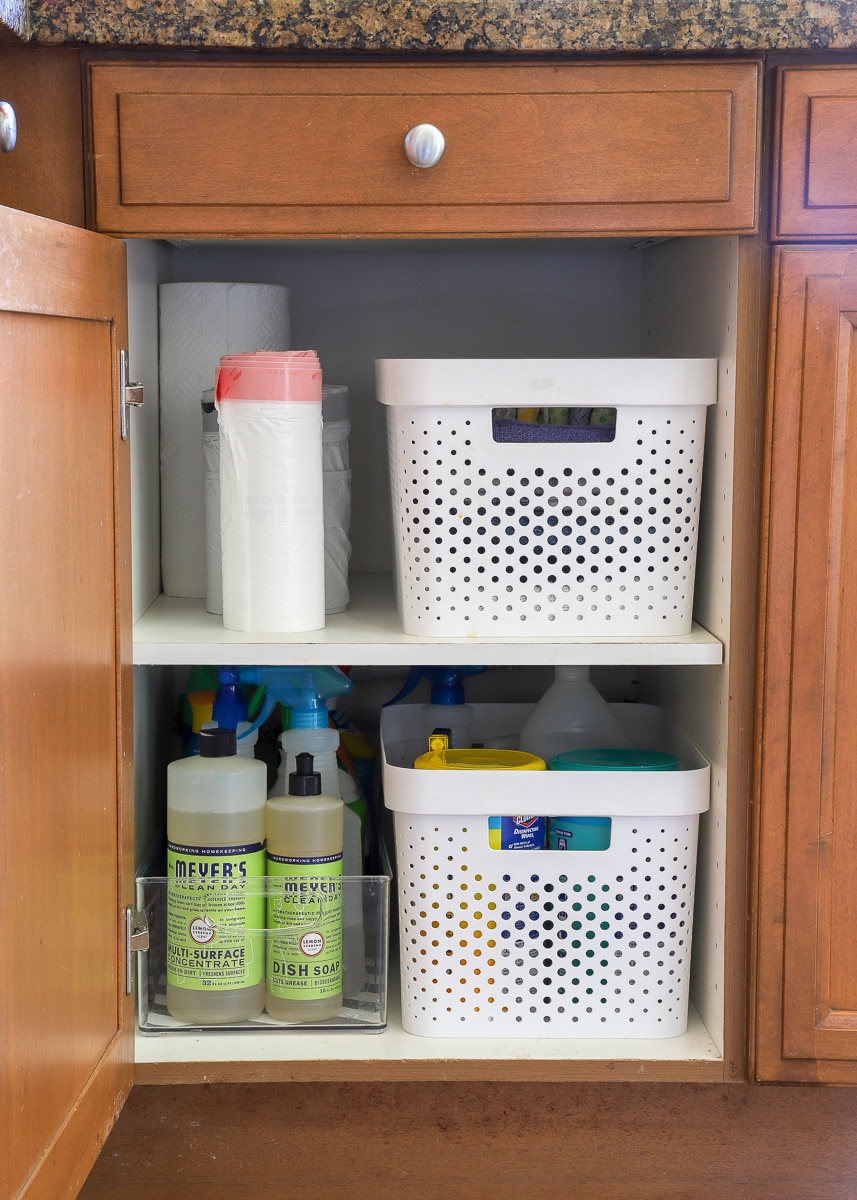
Outfitting each cabinet with juuuust right storage solutions always involves a bit of time and trial-and-error. But I find it’s always worth it when you can ultimately find everything easily and it’s no hassle getting items in and out!
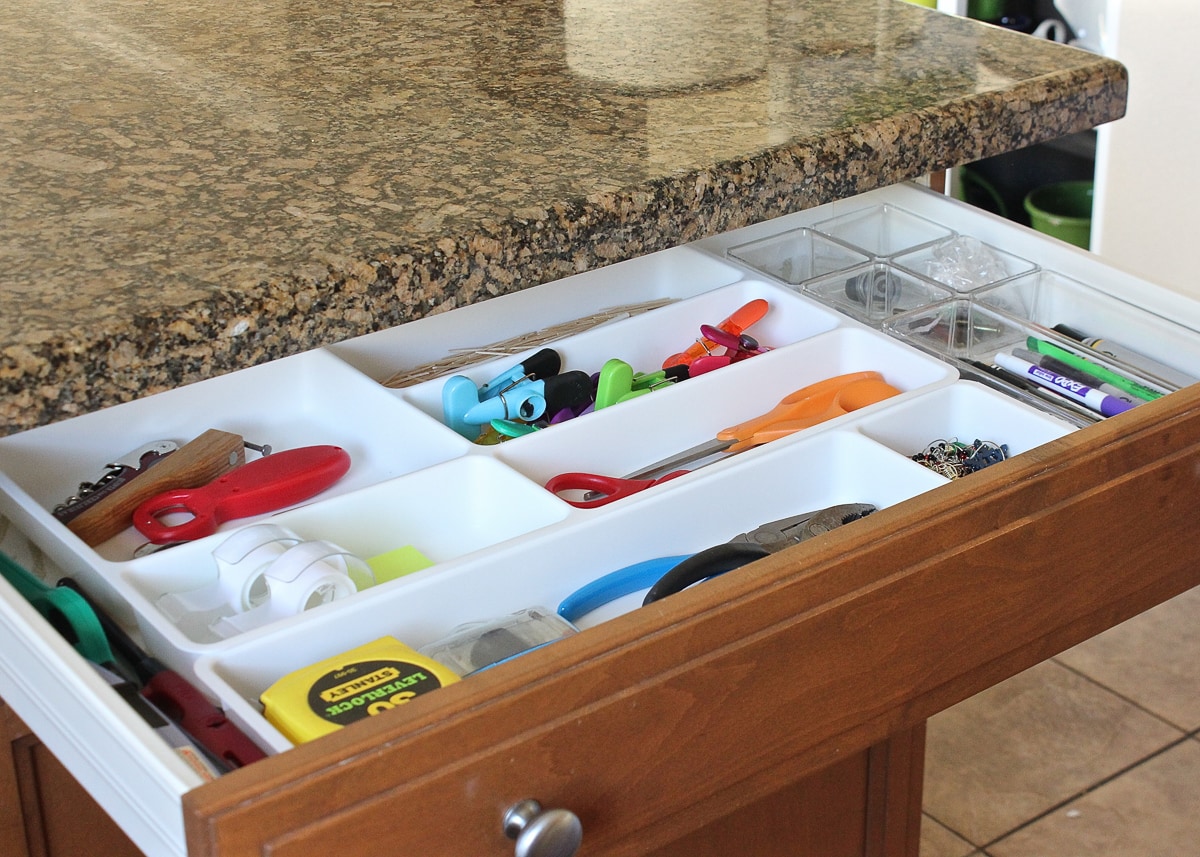
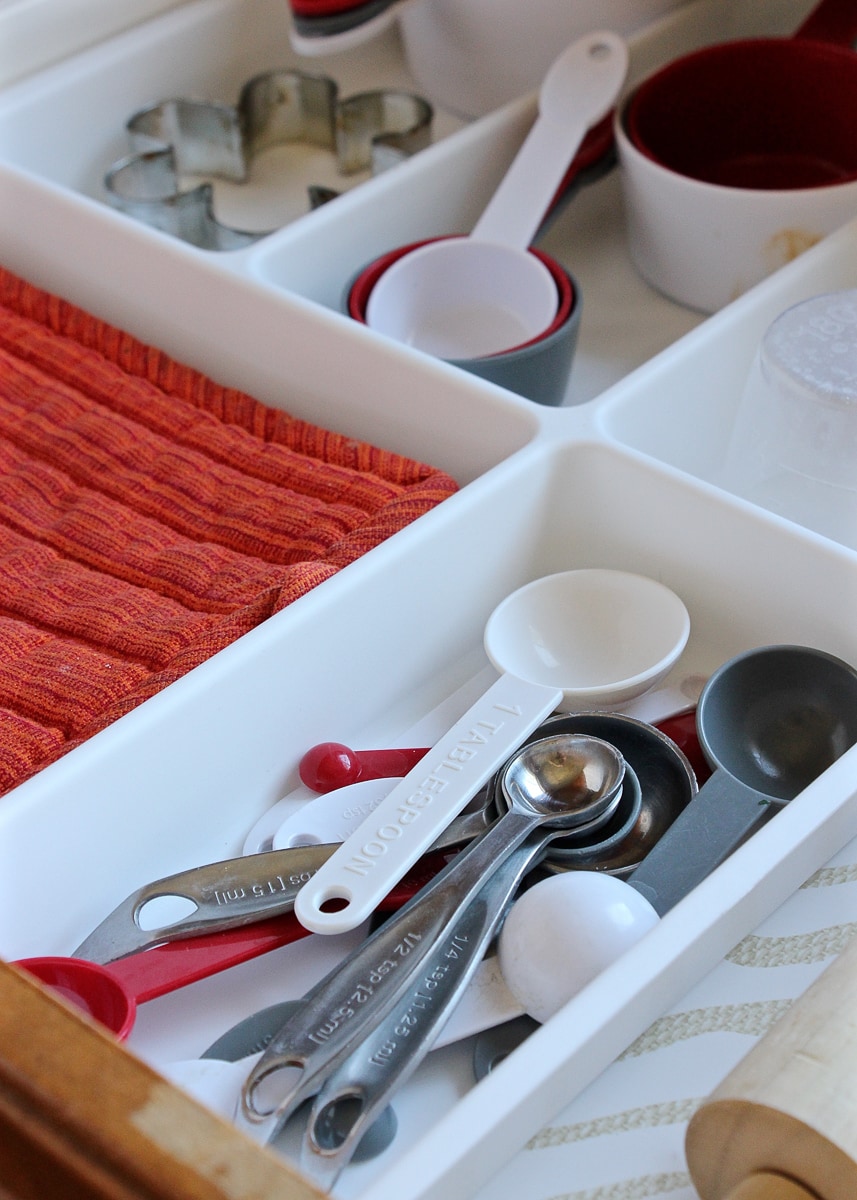
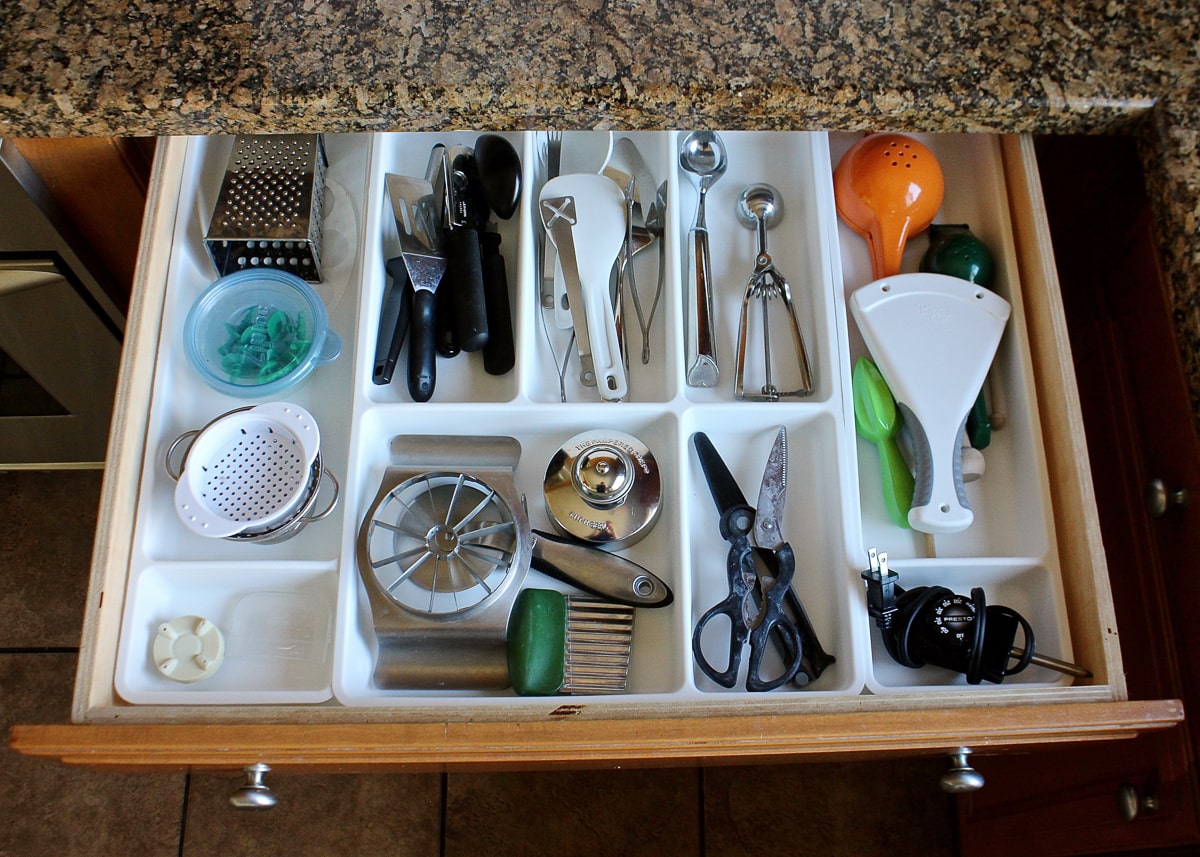
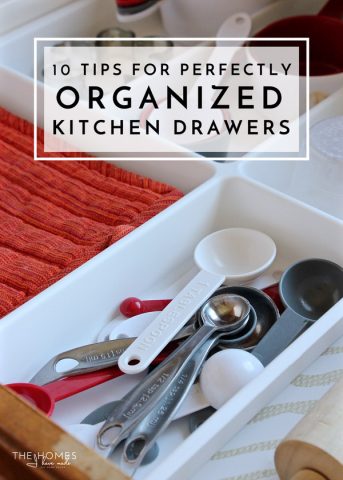
Another major functional victory in this space was the drawers. These are easily the largest kitchen drawers we have ever, ever had. And after moving in a few years ago, it quickly became evident that drawer organizers were going to be absolutely necessary in order to keep them remotely tidy!
Really inexpensive drawer organizers from IKEA saved the day because they allowed us to take advantage of every inch inside these massive drawers!
You can see a full tour of every kitchen drawer here!
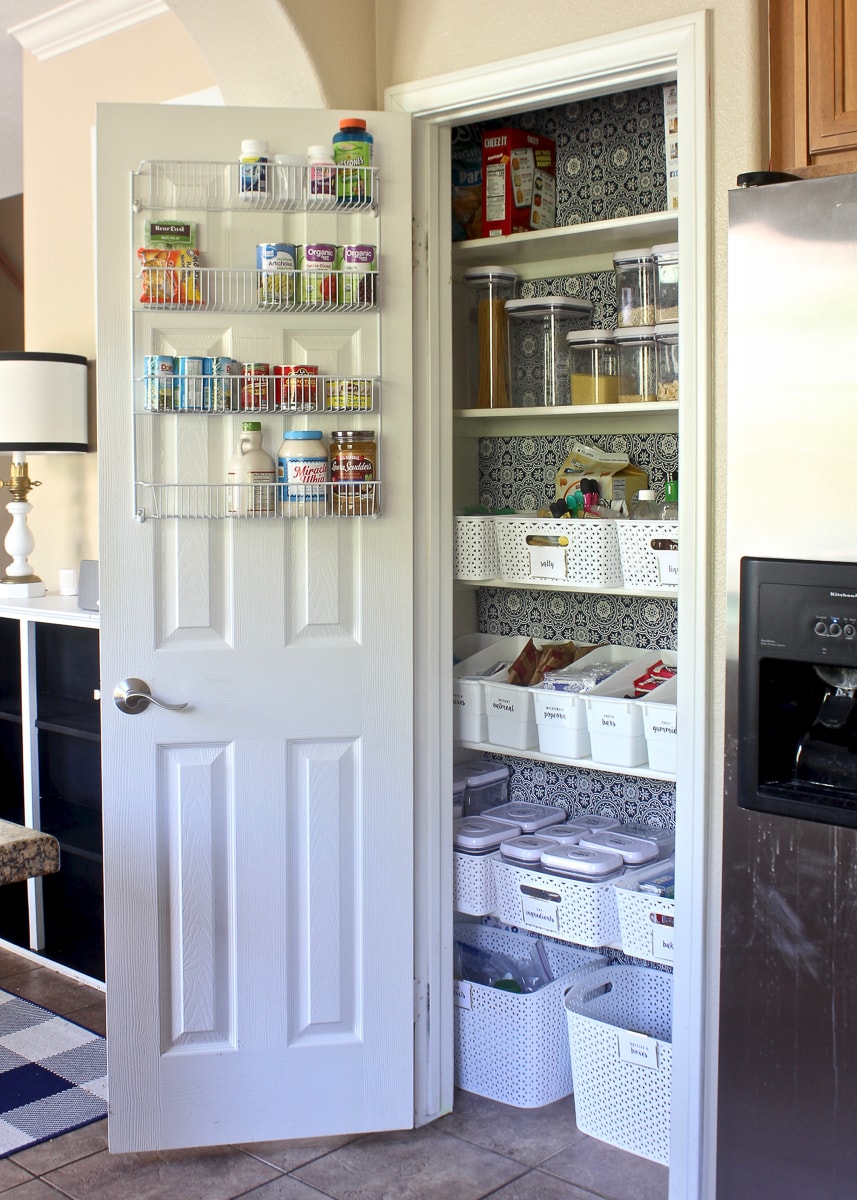
Getting the kitchen organized and looking fine was one big project…but you better believe that getting our pantry in the same shape was another undertaking entirely!
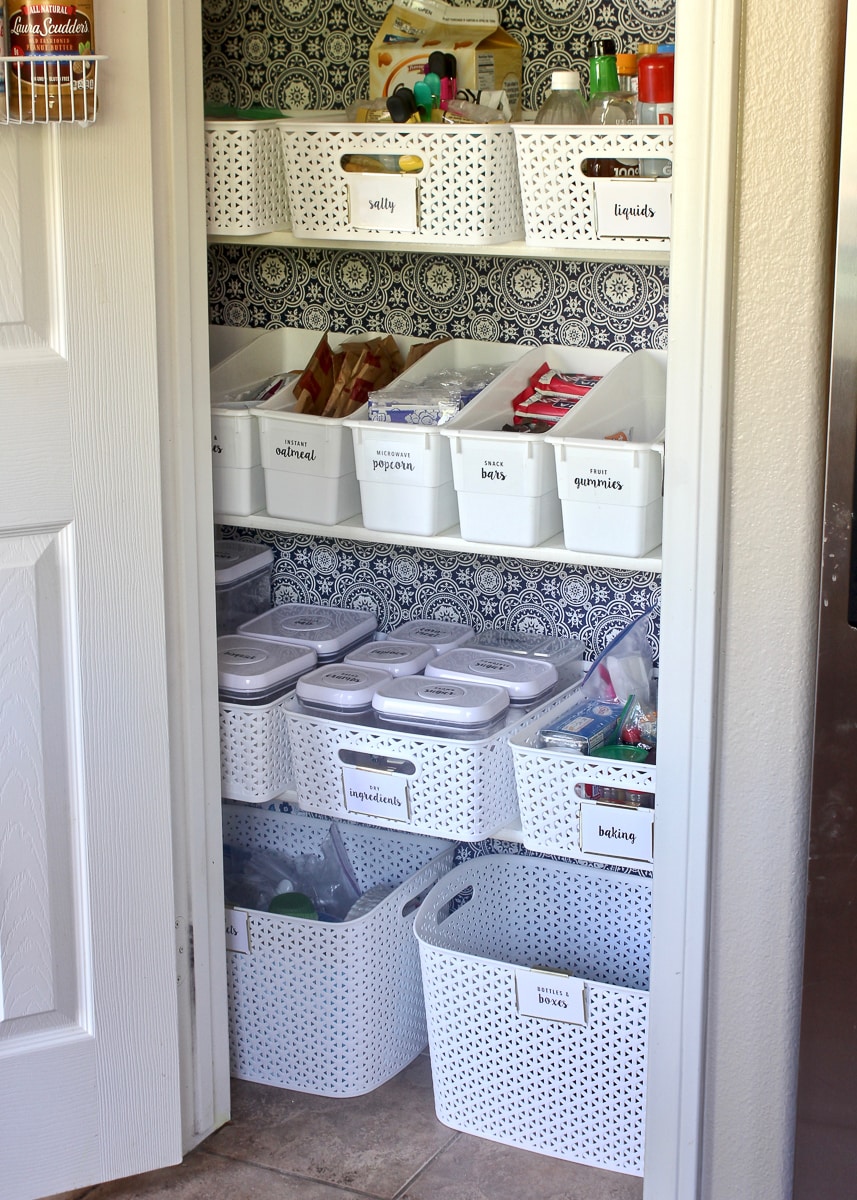
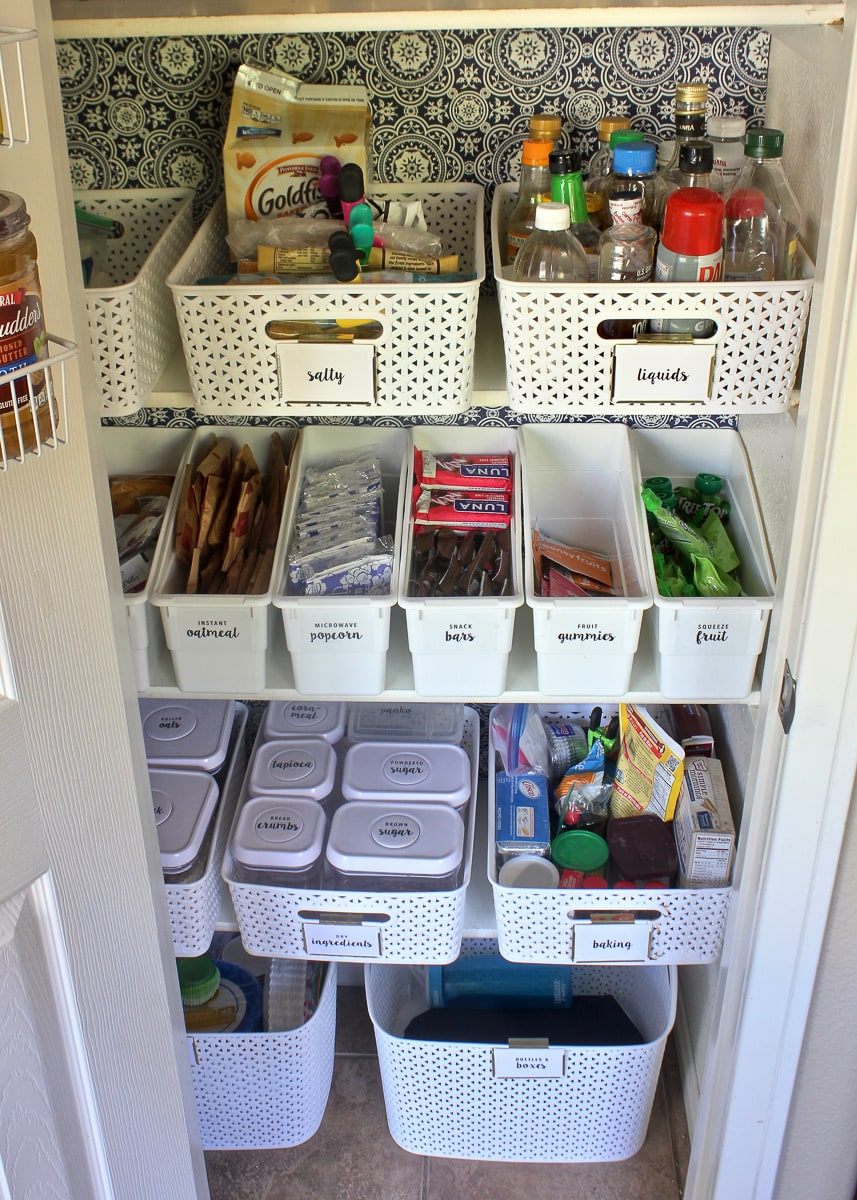
Pantries are another space that tend to dramatically vary from house to house and kitchen to kitchen. What works in one home never seems to work in the next, and this one was no exception. This pantry was large and well-designed, and it’s probably no surprise to hear that it was an absolute thrill to outfit this pantry, top-to-bottom, with smart storage and pretty details!
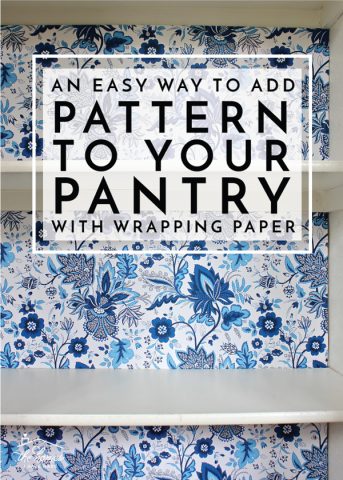
One of my absolute favorite details in our entire home was the pattern along the back of the pantry…it was such a fun view every time I opened the pantry (which, when you have little kids, is a million times a day!). This actually isn’t peel-and-stick wallpaper, but rather a single roll of wrapping paper wrapped around cardboard sheets that fit perfectly along the back of each shelf. This installation method not only allowed me to veeerrrry easily swap the paper when I changed my mind, but they’ll also pop out and clean up in a snap when it comes time to move out. (Spoiler: I was even able to pass these inserts along to my neighbor after we moved out since all of our pantries are the same dimensions!). If you want to add pattern to the back of shelves, a bookcase or pantry, be sure to check out this method because it’s a total winner!
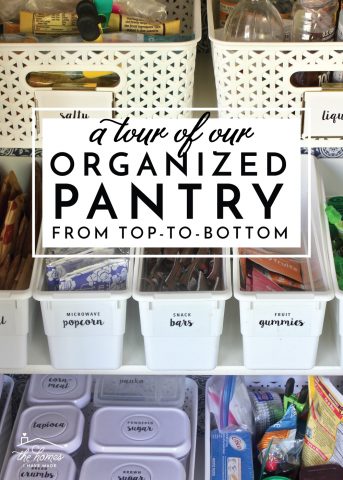
So let’s chat a minute about all the organization ideas in this pantry! Never, ever have I been able to squeeze so much storage into a pantry…especially the “right” storage that all worked brilliantly. Using a combination of short baskets, large baskets, book bins, and food storage containers, each and every type of food was stored in the way that made the most sense for that item. As a result, all of our food was easy to access, easy to stock, and our shelves always looked awesome! You can see a full tour of our pantry here.
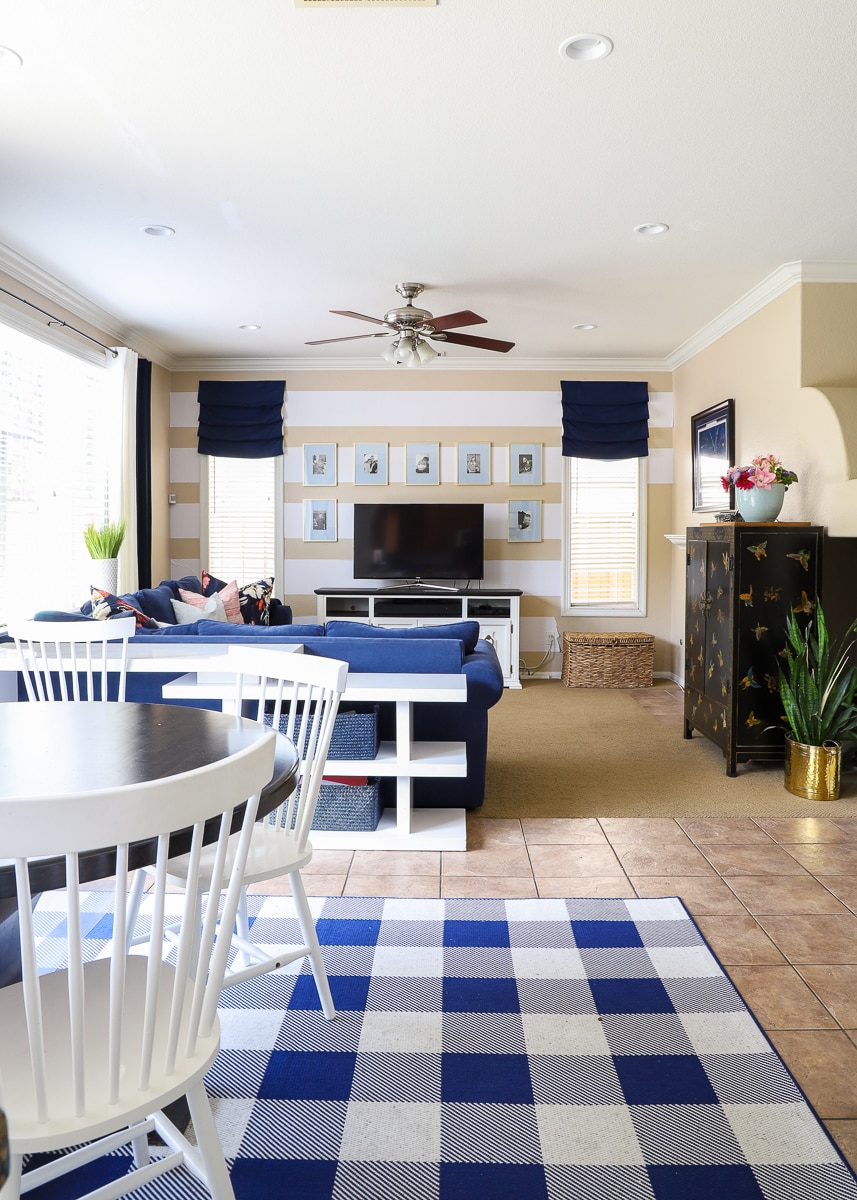
One final victory in our kitchen space was how well it ultimately worked with the rest of our open-concept downstairs. Our kitchen, dining room and living room all sit in a straight line, so what I did it one room needed to work with the other two. Sticking to a consistent palette of white, blue, and gold with pops of red and light blue not only worked with the existing elements of the house (walls, floors, carpet) but provided that coherent aesthetic the house’s design warranted. (You can see the living room and dining room here.)
Products Featured In This Rental Kitchen
Below are the products seen and featured in this space:
- White+gold hexagon wallpaper – Walls Need Love
- Floral shower curtain – Target, no longer available
- Blue+white floral jars – Hobby Lobby, no longer available
- Wood+blue cutting board – Target on Clearance, no longer available
- Drawer dividers – IKEA
- White book bins – Really Good Stuff
- Gold wire file basket (for catching dish towels) – Amazon
Posts and Projects Featured In This Rental Kitchen
Click below to see all the posts and projects from this space in more detail:
I really hope you enjoyed this final look at our rental kitchen. Not to sound redundant from the past few rooms I’ve revealed lately, but I’m really proud of what I was ultimately able to accomplish in here. I’ve made it no secret that all the brown practically paralyzed me in this home, and it took me a reeeeaaally long time to get moving with any meaningful progress. To see this kitchen eventually click into place was not just a lesson for me but hopefully for you guys too that even really small changes can have a big impact and can be really worth the effort to figure it all out!
Megan







6 Comments on “Our California Rental Kitchen Reveal”
Unlike you and the California house, we are in our “forever” home. And my dream kitchen looks like your plans before–light, bright, blue and white!–but our kitchen looks like your reality. I know someday it can be altered into my dream, but the money isn’t there for that now (or anytime in the foreseeable future, to be honest), but have really been encouraged by your ideas of how to work with what you have. And your organization gets ALL the <3 eyes 🙂
I’m sure you have answered this before – the peel and stick wallpaper, how does it hold up, long term, and how easy is it to remove? Does it leave residue? Does it clean well? Does it ding easily?
Hi Jodi,
I did write a pretty big removable wallpaper post which answers a lot of questions – you can read it here: https://thehomesihavemade.com/2019/03/answering-your-faqs-about-removable-wallpaper/
But to answer your specific questions…it holds up awesome. In fact, using peel-and-stick wallpaper is now my preferred method for changing our walls since it’s so easy to pull back down (compared to having to paint back). I’ve installed it many times now, across three different homes. I’ve never had it fall or even remotely peel up. I wipe it down all the time, and it doesn’t pull a lick of paint off the walls when you peel it off. To me, the only downside to it is that it’s pretty expensive for a one-time-use product, so I watch sales like a hawk and snag it whenever I see rolls on clearance!
Hope that helps!
Megan
Your landlord doesn’t mind that you put holes in the wall for the blinds, and on the door to the pantry and on the cabinet under the sink?
Hi, thanks for asking!
The holes in both the cabinet under the sink and the pantry (where the door rack is) were already there…we did not add those. We added the curtain rod above the windoe but filling holes in dry wall is easy and can’t be seen after move out (if done properly).
Thanks,
Megan
Thank you for your reply to my comment. Loved the look of the kitchen in the “after” photos. I found your website because I wanted to add feet to my Kallax bookcases and your how-to was very instructive. I love all things Ikea. In fact, I have so many Ikea pieces and accessories my house now speaks fluent “Swedish’. Your overall website is very inspiration as well. Cheers.