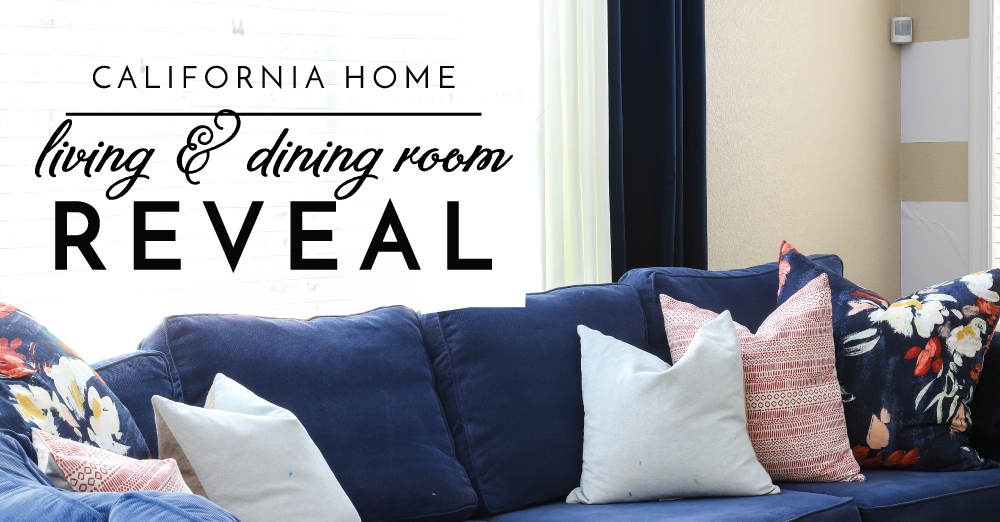
Our California Rental’s Living and Dining Room Reveal
Hey there, friends! Whoa – I am so sorry for my unplanned silence over the last two weeks. Life just got plain nuts (gearing up for a cross-country move while 7 months pregnant is no joke), and something (other than my sleep!) needed to give. Although things may be a bit bumpy in the coming months as we transition to a new home and welcome a new baby, I’m going to try my very hardest to keep things as-close-to-normal as I can around here! The good news is that I have lots of posts ready to go as we close out our time in California, starting with today’s final tour of our combined living and dining room! While the living room feels a bit incomplete to me based on the plans I originally made for it, as I now take in the living and dining room together, I’m really pleased how the whole combined space turned out. Let me show you around!
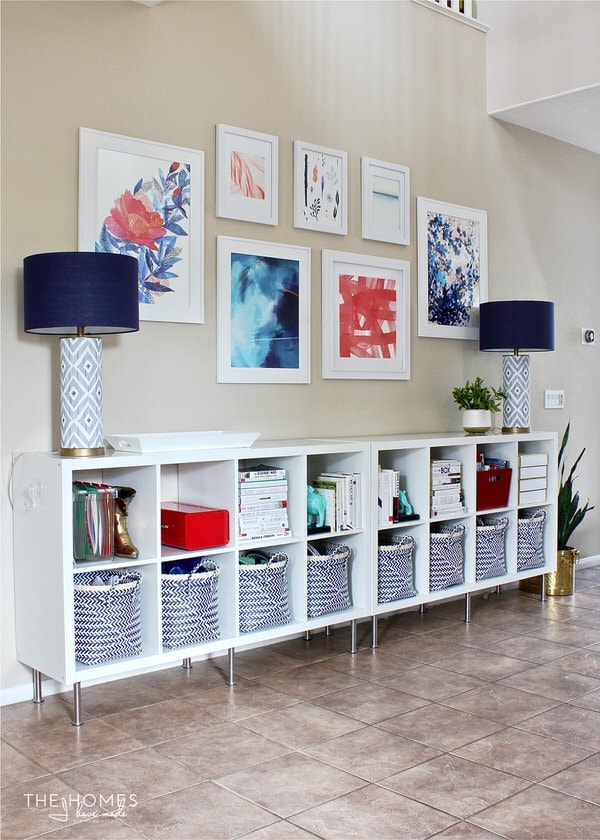
Just to refresh you a bit on our floor plan: as you enter in the front door of the house, you end up in our very large foyer. As you walk past these shelves toward the back of the house…
…you come straight into our combined living and dining room.

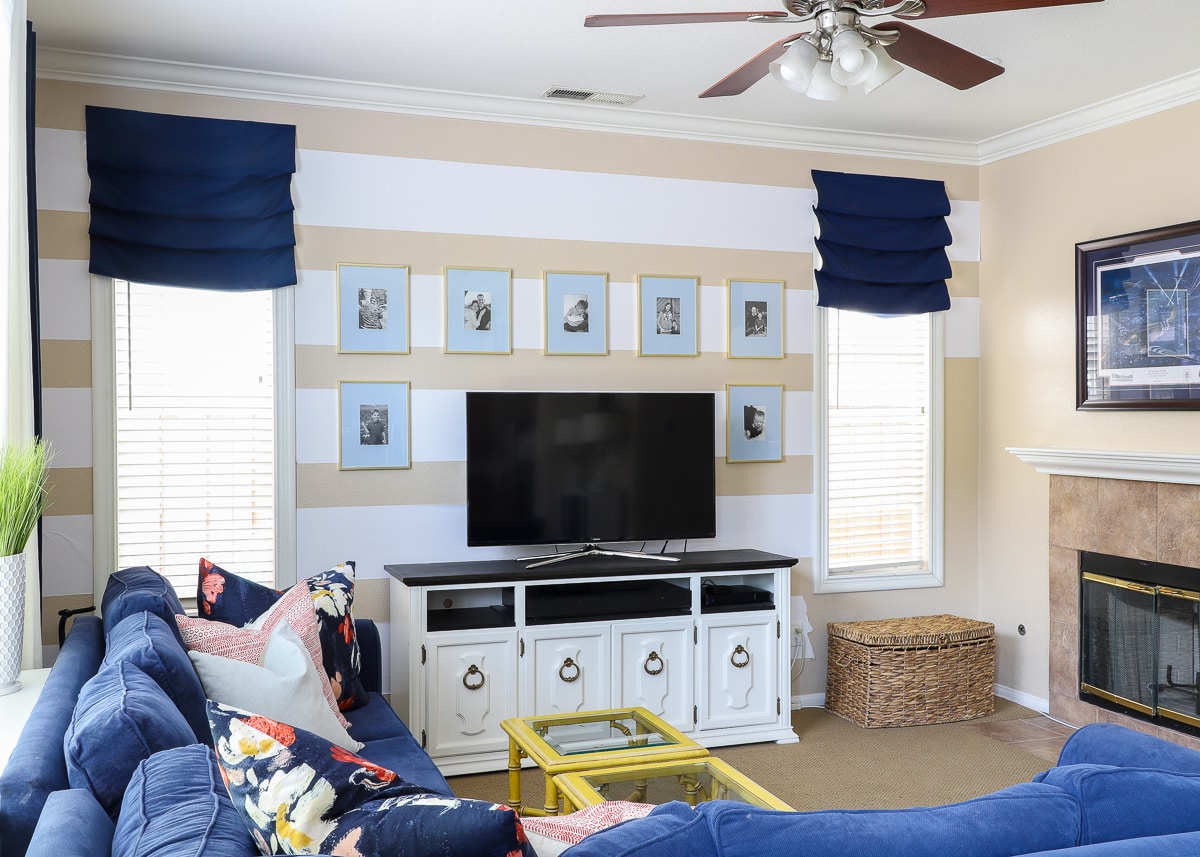
As you pan to the right, you find yourself in our living room, easily where we spend a majority of our time as a family! This open-concept room presented a lot of challenges for me: the brown walls we couldn’t paint, windows on 2 walls, a fireplace on the third, and camel brown carpet that conflicted with most of my favorite colors. These unique features made it not only a true puzzle to layout (we had to do a ton of experimentation), but I also had trouble making it the light, bright, and colorful space I craved.

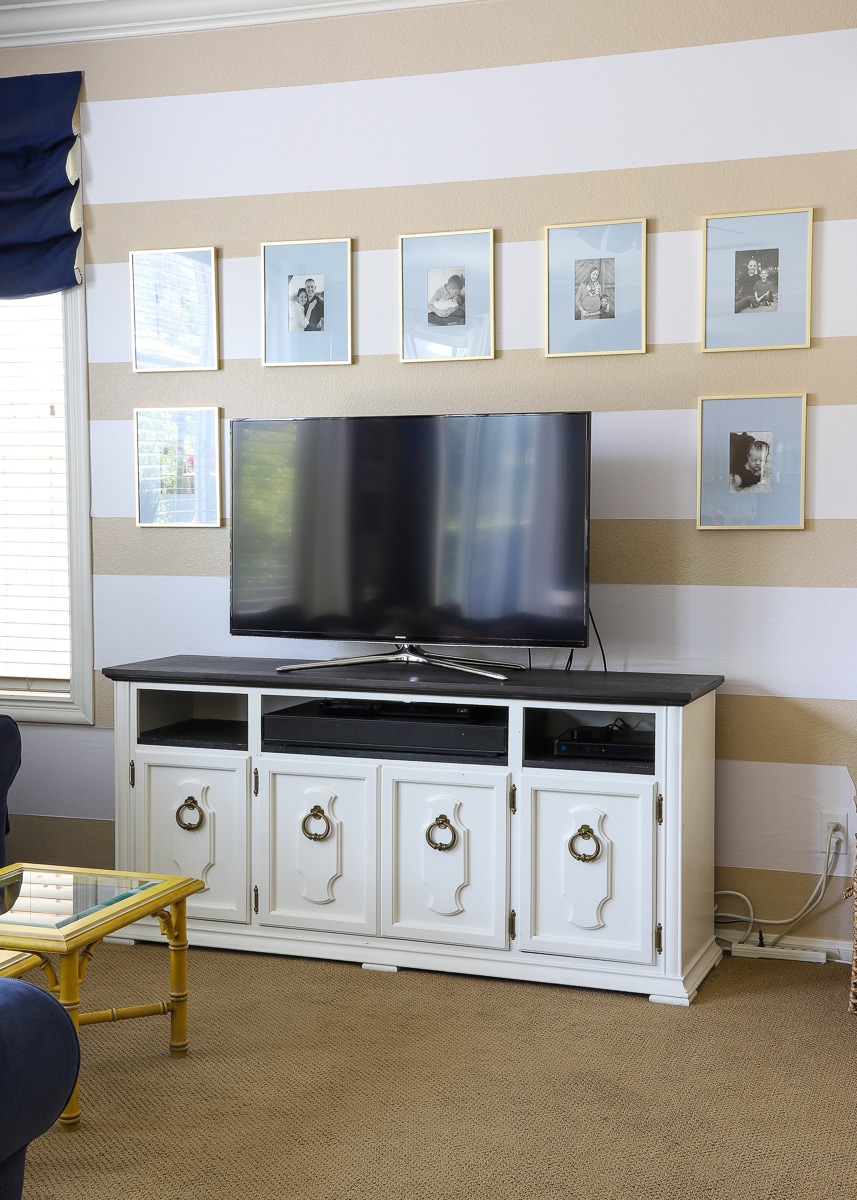
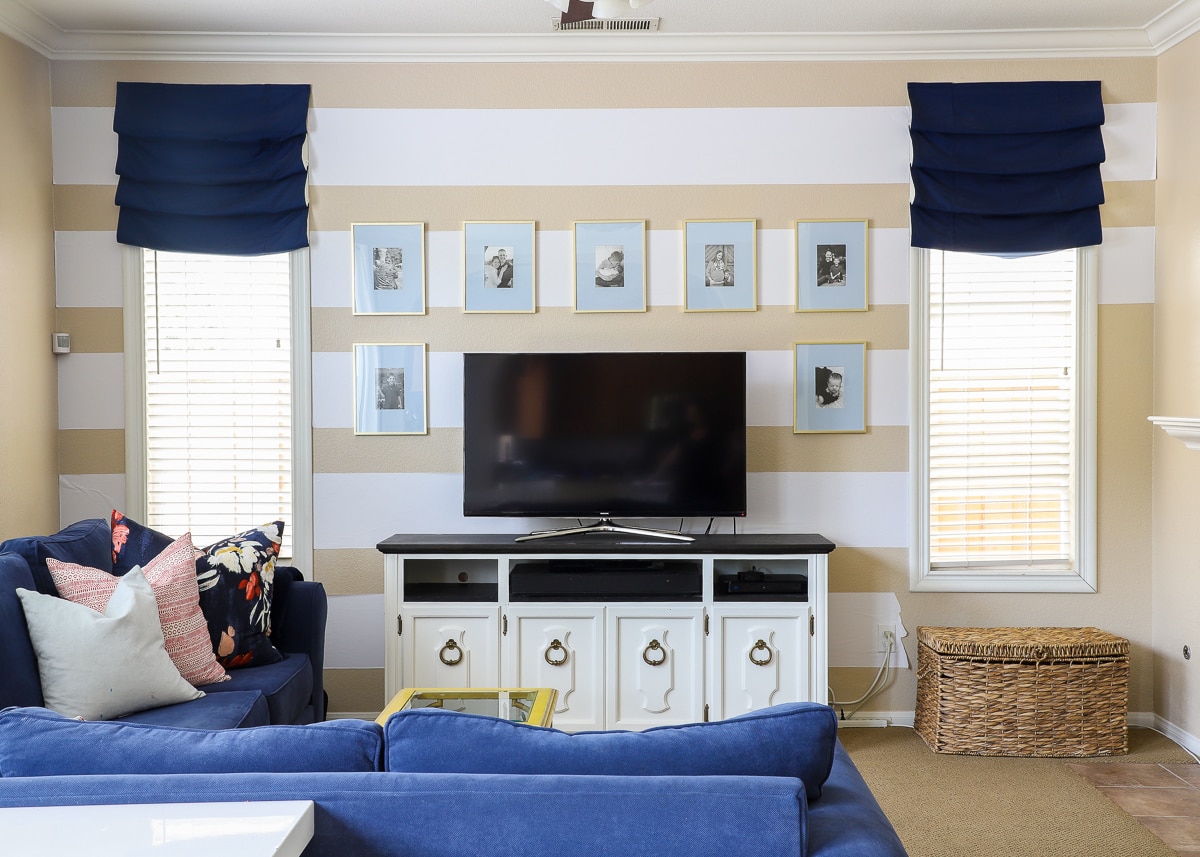
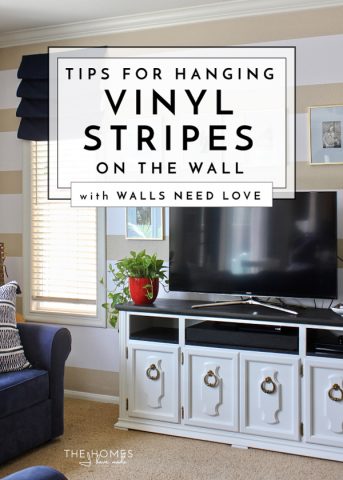
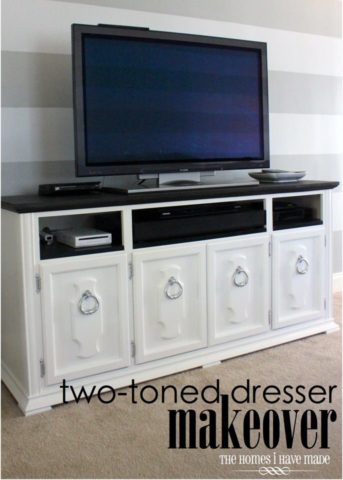
Since re-painting was out, I chose to hang white wallpaper stripes on the far feature wall in an attempt to lighten the whole room and tie in other white elements throughout the space (specifically, our white TV cabinet and white dining room chairs).
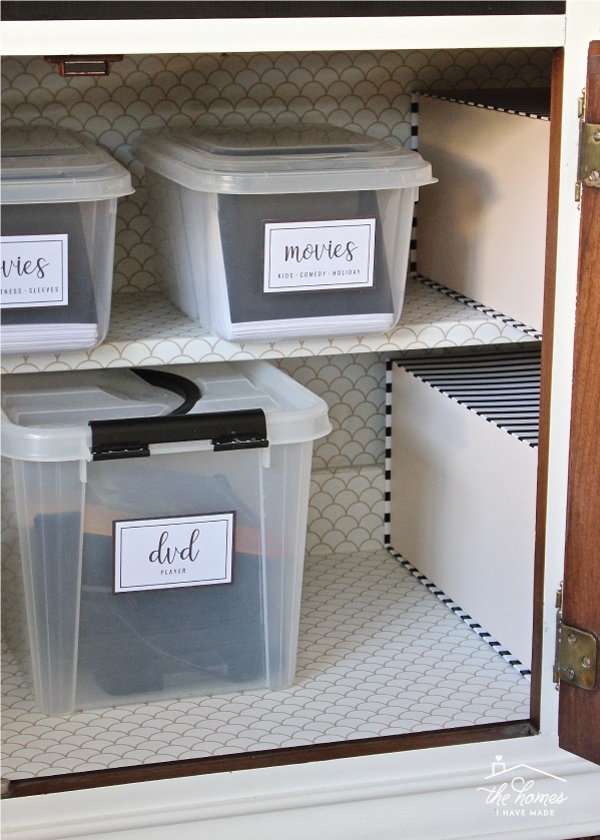
Our china cabinet-turned-media cabinet is an old DIY project that we still adore and is so functional for us. However, the inside got a facelift with new high-end contact paper and snazzy new DVD storage boxes!
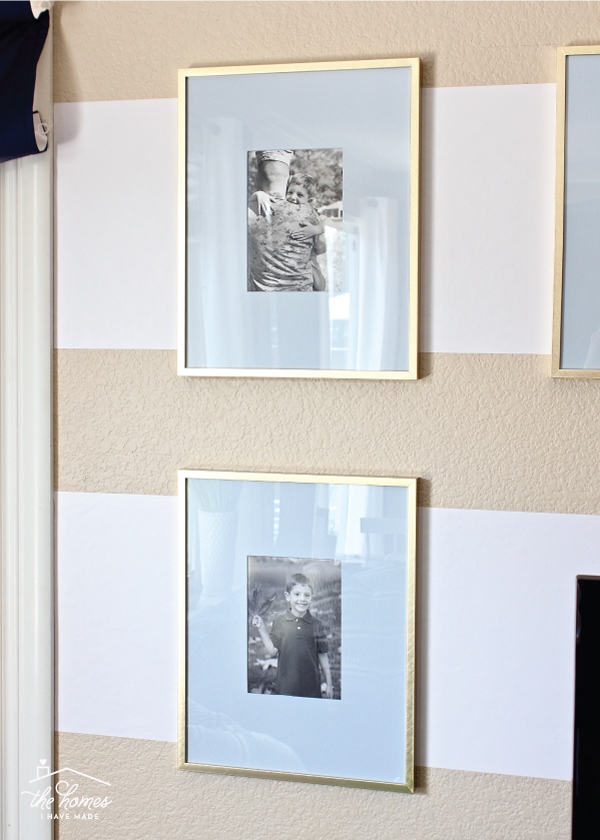
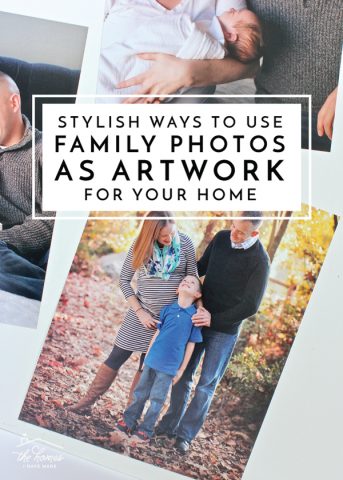
I’m smitten with these classic, chic gold frames from Target, but their white mats left the whole wall feeling too monochromatic. By simply painting the mats light blue, I was able to add some color and interest to the whole focal wall!
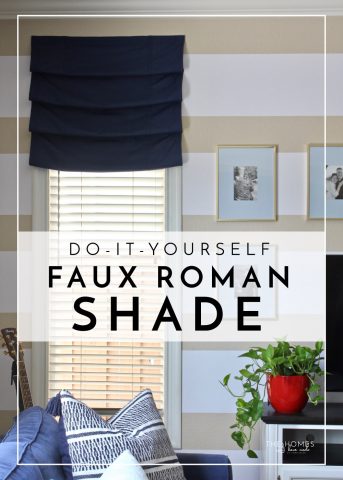
All of our windows had blinds that we used for light control, so all of the window treatments in this space were purely decorative. Making both the “roman shades” and the long curtain panels navy helped them coordinate even though they were different fabrics and styles.
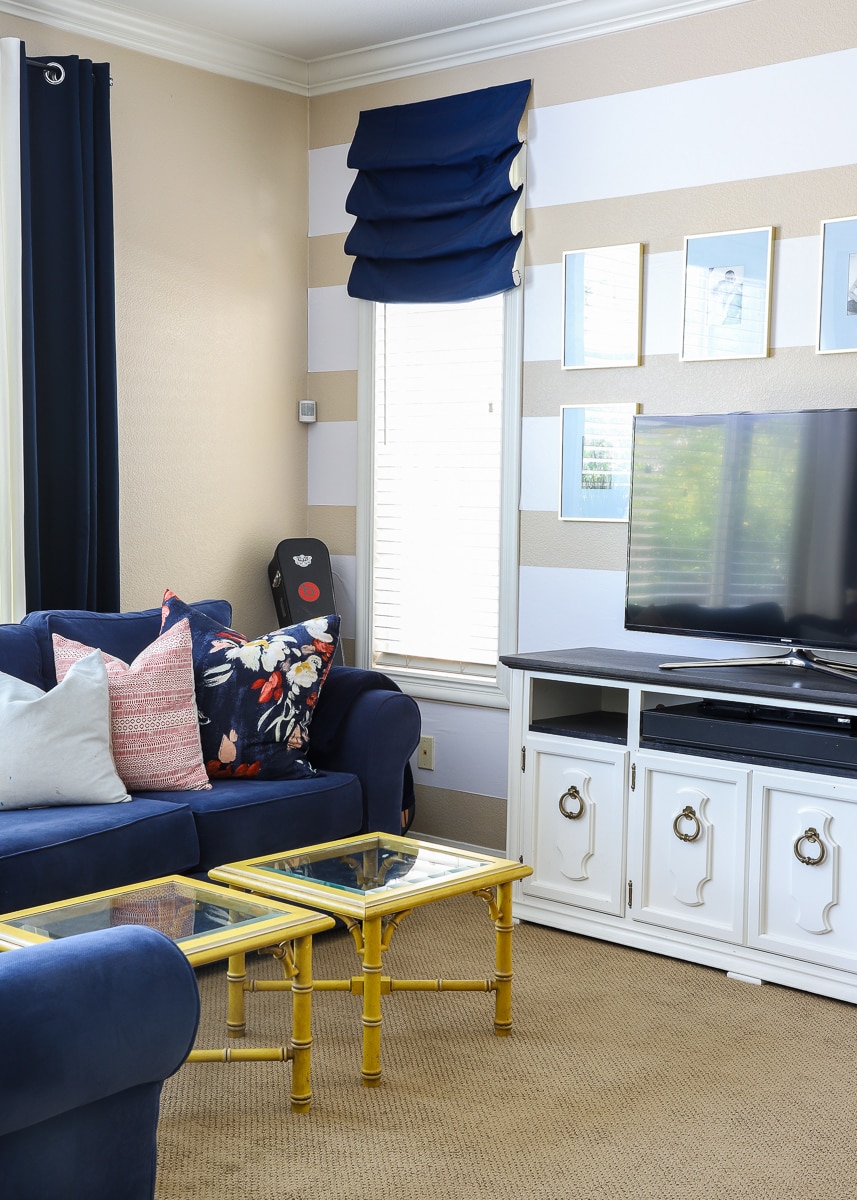
My faux “roman shades” remain one of my most successful renter-friendly projects. They were a great way to add something to these tall, skinny windows and will be a breeze to take down thanks to peel-and-stick Velcro and Command Strips!

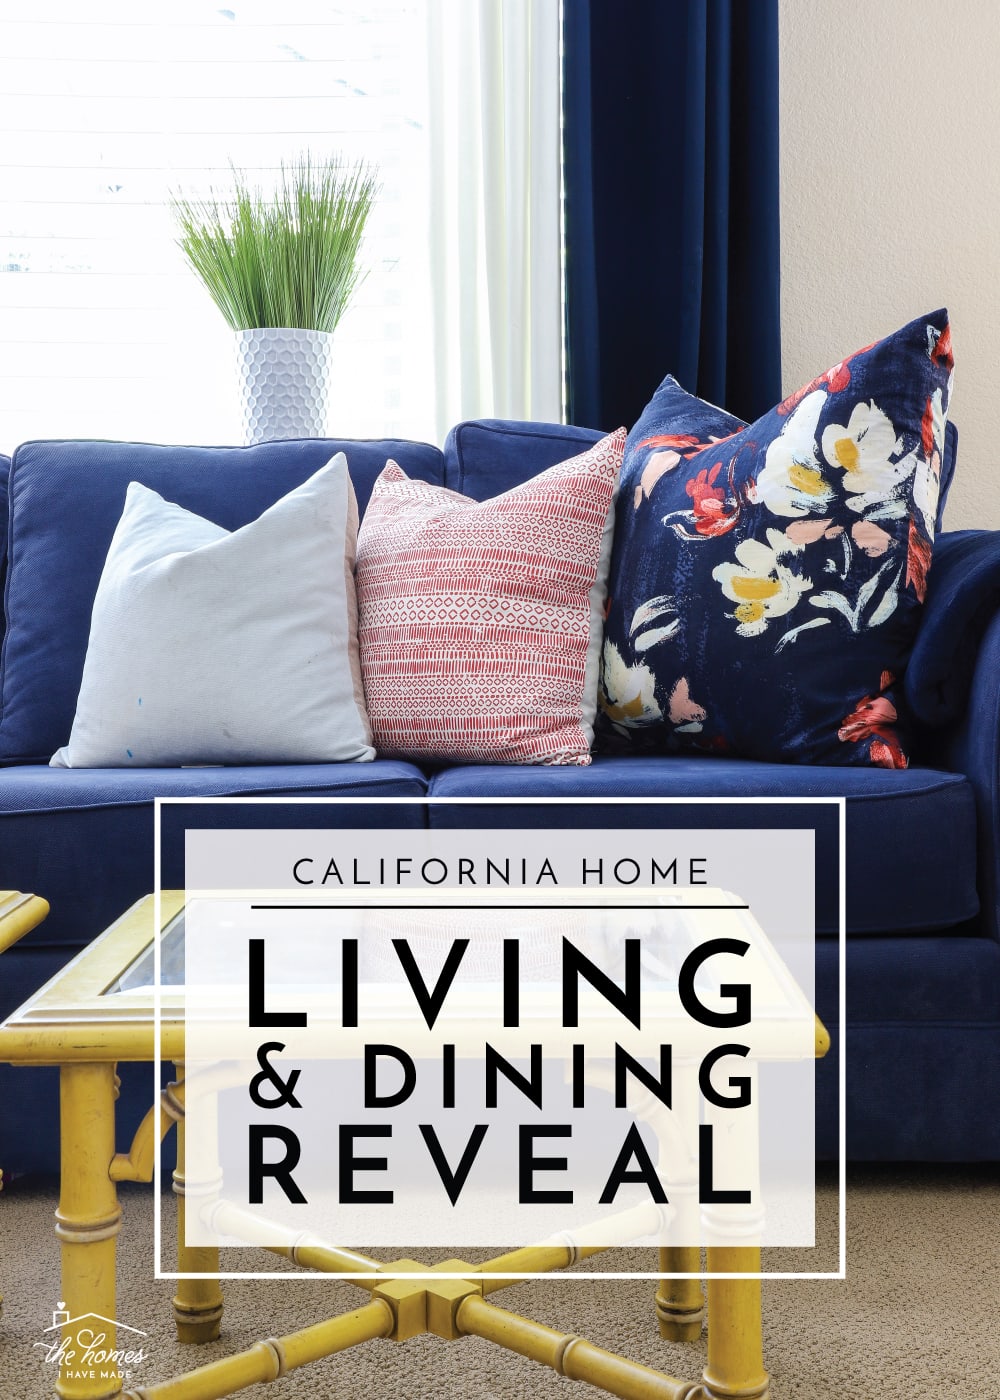
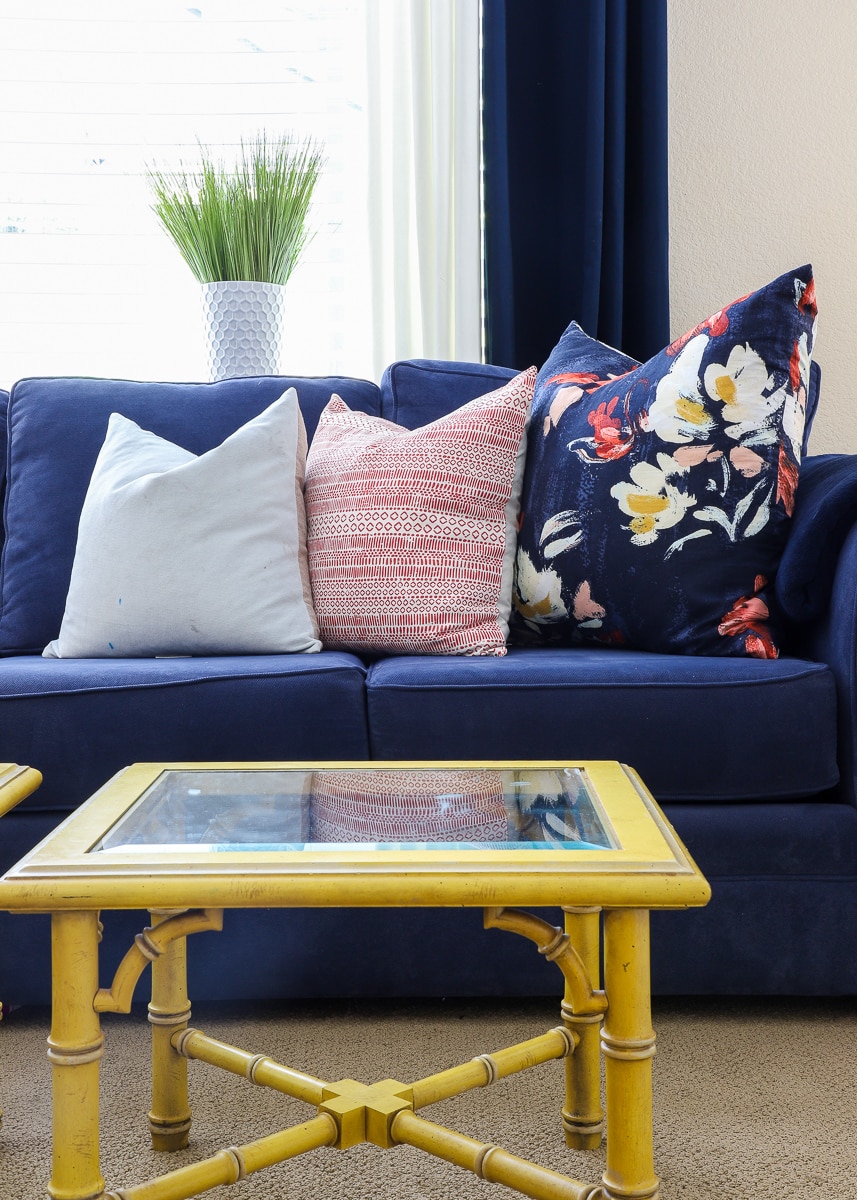
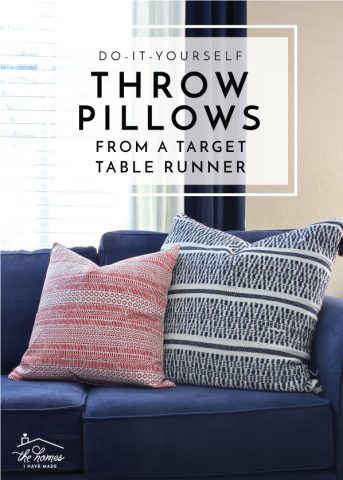
Ever since we bought our big, blue sectional, I’ve really struggled with the right pillow combination to make it feel complete but not too excessive. It turns out that symmetry and simplicity are key here because I finally landed on the right combo: 2 large floral pillows + 2 medium geometric pillows + 2 small solid pillows = just right!
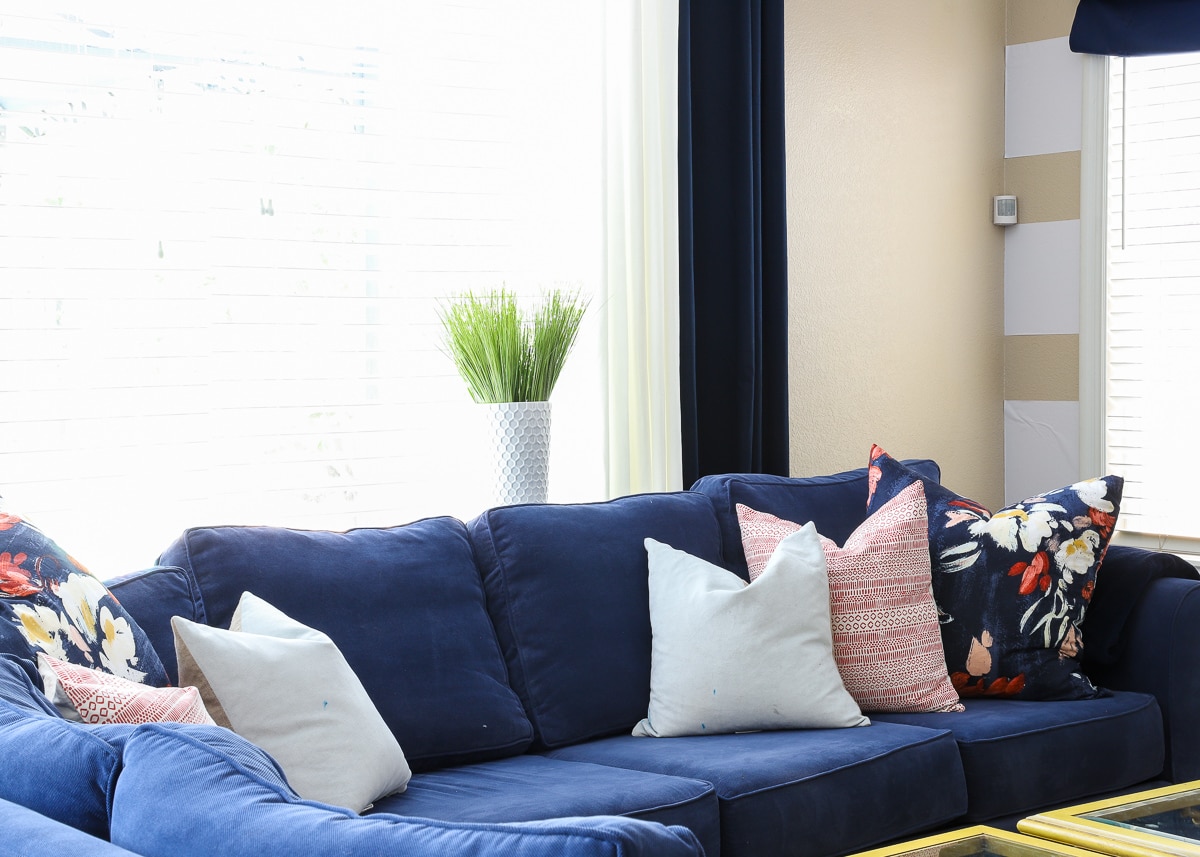
You likely recognize the red geometric pillows from this Target hack project. I’m happy to report they’ve held up beautifully (even better than the blue solid pillows I bought at HomeGoods!!). Do you recognize the floral fabric on the large pillows? Those pillow covers are made from the same shower curtain I used to make a matching valance for the adjoining kitchen. Not only do I LOVE that there is a connecting element across the entire downstairs space, but getting two large pillow covers and a window valance from one $15 shower curtain is a major score! I made my pillow covers using this method.
As you scan to the opposite side of the room, you’ll find the more “unfinished” half of the room. To start, when we had our flood last summer, a large section of our dry wall had to be removed and replaced. Admittedly, I never re-hung the white wallpaper stripes in the corner. And while I considered re-hanging them for this photo shoot, I just couldn’t justify the wallpaper, time and effort when it’s all going to come right back down. I also had plans to “tile” the ugly fireplace with some peel-and-stick wallpaper that matches the kitchen backsplash, but never got to that either. #keepingitreal
Want to save this post?
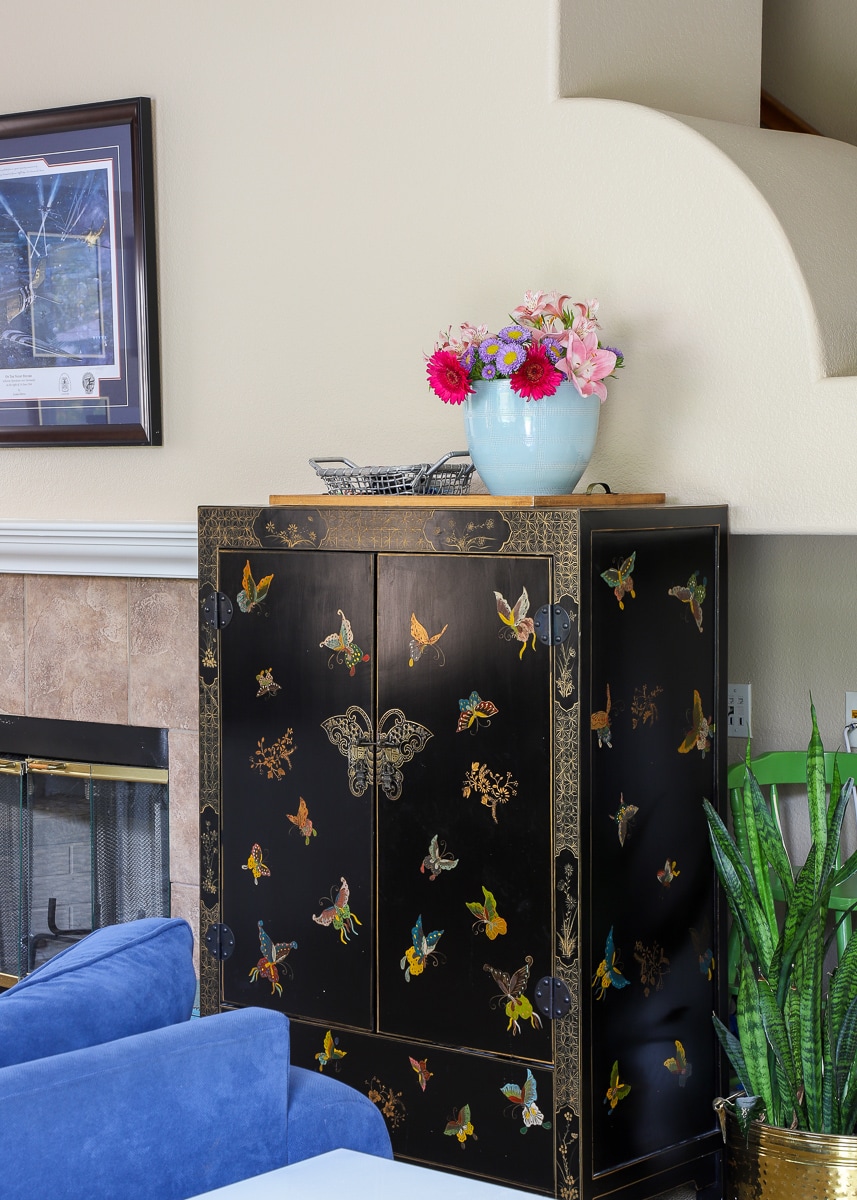
Next to the fireplace is a really awkward nook that used to hold a huge, dated, ugly, old TV cabinet. We removed the TV cabinet (and stored it safely in the garage) and used the empty nook to hold extra chairs, toys, etc. Our black butterfly cabinet did a decent job hiding the nook, and I strategically staged some plants to hide it even more. (I actually had a taller tree covering the opening but it’s died in recent weeks, and I’m not replacing it at this point!)
Tip! If there is something in your rental that’s preventing you from using the space as you need to, experiment to see if you can remove it. Once we discovered the TV cabinet was a single unit held in with just a few screws, we removed it to allow us to store our own items better. Just make sure you can store anything you remove safely so you can put it back when you leave!
Although this room didn’t come close to the light, bright, fun room of my dreams, considering the parameters I had to stay within (brown walls, brown carpet), I’m really pleased with what I was able to accomplish. Once I stopped fighting the brown and figured out a way to work with it instead, the room came together in a comfortable, natural, easy way!
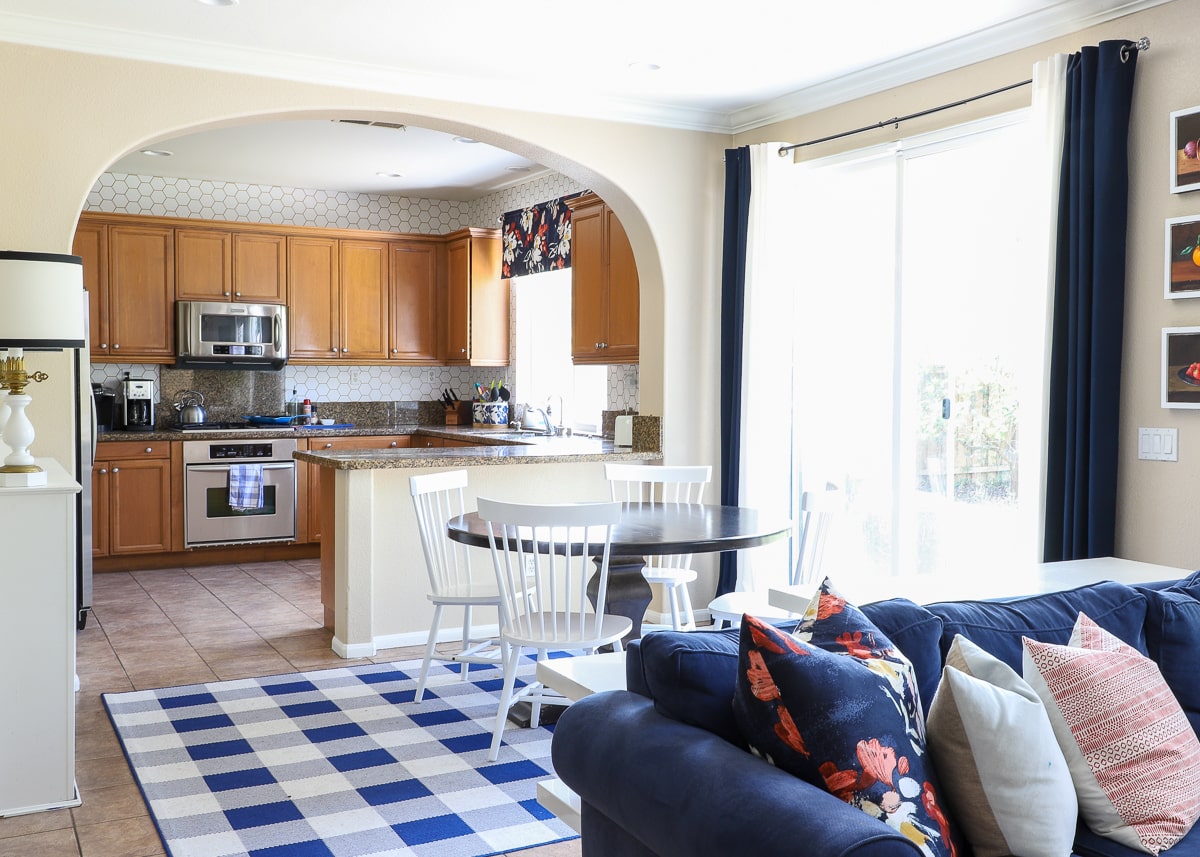
But what I love the most is how the living room works with the rest of the lower level. If you were to stand in front of the TV and turn around the face the kitchen, below is the view you’d see. Although the entire space (living room through to the kitchen) is very brown (tile, cabinets, walls, carpet), I was able to make it feel bright and cohesive through a consistent use of bright white elements and navy blue accents.
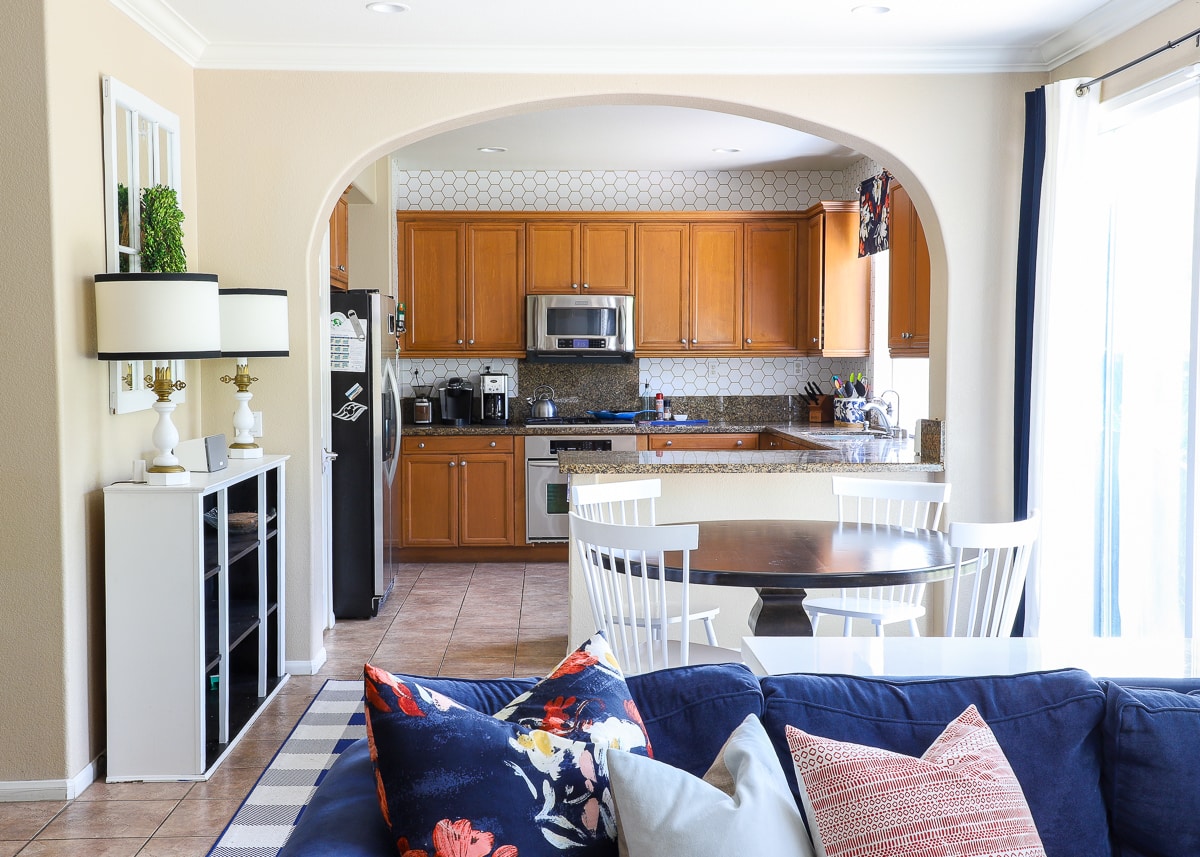
The dining room is hardly a room, which is why I’m not revealing it on its own. It’s very much the space between the kitchen and living room, and is dominated by huge sliding glass doors that lead to the backyard.
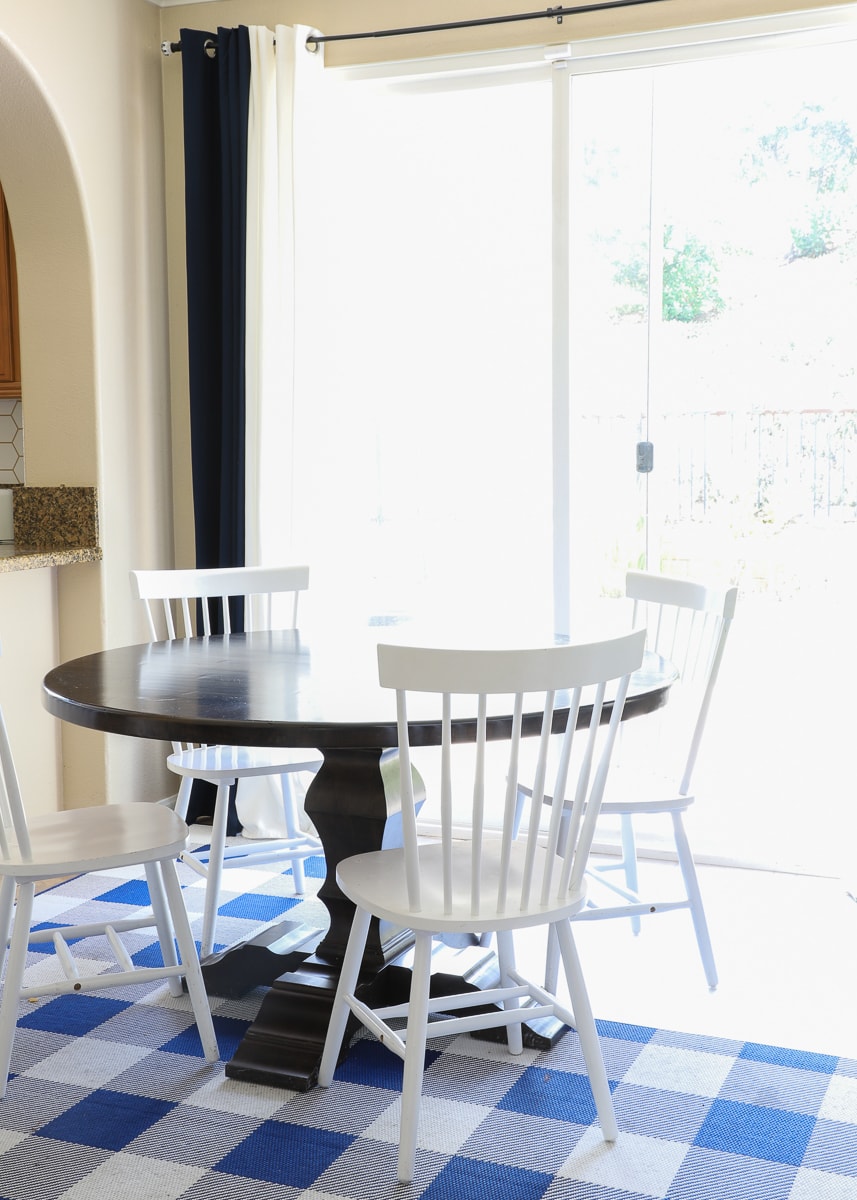
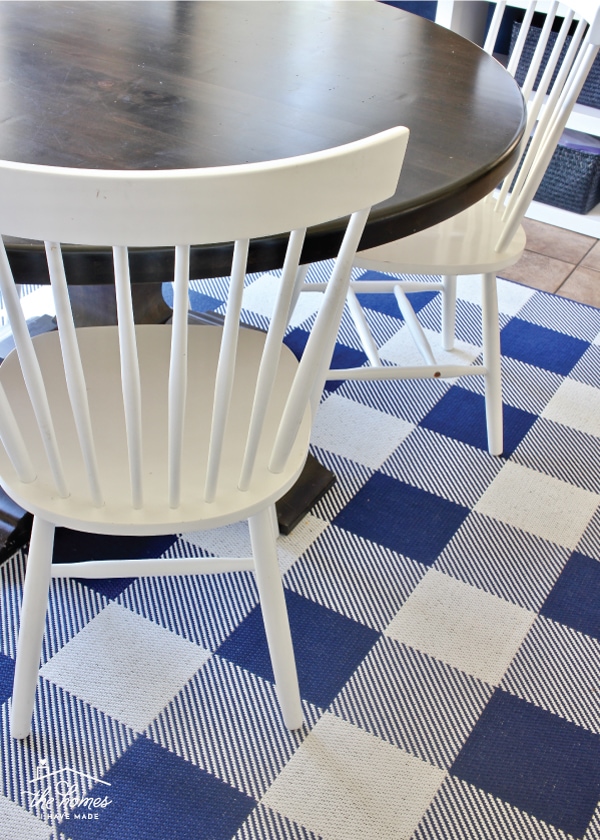
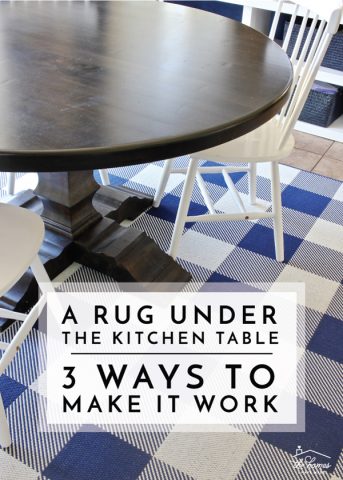
We invested in this solid wood table when we first moved into this home, and it’s easily one of my favorite things in our house. It’s the perfect blend of traditional and modern, we absolutely adore having a round table for family meals and social gatherings, and I love how the inexpensive Target chairs contrast with the dark wood. We have the whole arrangement on top of my favorite outdoor rug from Target. The blue-and-white check provides the perfect way to add color and pattern in this space, since we don’t really have any other large, dominant surfaces in the room.
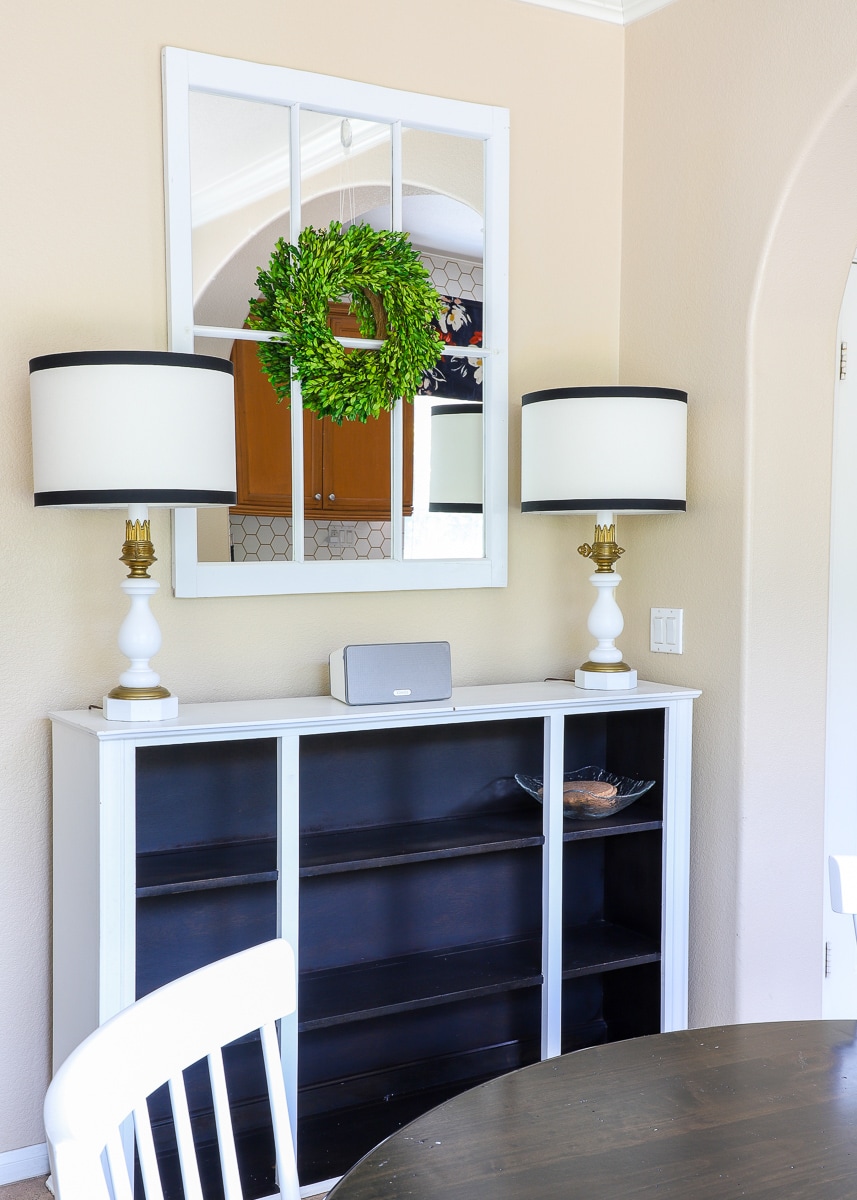
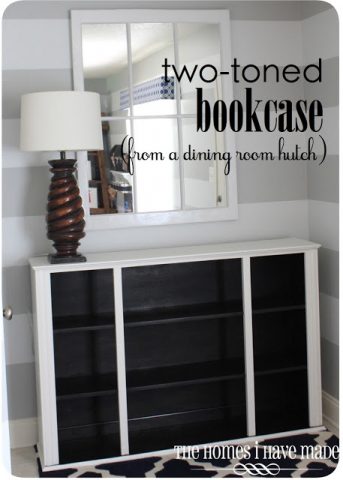
We usually store our array of beautiful white dishes on our dining hutch but life with a two year old just makes that too hard. Instead of storing clutter on these shelves, they remain open for play (they are great for trains and cars!) and holding things while entertaining.
One of the other things we did in this space that worked out better than we expected was placing a skinny white desk behind the couch. Admittedly, it landed here because we had no where else to put it. But it ended up serving two really useful purposes. We use it both as a sofa table where we can place drinks and snacks while watching TV, and it also serves as Greg’s work desk at home. When not in use, his laptop and other things get tucked away into those blue baskets. We didn’t have space in this house to give Greg a dedicated work space, but he loves being able to have a place to work while still seeing the TV!

While the colors and some of the design elements in this entire space aren’t what I would choose for my forever home, I really feel like this living room and dining room is a true “lemons out of lemonade” type situation. I reeeeaally struggled with getting started on this space because I couldn’t see past all the brown. But little by little, I chose details that I loved AND worked with the permanent aspects of the house. By carrying white, navy, gold, and a hint of red from one end of the space to the other, we ended up with a fresh and cohesive space that I genuinely, truly like!
If you would like to read more in-depth on any of the projects featured in our living and dining room, just click on a picture below!
New Projects Featured In This Space


Other Projects Seen In This Space

There’s a lot I want to wrap up in the kitchen, so I’m going to save those details for a different post! If you have any questions about what you see in this space, don’t hesitate to leave a question in the comments below! Again, thanks for your patience these past few weeks, and I’ll see you back here on Friday!
Megan
8 Comments on “Our California Rental’s Living and Dining Room Reveal”
I so feel you when it comes to a temp/PCS home and trying to make each one work without a huge investment (and will never get used again in the next house). One of my absolute favorite projects from your posts is the faux Ronan shades – brilliant! I turned old curtains from 3 PCSs ago into Roman shades using your amazing instructions. I have trouble getting rid of curtains even when they don’t fit any other windows. They are my one (well maybe one of) my guilty PCS pleasures – and a huge expense. This project allowed me to reuse one of my favorite curtain patterns – thank you!
Thanks for all of your inspirational posts – you have saved me time and money as I make my way through our new quarters.
Hi Jill!
Thank you for leaving such a kind comment! I absolutely love hearing that my ideas are inspiring other military spouses and it’s so fun that you even were able to re-purpose your curtains using my tutorials! Hooray – comments like these help me remember that what I do is worth it!
Thanks for making my night!
Megan
I love the way you worked in the yellows and oranges in the floral pillow and your mother’s art. Beautiful rooms, Megan! So impressive!
Honestly, I don’t know how you manage to do it at all, let alone with only two weeks respite! I’ve experienced the pregnant move-with-two-kids, it’s incredibly difficult. My house is still a shambles nearly two years later, though I think you’ll do much better starting from such an organised home. Good luck Megan, take all the time you need!
Your downstairs turned out beautiful. I felt your pain in your earlier posts about rental struggles. Your boys are not going to remember the brown carpet didn’t match all the pillows and curtains. They will remember the rainy day snuggles on the couch, play time with friends and family adventures. Best of wishes for your growing family, cross country move and settling into a new home. I will patiently wait for your next post.
Dedicated Reader
You have done a terrific job making this house a real, comfortable, and cheerful home! I enjoy seeing what you do, with your clever ideas and great energy, and you always create a fresh, appealing space. Good luck with the move and the new baby, and enjoy your time with the little ones, which is very fleeting.
Beautiful (as always).I admire your lemonade out of lemons. Would you please share info on your desk/sofa table? Would love to do something similar in our newly PCS’d into home. Thank you and good luck for an uneventful move!
I love your sweet home!! Again, you give so much hope and excitement to my husband and me as we look ahead to future moves in the Marine Corps! I’m also so thankful for your moving tips. We have our first move coming up way sooner than we expected. All of a sudden my husband’s training is literally flying by, which is a blessing! And we will be moving shortly.
Recently I shared with my friends and family, our little journey in decorating our first home together. The blog post is called “Prayer and Craigslist: Making a Home!!” https://pearlsofhistory.com/ I’m hopeful our future homes in the USMC will be just as sweet and special as yours!
Thanks again for your encouraging words and congratulations on your pregnancy!!