DIY Faux Roman Shades
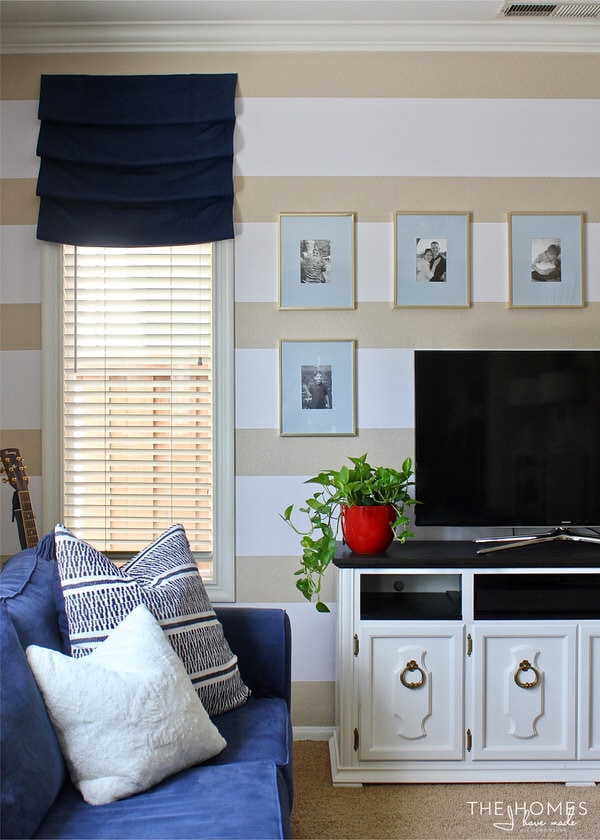
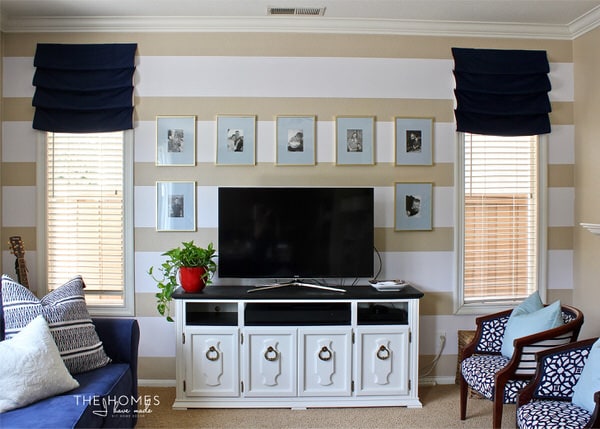
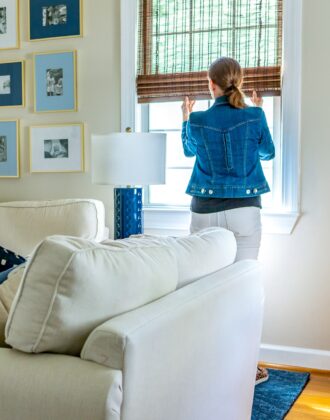
Roman shades are easily one of my favorite window treatments ever. I love the crisp, clean chunk of fabric at the top of a window (especially if they are done in a great fabric or have an interesting ribbon detail), and I think they are a great solution when you want something on your windows but don’t want the fuss of long curtains. The problem with roman shades? They are very window specific (because the measurements have to be just right), they can be veeeery expensive, the cords can be dangerous for kids, and they are a little intimidating to DIY. (In fact, I’ve been too scared to give “real” roman shades a try, and instead have opted to update off-the-shelf versions or use “cheater” methods like the one I’m going to share today.) After we applied the stripes to the wall in our family room recently, it became very clear we were going to need something on the windows. But since they are super tall and skinny, have nice trim all the way around them, and have functioning wood blinds for privacy, neither traditional curtains nor functioning roman shades seemed necessary. After giving various options some consideration, I decided to re-use the “no-sew, hardware free roman shades” from our Kansas kitchen…but with a few modifications and improvements. If you need a simple, inexpensive, out-of-the-box, temporary way to dress up a window in your home, give this simple renter-friendly roman shade project a try!

Our “Roman Shade”
These “roman shades” are simple rectangles of fabric, trimmed and sewn to fit a specific window, and hung with tiny, clear Command Strips in a way to mimic a traditional roman shade. It’s important to note here that these shades are completely immobile, so they should be used for decorative purposes only.
Materials Needed
If you’d like to make these renter-friendly roman shades for your home, here is what you need:
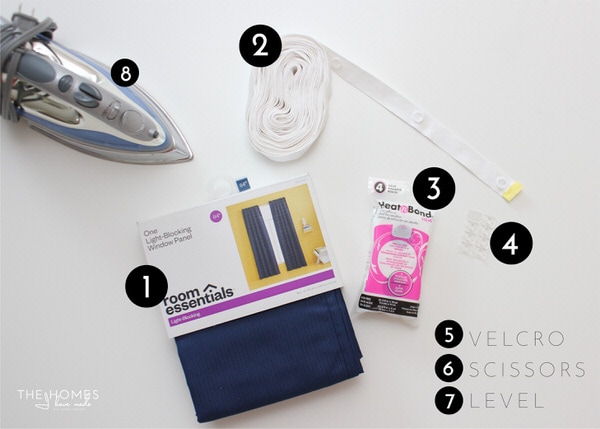
- Fabric – Any fabric will do, however I strongly recommend buying home decor-weight fabric or a pre-made curtain. I used an inexpensive blackout curtain from Target. Not only does the blackout lining prevent light from shining through, but it also helps give the shade a more rigid, structured shape (which helps greatly in this kind of hack method!).
- Iron-on Hem Tape
 OR a sewing machine with coordinating thread – You will need to be able to hem your fabric panel and attached the hook tape along the sides. You can do this by sewing or using Heat-n-Bond transfer tape for a no-sew method. Pick whichever you are more comfortable with!
 - Roman Shade Tape – Roman shade “hook tape” makes hanging these shades with even folds really simple and quick. This tape is inexpensive and can be found at any fabric store.
- Velcro – I recommend using BOTH peel-and-stick Velcro AND sew-on Velcro. I’ll explain why below, just be sure to get enough to stretch across the width of your window(s).
- Mini Clear Command Strips – The tiny, clean command strips are the easiest and most inexpensive way to hang your shade in a renter-friendly way!
- Tools – Scissors, level, iron.
 OR a sewing machine with coordinating thread – You will need to be able to hem your fabric panel and attached the hook tape along the sides. You can do this by sewing or using Heat-n-Bond transfer tape for a no-sew method. Pick whichever you are more comfortable with!
 – The tiny, clean command strips are the easiest and most inexpensive way to hang your shade in a renter-friendly way!
How to Make a Faux Roman Shade
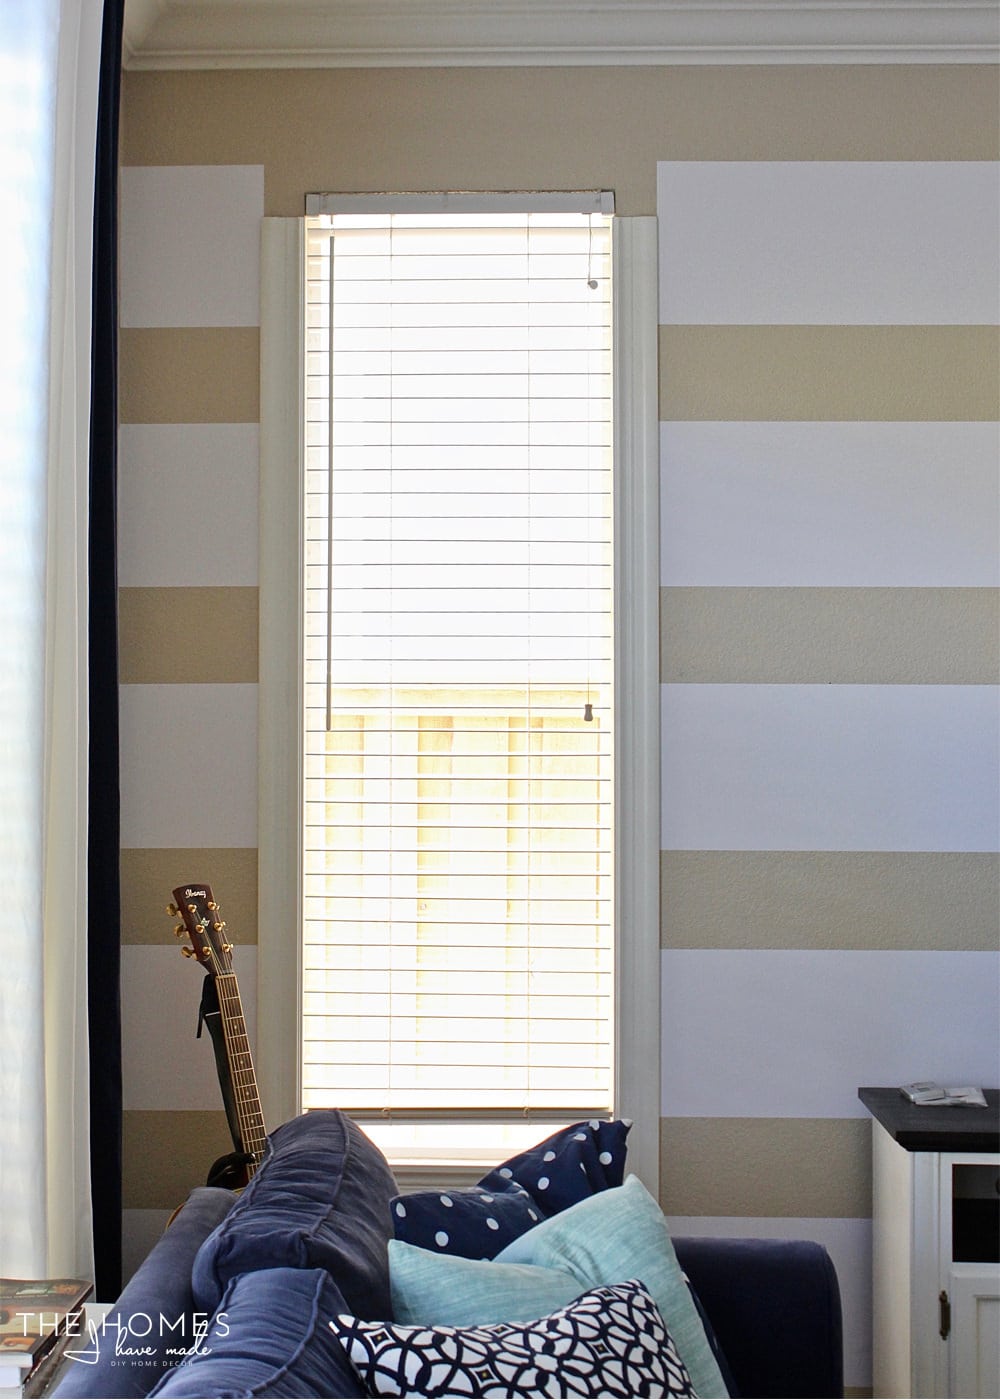
Step 1 – Measure Your Window
Start by measuring your window and determining how wide and how long you want your finished shade to be. Where your shade stops and starts, how many folds you want it to have, and if your shade sits inside or outside the window casing are all personal preferences. So give it some thought, sketch out ideas if necessary, and notate your final finished measurement requirements. Our windows were a bit unique. They had thick molding around the sides and bottom, but there was none along the top…leaving a really awkward gap between where the shade needed to go and the top of the side moulding. Therefor, I determined that we could start the shade above the frame of the window, but needed it to be wide enough to hang the on the trim (rather than inset into the window, which was my preference). This project can be done either inside the window frame/trim or outside, so study your window and determine what will work best for you!
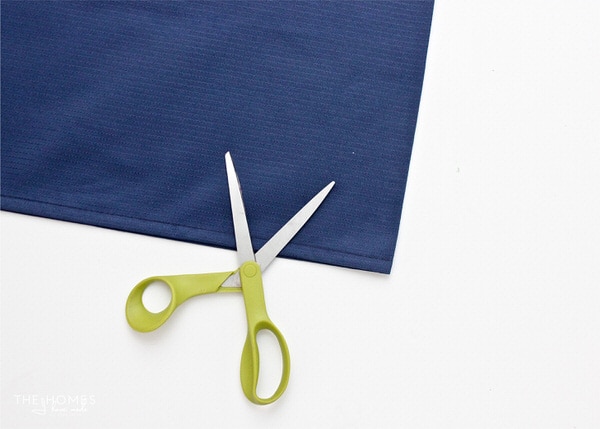
Step 2 – Cut Your Fabric
To cut your fabric, you will need to take your final measurements and adjust them a bit to account for hemming on all sides, as well as extra length for the folds. There is no hard and fast measurement here. I recommend adding at least 1-2″ on all four sides for hemming the raw edges under, and then adding at least 2-4″ in length for every fold you want to have. In all honestly, I wouldn’t drive yourself crazy with measurements here. It is important to get the width right (so it will fit in or around your window as necessary), but excess length can always be accounted for when you hang the shade (you’ll just have more or bigger folds). Just make sure you cut a stretch of fabric long enough to allow for several folds while still giving you the total finished length you desire.
For reference, my finished shade is 29.5″ by 30″ on a window that is 29″ wide. I cut my fabric to 33.5″ x 44″ long.
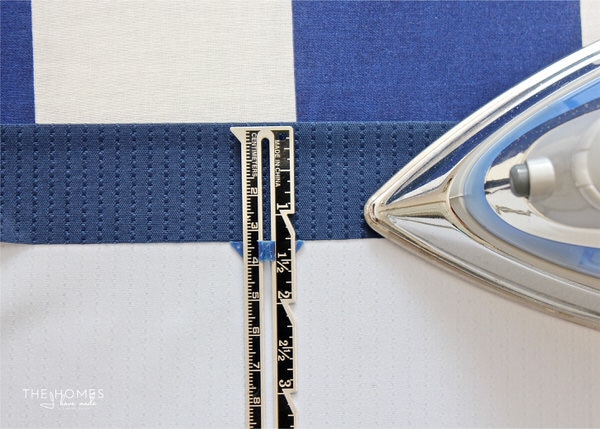
Step 3 – Hem All Sides
So that you don’t have raw (unfinished) edges on your finished product, you’ll need to hem up all four sides of your shade. Start by ironing over 1-2″ of fabric toward the wrong side of your panel. Use a seam gauge to help you stay consistent down the full length of the panel.
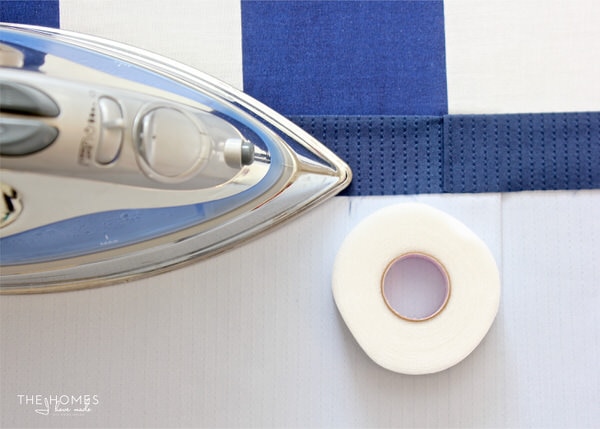
Once ironed down, you can either pin and sew the hem with a sewing machine or use Heat-n-Bond Hem Tape inside the fold to hold the hem in place.
Want to save this post?
Repeat on all four sides of your panel. It’s important to note here that the hemmed width of your panel should match your desired finished width you noted in Step 1. So for example, if you needed a 30″ wide shade, your panel should measure 30″ once it’s hemmed on both sides. The length isn’t important here…that can be adjusted when it’s hung.
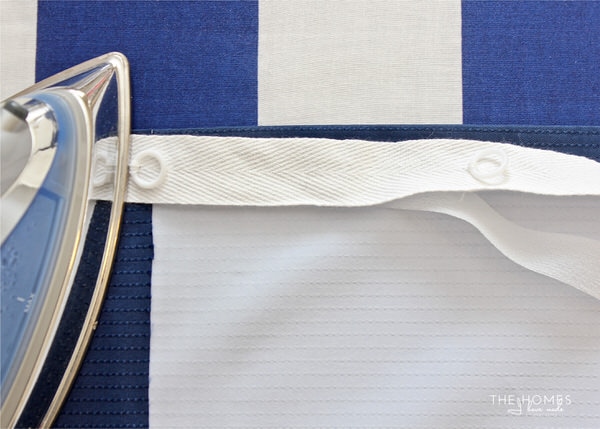
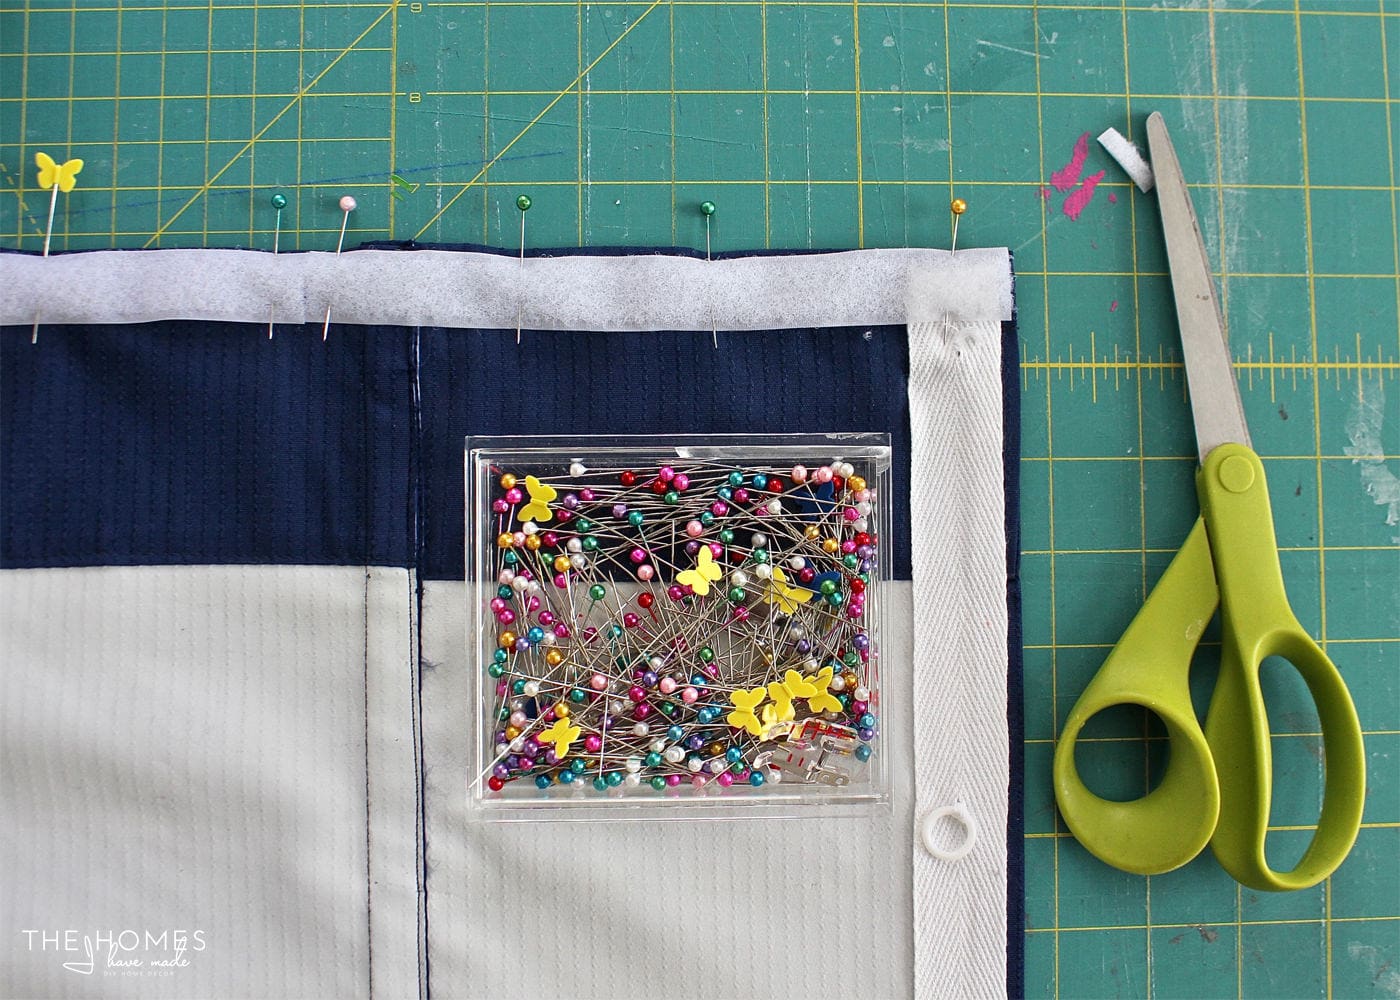
Step 4 – Attach Hook Tape
Next, use a sewing machine or more Heat-n-Bond tape to attach the hook tape down both SIDES of your panel. Before sewing/ironing in place, ensure the first loop on the tape is at the same “height” on both sides (although where exactly that loop is doesn’t matter much!)
Step 5 – Attach Velcro
The final step before you can hang your panel and actually turn it into a “roman shade” is to add Velcro along the top. This is what will hold your panel to the wall. I did not do this part when I installed similar shades in our Kansas kitchen. Then, I just used the command strips to hold the top in place along the sides, but I felt the shades always seemed a bit droopy in the top, center of the panel. To combat this, I recommend attaching a strip of Velcro across the entire width of the very top of your panel. Now, as far as peel-and-stick versus sew-on Velcro…that can be a personal choice.

From working with both kinds of Velcro on lots of different projects over the years, I’ve found the peel-and-stick version, while VERY sticky, doesn’t work well on fabric long-term. Now, a shade on a window will not likely be “interacted with” much, so you might be safe using the peel-and-stick version on both the fabric and the wall. I didn’t want to risk the treatments falling down, so I chose to use sew-on Velcro (the soft side) on the curtain itself and then the peel-and-stick kind (the prickly side) to attach the curtain to the wall.
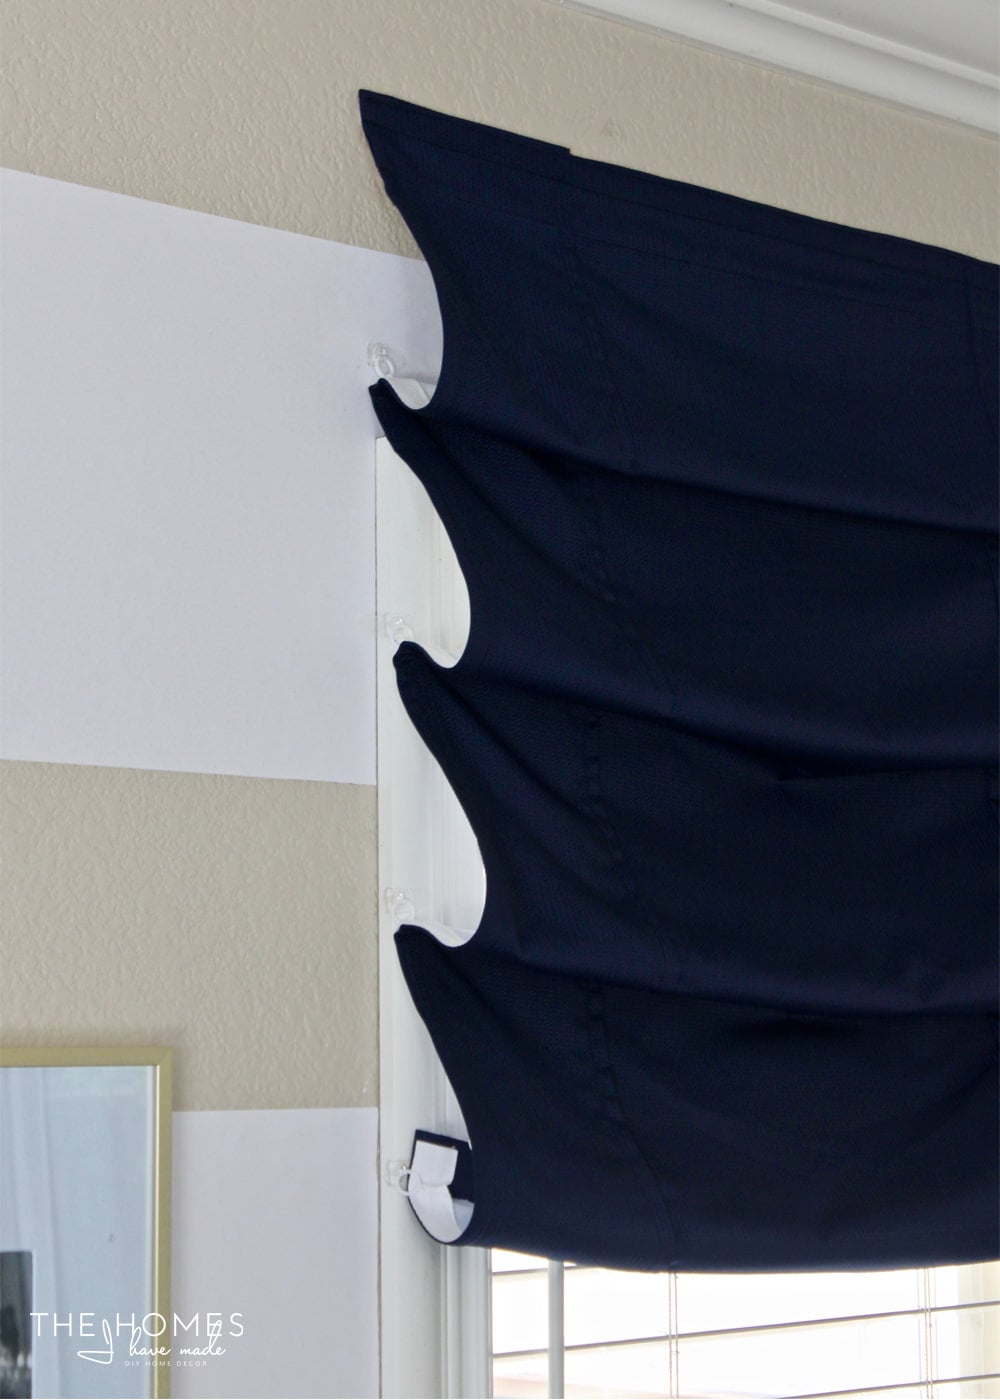
Step 6 – Determine Hook Placement
Your curtain is done and ready to hang, but now it’s time to stick the mini Command Strips at a height that will allow you to create the folds of your “roman shade.” Where you place the little hooks is purely a personal preference, depending on how tight and how many folds you want. I placed my first set of hooks 6″ below where the top of my shade would sit, and then every 6″ down from there for a total of 4 rows of hooks. Be sure to keep the spacing between your hooks consistent (so that your folds end up the same height), and use a level to ensure the hooks on either side of the window are even.
Step 7 – Hang the Roman Shade
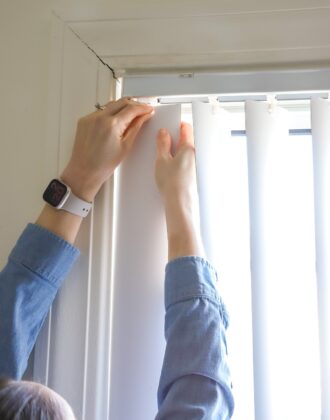
With the hooks on your windows, you can finally hang your roman shade! Peel off the tape backing of the peel-and-stick Velcro along the top of your curtain. Use a level (or a friend’s eye) to help you stick the top of the curtain panel across the top of the window at your desired height. In my case, the top of my shade is stuck directly to the wall to match the curtain height on other windows in the room. Press the Velcro down firmly to ensure your shade is stuck to the wall/window. Next, hook the loops along the back, sides of the shade onto the mini Command hooks. You may have to play around with which hooks you want to use to create folds that look the best. At the bottom, you can choose to leave the panel flat or tuck it under (as shown) based on your preference!
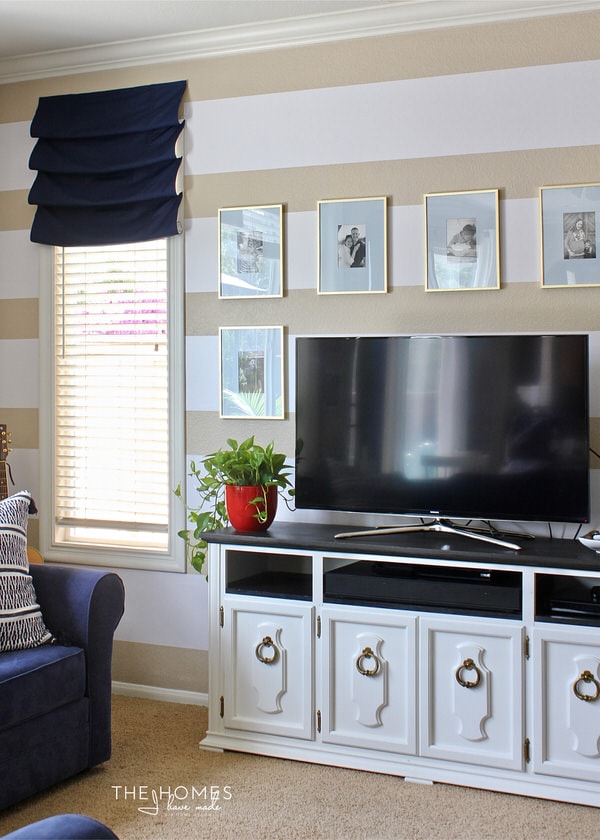
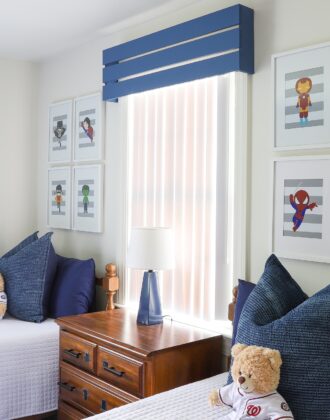
And that’s it! I’m pretty excited that I was able to re-use the panels I hung in our Kansas home (I just had to narrow them down to fit these windows) and modify my method a bit to make these shades a bit more sturdy and uniform. I’m thrilled with the results, and I think they finish off the windows in a nice and simple way. And the best part? These panels cost me about $8 total (when I originally bought the curtain) plus a few dollars for the mini Command Hooks…so if they can’t be re-purposed again in our next home, I’m not out the hundreds or thousands of dollars “real” roman shades would have cost me!
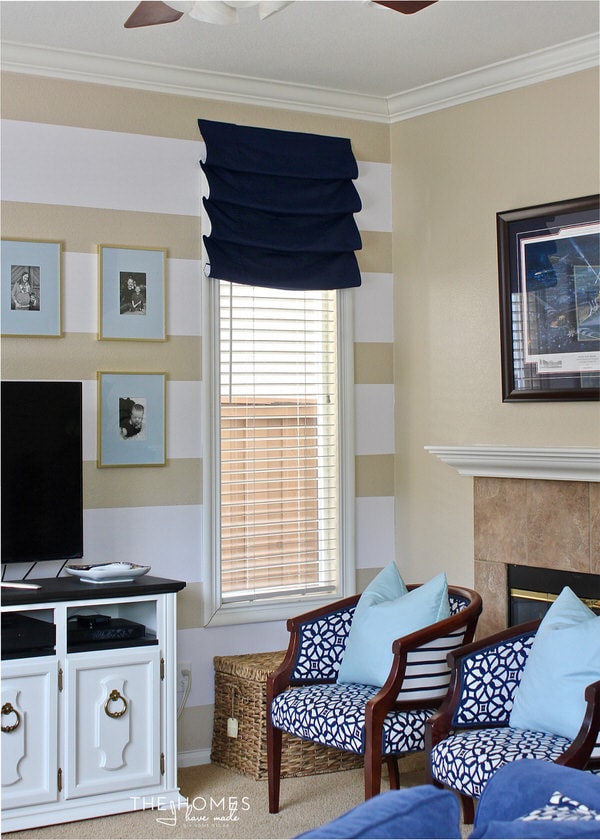
If you need a quick, temporary, and/or budget-friendly way to add something to your windows, I highly recommend giving this DIY Faux Roman Shade project a try! They are quick and easy to make (I think both took me about an hour total), don’t require any fancy or complicated DIY skills, and are a relatively low investment (as far as window treatments go). They are an ideal way to put a treatment on your windows when a curtain isn’t quite right and you’re not ready to invest in “real” alternatives!
Other Great Window DIYs To Try
Looking for other great solutions for your windows? I've got you covered with these other smart DIYs!
- How to Make a Window Valance with Foam Insulation
- How to Sew a Window Valance
- How to Make a Window Valance with Foam Core Board & Wallpaper
- DIY Modern Wood Valance
- DIY Cornice Box with Scalloped Edges
- How to Hem Curtains | A Foolproof Method!
- How to Hem Curtains Without Sewing
- How to Widen Store Bought Curtains | An Easy Fix!
- How to Remove Vertical Blinds
- How to Install Your Own Blinds or Shades
- Roller Shades for Windows (When Curtains Aren’t an Option!)
- How to Hang a Curtain Rod Without Drilling into the Wall
- How to Hang Curtains On Rings (With Perfect Results!)
- How to Hang Curtains In a Corner Window
- 6 Easy DIY Window Valance Ideas (You Can Totally Make In an Afternoon)
I hope you all had a great week! I’ve been hustling away on our foyer makeover, as well as finally getting some much-needed organization solutions situated in Henry’s room…so look for both of those projects to hit the blog soon. Next week I’m going to be sharing a few art (Tuesday) and framing tips (Friday) I’ve learned as I pulled the foyer gallery wall together! Have a great weekend, and see you then!
Megan
2 Comments on “DIY Faux Roman Shades”
Thank you for this……! I’m in a rental and I really have fancied some Roman Blinds for quite some time but didn’t have the courage to tackle making a “real” one by myself, and can’t afford to get someone in to make them.
So after reading this tutorial I’m going to have a go….. just a small window in my second bedroom/office……if only to prove to myself that I can follow your very clear directions…!
I love this idea and your step by step instructions! When you move, what do you do with the Velcro strip that’s on the wall? Do you remove it? Won’t it take the paint off the wall?