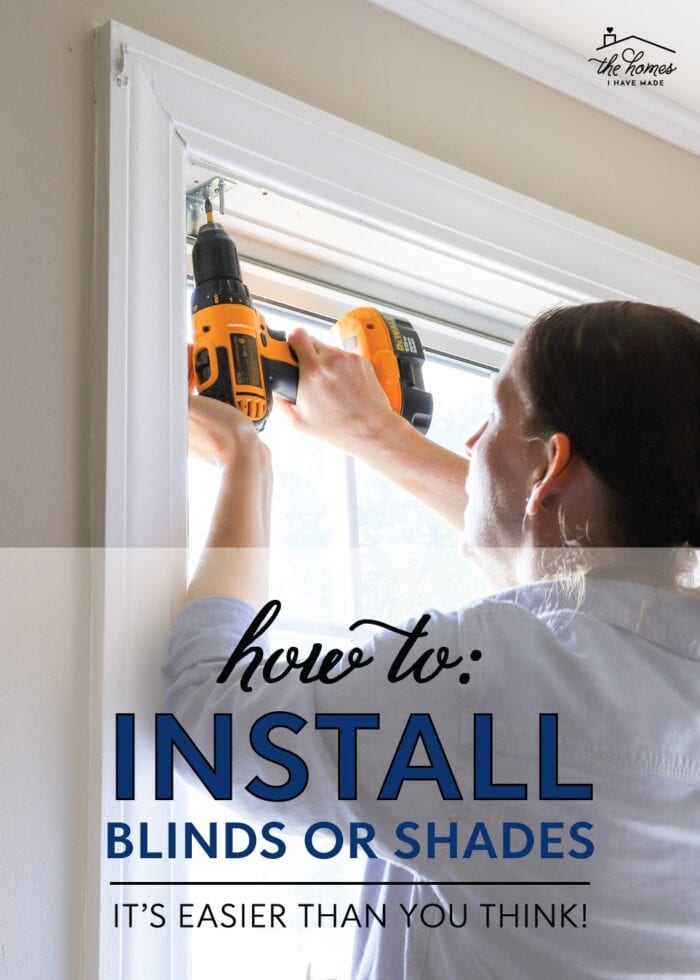
Installing Your Own Blinds or Shades | It’s Easier Than You Think!
I spend a lot of time around here chatting about curtains. And while I do believe hanging curtains is (almost) always a good idea, there are other window treatments you might want to consider too! Whether you’re looking to enhance privacy, light control, design, or something else, shades and blinds can be both a stylish and cost effective alternative to curtains. So today, I’m teaching you how to install blinds or shades on your windows…an easy 1-hour DIY almost anyone can tackle!
Why Install Your Own Blinds or Shades
There are lost of reasons to consider blinds or shades (in addition to or instead of curtains, valances, shutters, etc). Ranging from functional purposes (such as light filtering and privacy) to more decorative purposes (added texture, interest, etc), shades are definitely worth considering whether you rent OR own your home!
Privacy
Privacy is one of the primary reasons to hang blinds or shades on your windows. They are an easy-to-install and budget-friendly option that allows you to put something on your windows quickly…especially if you’re not planning on hanging curtains (or you aren’t quite ready to do so).
If you move into a space with nothing on the windows, blinds or shades are likely to be one of your very first purchases!
Light Control
If the existing blinds or curtains already on your windows do not provide sufficient light control, shades and blinds can be a great fix. Since they come in a wide range of opacities (from light filtering up to black out), they can help block nuisance light when needed (such as early morning sun coming in at a harsh angle) or darken a room entirely.
Additionally, if you prefer to use curtains/drapes as decorations only, shades or blinds are a great way to control the light without having to constantly open/close fabric panels.
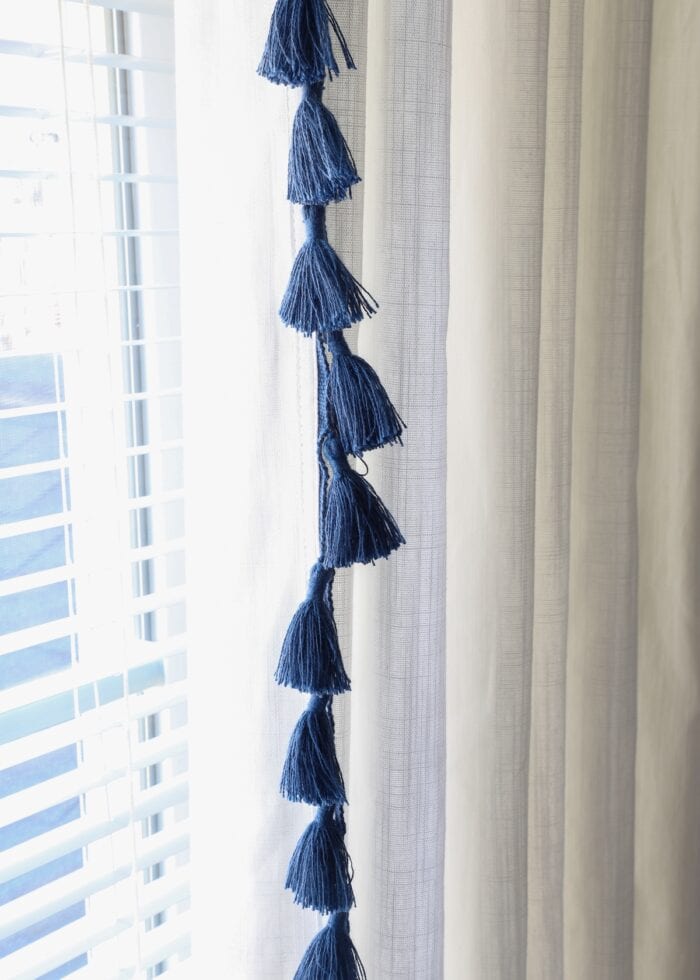
Style
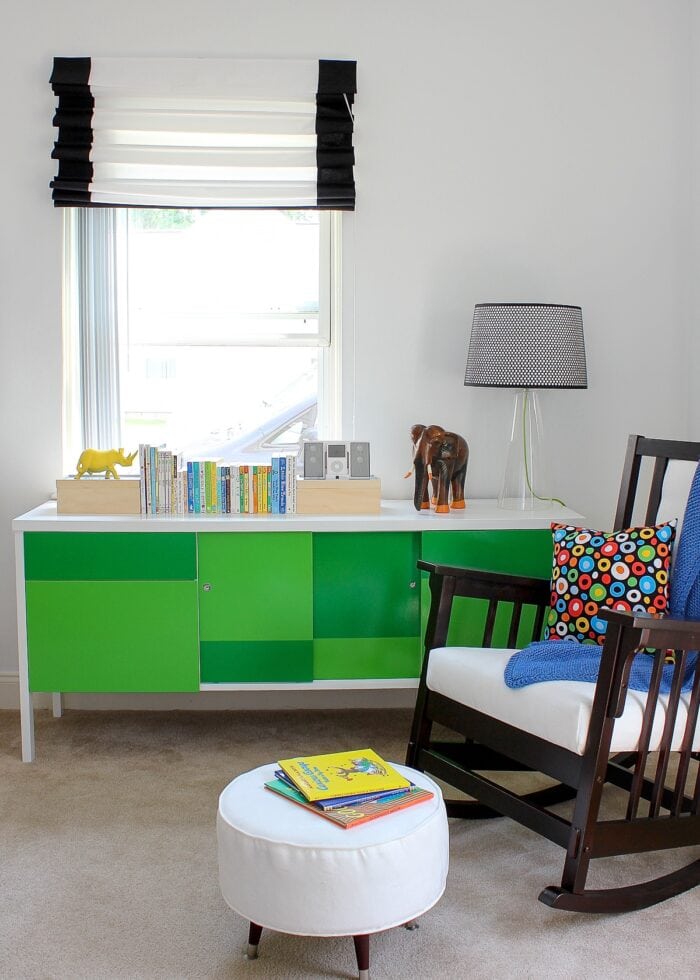
Another reason to consider adding blinds or shades is to elevate the style factor in a space.
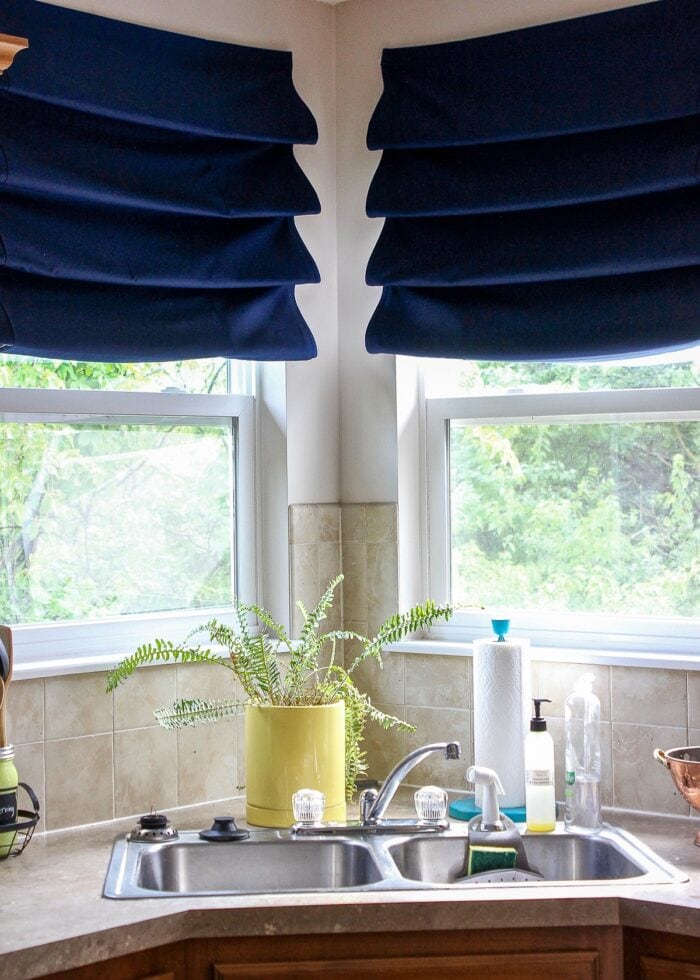
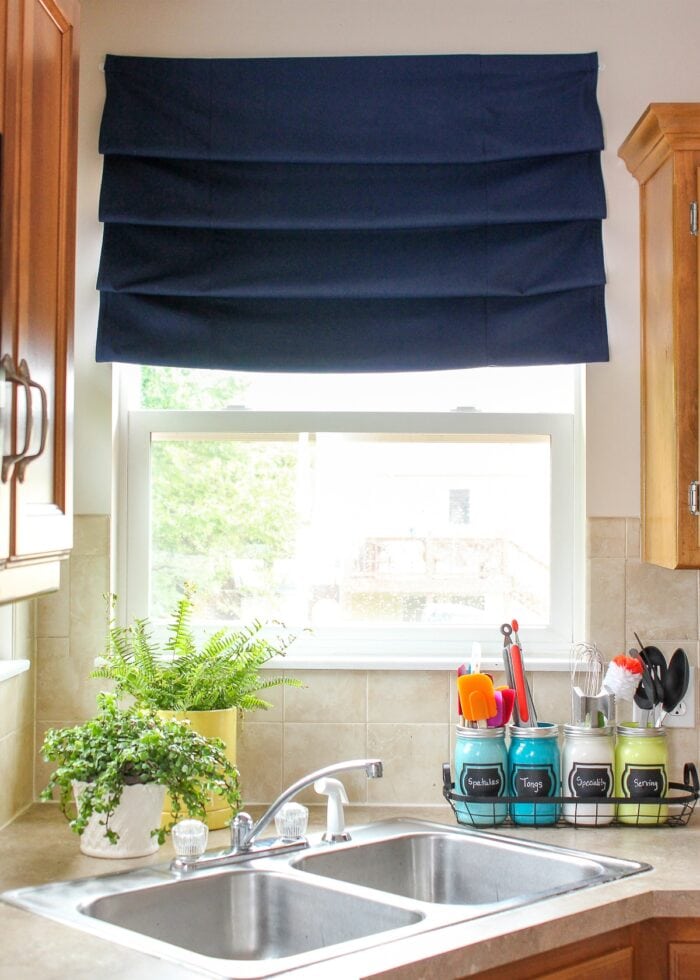
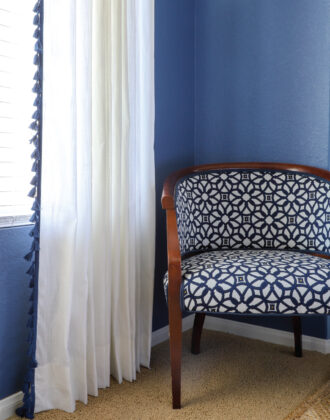
Fabric shades can add color or pattern to an otherwise bland wall, while wooden shades provide interesting texture and warmth.
When Curtains Won’t Work
Finally, shades and blinds are an excellent solution when long curtain panels just aren’t viable. Whether you have awkward shaped windows or a furniture layout that precludes curtains from reaching the floor, you can instead install blinds or shades to add color, pattern, texture, and design when curtains are off the table!
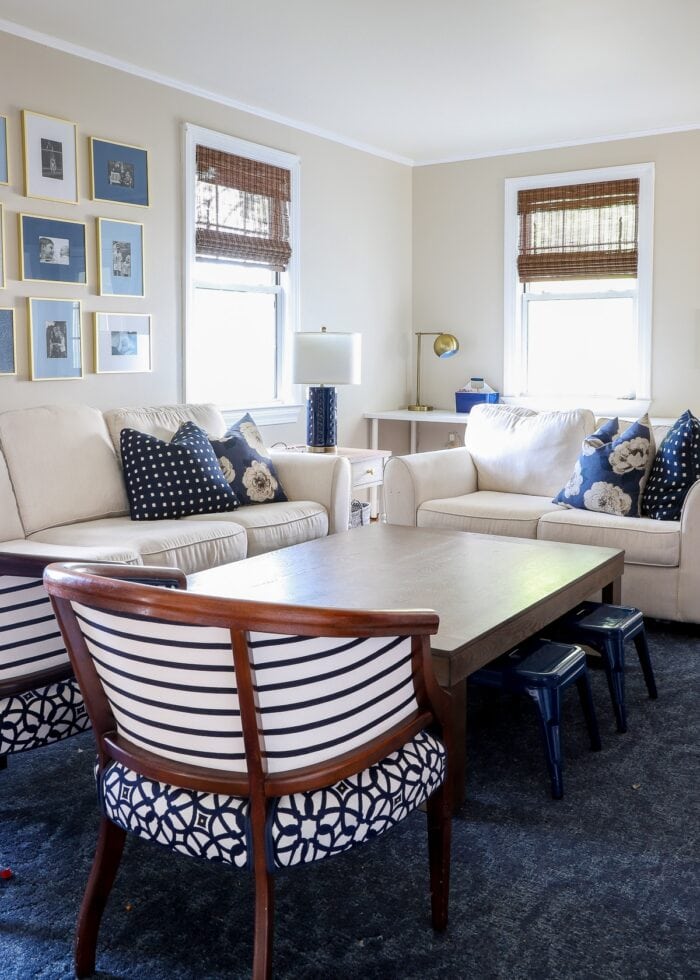
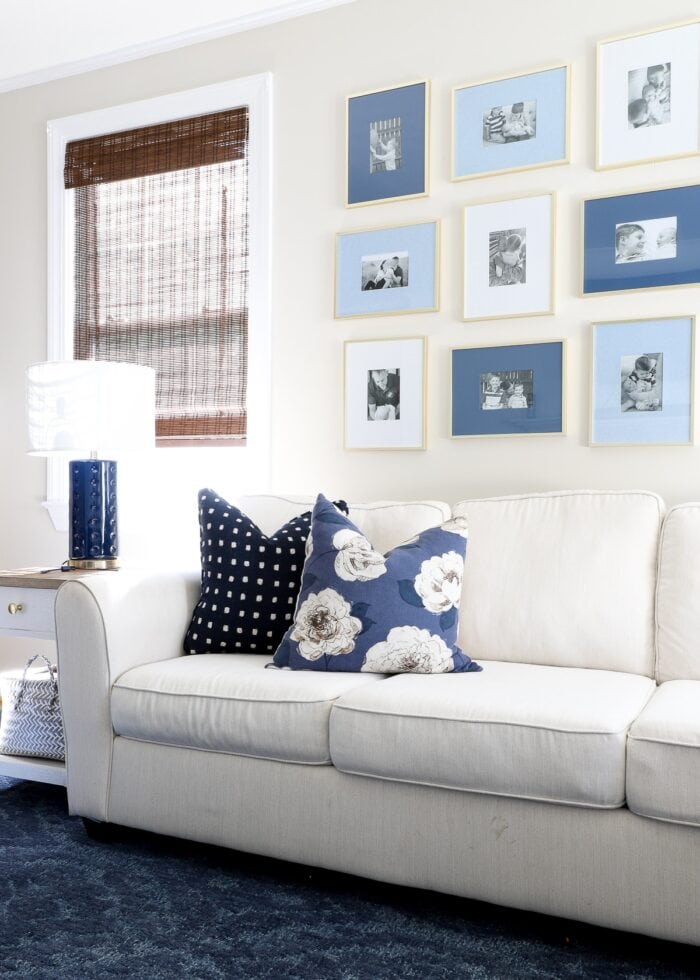
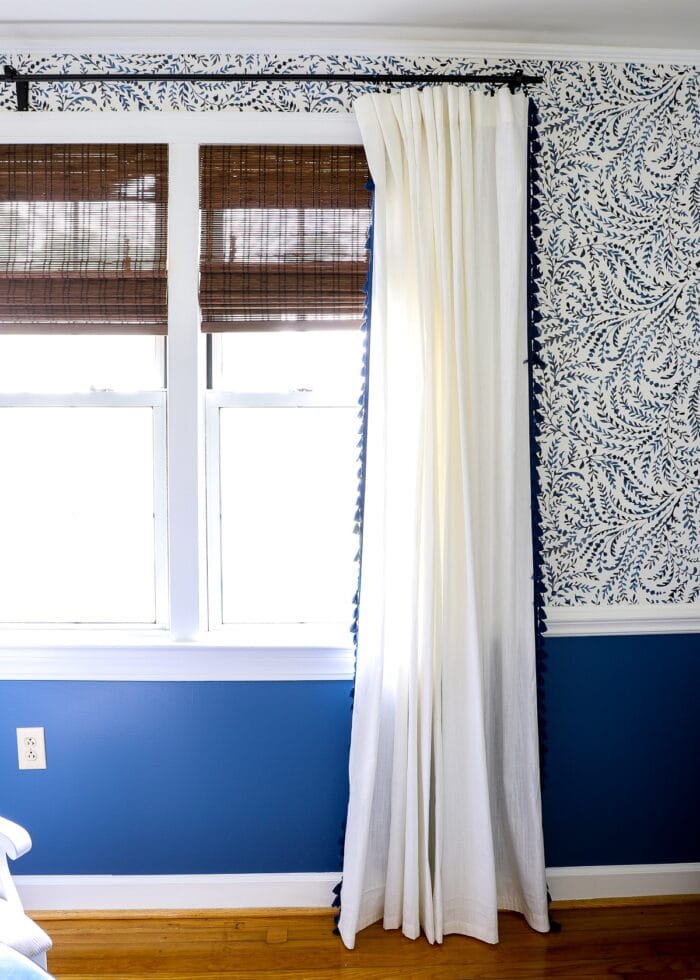
This was primarily the case in our current family room. I loathed the existing vertical blinds already on the windows. But thanks to our furniture arrangement, my usual long curtains really weren’t a great option either.

Swapping the existing vertical blinds for dark bamboo shades allowed me to get the texture and style I usually achieve with curtains, but in a way that works better with our furniture layout!
Materials Needed
It is really quite easy to install blinds or shades, as long as you know how to operate a drill/electric screwdriver. Here is what you’ll need:
- Blinds or Shades – These can range from faux wood blinds to fabric shades to roller shades and anything in between. Be sure to measure your window appropriately so that they cover the window opening AND the bottom rail reaches the window sill (more information below). These are the bamboo shades demo’d in this post.
- Included Hardware
- Drill with Drill Bits
- Measuring Tape
- Pencil
- Step Stool or Ladder
- Level (Outside Mount only)
Deciding Between Inside Mount and Outside Mount Shades/Blinds
When shopping for blinds or shades, you will most certainly come across the terms “Interior Mount” or “Exterior Mount.” It’s important that you understand what these terms mean, as they directly impact the size of shades/blinds you need for your window.
Inside or Interior Mount refers to installing shades within the window frame, as shown below. Since the blind/shade sits completely inside the window well, determine your needed shade size by measuring “wall to wall,” as in between the sides of the window frame. When shopping for inside-mounted blinds, they CANNOT be wider than this interior window measurement.
Outside or Exterior Mount is when the side of the shade sits outside the window frame, as shown below.
Since outside-mounted blinds sit completely outside the window well, you have a bit more discretion on sizing.
- If your window has trim, you will likely have to install the blind/shade into the trim. As such, measure the distance between the outside edges of the trim to determine your width measurement.
- If your window doesn’t have trim, you can choose as wide of a shade as you prefer.
Do You Have to Buy “Custom” Blinds or Shades?
No! These days, you will likely be surprised by how many different dimensions are now available for “off the shelf” blinds. Unless you have exceptionally awkward or unique-sized windows, there’s a very good chance you can find the exact (or close enough) dimensions you need.
That said, both Lowes and The Home Depot can cut vinyl and wooden blinds down to size as needed, and some versions can be trimmed down using household tools (e.g., saw, knife, etc).
NOTE: If installing fabric shades, “cutting” them down is obviously not an option, so you will need to find versions that fit your windows as best as possible.
How to Install Blinds or Shades
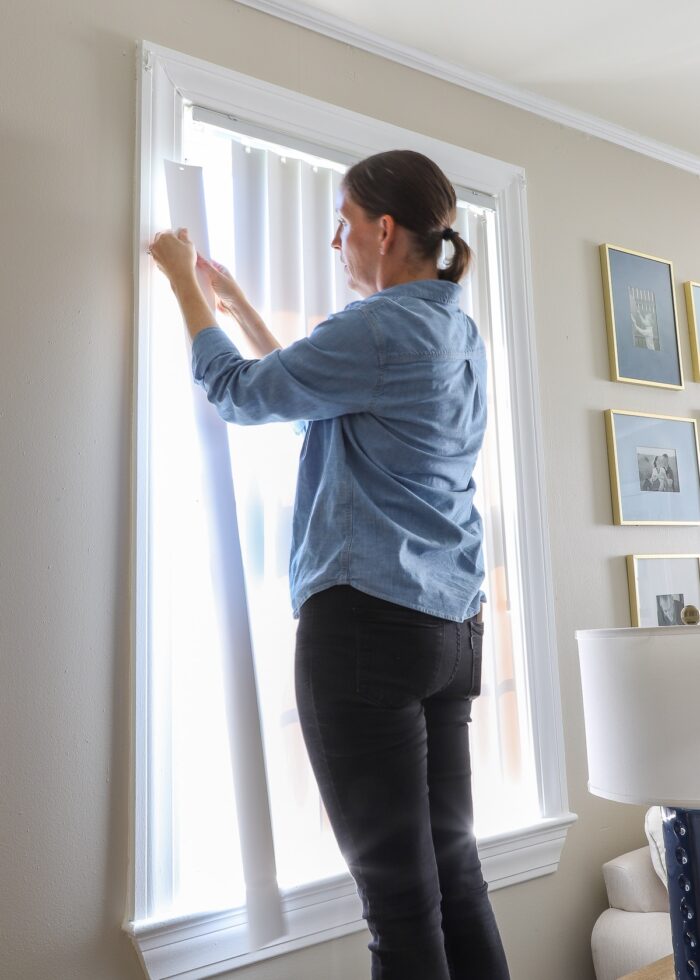
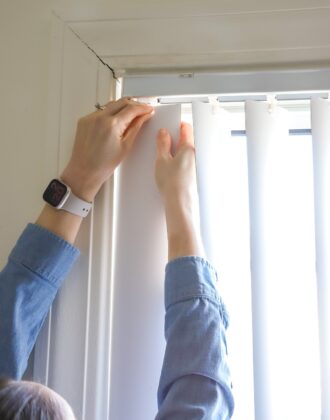
Step 1 – Take Down Existing Blinds or Shades
If you already have some sort of blinds or shades installed on your windows, you’ll first need to remove them. If you have curtains on your windows, they can likely stay in place, just move them out of your way if possible.
See More: How to Remove Vertical Blinds | Video Tutorial
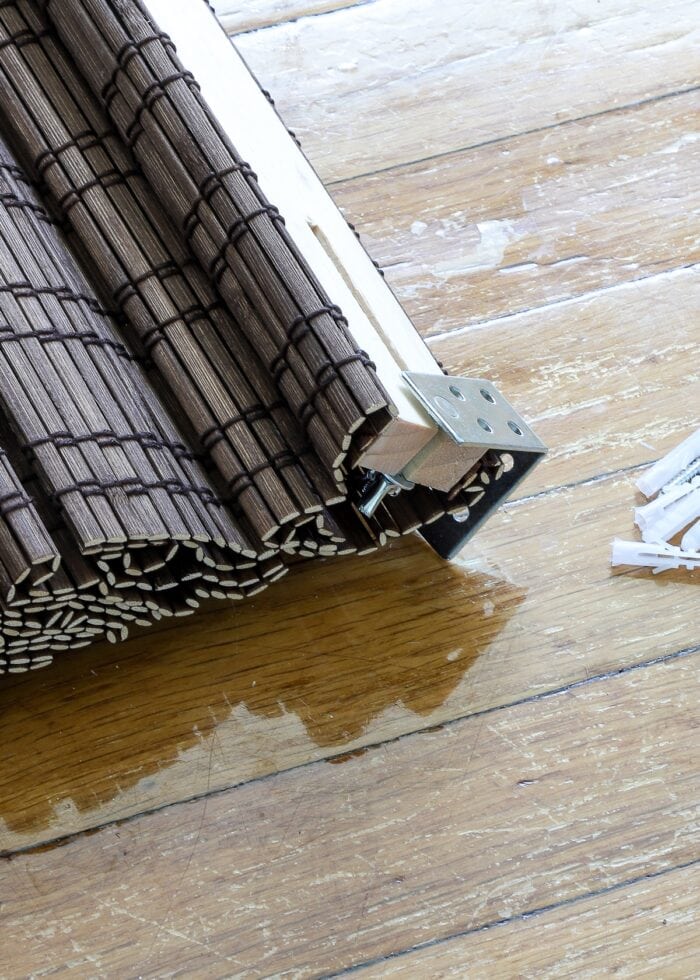
Step 2 – Familiarize Yourself With Your Specific Blinds/Shades
No matter what brand, style, or material you choose, most blinds/shades install in a very similar fashion. (So if you’ve installed blinds or shades before, the process will feel familiar no matter which new version you chose).
Most blinds/shades will come with the required mounting hardware. This hardware will be installed either into the top interior of the window frame (Interior Mount) or the exterior side/top of the window frame (Outside Mount). The shade/blind will then either snap into or secure to that mounting hardware in some way.
Want to save this post?
Your blinds or shades should come with specific installation instructions, so spend some time familiarizing yourself with your particular product.
Step 3 – Identify Hardware Location
Next, identify the best bracket locations for your particular window and your particular blinds/shades. Exterior mount brackets will likely require a tape measure and level; for these interior mount window shades, I simply measured in 2″ from the left side and right side of the window.
Use a pencil to mark your hole placements accordingly.
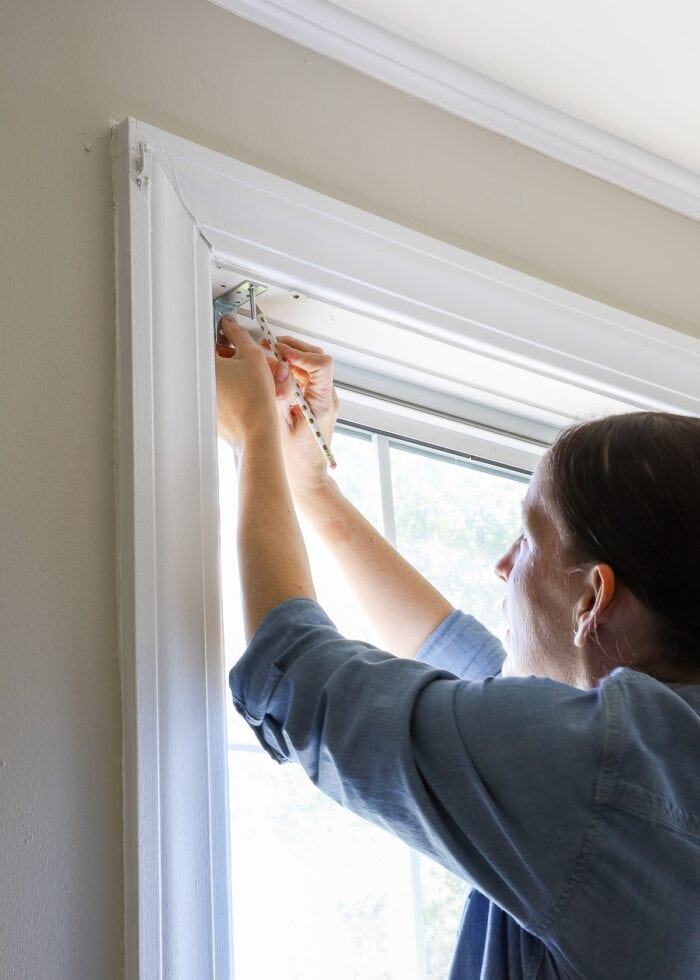
Step 4 – Pre-Drill and/or Install Drywall Anchors
If installing the hardware directly into a wooden window frame, there is no need to use anchors. However, you will want to pre-drill pilot holes (right on top of your pencil marks) in order to make installation easier.
If you are mounting your shade/blinds to drywall, I very much recommend using drywall anchors (usually included with your mounting hardware), as the shade/blinds will be tugged on regularly!
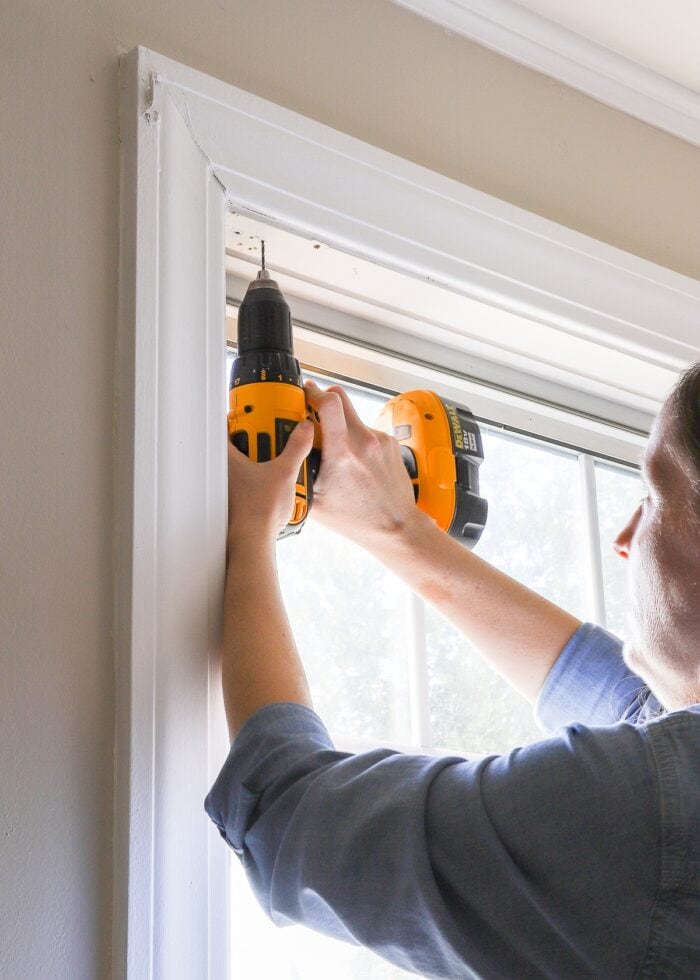
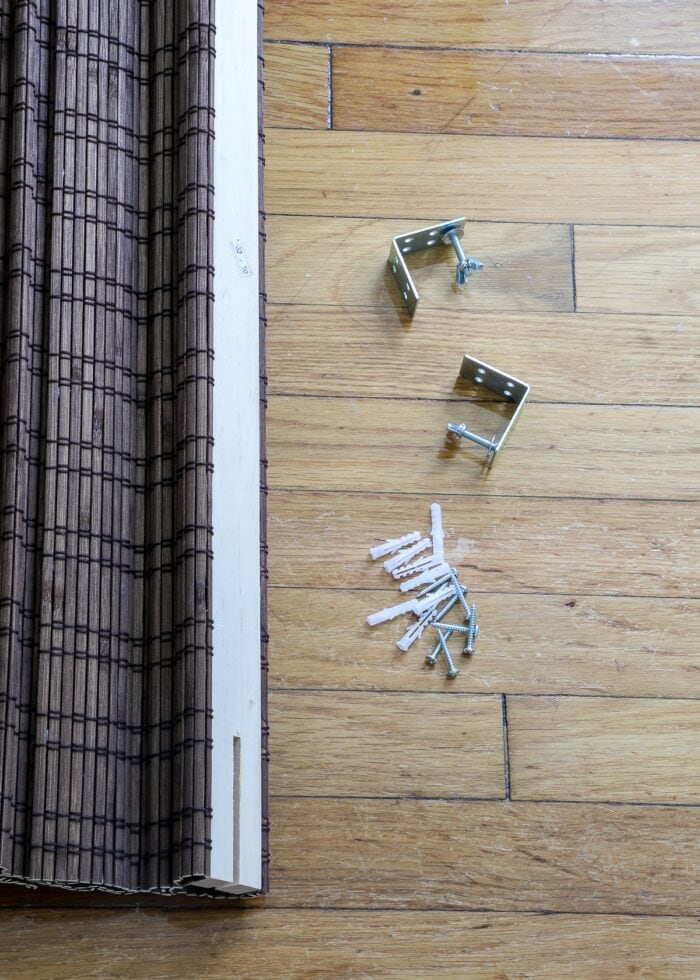
Step 5 – Secure Mounting Hardware
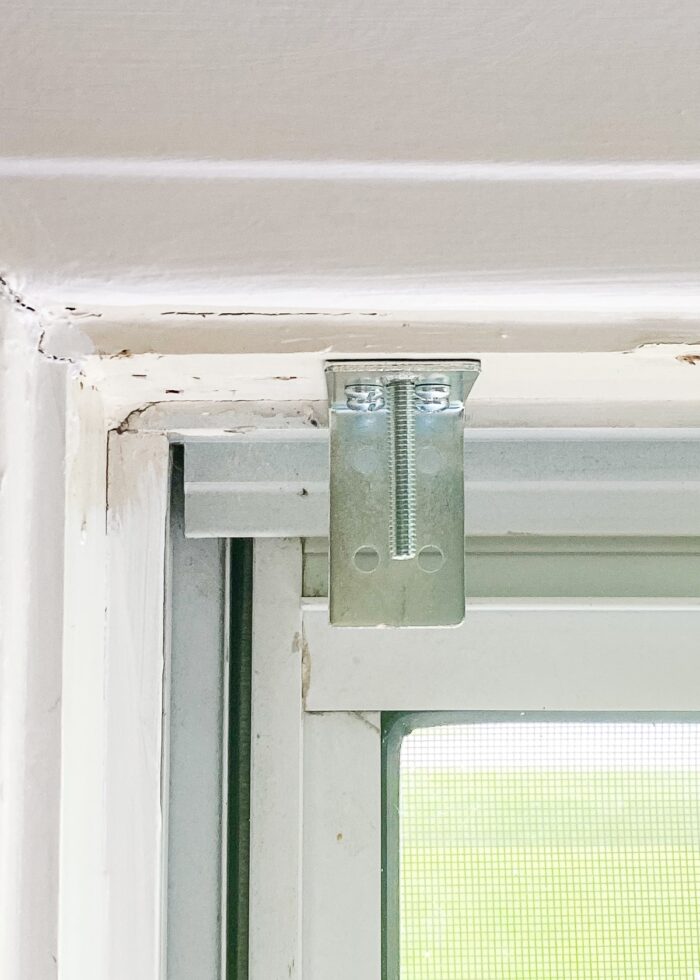
Next, attach the mounting hardware via the provided hardware into the screw-hole locations.
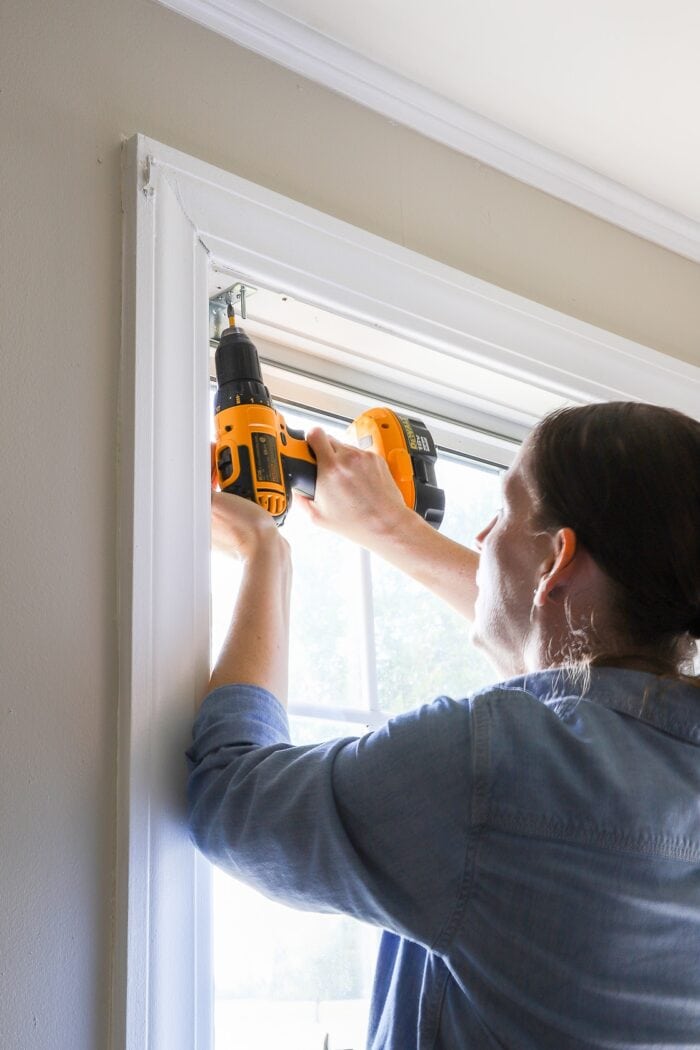
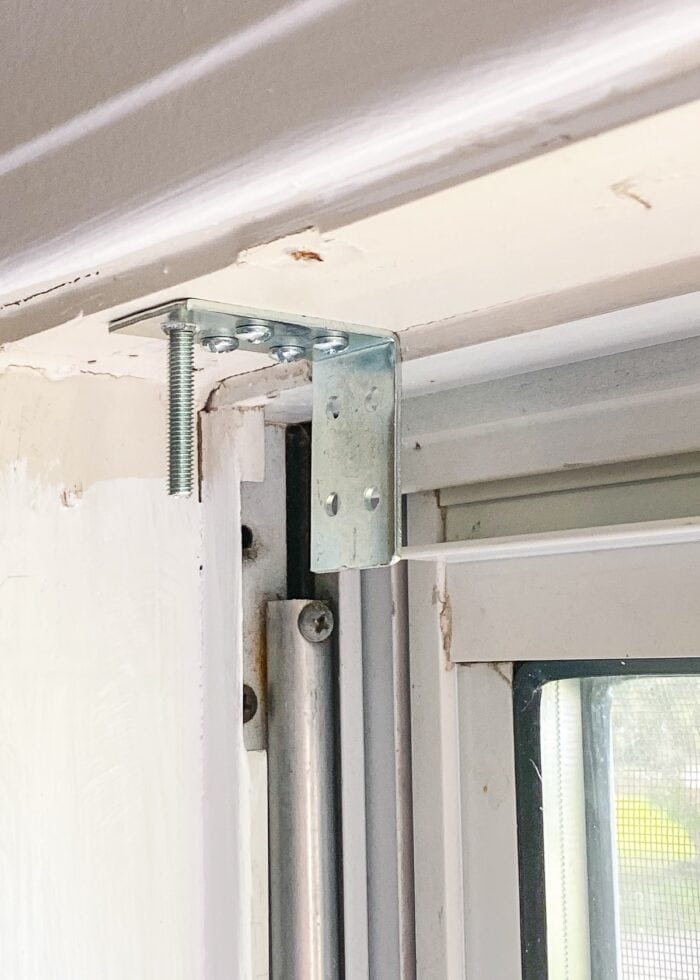
Here is how my specific mounting plates looked after installation:
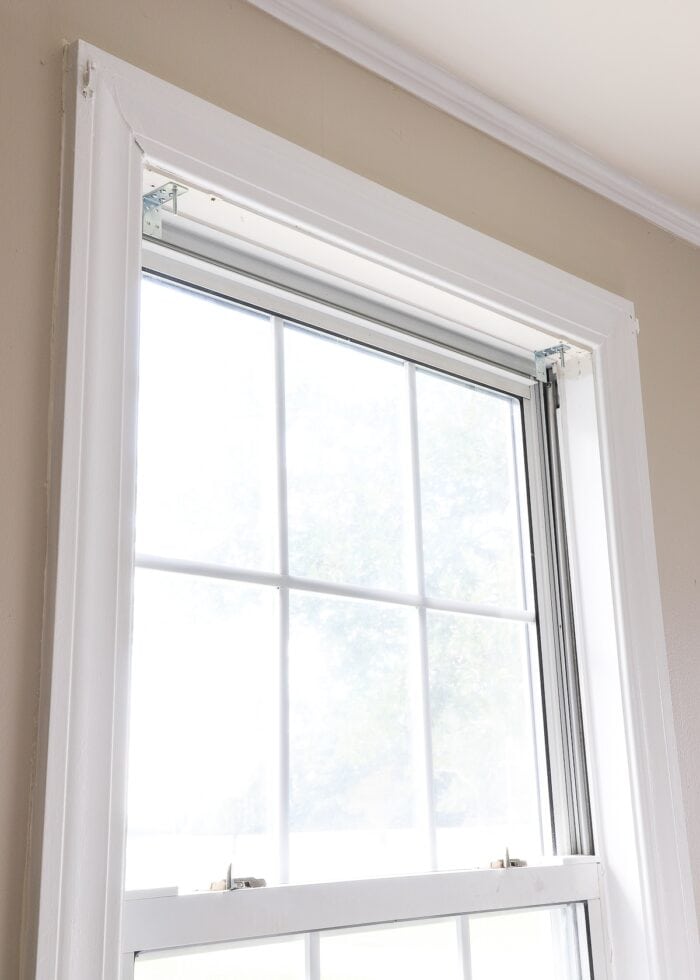
Step 6 – Secure Shade/Blinds to Hardware
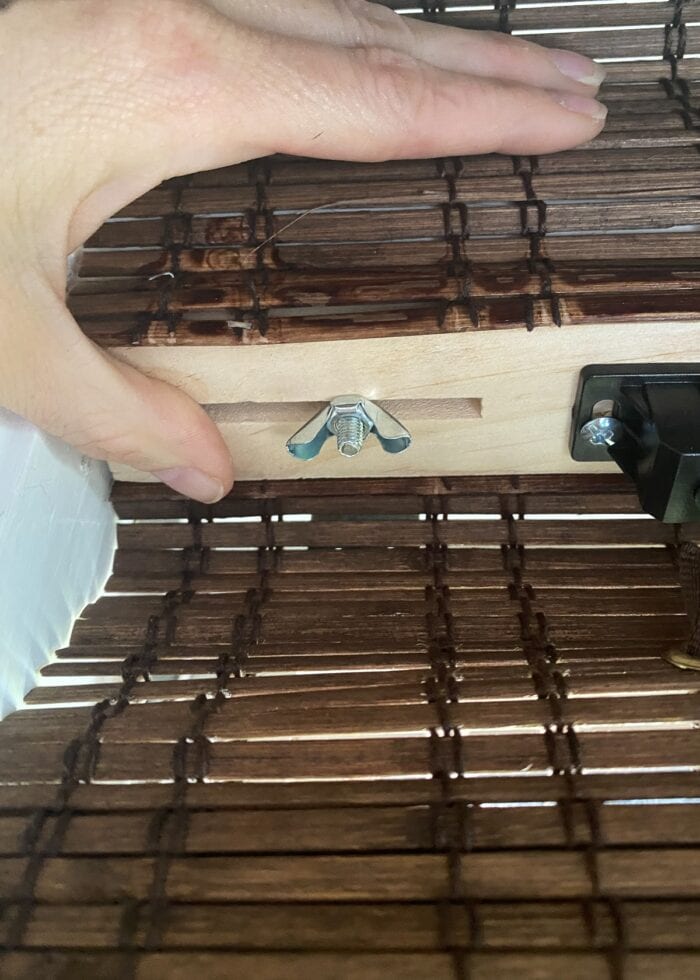
With the hardware in place, all that is left to do is attach your shade/blinds. Most often, this involves snapping the headrail of the blinds/shade into the mounted brackets. For these particular shades, that hanging bolt on the mounting bracket…
…slides right into the gap on the wooden headrail of the shade. I simply had to twist some wing nuts onto that bolt from inside the shade to keep in place!
Step 7 – Add Any Finishing Details
Some blinds or shades will have cover plates, a twisting wand, valance clips, or other elements that should be affixed after installation. Refer to the manufacturer’s instructions to see if this applies and install accordingly.
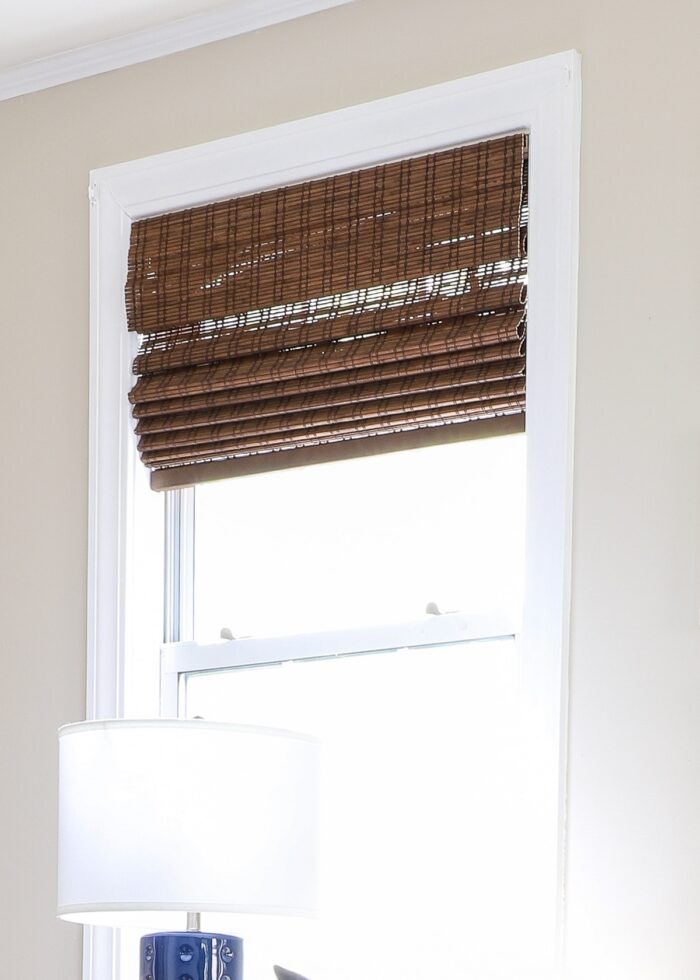
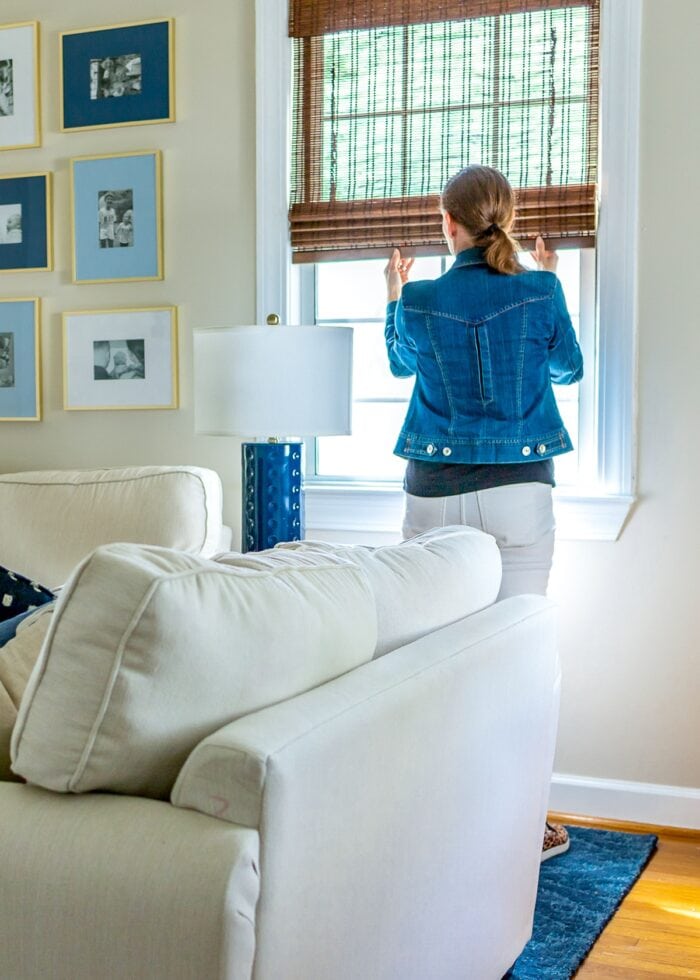
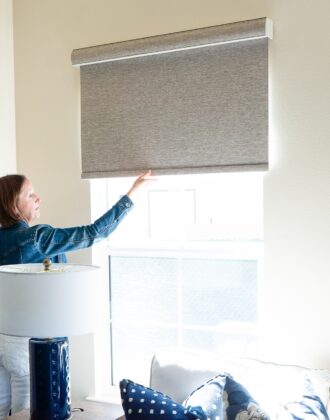
These are completely cordless shades and the decorative panel is pre-attached…so once they were in screwed into place…
…all that was left to do was open and close them as needed (just by pulling down or pushing up…no cords or strings!)
Step 8 – Repeat with Additional Windows
Installing a single shade really is a quick process. Once you understand what you’re doing, each shade will likely take you just 15-20 minutes to install. So within an hour or so, you can likely swap all the shades in a single space!
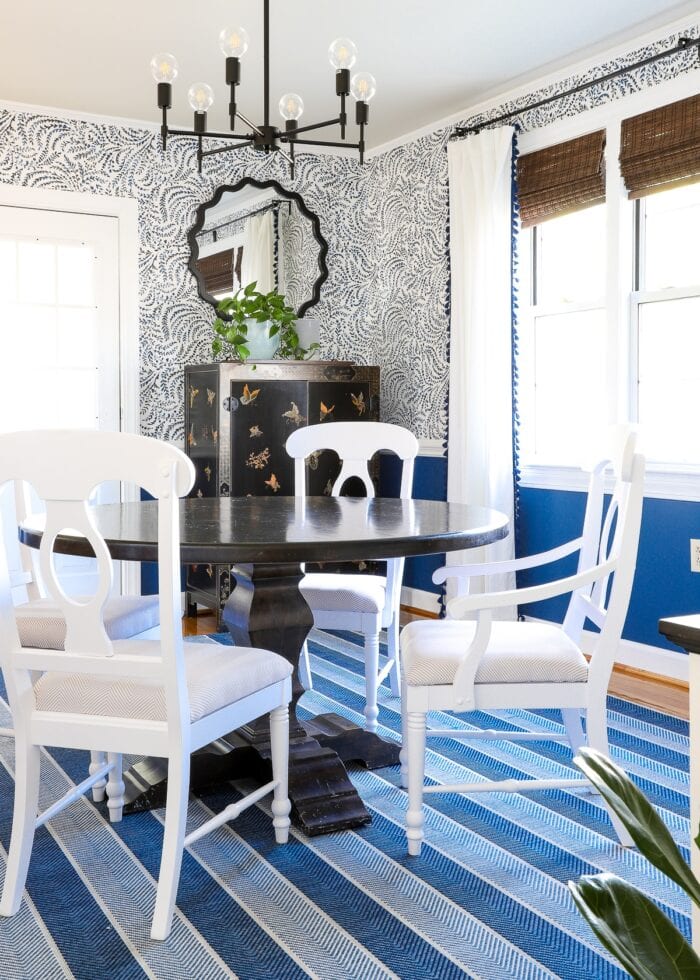
Once I had the family room done, I moved into the adjoining dining room so that we have consistent window treatments throughout the first floor!
Is Installing Blinds or Shades Really Renter-Friendly?
From a “removability” stand point, of course!
Installing your own blinds or shades simply involves a few holes in the window frame or wall. And in most cases, these holes can easily be filled just like any other hole in the wall (See how: How to Fill Nail Holes In Your (Rental) Walls)
I think the bigger rental “issue” is the potential sunk cost of the shades/blinds themselves.
Outfitting your rental windows with shades or blinds won’t be a massive investment, but it won’t be inexpensive either. If there is nothing on your windows and/or you will be in your rental for a long time, this investment can be well worth it (and likely will not be much more than curtains for the same windows).
However, windows are very rarely the exact same dimensions from home to home or apartment to apartment. So while there is a chance you can take the blinds down and install them in your next home, there’s no guarantee they will actually fit your new windows (since blind and shade measurements are much more precise).
TIP! Adapting curtains from home to home is a bit easier since you can usually let hems out or take hems up.
So, as a short timer in this home…what’s my plan? Keep in mind that I live in a community where every single home is identical to mine. So (I think!) there’s a very good chance I will be able to sell or give these blinds away to friends or neighbors. And if not, I’ll likely keep them to see if they possibly fit our next home!
Other Great Window DIYs To Try
Looking for other great solutions for your windows? I've got you covered with these other smart DIYs!
- How to Make a Window Valance with Foam Insulation
- How to Sew a Window Valance
- How to Make a Window Valance with Foam Core Board & Wallpaper
- DIY Modern Wood Valance
- DIY Cornice Box with Scalloped Edges
- How to Hem Curtains | A Foolproof Method!
- How to Hem Curtains Without Sewing
- How to Widen Store Bought Curtains | An Easy Fix!
- How to Remove Vertical Blinds
- How to Install Your Own Blinds or Shades
- Roller Shades for Windows (When Curtains Aren’t an Option!)
- How to Hang a Curtain Rod Without Drilling into the Wall
- How to Hang Curtains On Rings (With Perfect Results!)
- How to Hang Curtains In a Corner Window
- How to Completely Cover Up a Perfectly Good Window
- 6 Easy DIY Window Valance Ideas (You Can Totally Make In an Afternoon)
Installing your own blinds or shades may seem quite intimidating, but it’s actually a really easy DIY project. So if you’ve been giving the stink eye to the existing blinds in your space or you simply want something more stylish, I highly encourage you to give this project a try!
With a bit of measuring, some smart shopping, and a good drill, you can give your windows (and your room!) a whole new look in no time!
Megan
2 Comments on “Installing Your Own Blinds or Shades | It’s Easier Than You Think!”
Those do change the look of the room and make it feel completed.
It’s kind of funny that the blinds are sometimes the last thing we think of changing and how much of an impact it truly does make!
I have a few windows that could benefit from this window treatment.
Love It!! Thanks for the great information; you always have such amazing ideas!