How to Hang Curtains On Rings (With Perfect Results!)
Ages ago, I committed to the same basic grommet-topped curtain panels for our entire home. This makes it easy to add matching panels over time if needed, and also provides some consistency throughout our entire house. However, I recently experimented with using Command Hooks to hang a curtain rod; and this setup didn’t allow my standard grommet-topped panels to hang right. So for the first time in a really long time, I had to find a different way to hang my curtains…which lead me to curtain rings! After experimenting quite a bit, I landed on a super easy way to hang curtains on rings that not only looks great but also results in a perfect hem…all at once and without sewing! Let me show you my super easy tricks!
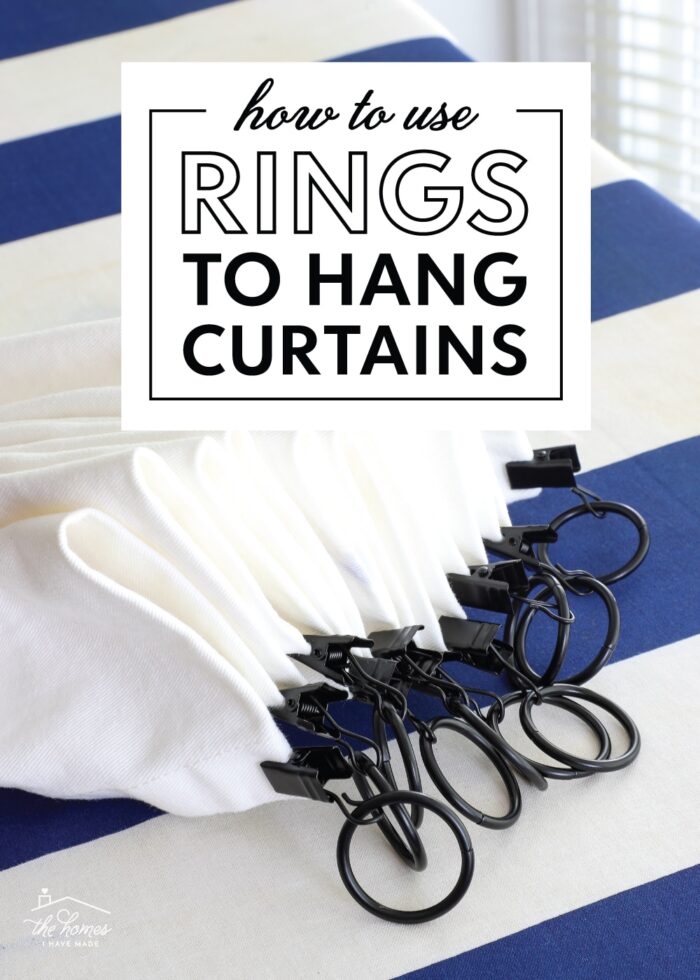
For years, I have relied on the ease and clean lines of grommet-topped curtain panels. Once perfectly hemmed (see my foolproof hemming method), they pleat pretty much on their own and are easy to make uniform.
But when I recently installed a curtain rod with Command Hooks in our master bedroom, the rod ended up really close to the wall and my grommet panels didn’t work. So I opted to hang curtains on rings instead.
I might go as far as to say “my eyes have been opened” to the brilliance of curtain rings because I was really pleasantly surprised not just by how easy the hanging process was, but also how I was able to make a perfectly-hemmed, fuller curtain display in no time at all!
Why Consider Curtain Rings
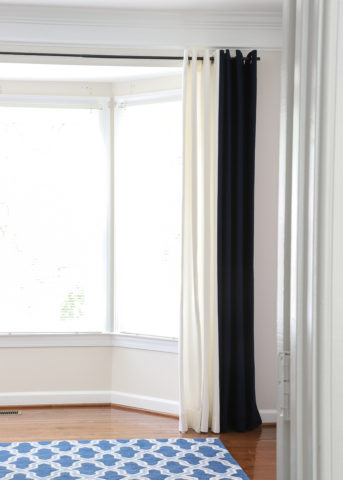
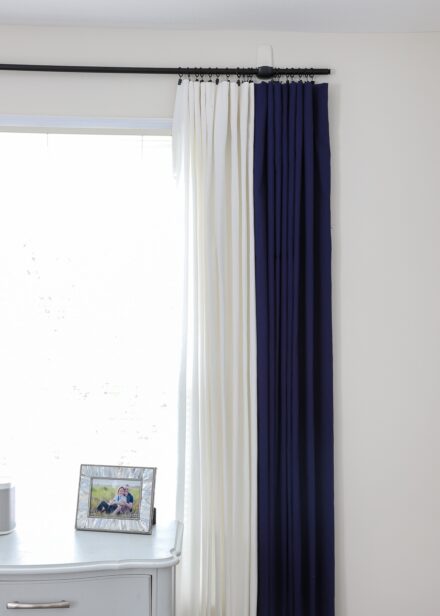
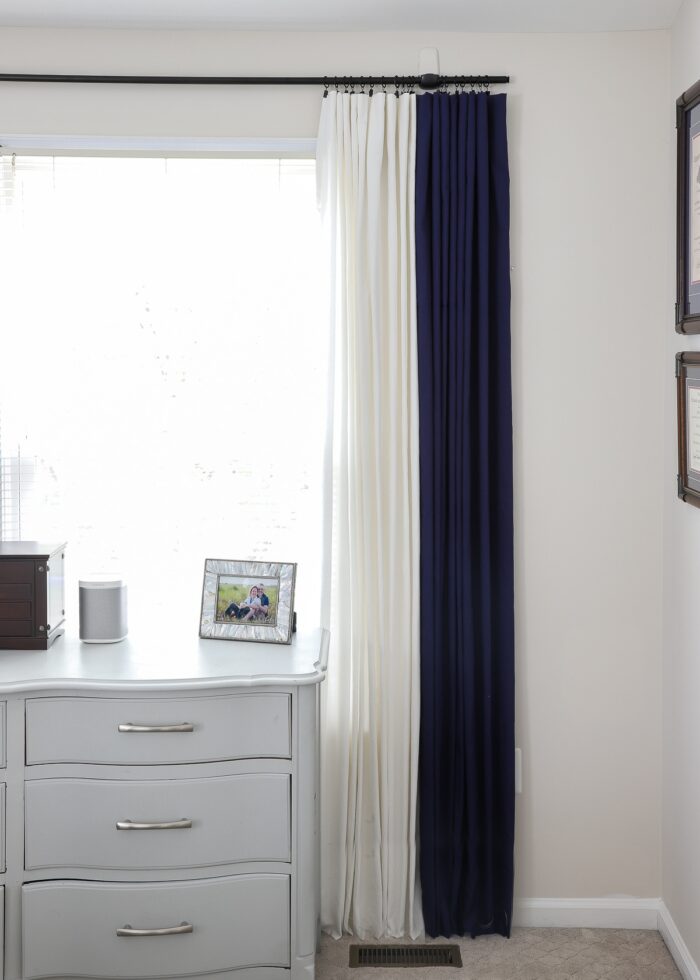
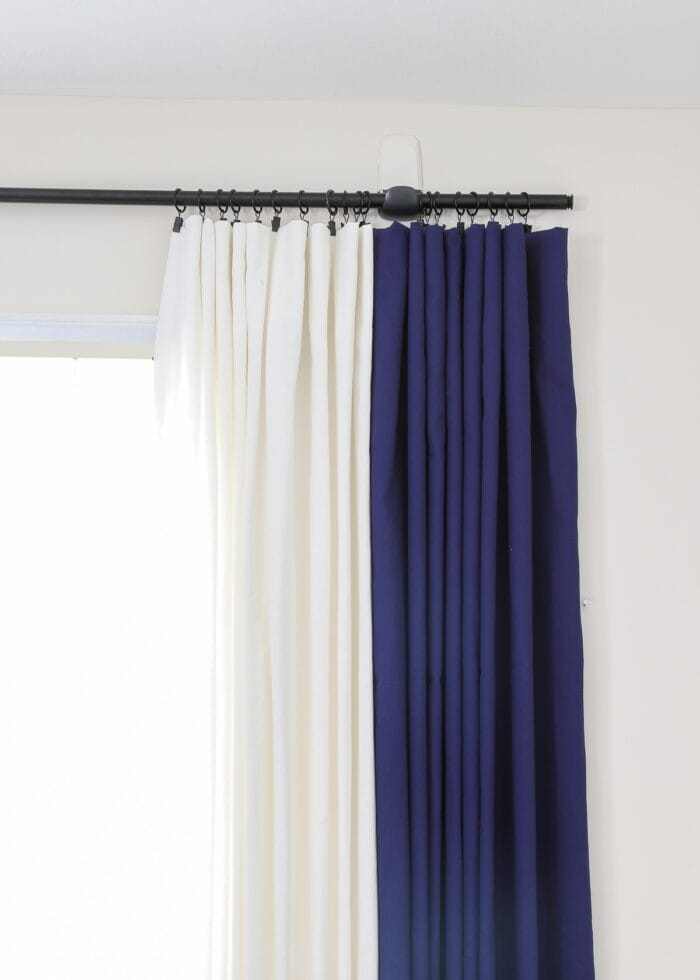
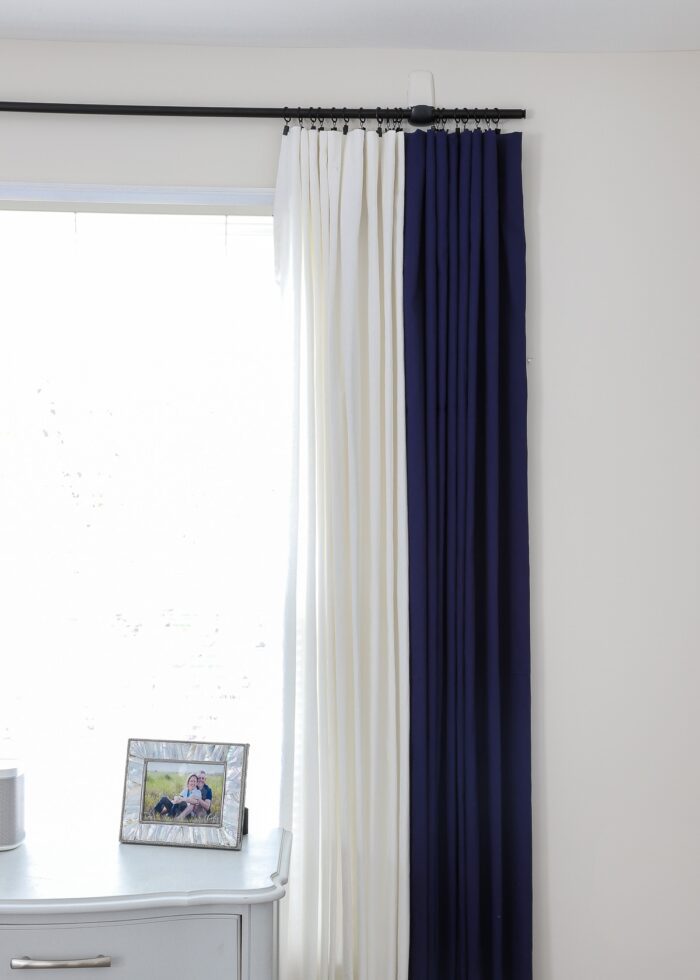
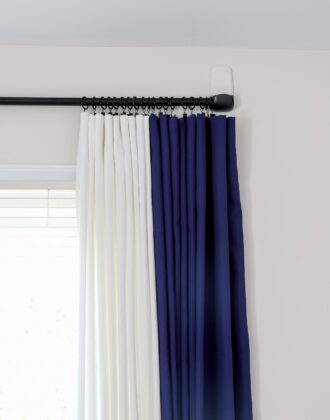
I’ve gotten into the habit of doubling up my grommet-topped panels on each side of the window to give a fuller look (since a standard panel only produces four pleats). But with curtain hooks, you can determine how many pleats you want, which therefor dictates how wide your curtains sit! Below is a side-by-side of the exact same panels hung on grommets (left) and curtain rings (right).
But there’s more! When I hung the curtains on rings, I didn’t even have to hem them (in the traditional sense), but yet still ended up with panels at the perfect length! Ready to see how?
Supplies Needed
Here is what you need in order to hang curtains on rings!
- A curtain rod, already hung at your desired height
- Curtain panels that (at least) reach the floor
- Curtain rings – I like 1″ rings since they hold the panels closer up toward the rod. I bought this big bulk set.
- Straight pins or fabric pen
- Iron and ironing board
- Ruler
Hang Your Curtain Rod Where You Want It
First and foremost, you should hang your curtain rod where you want it (and then adjust your curtains as necessary), rather than hang the curtain rod to accommodate the length of your curtains. If you’re not sure how high and wide to hang your curtain rod, here is a great reference post!
NOTE: It is MUCH easier to make curtains shorter rather than longer; so I always recommend buying the longest you can get or at least longer than you need!
Determining How Many Curtain Hooks to Use
As I said before, when you hang curtains on grommets or back-tabs, it is pre-determined how many pleats you get (and therefor, how wide your curtain panel sits). But when you get to decide the ring placement, you have much more control over how your curtain ultimately looks!
How many rings you use depends greatly on how wide your panel is, how wide you want it to sit on the rod, and how tight of pleats you want. Here are some generalities to help you:
- More curtain rings = more pleats = panel will (generally) sit wider on the rod
- Less rings = less pleats = panel will (generally) sit skinnier on the rod
- More rings/pleats = shallower pleats = pleats are more likely to look uniform
- Less rings/pleats = deeper pleats = fabric will sit more casually and maybe even sag between rings
- # of desired pleats = number of clips – 1
You will always place a clip on either corner of the curtain panel and then evenly space the remaining clips in between those two. Before you move forward, it can be worth the time to experiment to see how many rings you prefer on your particular panel.
For reference, I used 10 clips (for 9 pleats) on my white 56″ wide panels; and 9 clips (for 8 pleats) on my navy 42″ wide panels.
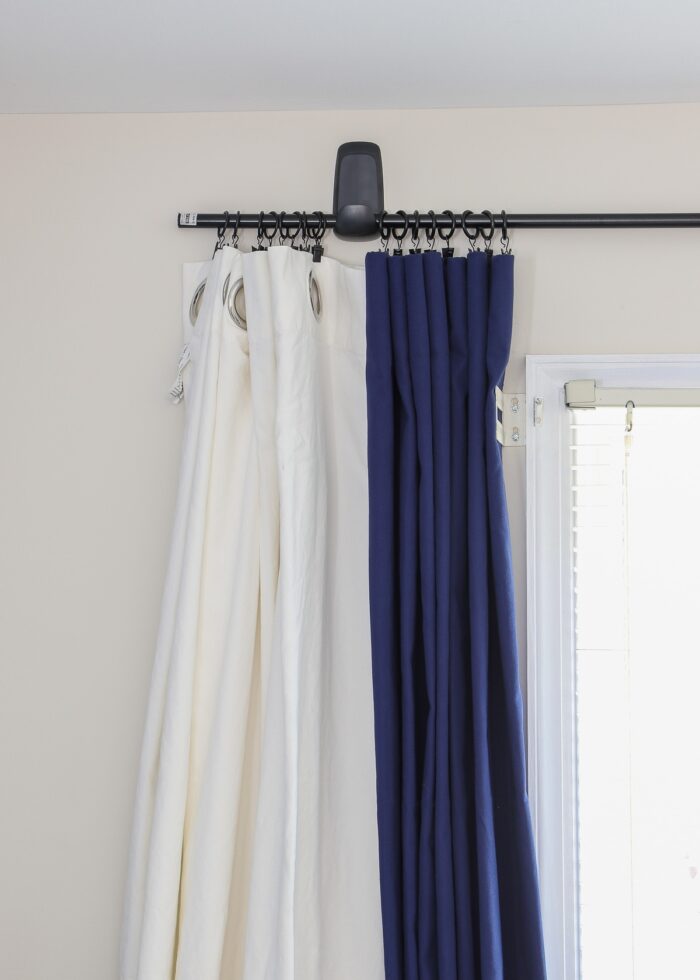
Step 1: Hang Curtains Upside-Down
(This tutorial is going to assume your curtains are too long. If your curtains are the perfect length for your rod (when hung on the rings), you can skip Steps 1 – 3.)
Your first step is going to be to hang your curtains upside-down. (Trust me on this, it will make sense as you work through the tutorial!) At this point, you don’t need to place your clips perfectly, but you do want to space them fairly evenly and use the correct number for your desired pleat number and depth, as outlined above.
NOTE: Please ignore the grommets on the photo below…my panel IS technically hung upside-down because I will be “hemming” the non-grommet side.
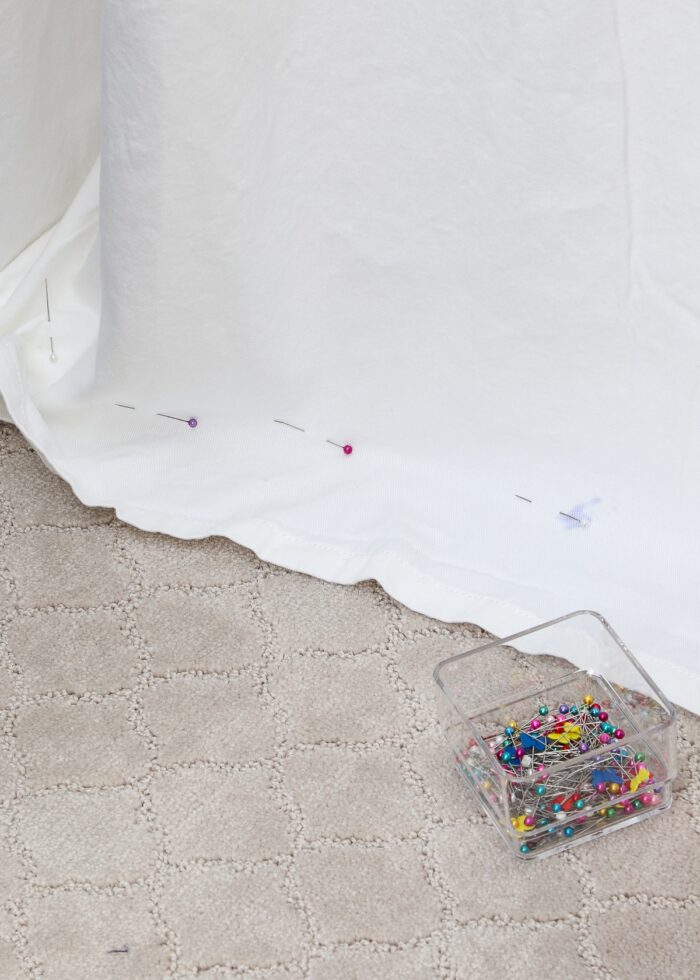
Step 2: Pin Hem
Just as I’ve shown you in this sewn hem tutorial and this non-sewn hem tutorial, use either straight pins or a fabric pen to mark the exact place where the curtain panel meets the floor/baseboard. Be sure to gently pull the panel down straight as you work across the width, so you find the exact spot where it meets the floor. This hem line that you just pinned should technically be at the top of your curtain panel (because we hung it upside-down, remember?).
At this point, go ahead and remove the panel from the curtain rod AND the rings from the curtain.
Step 3: Iron Hem In Place
(If your curtain is really wrinkled, go ahead and iron the whole thing now before proceeding.)
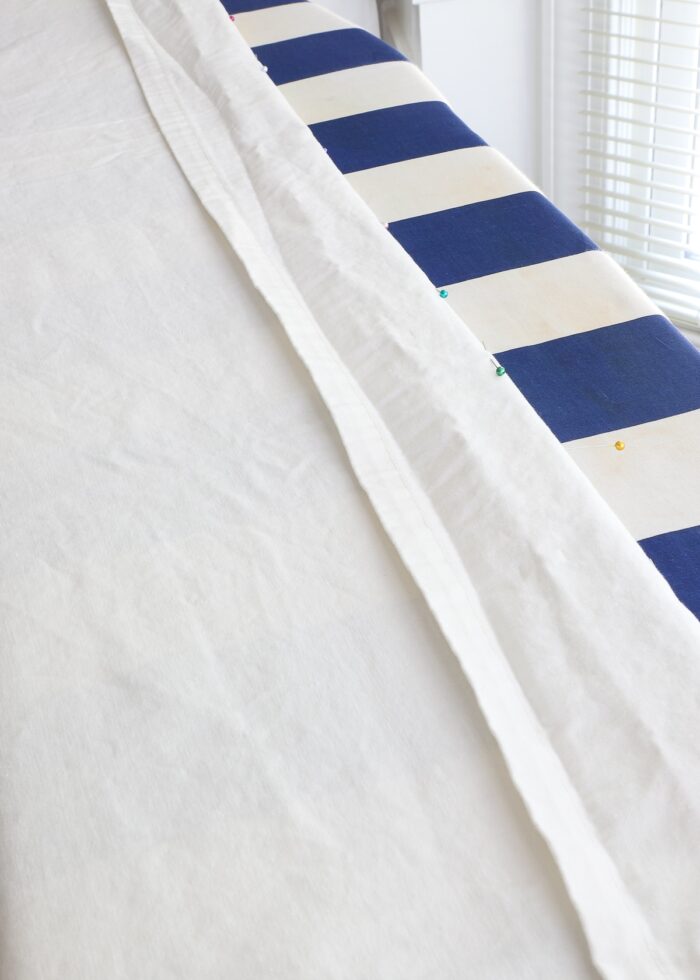
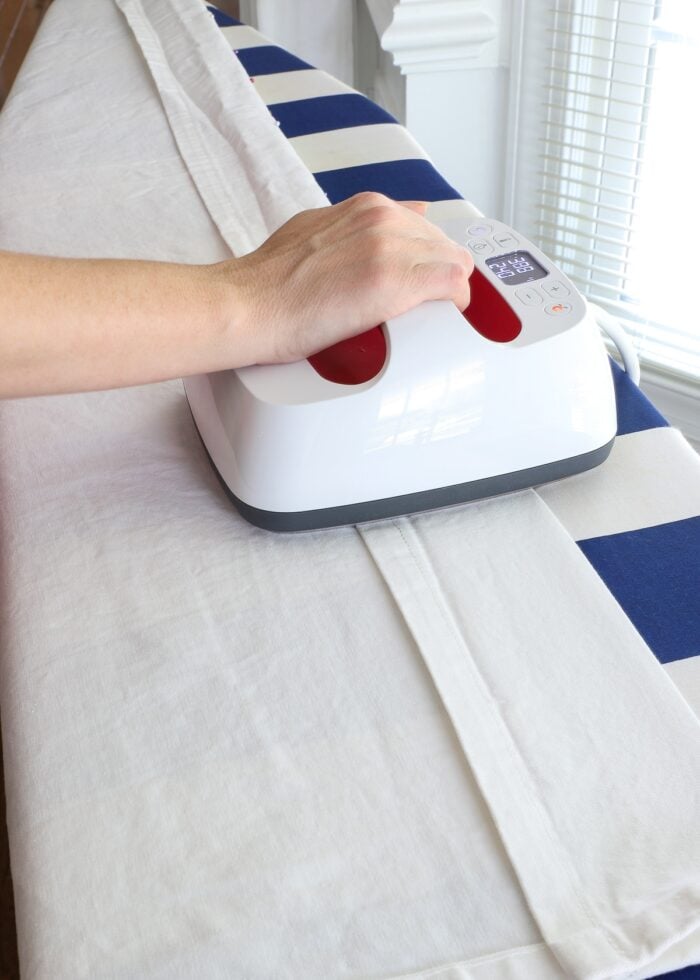
Place your curtain panel right-side down onto an ironing board or other heat-safe surface, with your pinned hem along the top. Fold the hem along the pin line wrong-sides together, as shown below.
Remove the pins and then use a hot iron (with steam if needed) to make a crisp, clean fold line across the top of your panel.
TIP! I love using my Cricut Easy Press for curtain projects since the heat plate is so much bigger than an iron’s.
You’ve now technically hemmed your curtains! But how does that fold stay in place? Remember, we made the hem at the top of the curtain panel (rather than the bottom), which means we can use our curtain rings to hold it in place!
Mind blown, yet?
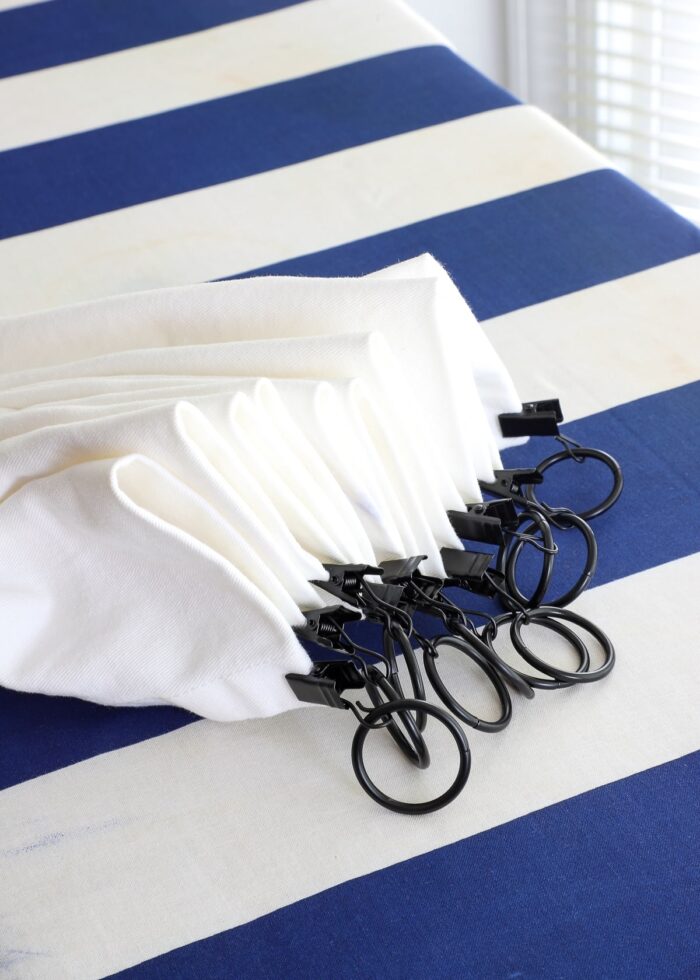
Step 4: Space & Place Clips
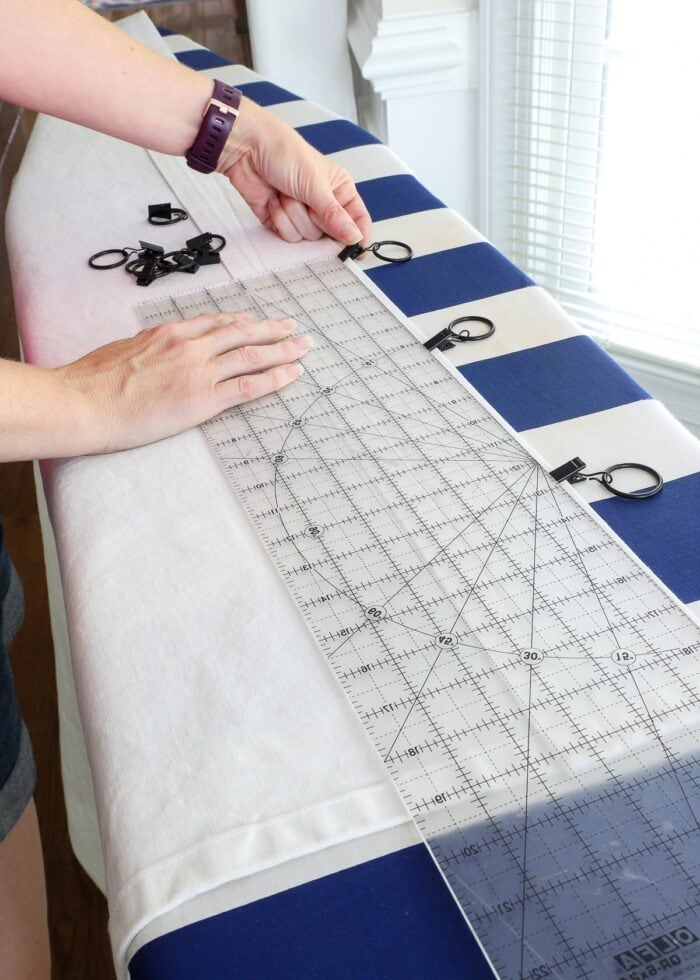
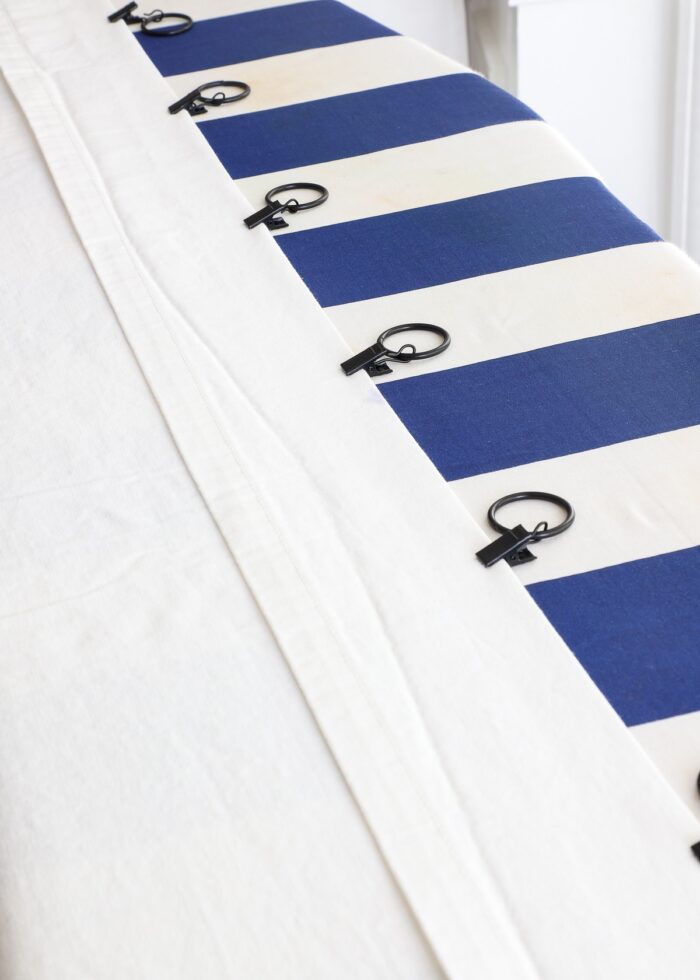
The next step is to place your curtain rings along the top of the folded/ironed curtain panel. This time, you do want to use a ruler to make sure your rings are perfectly spaced along the top of the panel. Remember, you want one ring on either side, all the way at the edge. The remaining rings should be spaced evenly in between.
Your curtain panel is now technically hemmed and ready for hanging!
Step 5: Pleat & Train the Curtains
Your next step is to hang the curtain(s) back on the curtain rod. Start by placing the rings on the rod; then pull the fabric between each ring toward you. The curtain rings should sit toward the back/wall, and the (ring-free) pleated fabric should sit forward away from the wall.
NOTE: Since the fabric along the top of the panel is doubled-over (from the hem, remember!), it’s actually really easy to make nice firm pleats thanks to the extra weight and bulk!
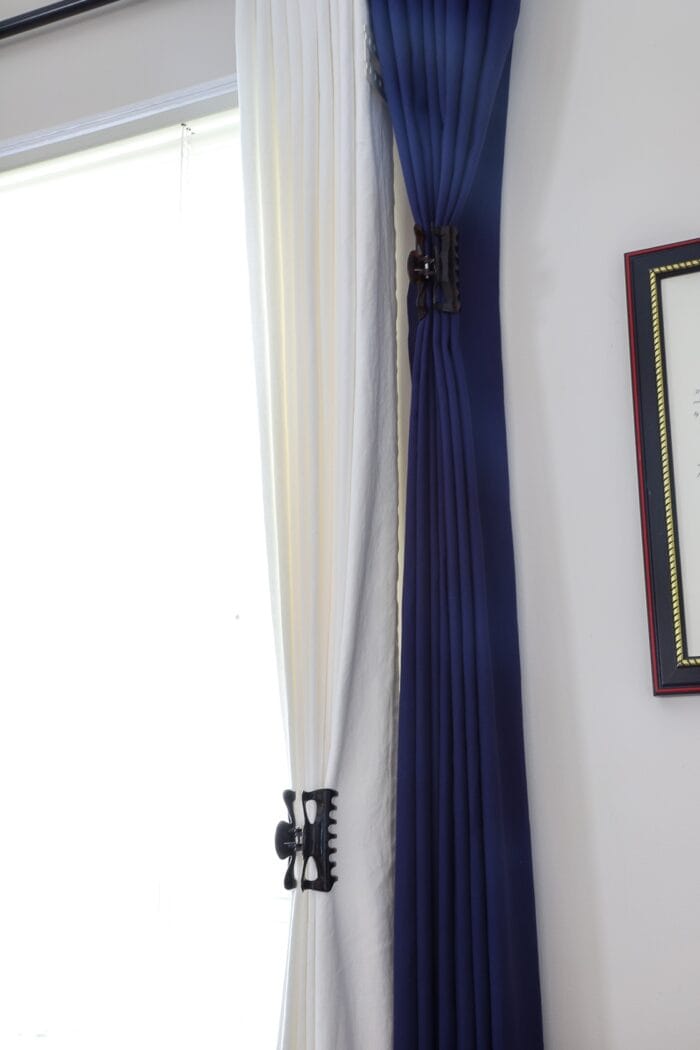
Once you have the pleats set at the top, use your hands to form those same pleats all the way down the length of the curtain. Once you have the pleats formed, use a string (or a hair clip, in my case) to hold the pleats together. This is called “training” your curtains, and works wonders for maintaining perfect pleats long after you’ve hung them.
After a few hours of training the pleats, release the string/clips and space out the curtain rings to your preference!
You now have perfectly-hemmed, neatly-pleated curtains hung on stylish rings! How easy was that?!?!
As I said in the beginning, I’ve hung curtain panels on grommets for ages. And I generally don’t mind hemming my curtains the “old fashioned” way to make them work in home after home after home.
But now that I’ve learned how to hang curtains on rings AND seen with my own eyes how quick and easy you can get super stylish results…I might trade in my grommets for curtain rings every time now!
Other Great Window DIYs To Try
Looking for other great solutions for your windows? I've got you covered with these other smart DIYs!
- How to Make a Window Valance with Foam Insulation
- How to Sew a Window Valance
- How to Make a Window Valance with Foam Core Board & Wallpaper
- DIY Modern Wood Valance
- DIY Cornice Box with Scalloped Edges
- How to Hem Curtains | A Foolproof Method!
- How to Hem Curtains Without Sewing
- How to Widen Store Bought Curtains | An Easy Fix!
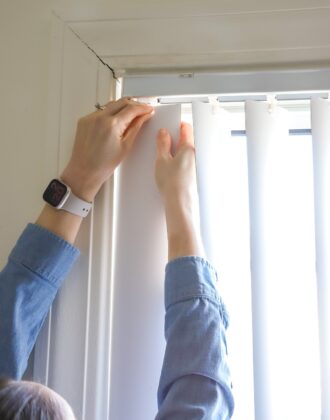
- How to Remove Vertical Blinds
- How to Install Your Own Blinds or Shades
- How to Hang a Curtain Rod Without Drilling into the Wall
- How to Hang Curtains On Rings (With Perfect Results!)
- How to Hang Curtains In a Corner Window
- 6 Easy DIY Window Valance Ideas (You Can Totally Make In an Afternoon)
How do you typically hang your curtains? And what do you think about my clever hack to hem from the top?!? I seriously might never sew my hems again!
Megan






10 Comments on “How to Hang Curtains On Rings (With Perfect Results!)”
I’m going to try this. My bedroom blackout curtains are too long, but have such a wide hem that just doubling over is too short, and I was afraid to try opening the hem to shorten.
The curtains would have a lot fewer dog and cat hairs if they were clear of the floor.
HI Margaret!
Yes, give it a try! I don’t know why it never occurred to me before, but I was so excited when I discovered this hack when working with my own curtains!
Keep me posted if you try it!
Megan
Great tutorial. Well done!
But I’m REALLY poor at visualizing things, so I’m wondering what happened to the grommets – you didn’t cut them off, right? Are they in between the pleats on the floor now? Why don’t they show?
Hey Lori!
Glad you liked this tutorial! And yes, the grommets are along the bottom, tucked into the pleats 🙂 You can read more about why I did it this way in this post (not the perfect solution, but we’re only here for a few more months 😂)
Happy Sunday!
Megan
I am planning on doing this very thing with some sheets for a curtain project for our church. 🙂 Actually, this tutorial gives me a great visual I can give to the pastor because he’s having a bit of a time trying to figure out what I’m talking about, lol. 😉
So thank you!
xoxox <3
Hey there, Vanessa!
Ha…I love it! Yes, pictures always help, so feel free to share 🙂
You’ll have to let me know how they turn out!
Megan
Thank you. I’m considering using curtain rings with clips and this was extremely helpful, especially how to “hem” them since I am doodles with a sewing machine.
Oh my goodness. I can’t believe I found this. It is 2023 now but I think this is the answer to my dilemma. I had some curtains professionally hung from the ceiling but they were hung using the snap method with carriers. Even though they were stationary they took up too much of the window view. I could never get them to push back as much as I wanted them to without the carriers making the pleats at the top look really funky. I took them down and have been looking frantically for another way to hang them. My question is can I use hooks with the rings so that the drapery material is closer to the ring? Or do you think the clips just look better?
I am very confused! Where did the grommets go?
these ideas are pure genius!