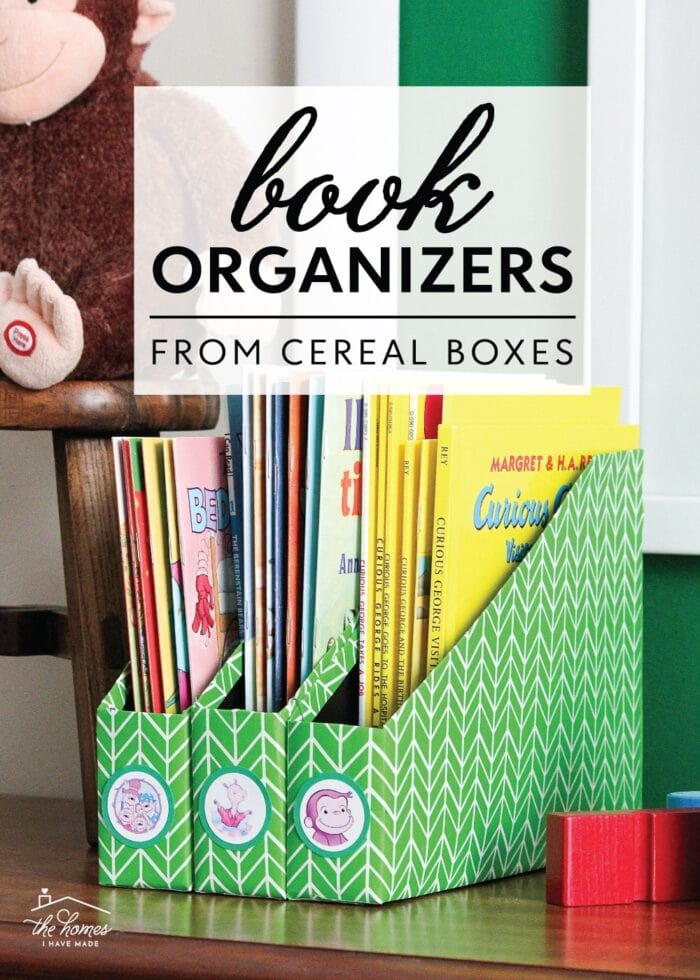
DIY Book Organizers From Cereal Boxes
Although I don’t hesitate to shop for gorgeous storage containers at my favorite stores, I also love to make my own solutions with inexpensive products I already have on-hand. Using cardboard and boxes are among my favorite organizing staples, since they are sturdy, in abundance (thanks, Amazon!), and can be transformed into a myriad of useful things! Today, I want to show you how to make DIY book organizers from cereal boxes. Not only is this a great way to repurpose those cereal boxes you buy week after week after week, but it’s a clever solution for corralling any items that topple easily. Let me show you this fun project idea!
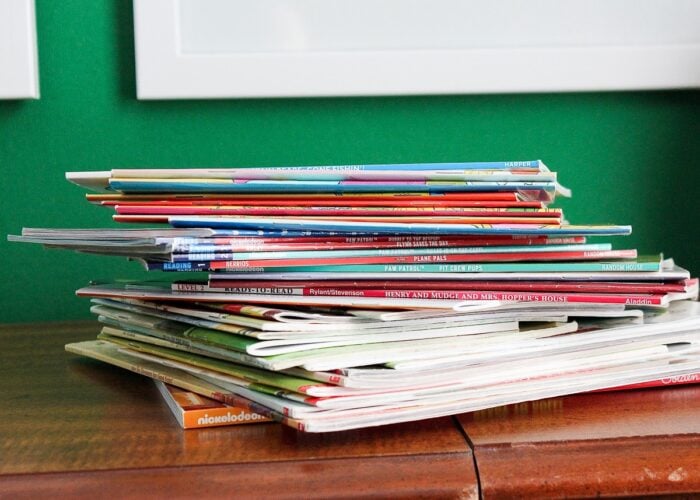
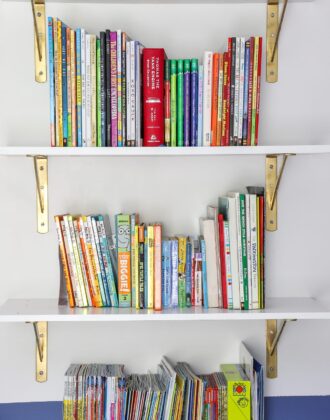
While hardcover books stand on their own pretty well, one problem we’ve often struggled with is keeping soft-back books tidy on shelves. Fellow parents know these books all-too-well! They are inexpensive and filled with great stories for our kids, but they are flimsy and slippery and make a good mess of bookshelves!
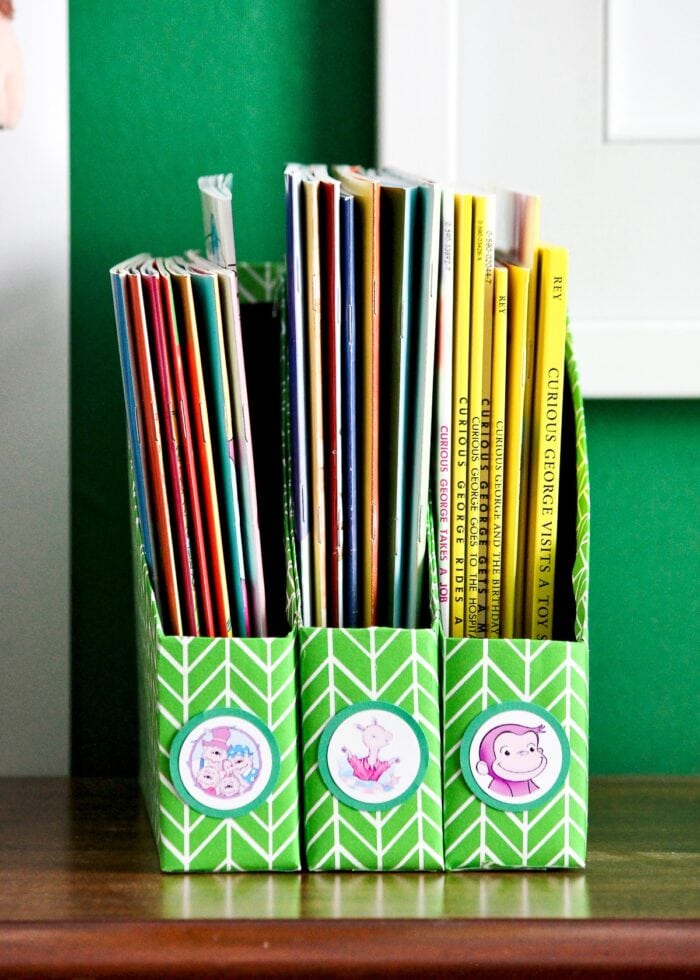
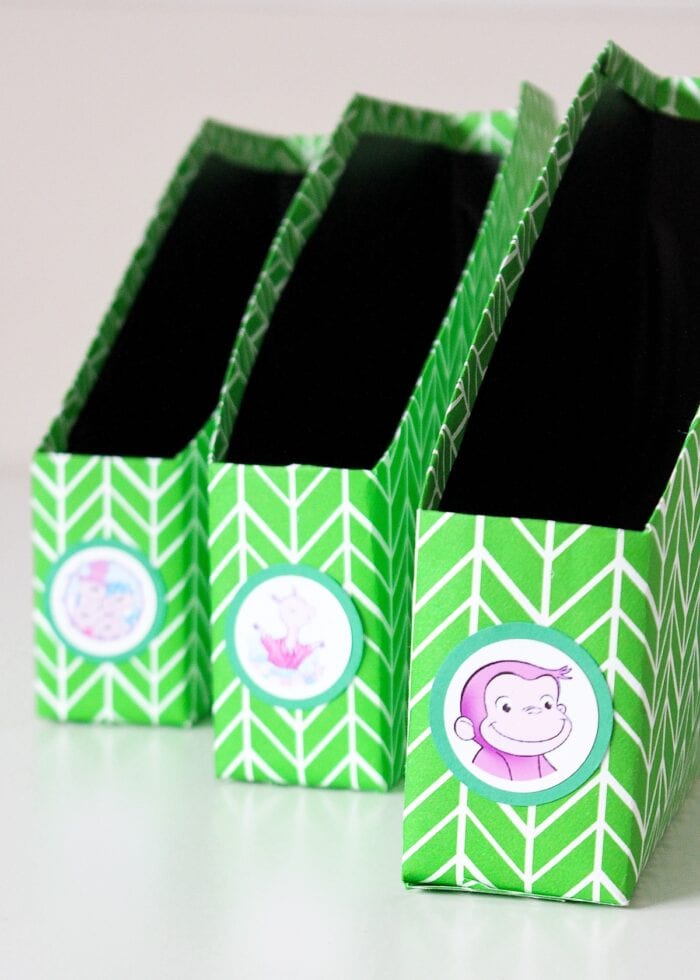
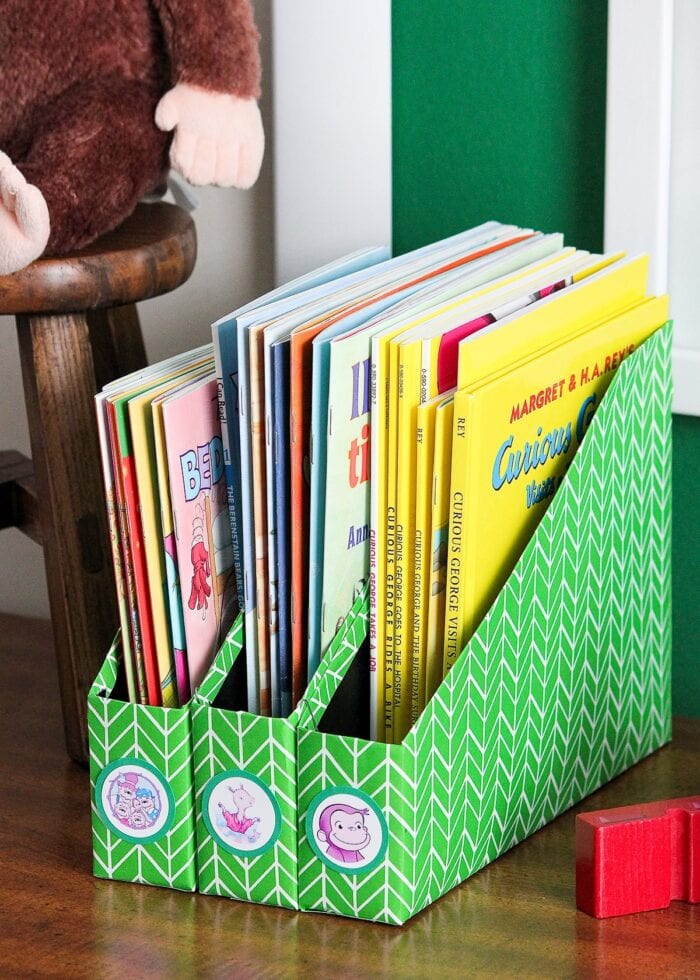
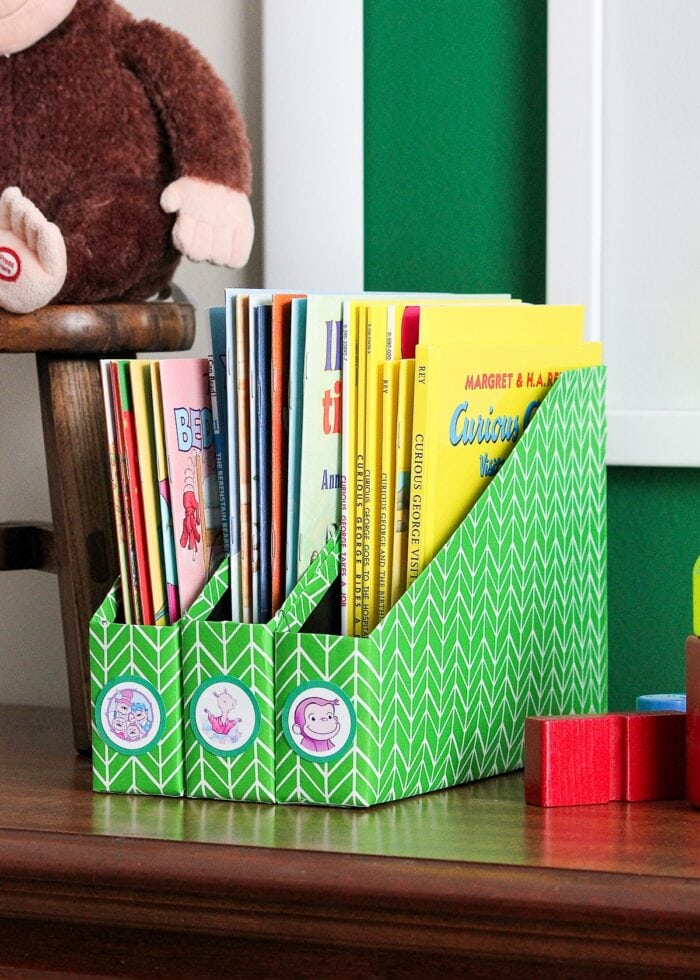
These DIY book organizers from cereal boxes not only keep skinny, soft-back books better organized, but also help them stand up right…on a desk, on a shelf, or in a bookcase!
While I am showing these little organizers holding kids books, this is a project that could easily be used for magazines, catalogs, notebooks, coloring books, and more! Just make sure you start with cereal boxes that are big enough to hold whatever it is you want to store.
Supplies Needed
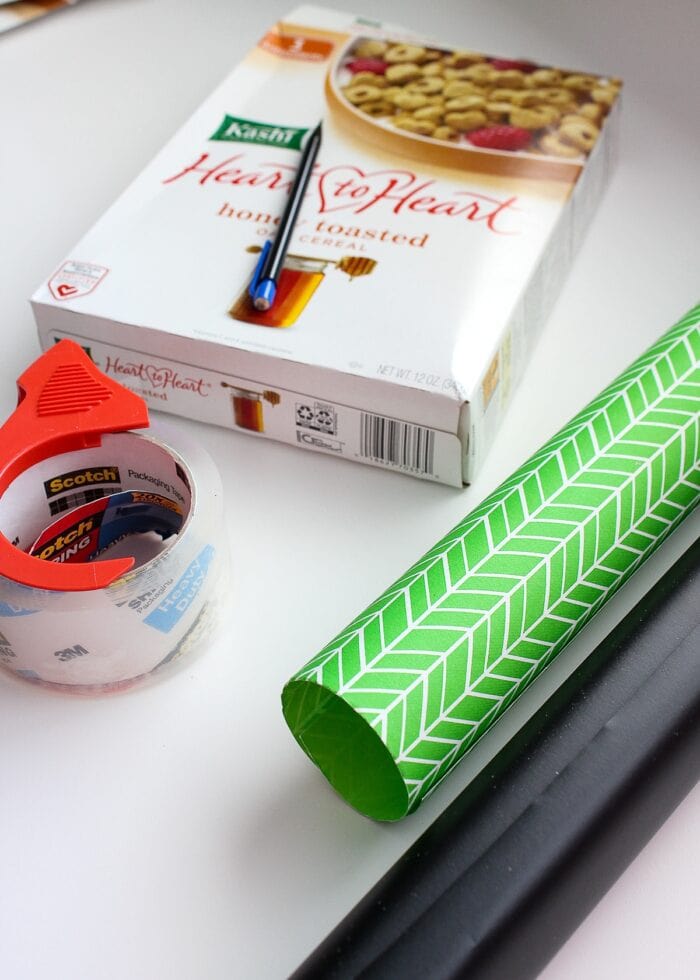
Here’s what you need to make these DIY book organizers from cereal boxes:
- Cereal Box(es) in your desired size – If you buy the same cereal week-after-week, hold onto them so you have a matching set!
- Paper Covering – To decorate the inside and outside of the box; good options include:
- Contact paper
- Wrapping paper
- Peel-and-stick wallpaper
- Vinyl
- Packing Tape
- Spray Adhesive (if using wrapping paper)
- Tools: Scissors, pencil, ruler
Step 1. Cut the Cereal Box
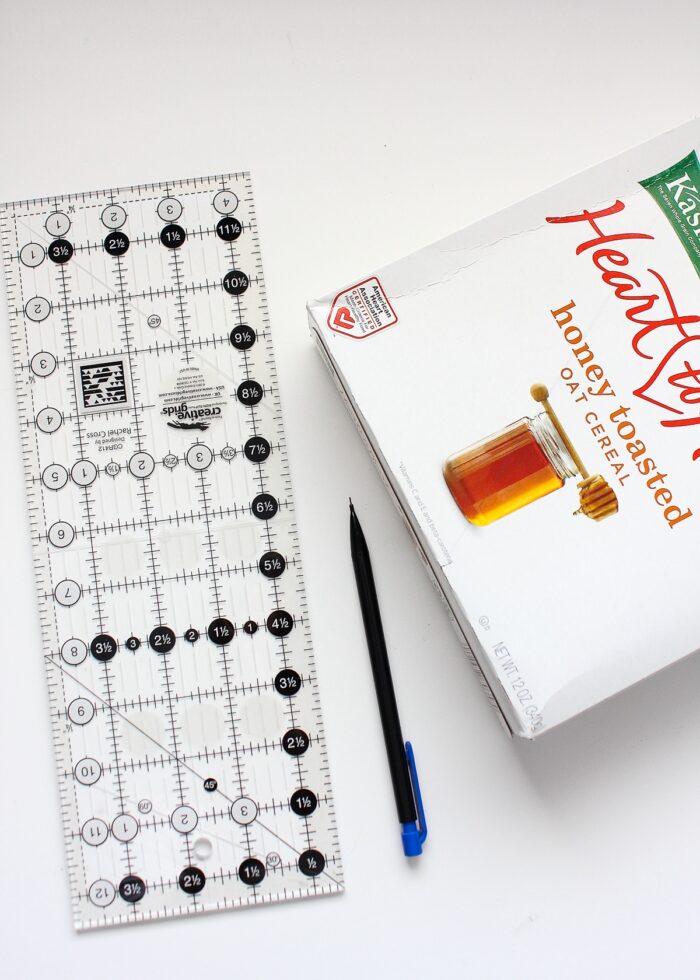
The first step is to trim down the cereal box in order to create the file shape. I recommend keeping the box fully assembled and laying it on your work surface in a horizontal orientation. Use a pencil and ruler to mark your cut lines.
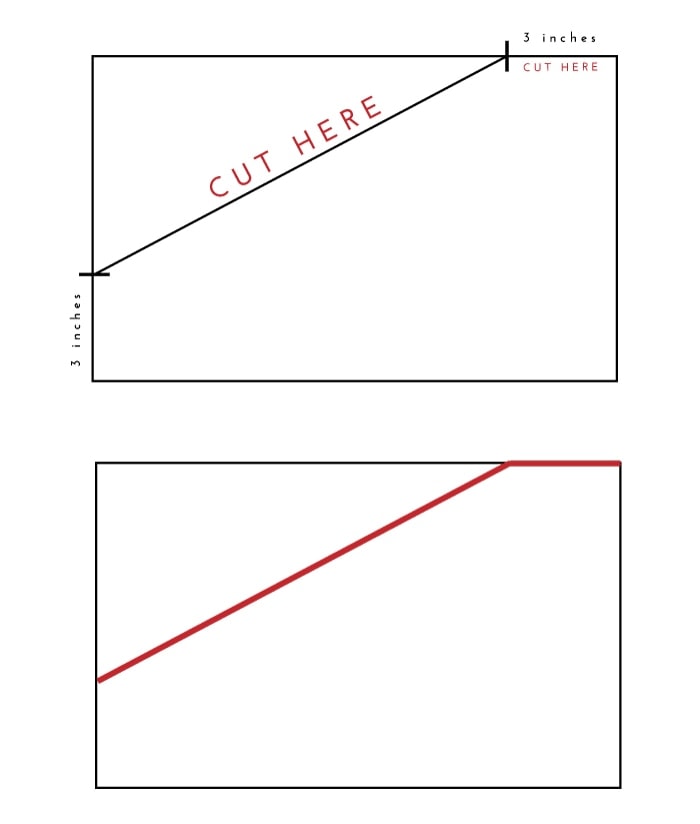
To make the file shape, measure up from the bottom of the box 3” and across the top (from the opposite corner) 3”; then connect the two marks with a straight line. Use the diagram below to help you.
NOTE: 3” is a measurement that can be adjusted based on the aesthetic you desire and the size of box you start with.
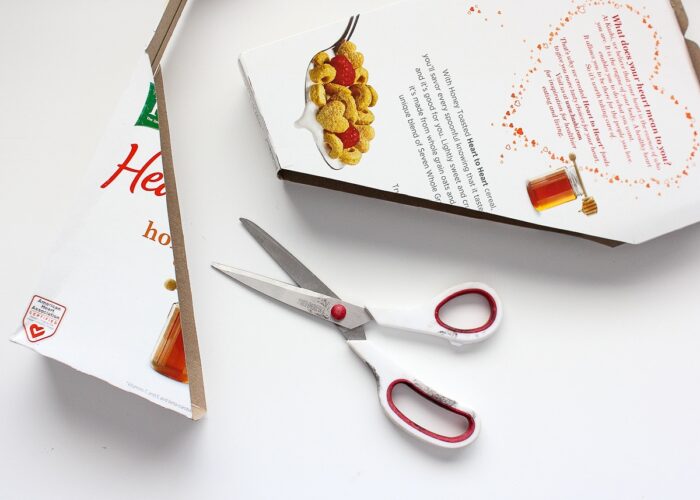
Once you trim down the box (matching the red lines shown above), it should be similar to the photo below.
Step 2. Wrap the Cereal Box
To completely camouflage that these book organizers are made from cereal boxes (and give it a super chic appearance), I recommend covering both the inside and outside of the box with some sort of decorative paper. Anything “peel and stick” works best (e.g., contact paper, vinyl, wallpaper), but decorative paper and wrapping paper can work too.
How to Cover the Inside of the Book Organizer
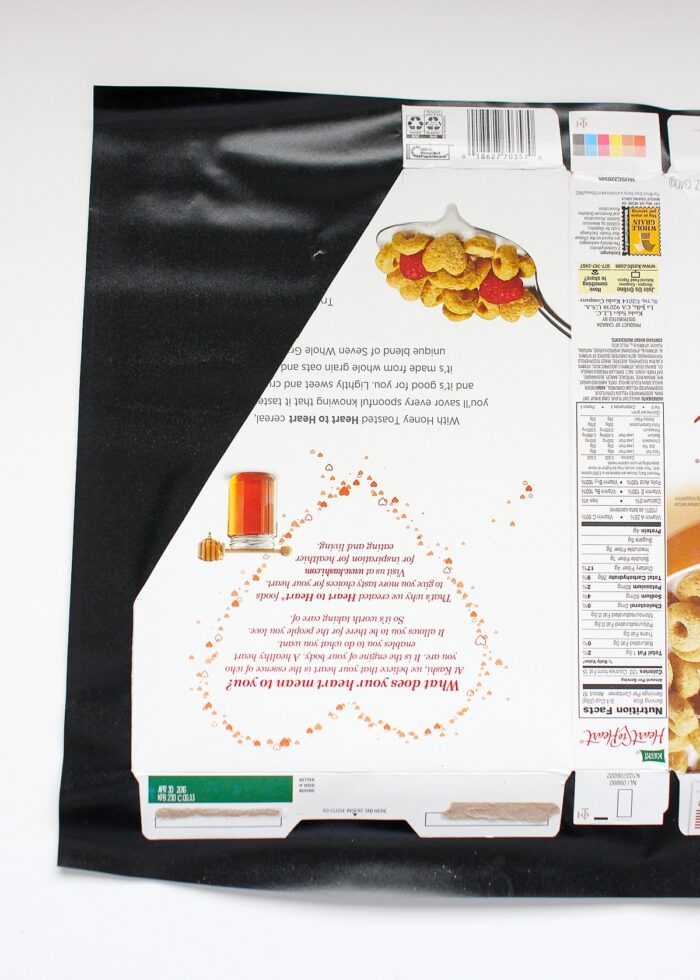
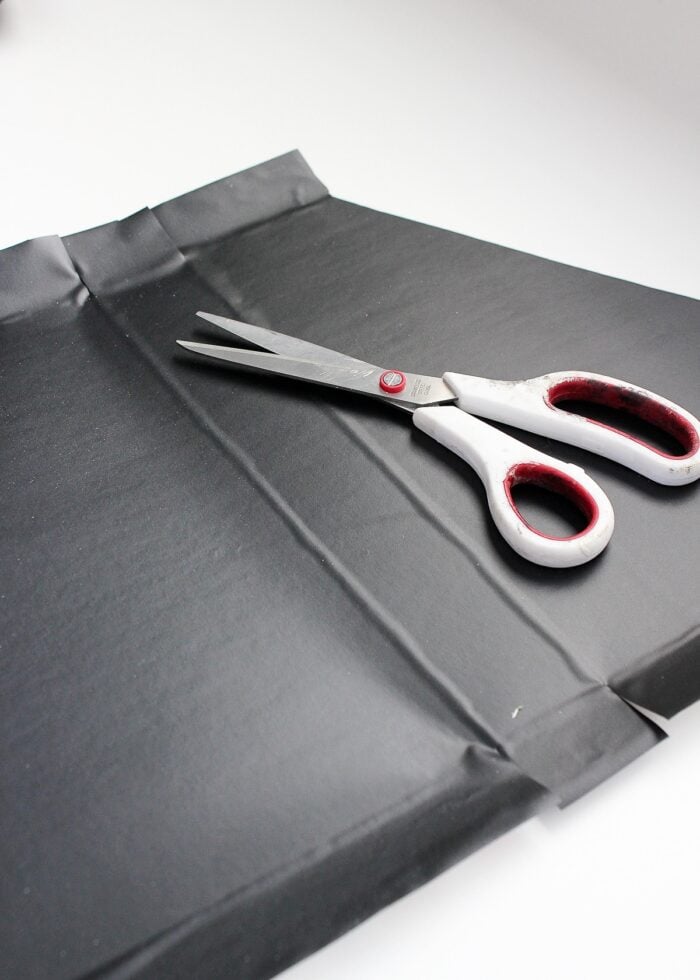
Start by breaking the box down so it lays flat. Next, trim a piece of contact paper (or whatever paper you’re using) to fit the dimensions of the unfolded box. Place the cereal box inside-down onto the wrong side side of the paper. Make sure there are no bubbles or wrinkles.
NOTE: If you’re not using already-sticky paper, I recommend using Spray Adhesive to fully adhere the decorate paper to the box.
Trim away the excess contact paper along the edges of the box to reveal the original cereal box shape.
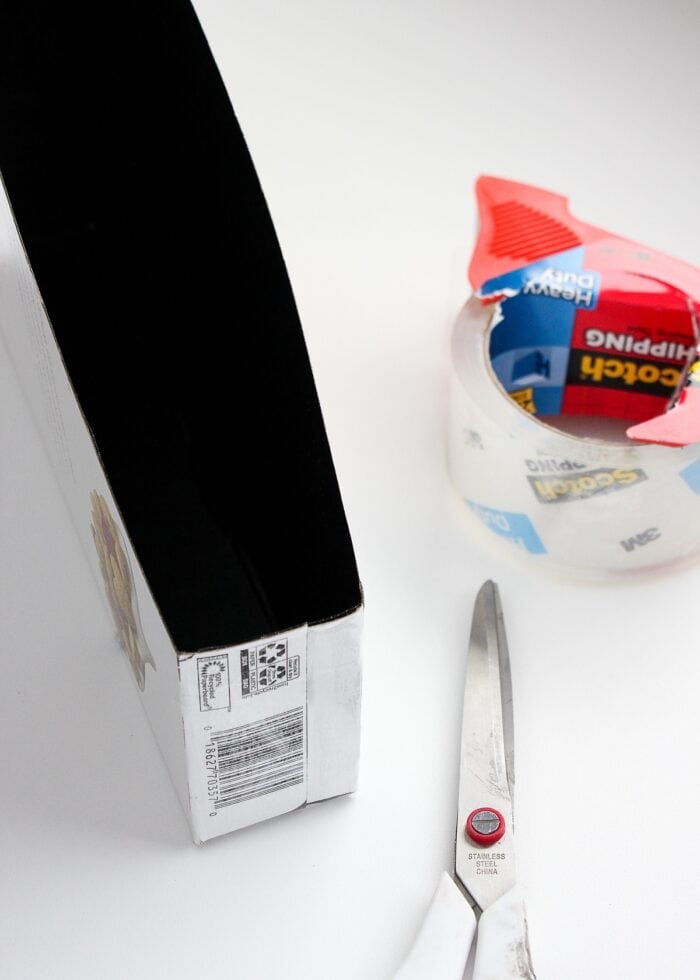
With the inside covered, re-assemble the box and hold it tightly together with packing tape.
How to Cover the Outside of the Book Organizer
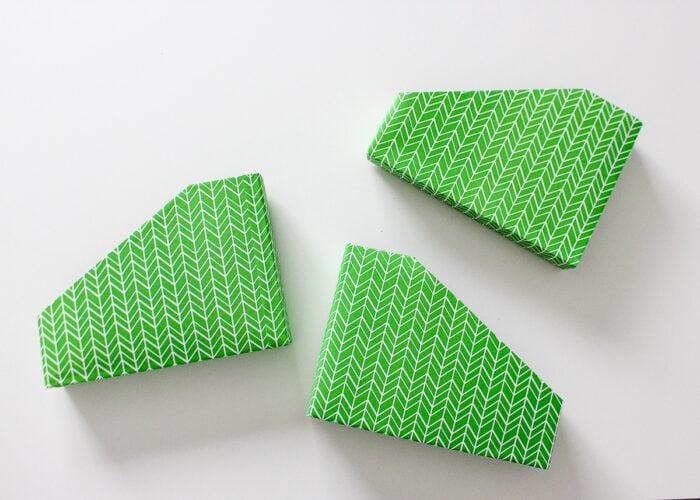
Start by trimming down some paper to a dimension that will fully cover all sides of the file box. Consider picking a contrasting paper to create a fun aesthetic.
NOTE: Again, if your decorative paper is not already sticky, spray it with Spray Adhesive before proceeding.
- Place one side of the file box down onto the back side of the paper, lining up the edge of the paper with the back of the file box.
- Carefully flip the box onto the remaining paper and smooth out any bubbles, making sure the paper is fully secured on all sides of the box.
- Using a scissors, trim away the excess paper all the way around the box, leaving a clean and straight ½” border around the perimeter.
- Starting on the bottom, fold the paper around the box as if you were wrapping a present. Trim corners where necessary to ensure everything is tight and lays flat.
- Repeat along the back spine of the box.
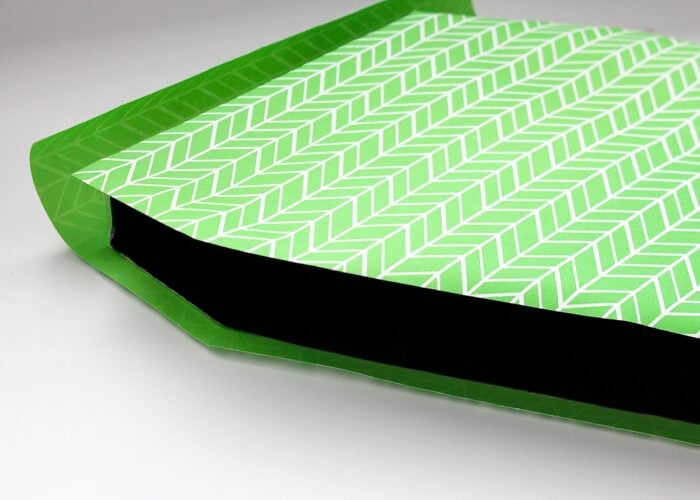
- Around the top perimeter, use a scissors to slit the paper at each corner. Then tightly fold the paper over to the inside of the file box in order to nicely finish the raw edge.
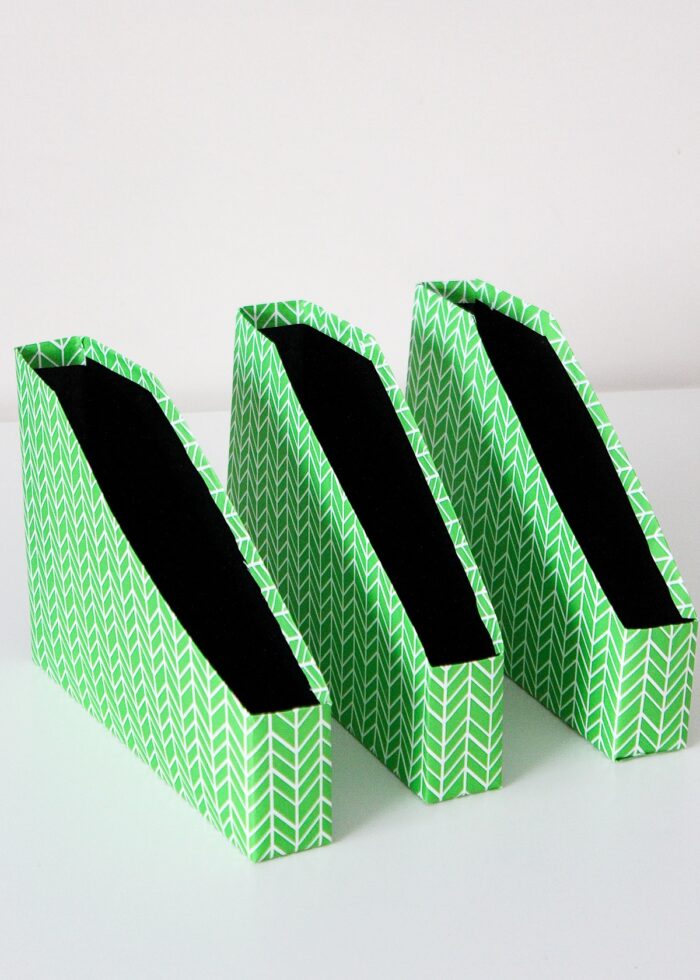
Repeat the process with as many cereal boxes as you have or need!
Step 3. Label the Book Organizers
At this point, your book organizers are done and are ready to be filled up…but of course, I like to add labels!
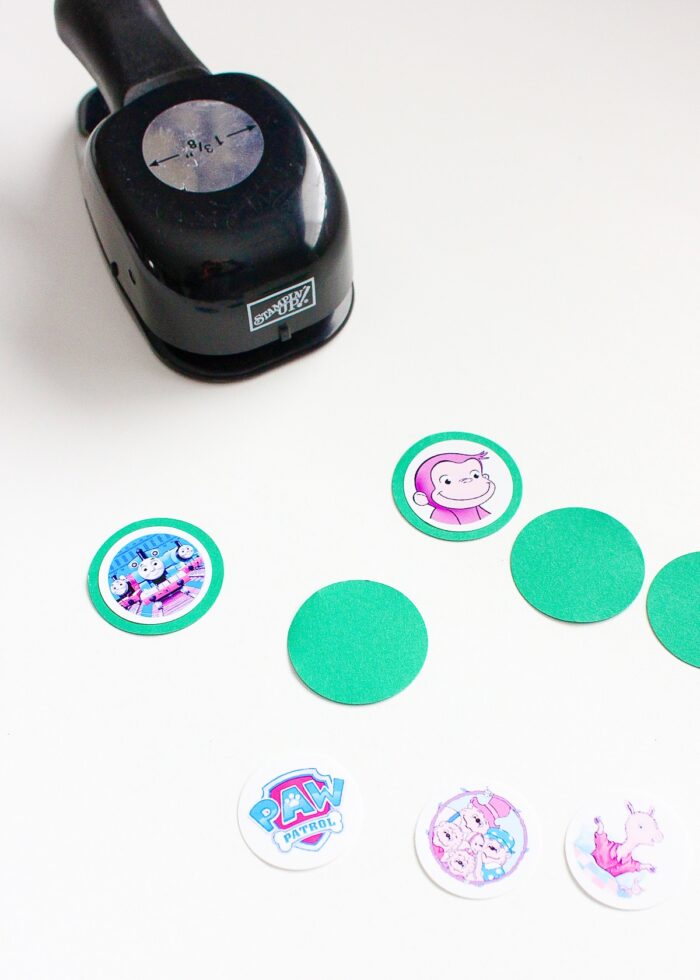
For these book character labels, I simply found the faces on Google Images, printed them, punched them out with a circle punch, and then mounted each one onto cardstock circles with some roller adhesive.
Step 4. Secure the Book Organizers
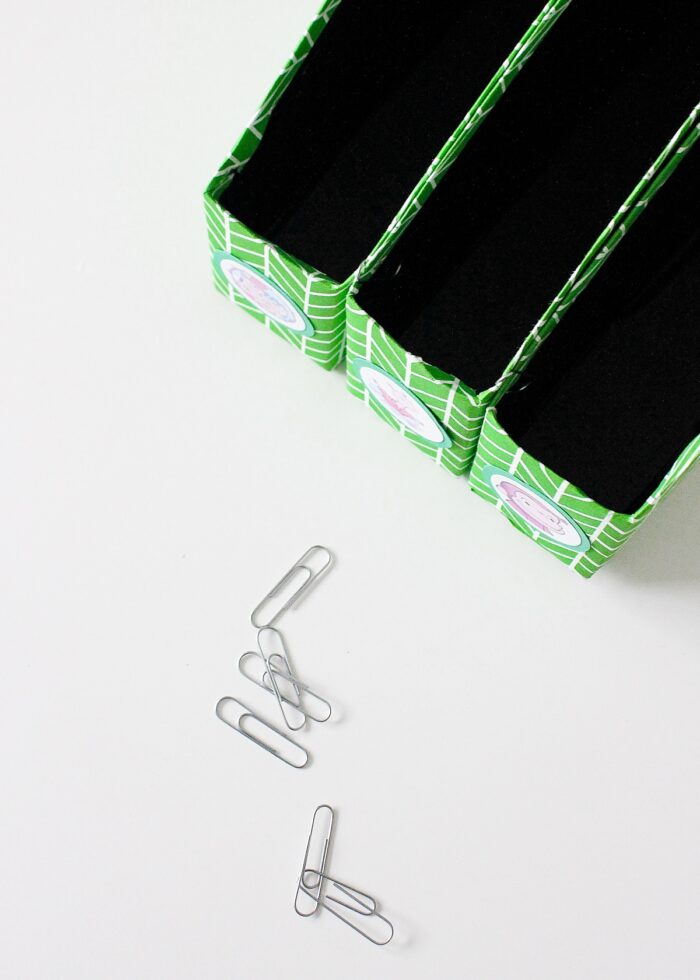
The boxes are surprisingly sturdy by themselves and can certainly stand alone, but to stabilize them even more (especially once they are loaded with books), use paper clips to attach them to each other in the front and back of each file.
Step 5. Load Up with Books
The last step is to load up the DIY book organizers and display them for you to see and use!
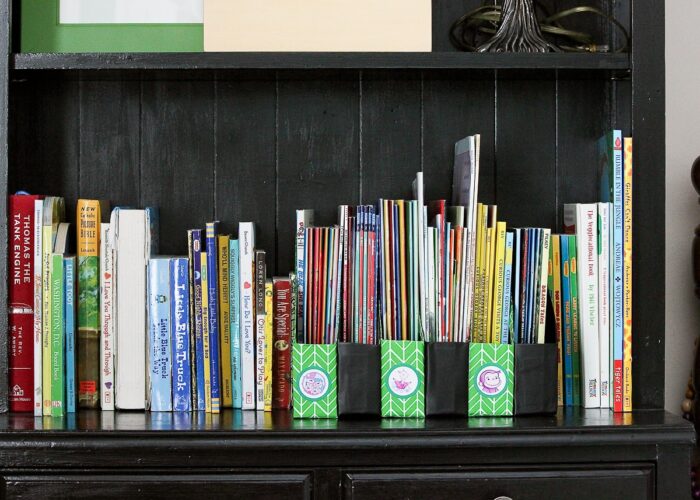
You can of course just make a few…but making a bunch is a great way to keep crowded bookcases organized and tidy!
This project is a great way to create some useful storage with items you already have around the house! Not only do these simple file boxes works for small, thin books and magazines, but they would also be great for mail, important papers, recipes or anything else that might need sorting and organizing.
So start saving up those cereal and snack boxes, pick up some pretty papers, and spend an afternoon wrapping them all up! I think you’ll love how quick, easy, and useful these DIY book organizers really are!
Megan




3 Comments on “DIY Book Organizers From Cereal Boxes”
I did this long ago when my kids read all those (darn) books. But I never thought to line the inside or open the box up to make it easier. Great ideas – now I have many quilting books that are as bad or worse.
Hi Linda!
Yes – opening the box to paper it and then re-taping it back together definitely makes it much easier! This would be a great solution for quilt books!
~Megan
Hi Megan,
I’m absolutely loving this, you’re a true inspiration! I wanted to drop a quick message to let you know that I featured your tutorial (with proper credit) on Crafts on Display, a thriving community of fellow crafting enthusiasts. You can check it out right here – https://craftsondisplay.com/paper-crafts/diy-book-organizers-from-cereal-boxes-41339/ I hope you enjoy it, and keep up the fab work!